WEEK-1: Principles and Practices, Project Management
About Myself : Shuaib M. Shuaib
A website is created where the homepage includes a short description of myself. My Name is Shuaib Mohammed Shuaib. I have received a bachelor degree back in 2003 from the University of Colorado in the United States in Civil Engineering and applied Science. in 2009, I have completed my Masters Degree as well in Business administration while working in the construction industry. in 2010, I spent 5 years in he real estate construction management and then transfered to the Oil Sector in 2013 at the Kuwait Gulf Oil Company to date.
the video in this link was taken using my personal iphone 6+ and "Video" application to edit and cut the videoshere is the link to view the video about week-1 and small introductory about myself.
Brain Storing and Concepts of Final Project
Lots of ideas were filtered down through the sports industry where i was focusing on. this industry needs to be simplified more in using technology and i believe that every person should have the benefit of using technology in sports. so i filtered down the ideas i had into the following:
1) GPS Soccer or American Football Balls
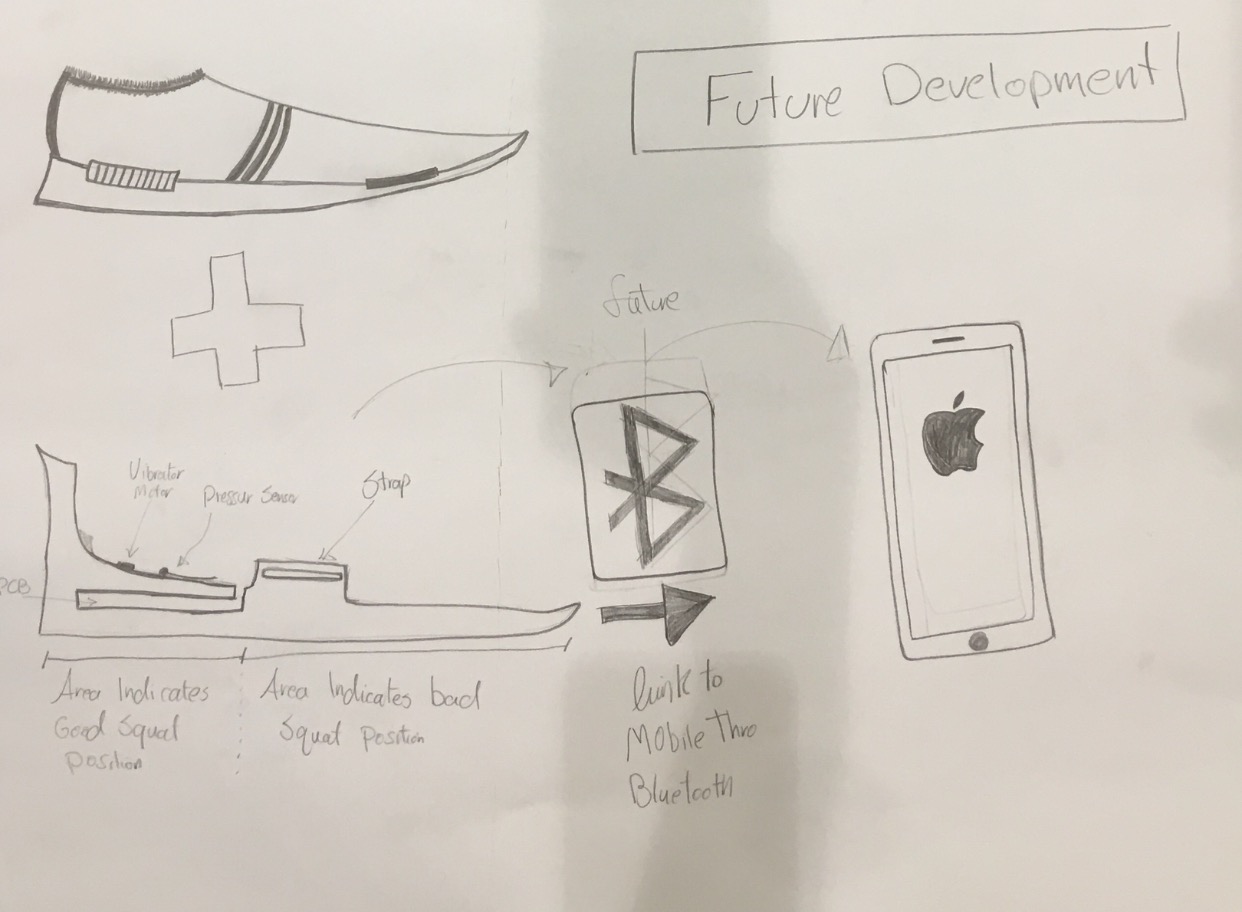
2) Squat Soles to be connected to a sound output or a phone through blue-tooth
3) Lit braces . for those who put cast on and require other people attention not to be too close or physical with them, especially for kids.
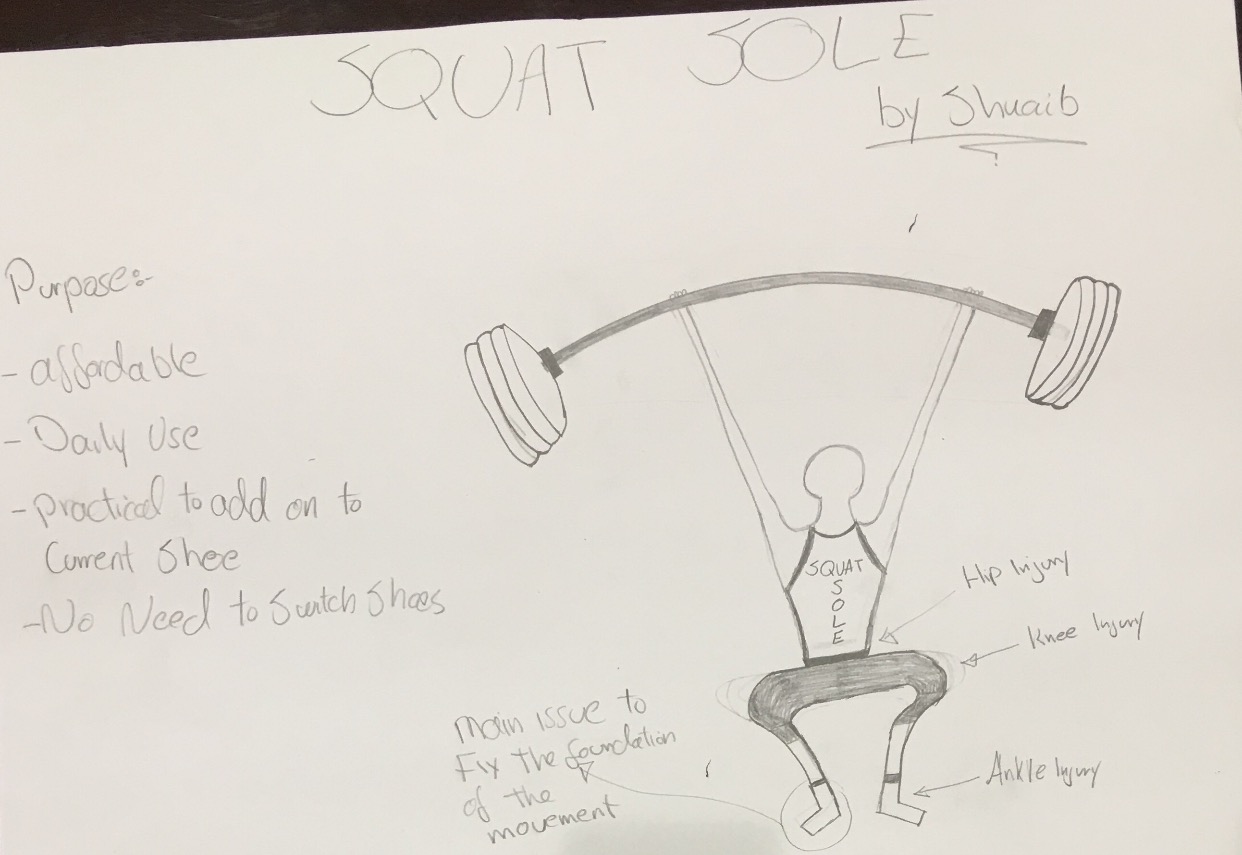
so after few discussion with o groups and our local instructors and the limited time and capabilities of our lab, I decided to go with the Squat Sole. The concept of the SQUAT SOLE is to assure that the person performing the squat is not lifting their heal which is considered an injury exposure in the squat. If the squat is performed well and pressure is applied on the heal, the SQUAT SOLE should vibrate or blink to show a good rep and then it should reset afterward.
here is the Concept Design of the SQUAT SOLE Project
Web Page Development
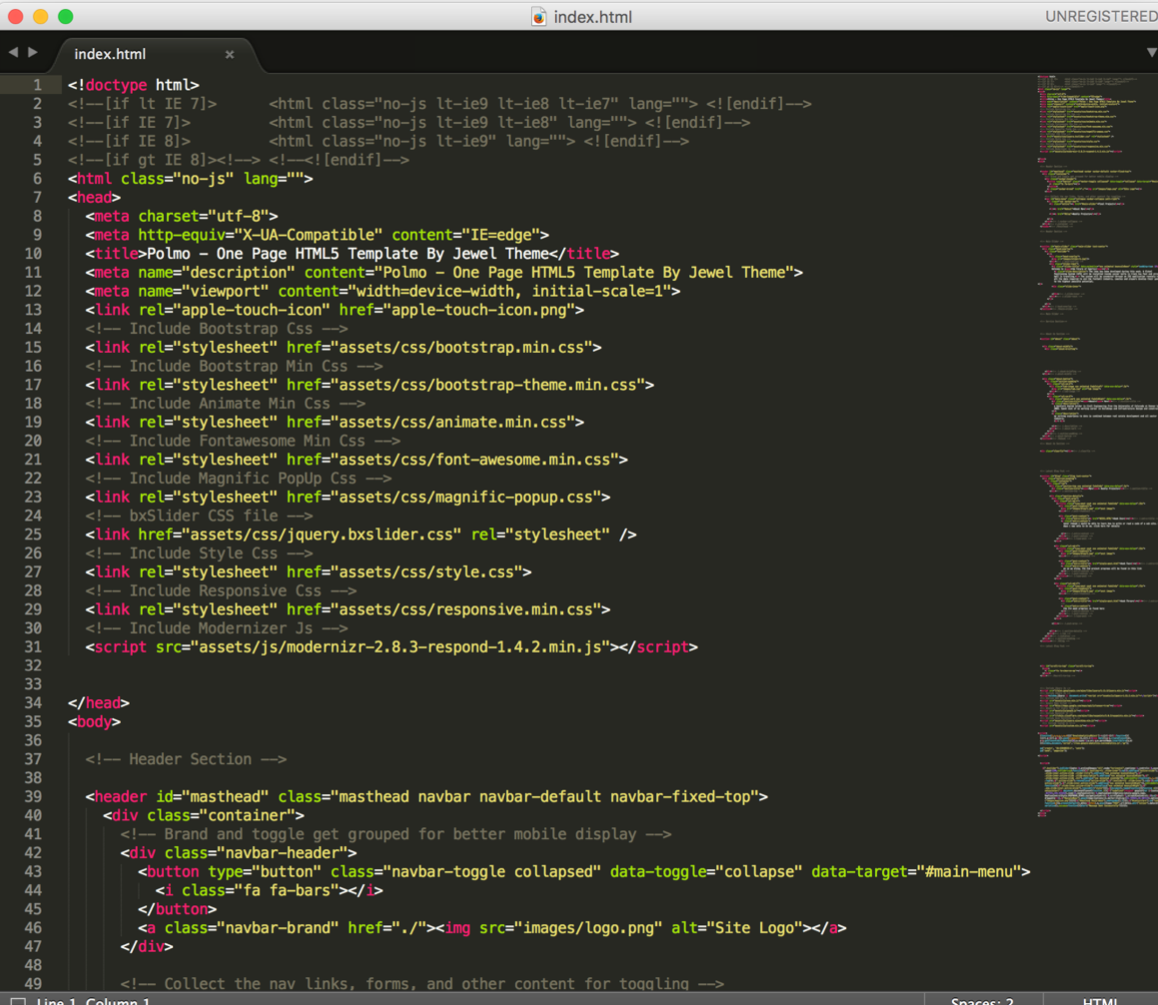
first of all, the tools were used are a laptop provided by the sponsors, the software “Sublime” and the websites of coding to learn from such as www.w3schools.com.
I have also used the local instructors presentation on how to establish the coding system an the simple ABC of the codes commands. this lecture was a pre requisite of the coding 101 that should have been taken prior the lab. but we managed to learn the coding basics with the help of the local instructor we established our websites and were able to move forward from this point.
Video from YouTube were also used to clarify more details about the coding ;Moreover, some tips were taken from different blogs on the net such as www.blog.shareaholic.com.
As far as the media concerns, I have used my personal picture files to upload to the website created and images from the web to choose from for the main project page. Google search engineer has been utilized to aid the process of the research and selection of most of the above.
The on-line video conferencing session has been a good help in understanding what the project is and how we should perform from this point forward. Understanding the details of the project and where we are headed is very crucial
About Version Control
Version control is a system that records changes to a file or set of files over time so that we can recall specific versions later that are saved in the server. For the example using software source code as the files being version controlled, though in reality we can do this with nearly any type of file on a computer.
Version Control System (VCS) is a very smart system to use for a graphic designers for example. It allows you to revert files back to a previous state, revert the entire project back to a previous state, compare changes over time, see who last modified their folders in the server that might be causing any kind of problems, who discovered any issue and when, and more.
in the begining I was taught how to convert files on line from Microsoft word to html , but the conversion Sublime code was to complicated to adjust. i felt that converting the files through a web site would defeat the purpose of the fab lab project which is self taught lab. so i picked u the simple techniques on how to establish a code and here we are, week-1 is competed.
the steps below describe the loading process on the server through the Git and SSH command. :
Step 1 : Download and install Git
Step 2 : Generate your SSH key
Step 3 : Upload your work
The SSH connection done to the fab lab academy server i typed the following
1) ssh - The private key is myname@theipaddress
2) The I entered my password to establish the connection
3) After all, i can browse for the file listed in the directory using the command "Is". and to be able to change the dbr> 2) ectory, "cd with the final name" is uploaded as well
details of uploading the site
I started uploading the website I created during this week into the server.
The steps that was taken to access the server was as follow:
1- First we signed up with the fablab website by using the invitation sent via email
2- I installed the GIT by following these steps
I opened the terminal clicking Ctrl+Alt+T)
and then i typed
sudo apt update
sudo apt-get install git<
3- then generated the ssh keys by typing : ssh-keygen -t rsa -b 4096 -C
sshuaib@kgos.com
4- then I added the ssh agen by typing the following:
val "$(ssh-agent -s)
ssh-add ~/.ssh/ id_rsa
5- then I added a global username and global email id by using the following
git config --global user.name "sshuaib"
git config --global user.email ........ sshuaib@kgs.com
6- then I added my public key to gitlab account by typing the following
sudo gedit ~/.ssh/ id_rsa.pub
7- I copied the outcome from the screen and pasted I into the public account of the fab-lab and created the SSH Key
8- the last step was cloning the repo back into the terminaal page by typing thefollowing
git clone git@git.fabacademy.org:fabacademy2017/fablabkuwait.git
How to Push and Pull the weekly projects and the updates
to open up the fab lab folder, I use the following command:
1) LS
2) CD Fablabkuwait
here are the command i use to update my site on fablab server on weekly basis:
1) Git Pull
2) Git Add --all
3) Git Commit -m "Week-1"
4) Git Push