
- Make something big (on a CNC machine).
Class material: Computer-Controlled Machining
Insper FabLab's operational manual here.
ShopBot CNC Router - PRSalpha CNC.
Extra information and tutorials:
- Custom Wooden Signs Made With Shopbot CNC Router
- CNC Class
Software for CAD-CAM: VCarve.
Extra important tutorials about VCarve:
- Interface Guide;
- Toolpath Saving Guide;
- Tool Database Guide;
- Profile Toolpath Guide;
- Toolpath Tiling;
- Working With Imported Vectors Guide - (very important to manage design files);
- Introduction to Drawing Vectors;
In order to access the website with complete reference material click here.
- MDF 18.00 mm thickness. I needed 04 plates sized: 1.200 mm x 900 mm.
- Endmill Ø 6.00 mm (cut diameter).
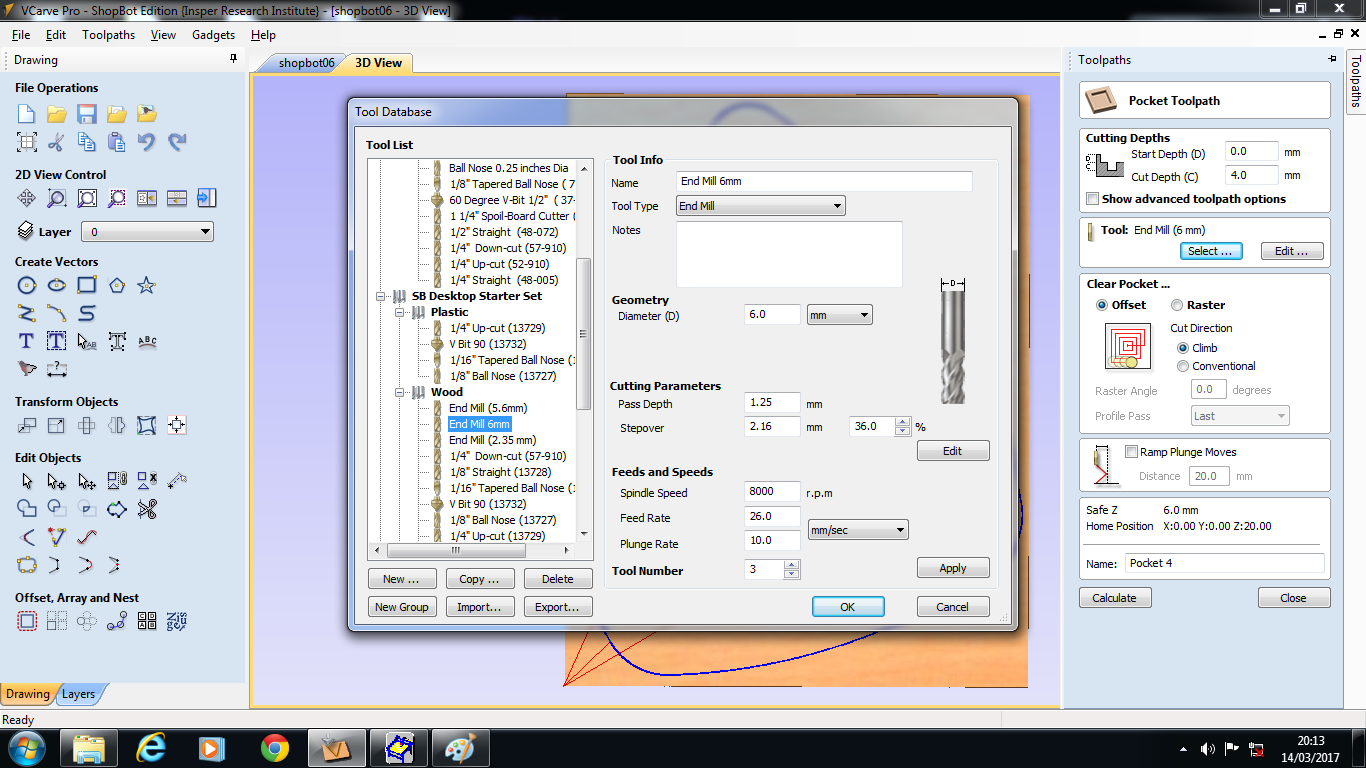
- VCarve has a library of tools and Wood tool - endmill - Ø 6.00 mm has the following setup:
--- Cutting parameters:
--- Pass Depth: 1.25 mm
--- Step over: 2.16 mm - 36% of tool's diameter.
--- Feeds and Speeds:
--- Spindle speed: 8000 rpm (how many spins per minute the tool executes)
--- Feed Rate: 26.00 mm/s (how fast the tool moves milling horizontaly)
--- Plunge: 10.00 mm/s (how fast the tool get closer to work piece)
Design files:
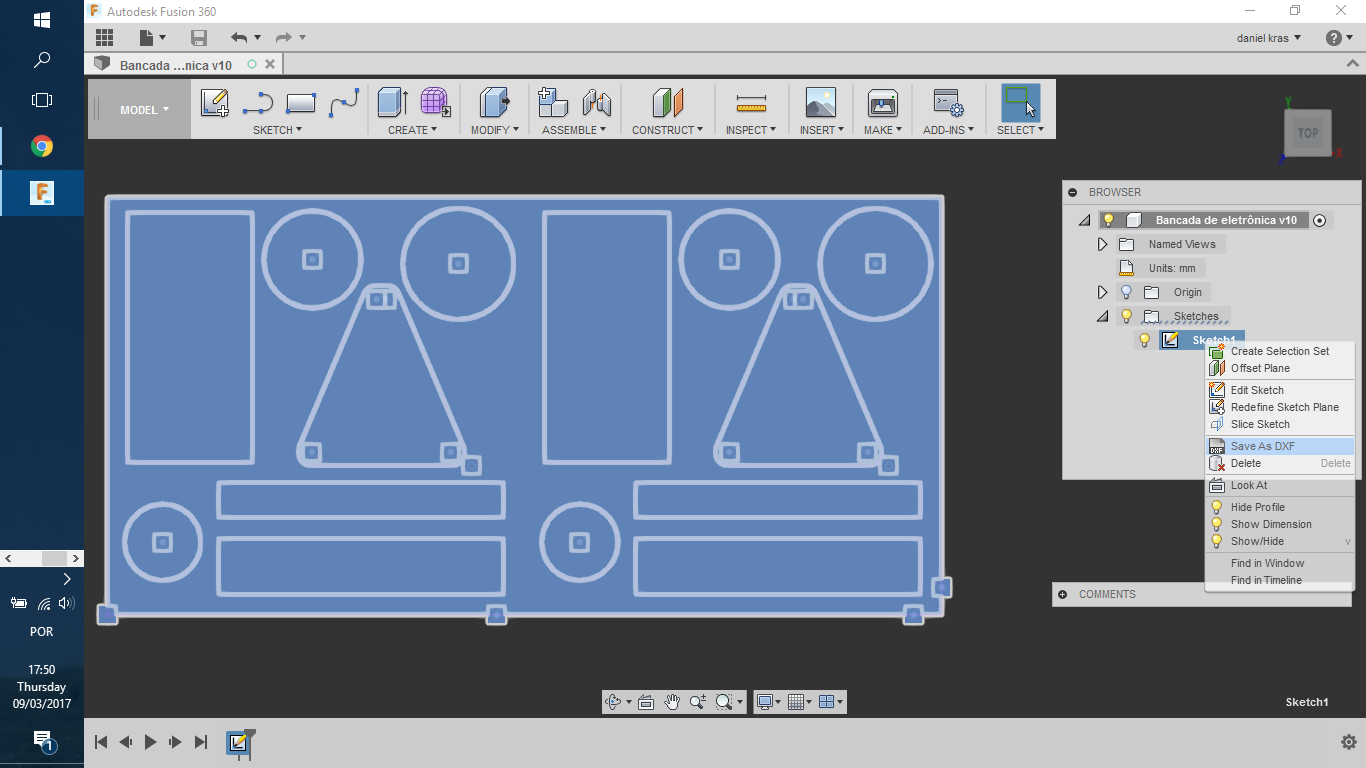
- Desk organizer design file . dxf
- Table design file . dxf
- For extra info on the design files, please e-mail me: daniel (at) insper . edu . br - I will ad you in my project folder Fusion360.
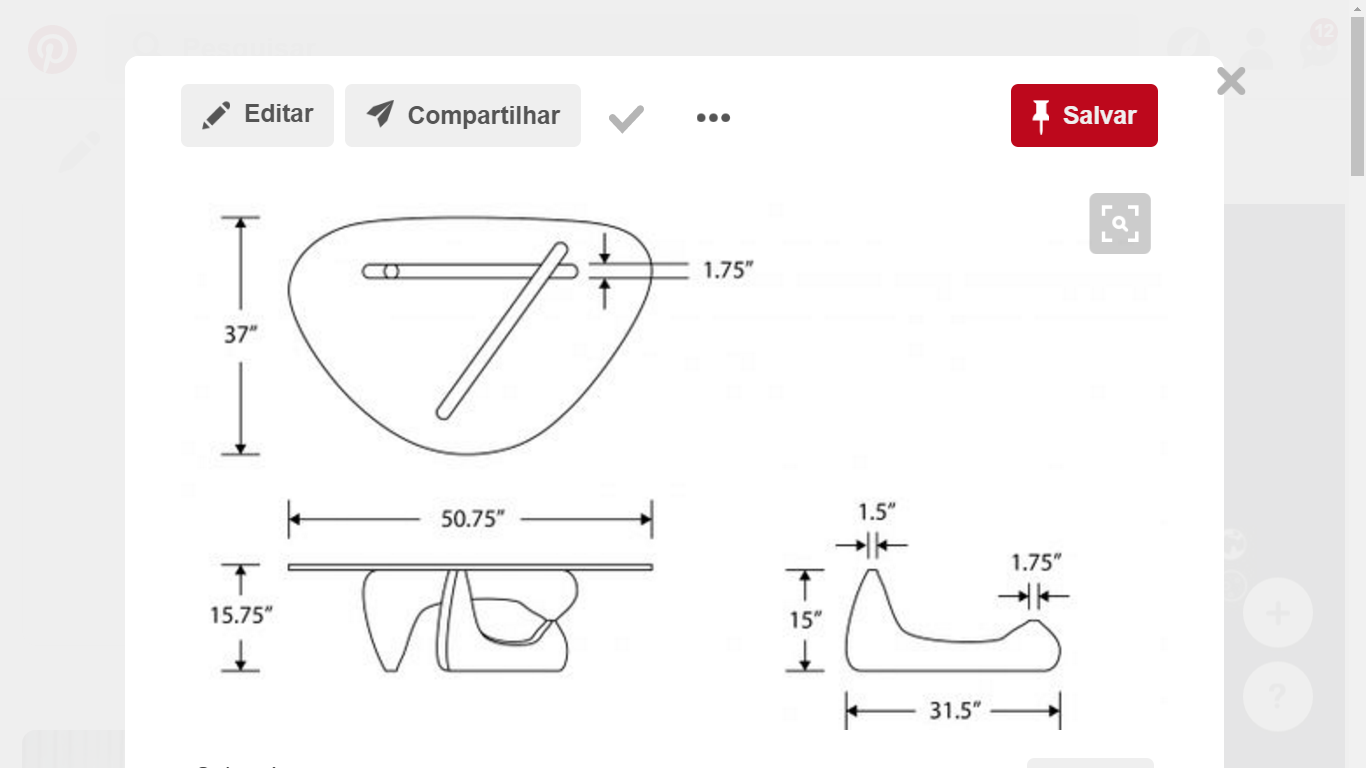
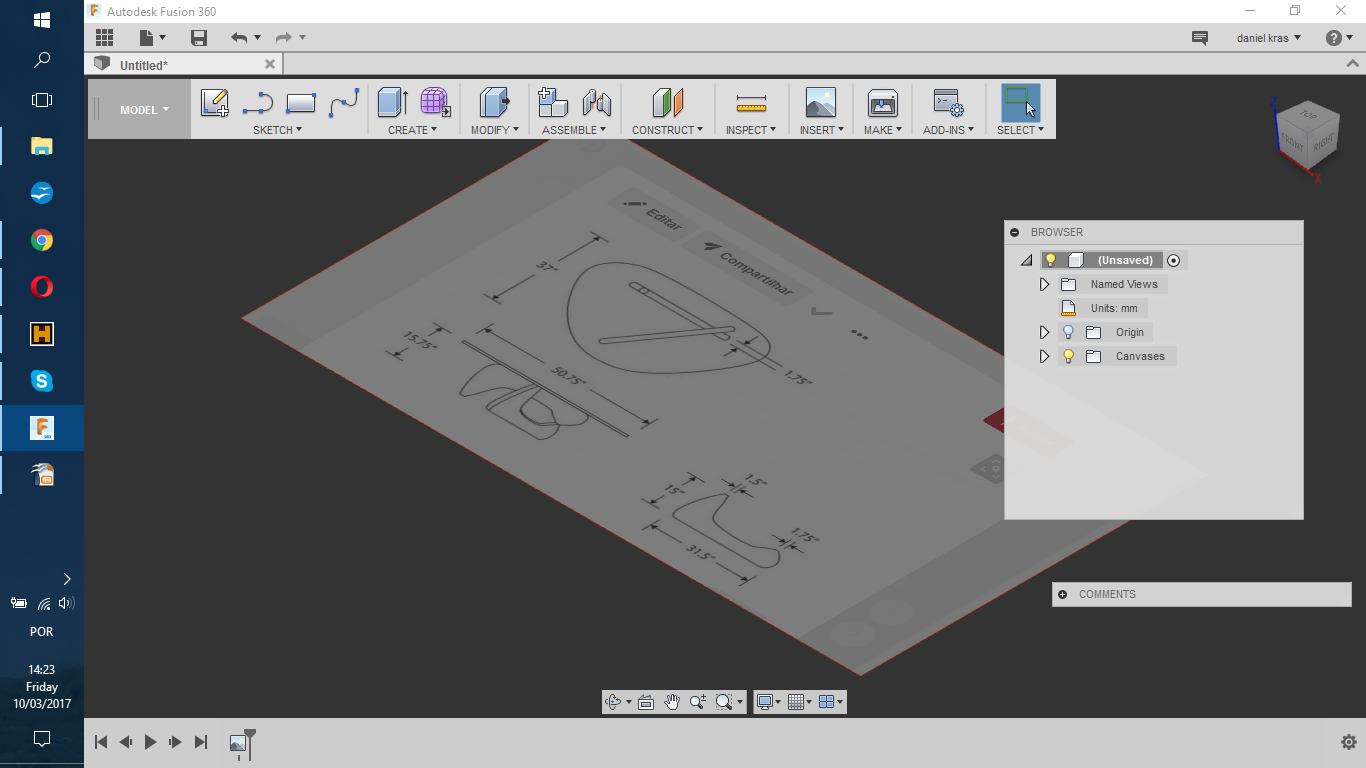
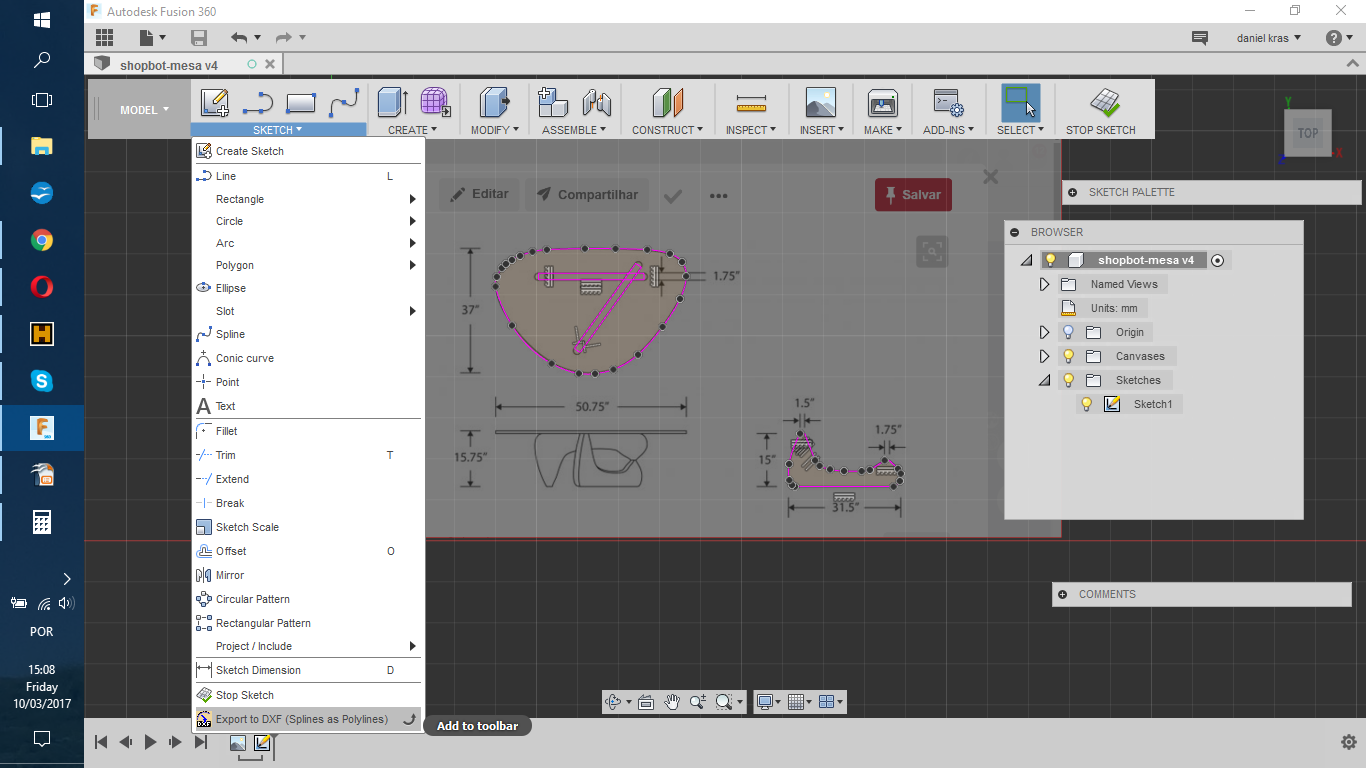
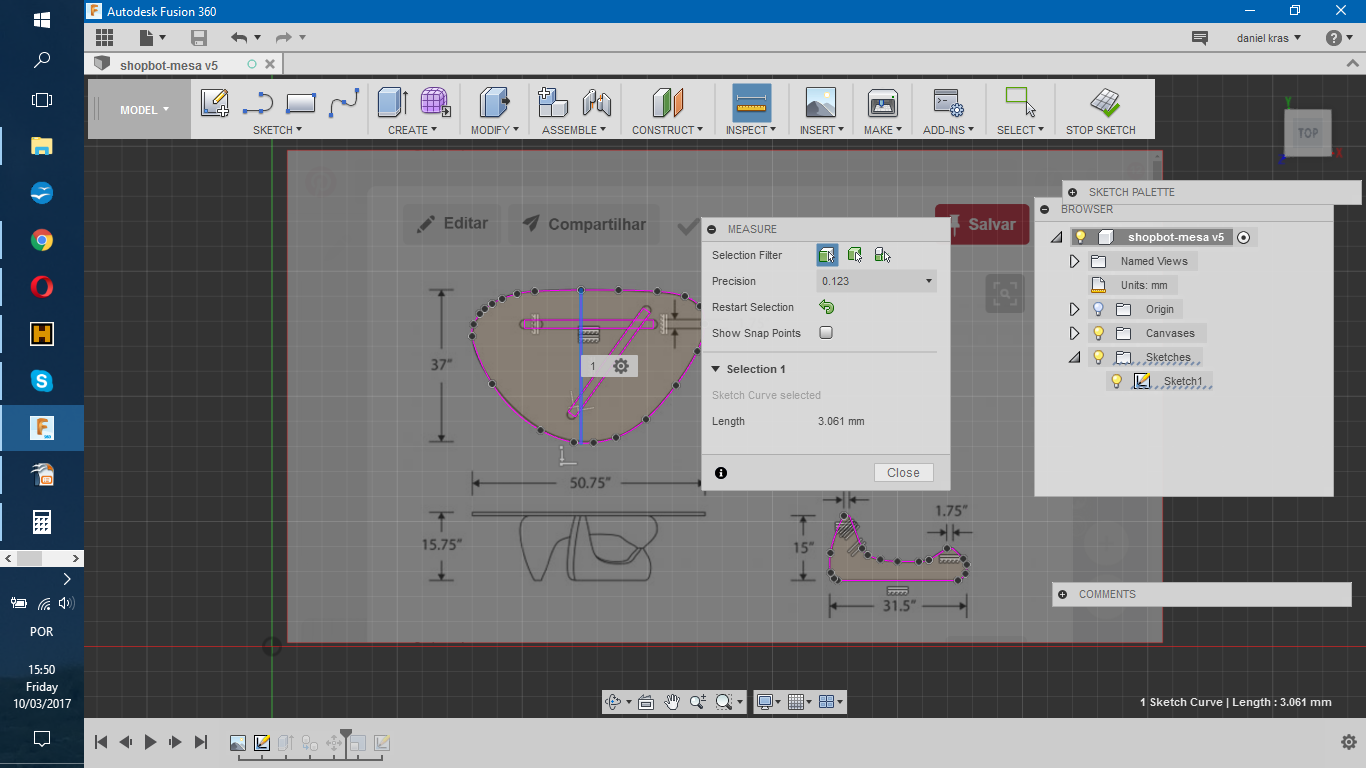
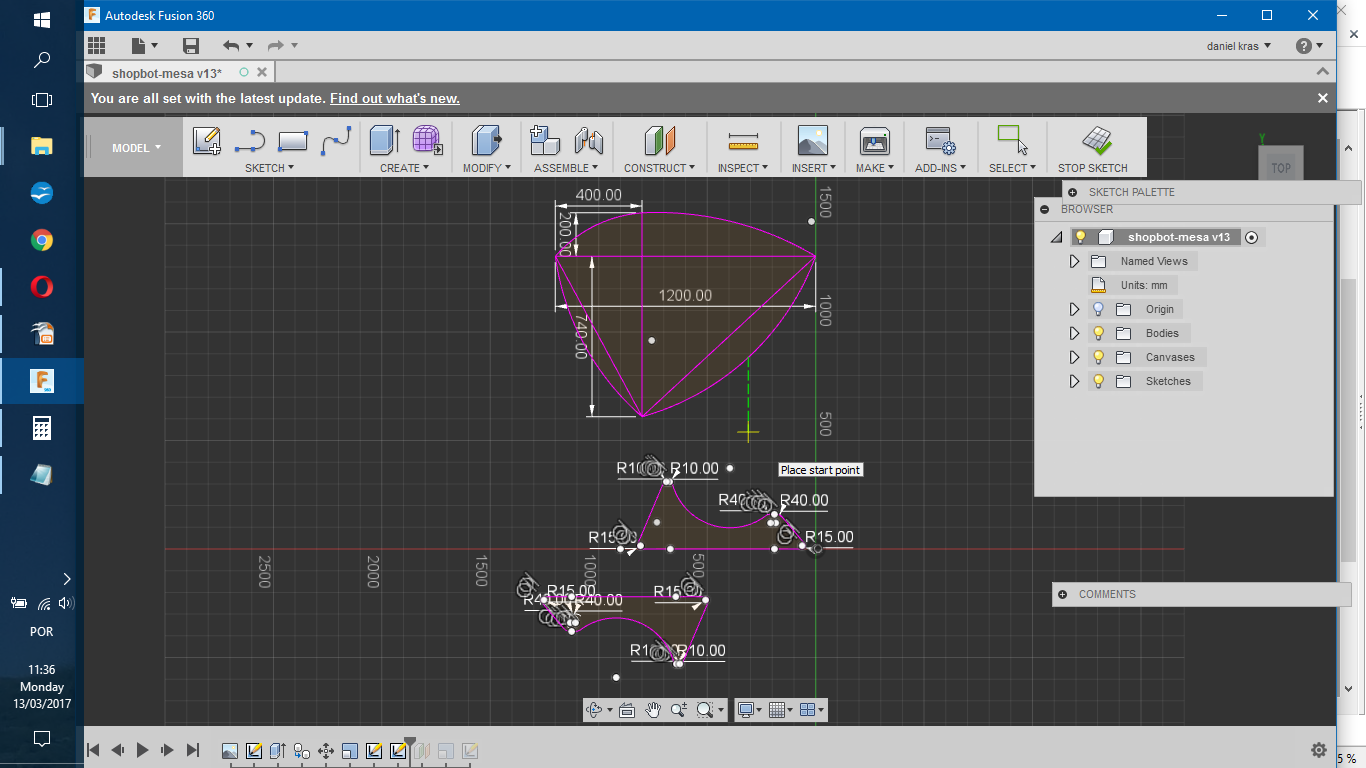
The router available in the FabLab here is a ShopBot, as writen before. The dimensions it has to work are x: 1200[mm]; y: 1200[mm] and z: 250[mm]. For this week assignment I choose to make two organizers for eletronics (tools) and a small table. It has been a while I notice a nice design in Pinterest. Its Isamu Noguchi's table. I found another link to it with some measurements.
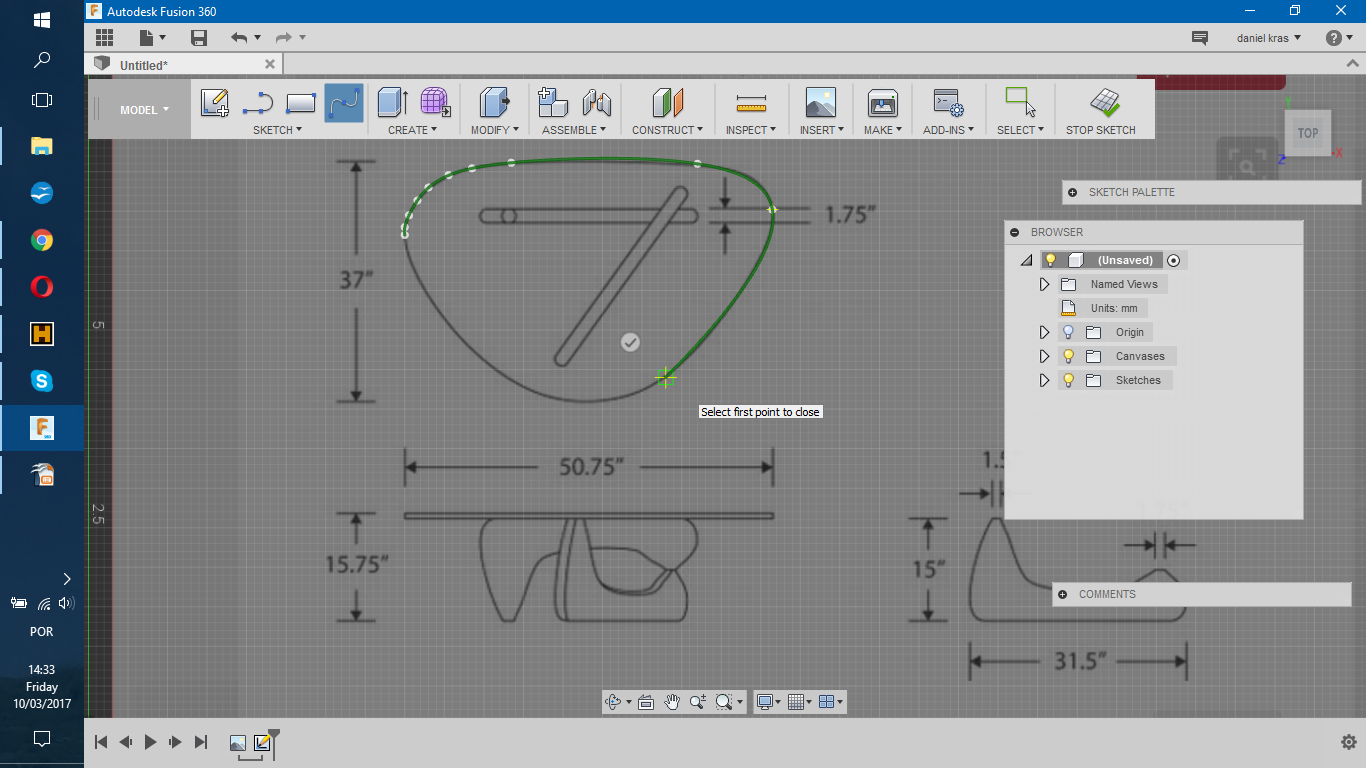
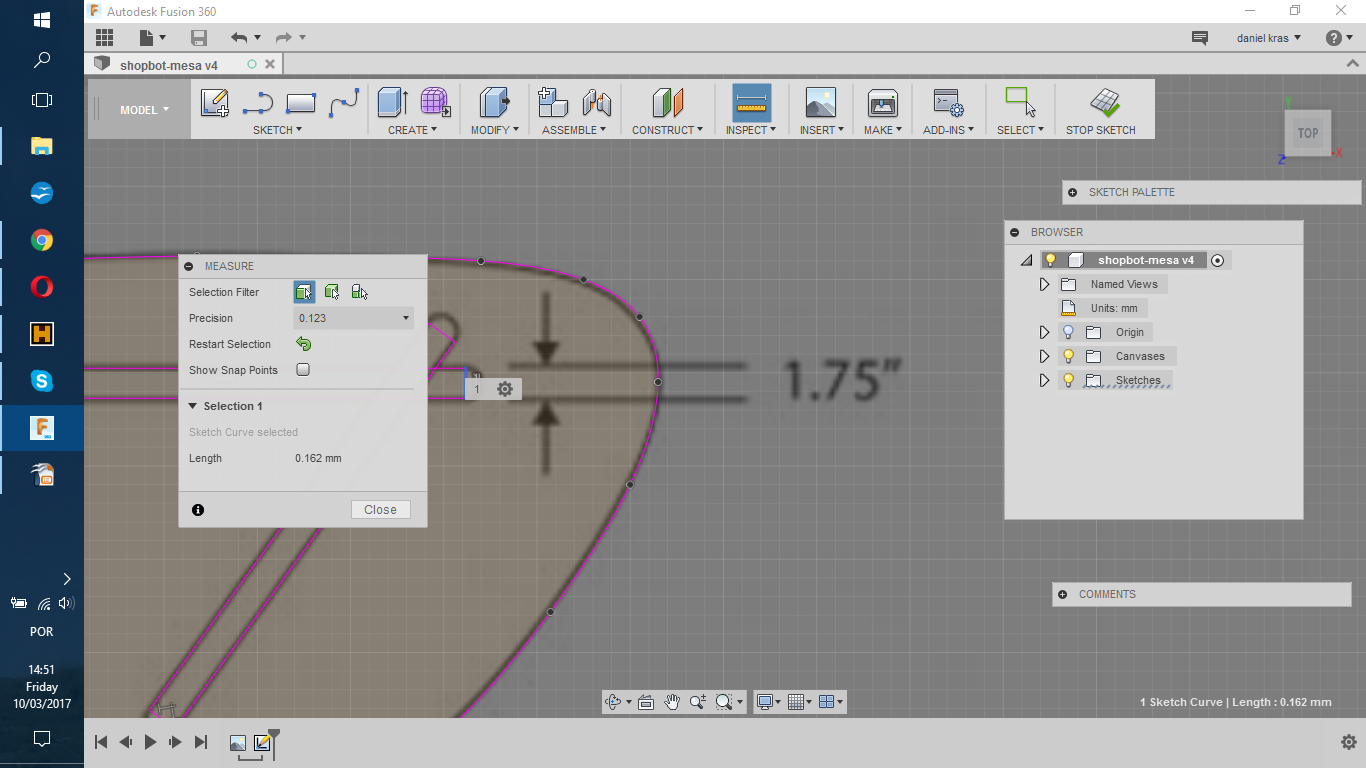
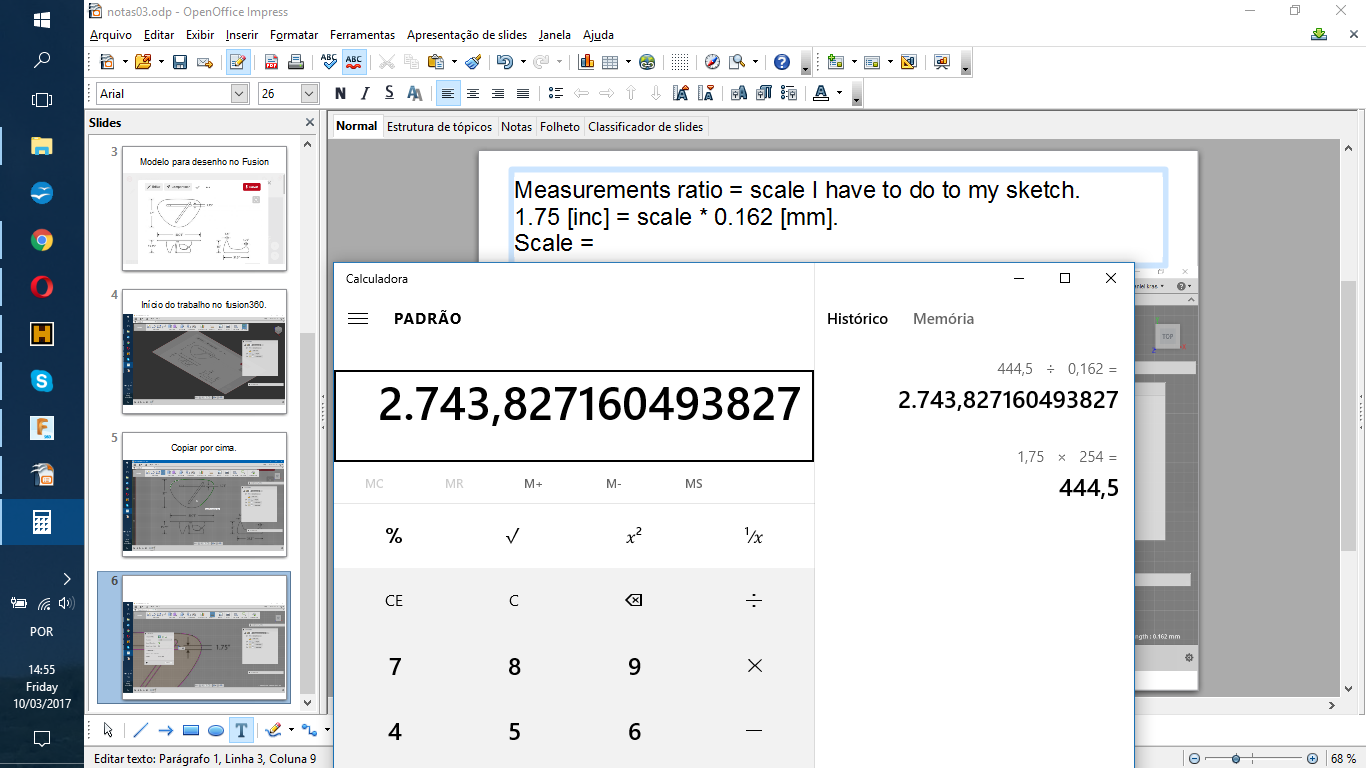
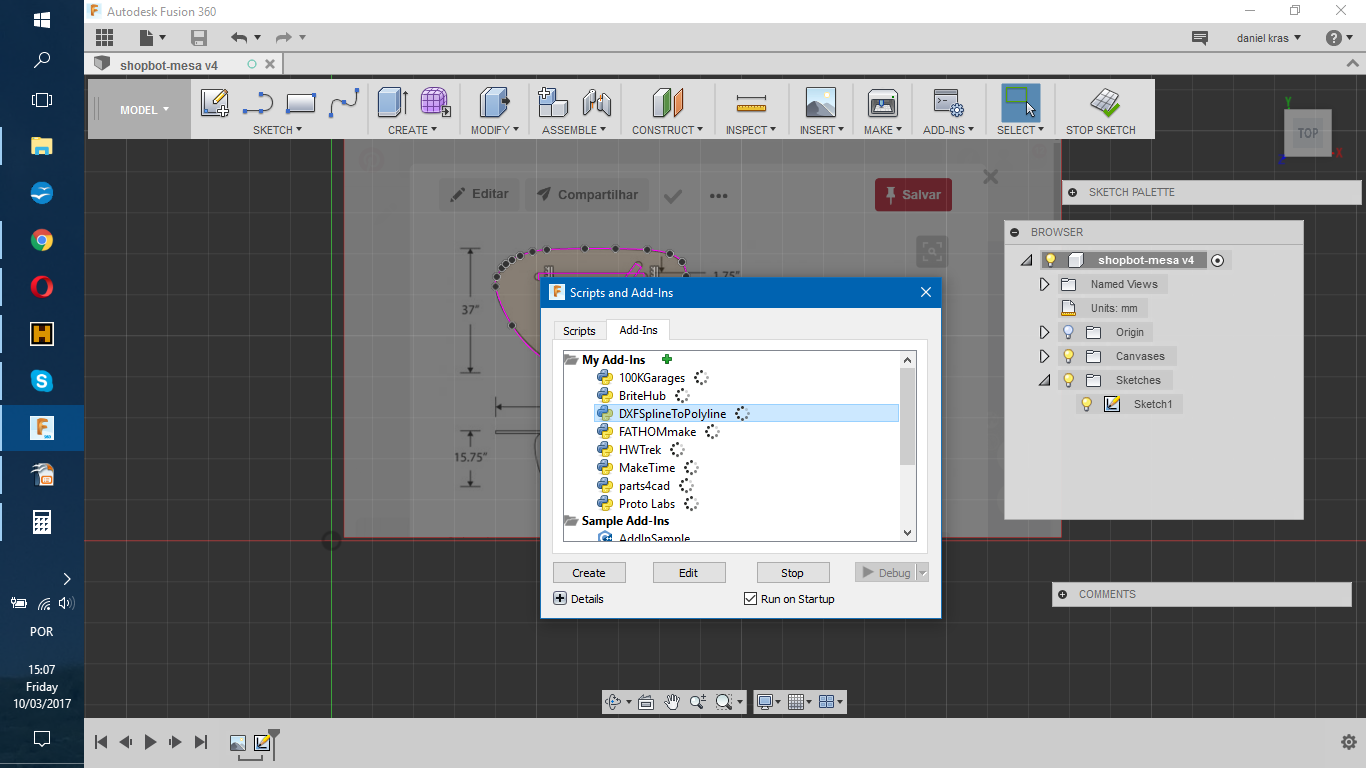
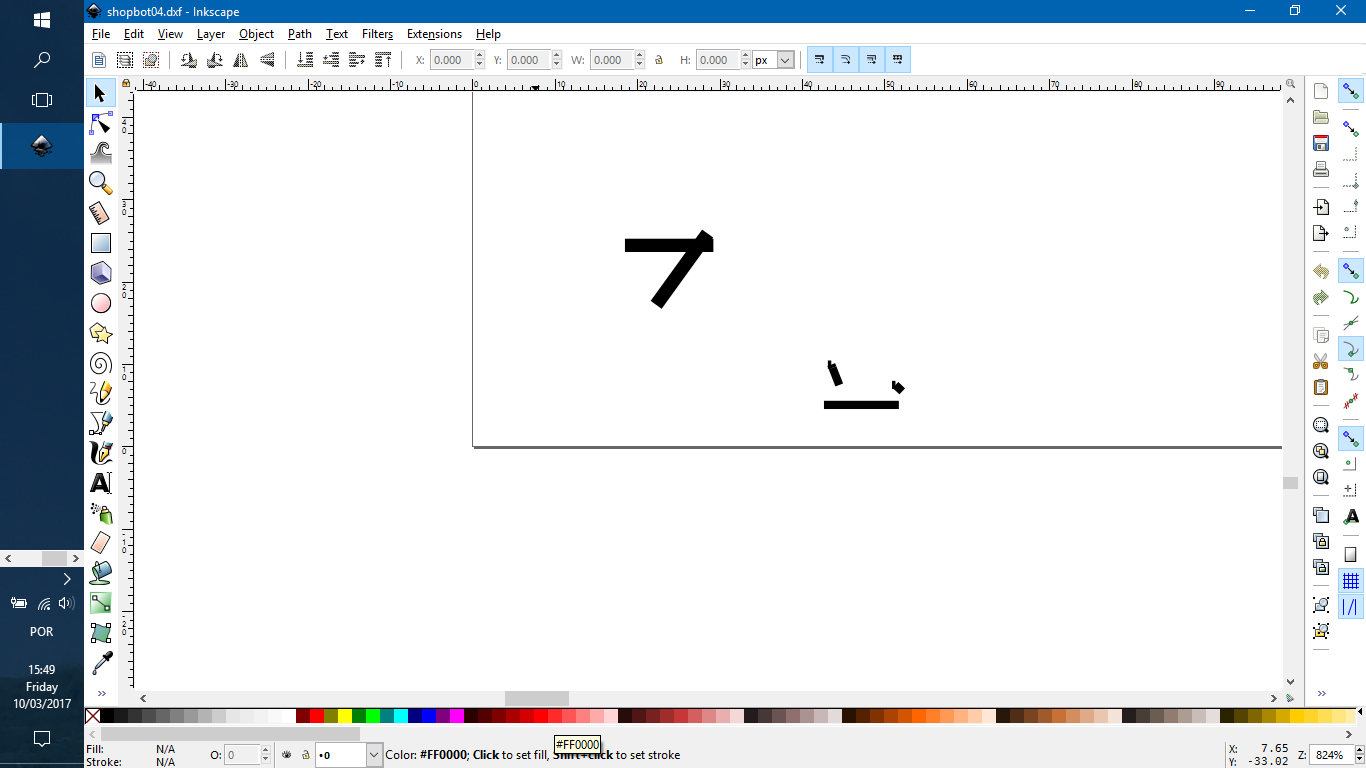
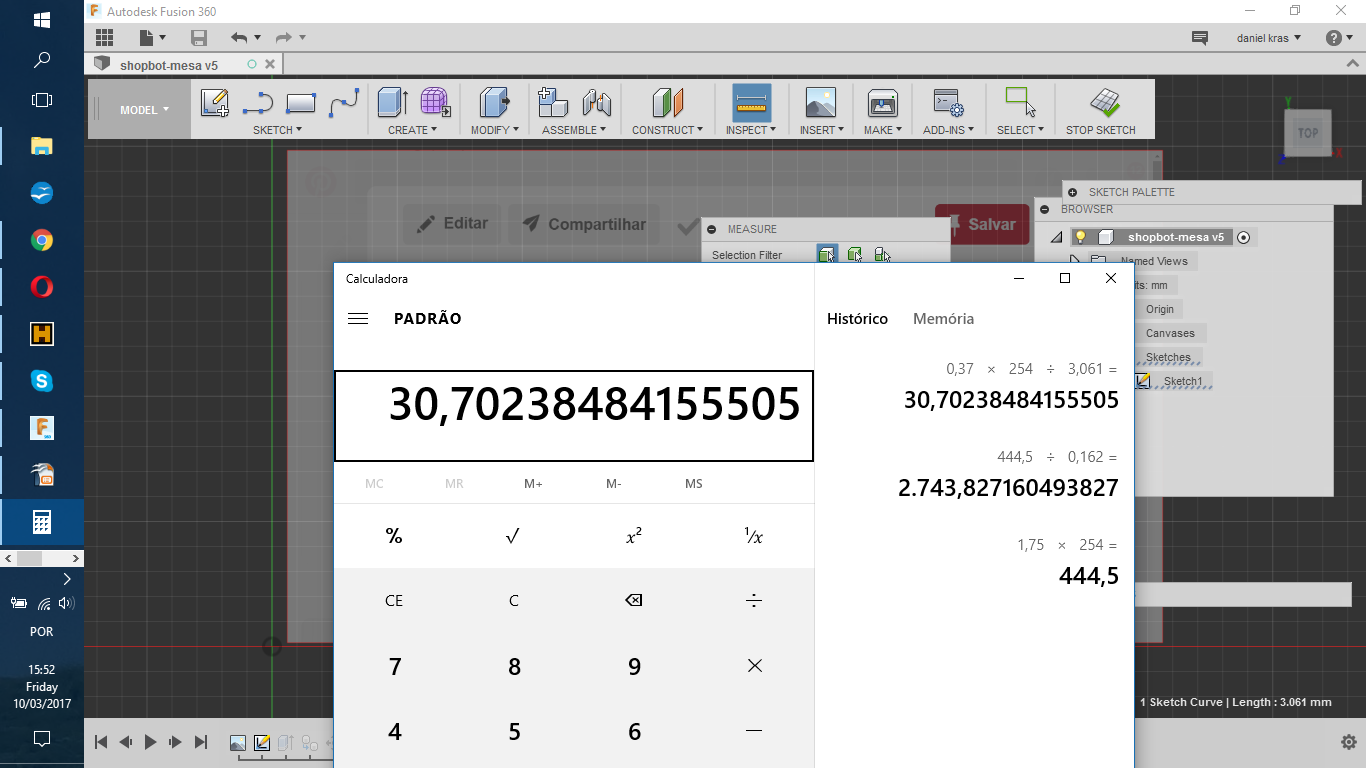
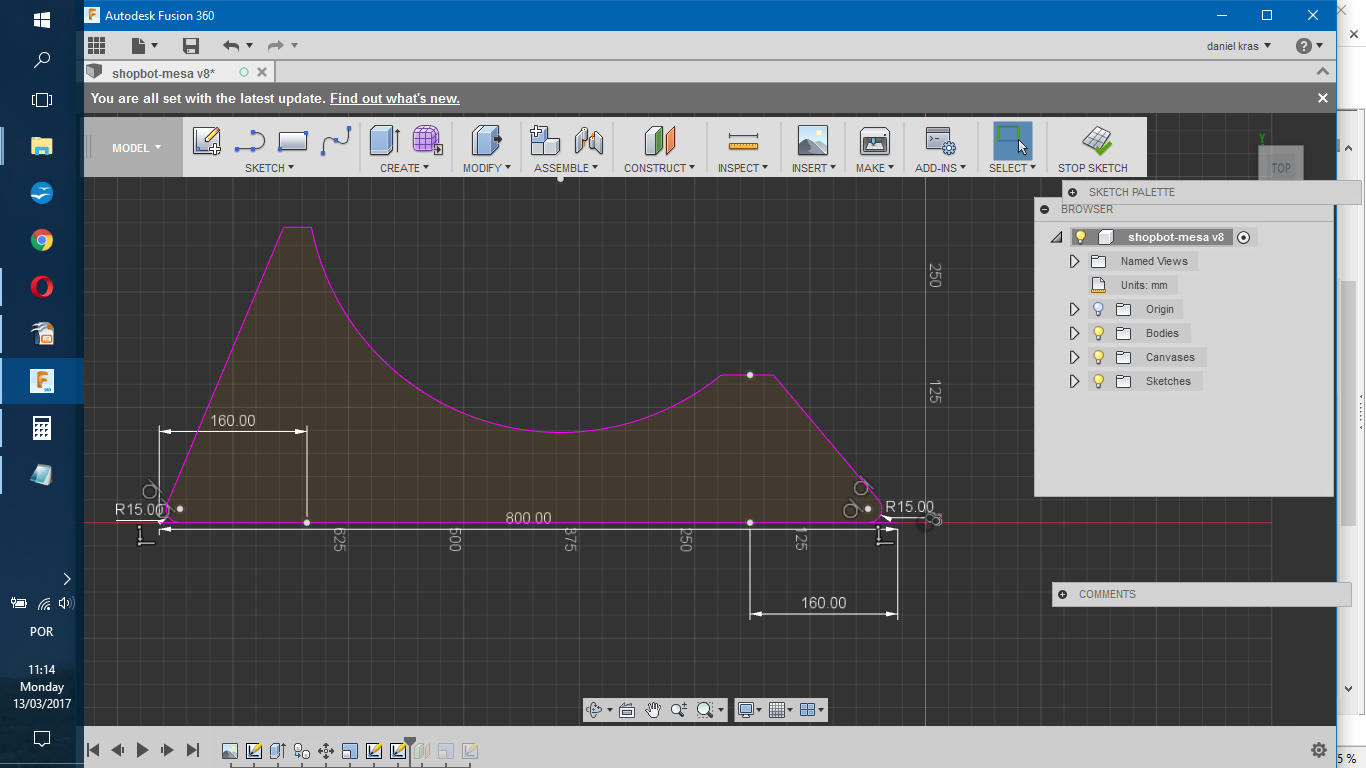
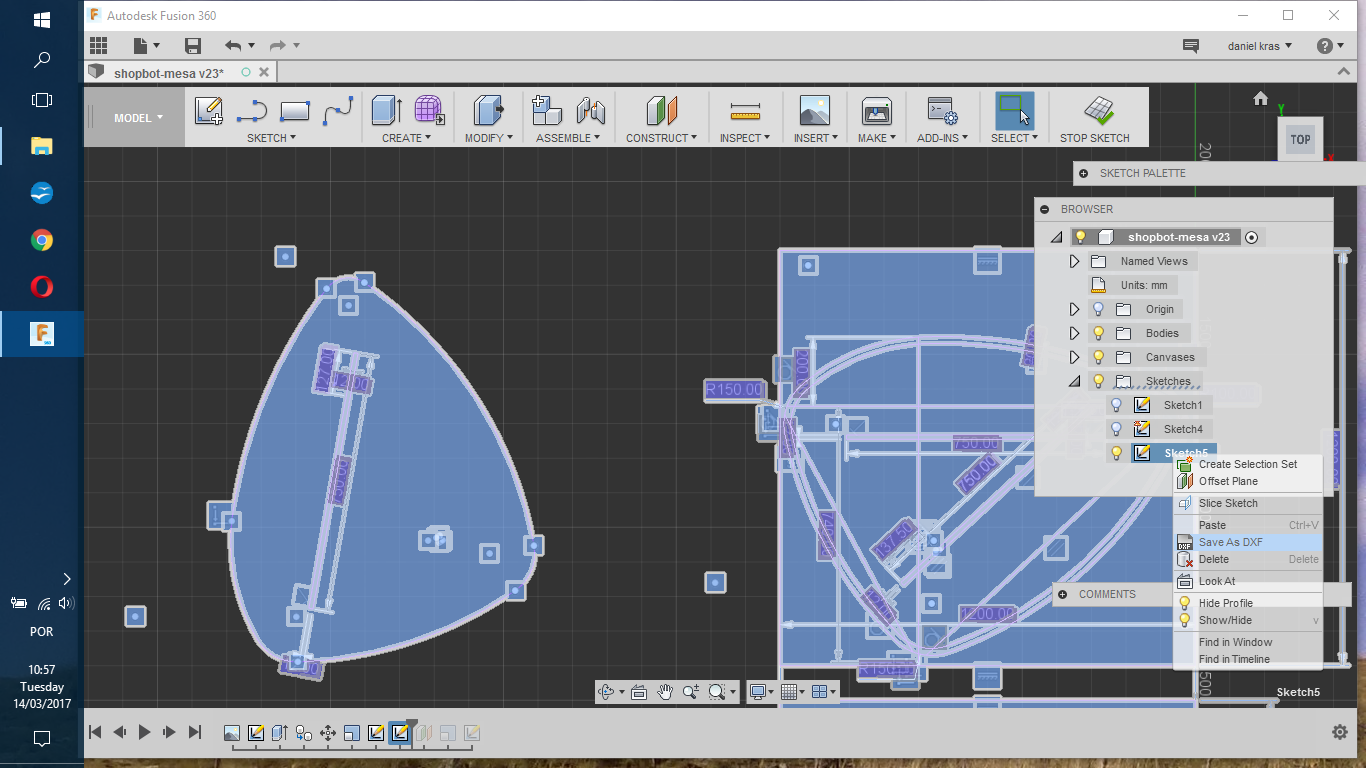
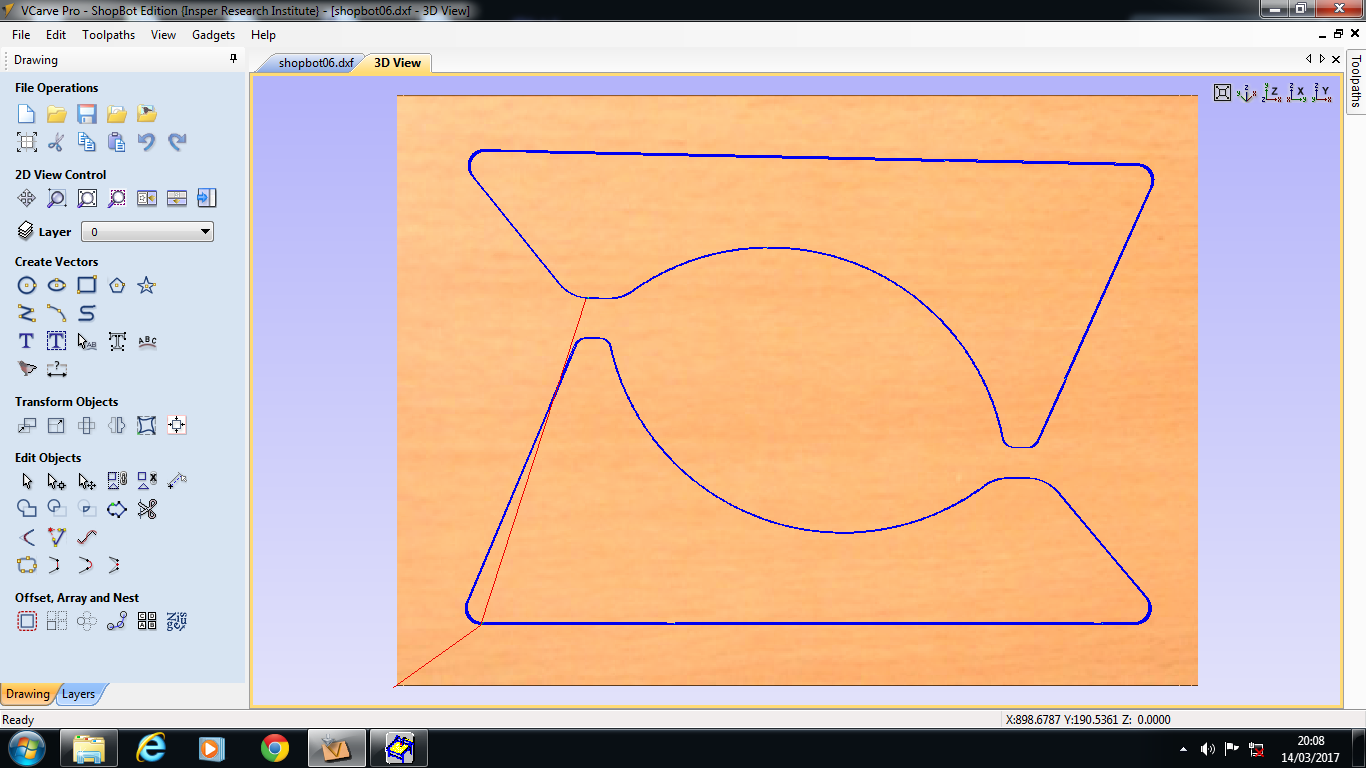
The first idea was to re-draw the sketch over an image with Fusion360 and then scale it to the size I wanted. But, this strategy didn't went well. I choose to make my own copy by strong inspiration on Isamu's design. This time I made it the size I wanted. I saved the sketch as dxf and edit with VCarve software the gcode for ShopBot.
It is important to measure the material thickness to set correctly this value in the software. Not allways the supplier has the material exactaly as specifications suggest. MDF for instance, is humidity sensitive - or it changes dimensions when the air is 'wet'.
Before choosing the tool for milling (or drilling), the design has to be analysed in a way the corners and finishing parts are not destroied by a rough cut. It also happens that a delicate tool will either brake during milling or take way too long to finish the job. And, please remember that none of us can operate this machine alone - safety measures.
The strategy to choose the right tool, in my case, was to look at what was availabe in the lab and find the biggest one that would make each corner I needed to. It means the tool diameter = smallest corner ray. I also identify the cuts that were profile like (cuts following a design line) and the ones which were pocket like (cuts inside a closed design line).
The ZeroZ, ZeroX and ZeroY are important to care about. If you miss one Zero it might happen an acident your loose the whole set of raw material. The controle panel ShopBot controle system has allows you to set over your piece of material de Zeros. I will give some aditional tutorials for 'Basics' and 'Save Z heights and Starting Point' in this link.
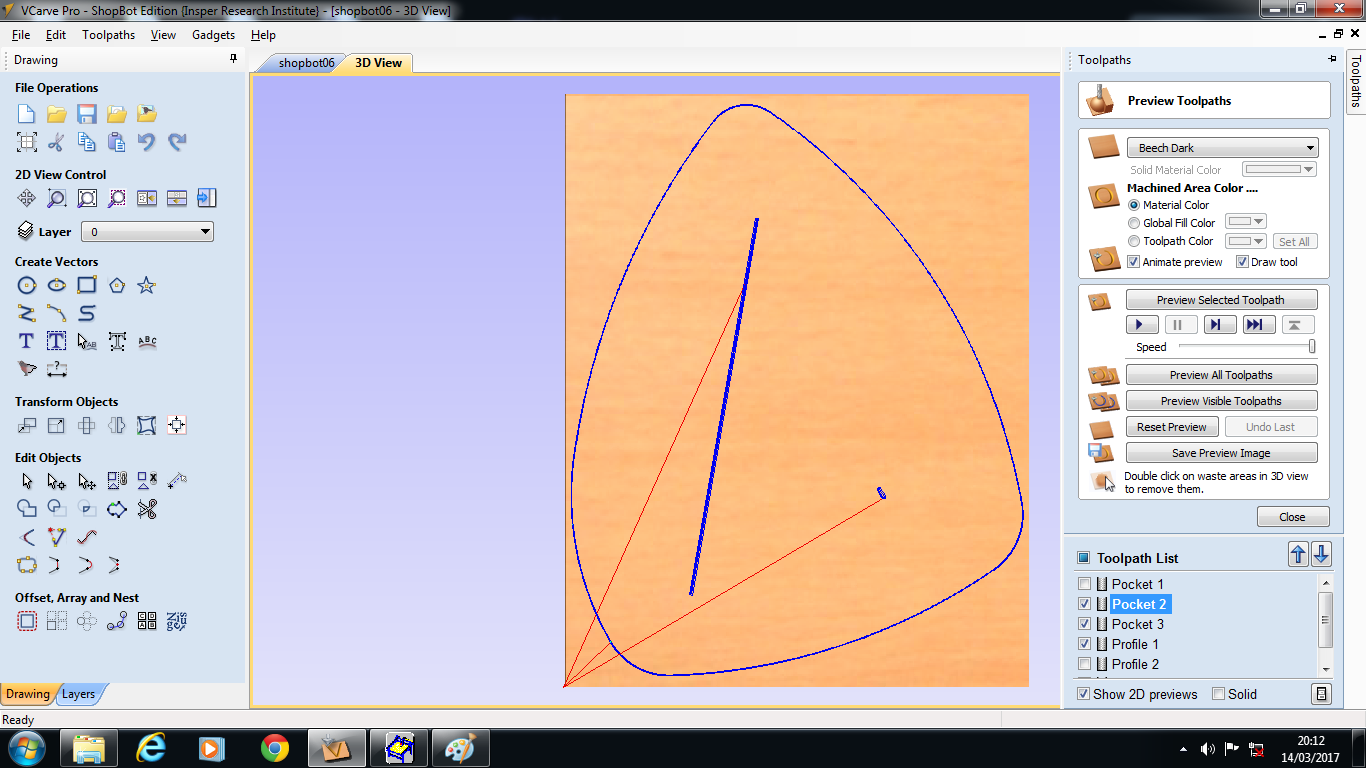
- Pocket - is a cut inside or outside a closed line. It is like escavating inside a border line or outiside.
- Profile - is a cut over the line. If the line is closed, one may choose the cut to be over the line, inside or outside in relation to it. But it is only a single toolpath cut.
A standard sequence of operations would be first pocket, second profile. This comes with the use of profile cut that is to separate a piece of interest from the raw material. It has to be the last thing to do.
It is important to avoid the pieces to jump over one another and also to hit the machine itself. Profile cuts have a TAB adition to protect these to happen. It is a set of TABs automaticaly placed by VCarve that holds the cut piece to its original raw material. The TABs are easily removed aftearwords.
The raw material is fixed to the machine's sacrifice layer. Four holes were made, one in each corner of the raw material. This makes easy to screw the raw material to sacrifice layer. After that, the material is ready for mill.
small.bmp)
small.bmp)
small.bmp)
small.bmp)

small.bmp)
small.bmp)
small.bmp)
small.bmp)
small.bmp)
small.bmp)
small.bmp)
-----------

This work is licensed under a Creative Commons Attribution-ShareAlike 4.0 International License.