WEEK 14 - COMPOSITES
ASSIGNMENT
- Read the material safety data sheet (MSDS) and technical data sheet (TDS) for the resins that you're using
- Design and fabricate a 3D mold (~ft2) and produce a fiber composite in it
DESIGNING THE MOLD
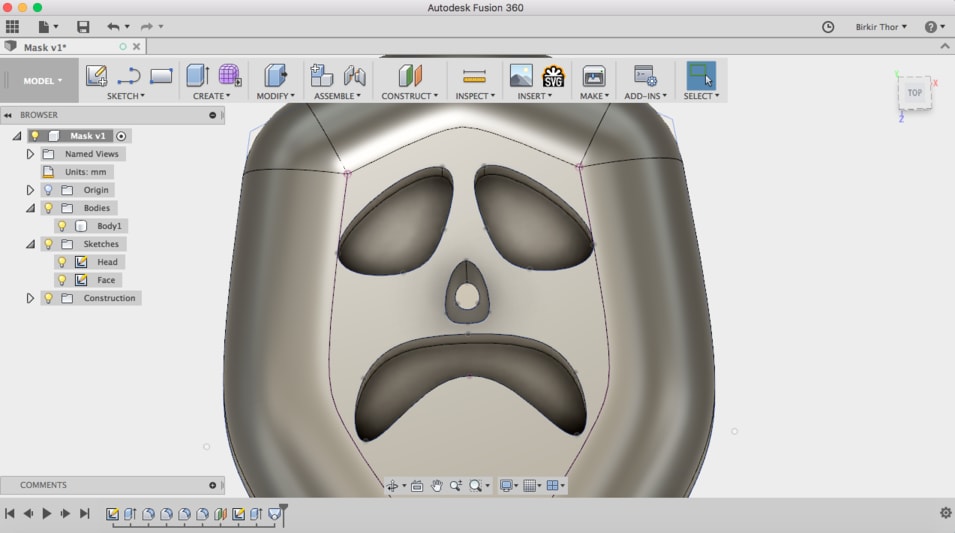
I started thinking about what I wanted to make. I decided to make a mask to hang up on a wall. My instructor Villi had made a simple form composite when he took the fab academy in 2016, see here. I wanted to make more complex mold to see how it would come out. I started by making these form below to create some shape.
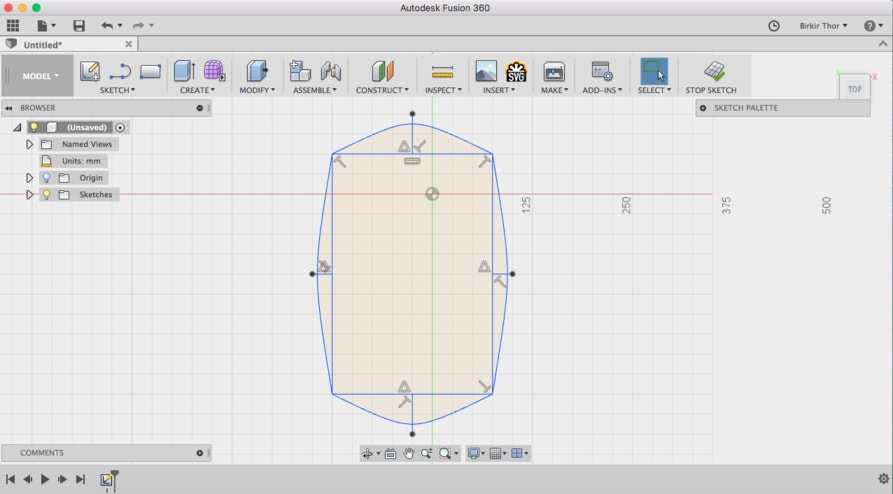
Then I deleted the lines I didn't use and moved some lines to get another shape. Then I extruded the body 80 mm.
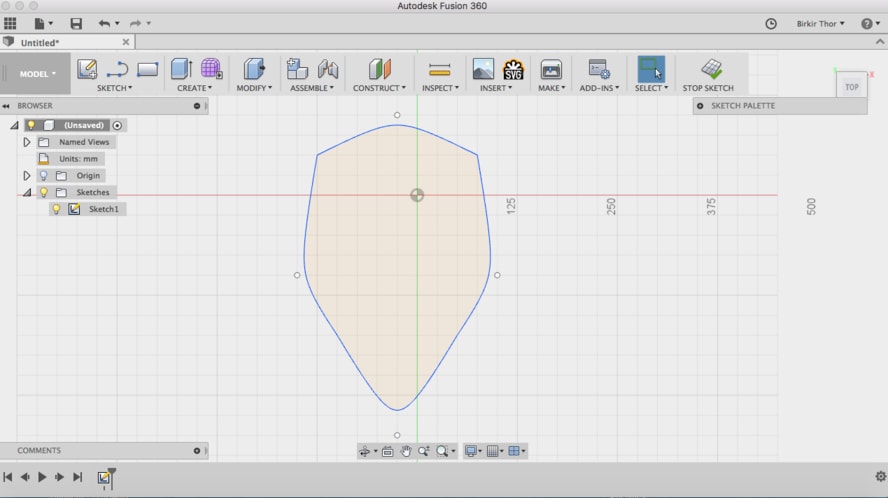
I rounded the edges 50 mm.
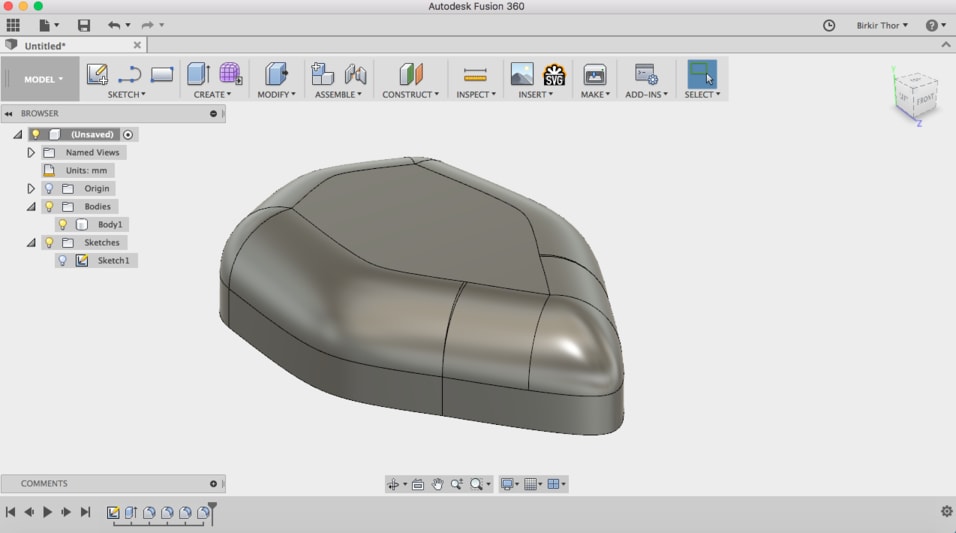
Then I create the face by going to Sketch --> Spline to get the rounded shape. For the nose I made two shapes and moved the little one up and put a loft between to join them.
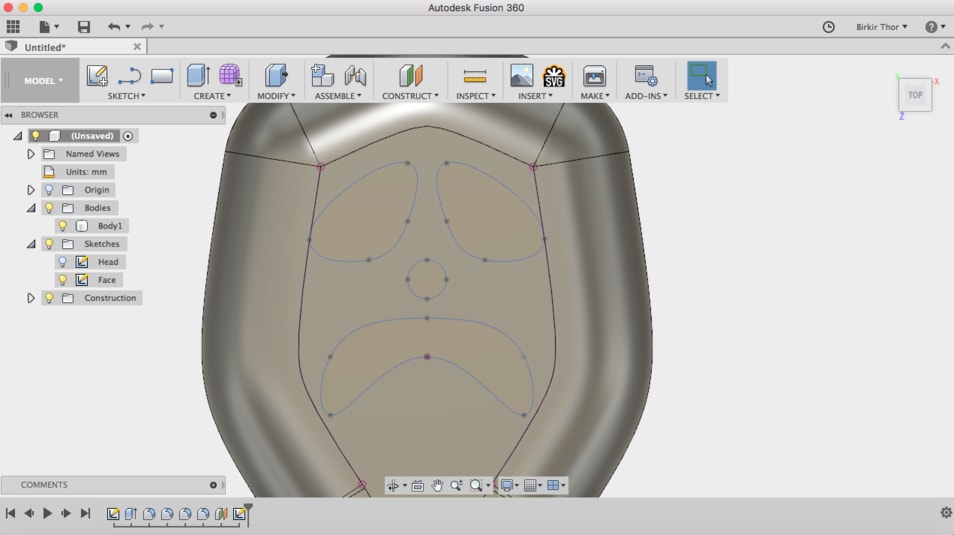
Then I extruded the eyes and the mouth 30 mm inside the body.
I created a rectangle and extruded it 40 mm.
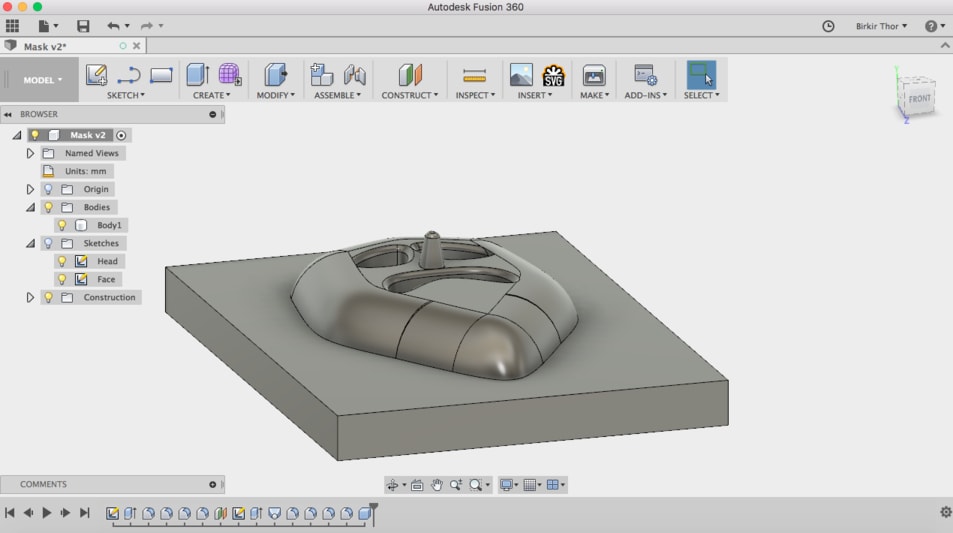
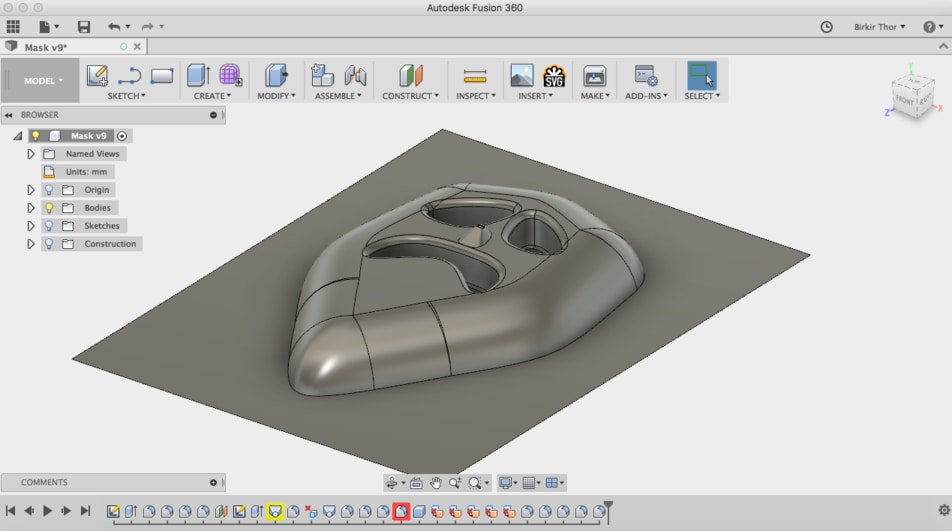
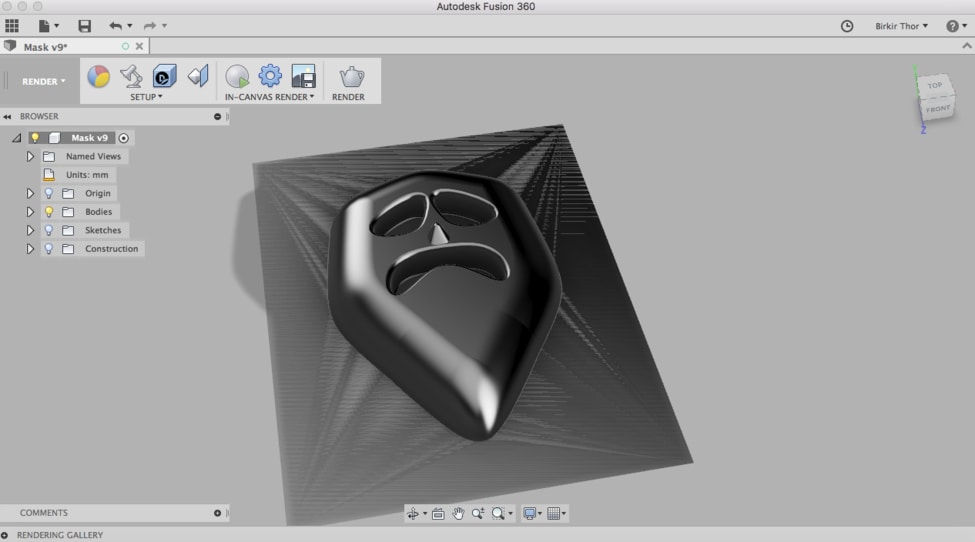
Then I went to Model --> Patch and took the sites and the bottom off. I also made a new nose because the other one might be too sharp to make in composites, vacuum process.
PREPARE FOR MILLING
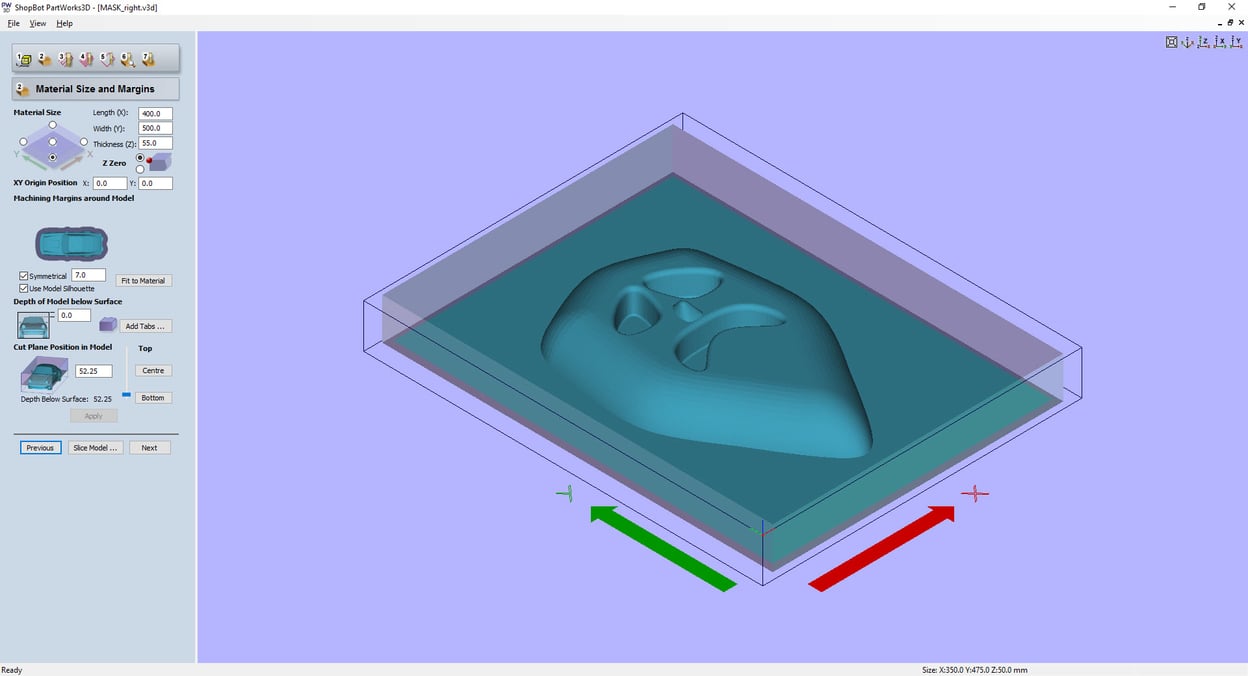
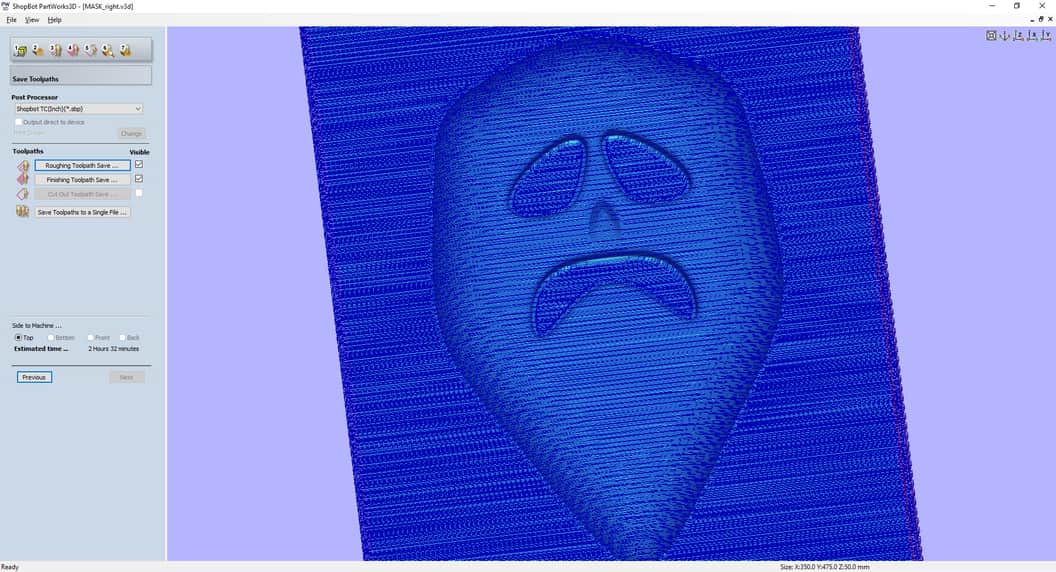
For the next step I used Part-Works 3D to prepare for the milling. You can see all the process for those project on the images below. Step 1, importing the stl in Part-Works 3D and did the following steps on the image.

Step 2. Determine the size of the foam and set the zero axis placement. There was no need to add taps because there was no cut threw.
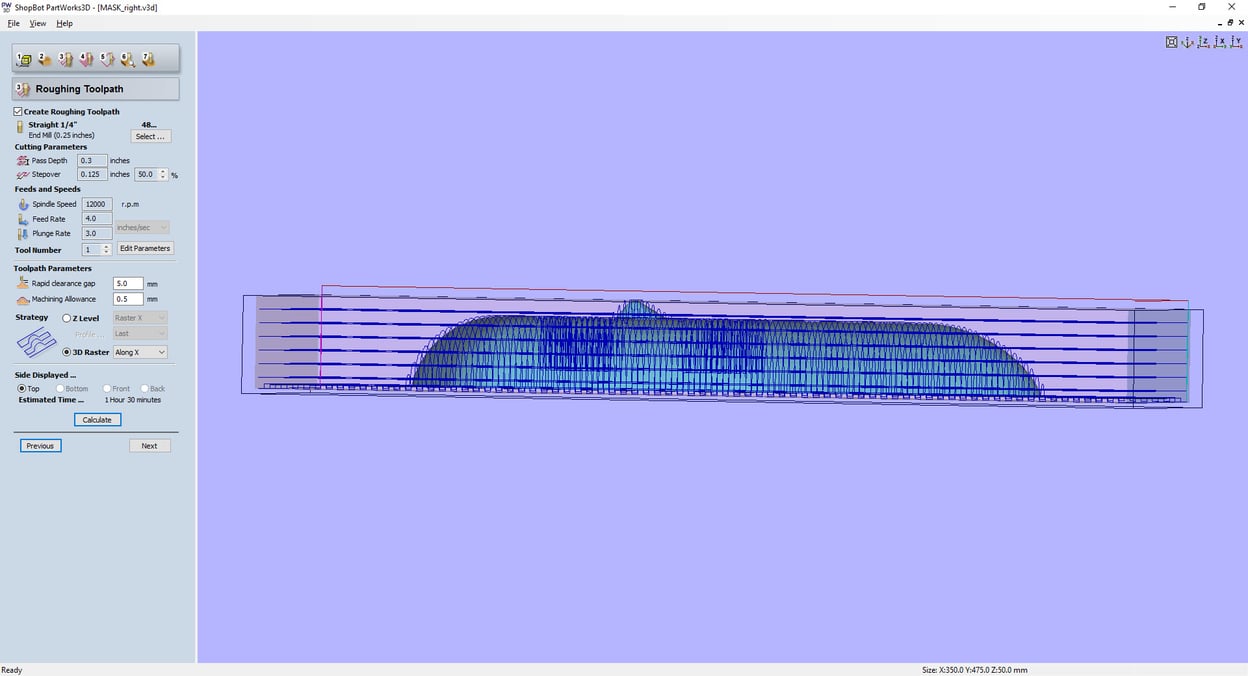
Step 3. The mill I chose in Raughing Toolpath was straight 1/4" (End Mil 0.25 inches). Estimated time was 1 hour 30 minutes. You can see how many layers there are.
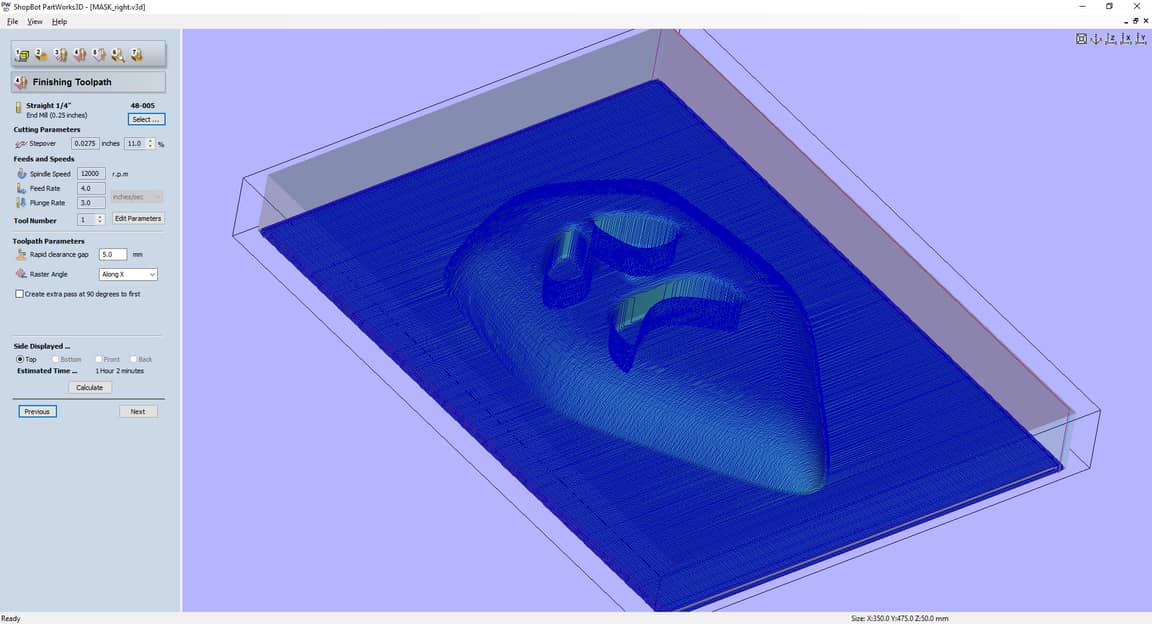
Step 4. The mill I chose in Finishing Toolpath was the same, straight 1/4" (End Mil 0.25 inches). Estimated time was 1 hour 2 minutes.
Step 5. I didn't have to do anything in this step.

Step 6. In this step it is possible to see a preview of the Raughing Toolpath and the Finishing Toolpath.
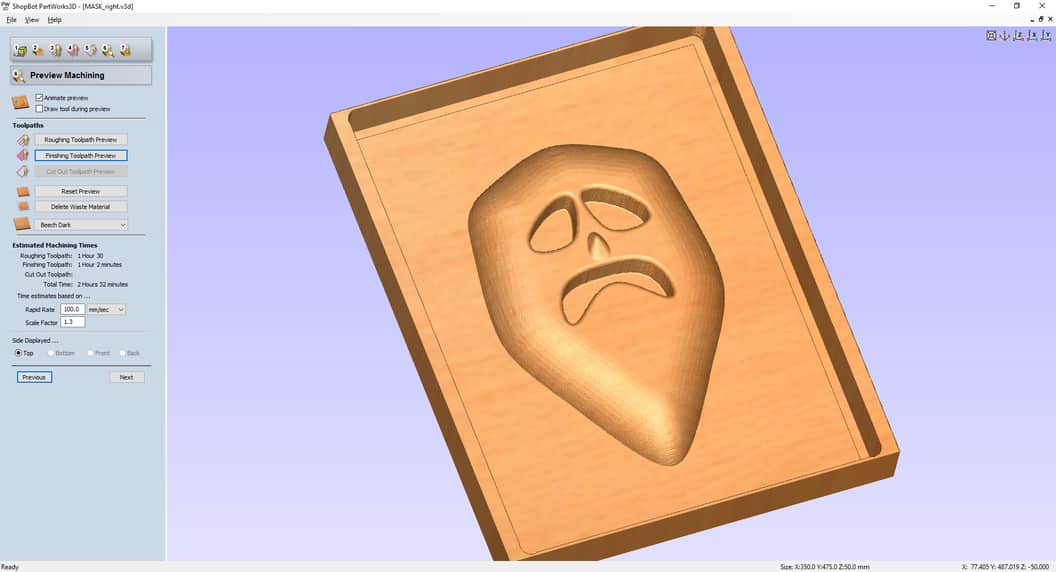
Step 7. Estimated time for the whole process was 2 hours 32 minutes. I saved the file as Partworks 3D file. save the file as a PartWorks 3D file and open in V-Carve Pro.
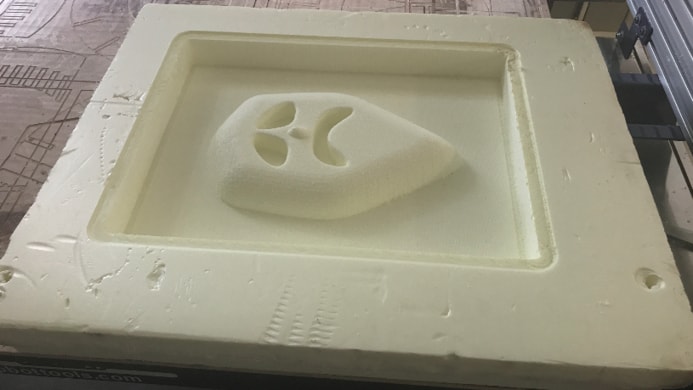
MAKING THE MASK
I opened the Partworks 3D file in VCarve Pro and prepared for the milling process. I used the ShopBot to mill the foam which went well.
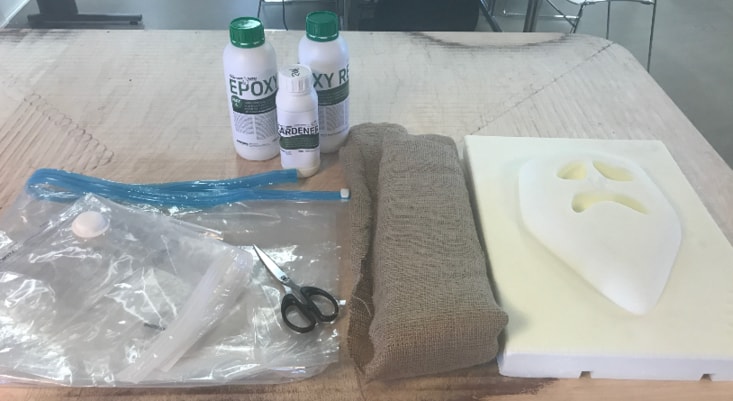
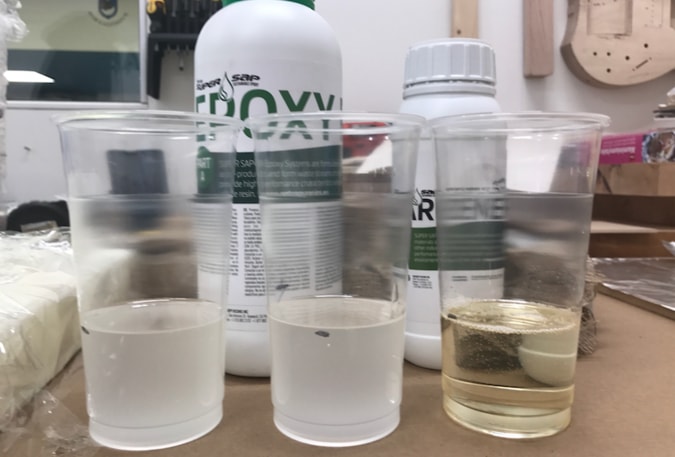
Those are the material I need for this project. There a few things not on the picture, as glasses, gloves, wrapping foil, aluminum cooking foil and plastic bottles. On the image below you can see Epoxy (The Super Sap 100) and the Hardener, scissors, burlap fiber, vacuum bag and the foam mold.
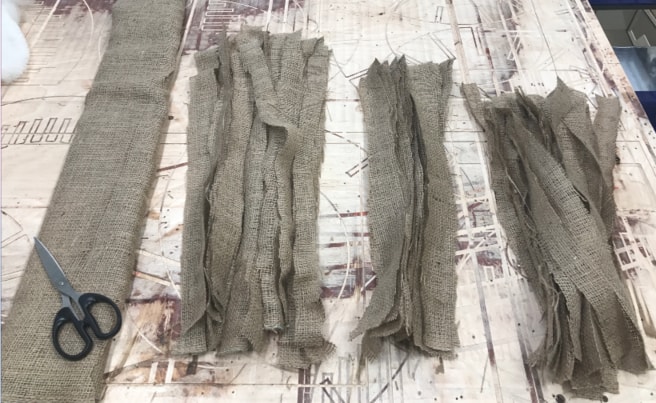
I cut down the burlap fiber into strips.
The proportion is 2 of epoxy and 1 of hardener. Then I mixed it together, the process needs to be a little fast so it doesn't dry.
Then I put the wrapping bag on the foam mold. It doesn't stand still on the foam so it can be kind of difficult process.
Then I made a little work shop, aluminum cooking foil and a cardboard is on the table. I put the epoxy mix on it and rub the burlap fiber in it, I used the plate as a scrape.
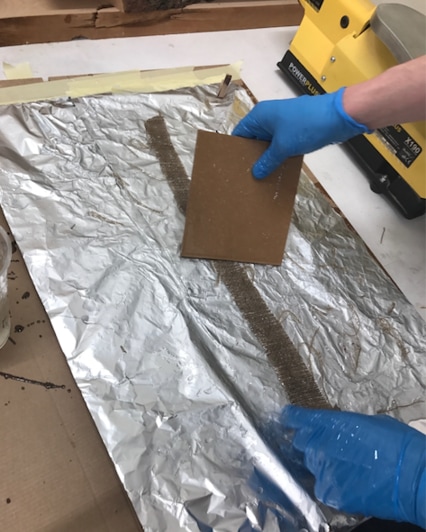
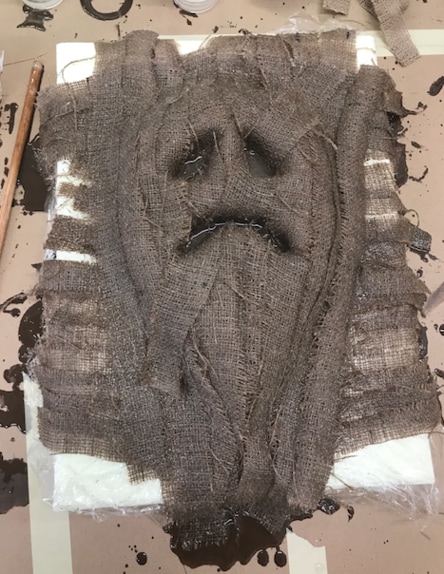
While I mix the eboxy and burlap fiber together I put one strip by one on the mold in layers.
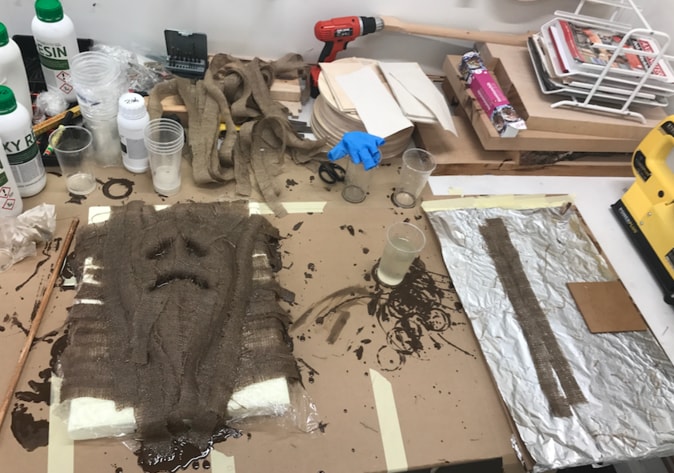
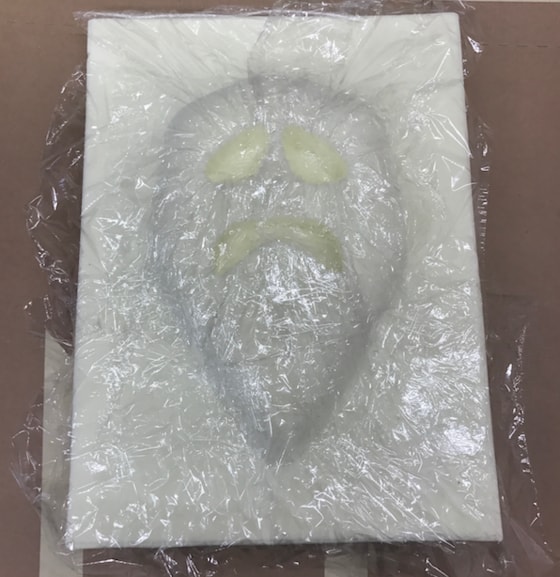
The goal was to make an ugly mask and I'm pretty sure that I achieved that. I put three layers of the burlap. You can see on the images that some eboxy accumulated on the eye holes and the mouth, I tried to move it but it always got full.
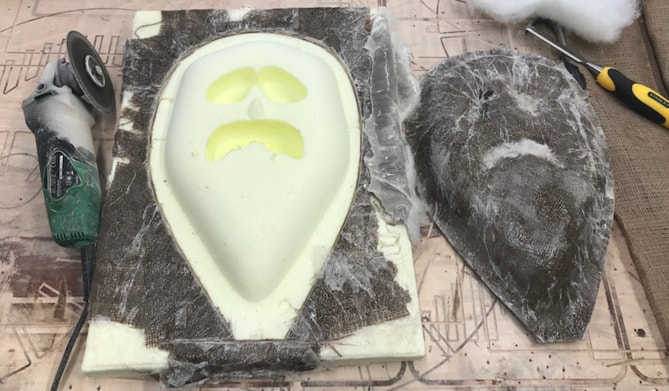
When all the burlap fiber was on I took a wrapping foil and put a lot of holes in it with a needle and then put the wrapping foil on it and then cutton over that.
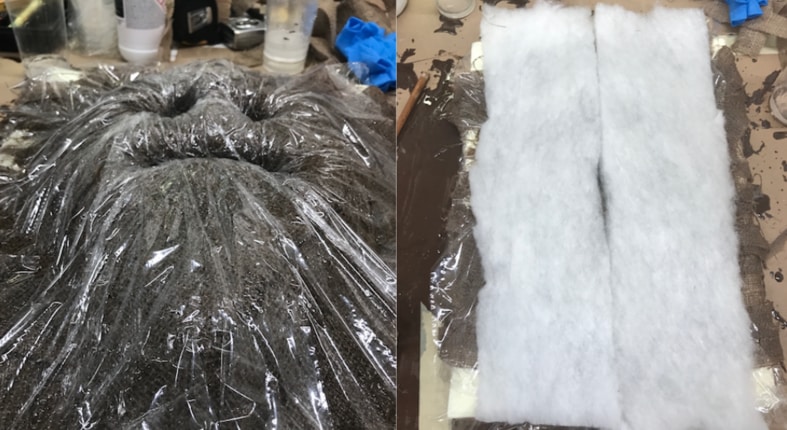
Then I put it inside a huge vacuum bag, which was huge, and took all the air out of it with a vacuum cleaner.
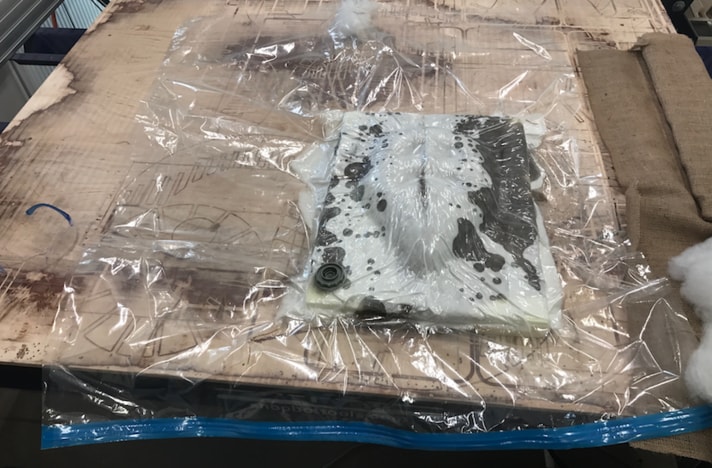
It should have been white but there are grey spots on it because the eboxy got in the cutton.
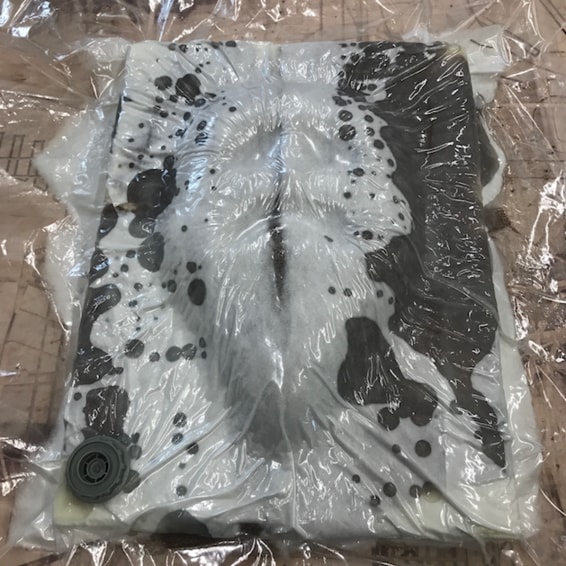
After 24 hours it was ready. I had to use angle grinder to take it off because the eboxy had spread around, so it was stuck.
WHAT DID I LEARN?
This week was really fun and interesting. I didn't know that the mix of these two things could come together and be so firm and hard. Working in Fusion 360 was as educating as ever and using the ShopBot was a good practice. It is fun to work with composites and I believe there are numerous possibilities to work with it.
RELATED LINKS
DOWNLOAD FILES
Mask 1 STL File - Right click to download
Mask 2 STL File - Right click to download
Mask.v3d File - Right click to download
HAVE QUESTIONS?
Contact me!
Höfn, Iceland
Email: birkirthorhauksson@gmail.com
Swing by for a cup of , or send me a message :)