3D Scanning And Printing
For this assigment, we have to:
- (DONE) Test the design rules for your printer(s) (group project)
- (DONE) Design and 3D print an object (small, few cm) that could not be made subtractively
- (DONE) 3D scan an object (and optionally print it)
All the files created for this assigment can be found on the link bellow:
---> DOWNLOAD FILES<---
Have you:
- Described what you learned by testing the 3D printers?
--> yes
- Shown how you designed and made your object and explained why it could not be made subtractively?
--> yes
- Scanned an object?
--> yes
- Outlined problems and how you fixed them?
--> yes
- Included your design files and ‘hero shot’ photos of the scan and the final object?
--> yes
3D Printers Custom Settings
First, lets talk about some of the custom settings for 3D Printing.
1. Supports:
When printing on FDM printers we should always keep in mind that not everything can be printed without a structure that supports it. Usually the sides or faces of an object which form an angle lower than 45 degrees with respect to the horizontal plane need a supporting structure.Supports can be located on the outer side of the object or on the inner and outter side of the object(everywhere/full support). When choosing the kind of supports for printing, we should consider that they will affect the appeareance of the object and that they have to be extracted somehow from the object.
2. Brim and Raft:
a) Brim: A brim is a single layer of material which is putted over the print bed so that the object does not move when printed
b) Raft: It consist of of multiple layers of material which are putted over the print bed to hold the object when printed. It has the same purppose of a brim
3. Inill: This is the percentage of infill material that a solid object should have, the infill can be made of hexagonal, triangular, rectangular or other form of array of material
4. Speed: This defines the speed of the extruder. The faster it moves , the lower the details quality.
5. Extruder Temperature: This is the temperature of the extruder, usually is between 180 degrees and 230 degrees depending on the filament. If it is set too high, the object can be deformed by the heat.
6. Print Bed Temperature: This is the temperature of the print bed, it depends on the filament, if its too low, the filament will not stick to the bed.
Testing The Printer Design Rules
In Fab Lab esan there are three available 3D printers: a Felix, a Makerboard and a BCN3D. Unfortunatelly one of them had some problems with its extruder, so we just tested the Felix and the BCN3D printers.
For testing the 3D printrs, we downloaded a 3D printing tolerance test from Thingiverse and sent it to print in both printers. THis are the steps we did:
1. Felix 2.0
a) First, we open the Repetier software, loaded the model and rotated the object until its base was horizontal.
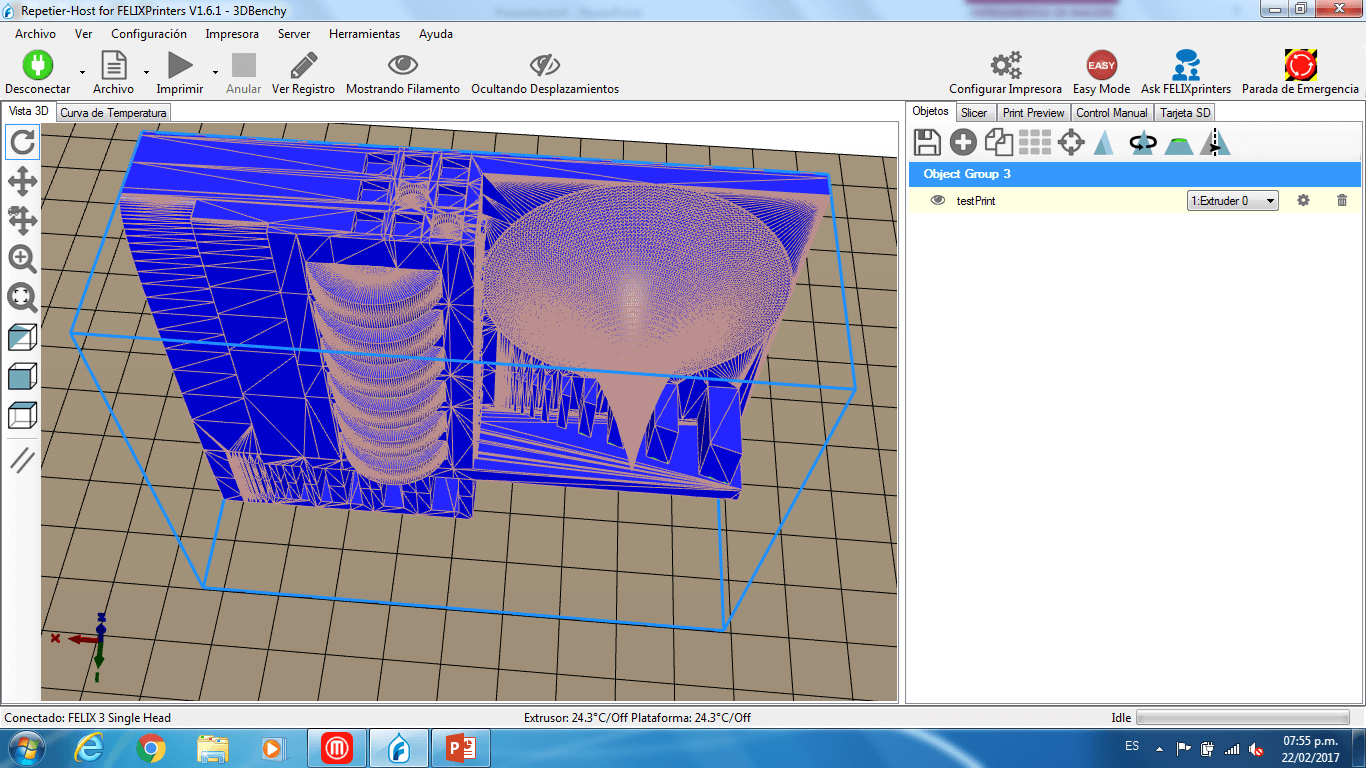

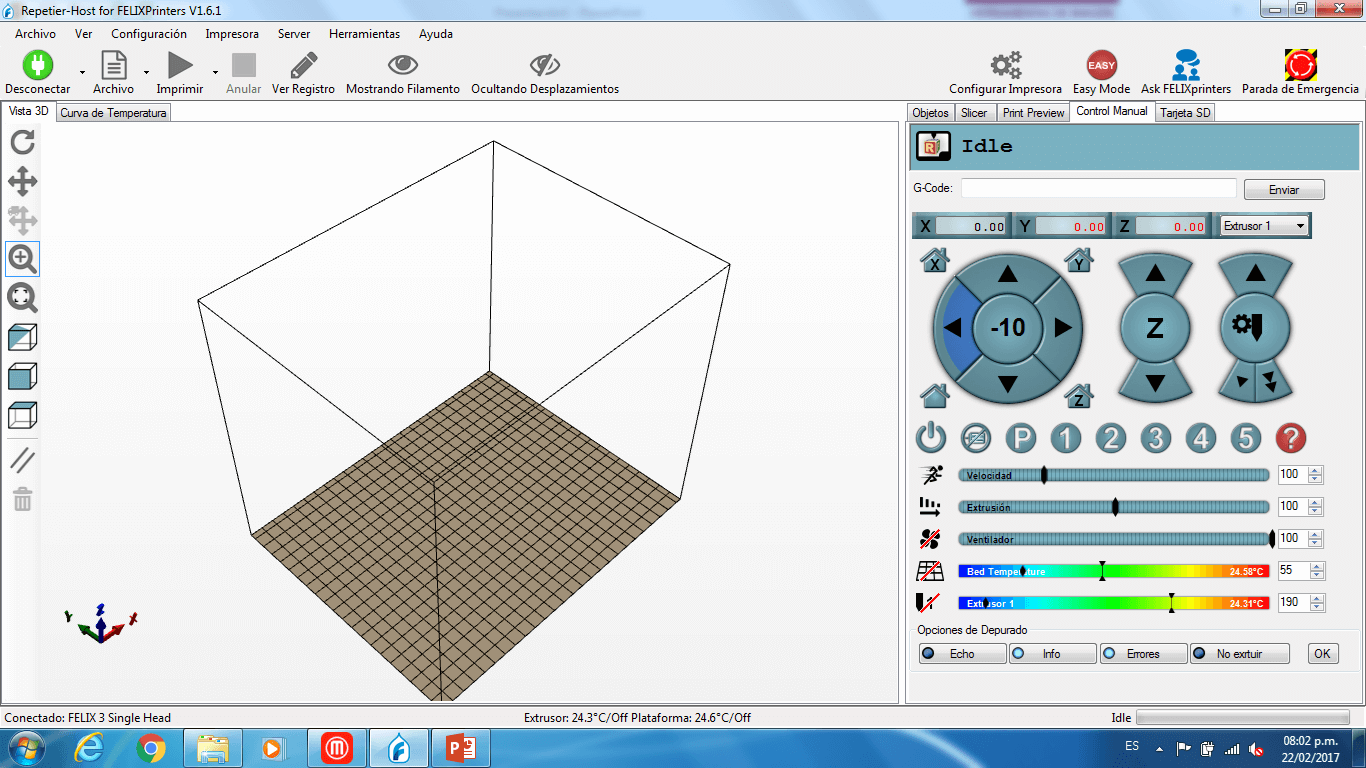
b) We connected the printer to the pc by clicking on connect and then, on the manual control tab, we manually moved the x axis to the zero point.
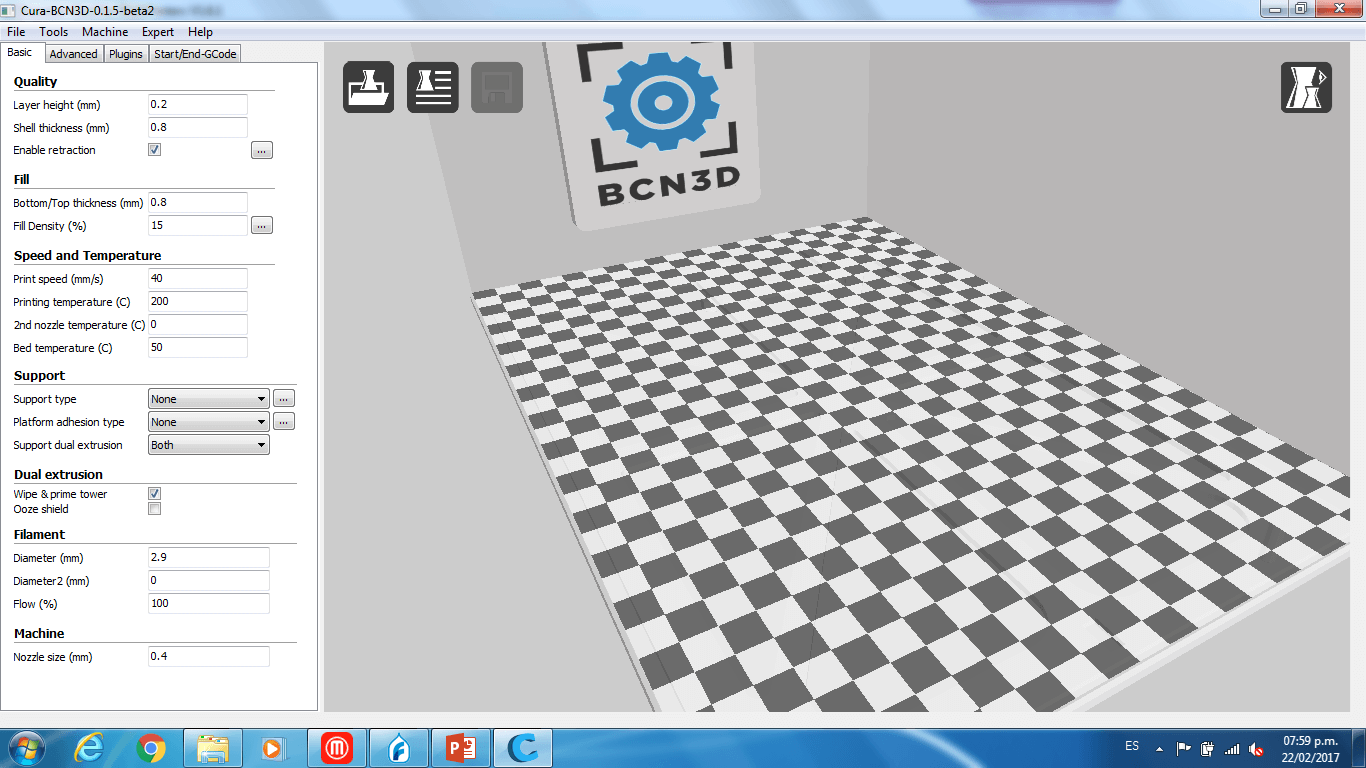
c) On the slicer tab, we setted the printing parameters with no supports, no adhesion type, a normal quality, an infil of 15%, a printing speed of 40 m/s and a extruder temperature of 220 degrees (the filament was ABS).
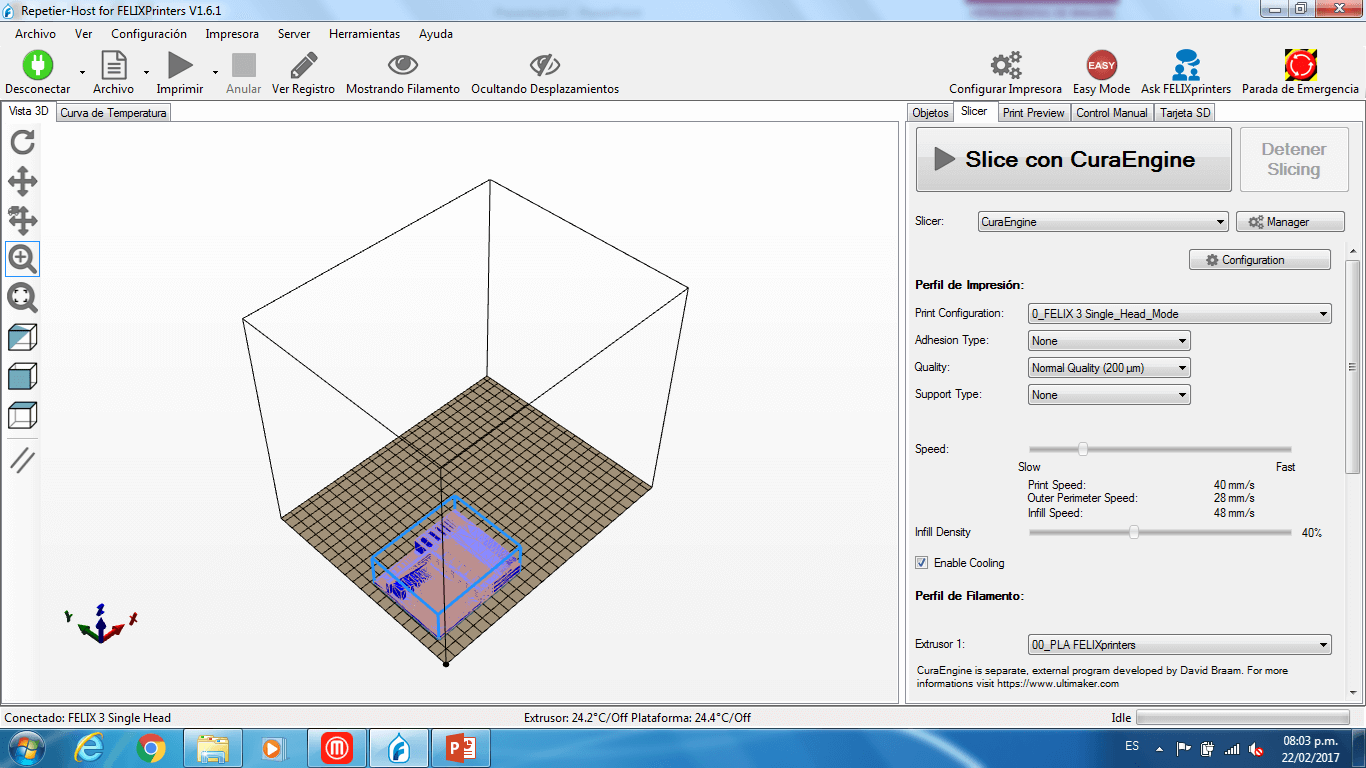
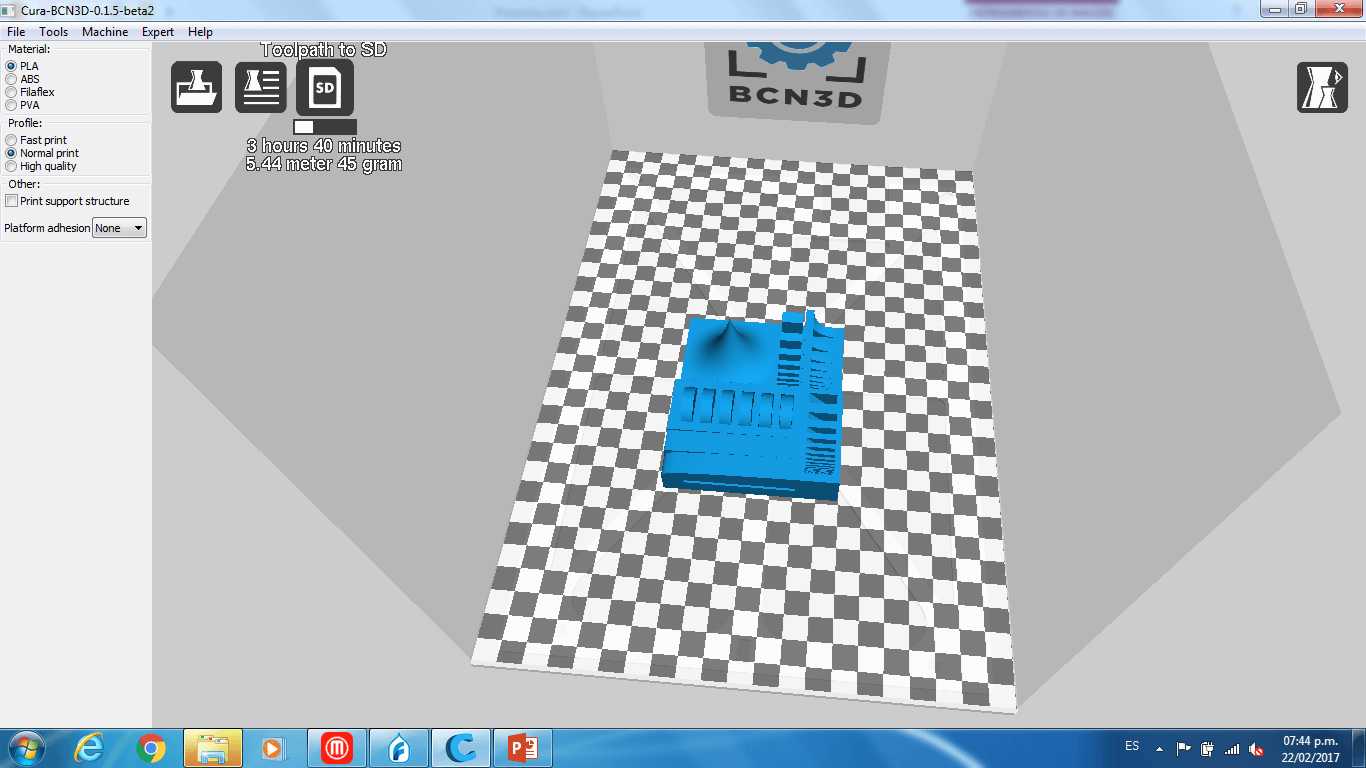
d)Then, we clicked on slice and a previsualization of the printed 3D model was shown.
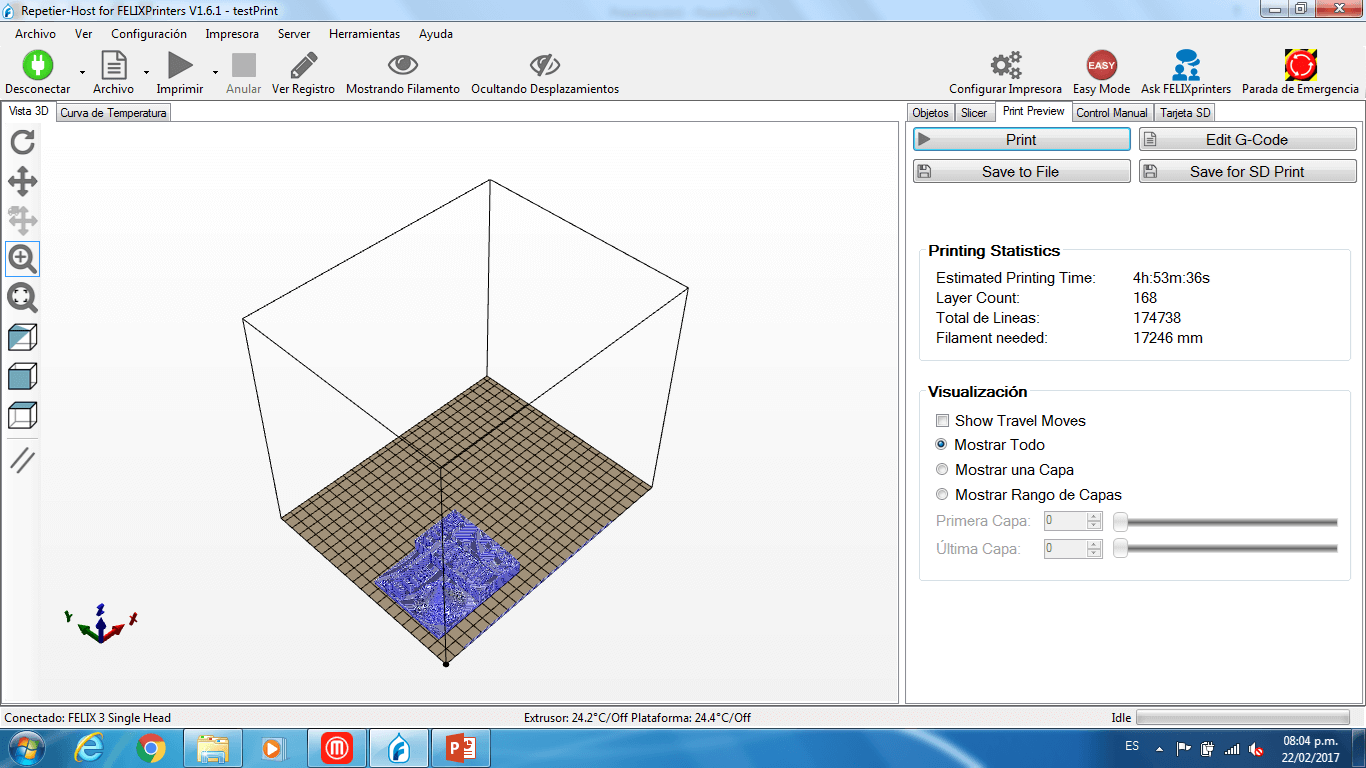
e) Finally, on the print preview tab, we clicked print and the printer started to heat its extruder; once it reached 220 degrees, it started to print the object.
2. BCN3D
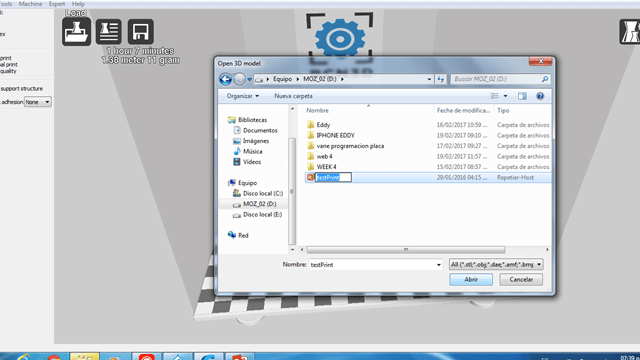
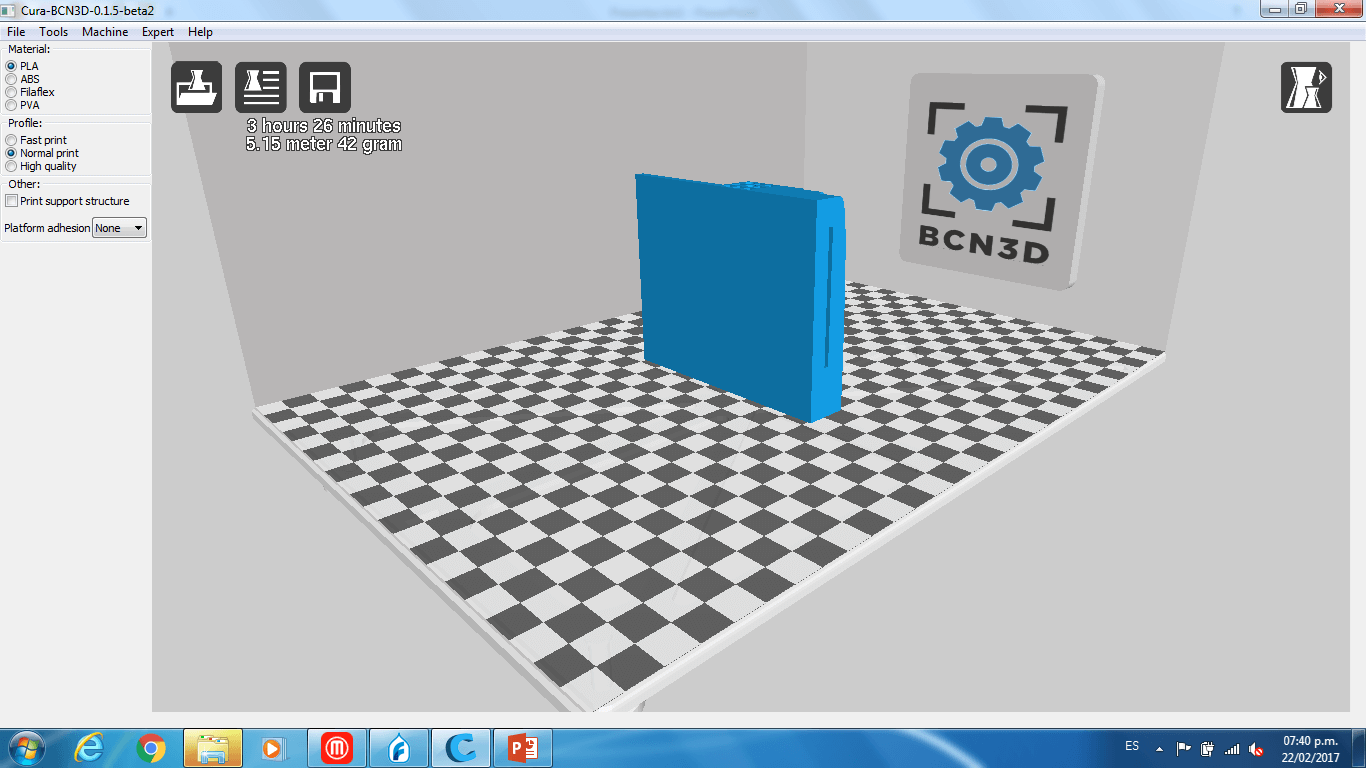
a) First, we open the Cura-BCN3D software, loaded the model and rotated the object until its base was horizontal.

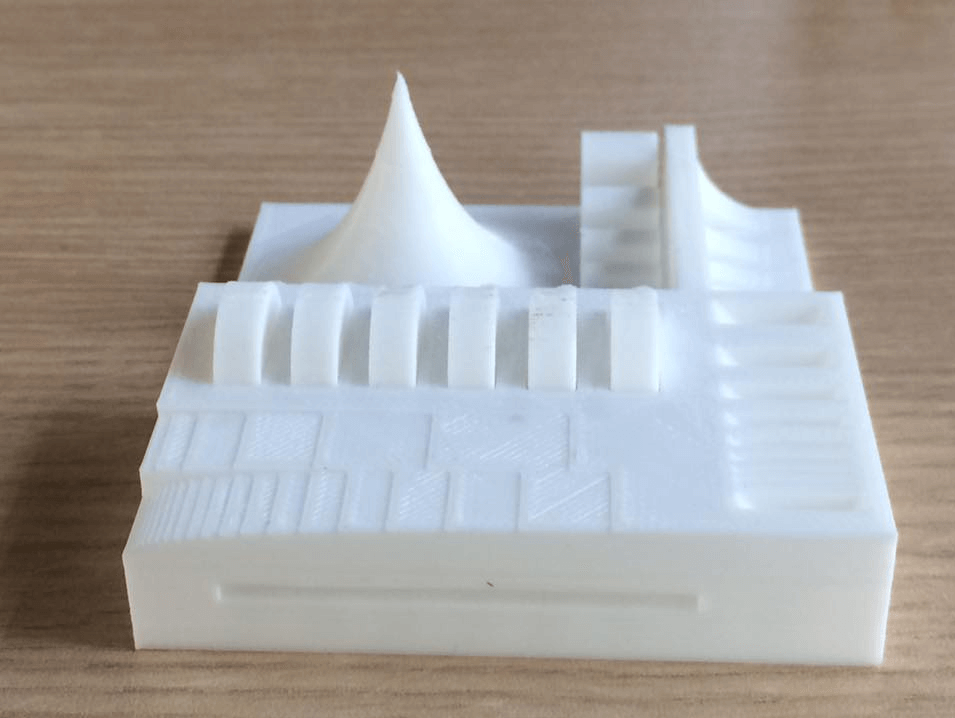
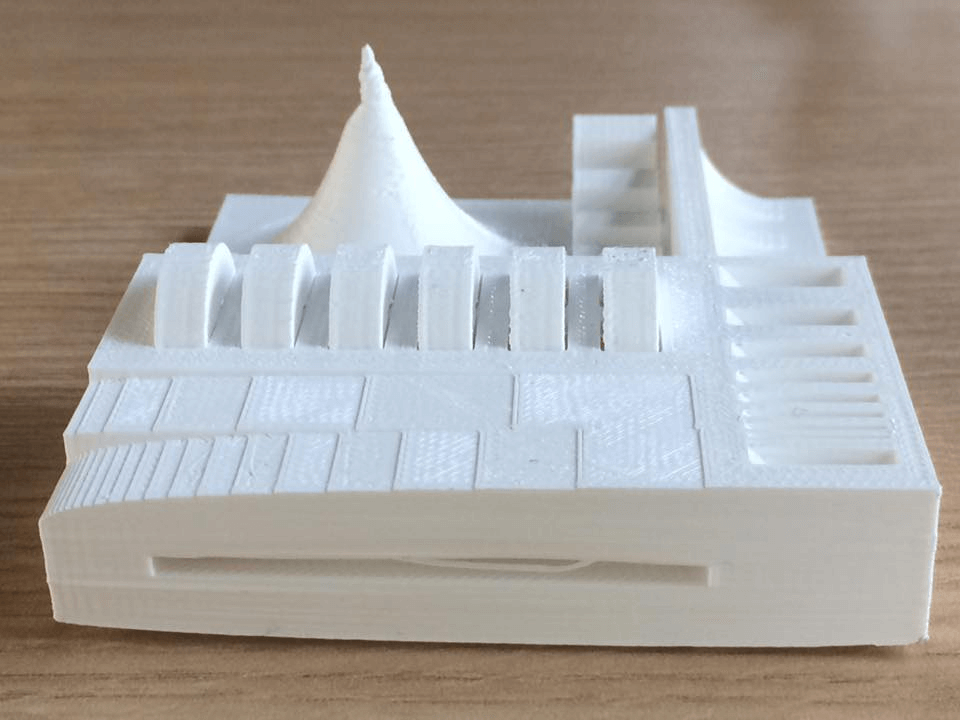
Compairing Results:
We can see that the object printed with the BCN3D (Left) had a better quality than the one printed with the Felix (Right). In none of the object the circular joints worked, probably the margin between the joints and the walls was too small. The sharp form of the object was not well printed on the felix printer, also the internal bridge was not well on the felix printer, but in the BCN3D printer they were ok. Also the base of the object was not flat on the object printed with the Felix printer, this means that the filament did not sticked well to the print bed. The lix 2.0 does not have a heated bed wich makes more dificult that the filament stick to it. We concluded that probably the Felix printer was uncalibrated, since the object printed with it had some errors.
3D Printing A Non Substractible Made Object
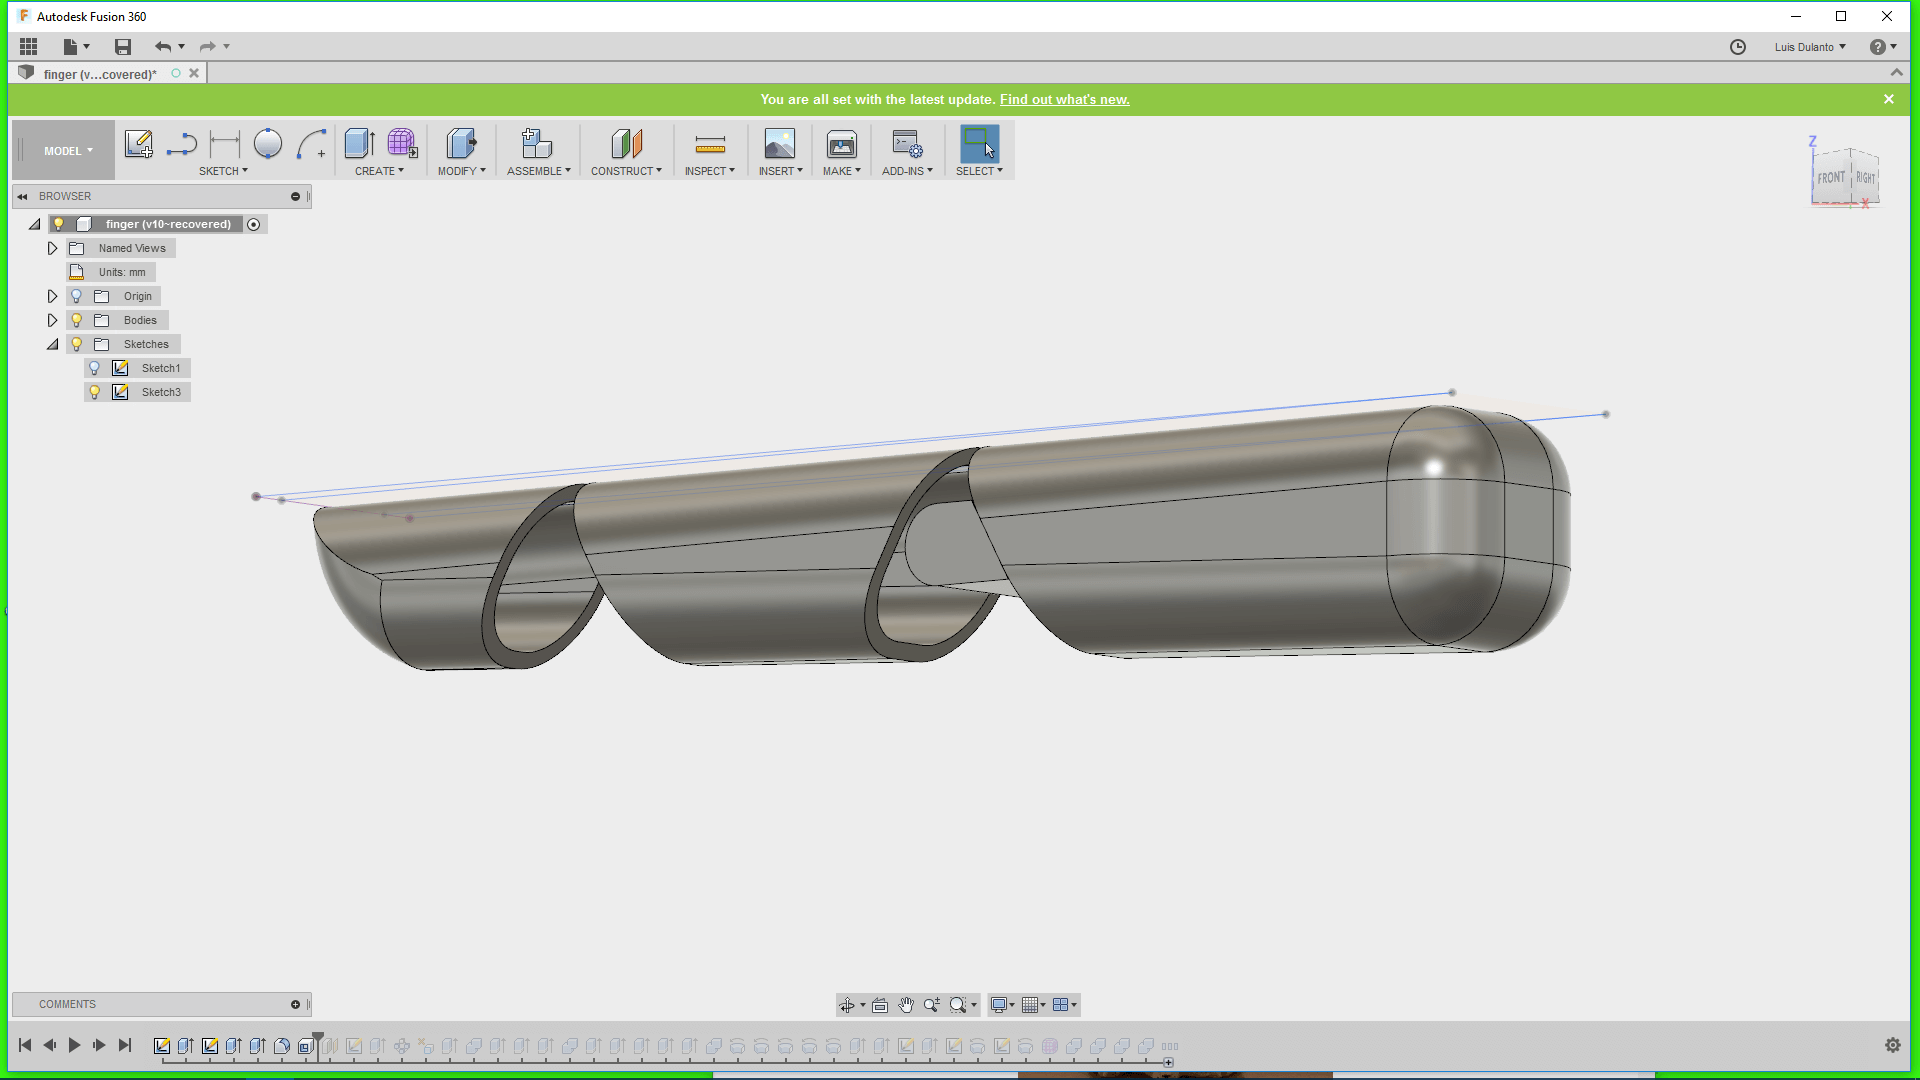
Thinking on my final Project, I modeled and printed a finger. This is a finger wich has 4 joints and a bunch of holes in all of its structure. The three phanax and the four joints of the finger are a whole piece, they are not joined separetly and they were all printed together as a whole object. This can not e done by any substractive process since the joint are internal to the object and any machine could have make it from the outside of the object. This was achieved by doing the next steps:
1. I sketchep up a 2D projection of the 3D object parametrically.
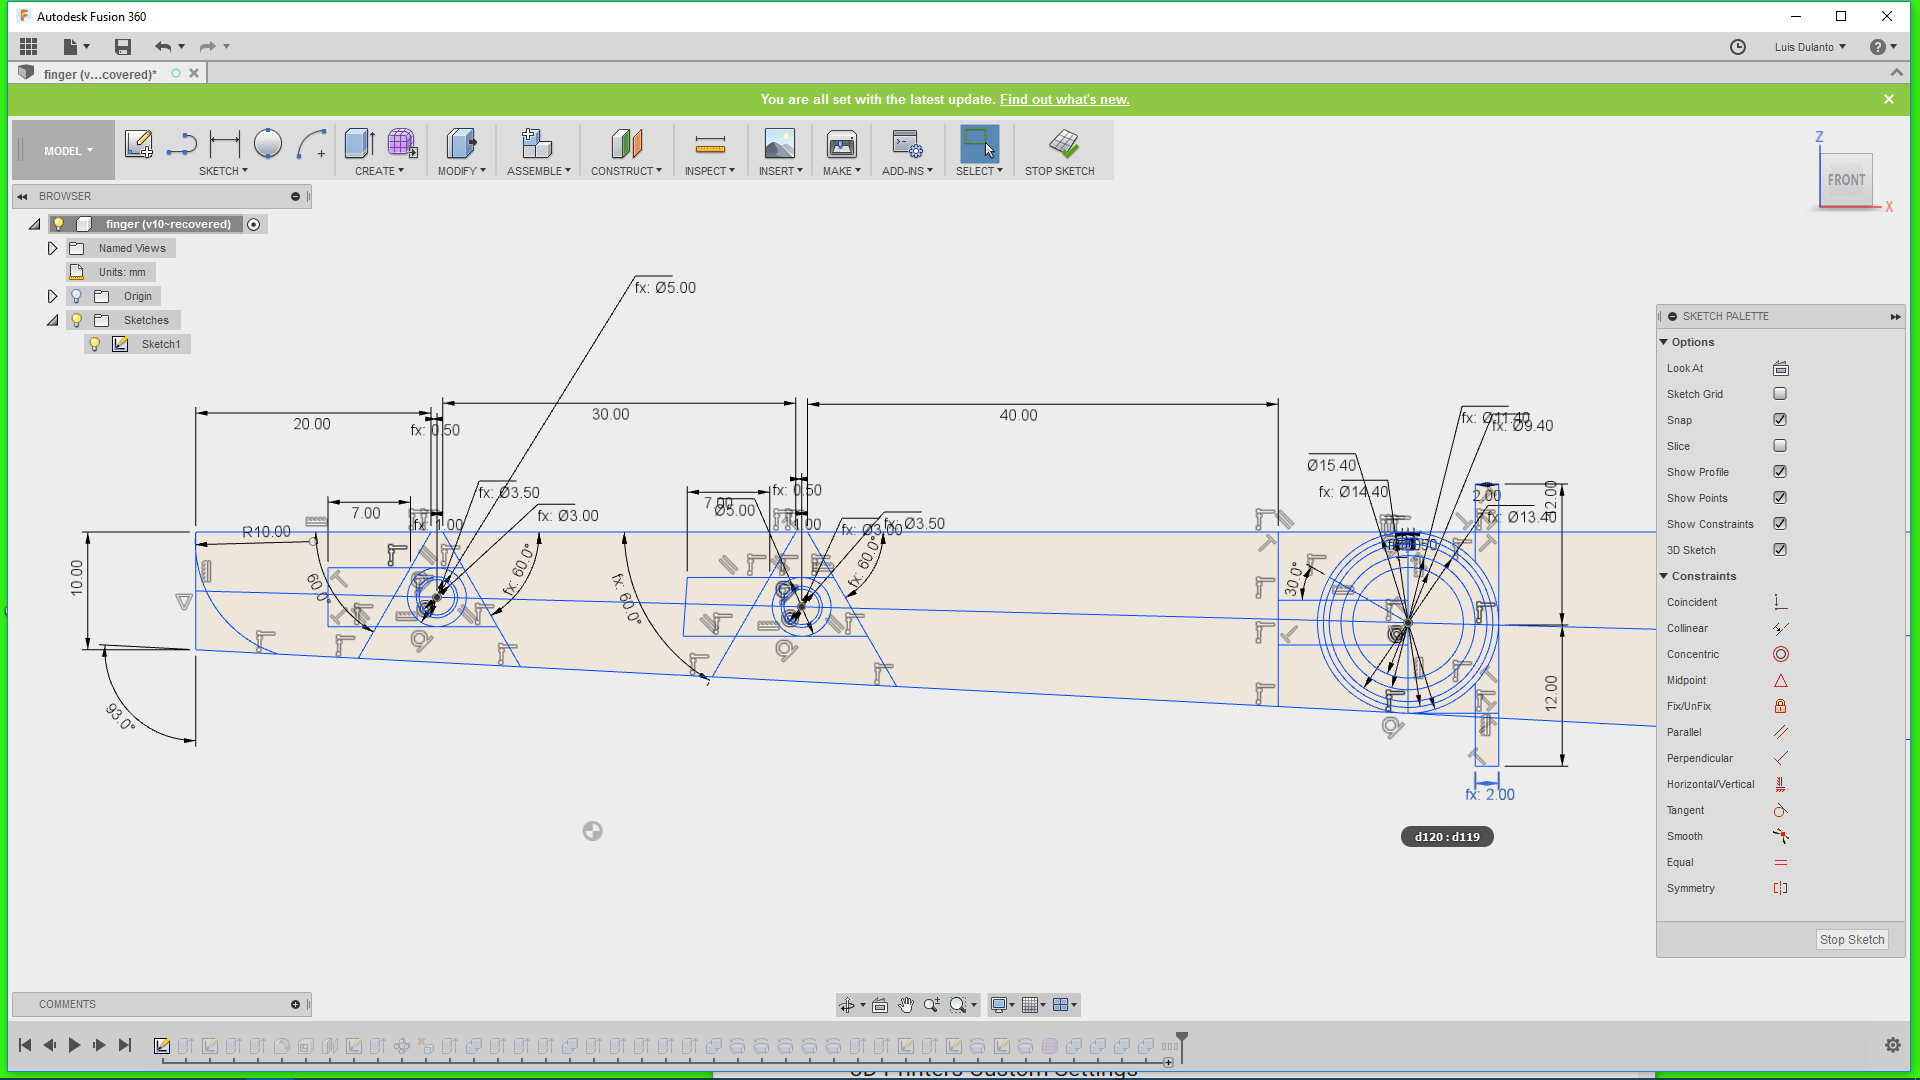
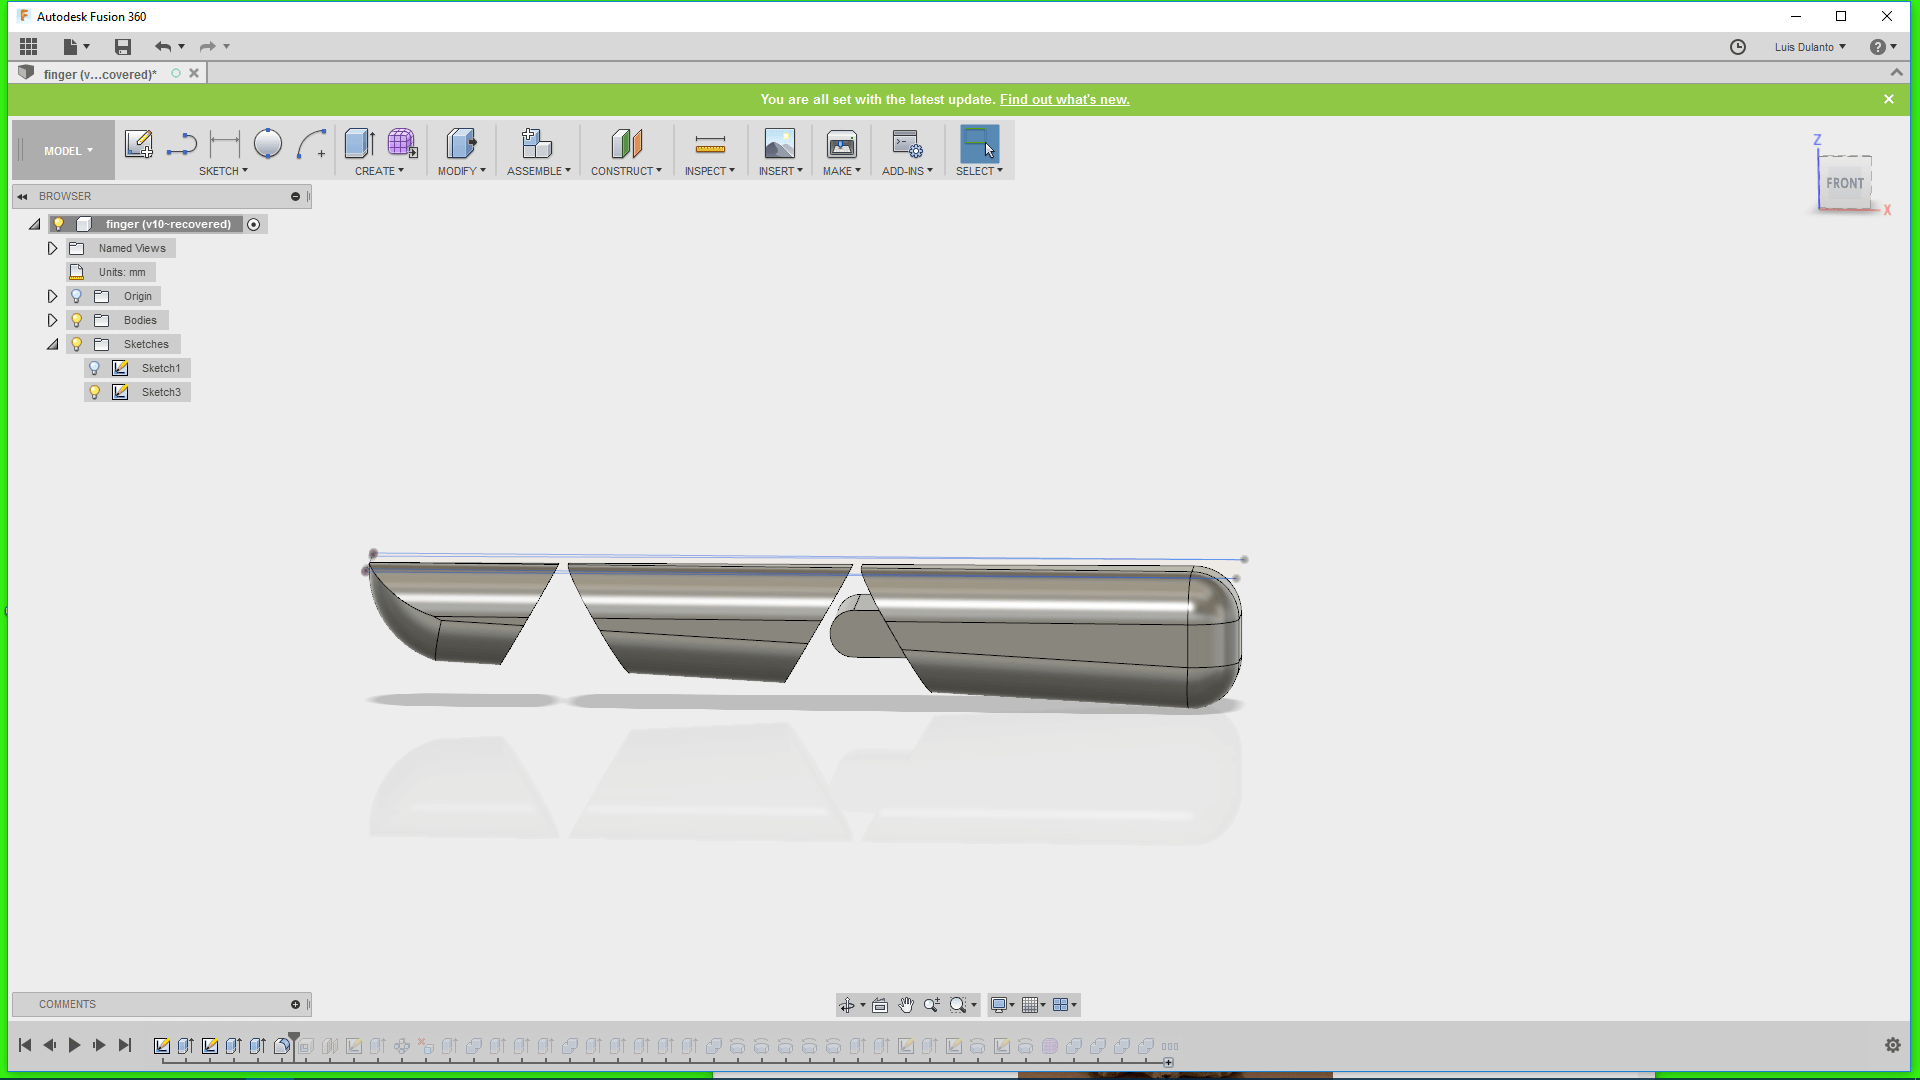
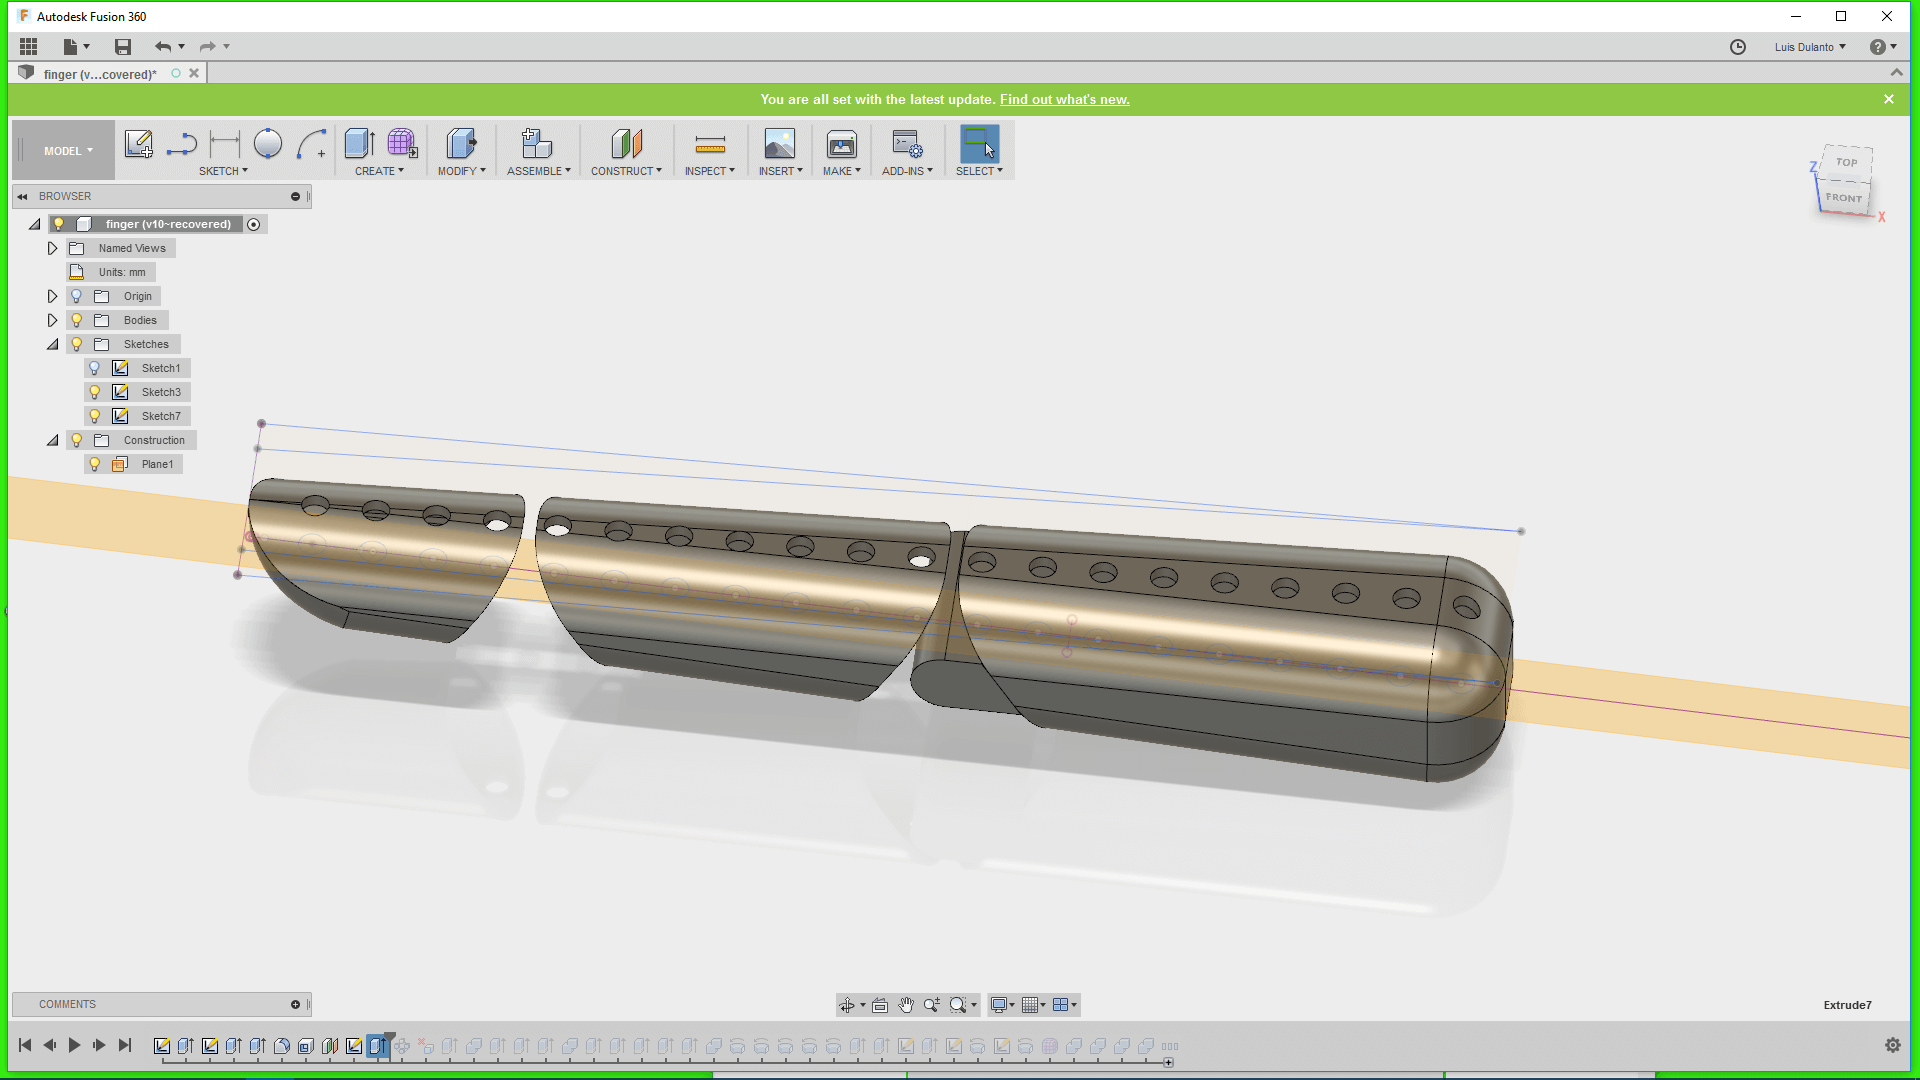
For doing that I created a plane that passed through the middle of the finger, draw a small circle on it and creted and array of circles on it by using a rectangular patern

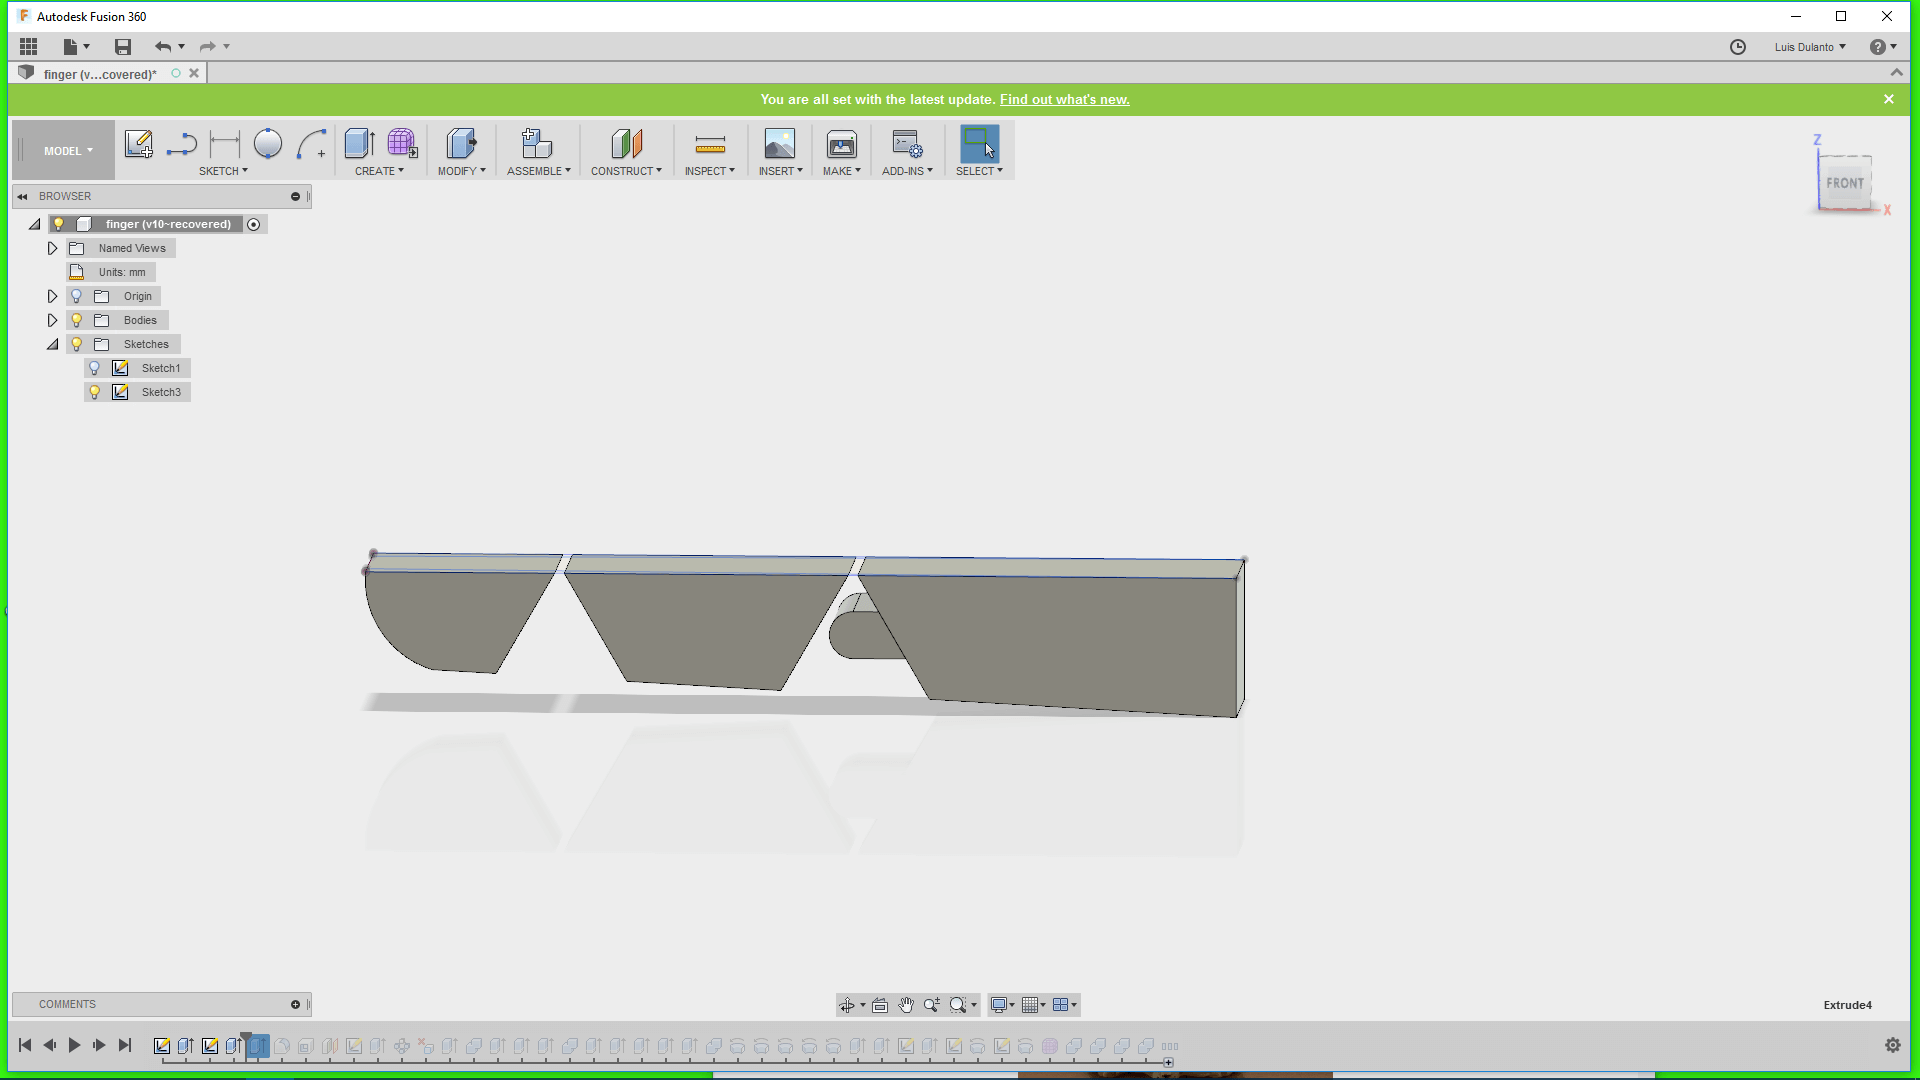
5. I applied a cut transform to the circles so that it deleted parts of the object and then make a circular pattern of the holes around a line that crosssed all the circles.
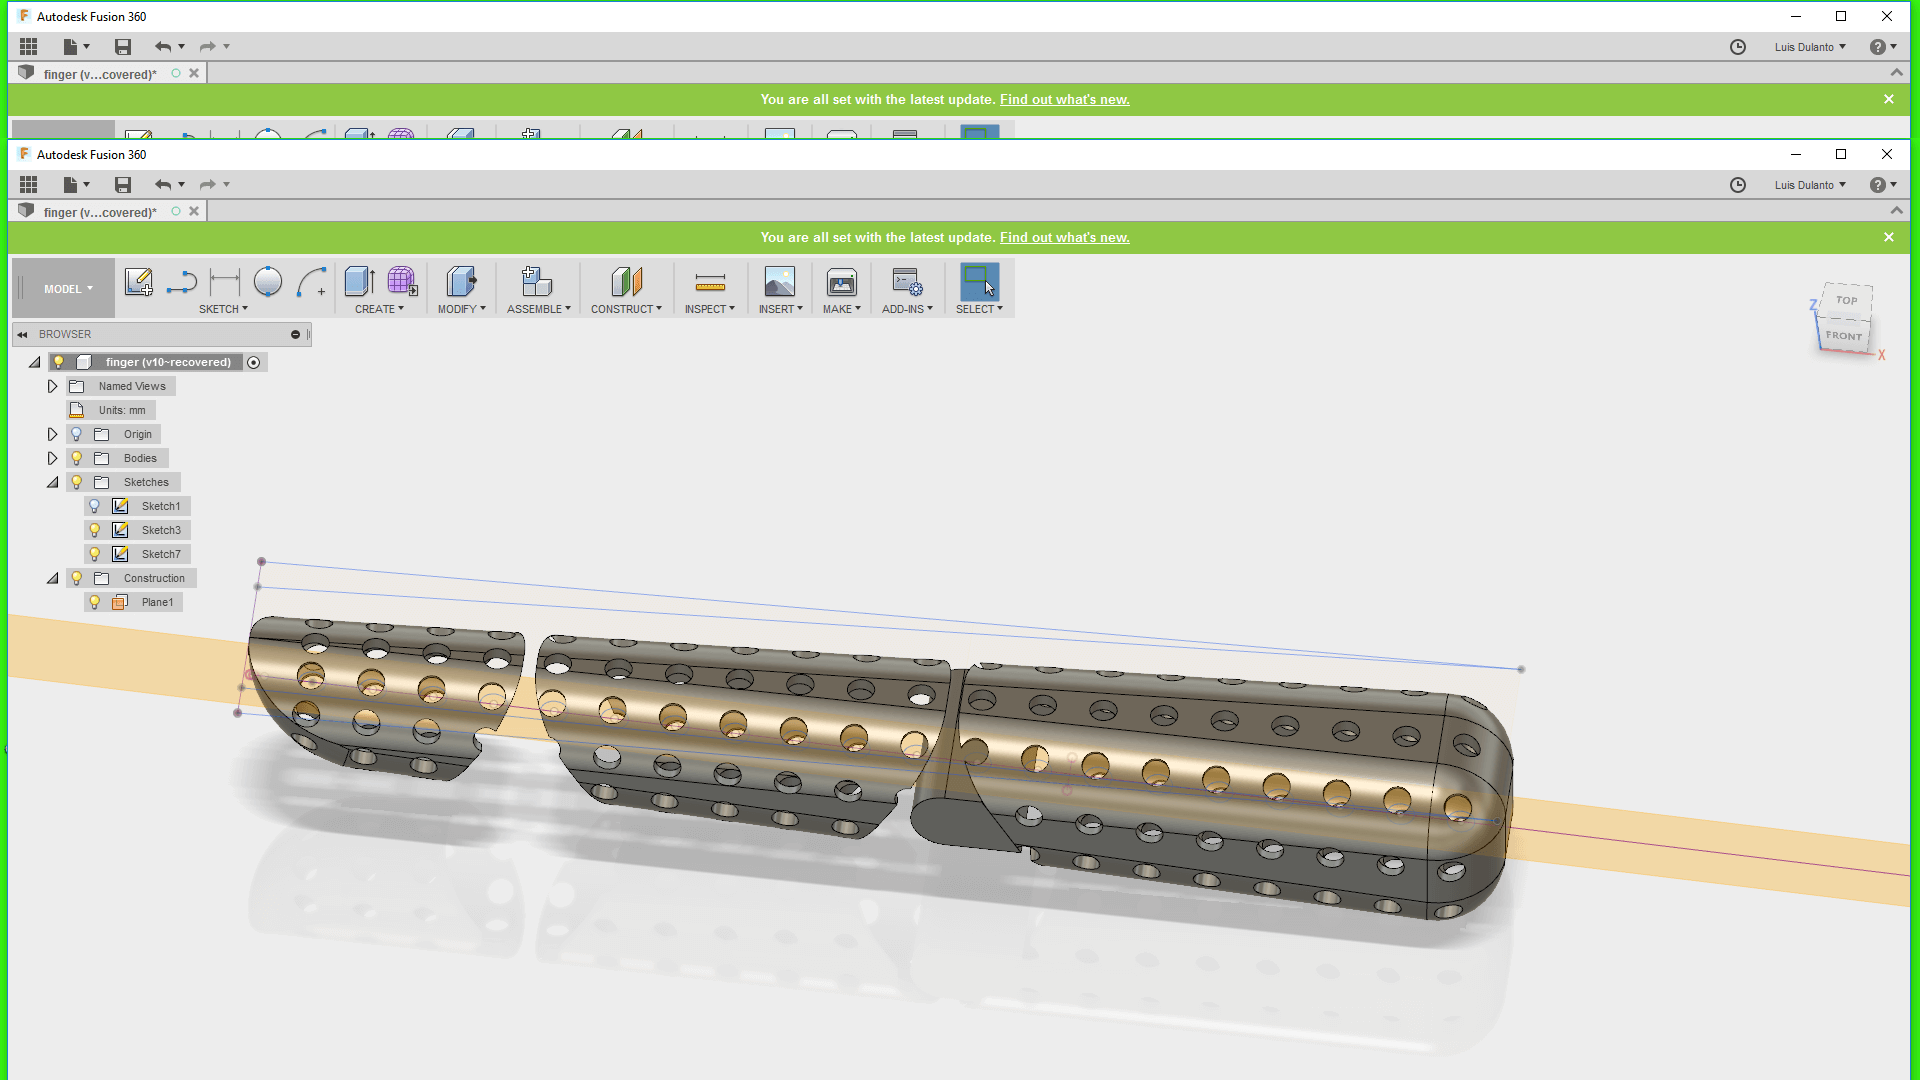
6. Then, I erased some of the holes and extrude out the remaining parts of the object, whiche were the joints
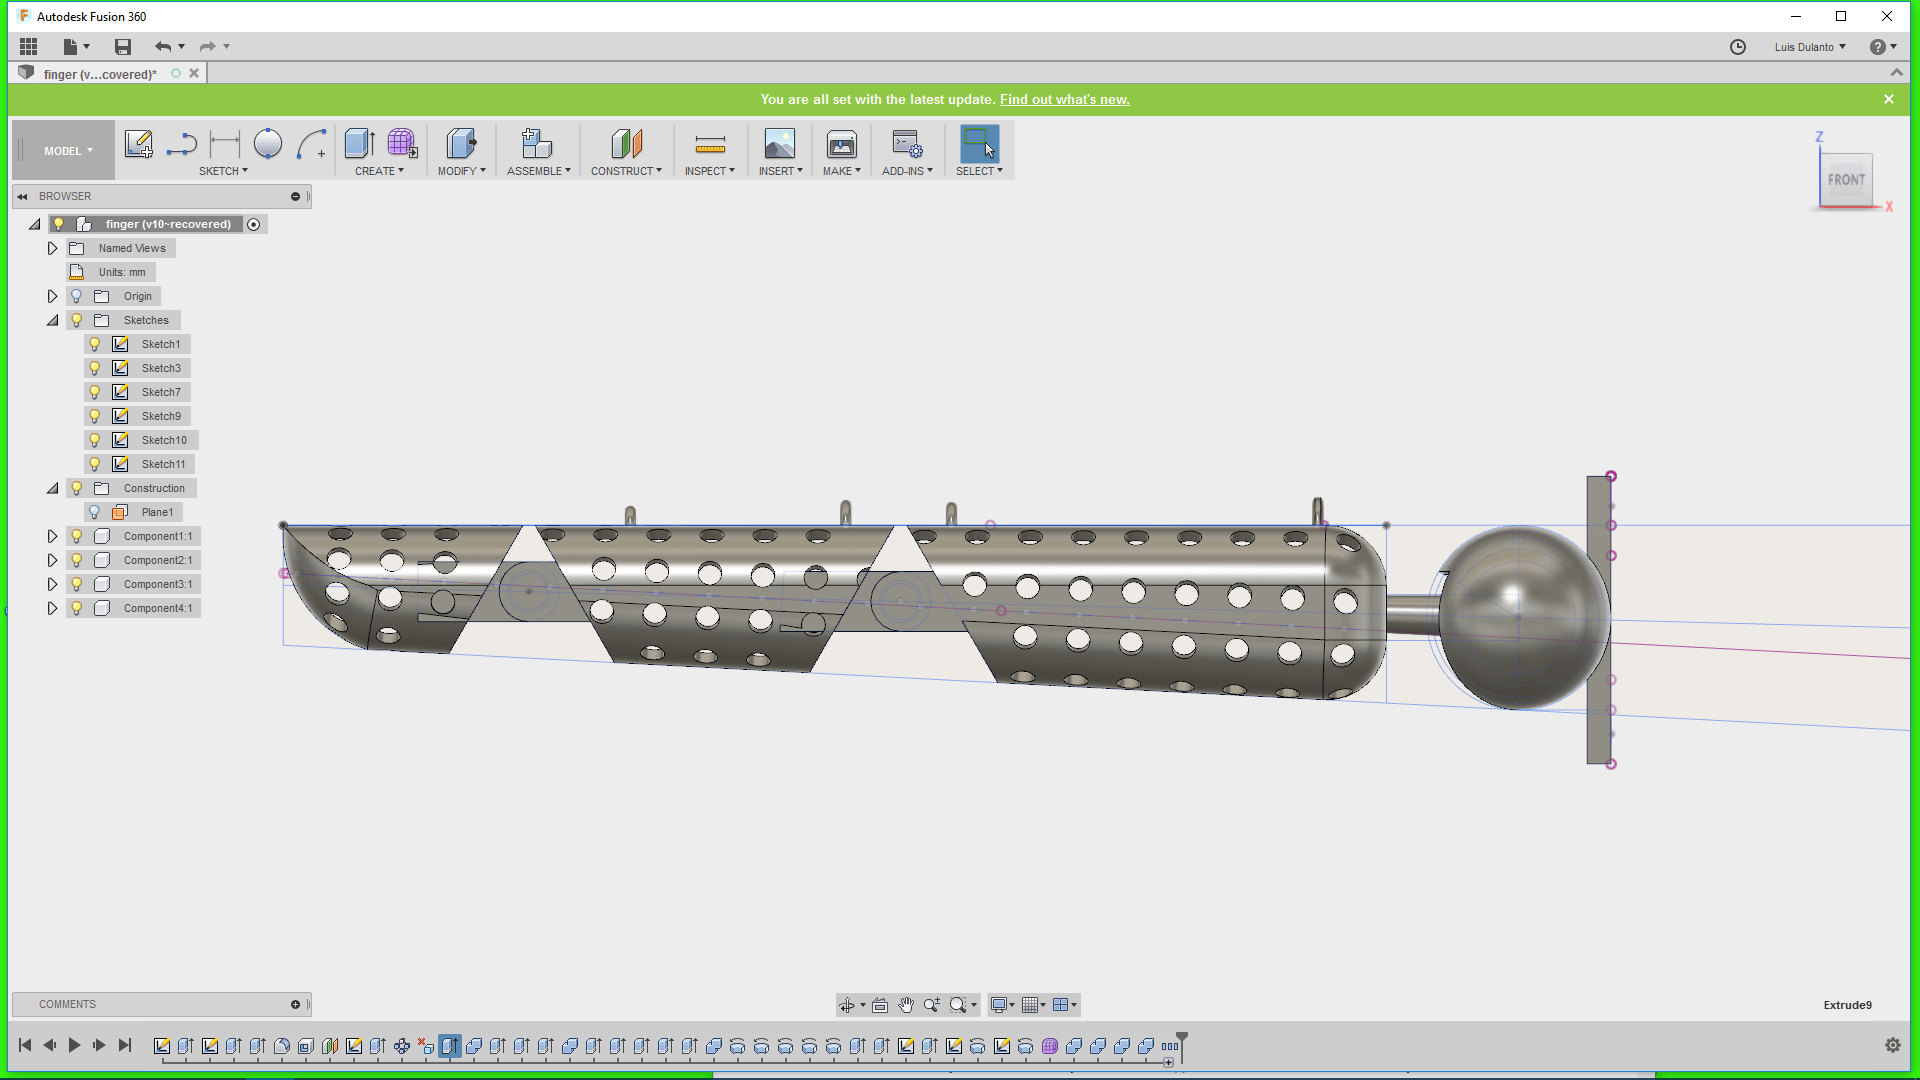
7. Then I exported the complete finger as a unique body on an STL file
8. Then, I loaded the body on the Felix software and turnned it, so that the joint axis was parallel with the Z axis. This was done for getting a good printing of the joints.
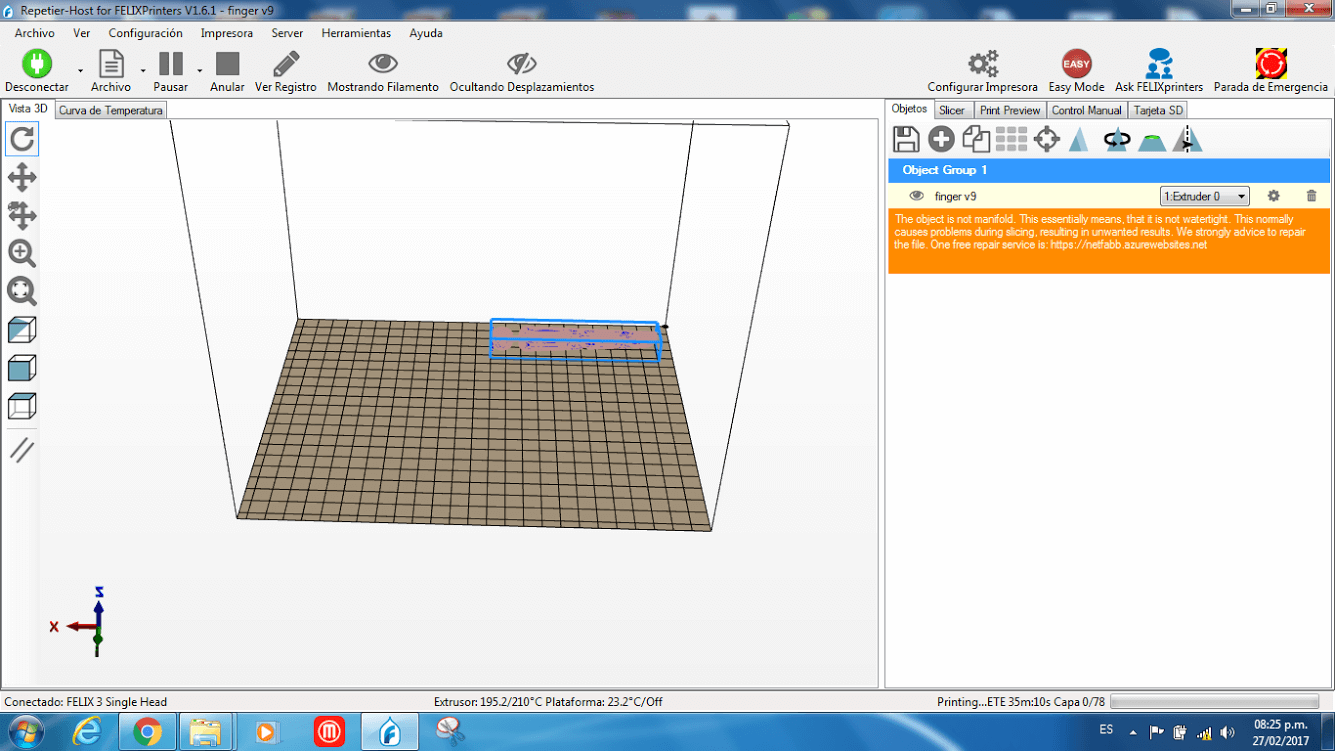
7. Since the body was not flat on any side I added supports on the external side of the body, and added a brim to the object for holding the supports.
8. Since the filament was ABS, I setted the extruder temperature to 200 degrees and also printing speed as 40 m/s
9. Then, I sent to print the model.
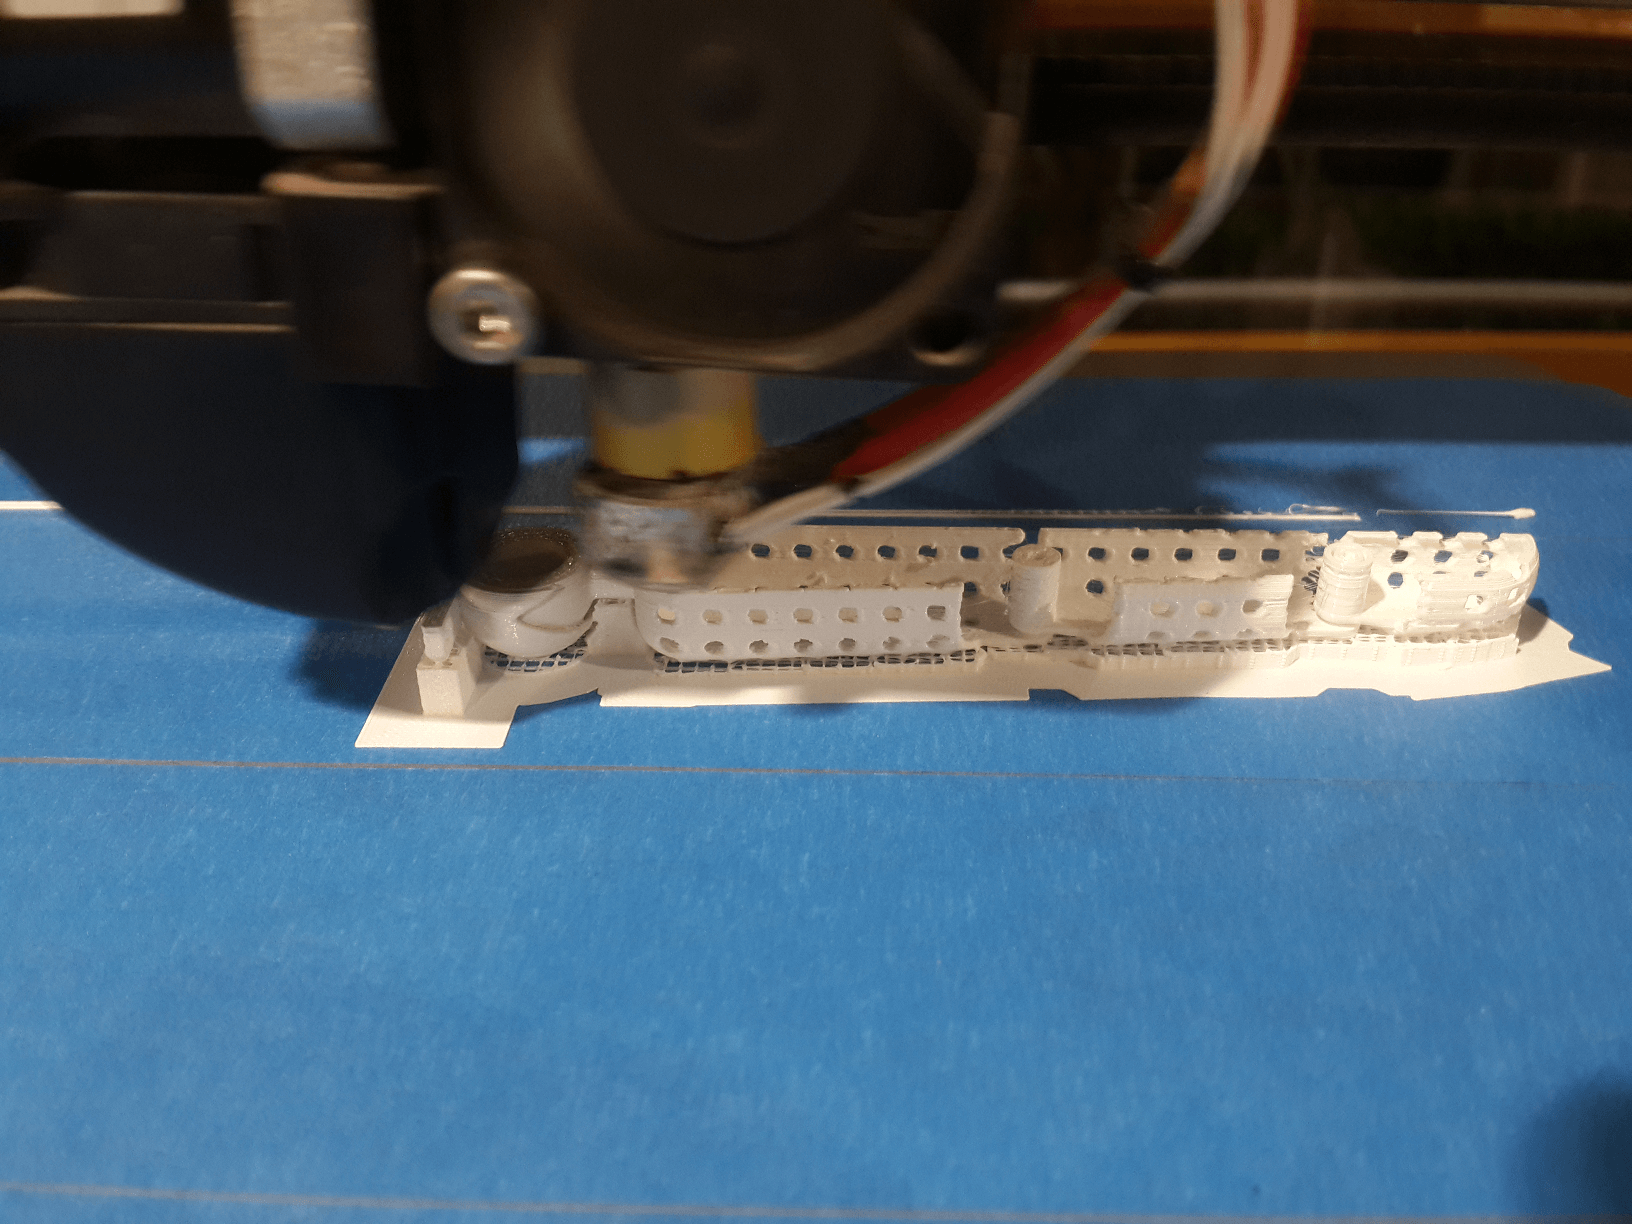
10. Once the object was printed, i realized that only one of the joints worked. Probably this was because I only gave it 0.25 mm of space between the layers of the joints.
3D Scanning an Object
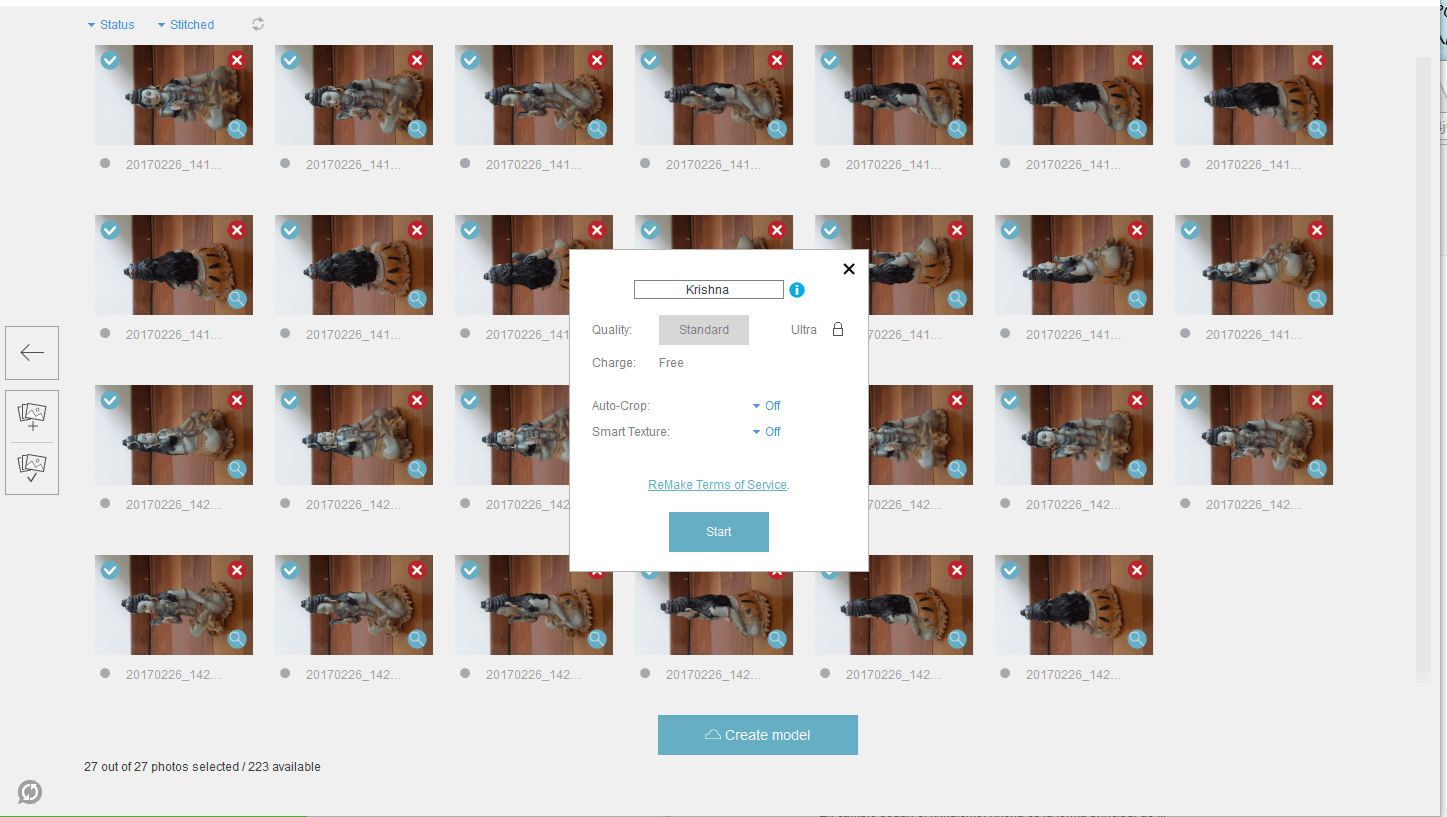
For developping this task, I took a bunch of photos of an ornament, and then used Autodesk Remake for reconstructiong the object.
This is the object that was scanned

This was done by taking a set 28 photos of the object. In order to achieve this task, I let the camera fixed and rotated the object slowly.
Then I loaded the photos in the Remake Software, selected reconstruct, then selected the online option and just waited until the object was reconstructed
This is the object reconstructed by the software
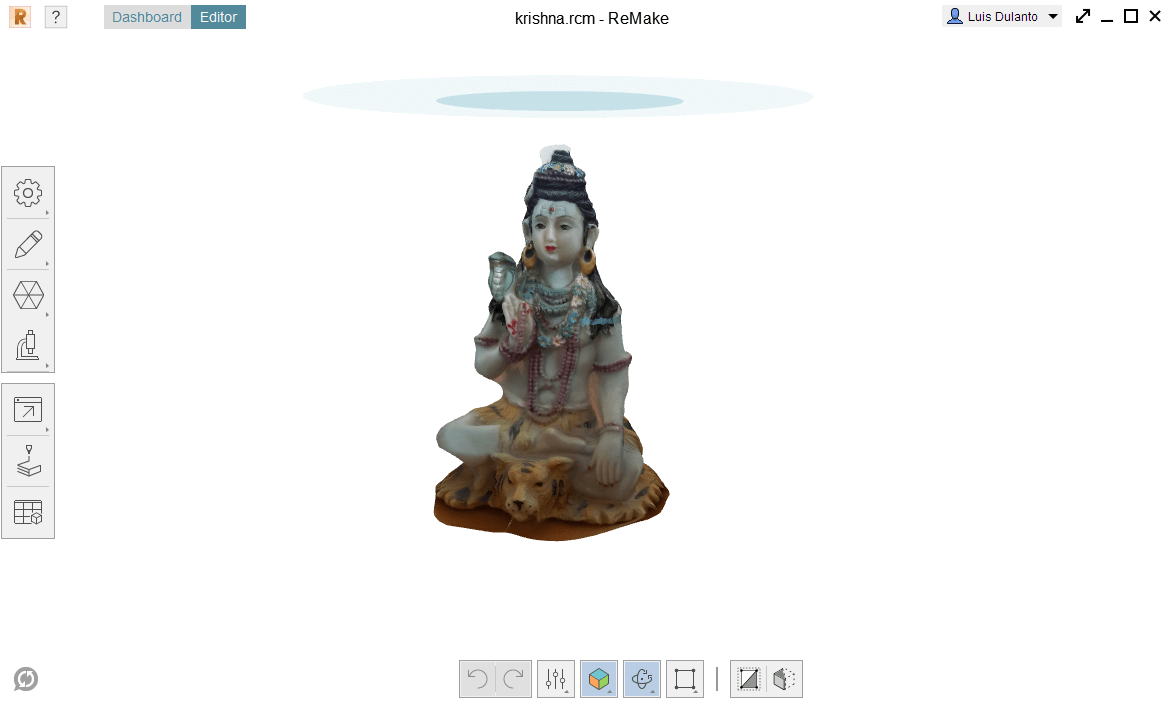
No extra job was needed since the object was perfectly sacanned.
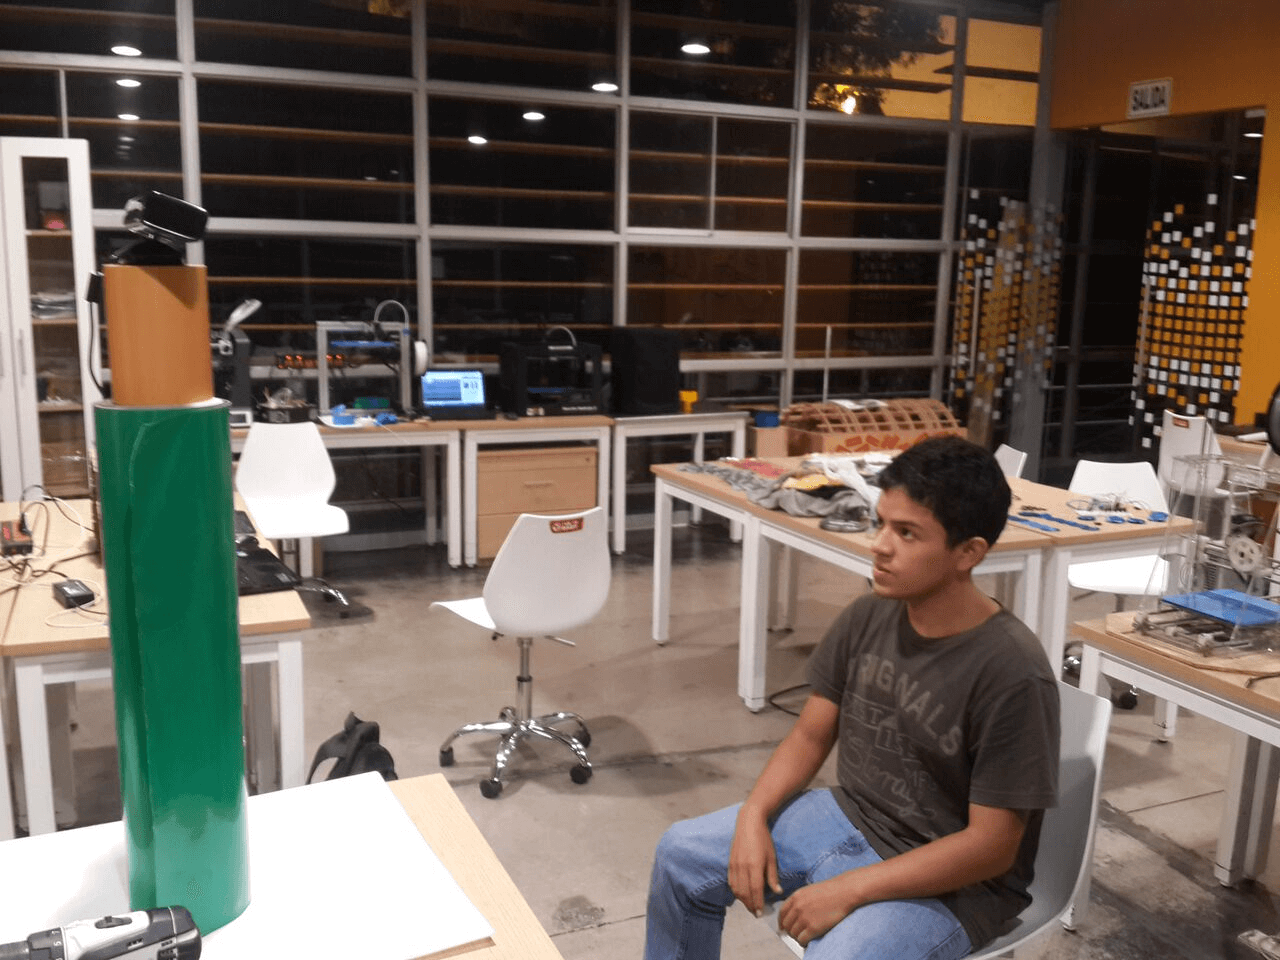
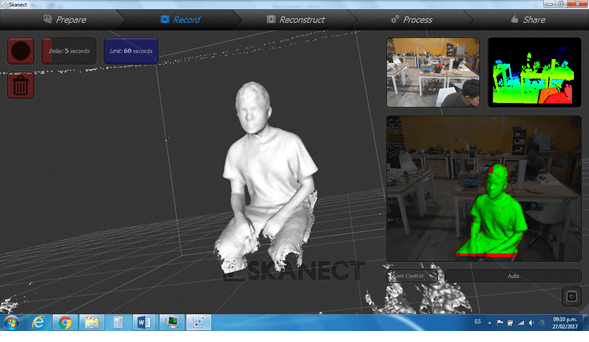
Also i scanned my self using a Kinect and the Skanect software
For developing this task i sitted on a wheeled chair in front of the kinect and then rotated my self slowly until the software reconstructed my self completly
In this case the scanning was not perfect, so I used a couple of tools of the software, the first one is fill holes, in order to fill the non reconstructed parts, and the second one was watertight
So after working with this technologies we can make a little summary:
Avantages
- 3D Printing is great for Rapid Prototyping, it lets people test their ideas.
- It allow us to save costs, since the material does not cost too much.
- the service of 3D printing it is accesible for almost everybody.
Disadvantages
- However 3D printing tends to be slow, which is not appropiate for big demands of products.- The materials used for printing can be toxic for humans like ABS.
- High quality 3D printers are not cheap.
In respect to 3D scanning we can afirm the following:
Avantages
- It is good for getting shapes of bodies in very short time, instead of modelling
- It can save money, since its a cheap an alternative for old molding methods
- They are very accurate
Disadvantages
- They tend to be expensive- They tend to be big.
- Non contact scanners tend to be slow