Compostites
For this assigment, we have to:
- (DONE)Read the material safety data sheet (MSDS) and technical data sheet (TDS) for the resins that you're using.
- (DONE) Design and make a 3D mould (~ft2 /30x30cm), and produce a fibre composite part in it
All the files created for this assigment can be found on the link bellow:
---> DOWNLOAD FILES<---
Have you:
- Shown how you made your mould and created the composite
--> yes
- Described problems and how you fixed them
--> yes
- Included your design files and ‘hero shot’ photos of the mould and the final part
--> yes
- Read and linked to the material safety data sheet (MSDS) and technical data sheet (TDS) for the resins that you're using
--> yes
Designing The Object
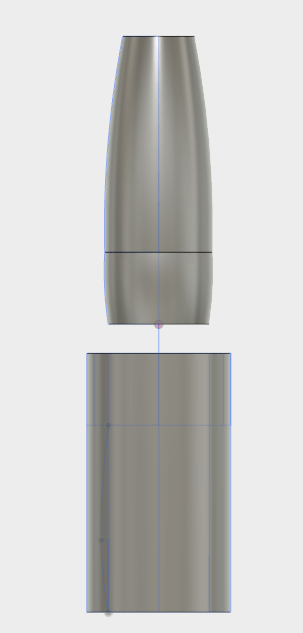
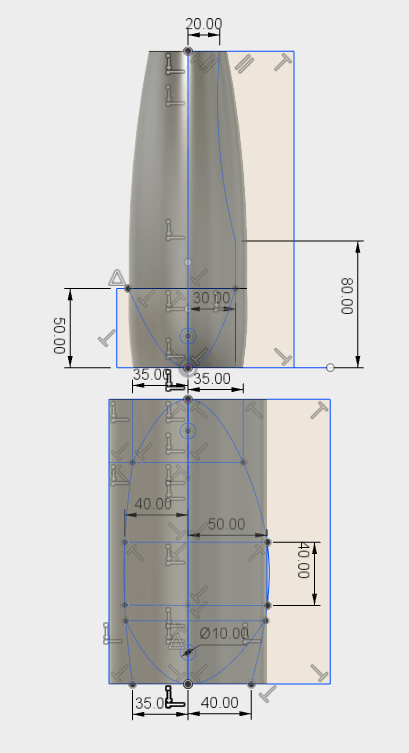
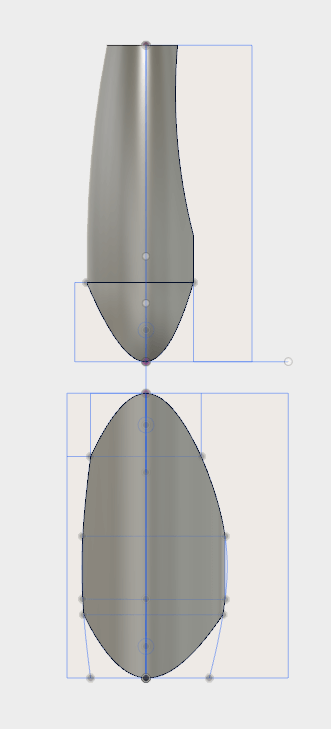
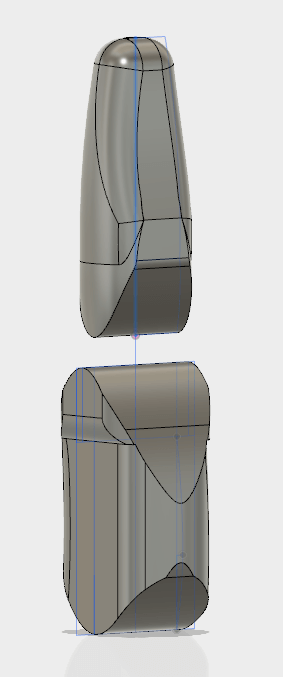
Thinking on my final project, I decided to make an arm shell. So I modelled a an arm in Fusion 360, this are the steps I did
1. First, I sketched a projection of half of the arm on the front plane.
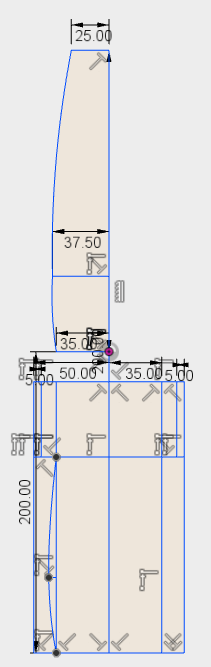
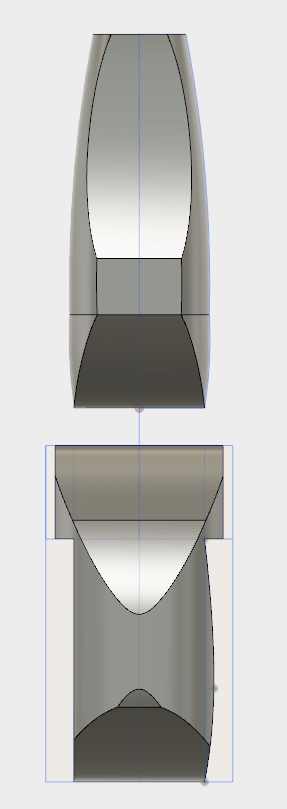
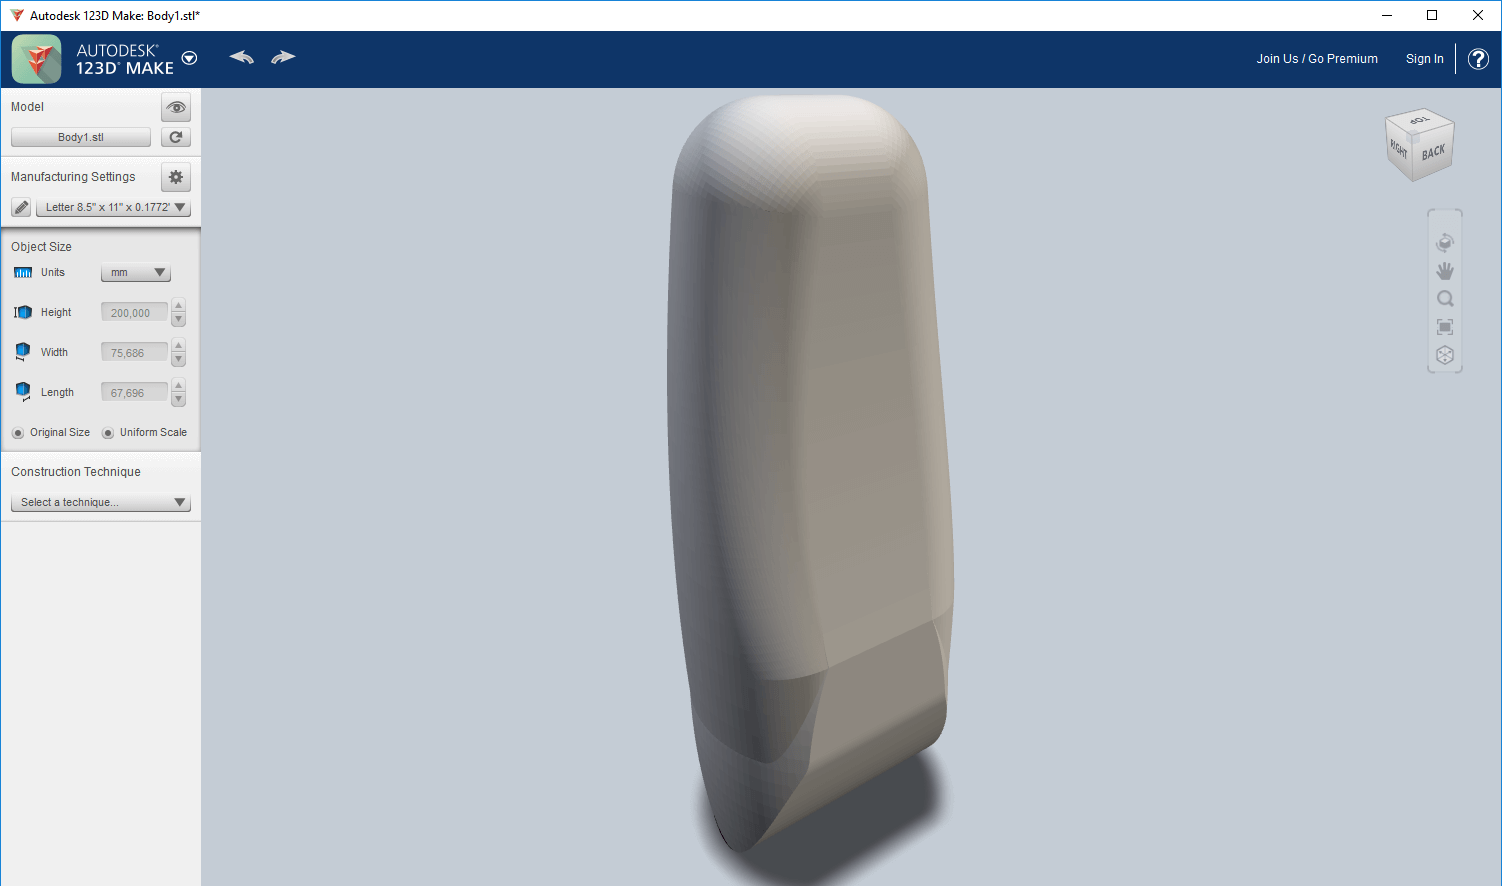
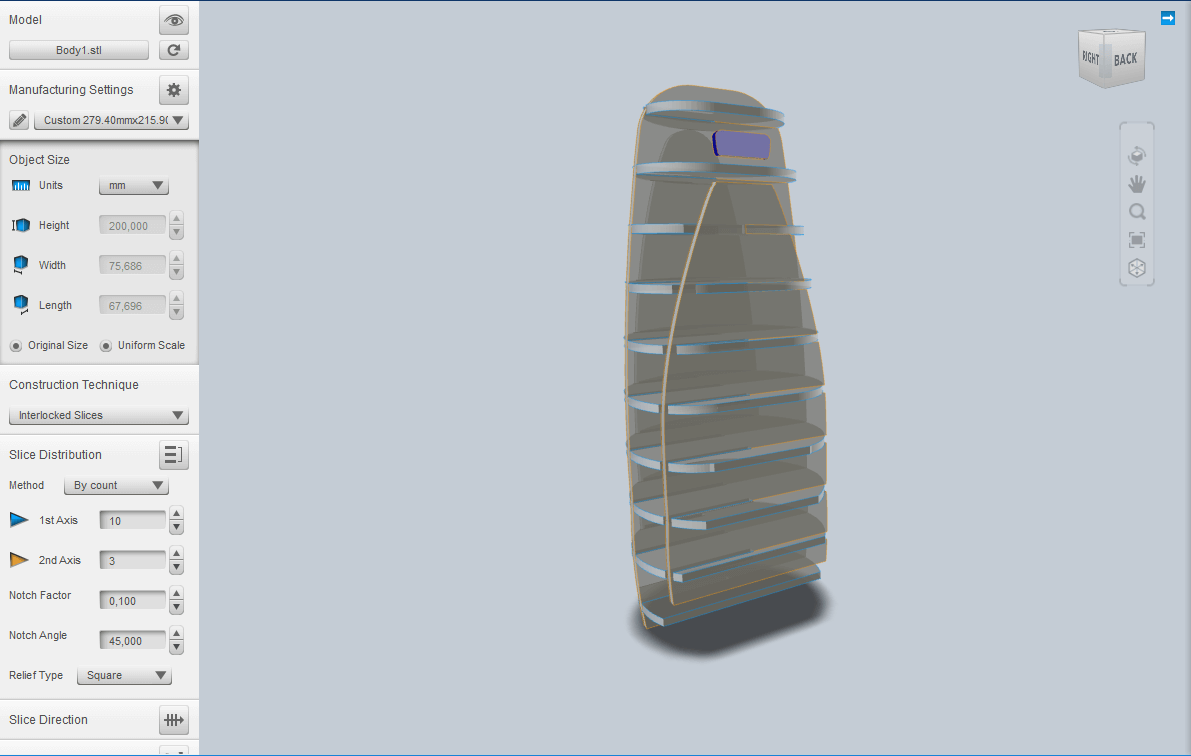
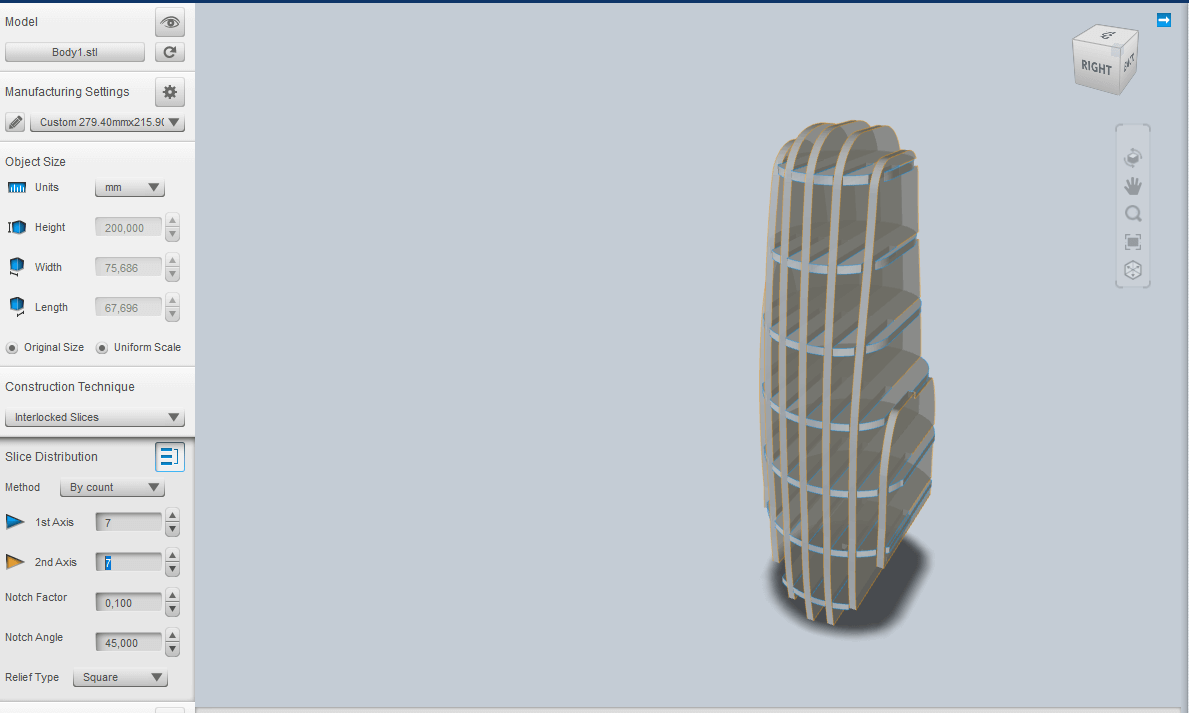
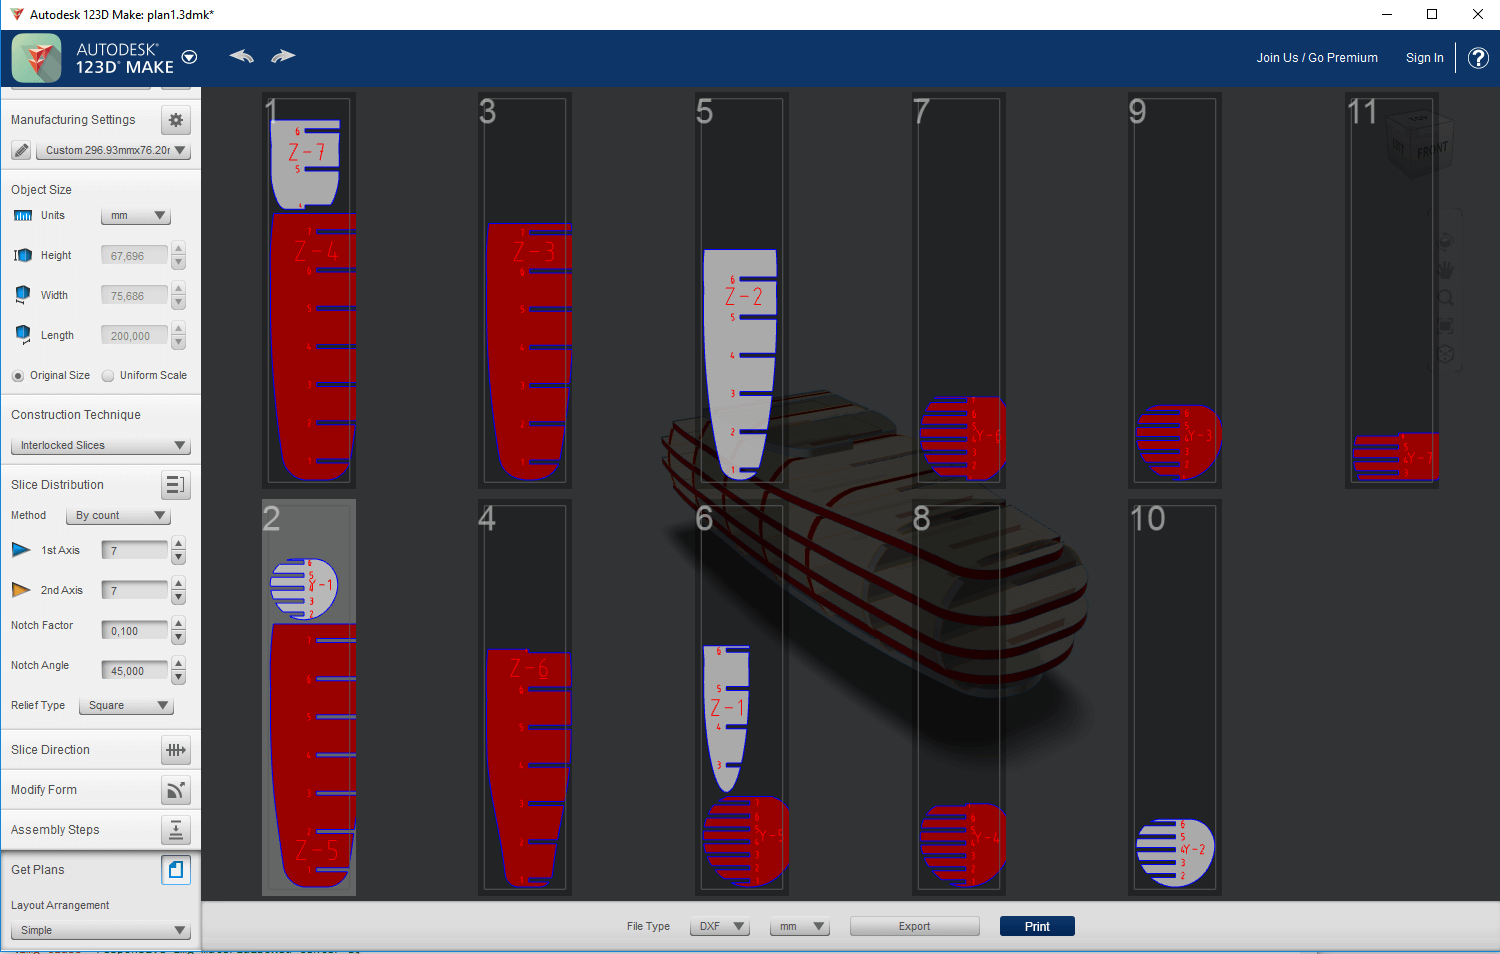
7. I loaded one of the bodies on the 123D Make autodesk software and chose mm as units and original size
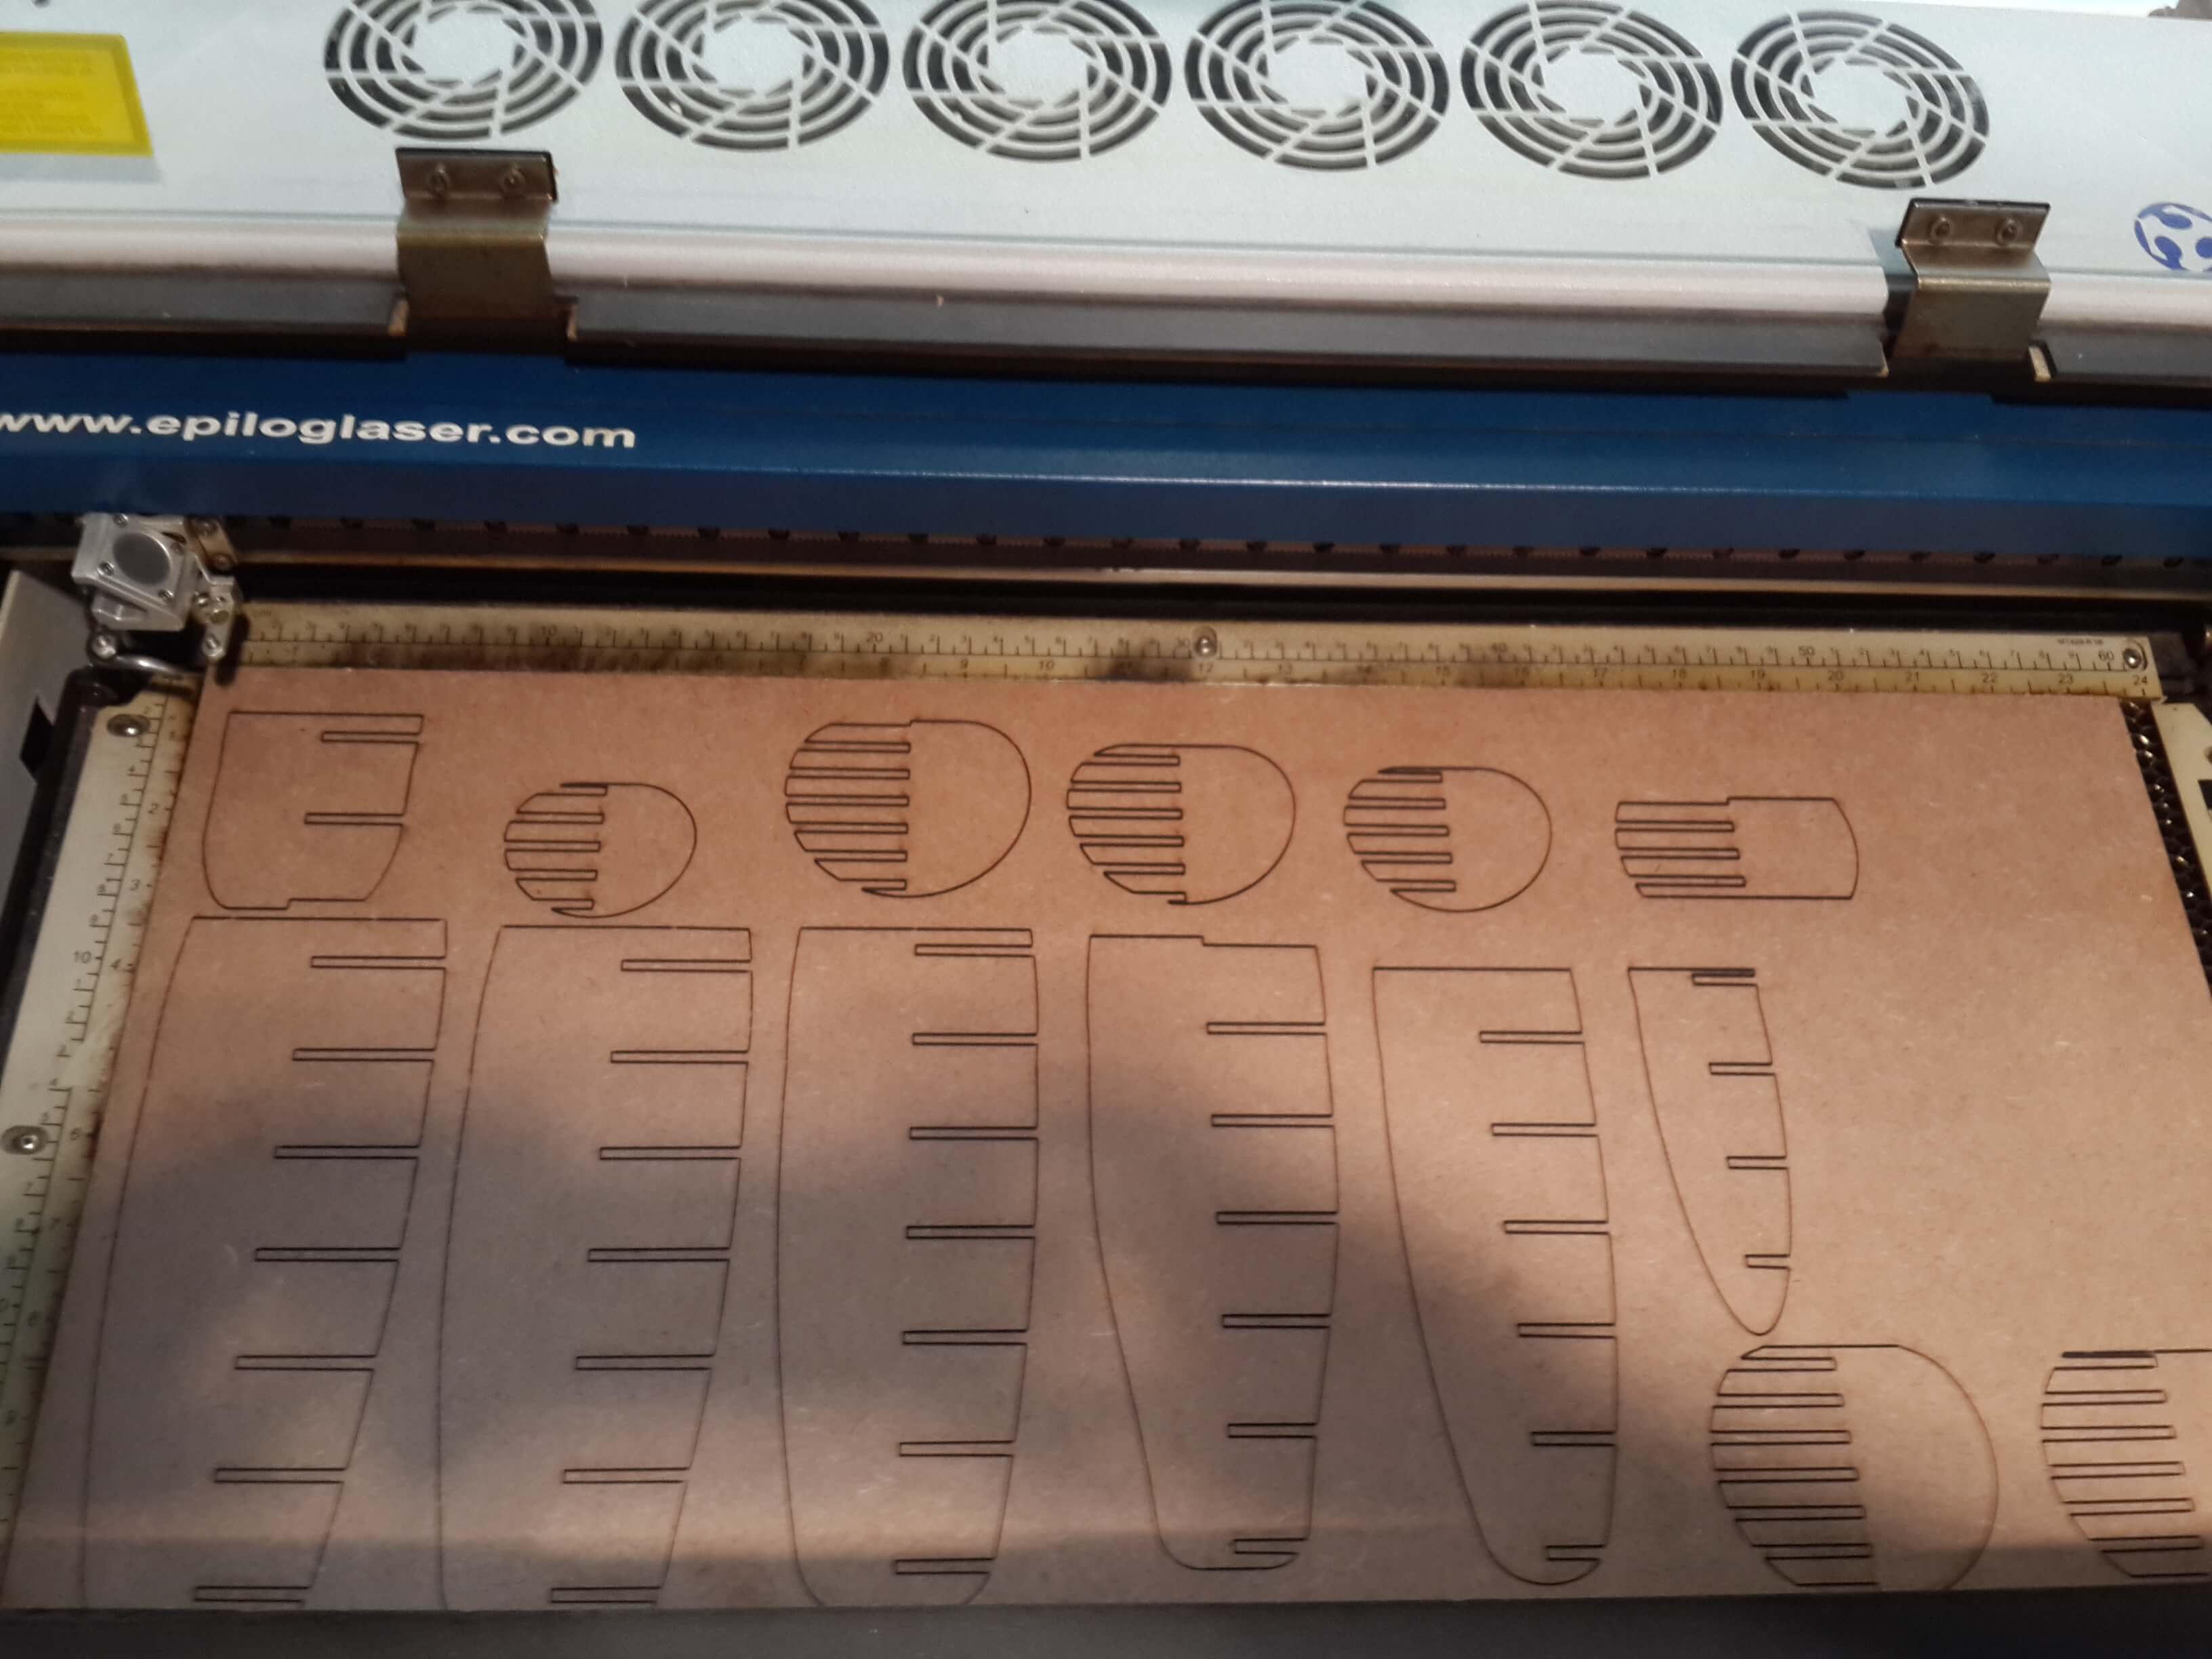
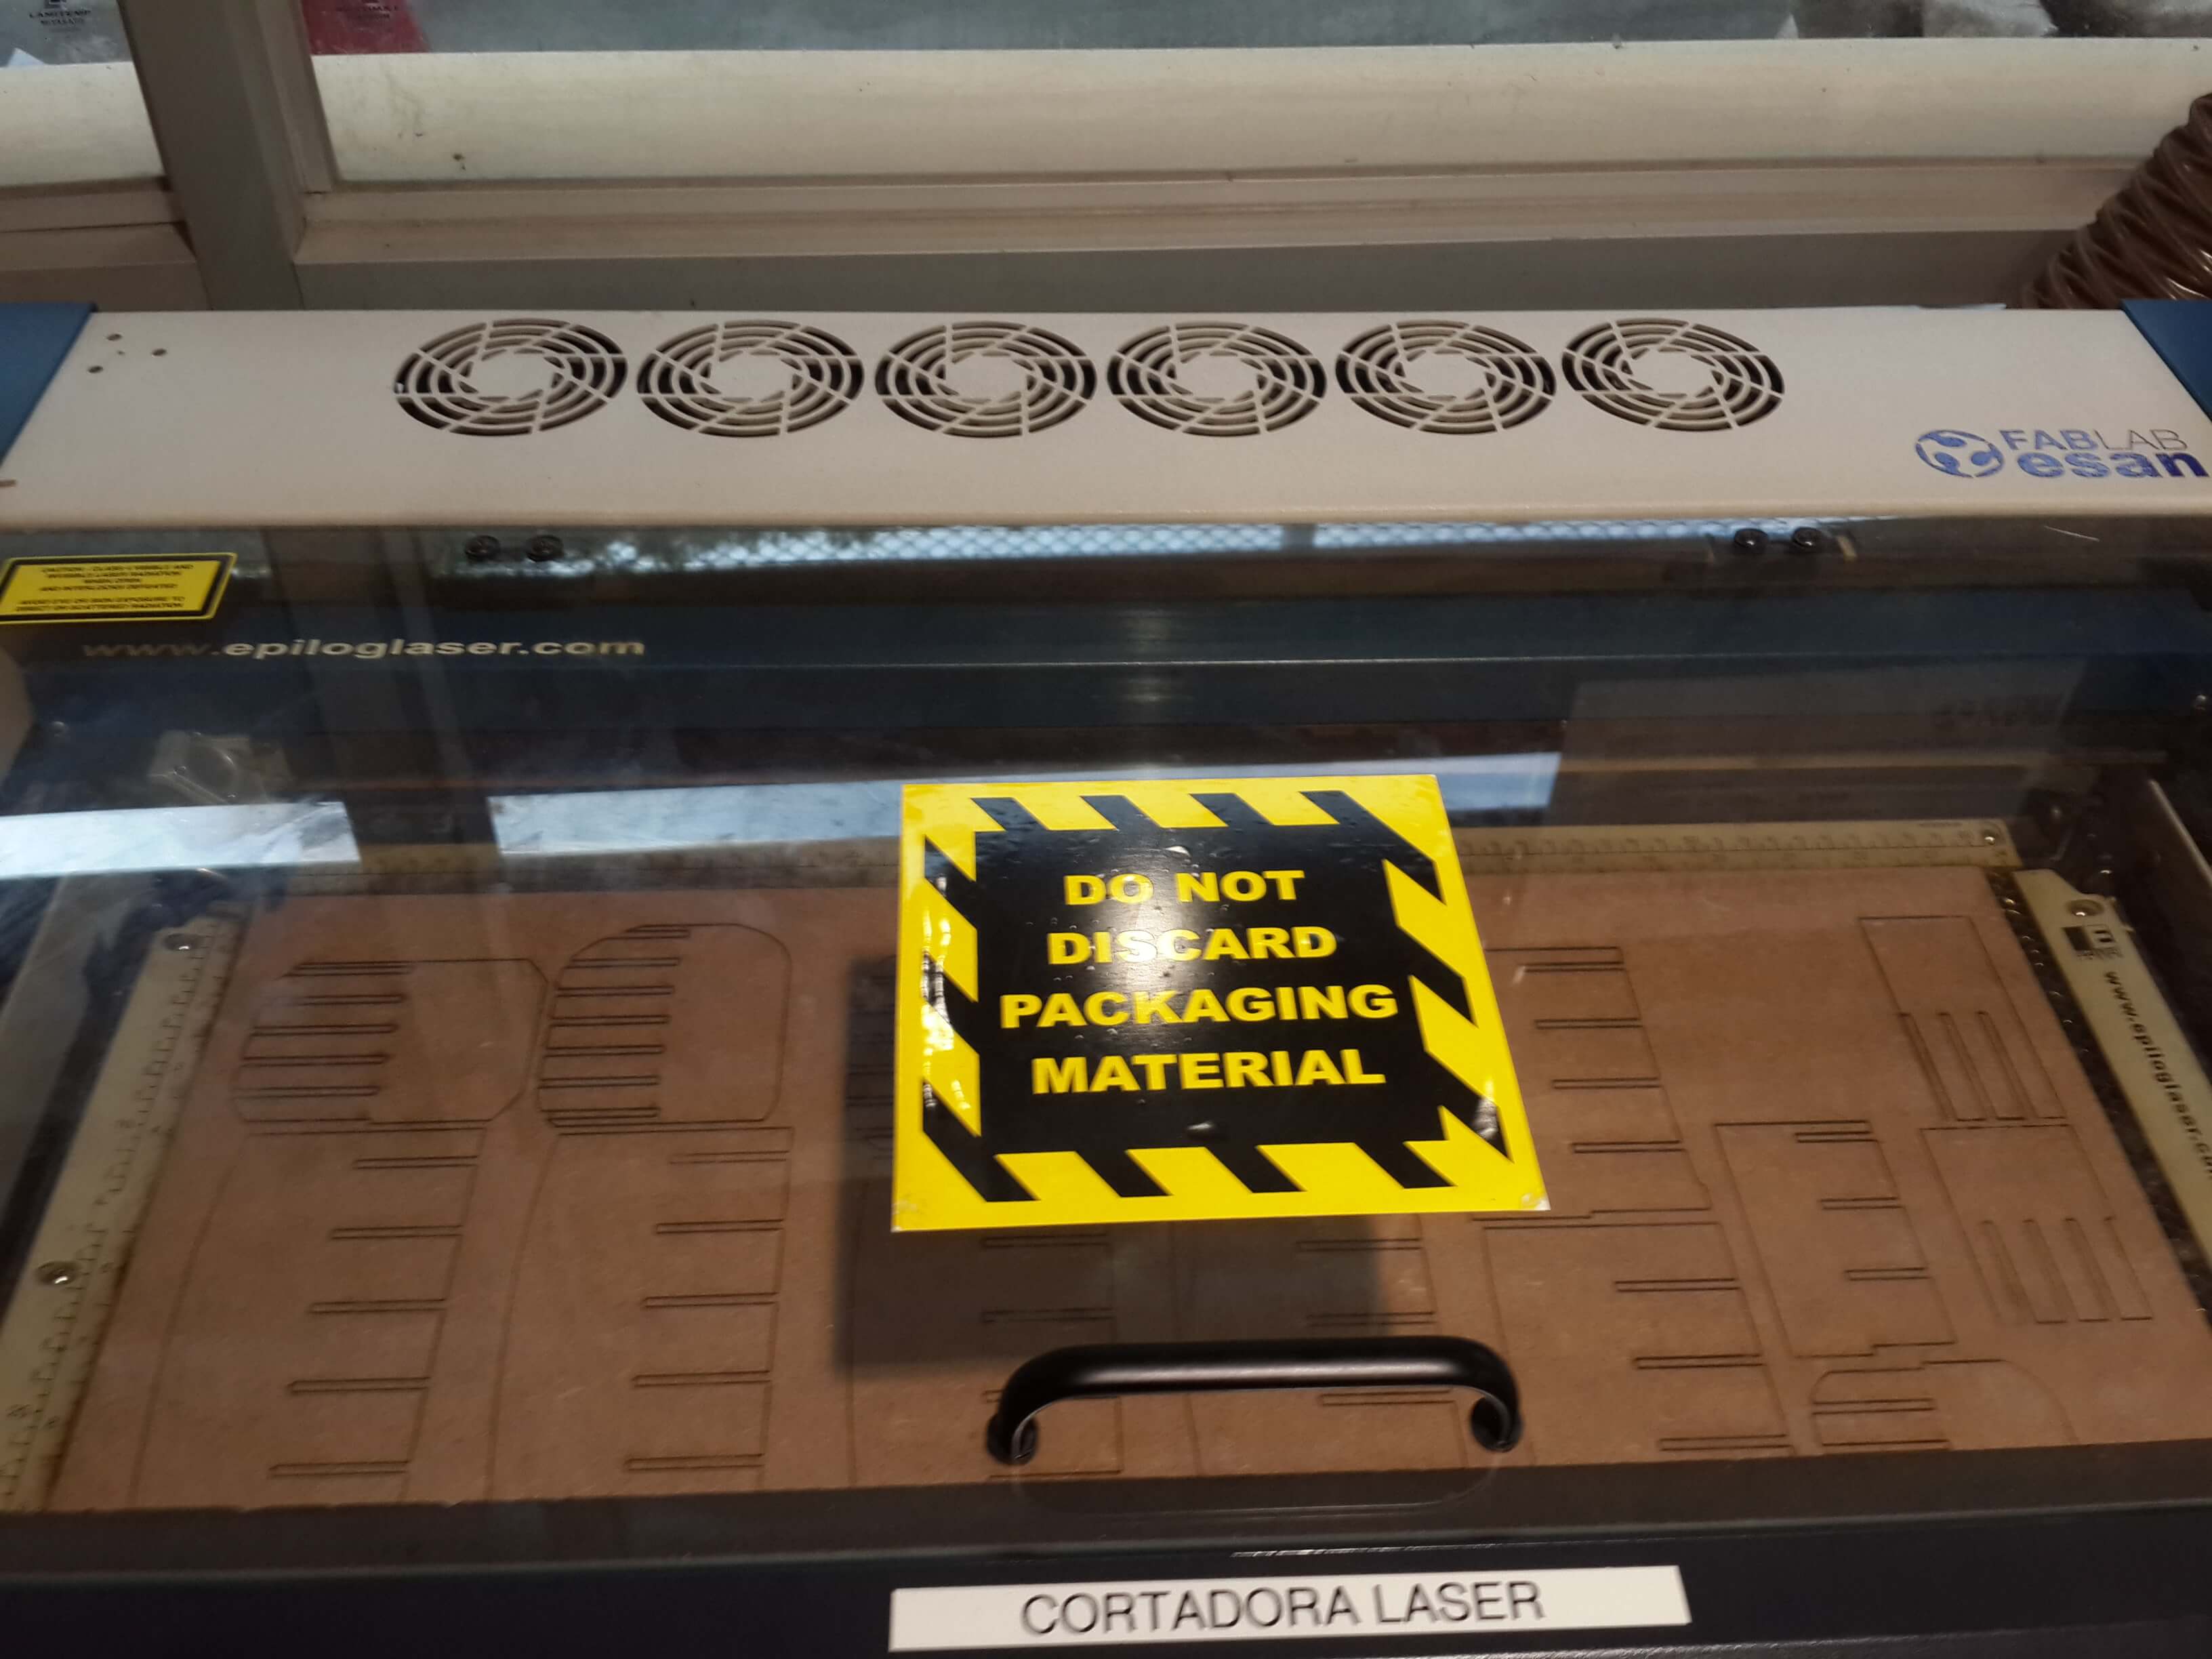
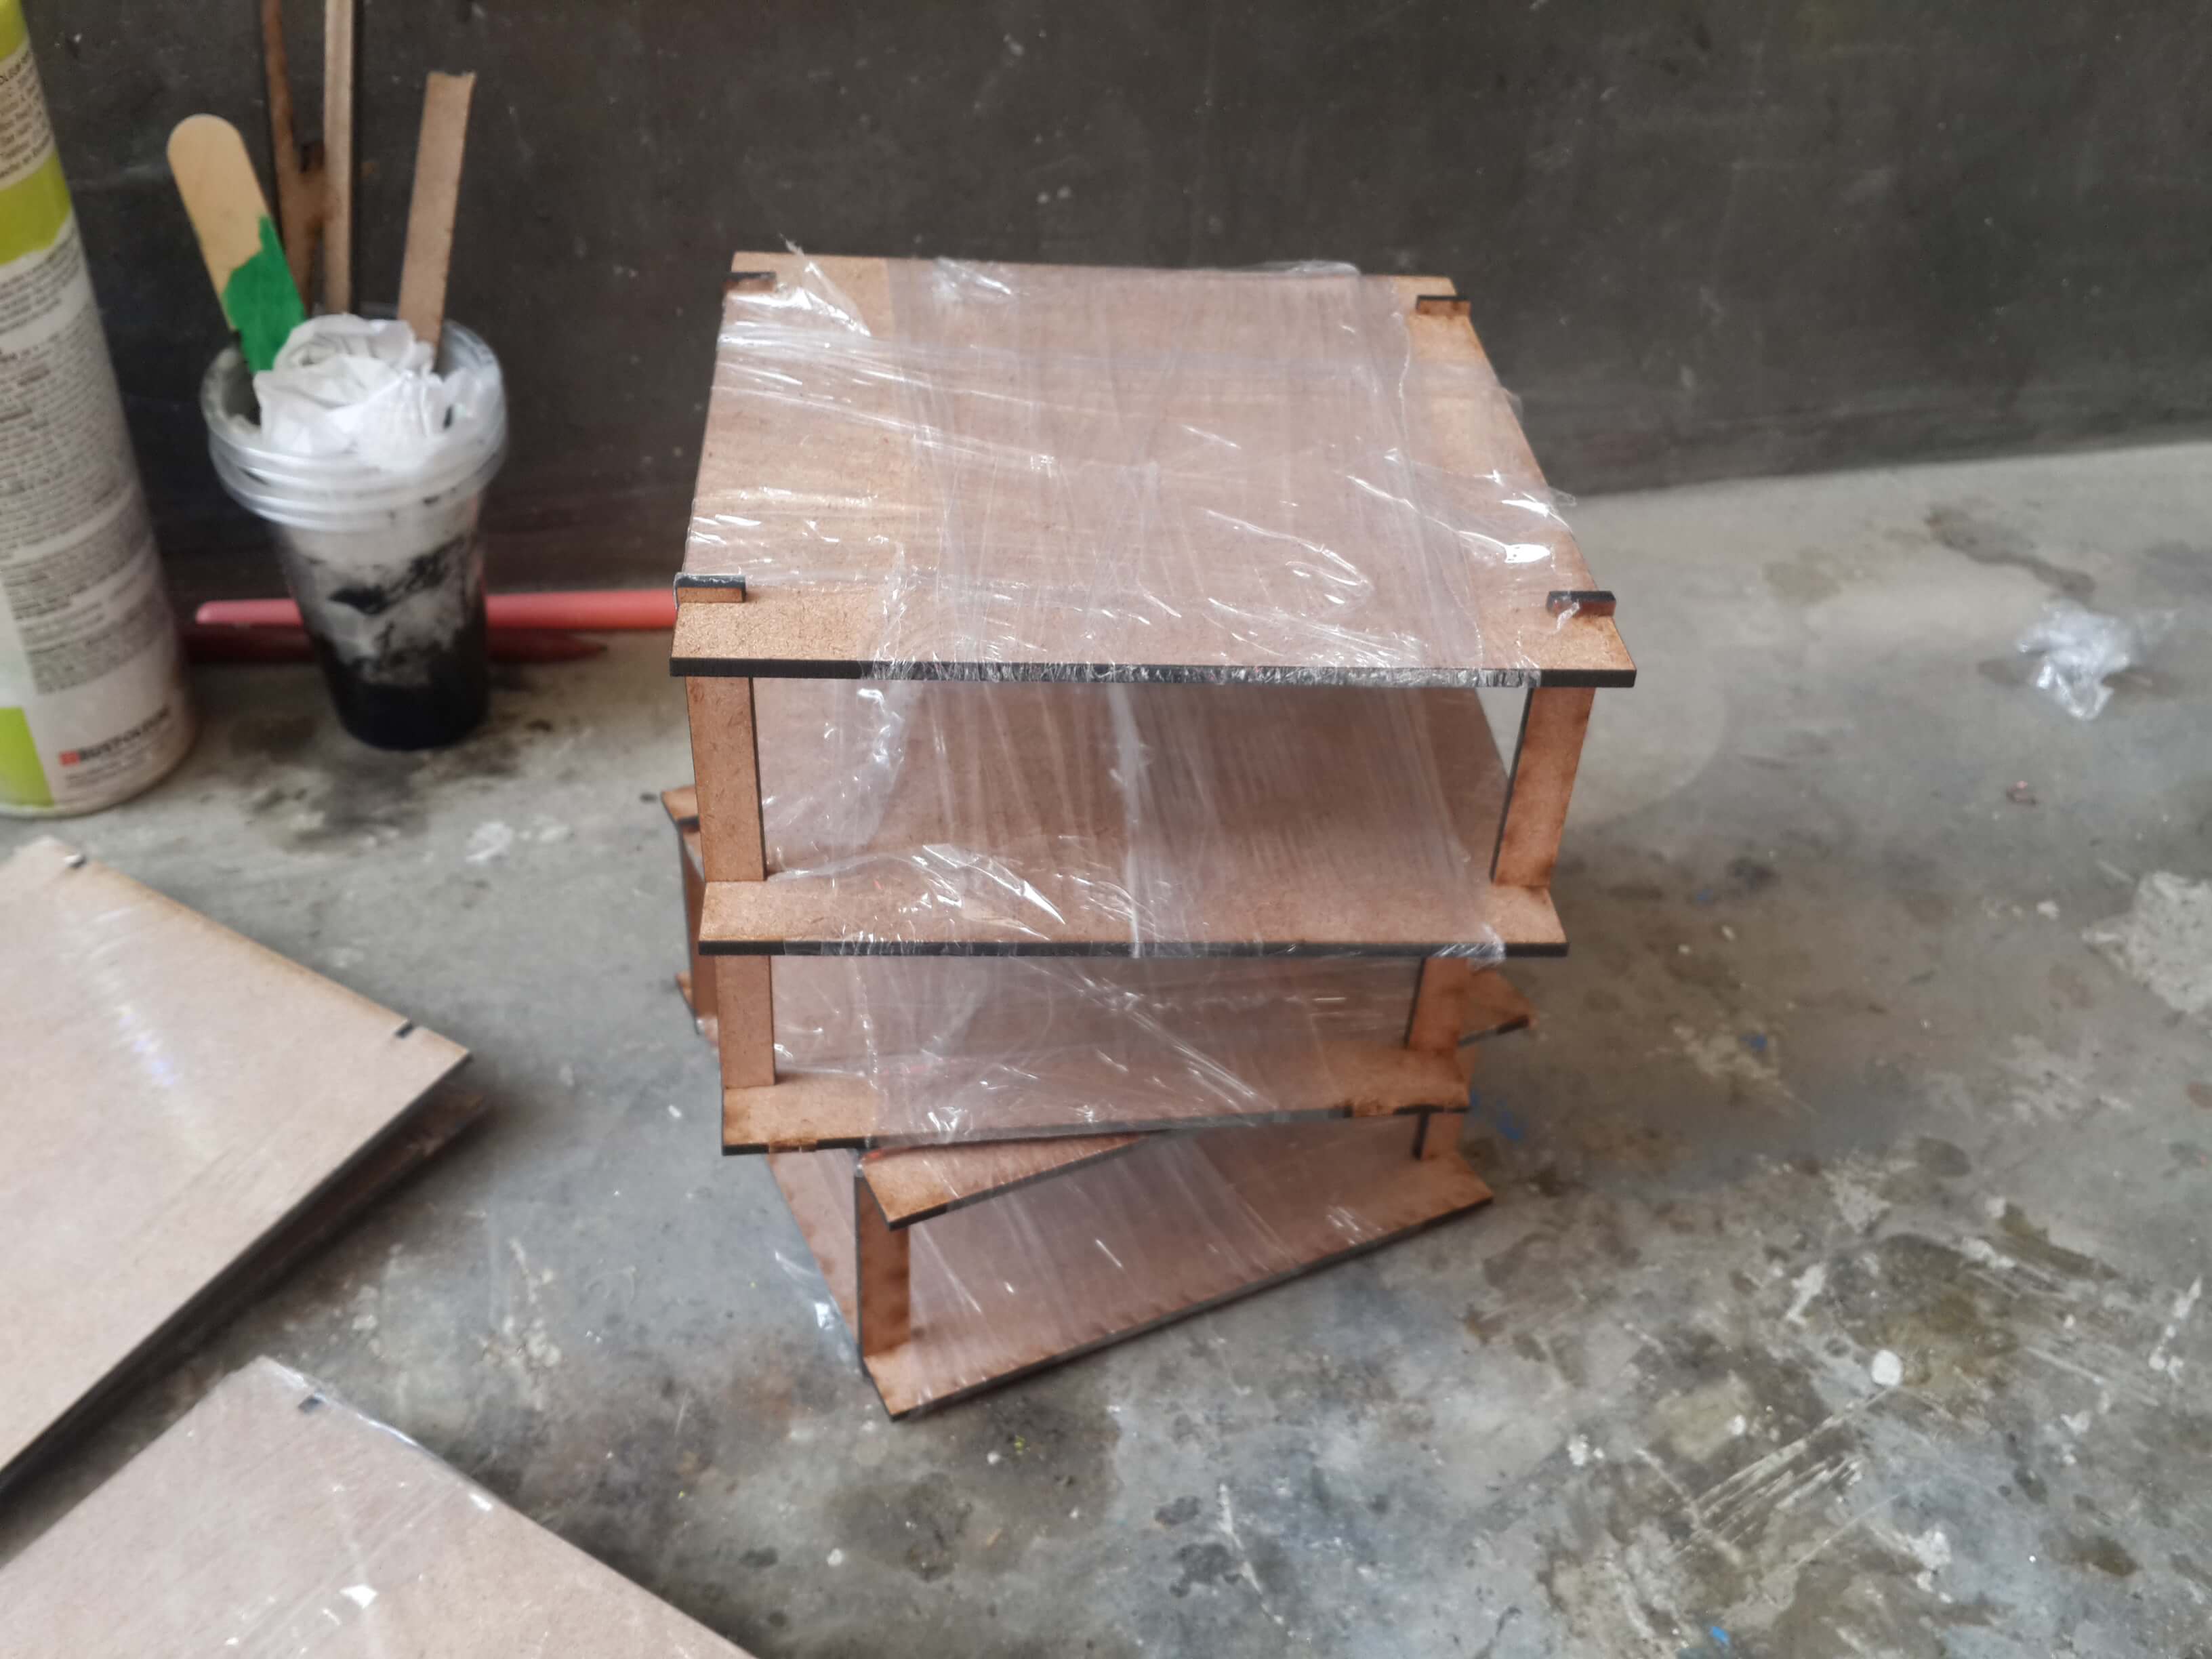
Fabricatting a Pressfit Arm
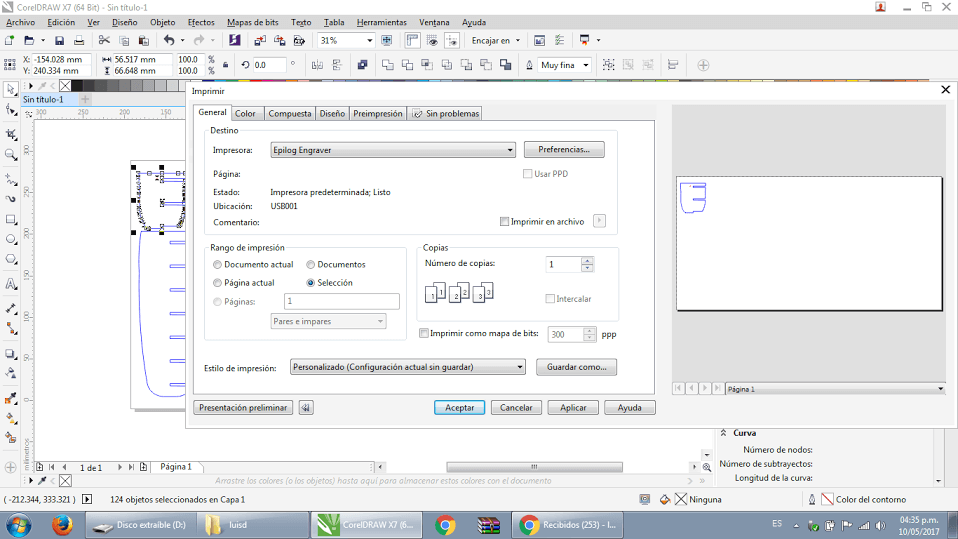
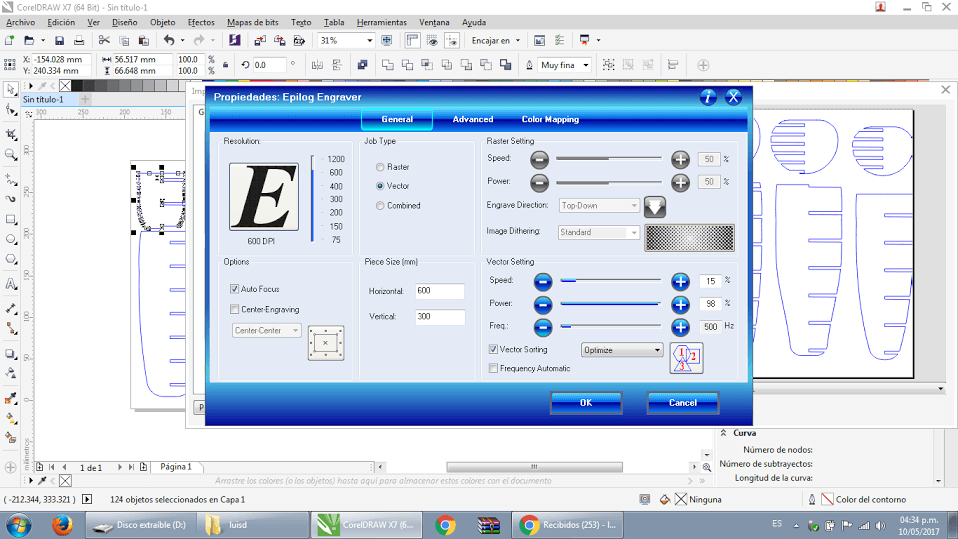
For getting the arm slides, I used a laser cuttter and a 3mm MDF board. This are the steps I did for fabricating the pressfit arm:
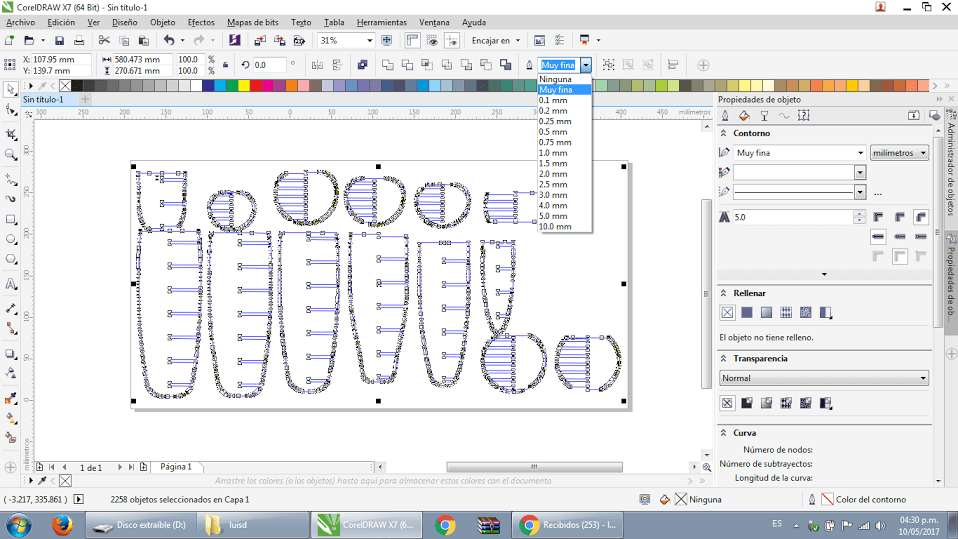
1. I oppened the file that contained all the slides of one of the bodies in corel draw
2. I selected all the lines and changed the width of the line to very fine
Horizontal: 600
Vertical: 300
Autofocus: checked
Speed: 15%
Power: 98%
Frequency: 500 Hz

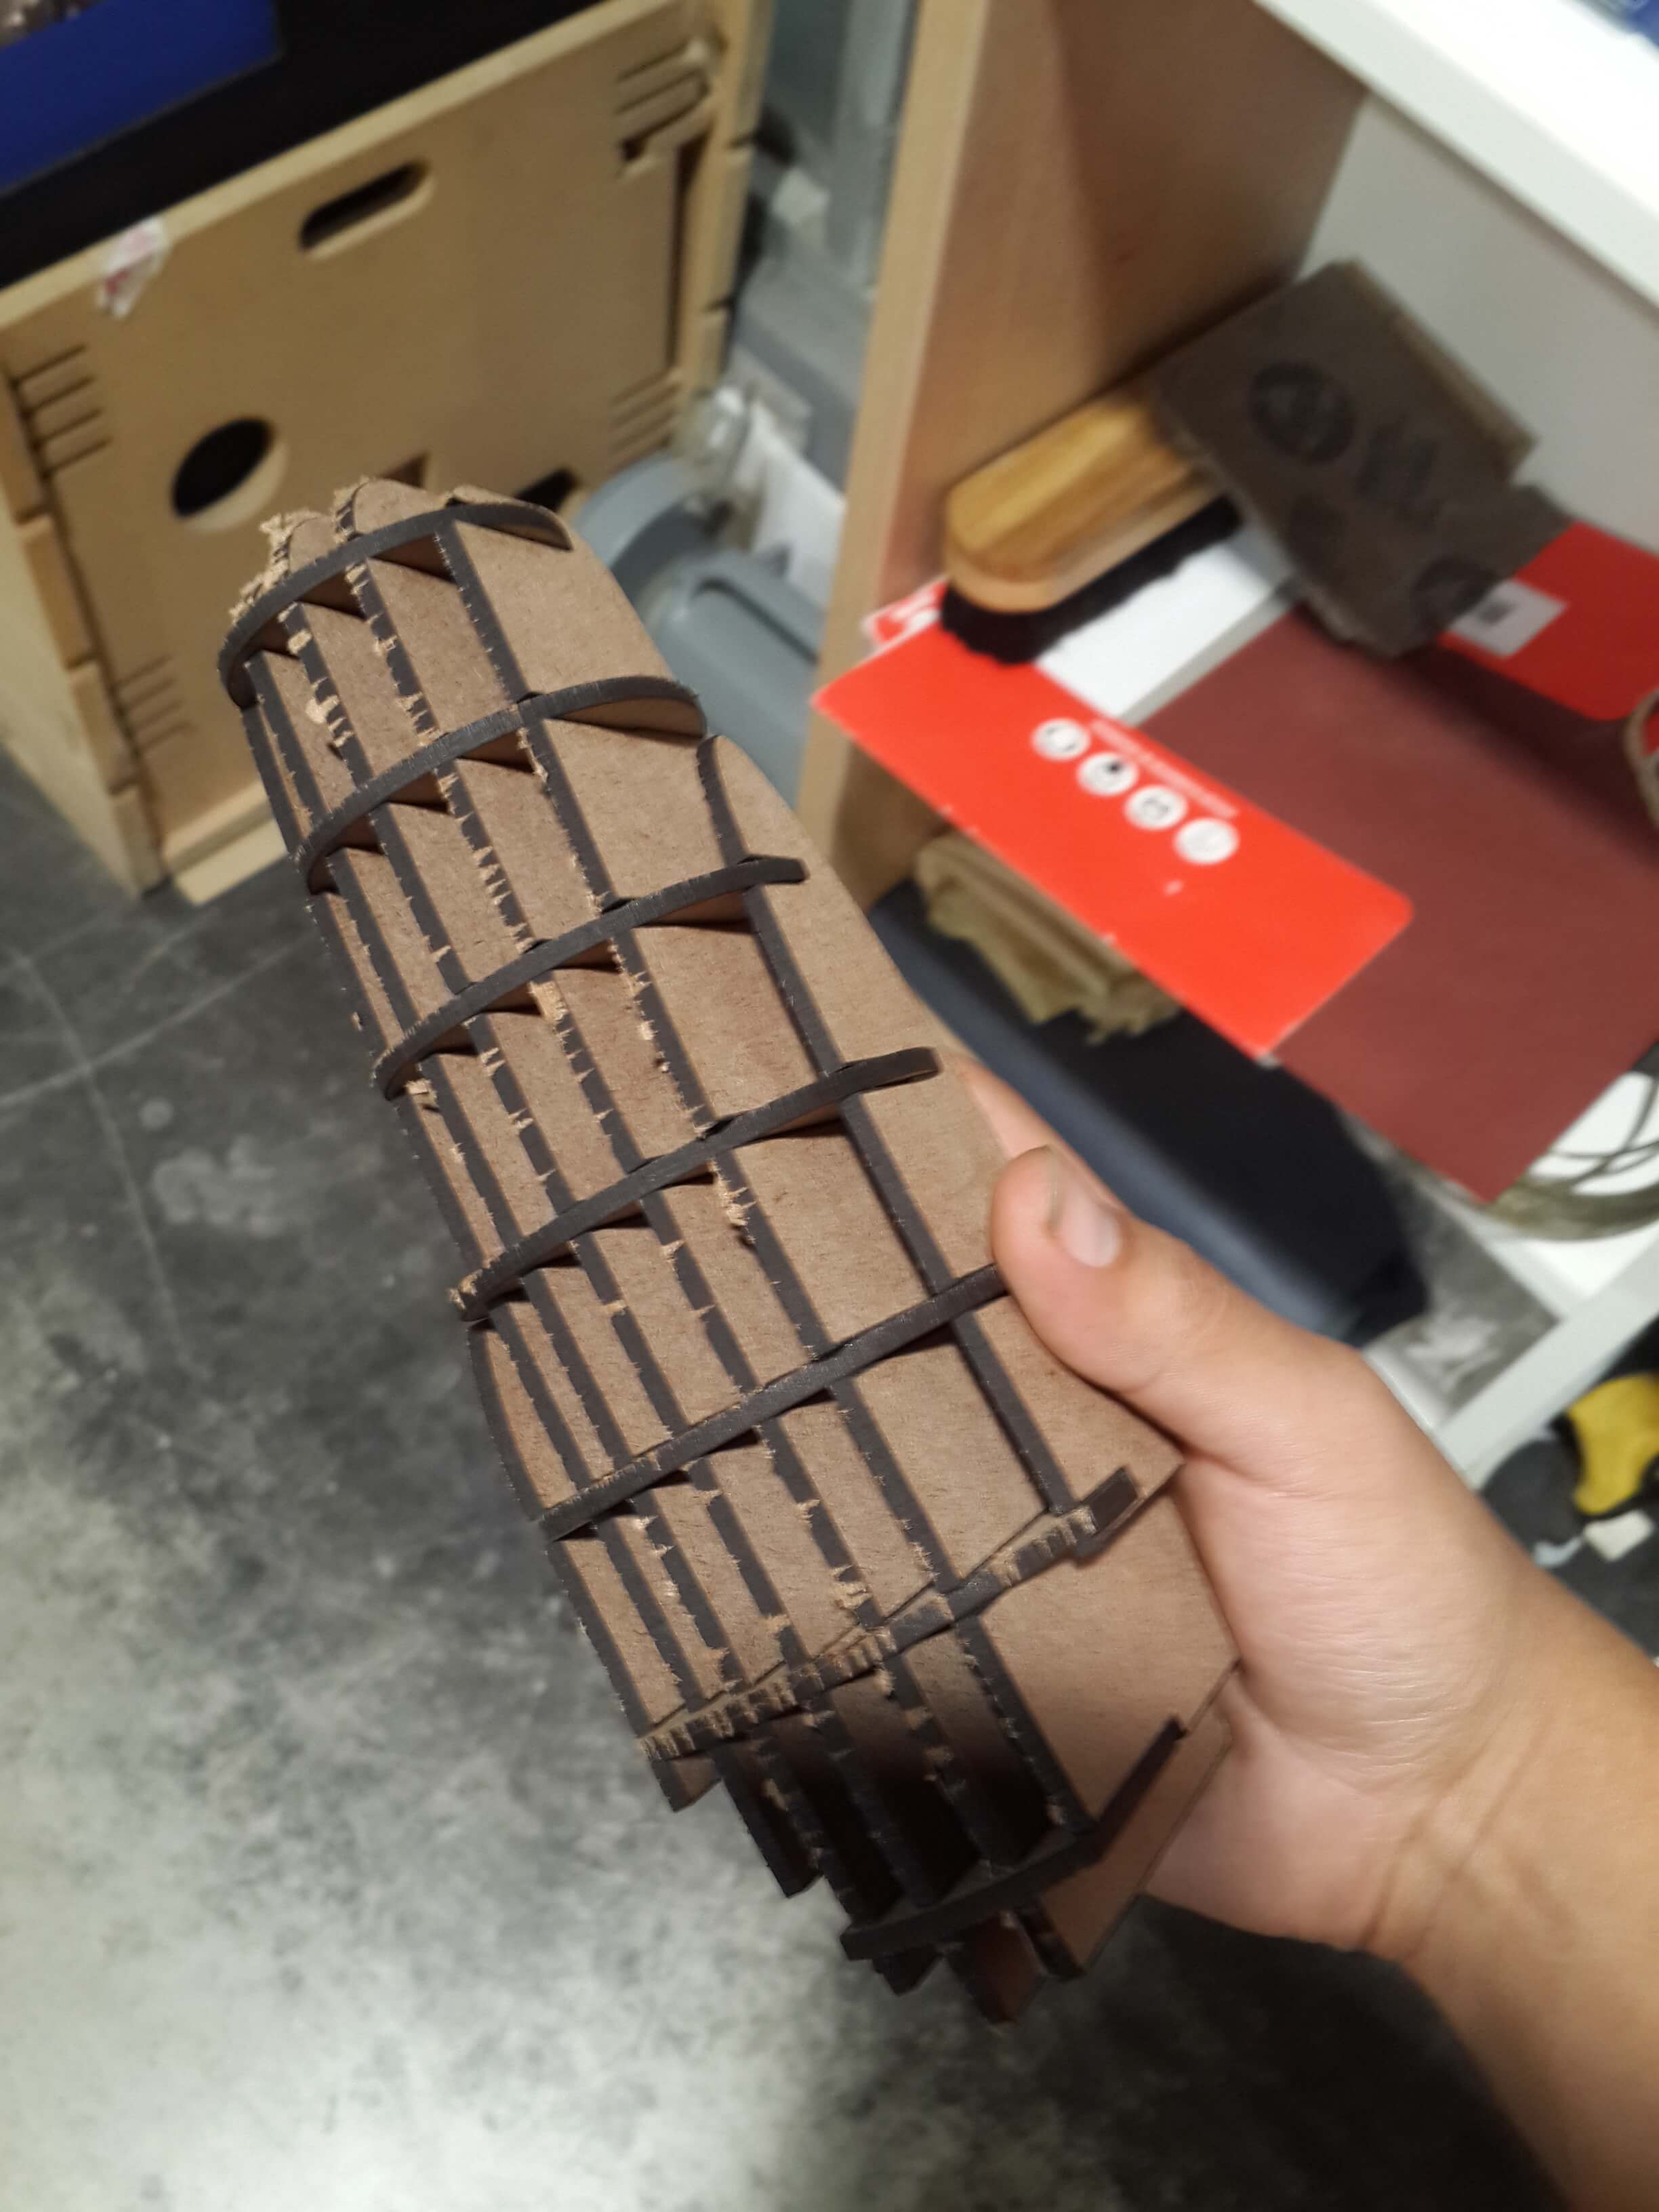
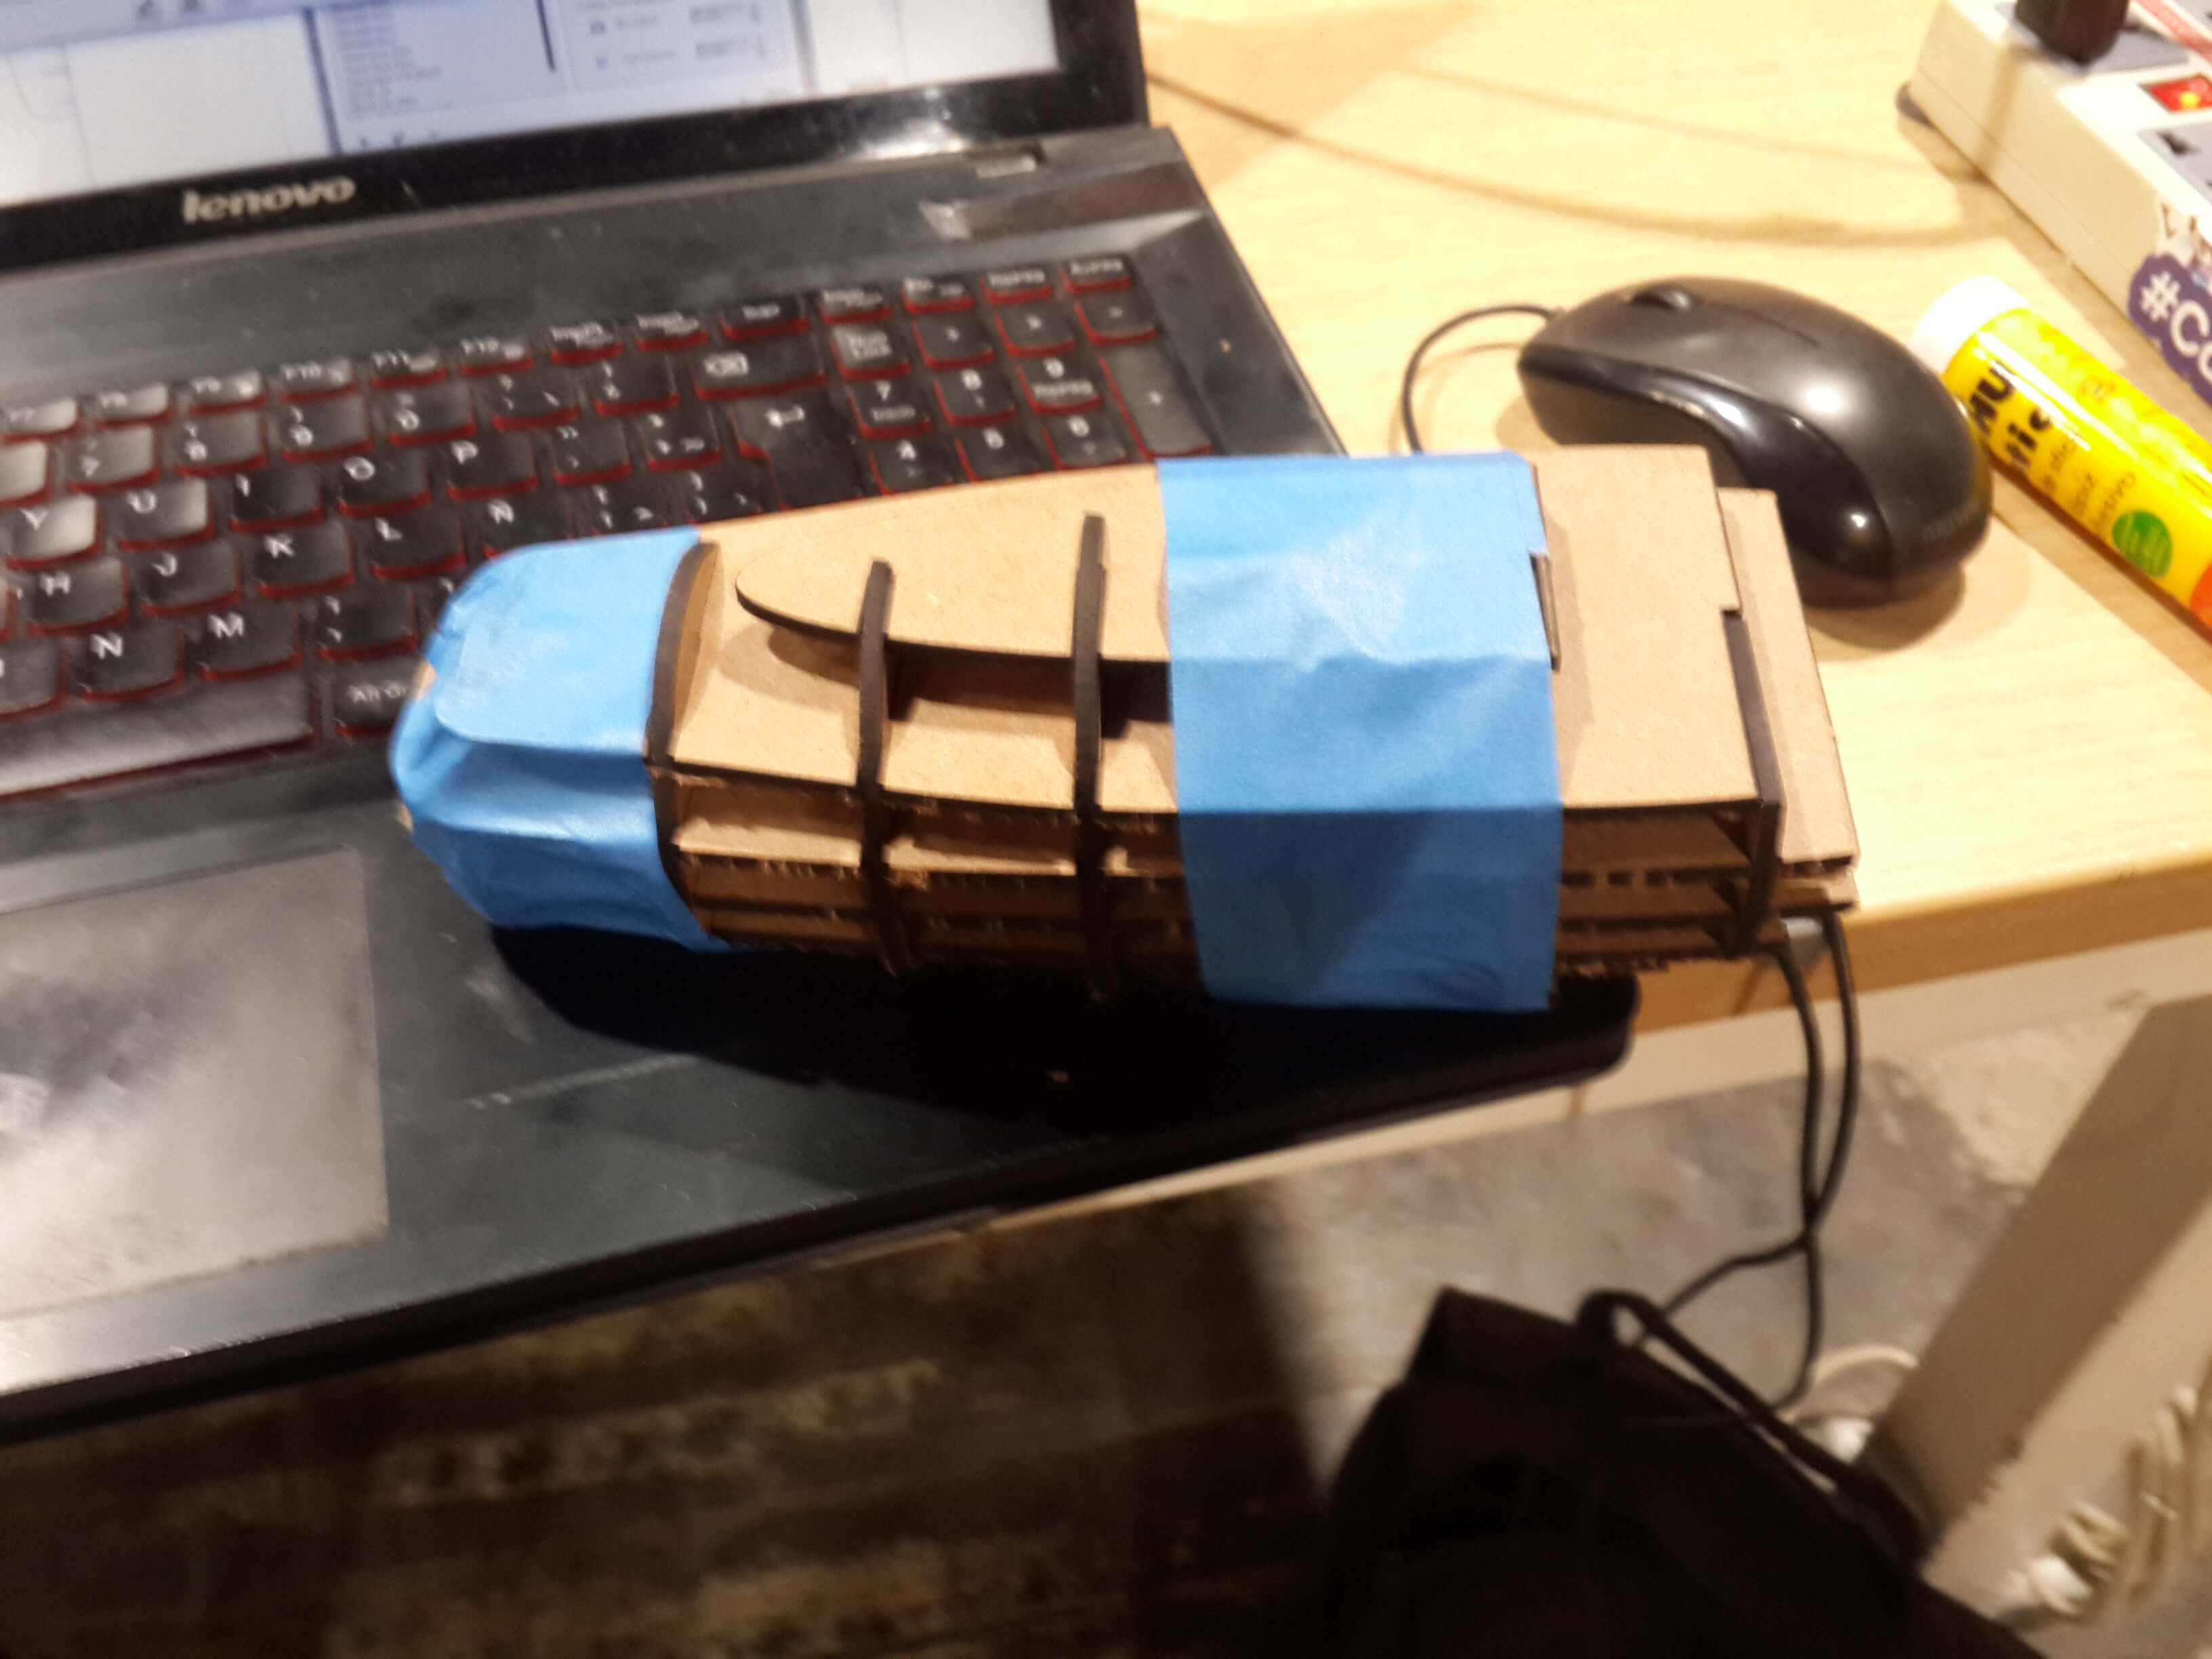
7. Then, I joined all the pieces and got both bodies, and then taped the bodies so that the pieces do not separate later.
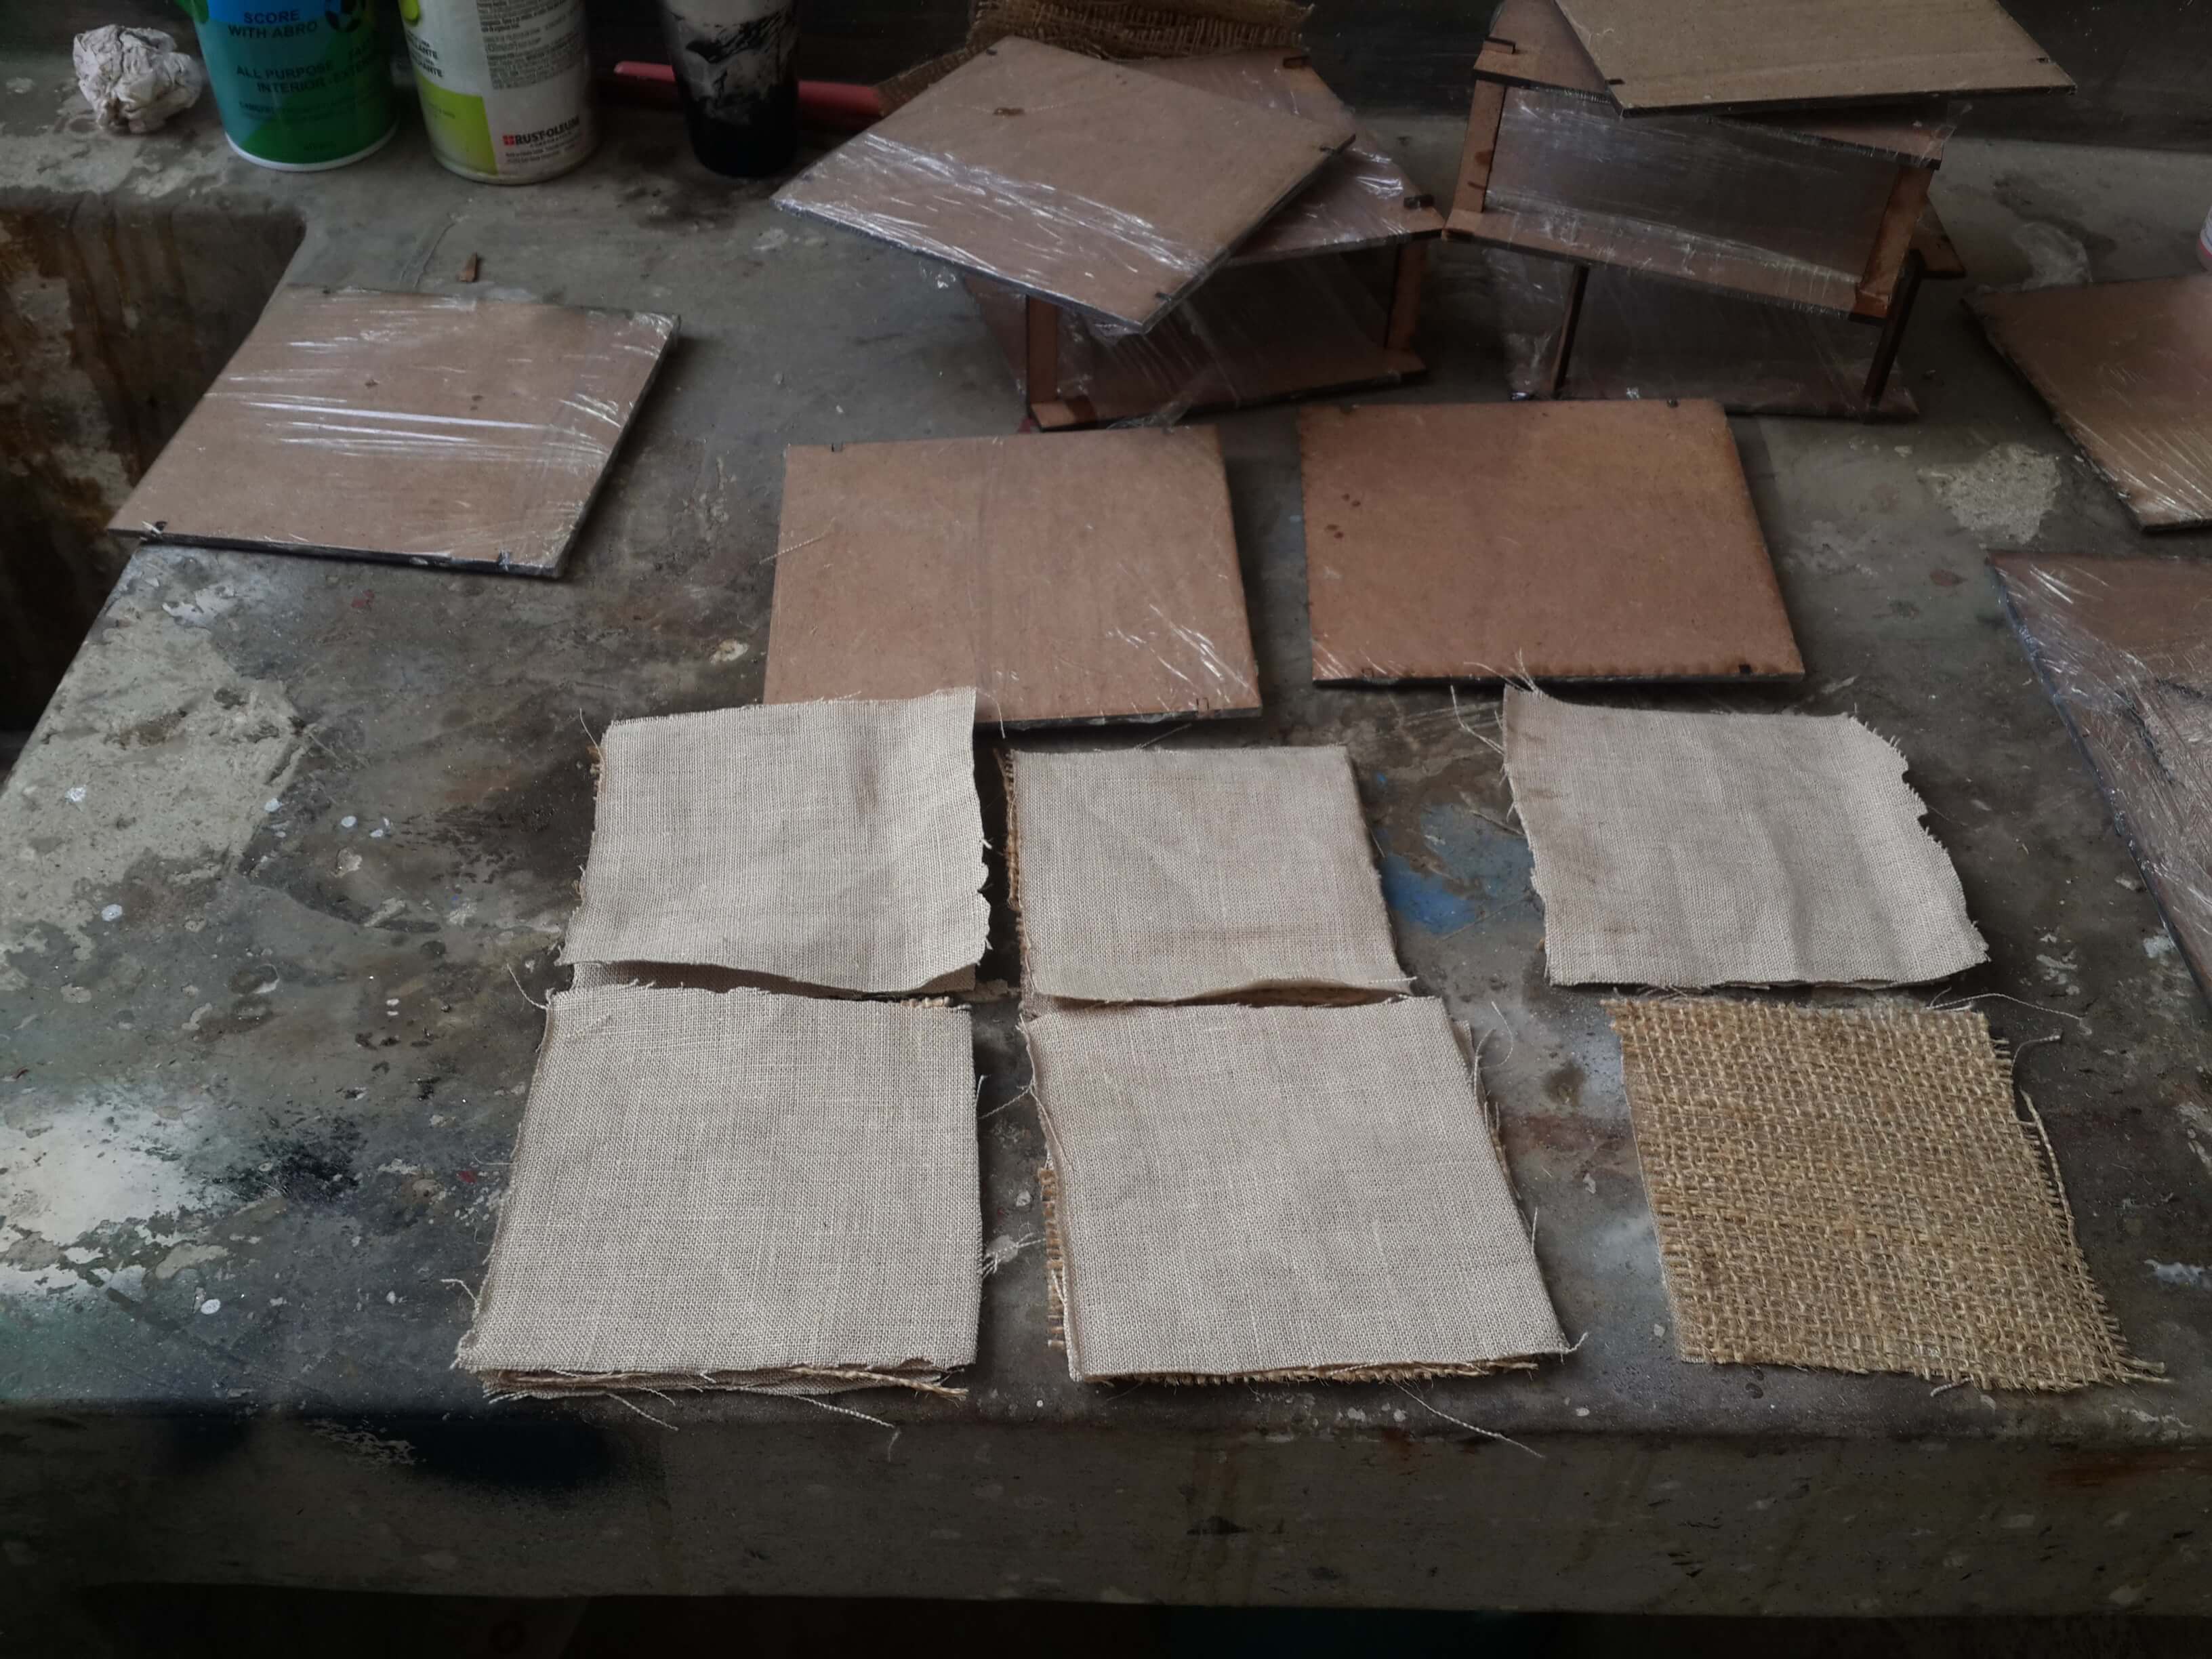
Making Some Tests
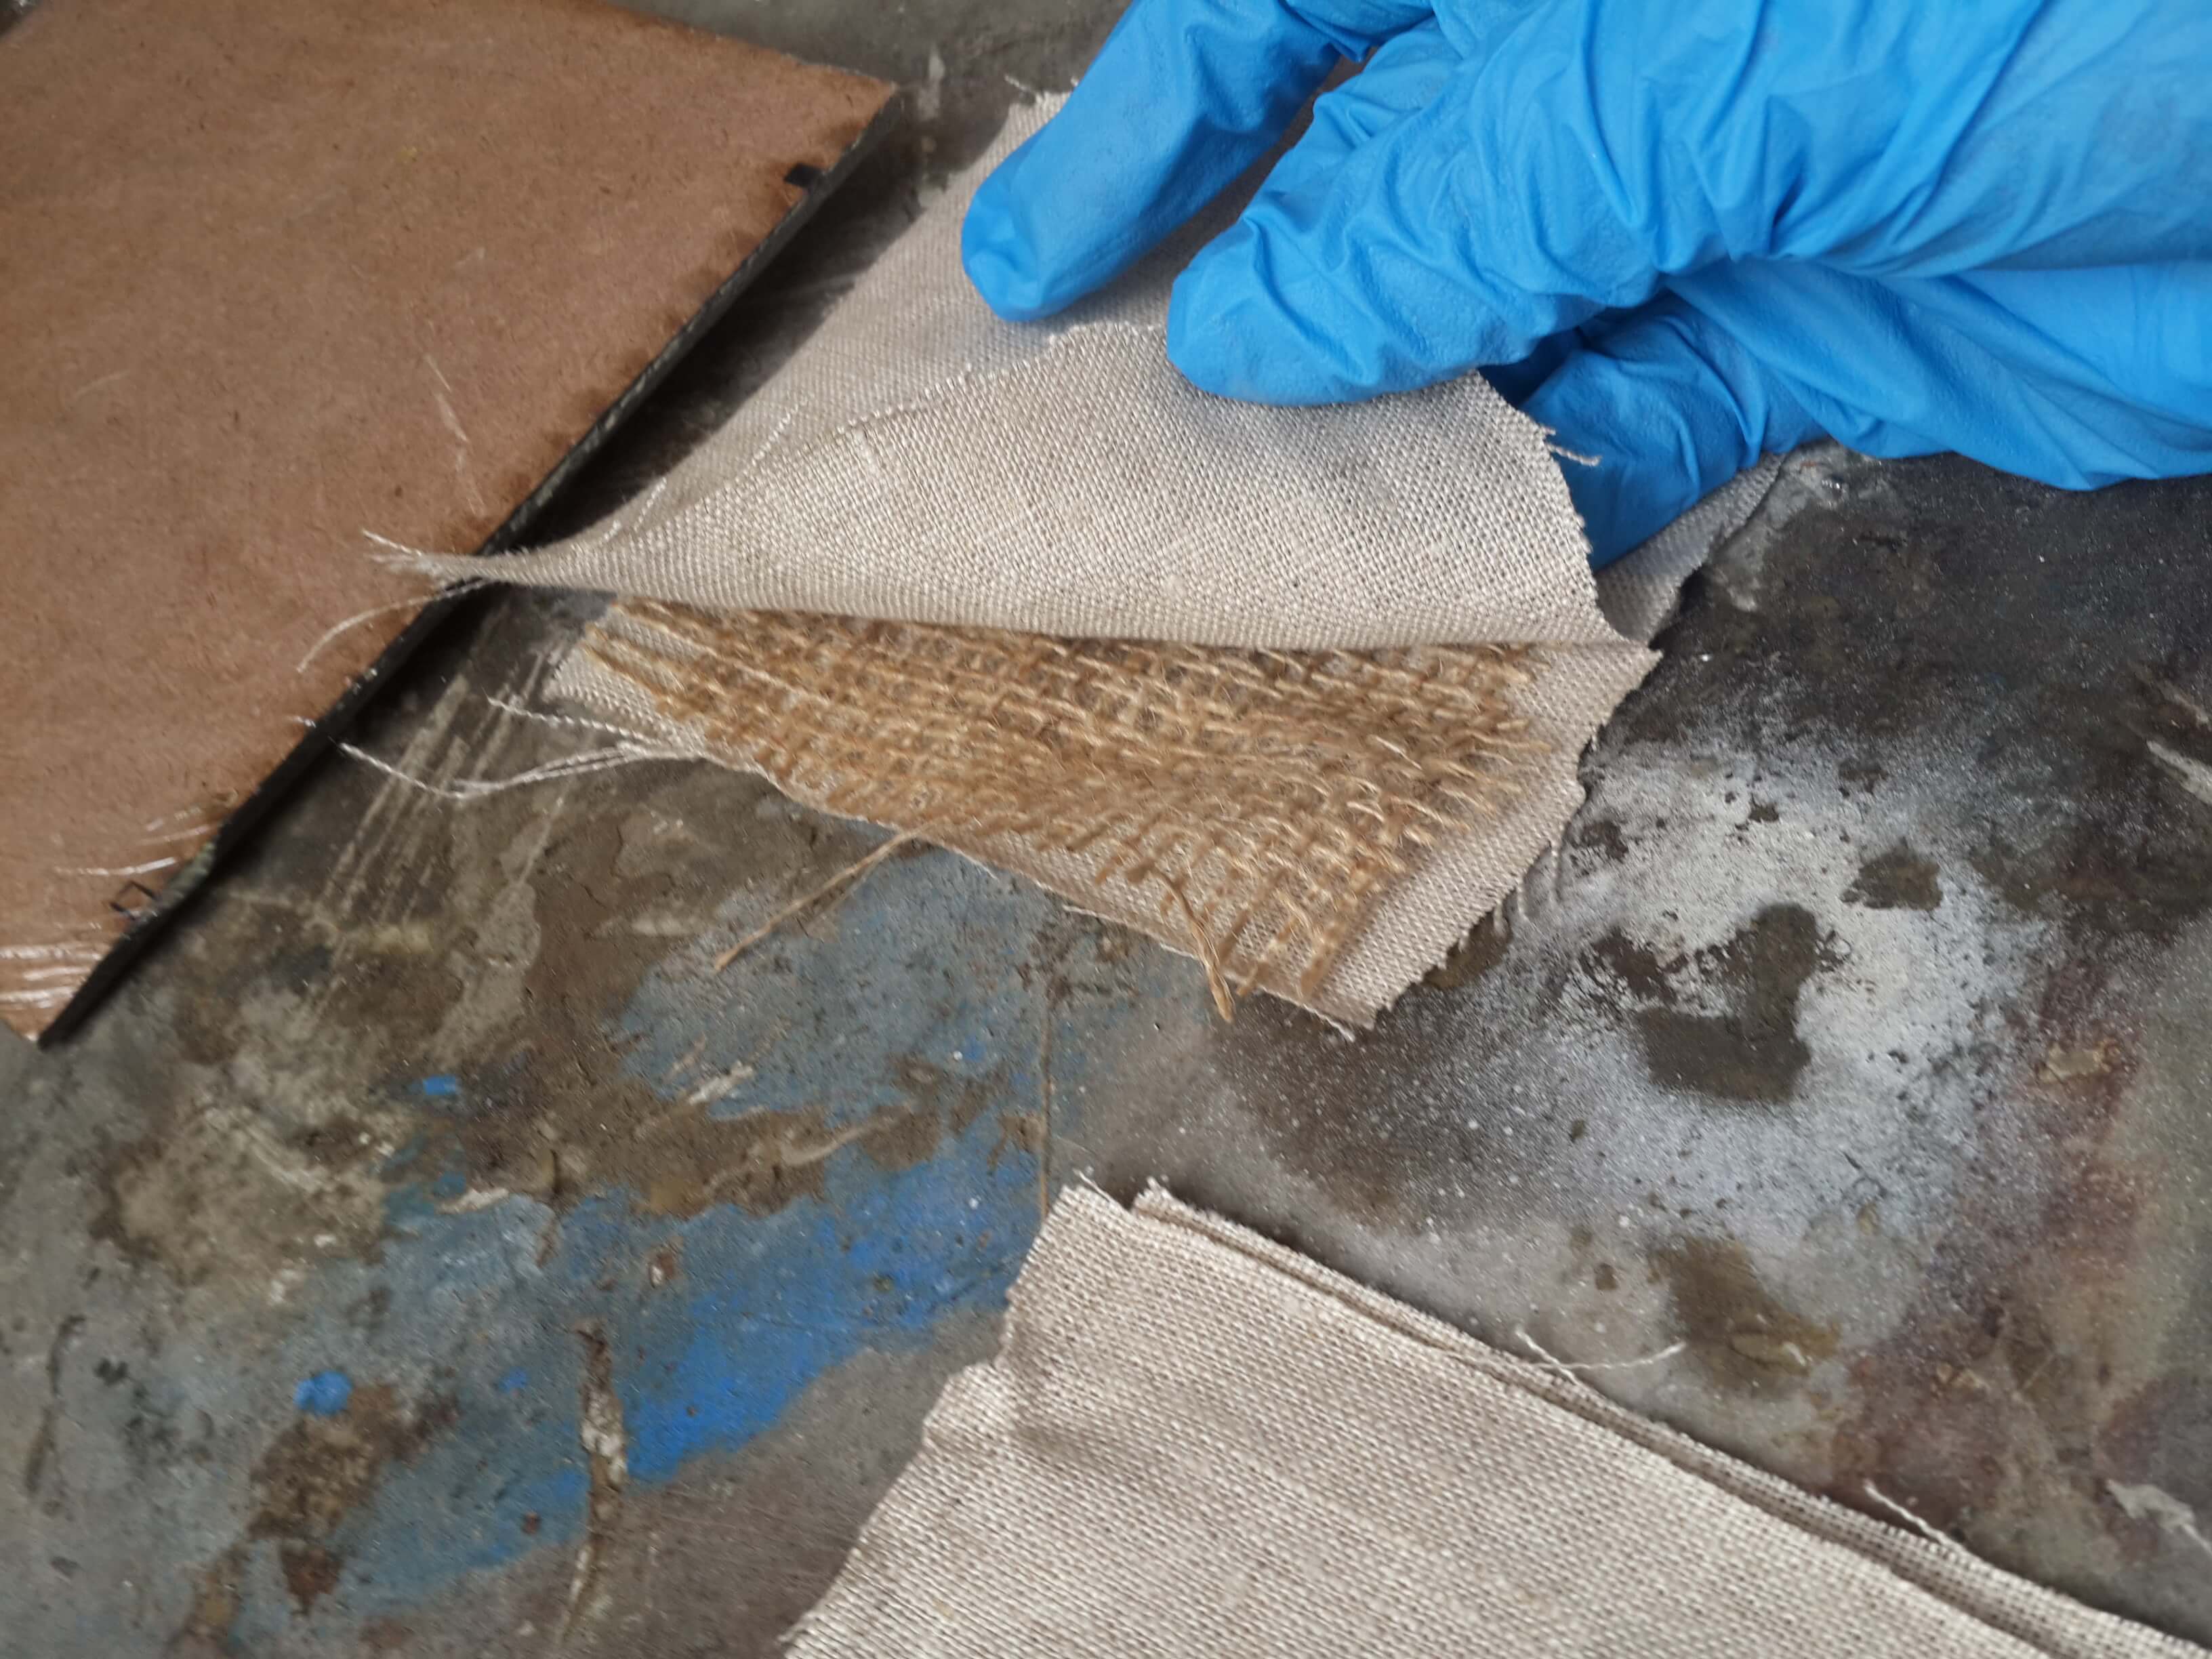
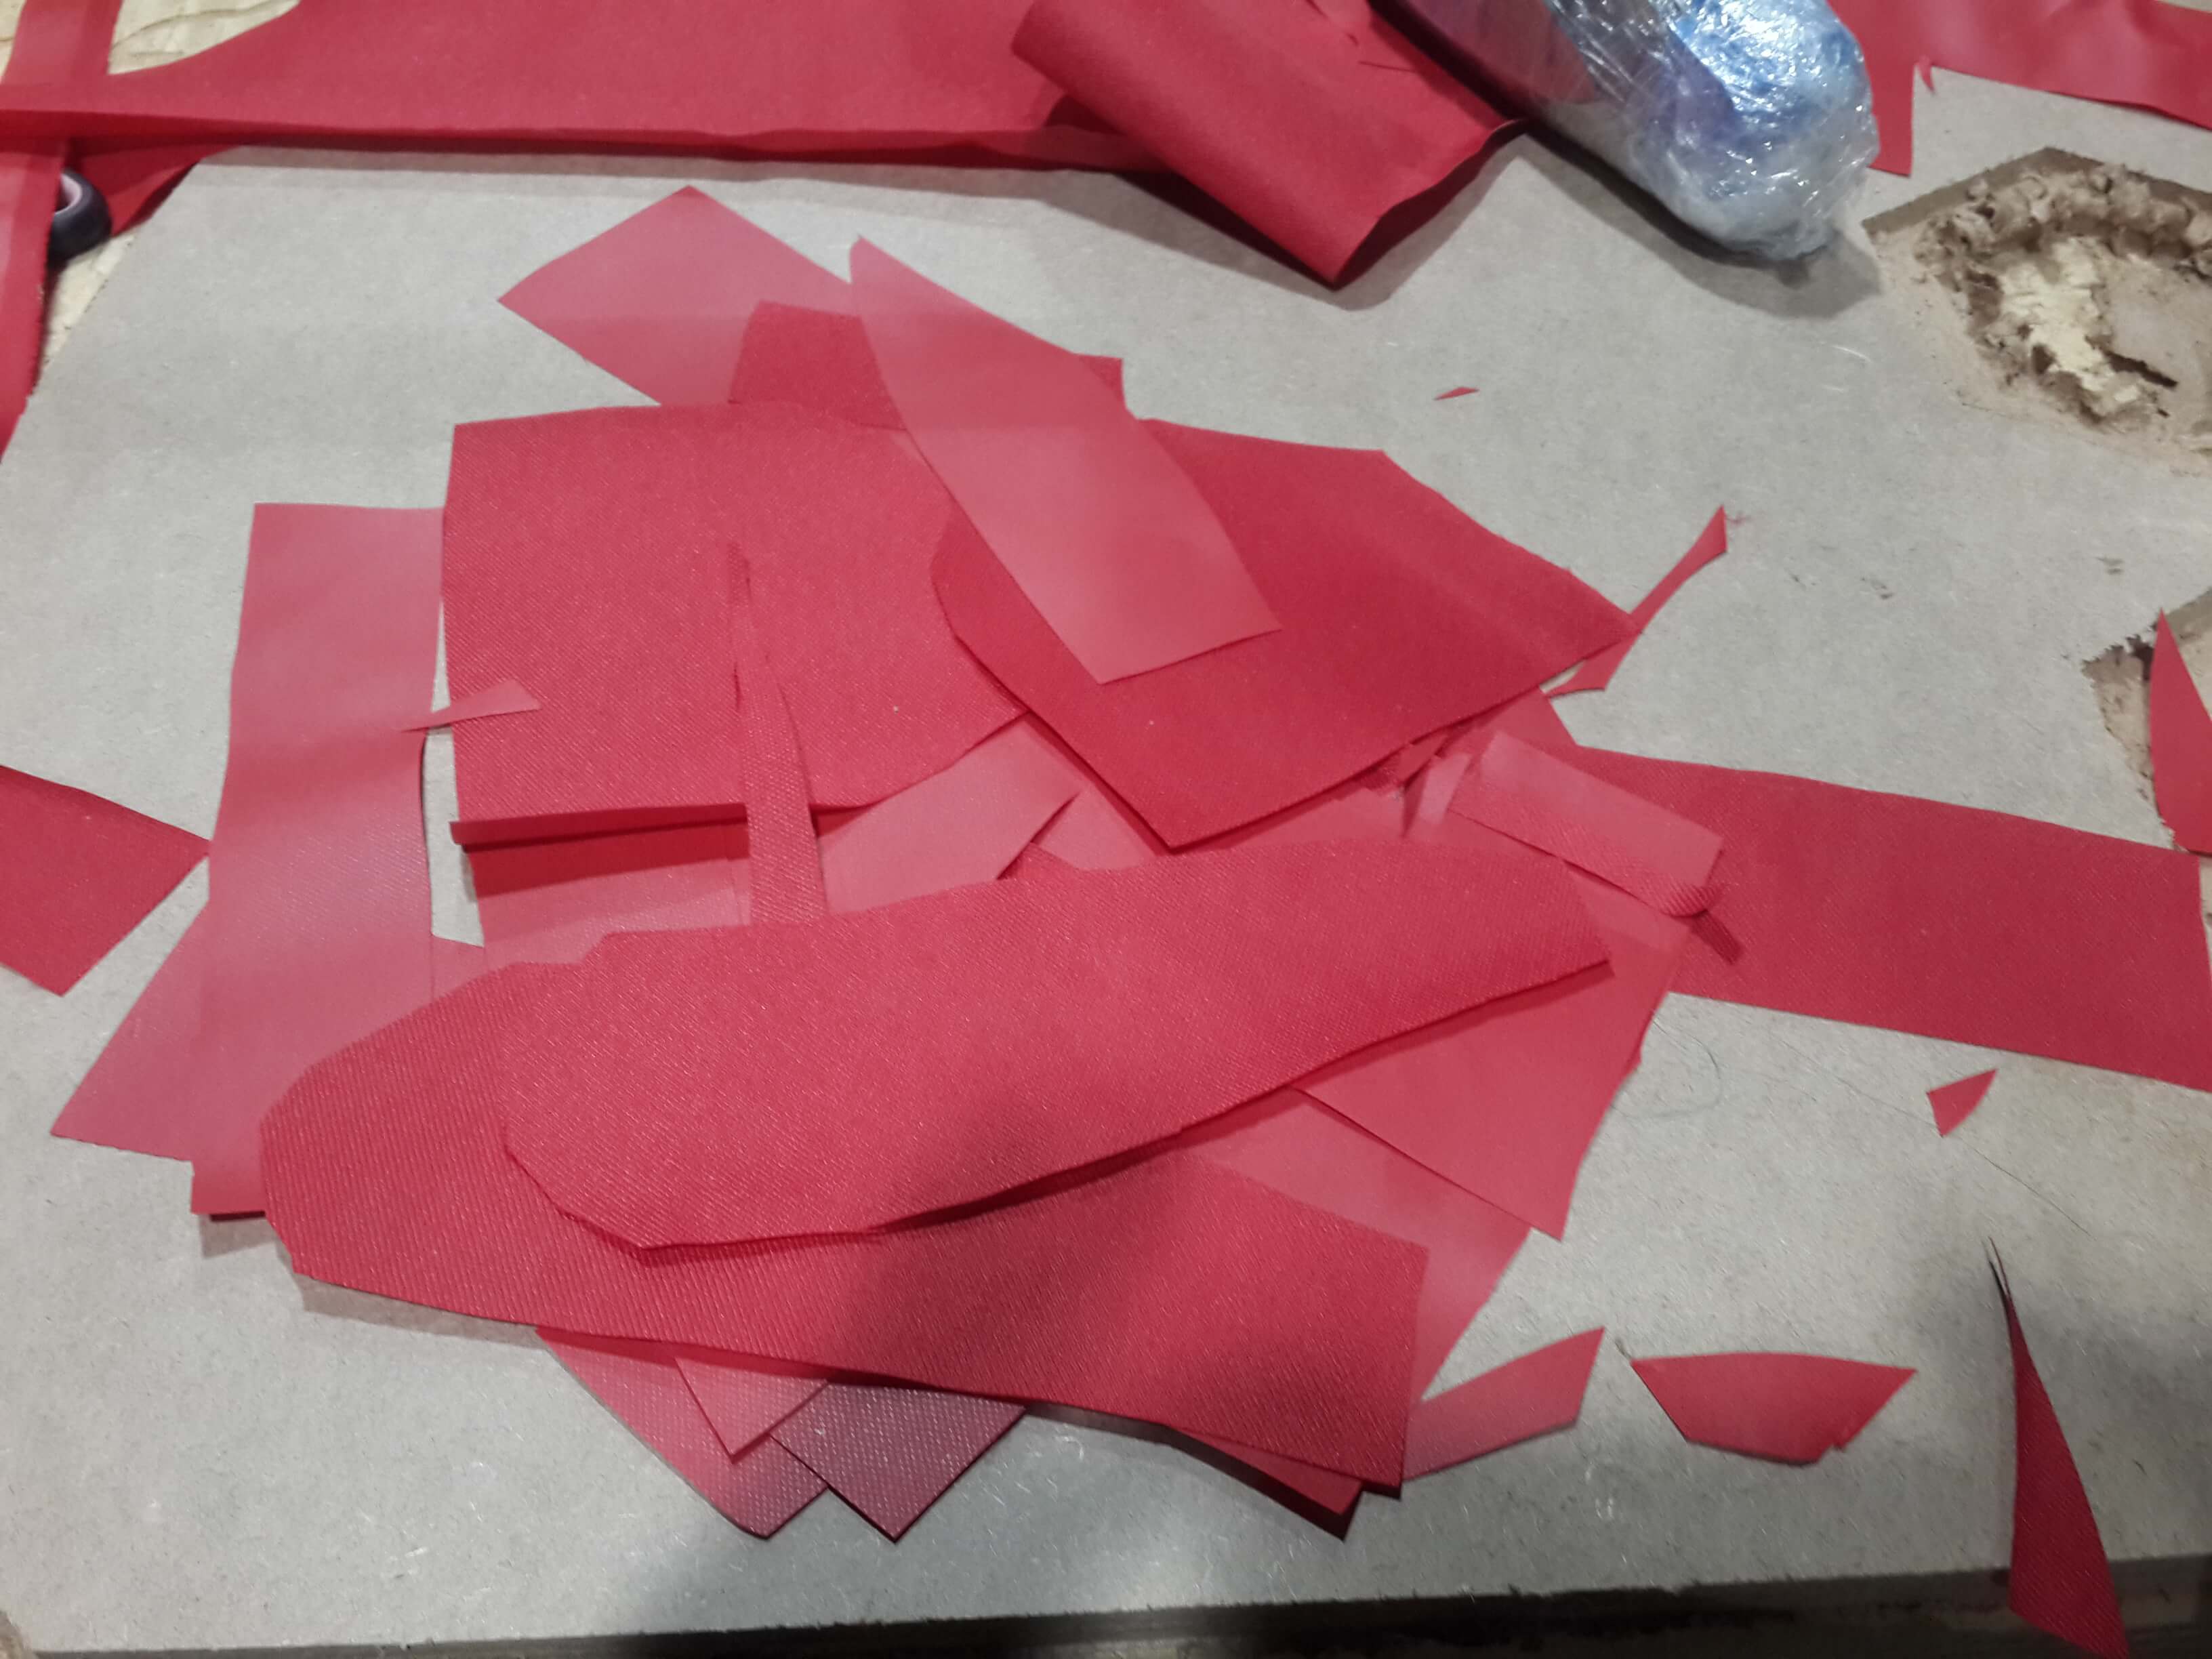
We made three test for learning how composites work, in each of this tests, put in resin a single piece of lino, two pieces of lino and one piece of yute between then, and three pieces of lino and two of yute inside in.
So, First made sandwitches of lino and yute,
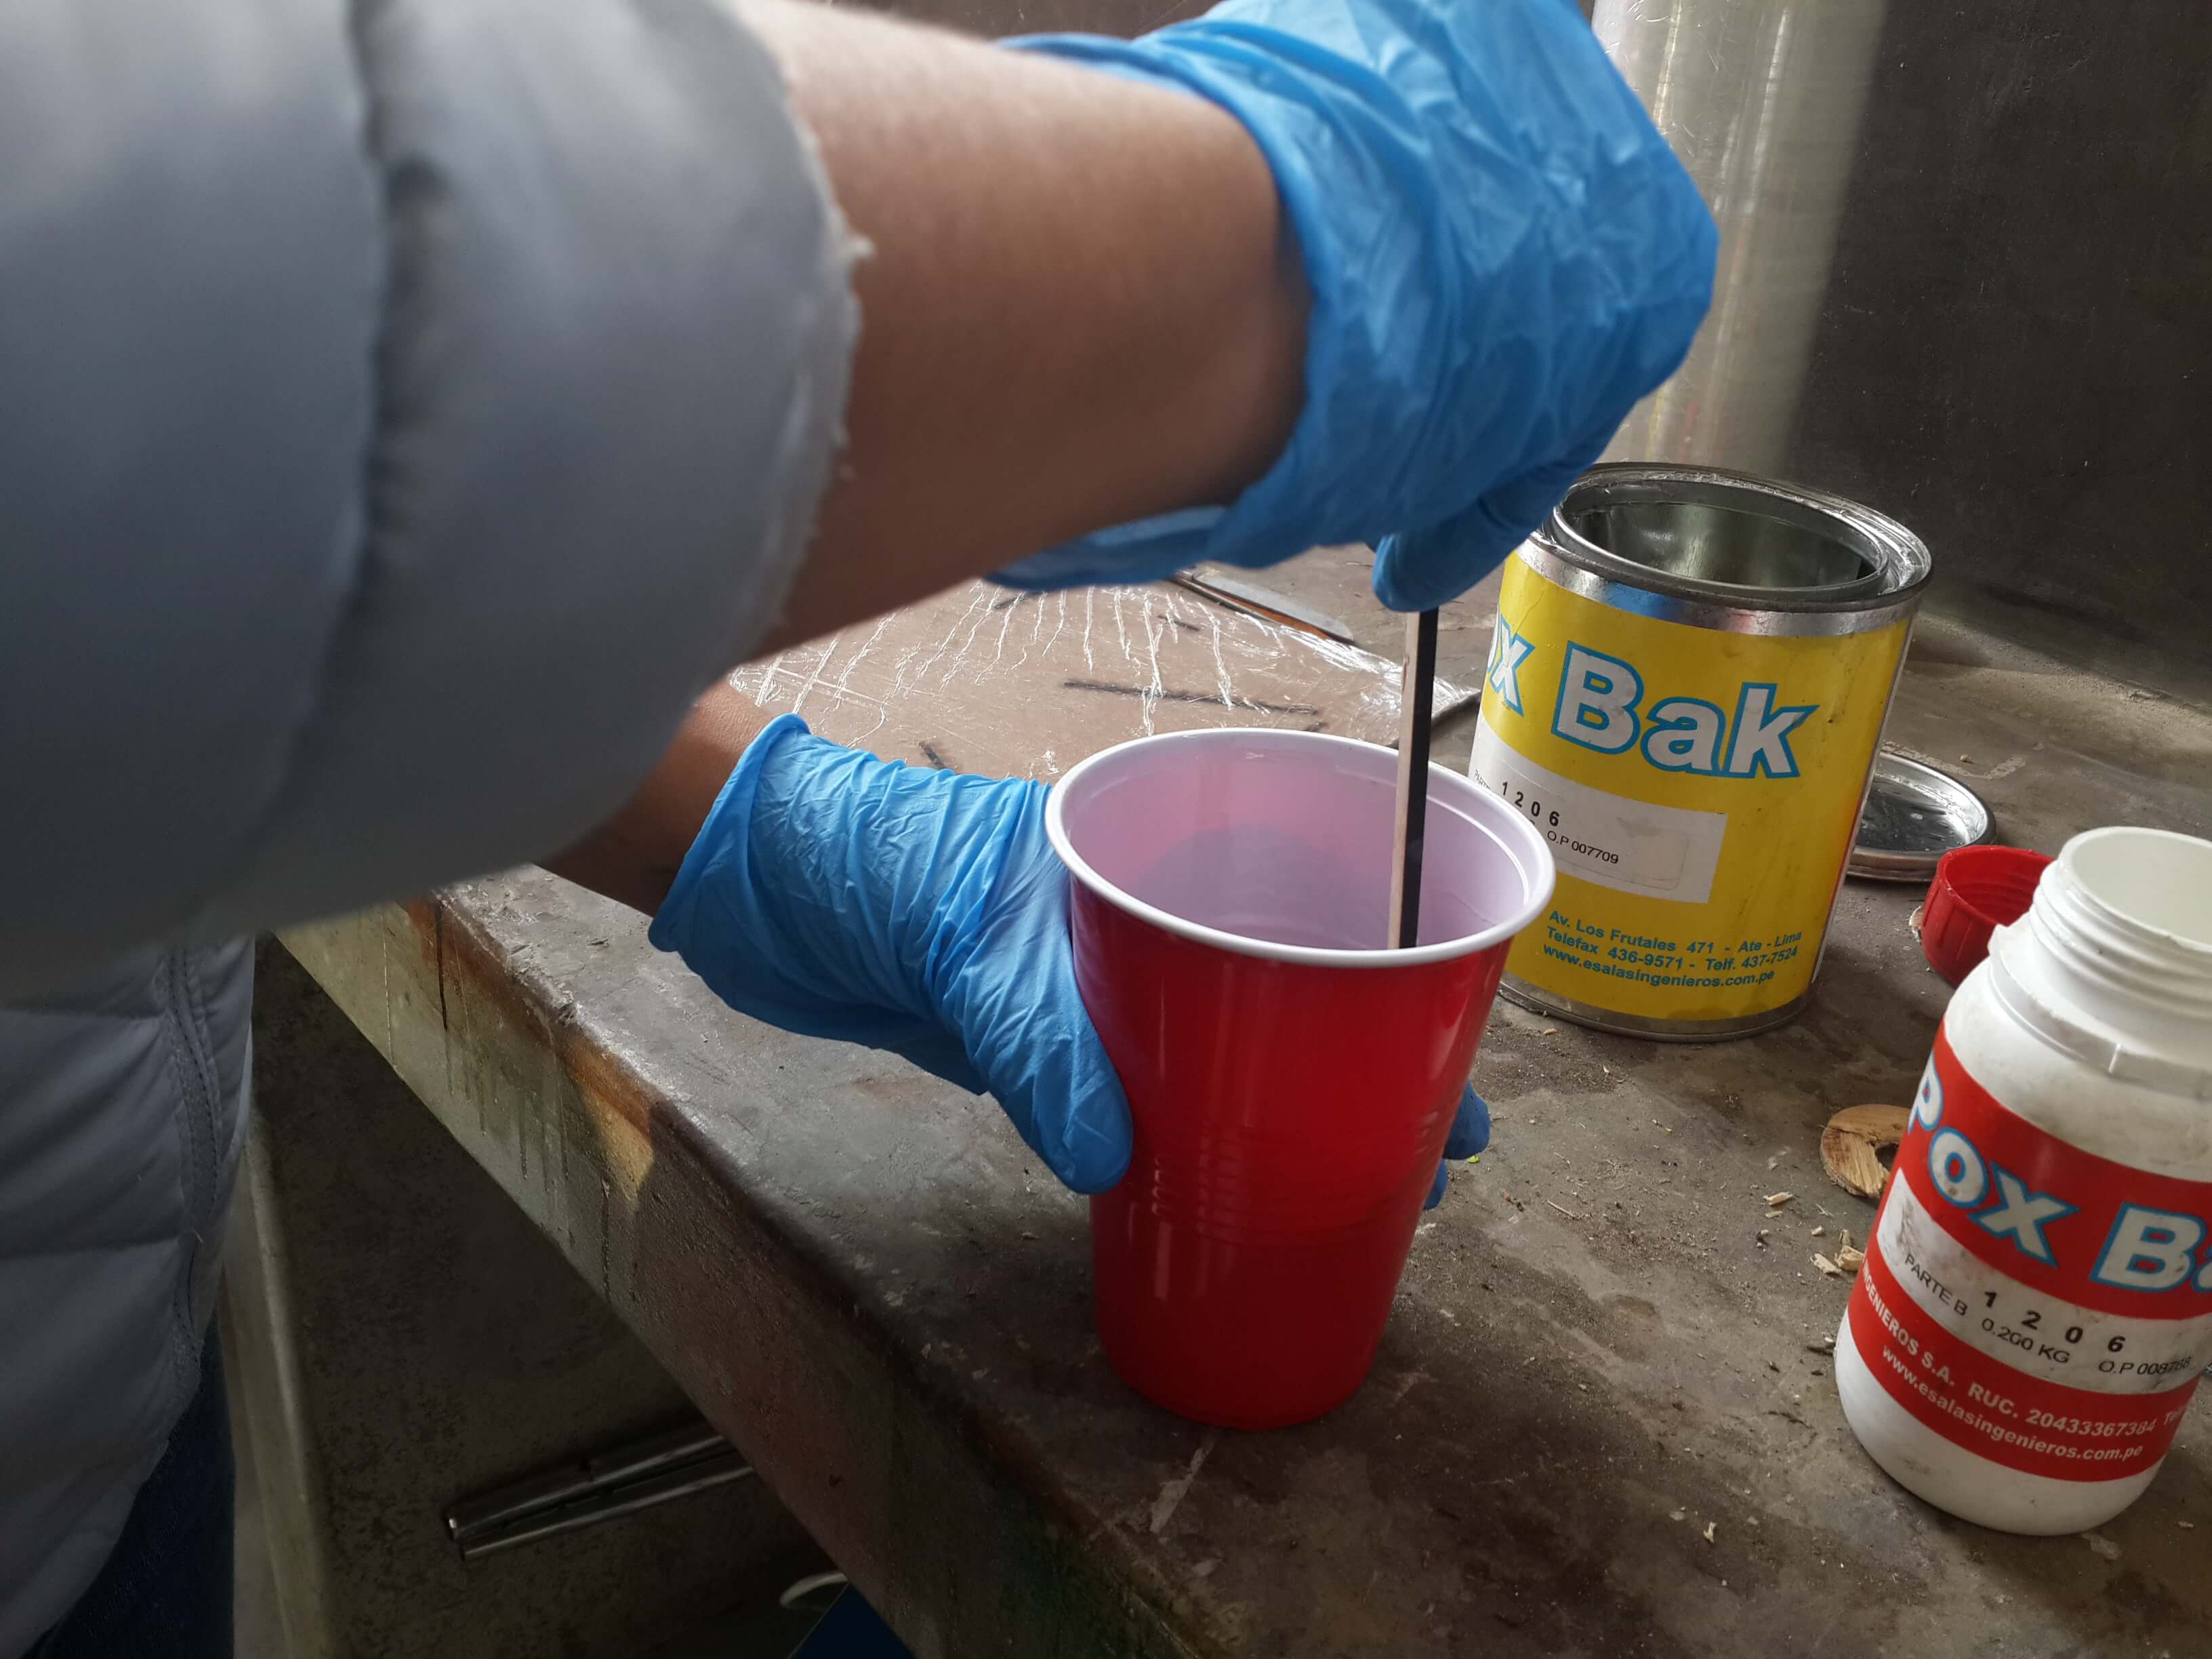
Then, we mixed for 5 minutes the mix of the resin and the resin catalizer, which were in a proportion of 5 to 1
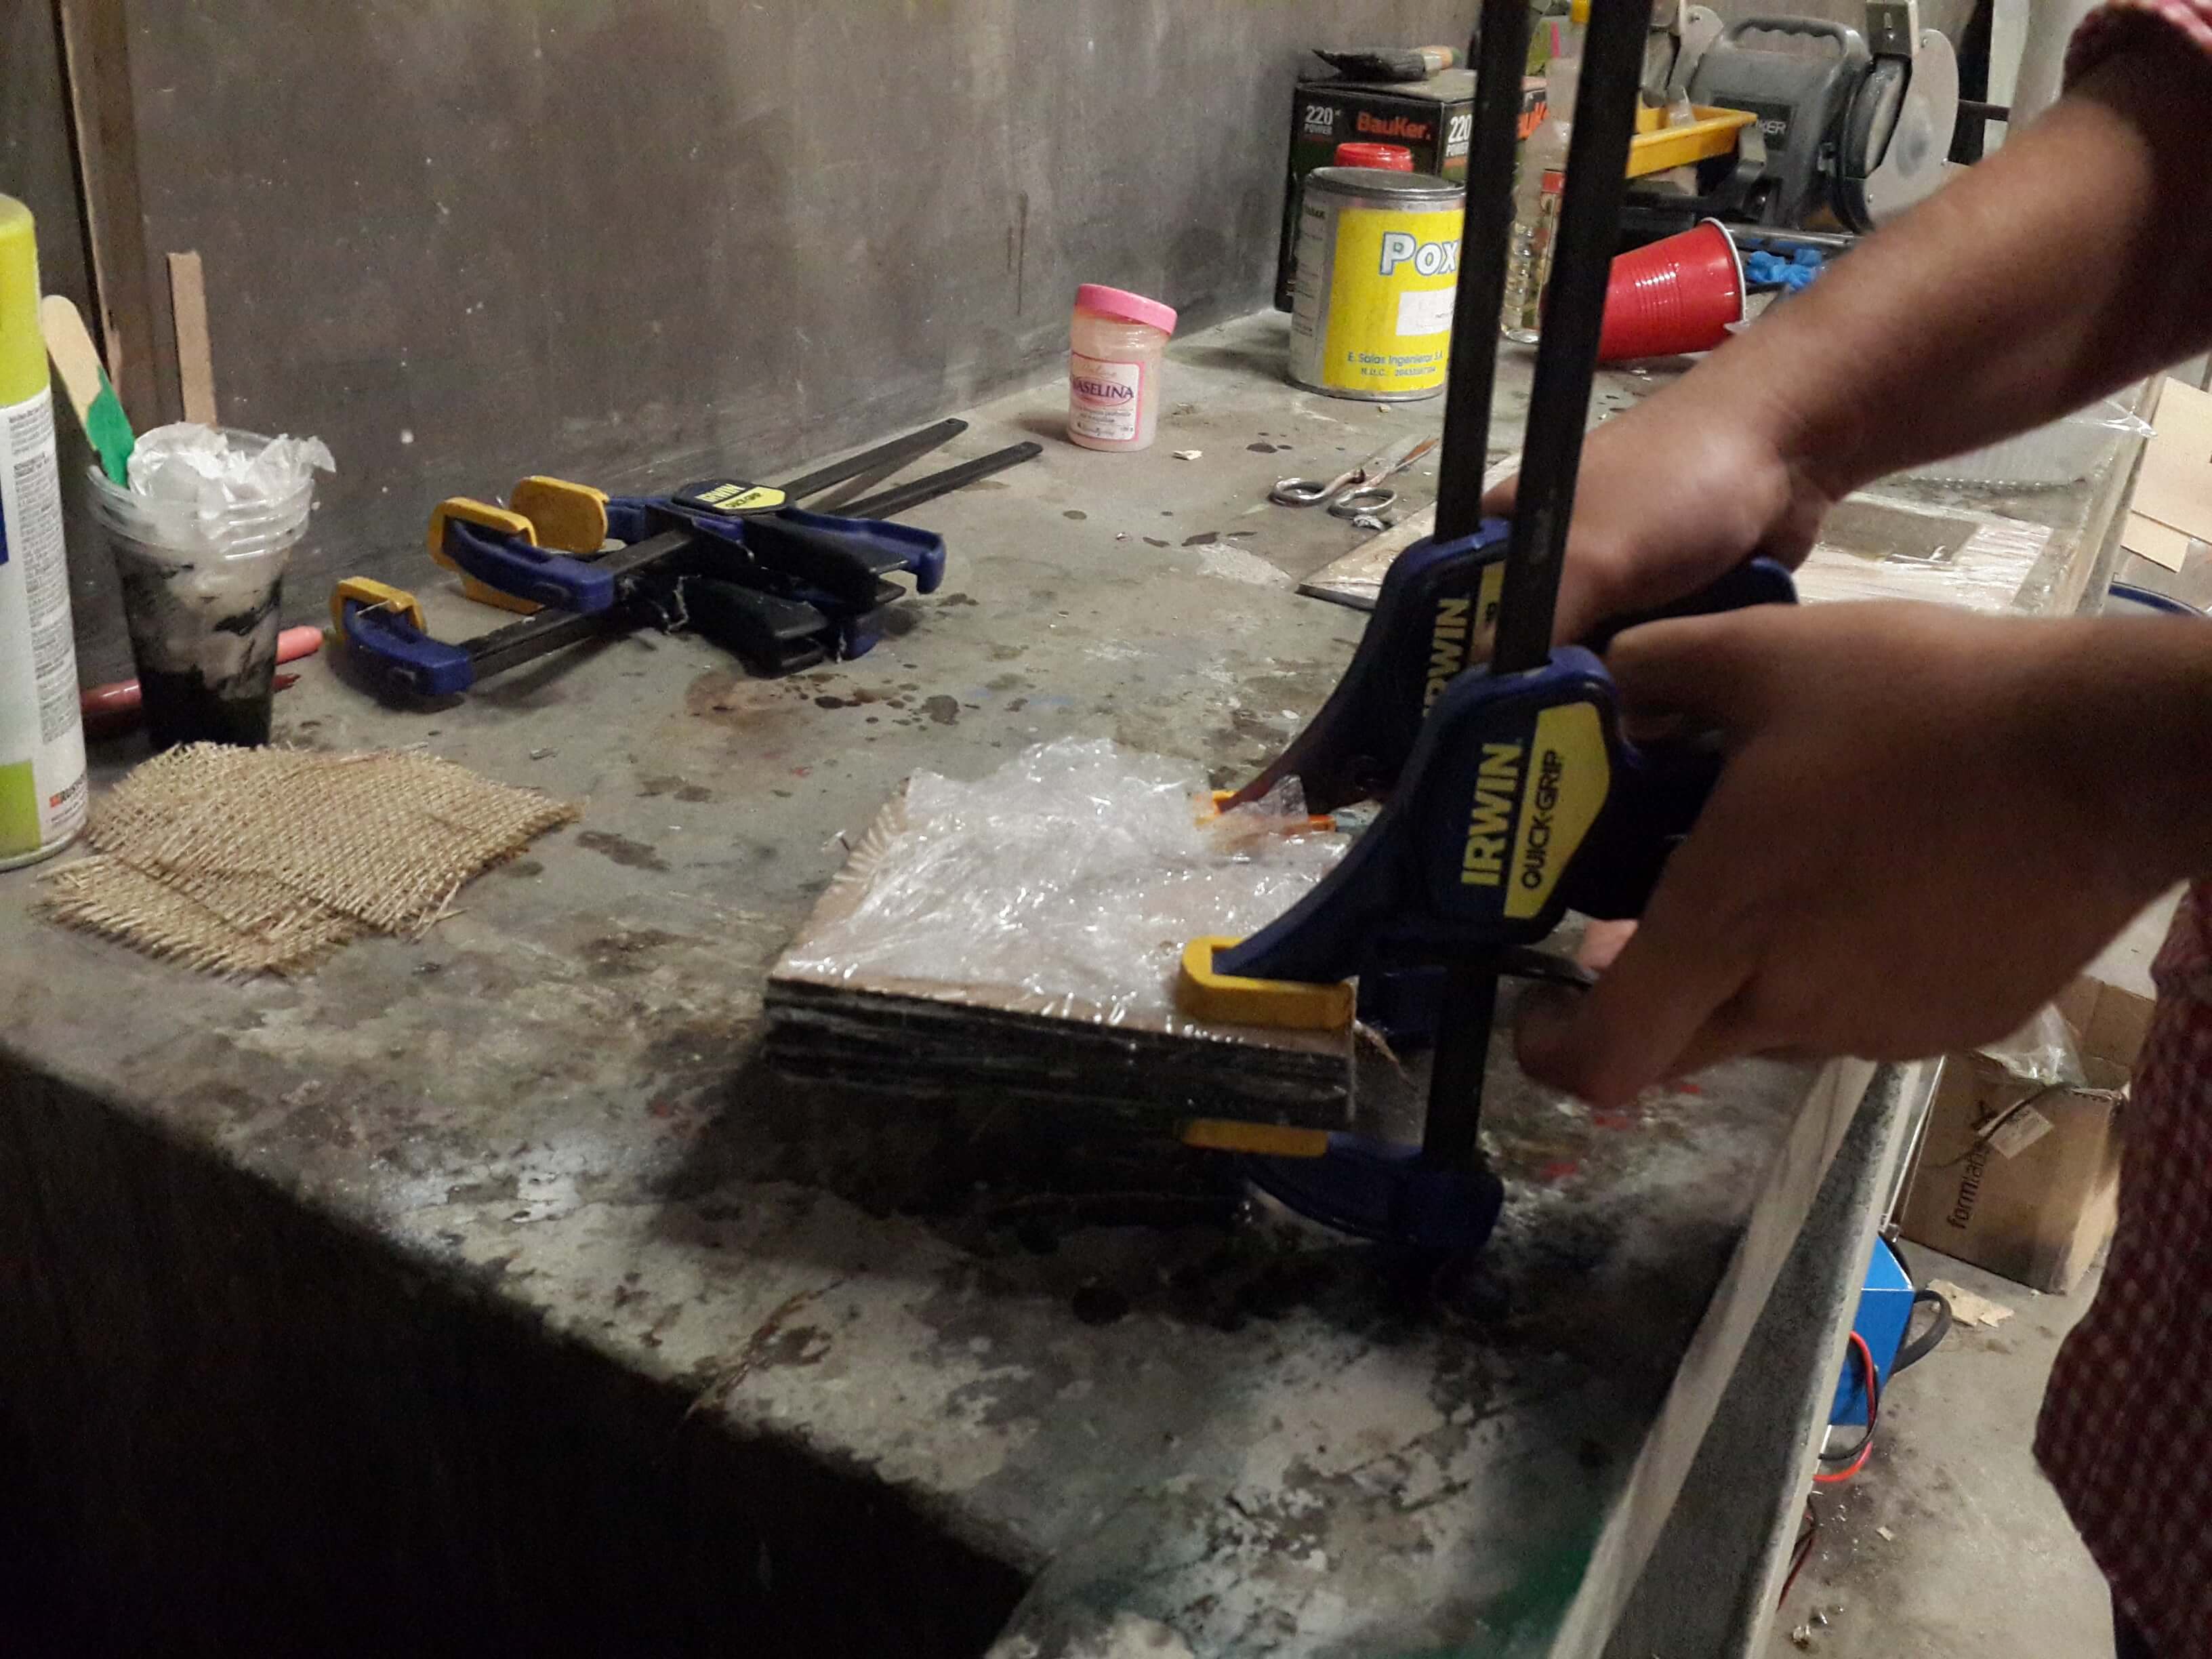
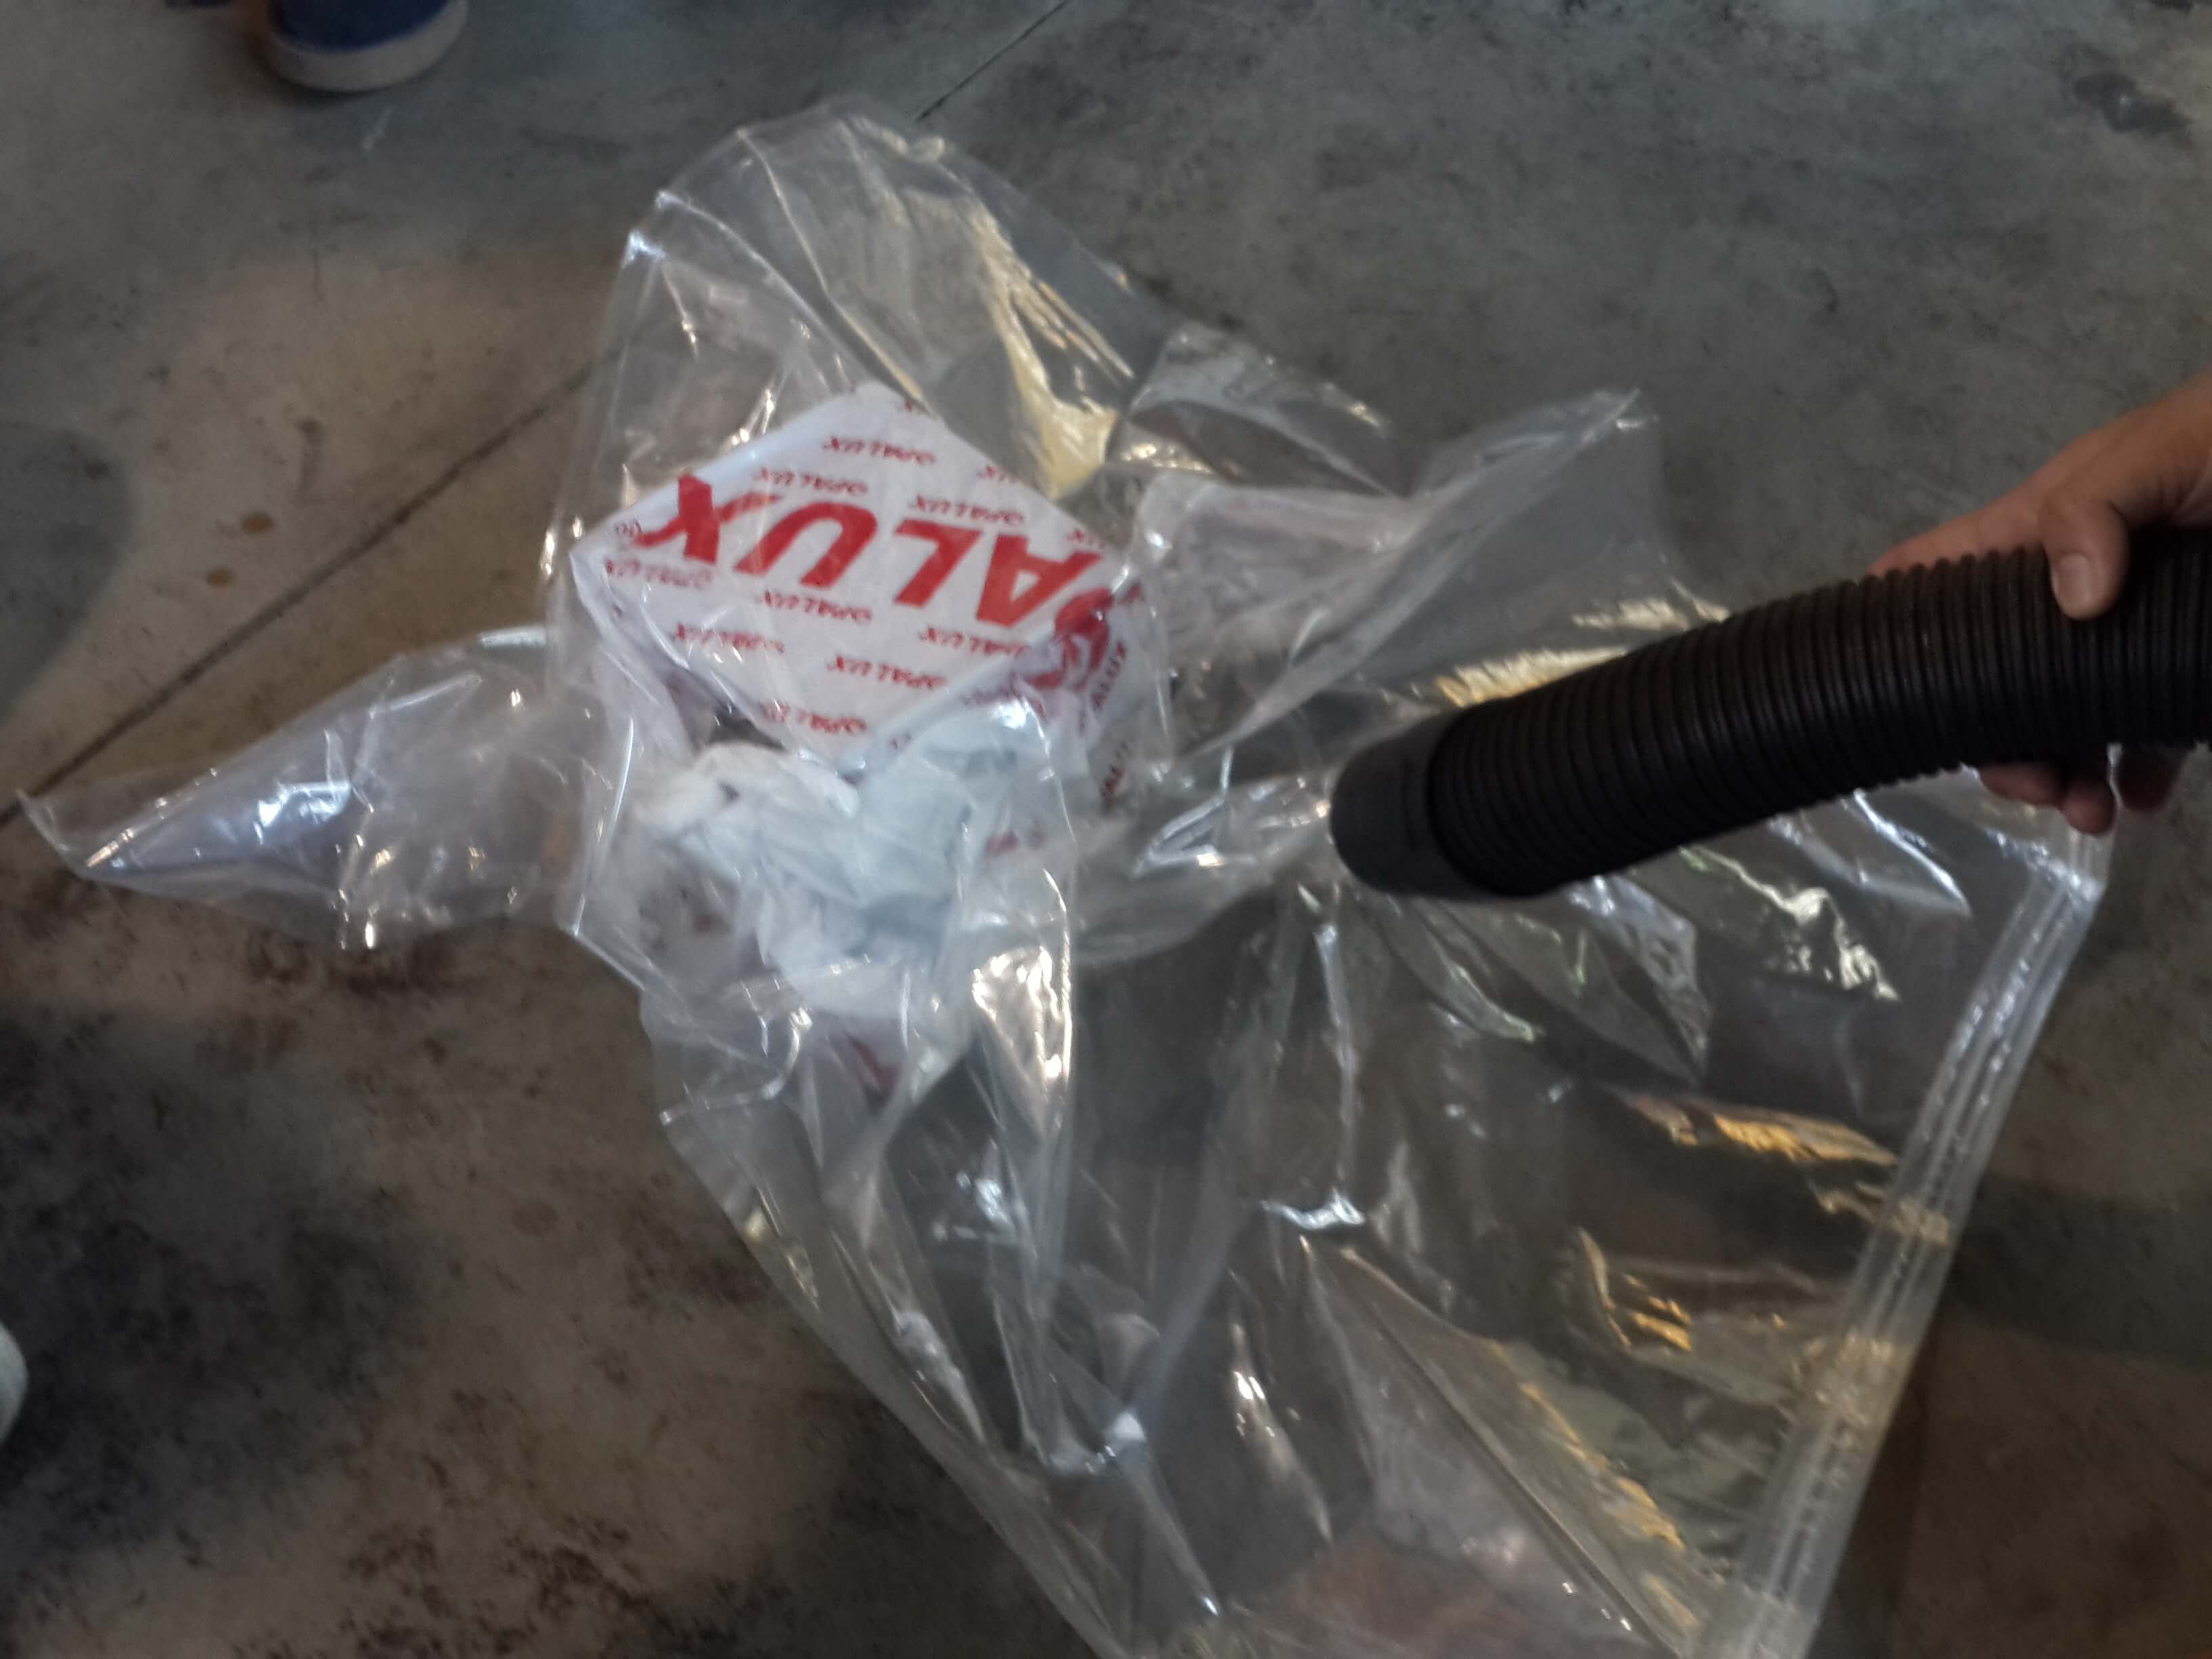
In general, for the three tests, we covered some boards with film and vaseline and then put the pieces lino and yute full of resin over them.
- The first test consisted on pressing this pieces with a couple of boards so that most of the resin get out of the lino.
- The second test consisted on letting the resin dry when exposed to air.

- And the third test consisted on putting the pieces of lino inside a bag that generate vacuum when connected to a vacuum cleaner.
So after waiting for more than a day we determined that the best in texture were the ones that were pressed between two boards, however they were also the less hard. The hardest were the ones that dried exposed to air, then they were followed by the ones in the bag and finally the ones that were pressed.
This can be seen on the nex video, were the first row are the ones dried on air, the second row are the one vacuumed and the third row are the ones that were pressed
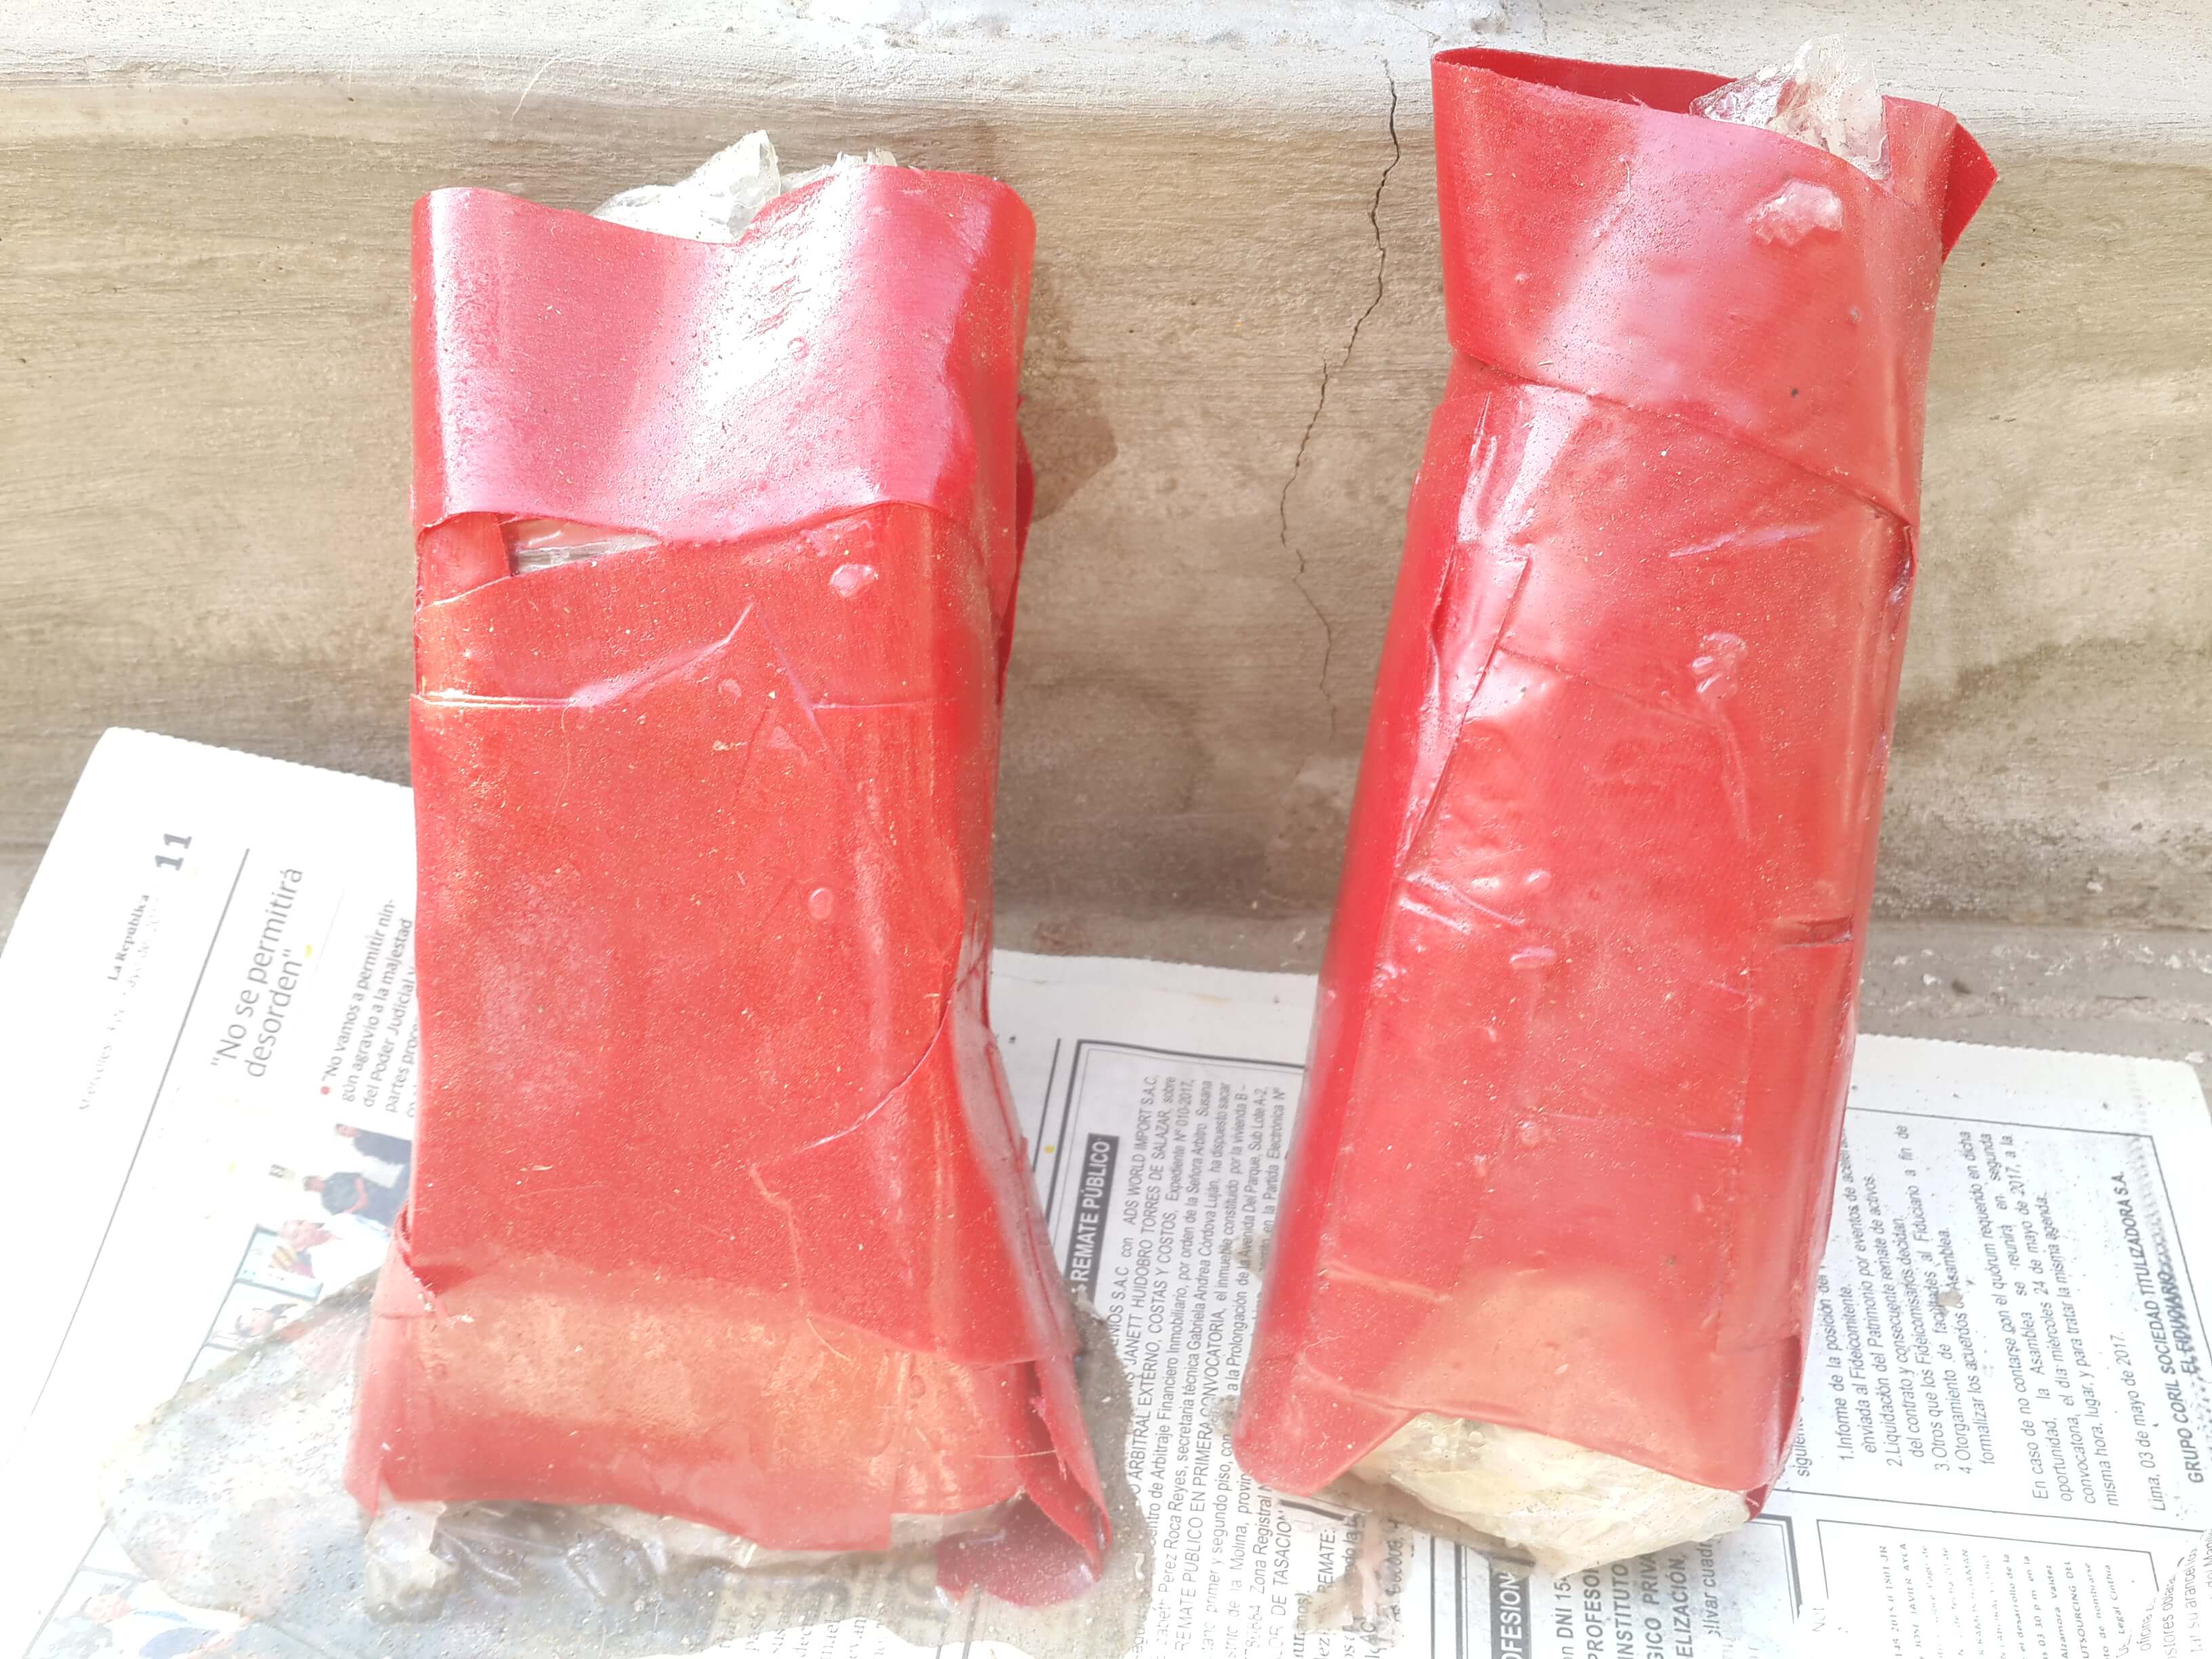
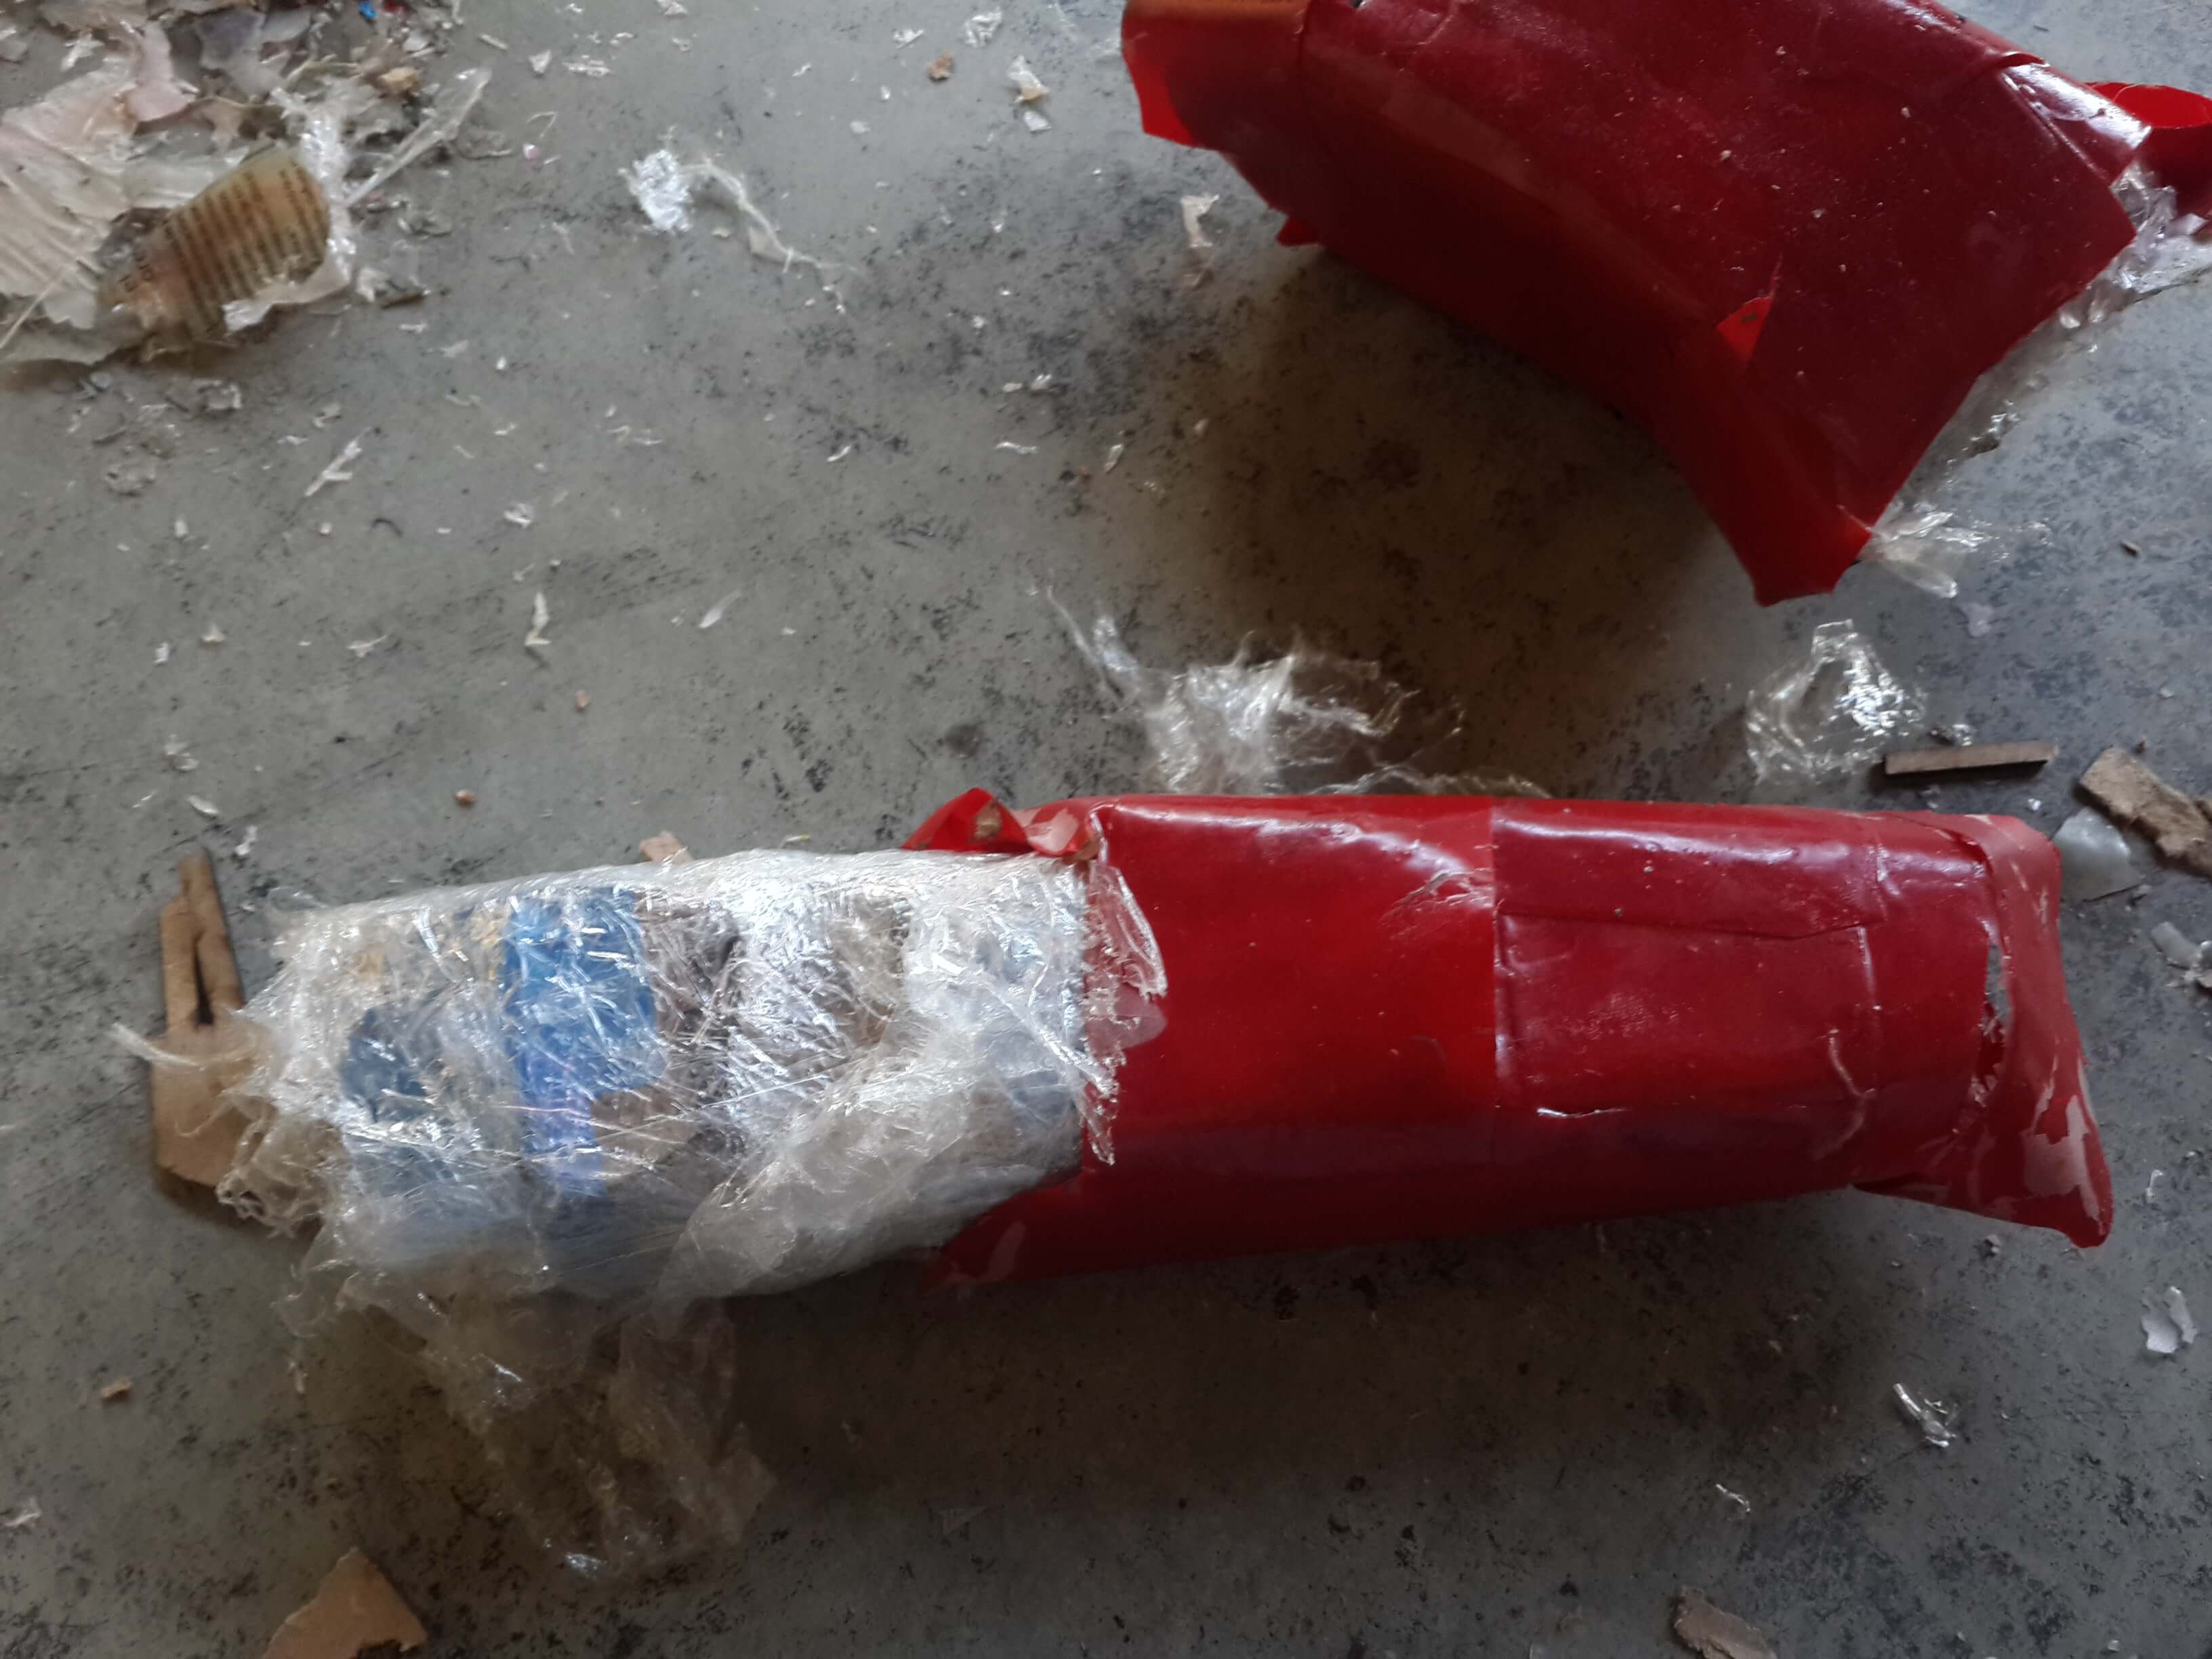
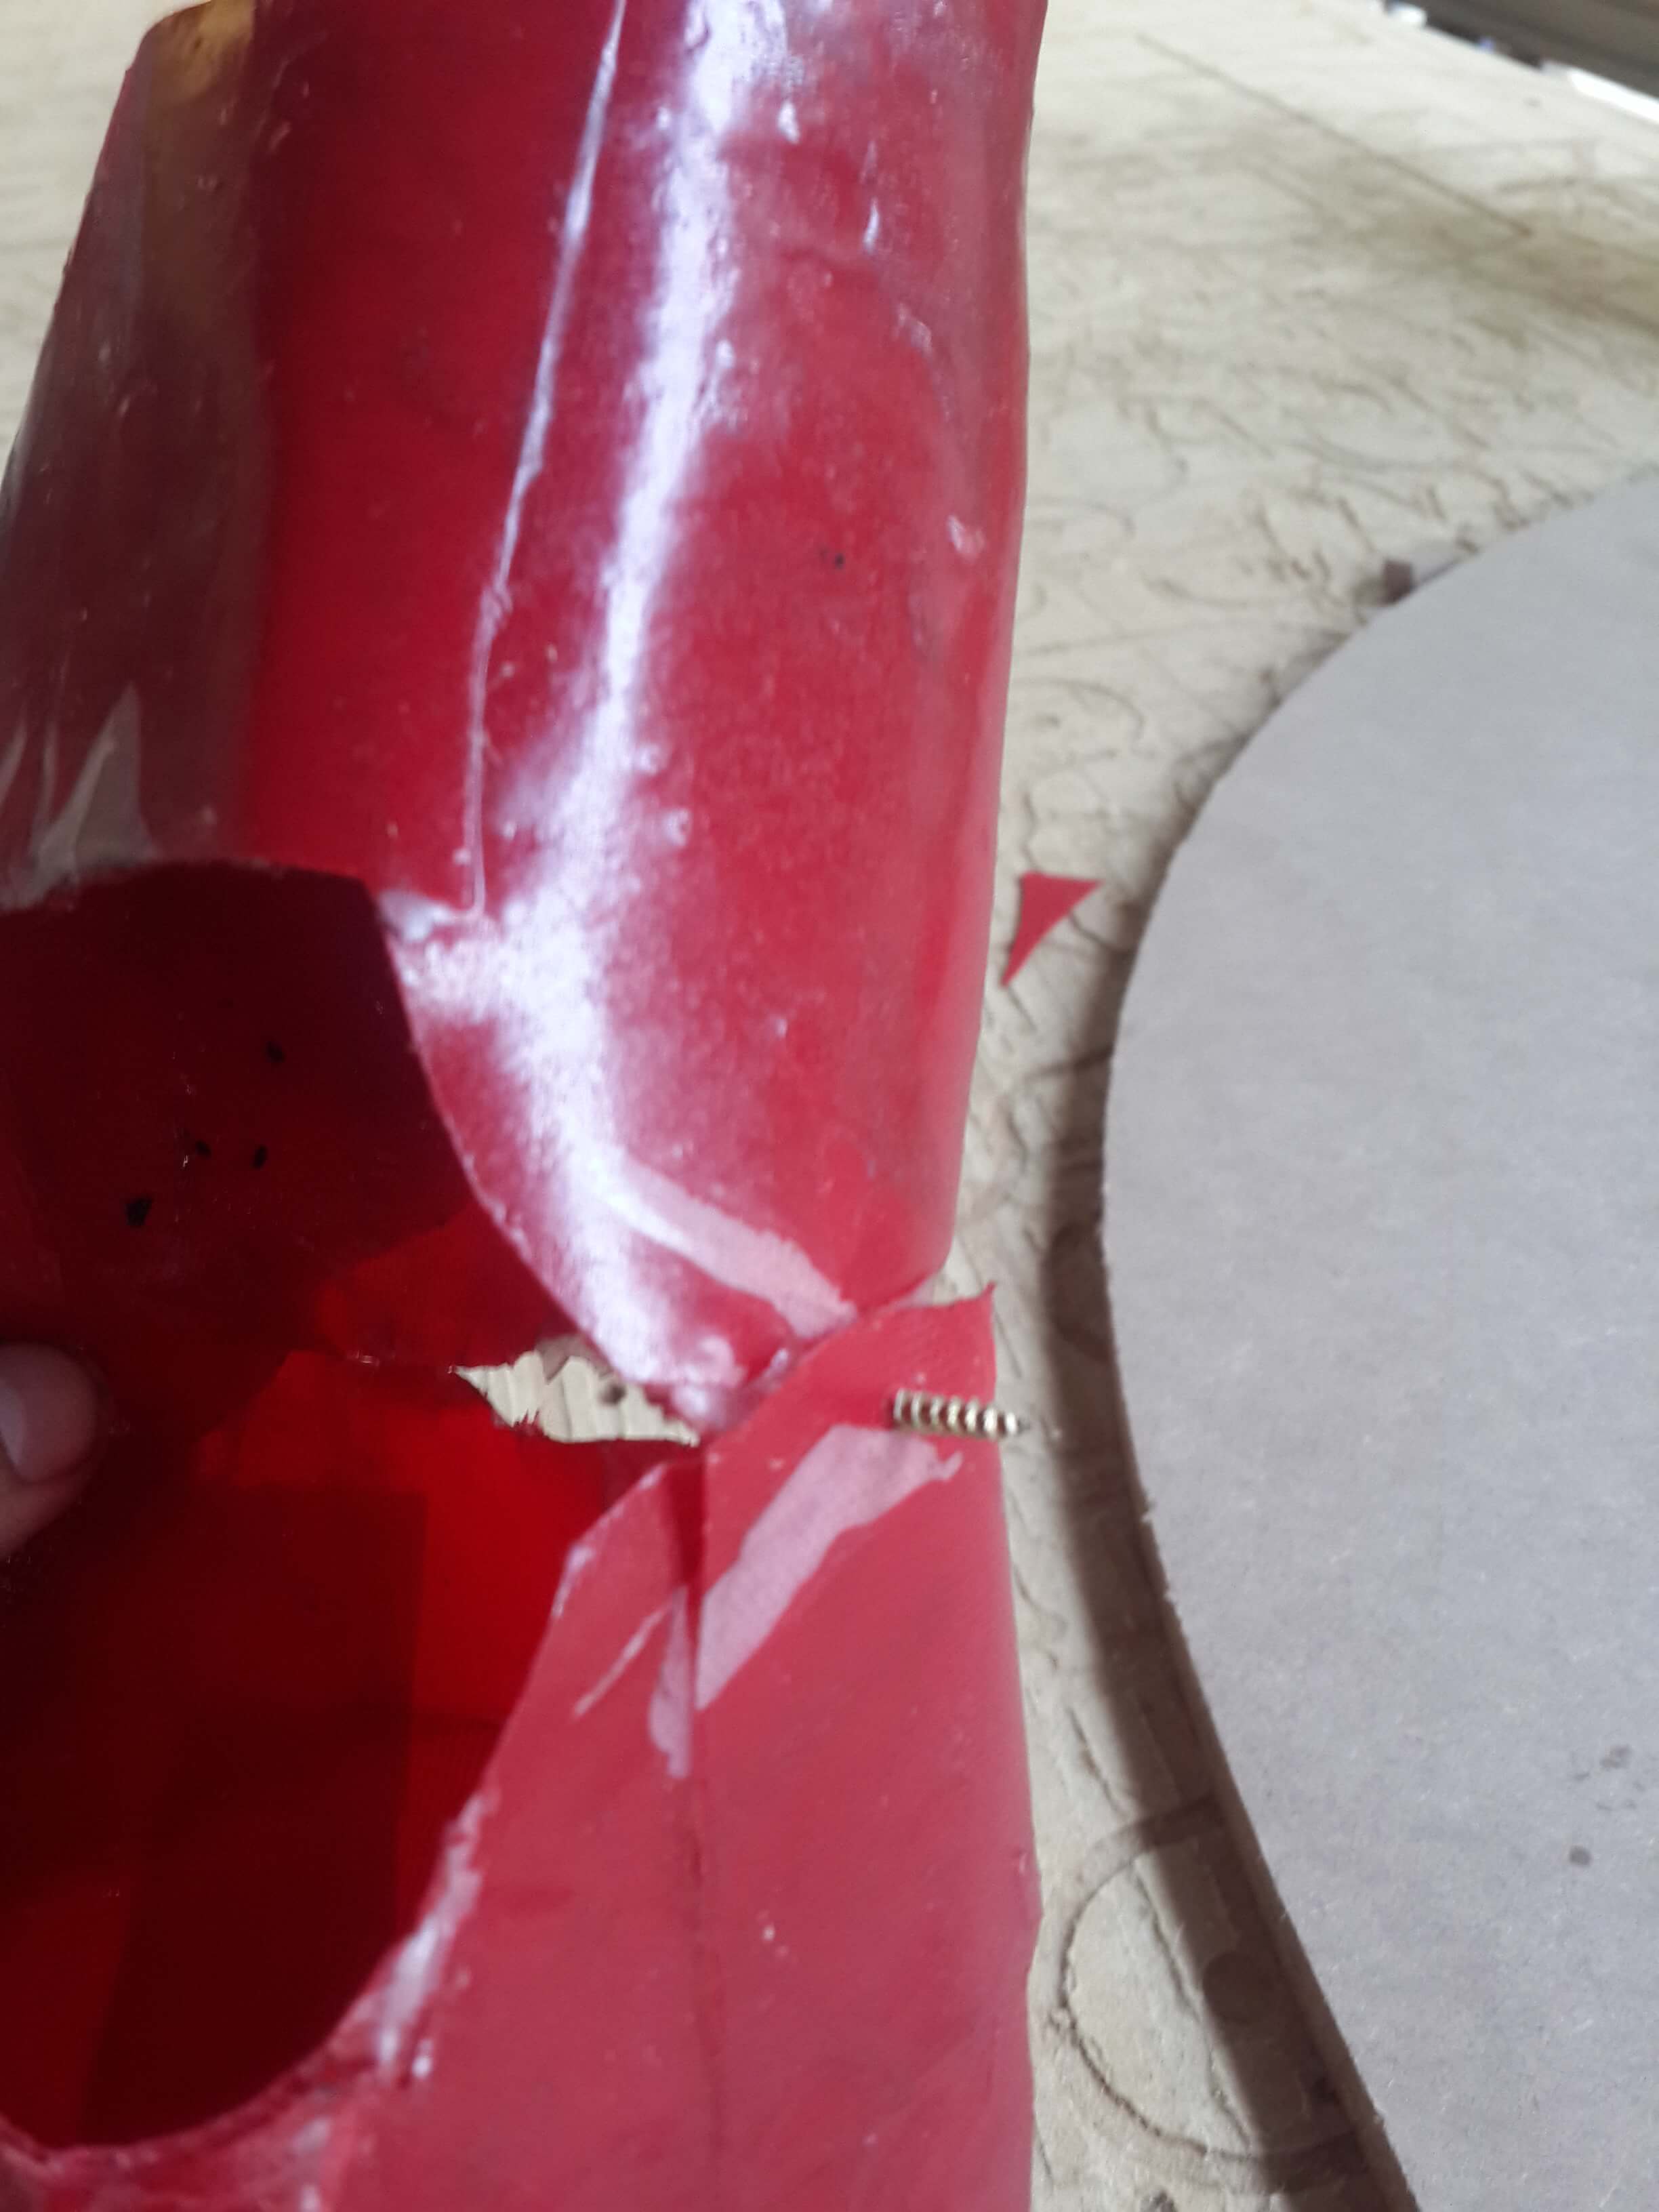
Making the shell
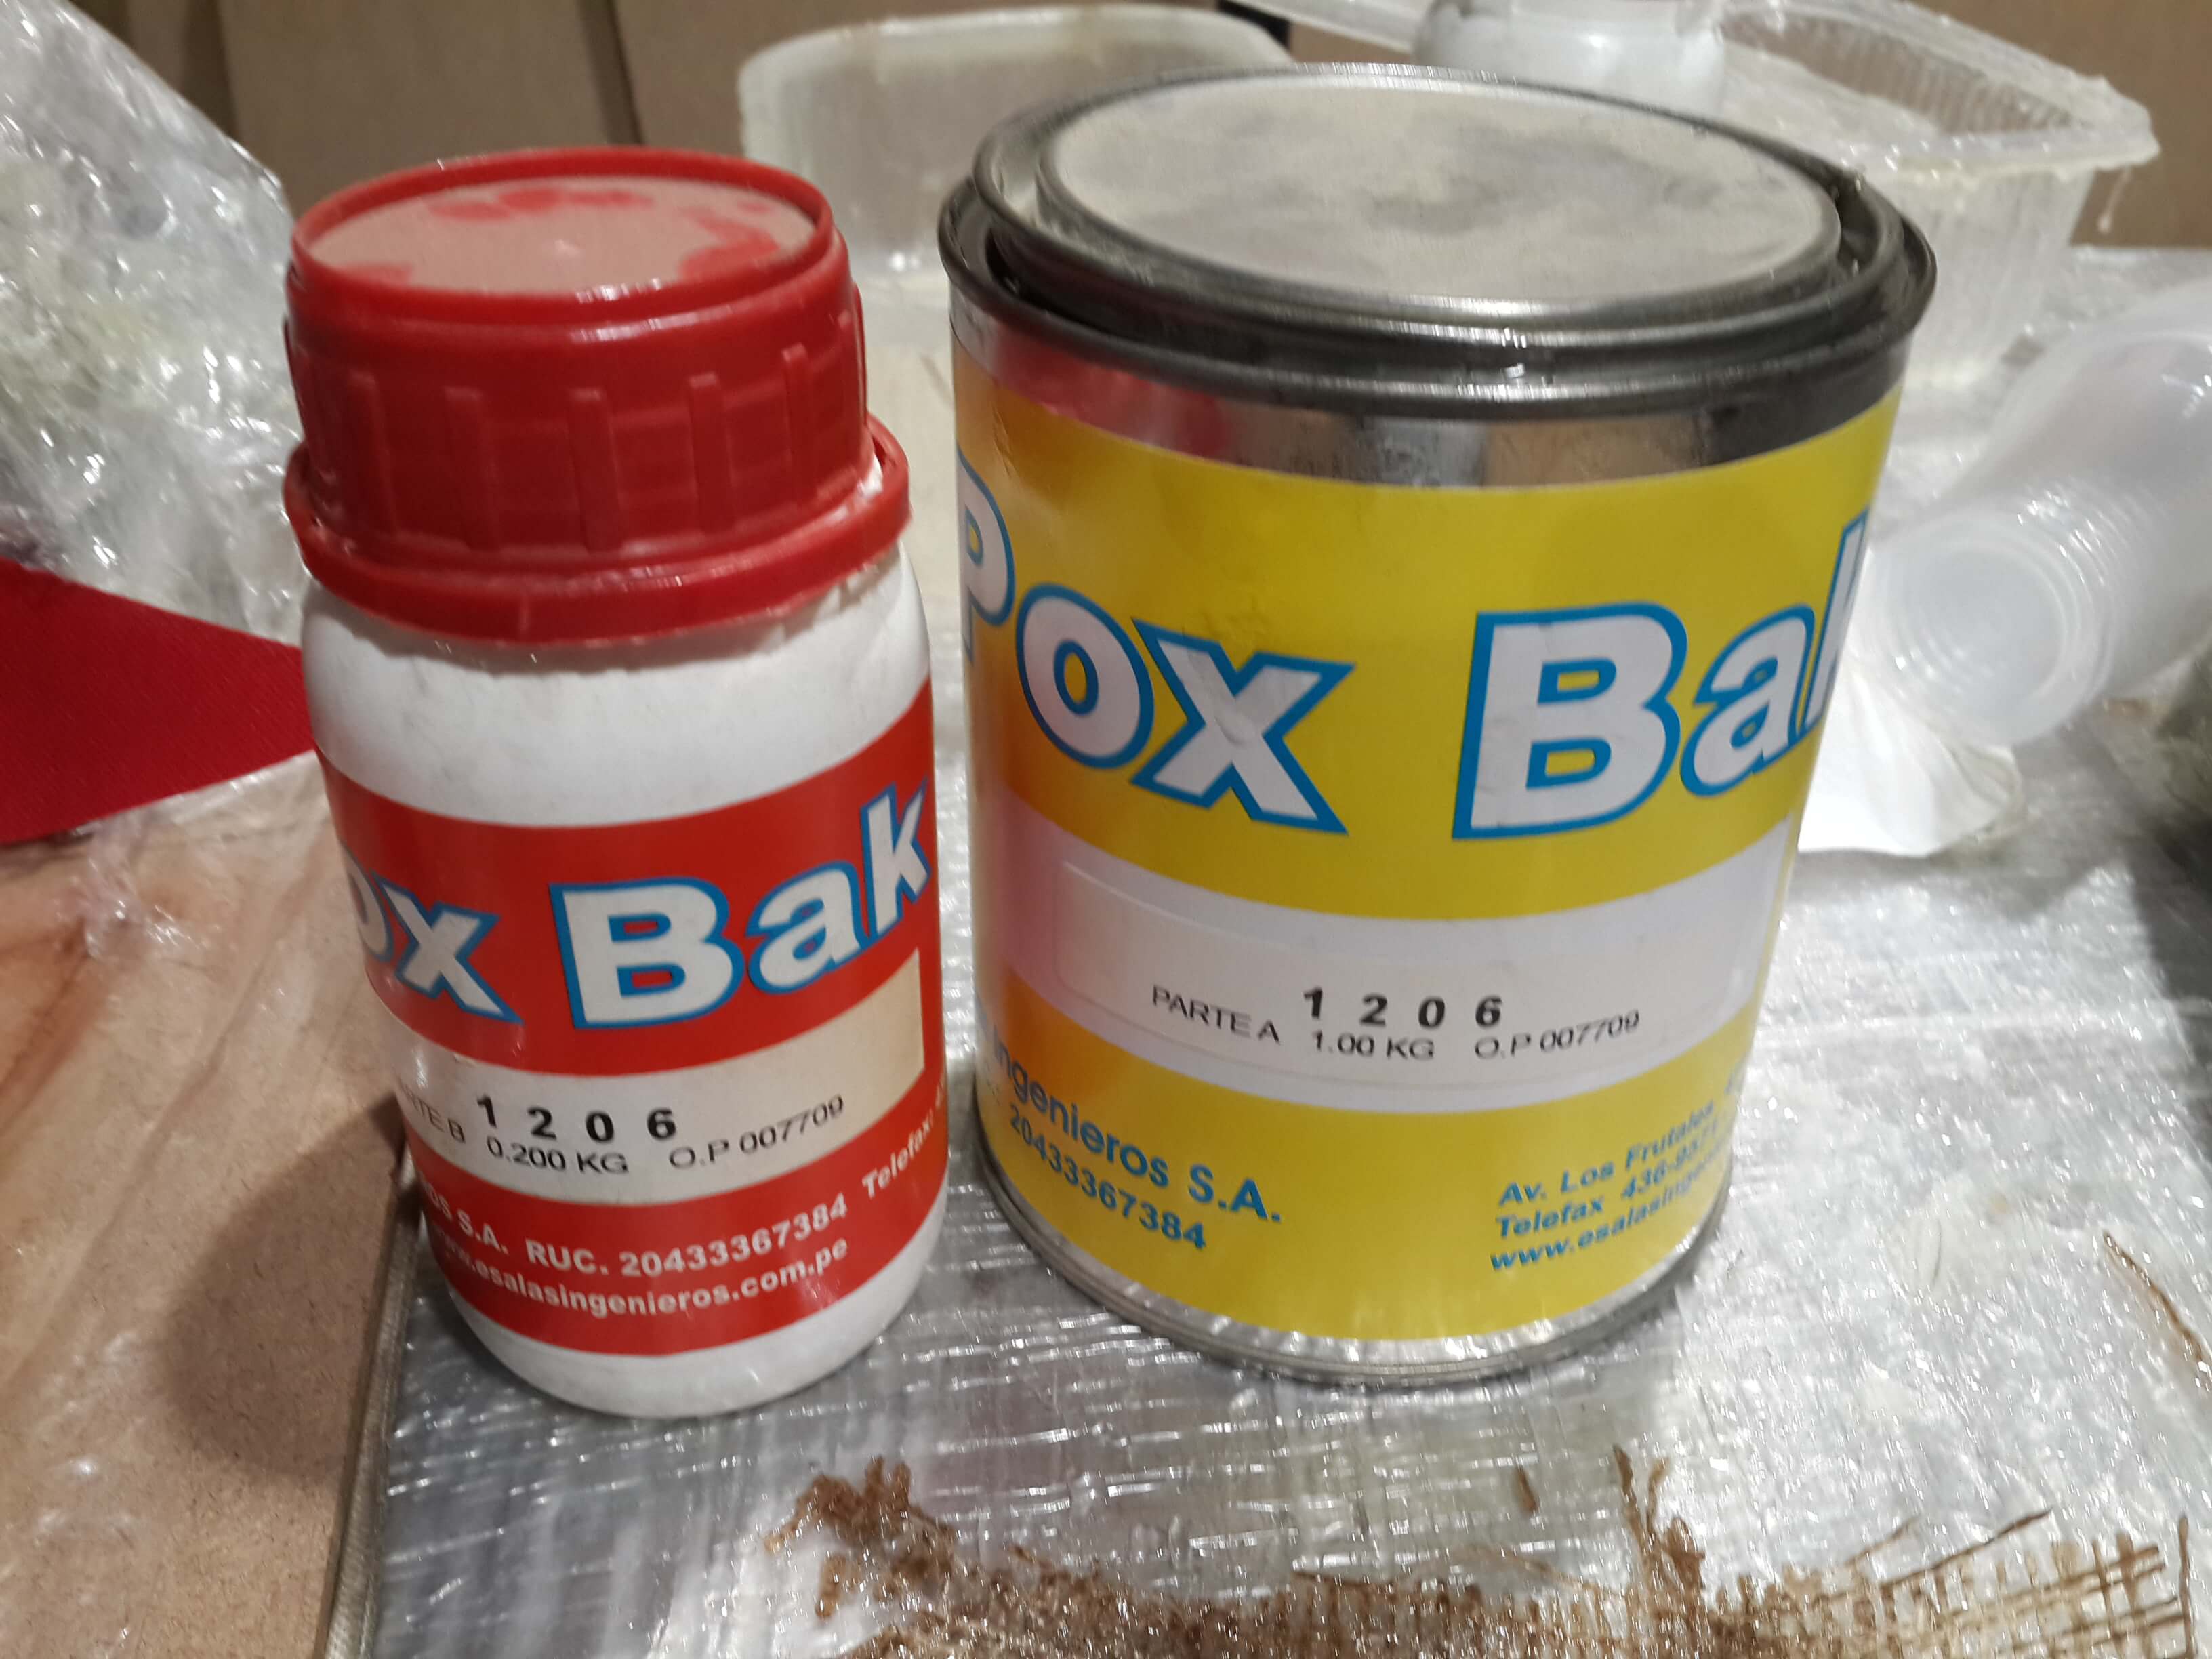
For making the shell I used the resin Pox Bak 1206, its technical datasheet can be found here
1. I covered in film both bodies.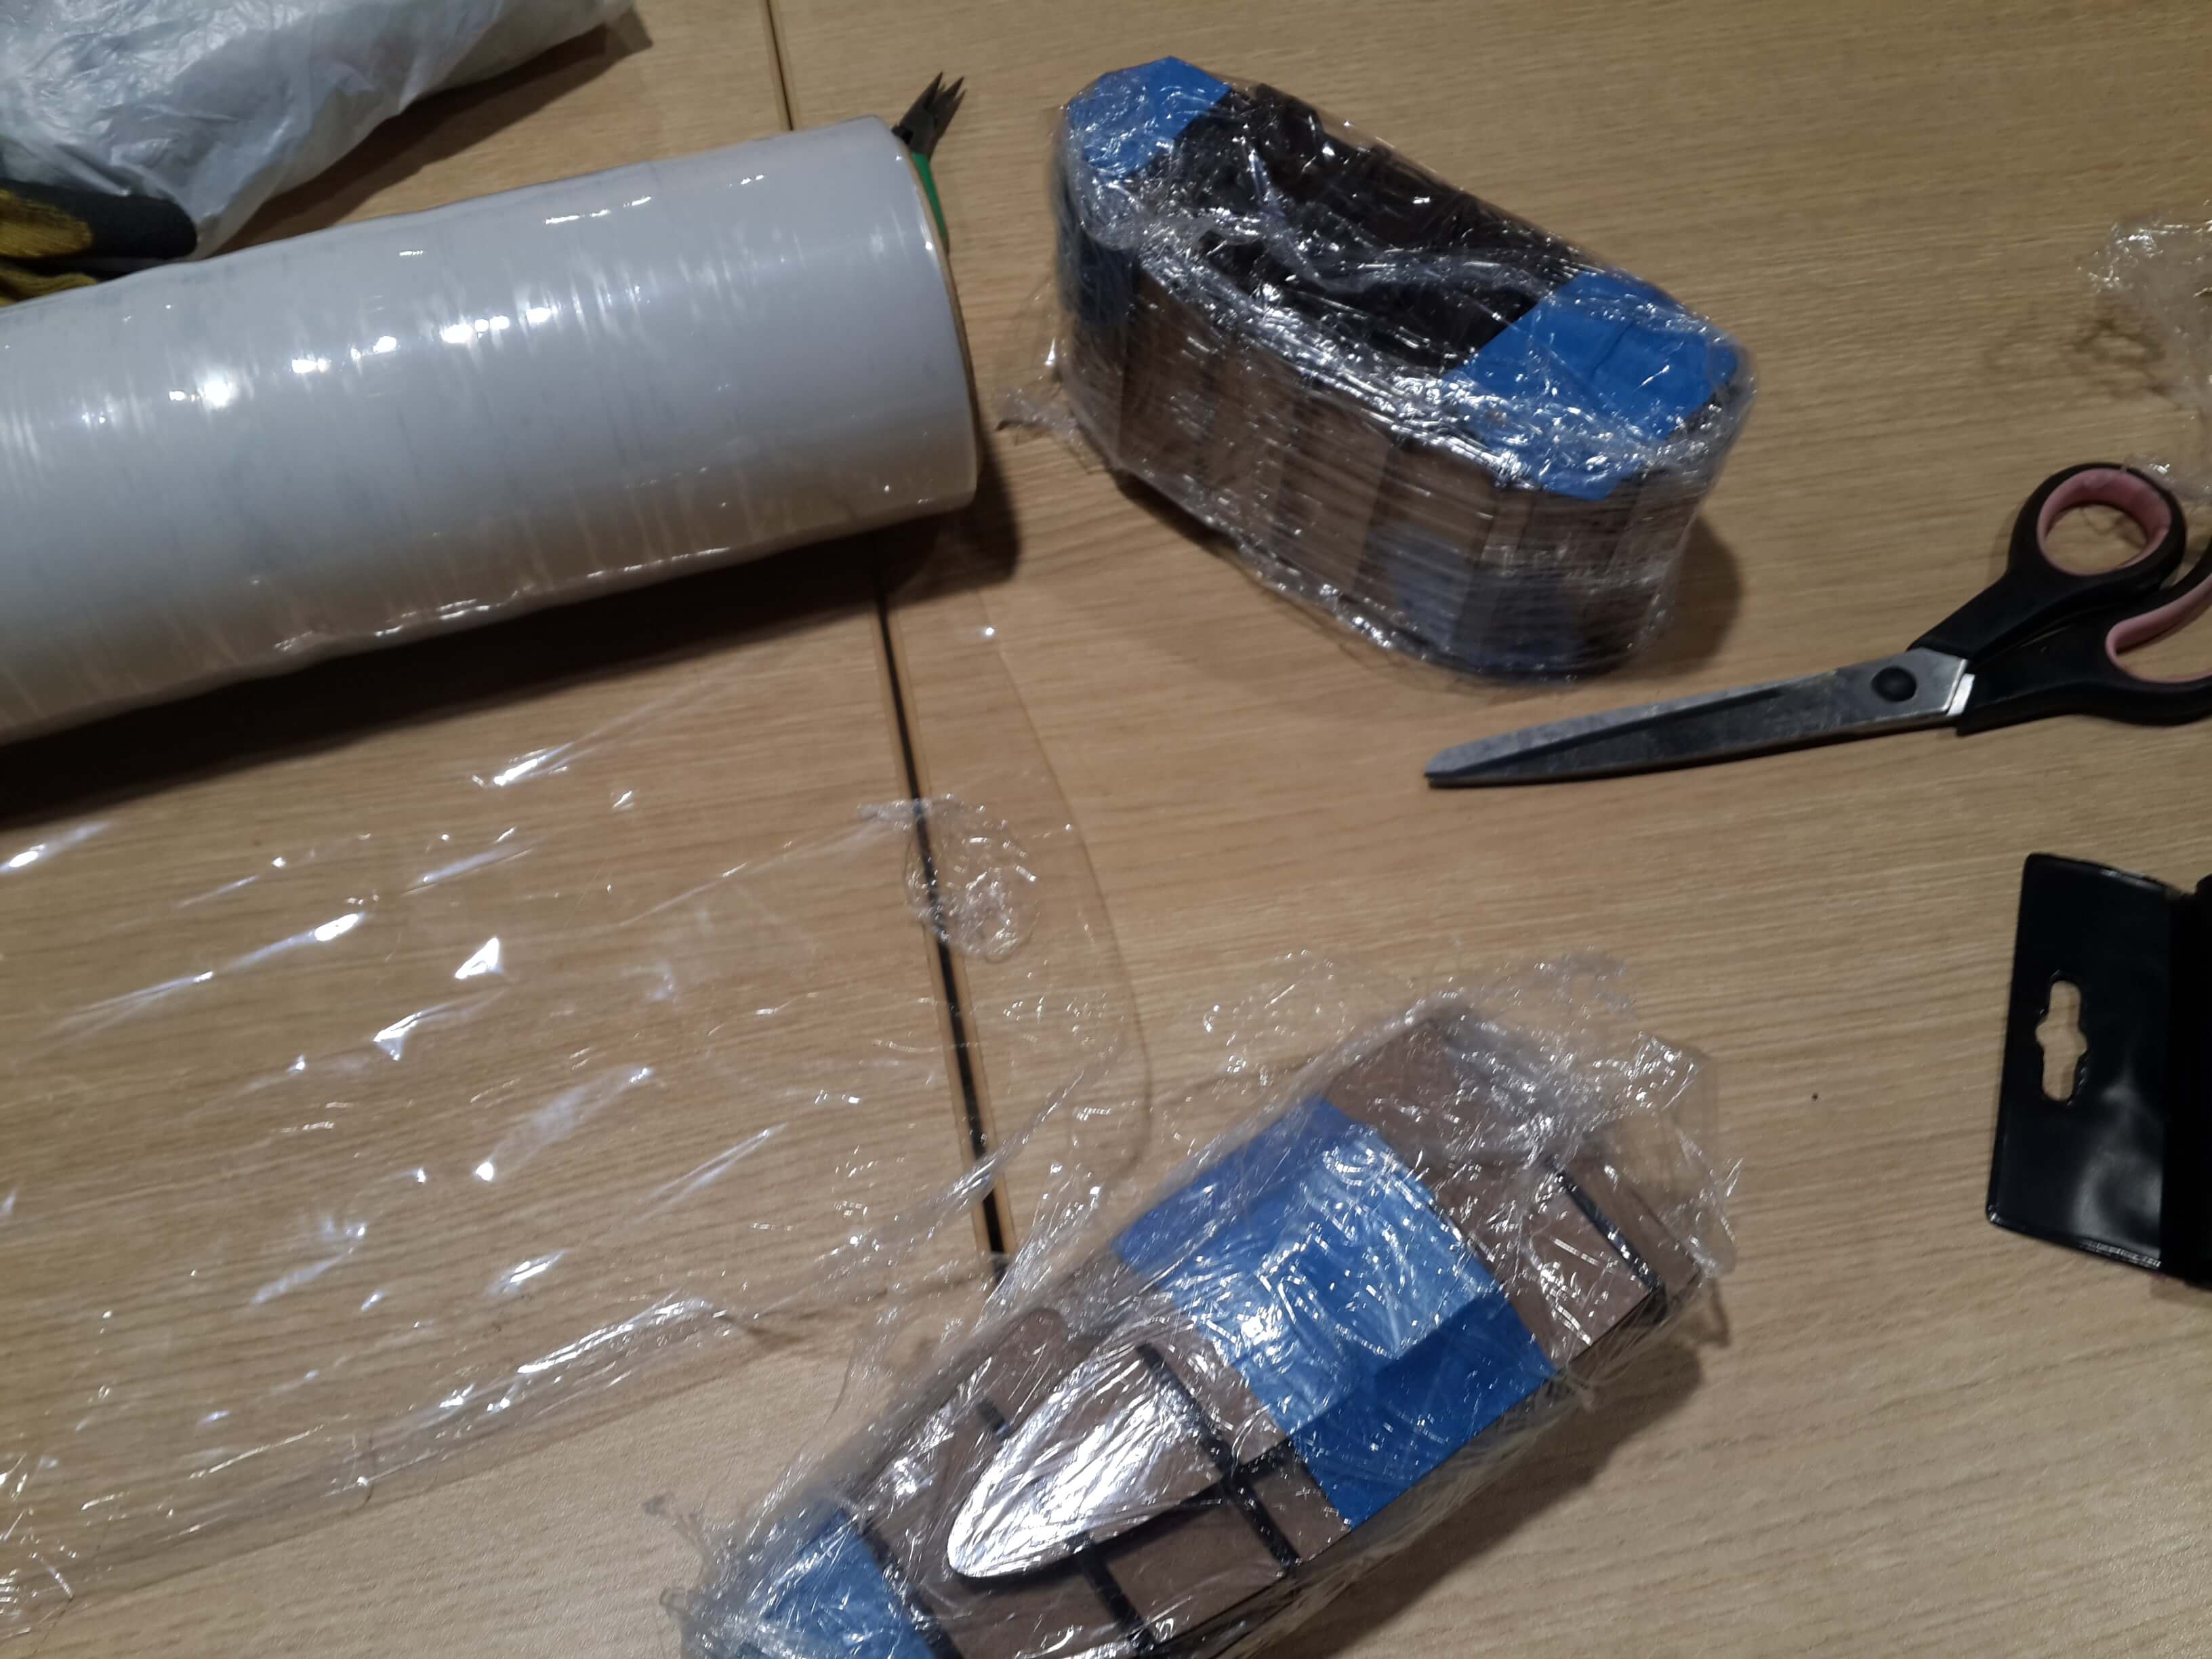
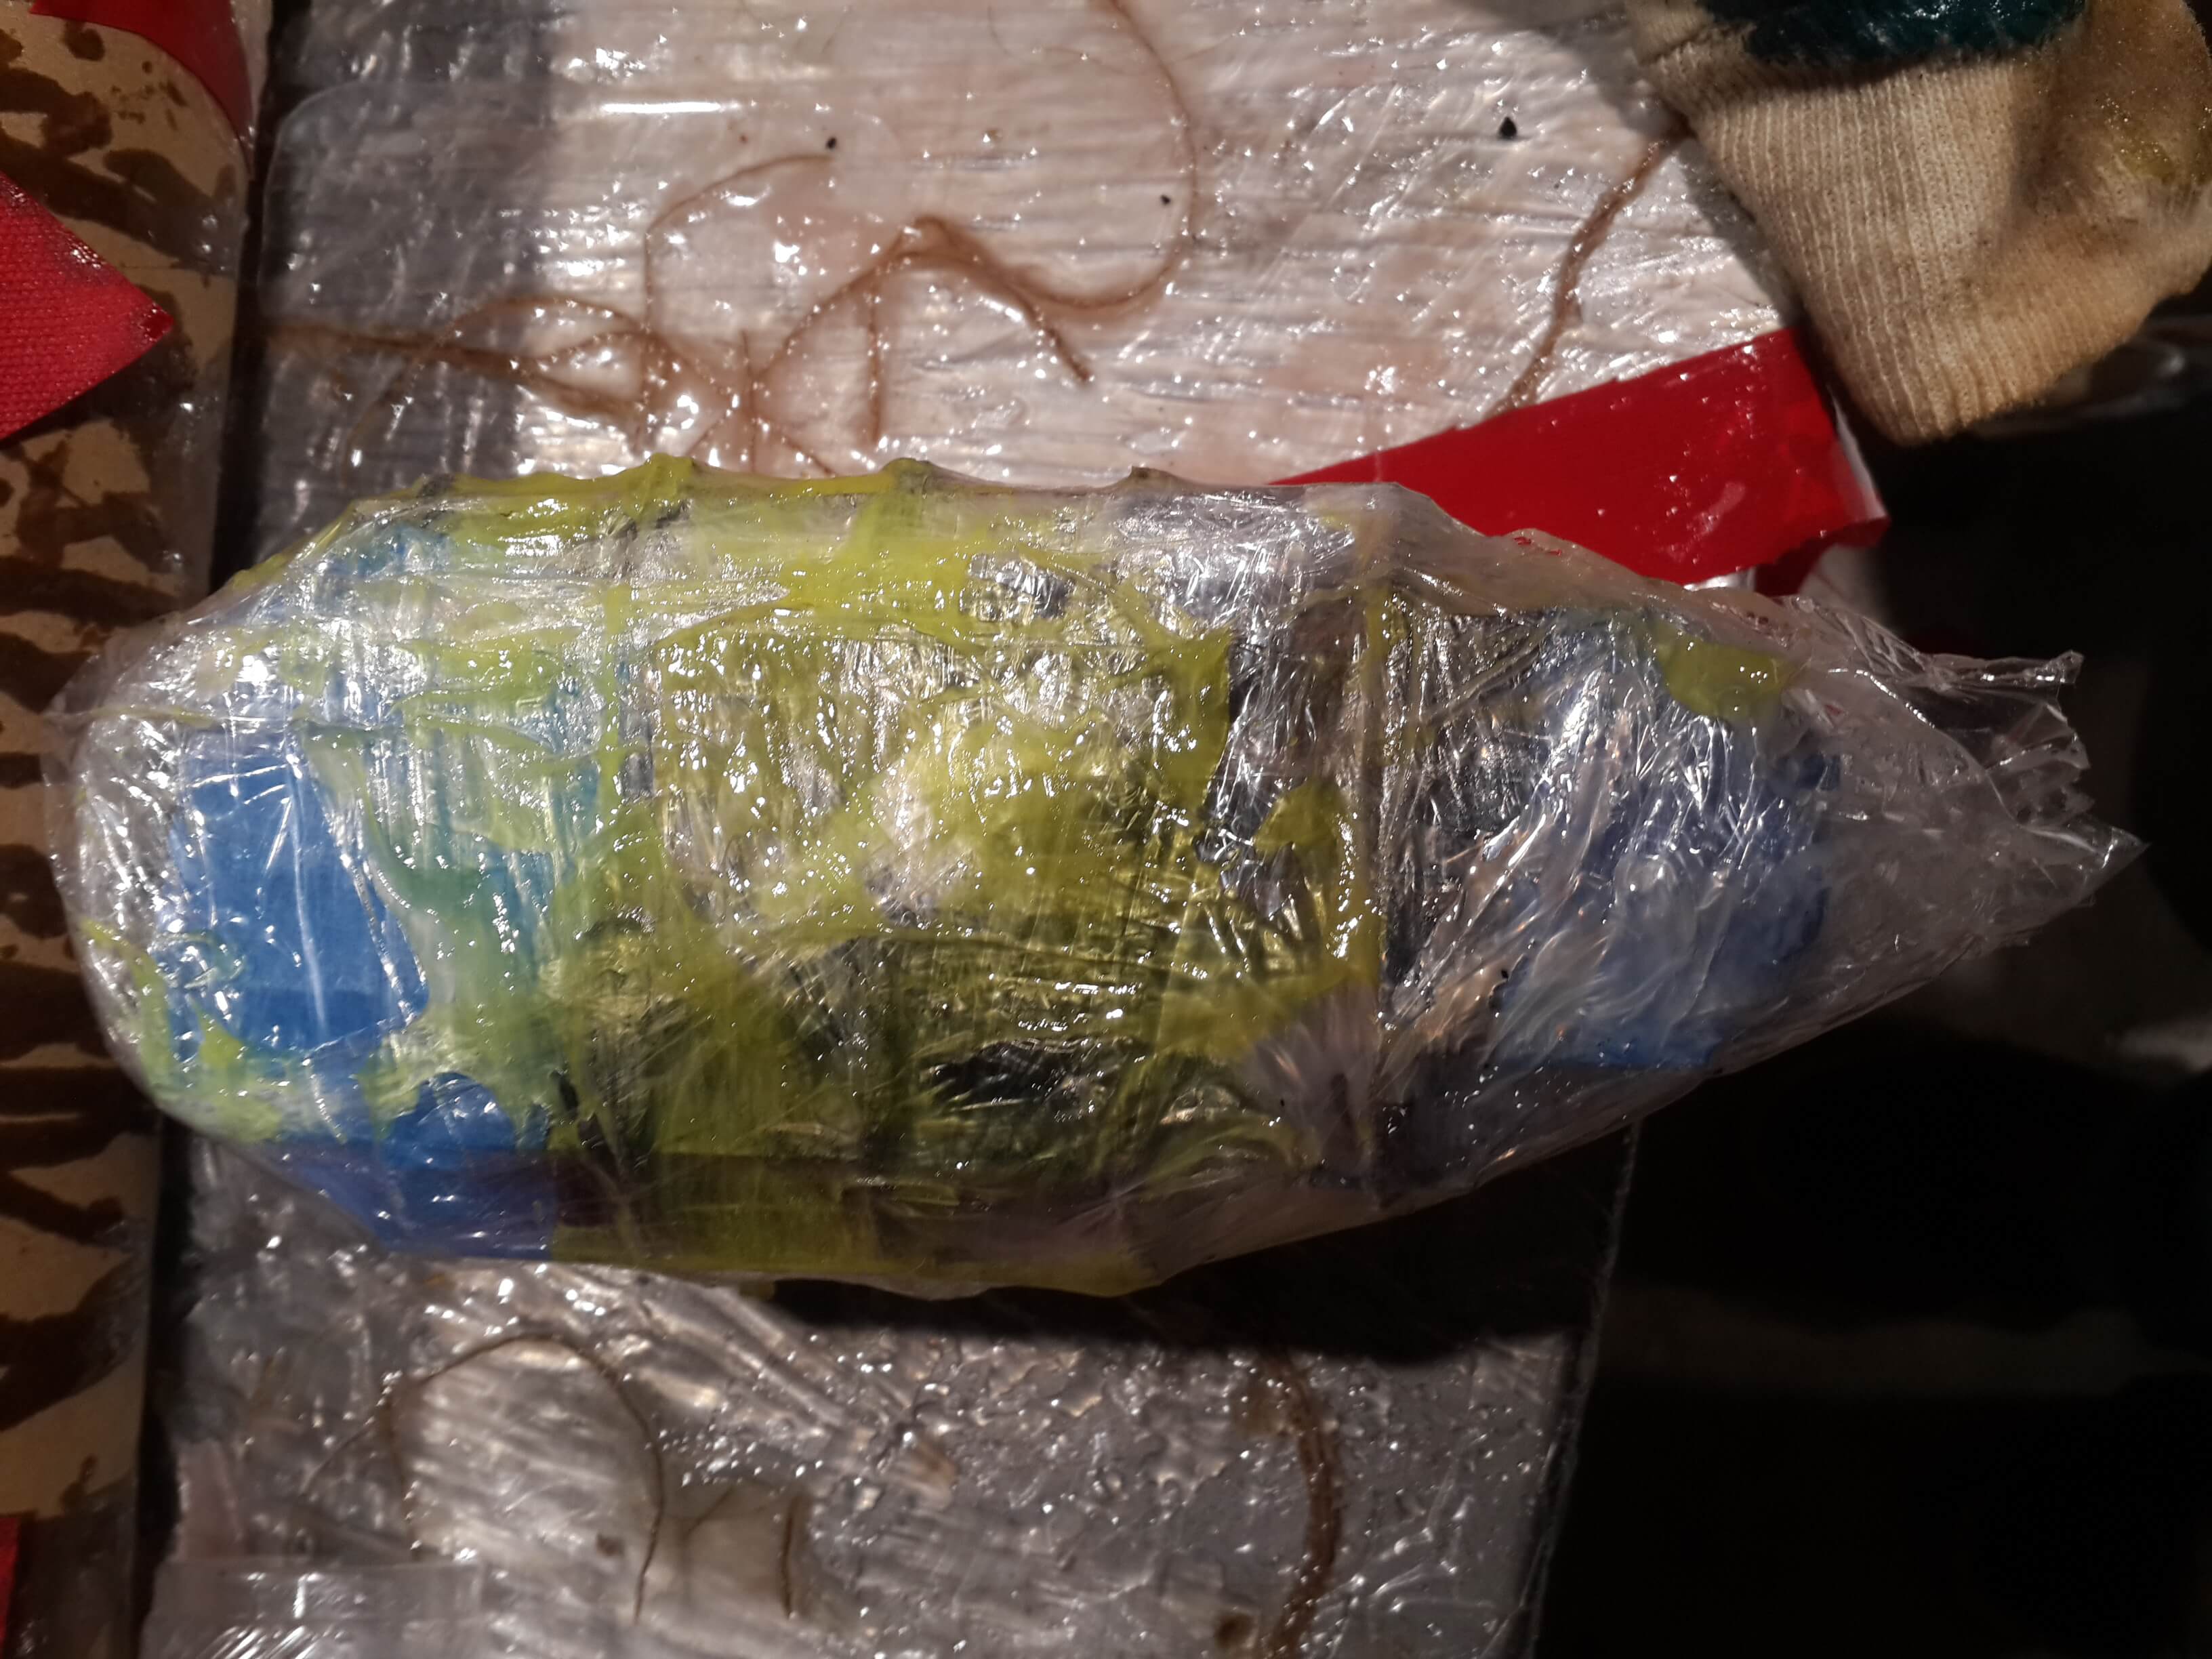
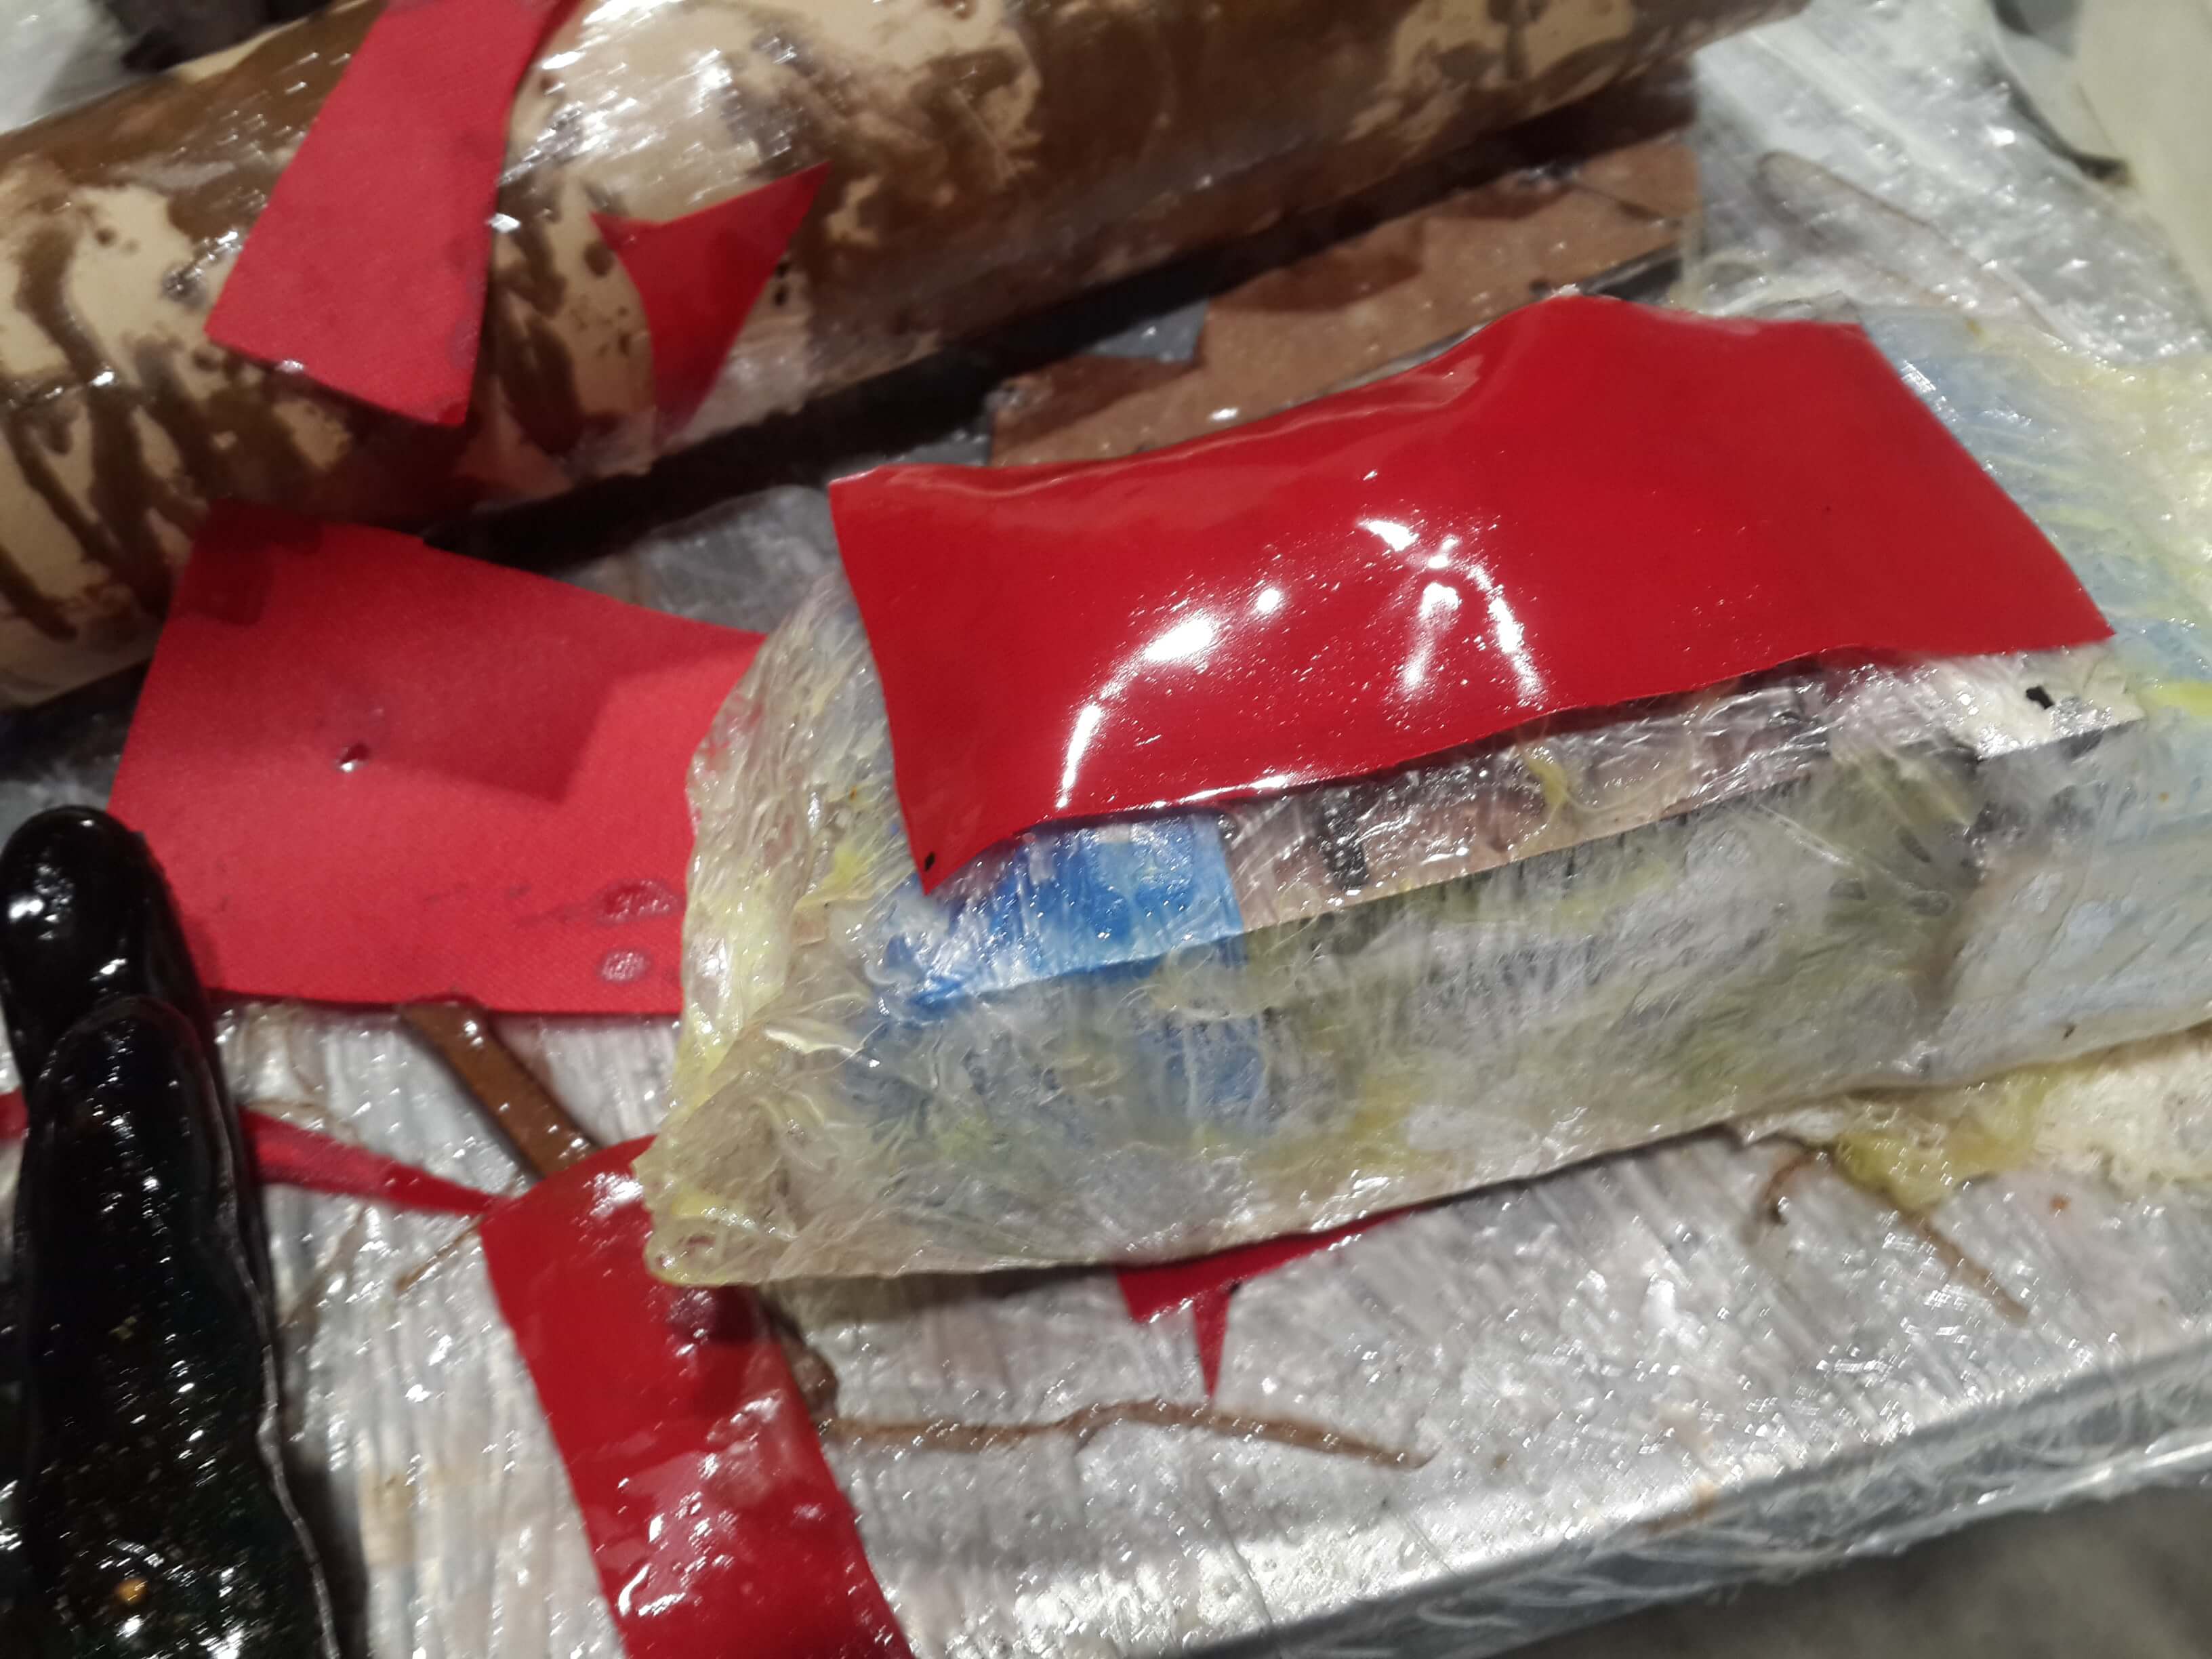
7. Then I waited a day until the resin was solid