Molding And Casting
For this assigment, we have to:
- (DONE) Design appropriate objects within the limitations of 3 axis machining.
- (DONE) Demonstrate workflows used in mould design, construction and casting
All the files created for this assigment can be found on the link bellow:
---> DOWNLOAD FILES<---
Have you:
- Explained how you made your files for machining
--> yes
- Shown how you made your mould and cast the parts
--> yes
- Described problems and how you fixed them
--> yes
- Included your design files and ‘hero shot’ photos of the mould and the final object
--> yes
Designing The mold
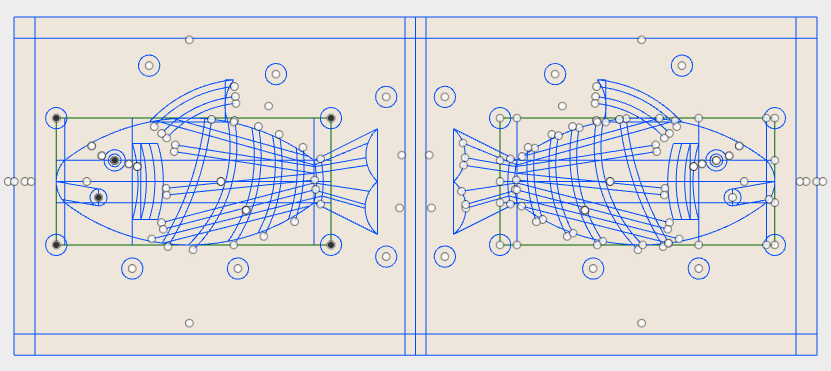
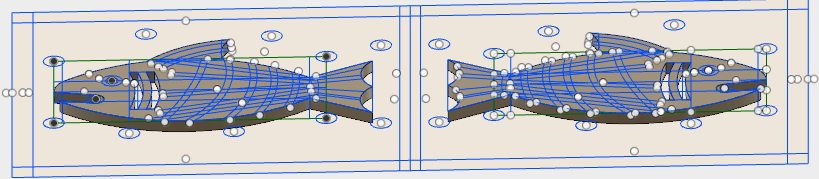
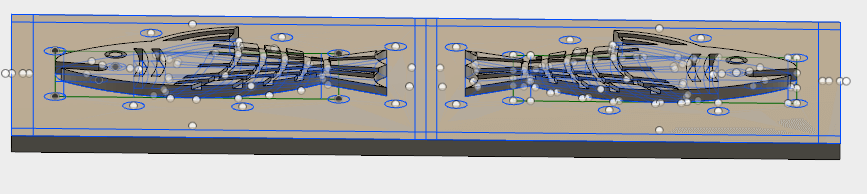
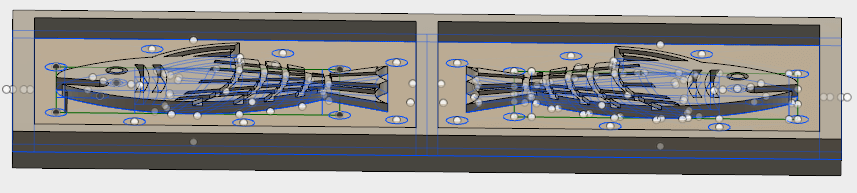
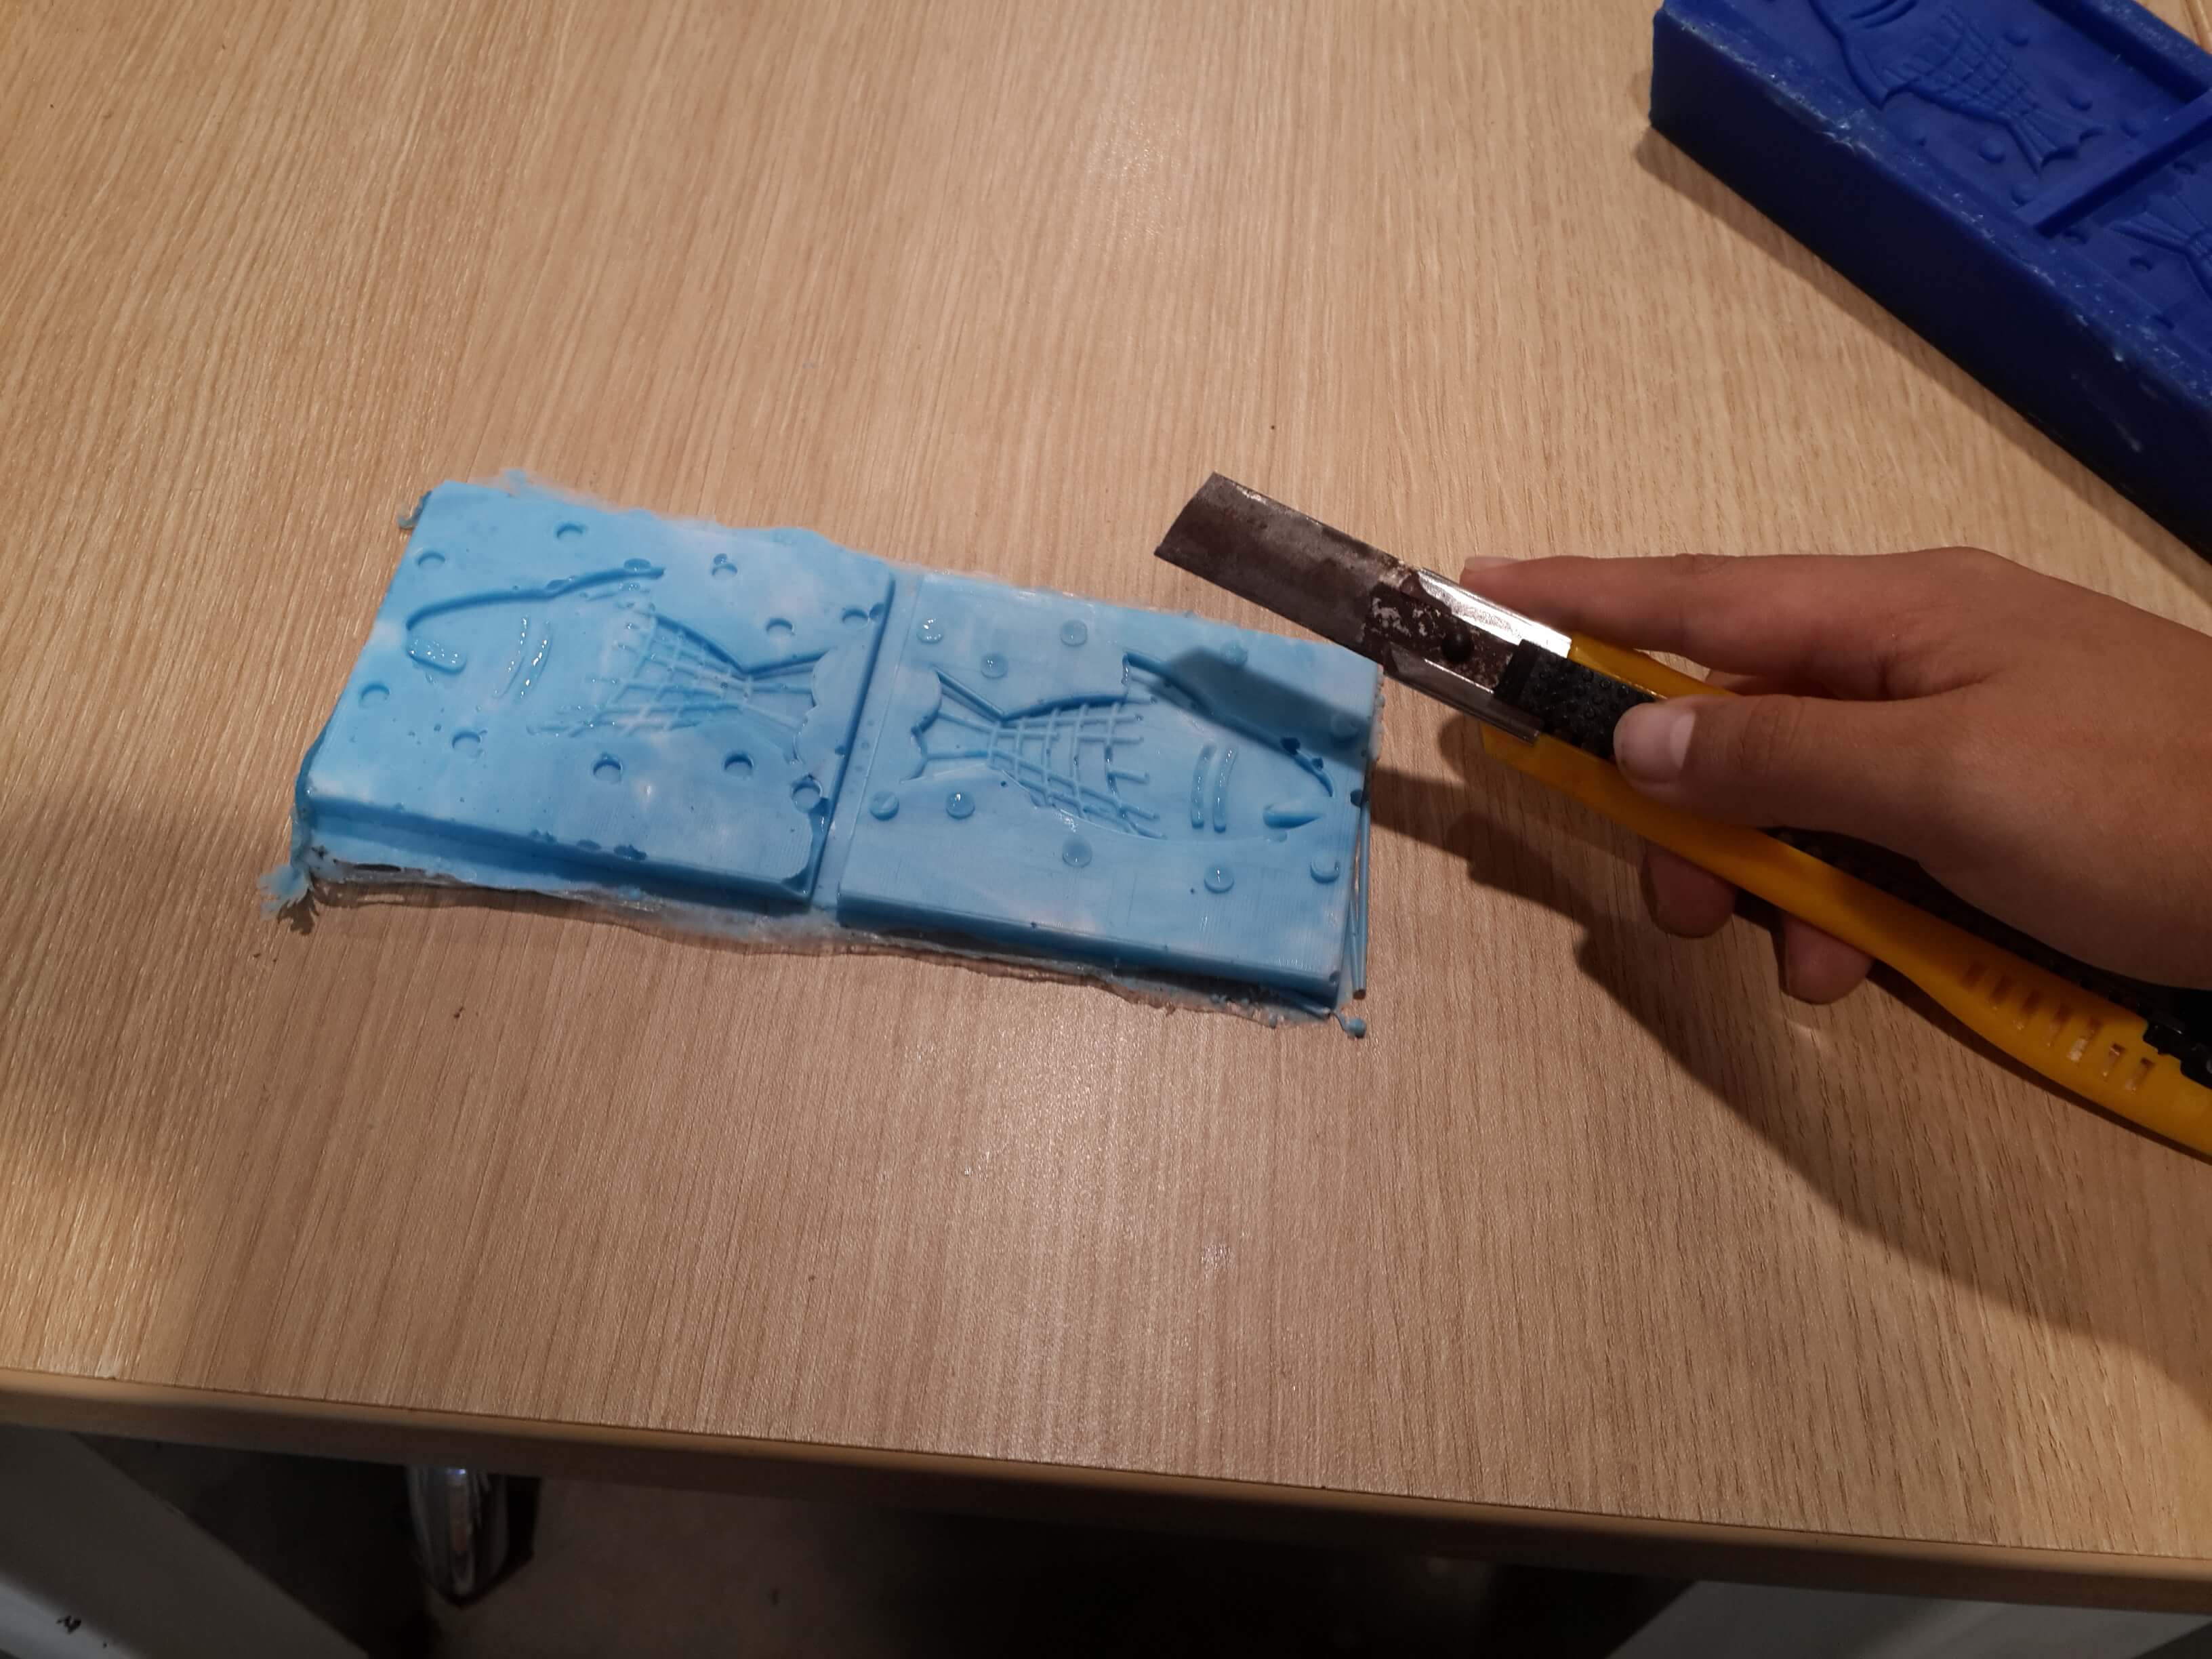
I wanted to do a double sided fish, so I had to do a mold for both sides of the fish. This are the steps I did for designing the mold:
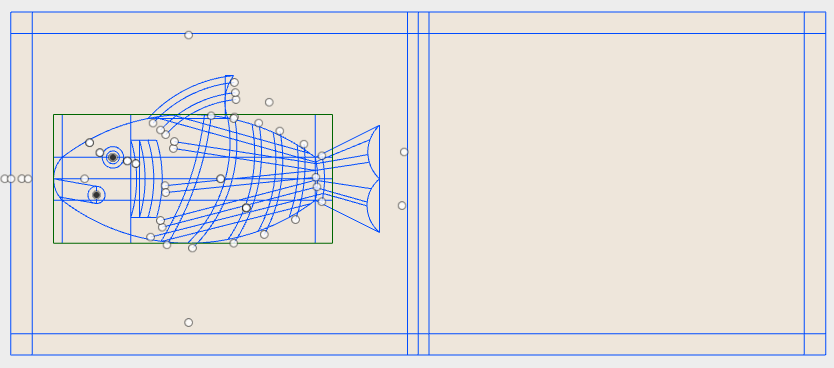
1. The first thing I did was to measure the size of the wax mold so that I could calculate how big the fish should be so that both sides of the fish fitted in the mold.
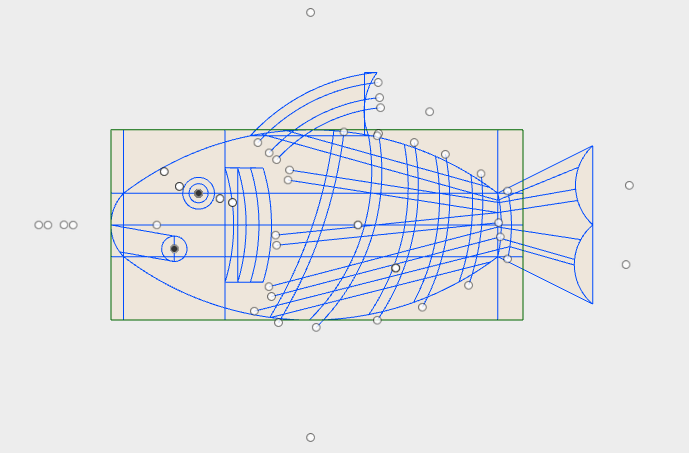
2. Once I had the measures, I started to do the sketch of half of one side of the fish.
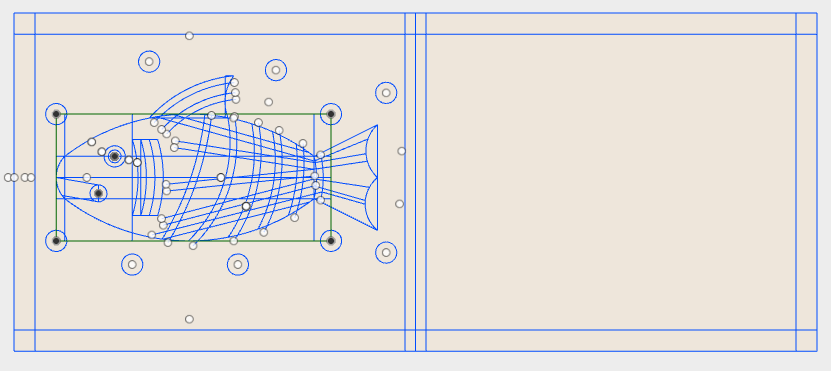
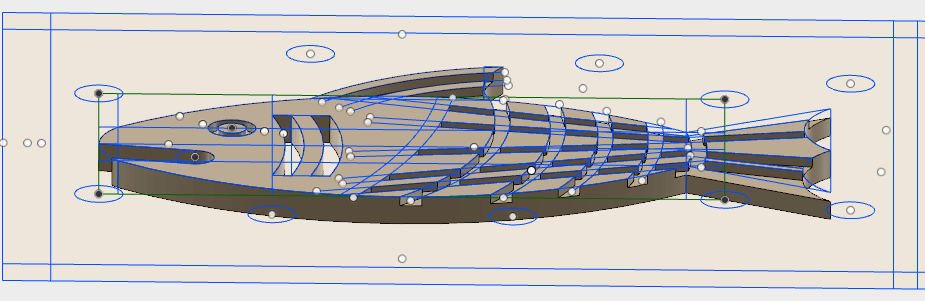

10. I joined the separate bodies by using the combine tool in modify->combine
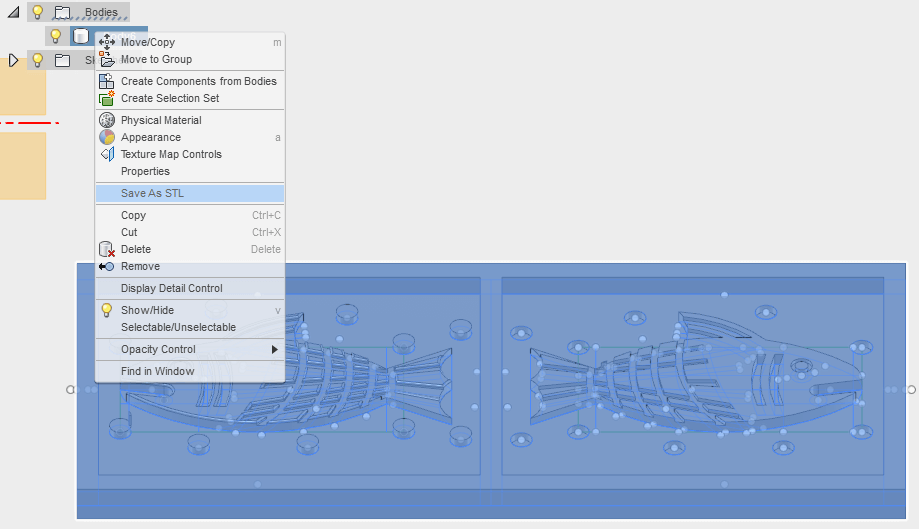
11. Finally, I exported out the solid as an stl file.
Making a Wax Mold
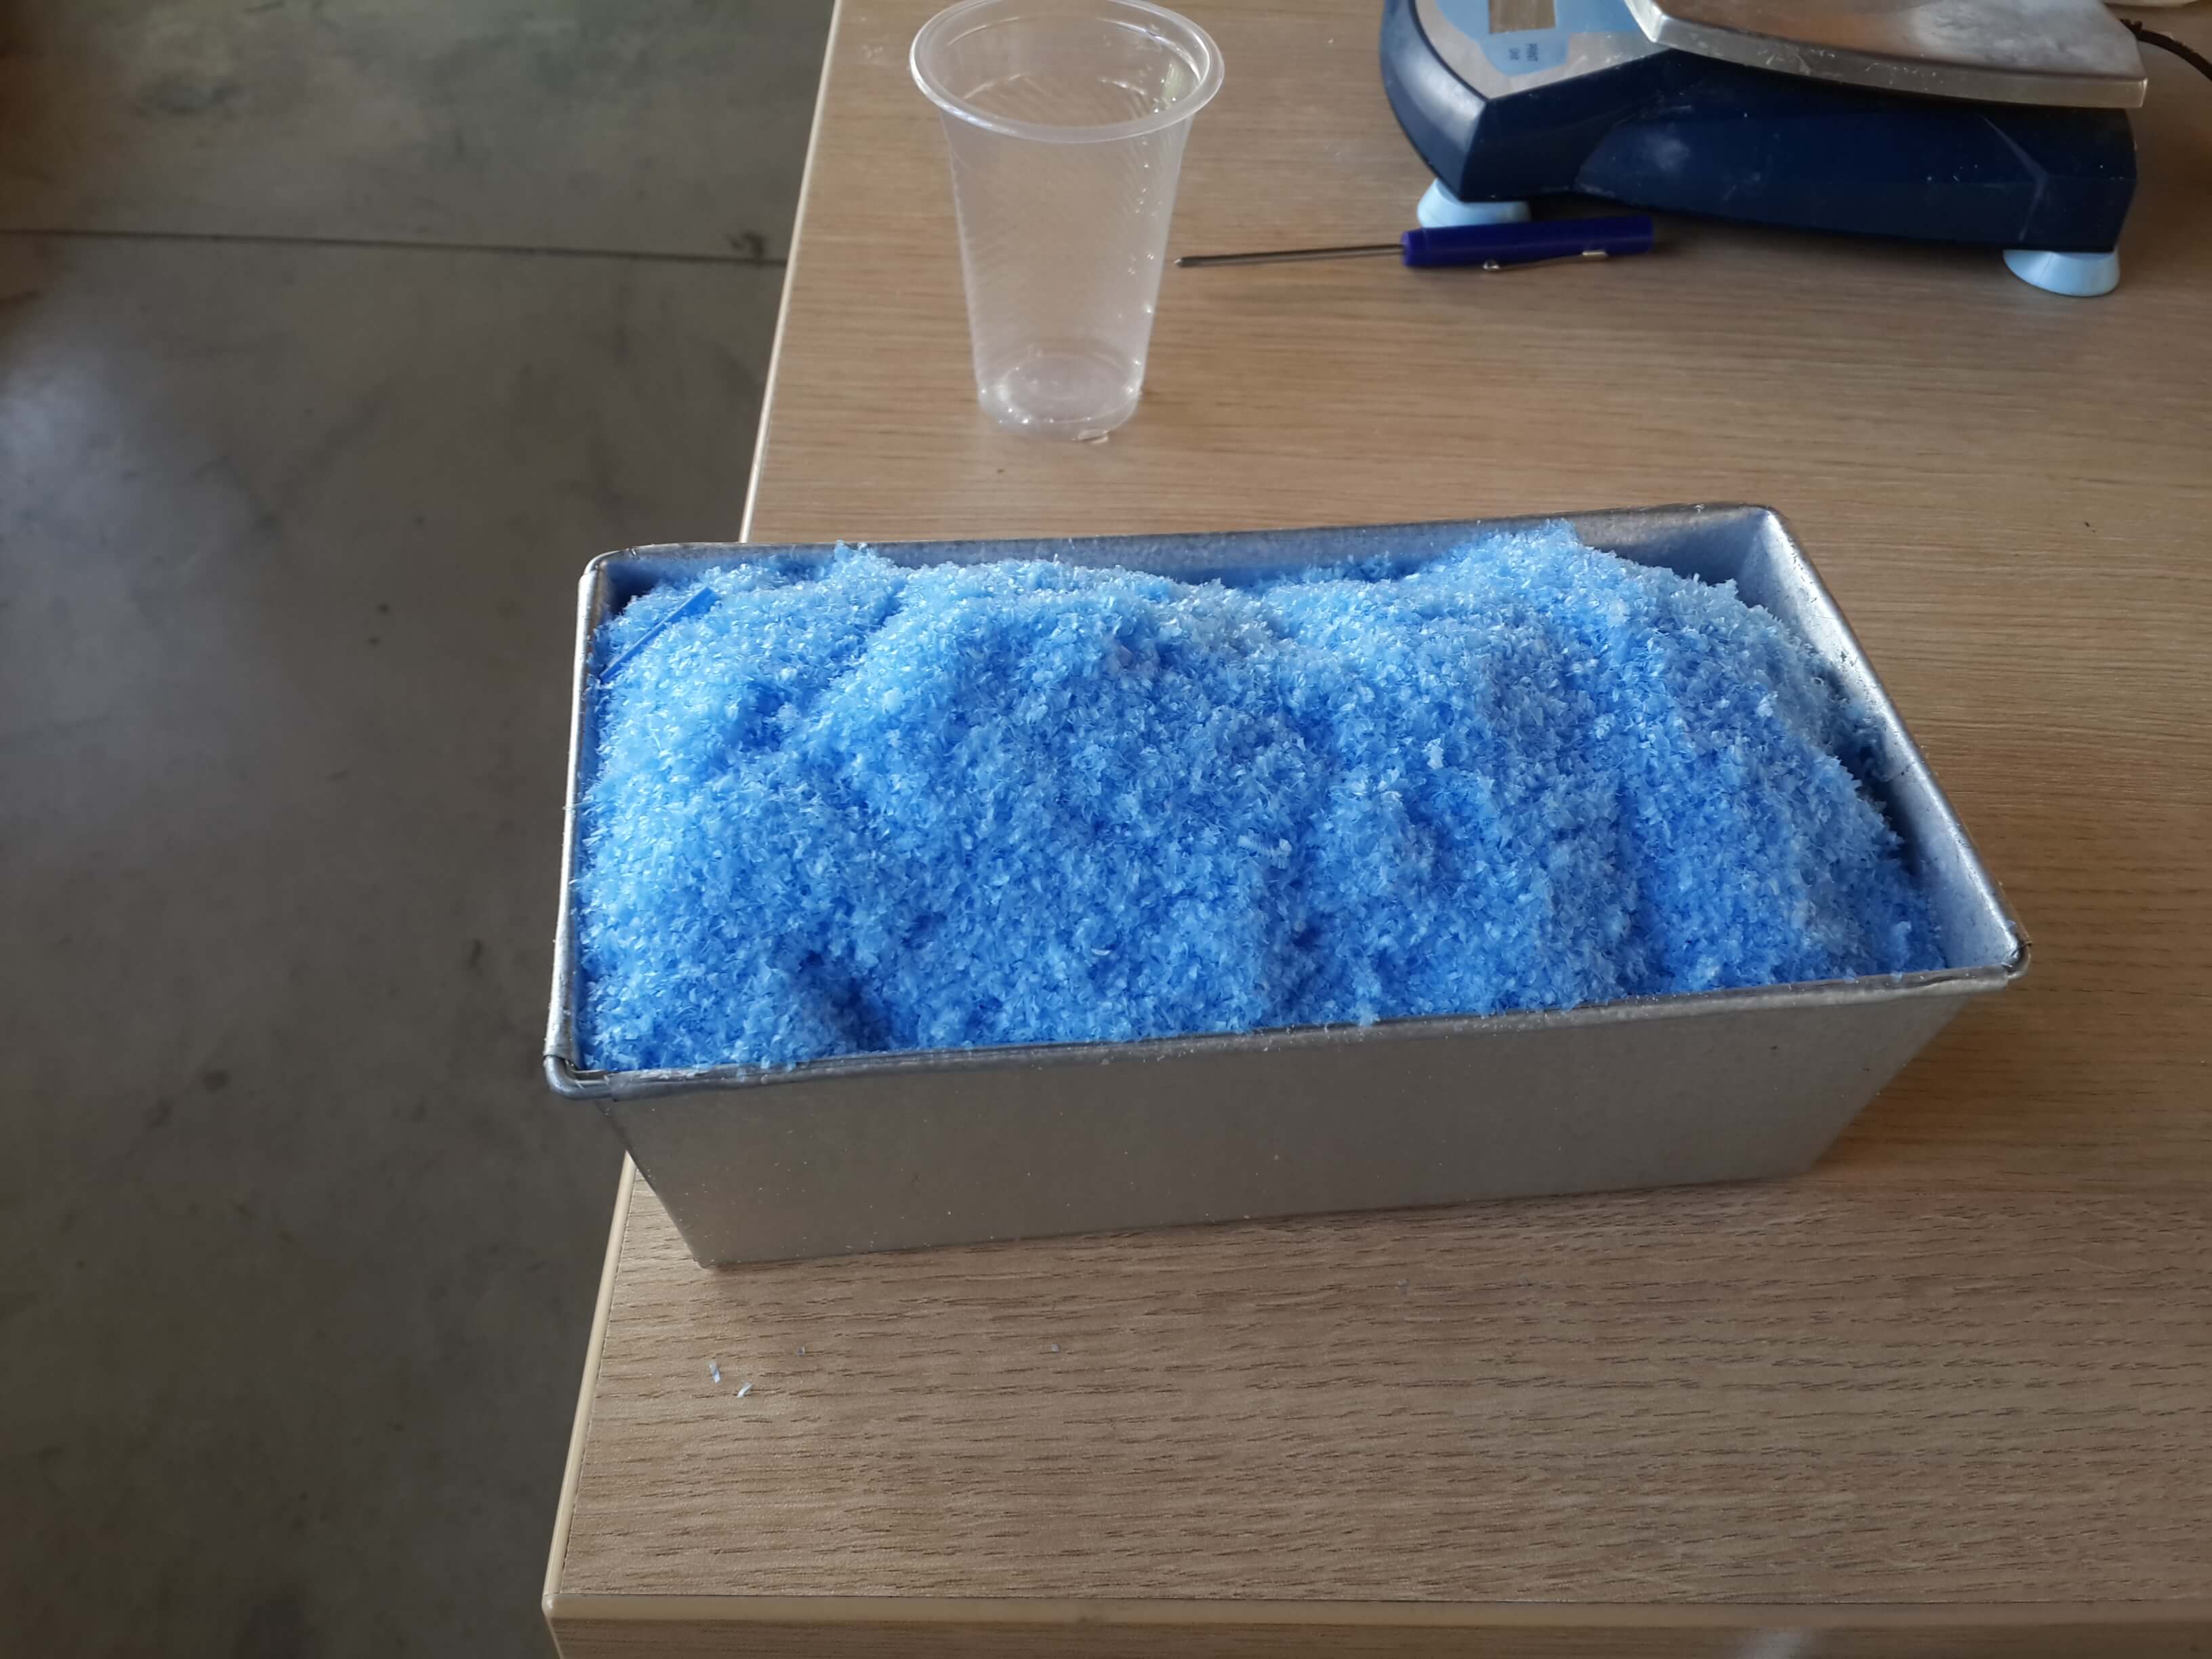
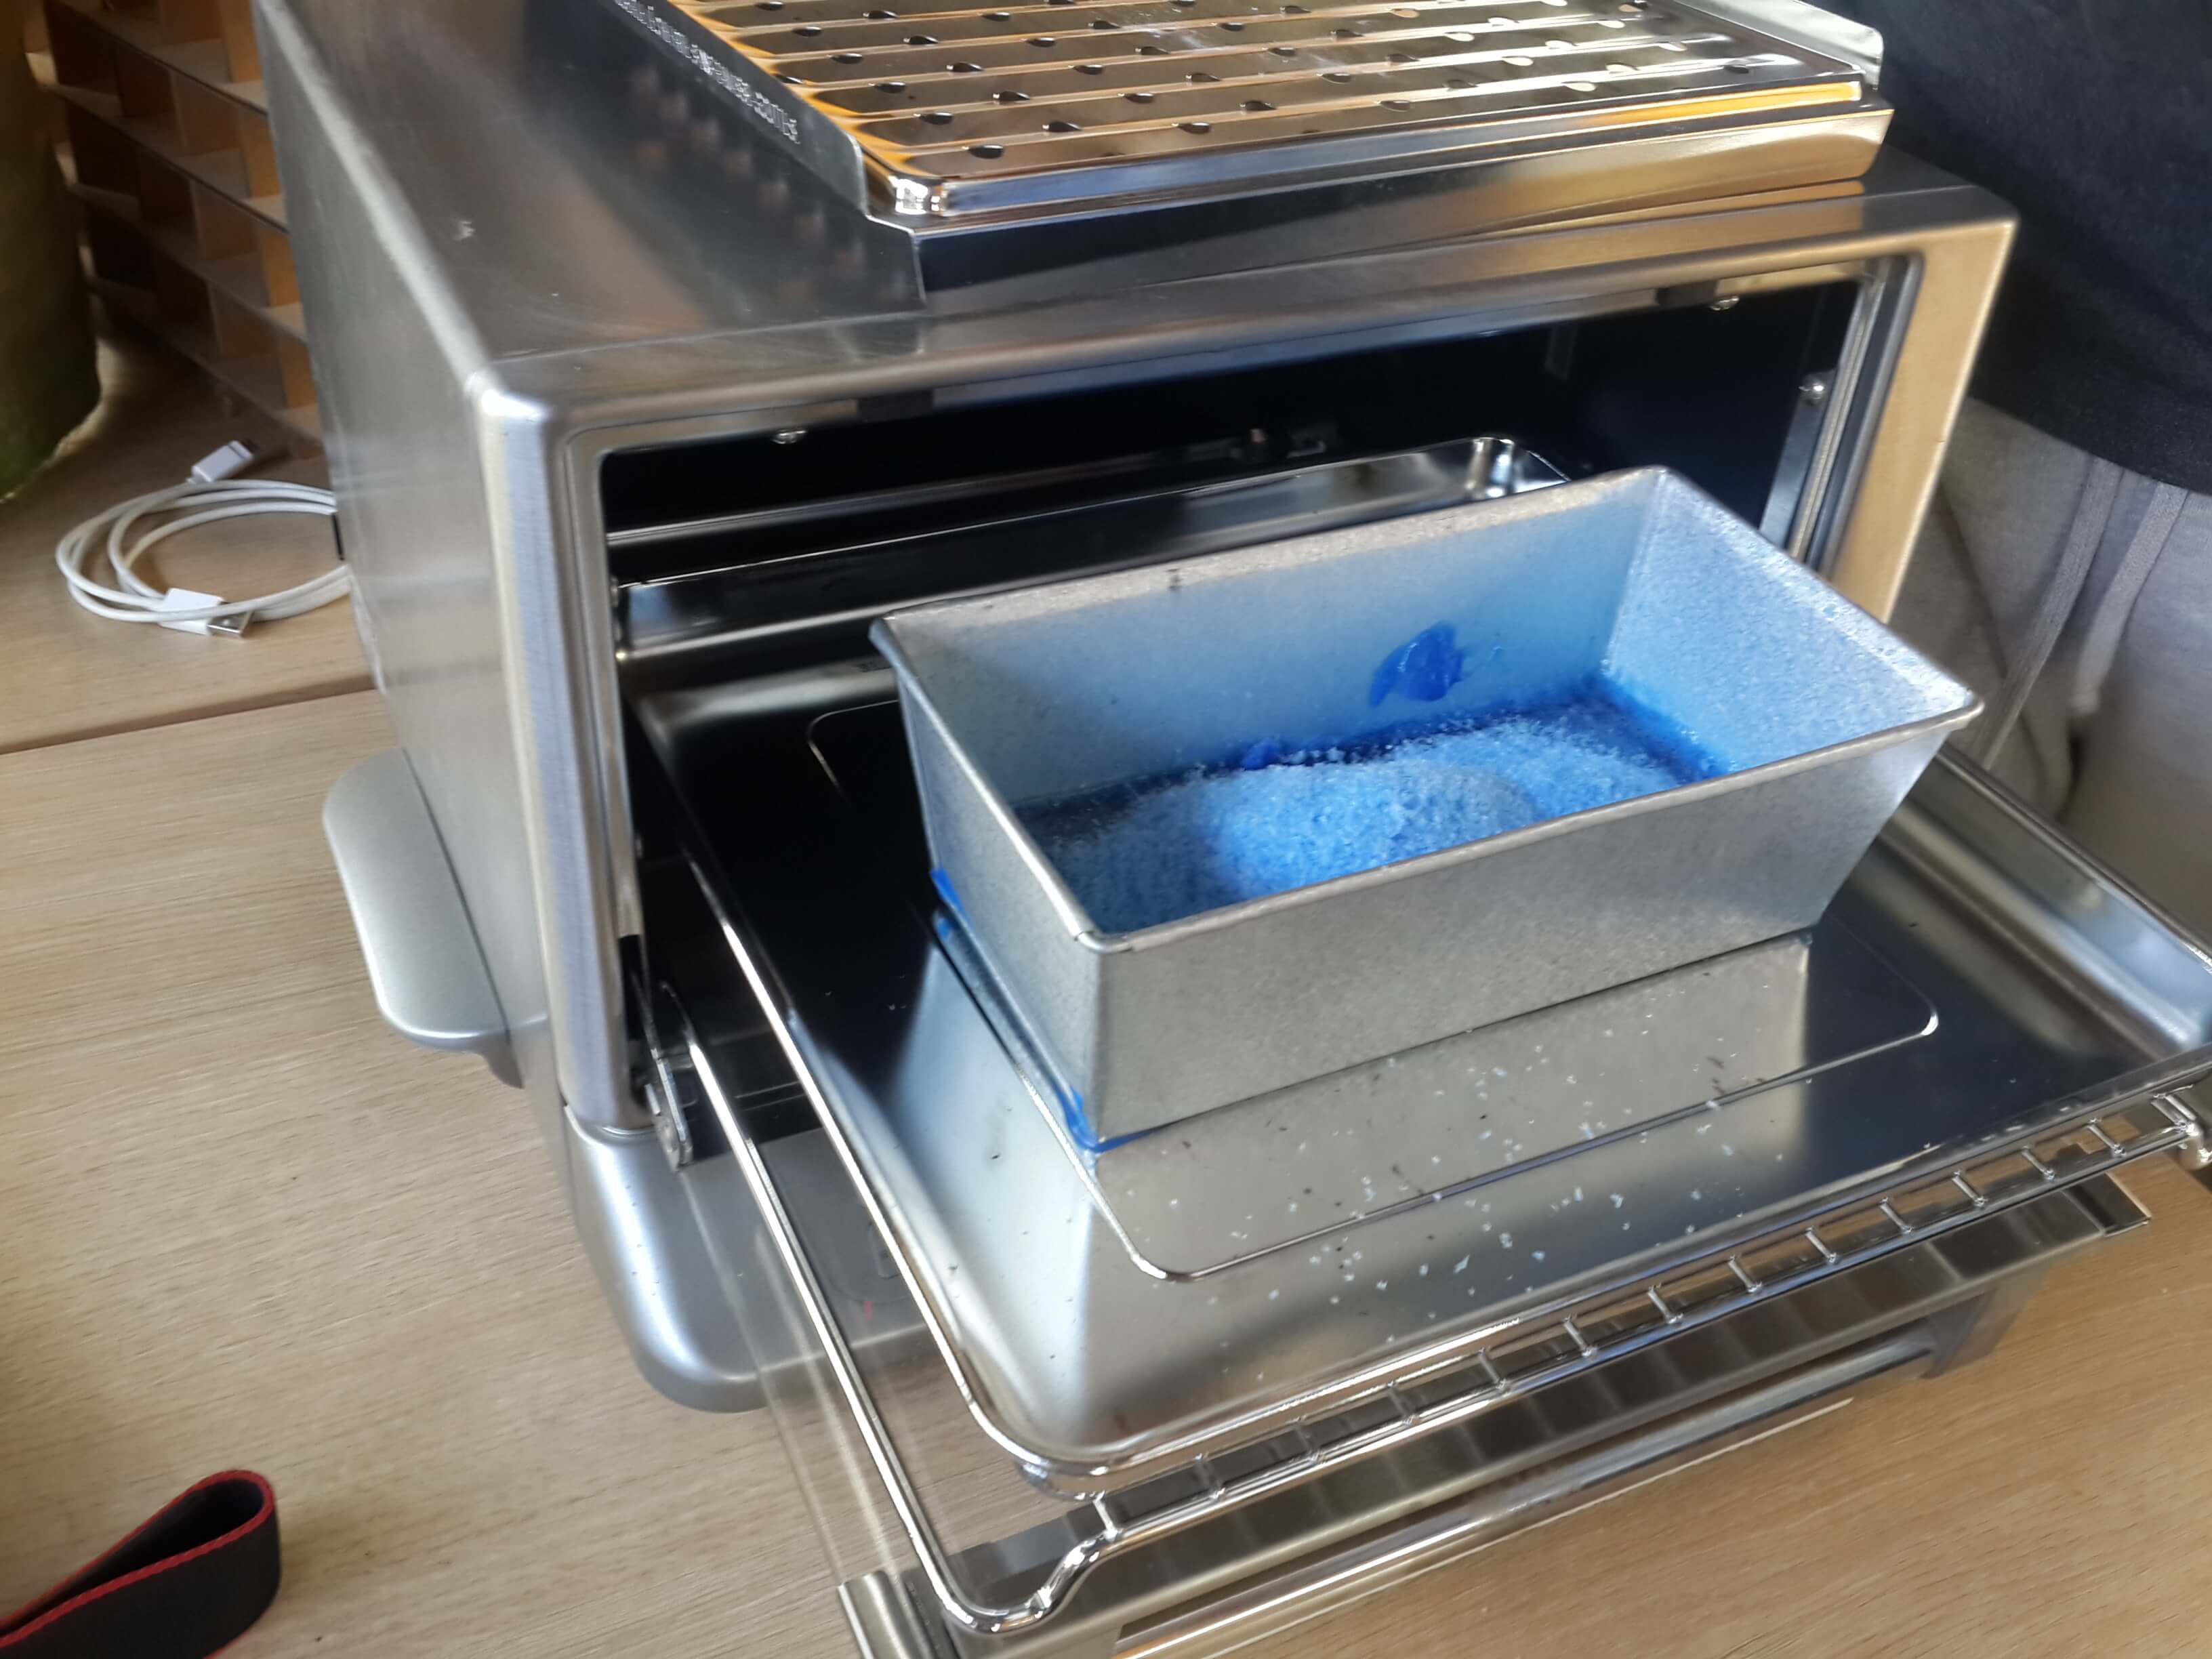
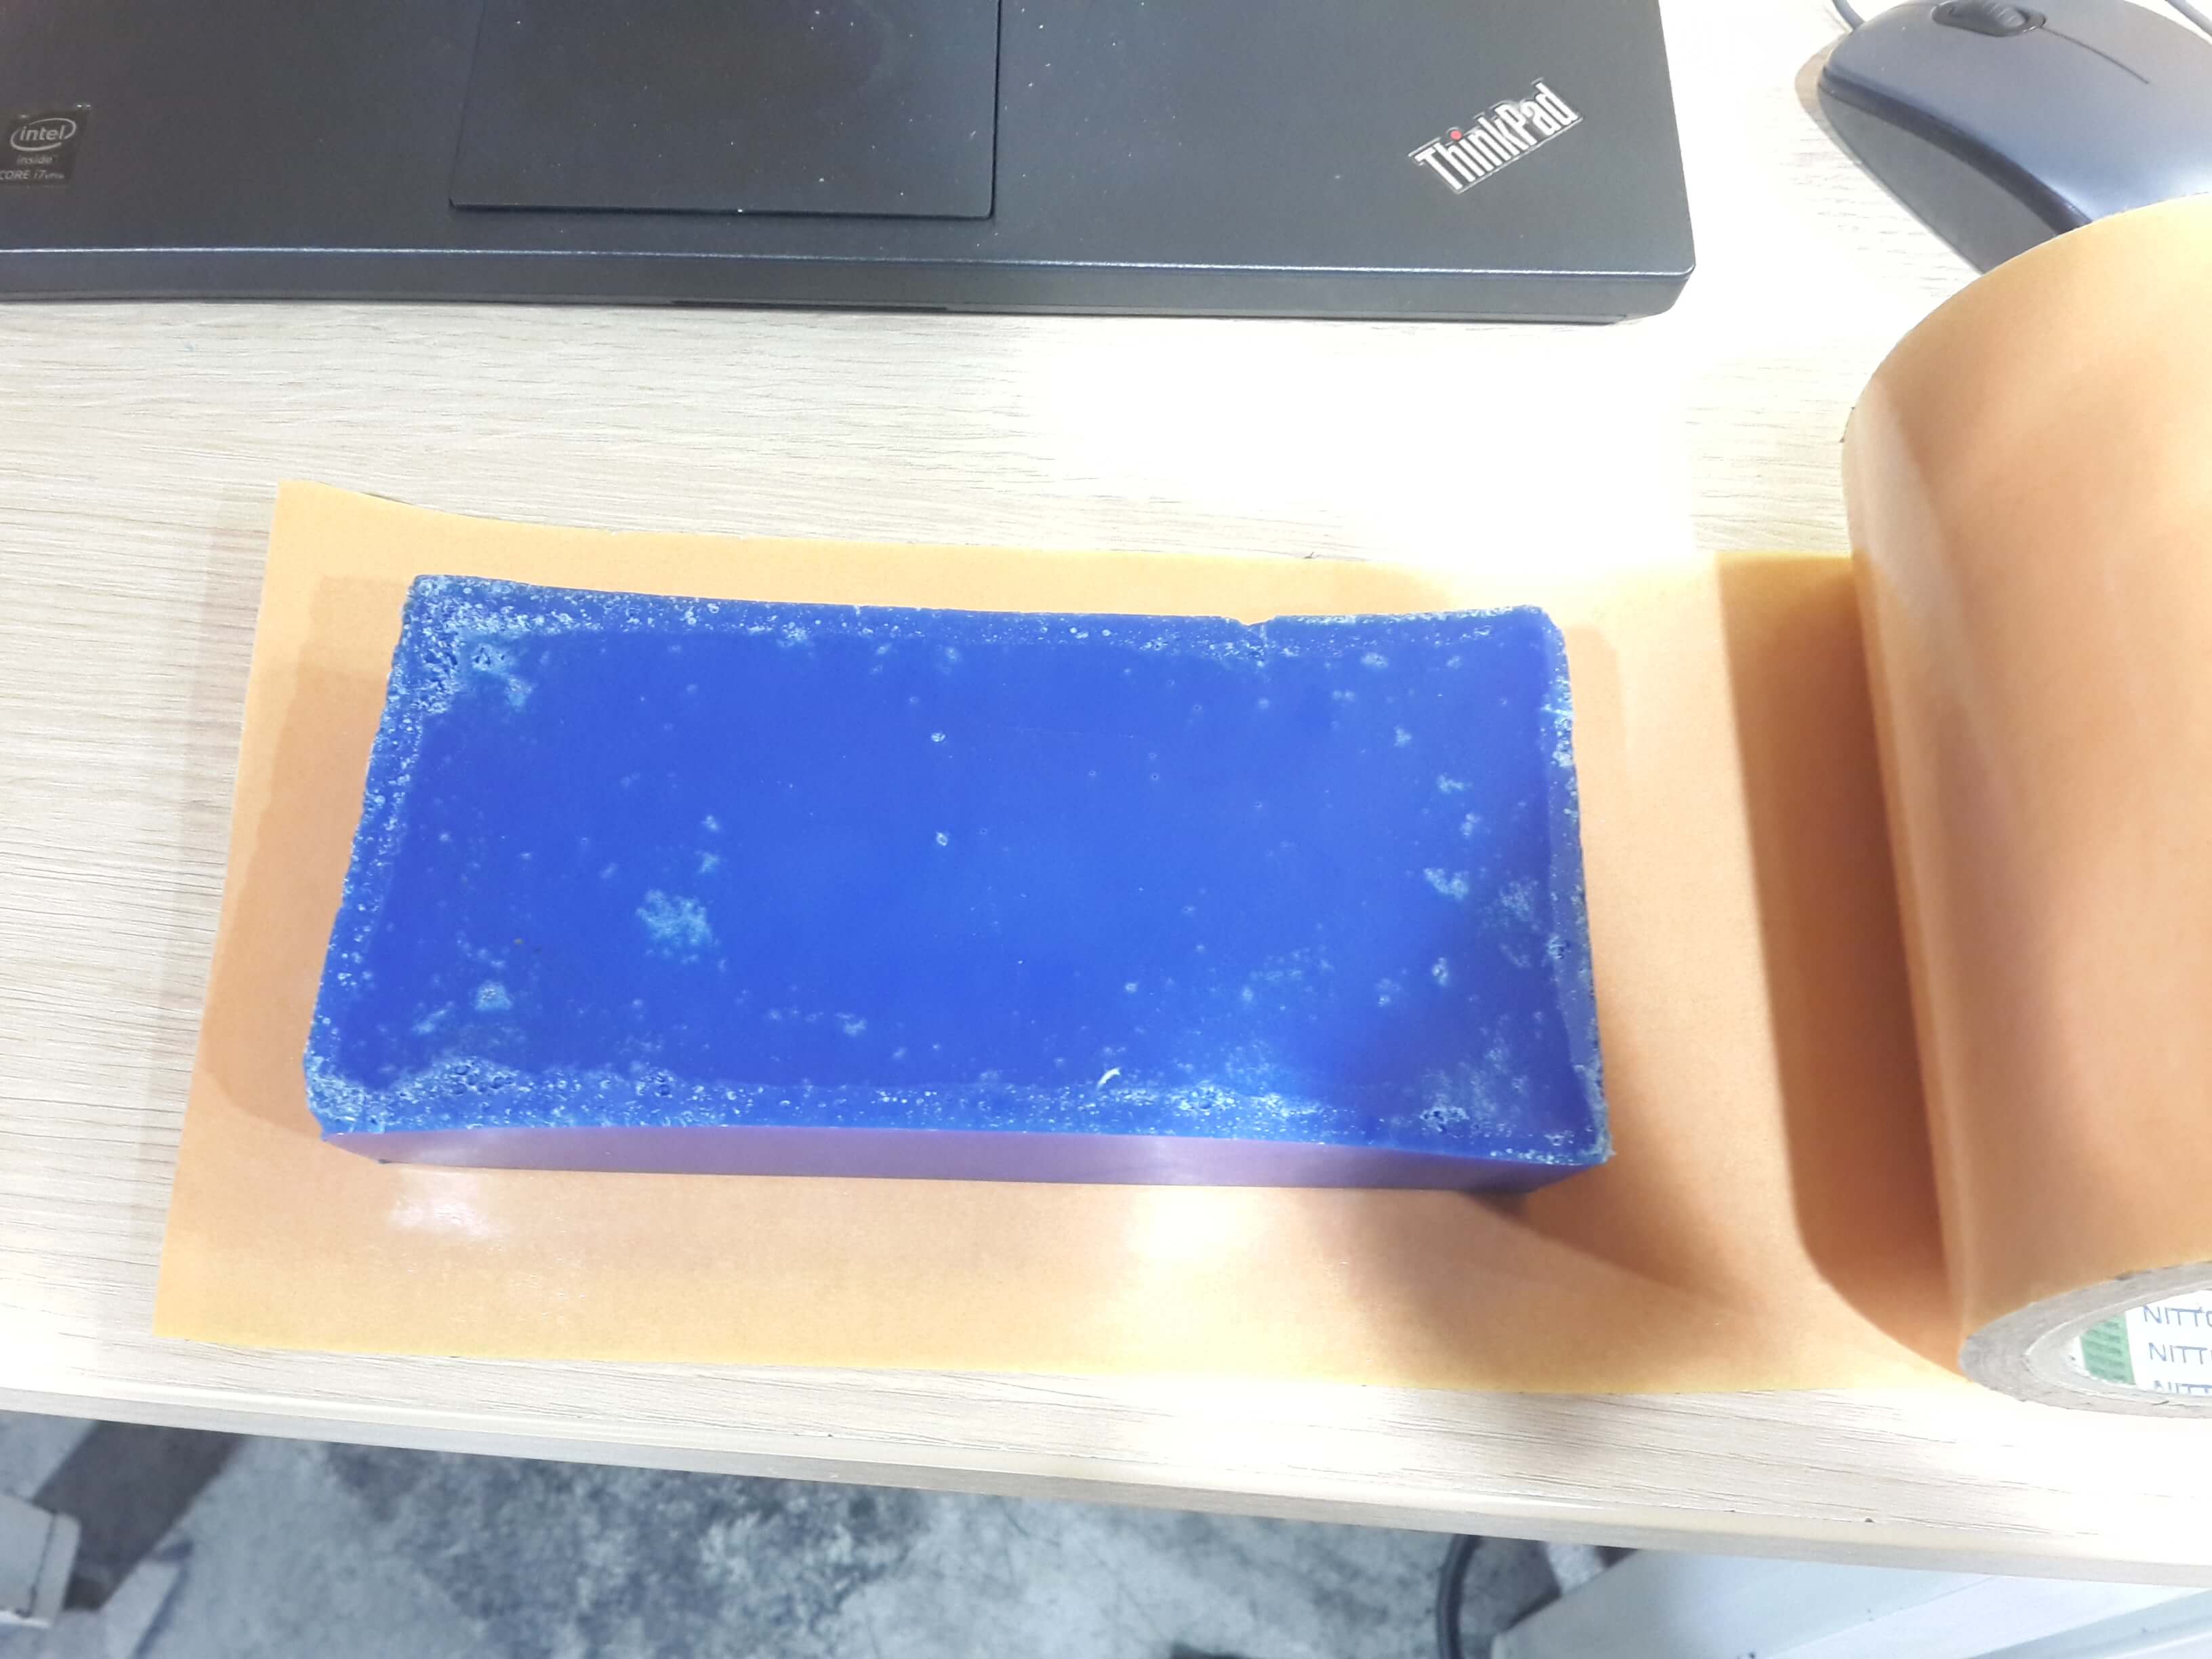
I was the last person to make the mold and there were no wax molds to mill. So with the aid of my tutor, I had to do my own wax mold from some milling residuals. This are the steps I did for getting the wax mold:
1. First, we putted all the residuals inside a rectangular baking mold.
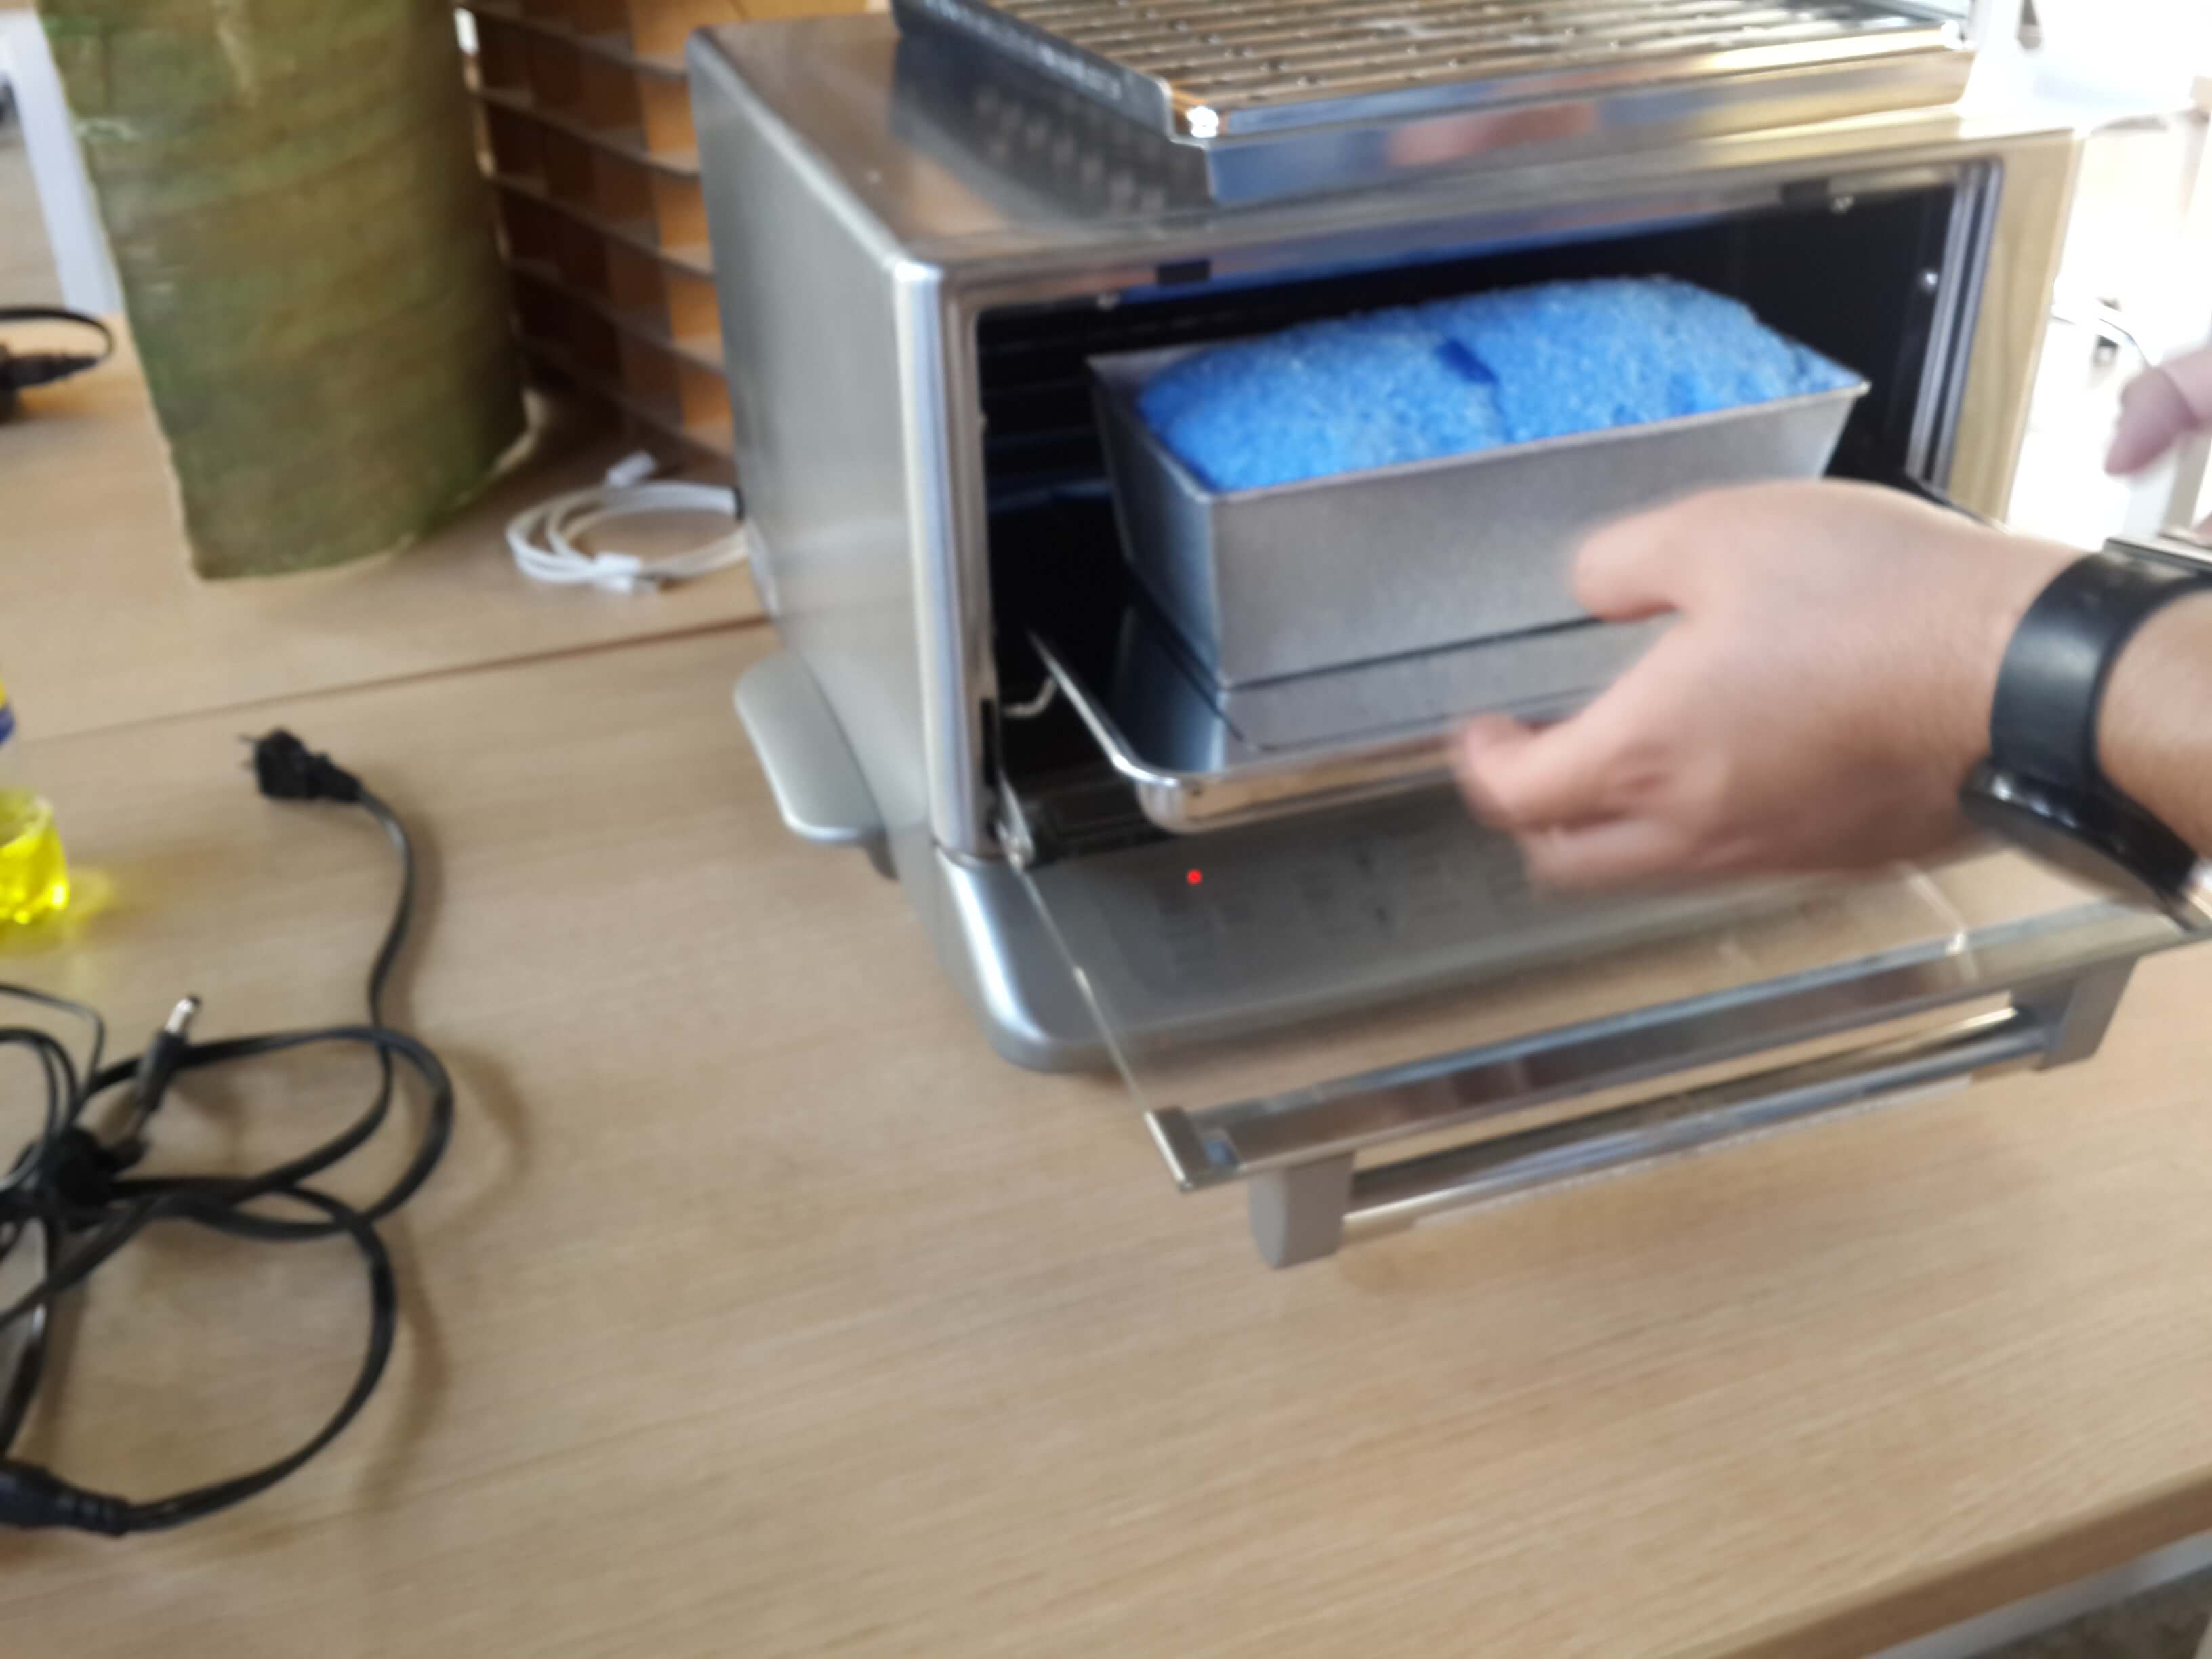
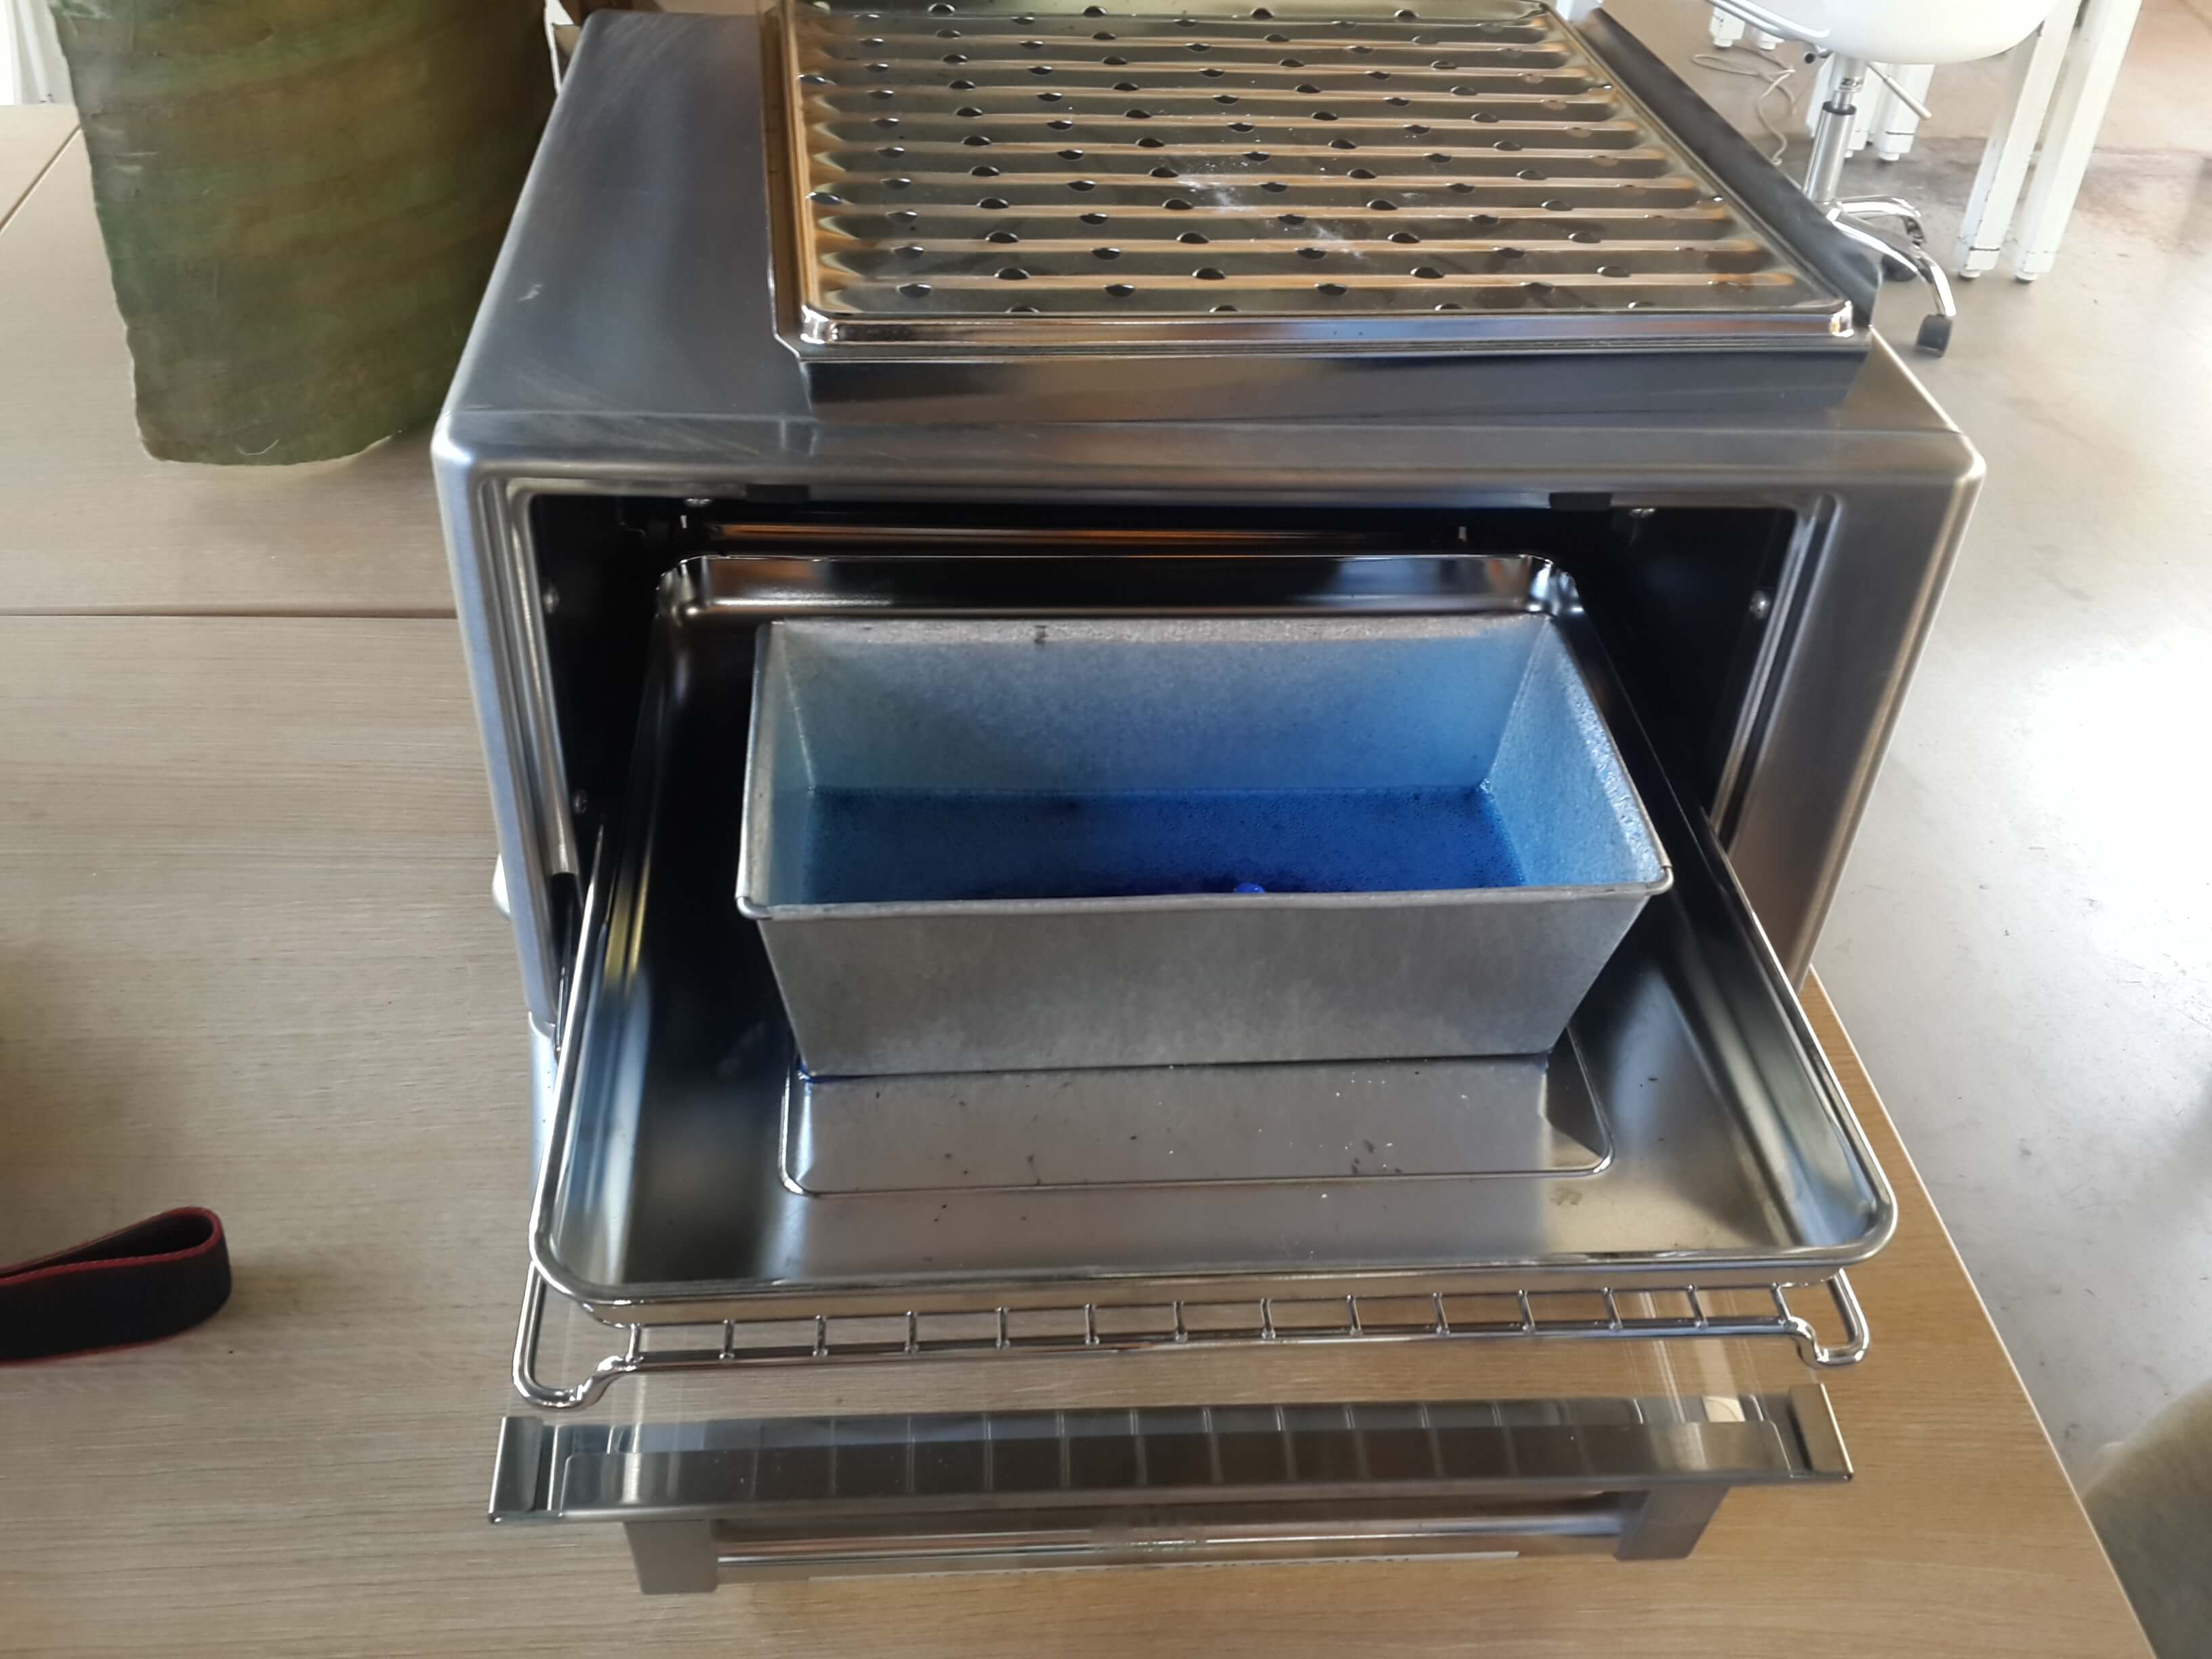
4. We let the oven heat the mold and every 20 minutes, we filled the mold with more wax residuals.

Molding the wax
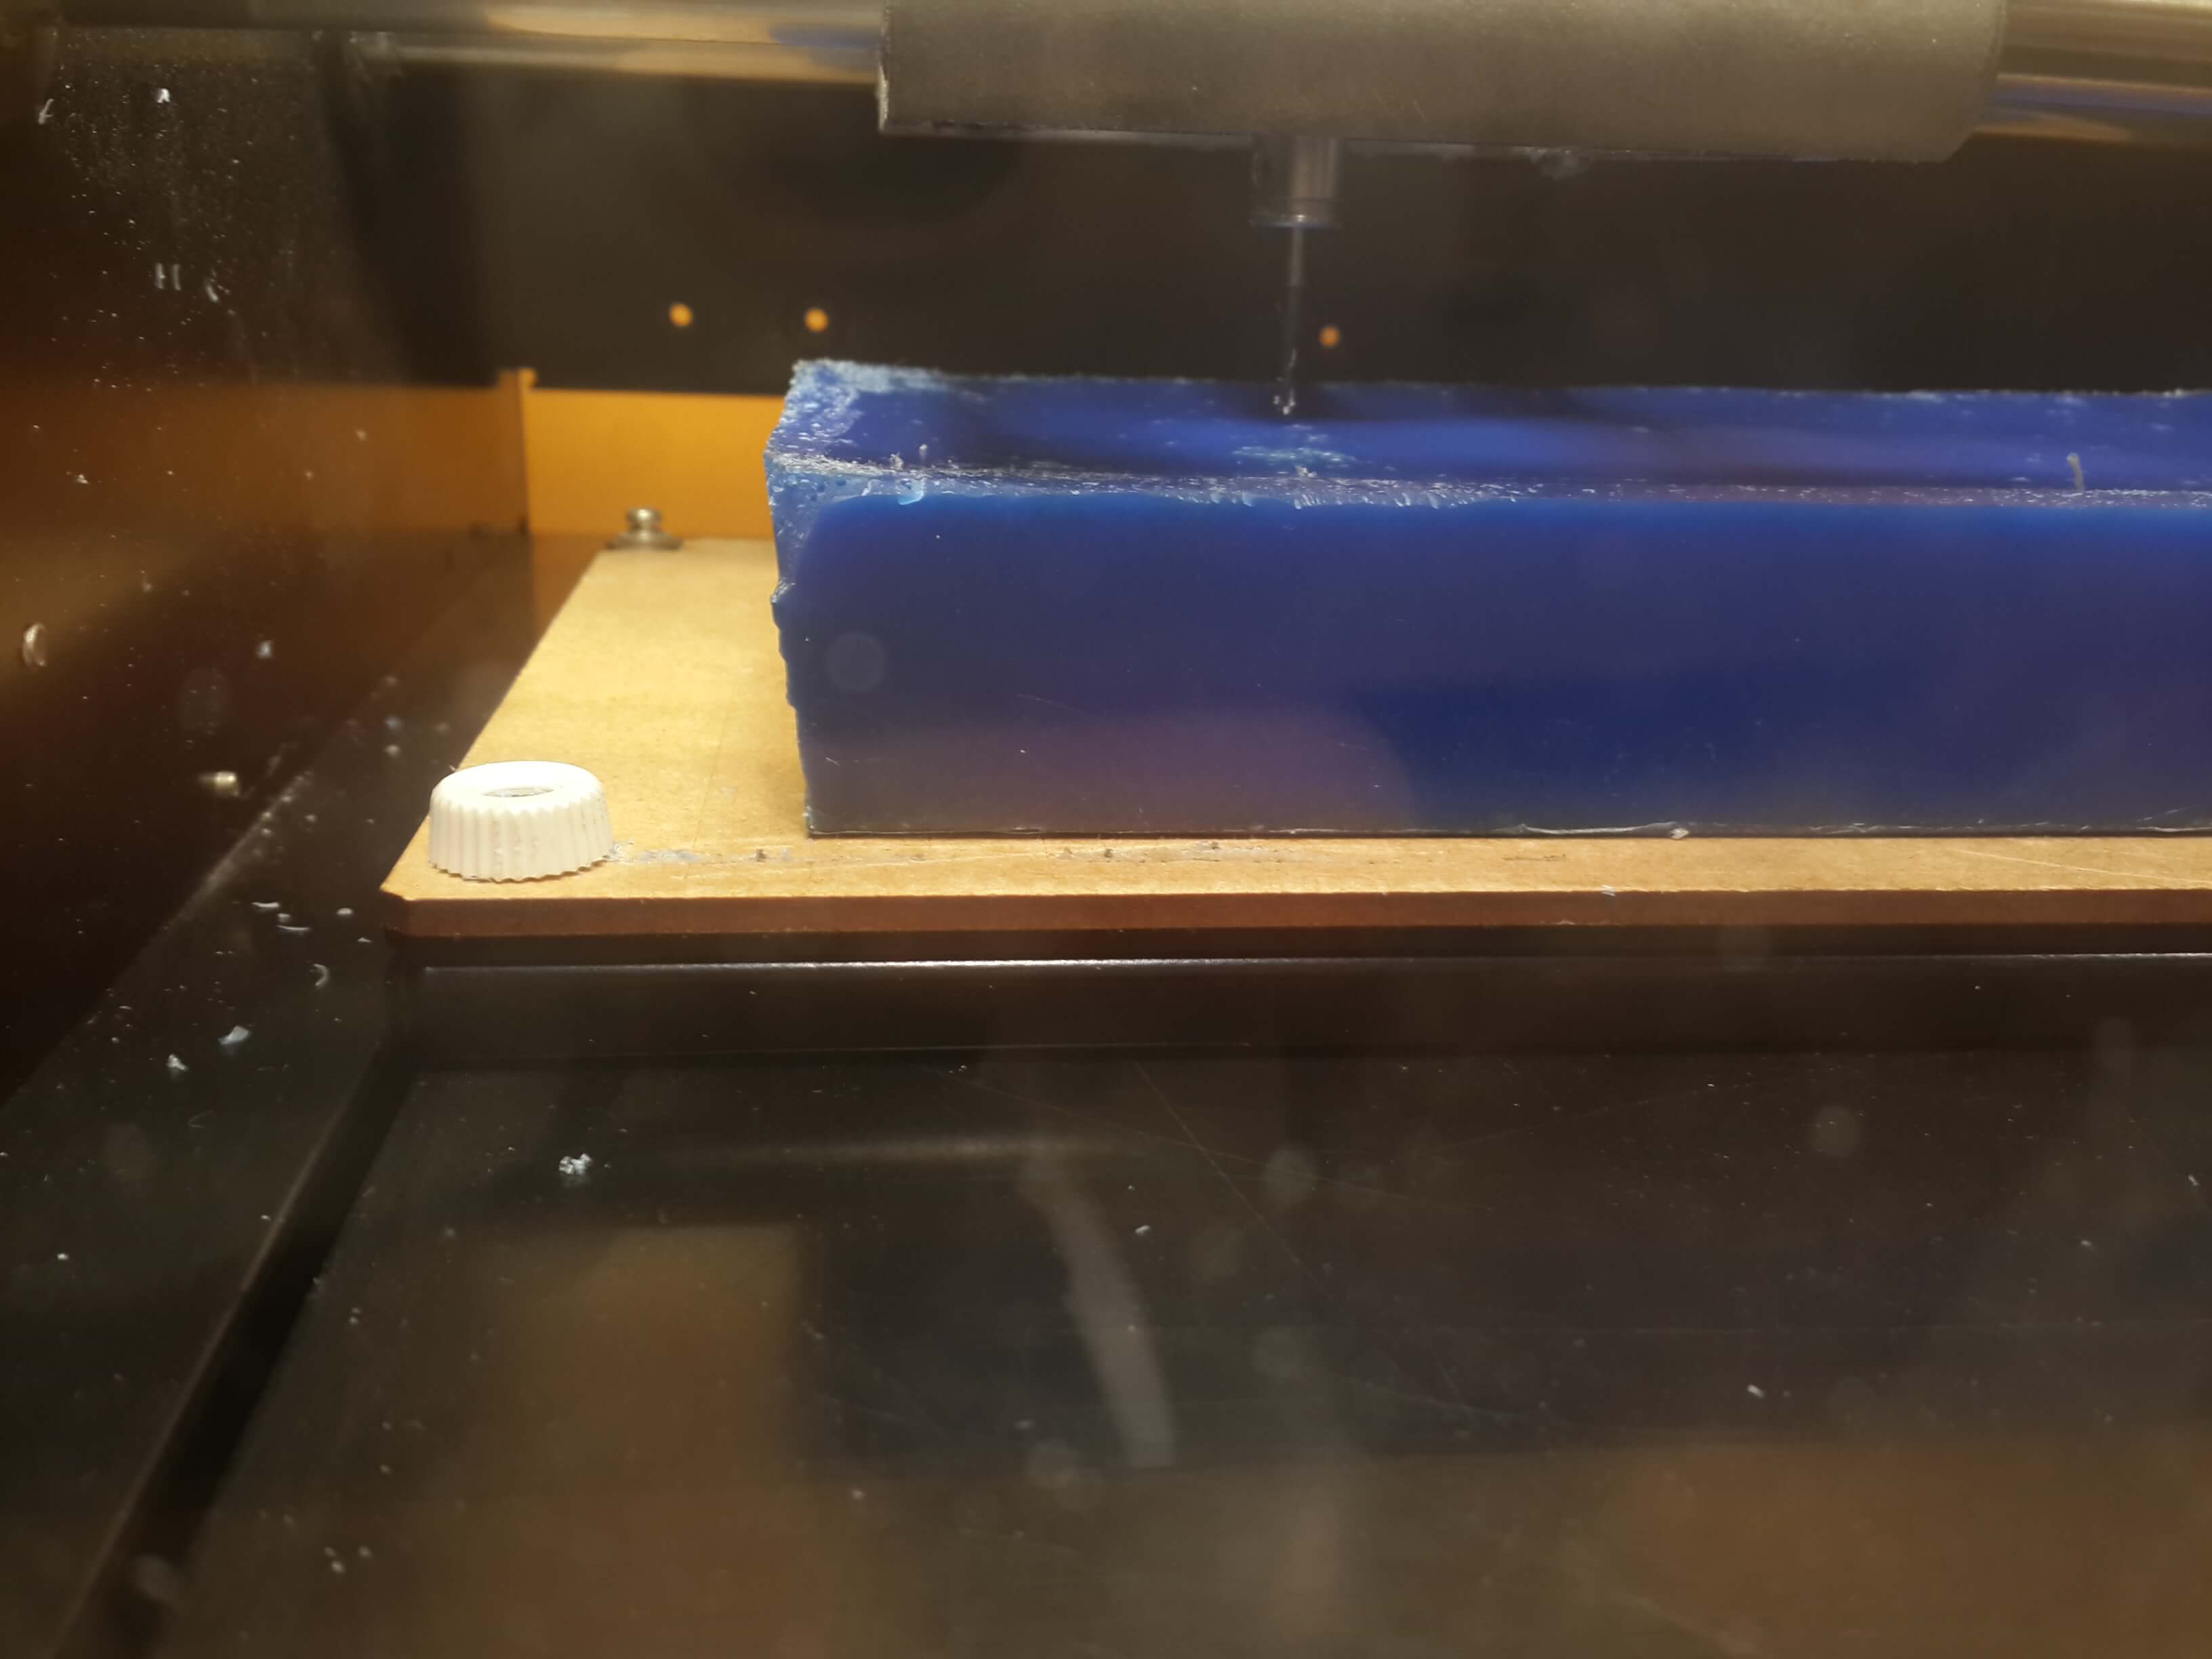
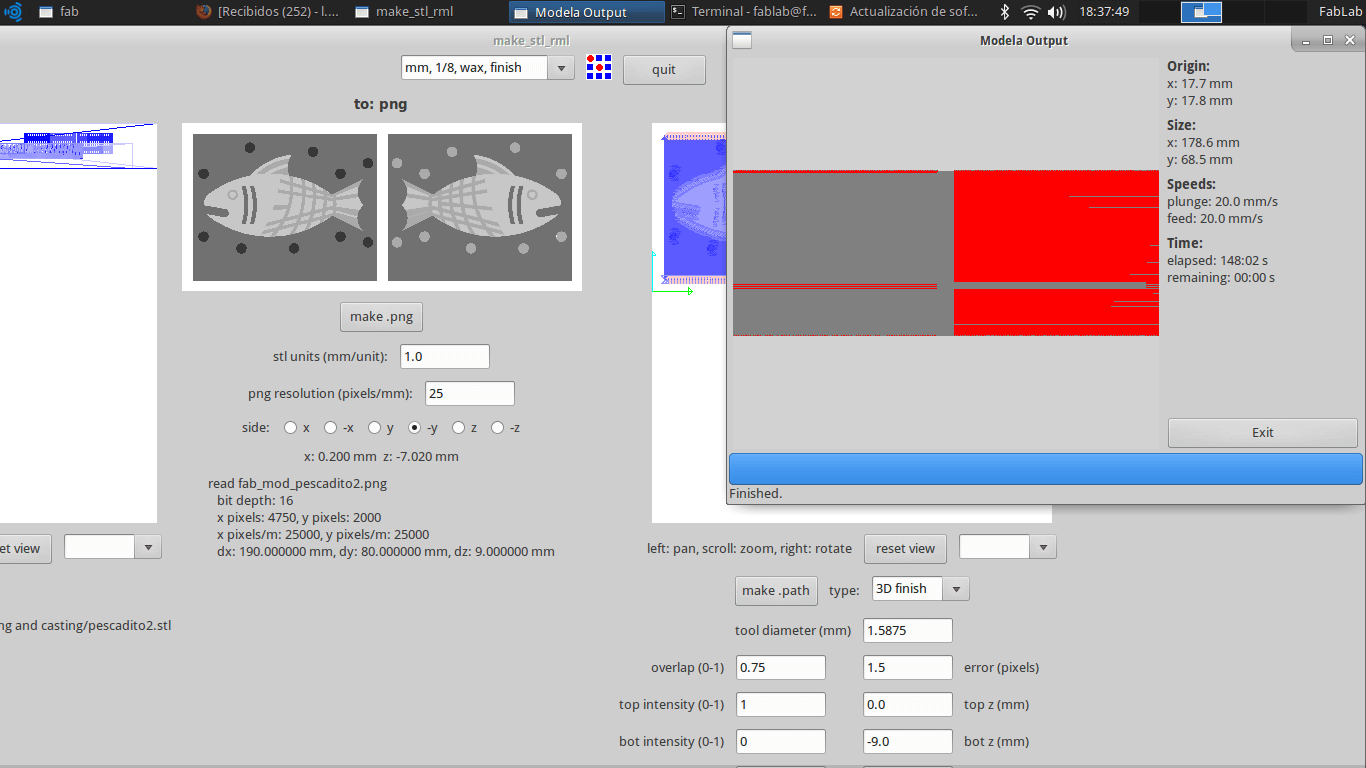
For millling the wax I used the modela MDX milling machine and a 1/16 inch end mill. the procedure for milling the wax is almost the same than the one used for milling a pcb. This are the steps I did for milling the wax mold:
1. I inserted the end mill in the spindle and adjusted to it.
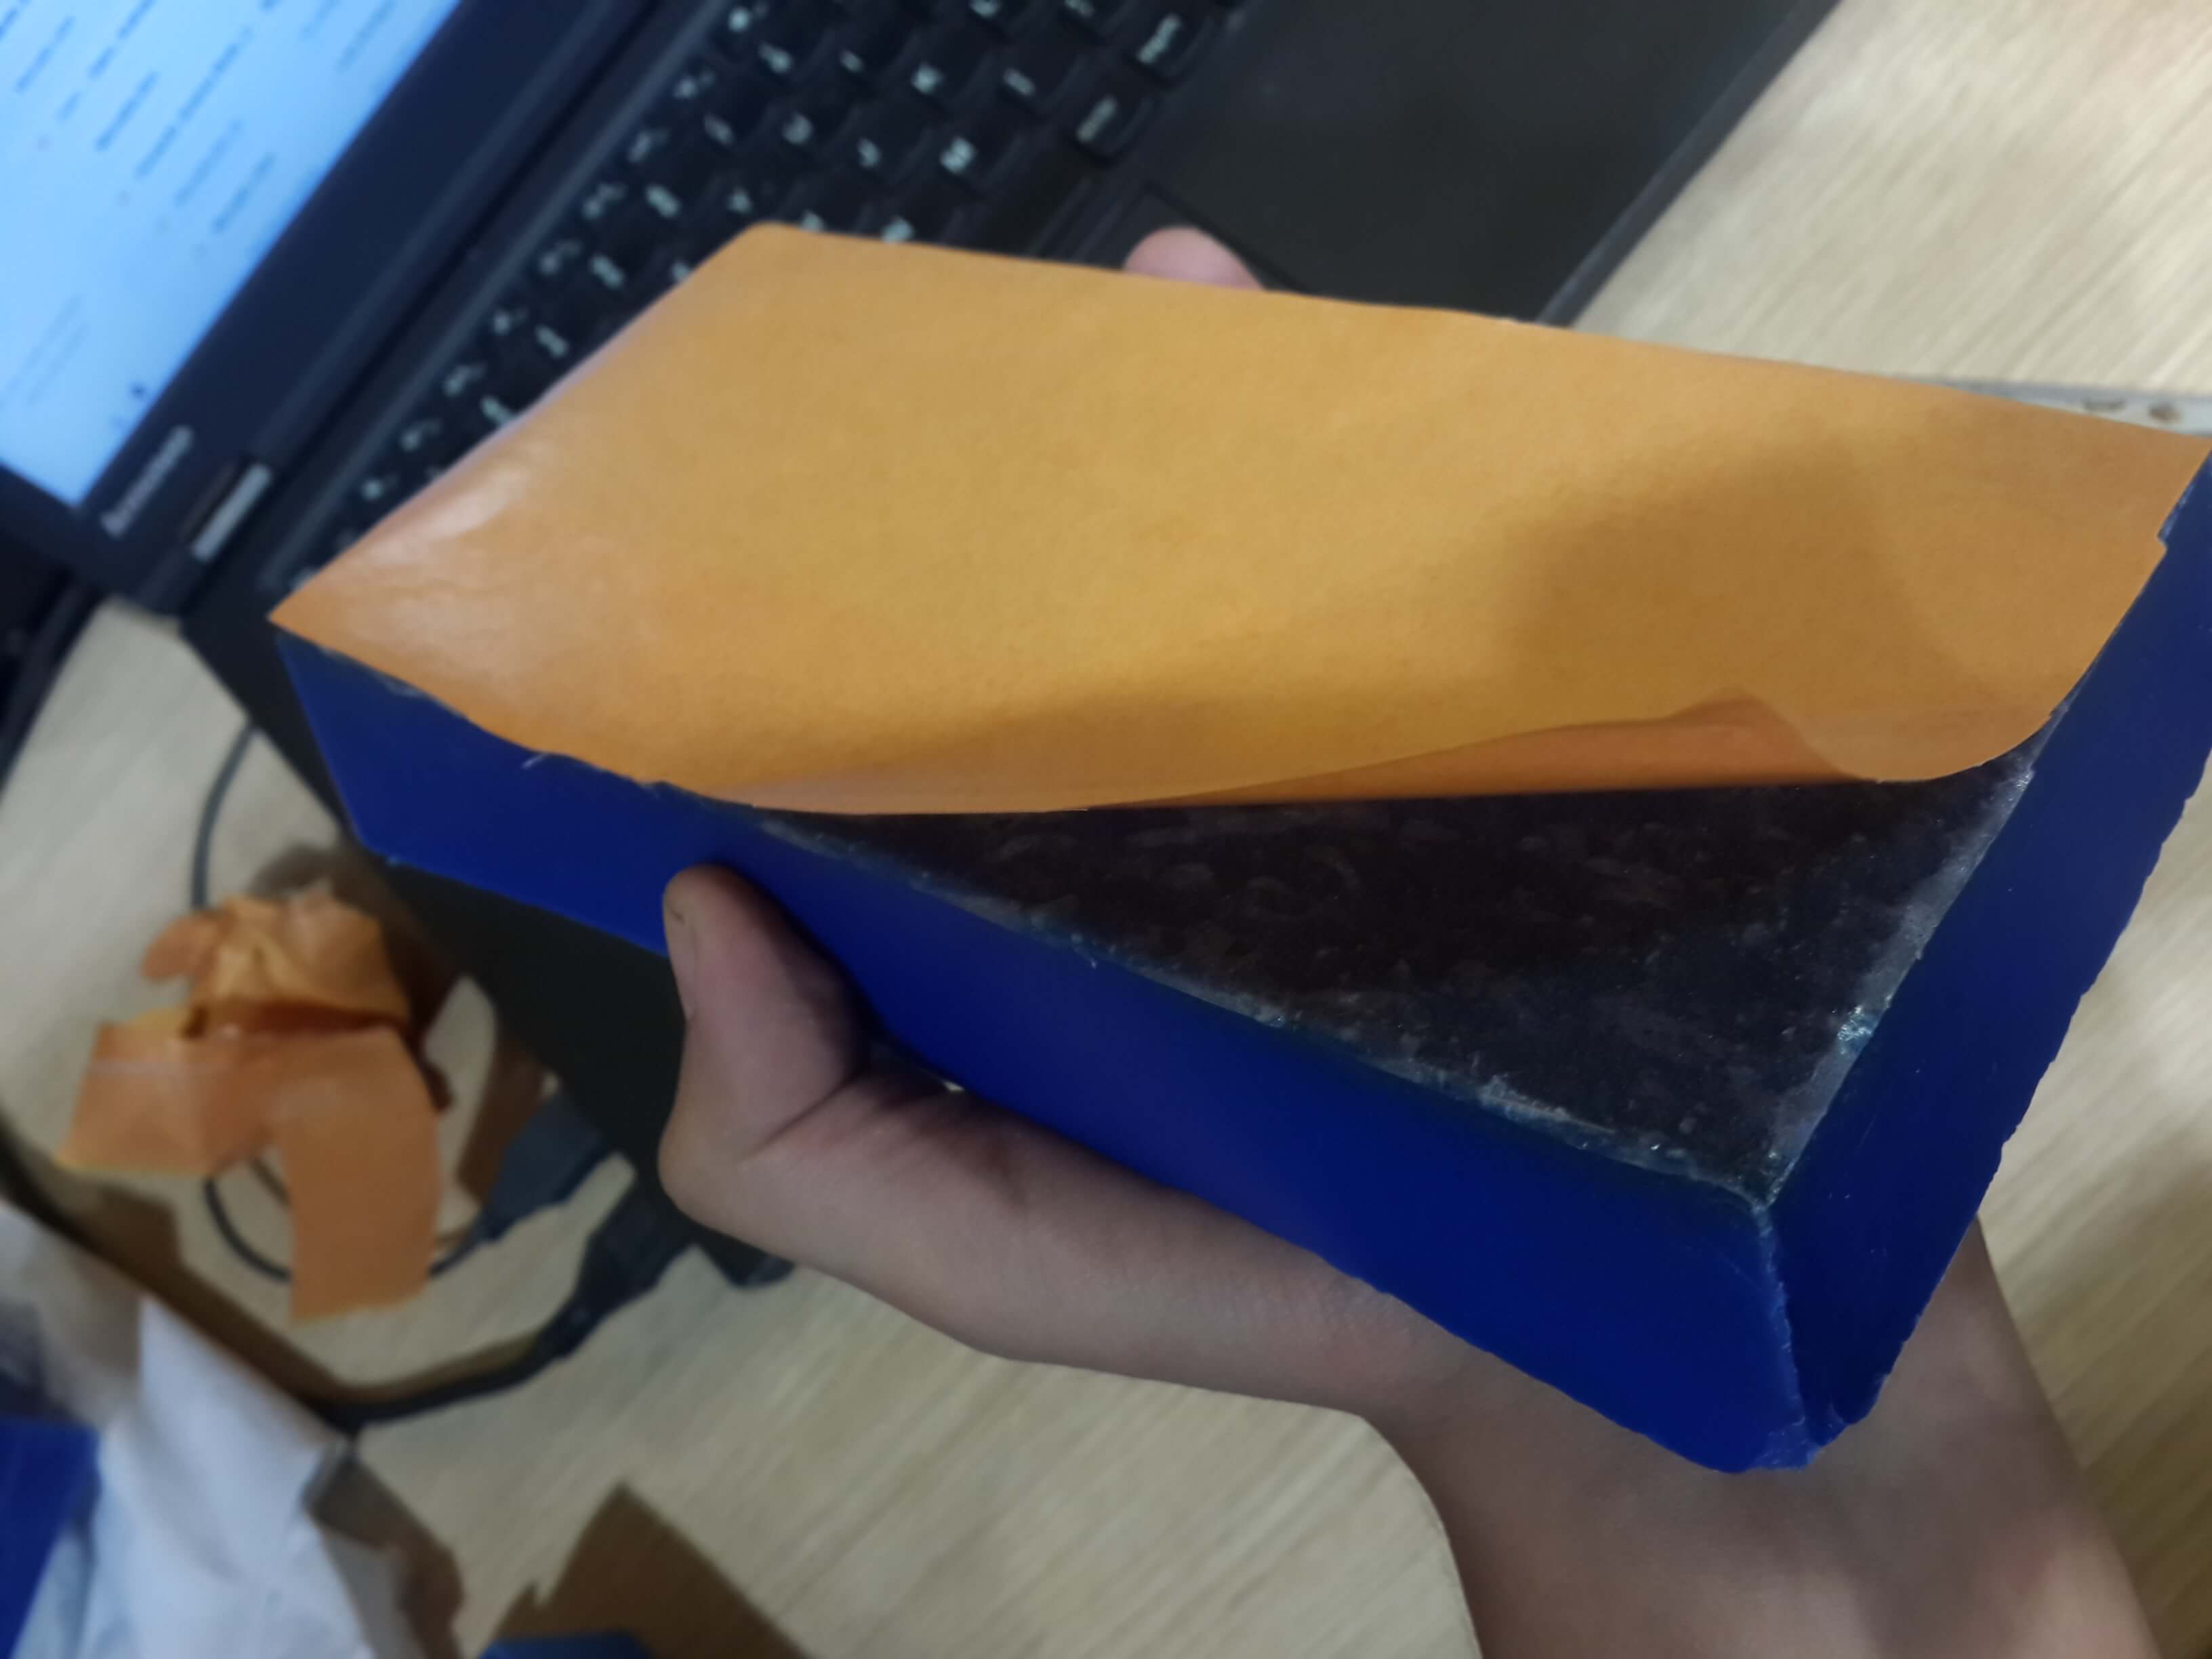
2. Then, I pasted a double sided tape on the base of the wax mold.
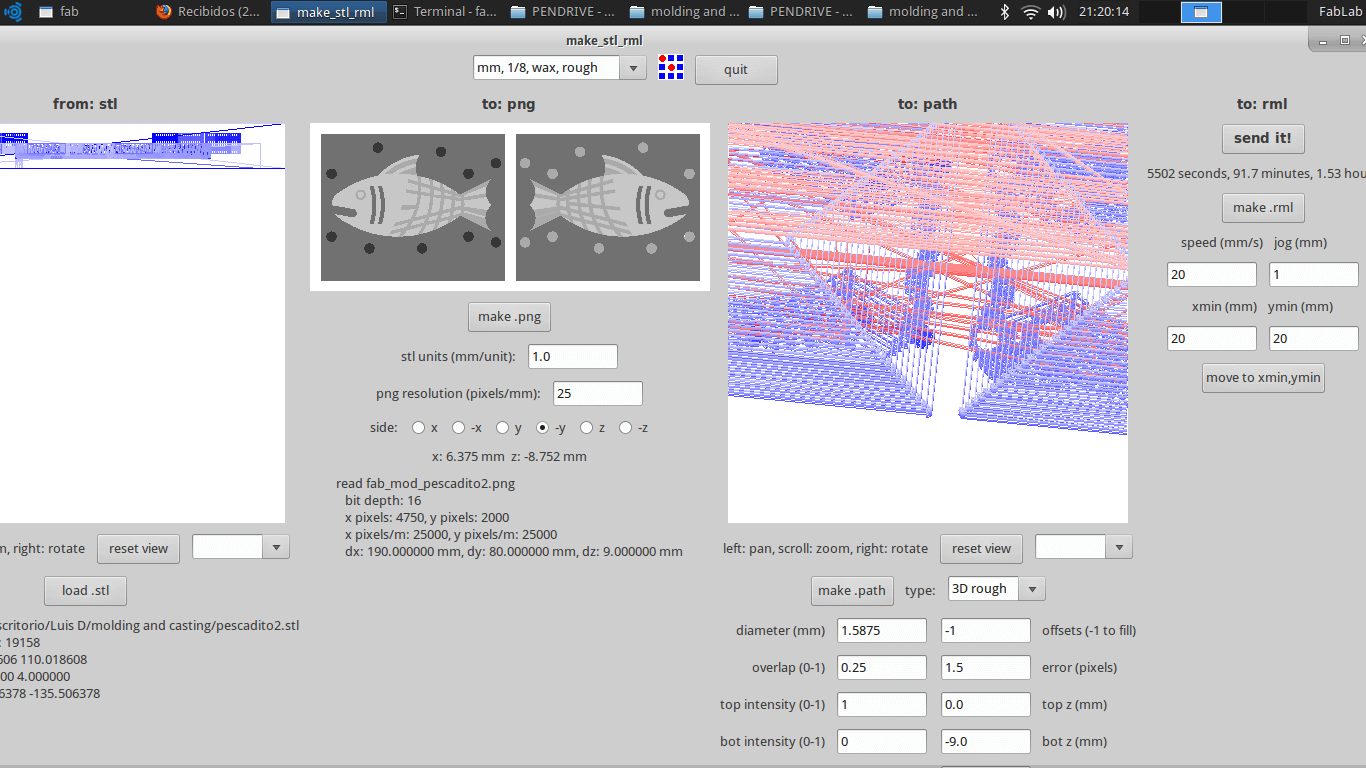
4. I oppened the fab modules and selected the importing file as STL.
5. Then, I loaded the stl file.
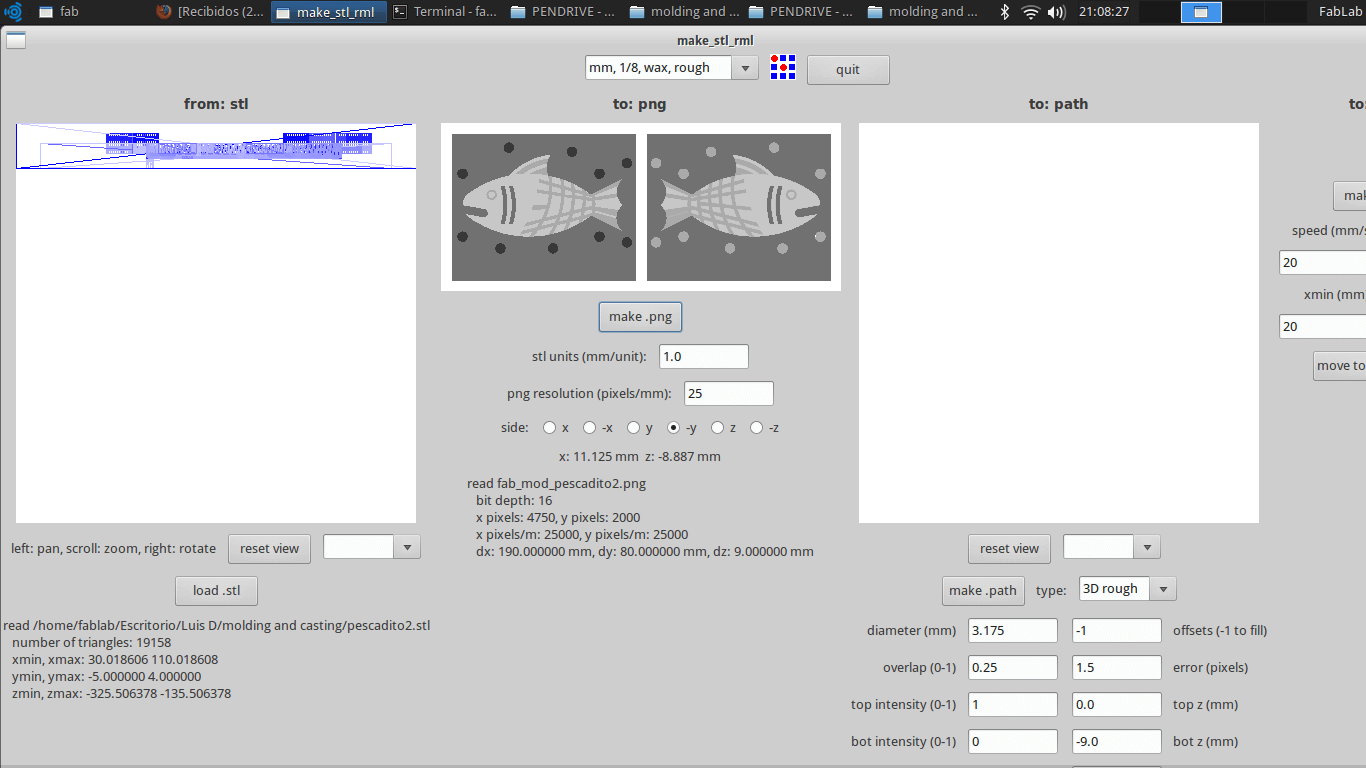
7. I chose the side -y and clicked on path.
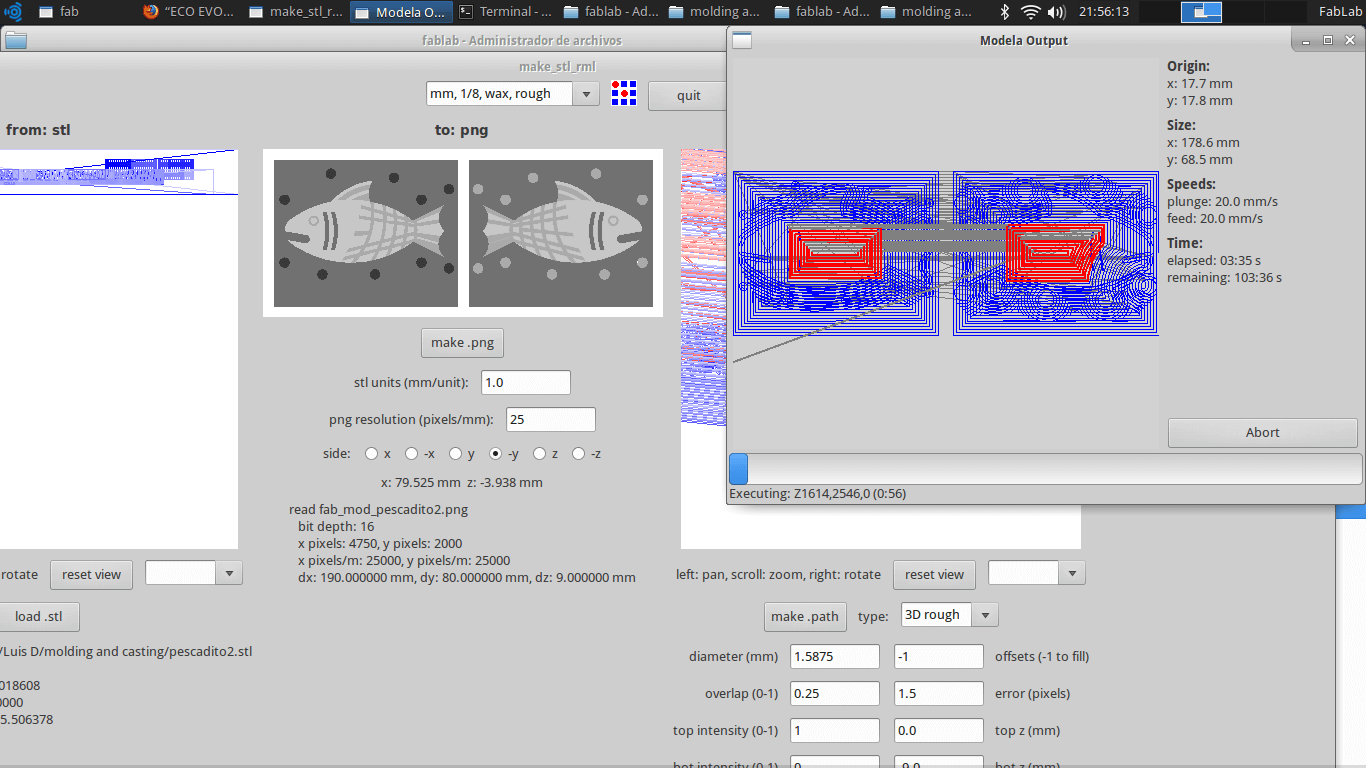
10. I clicked on make rml, then send it and then begin
12. I turned on and off the milling machine for reseting the positions.
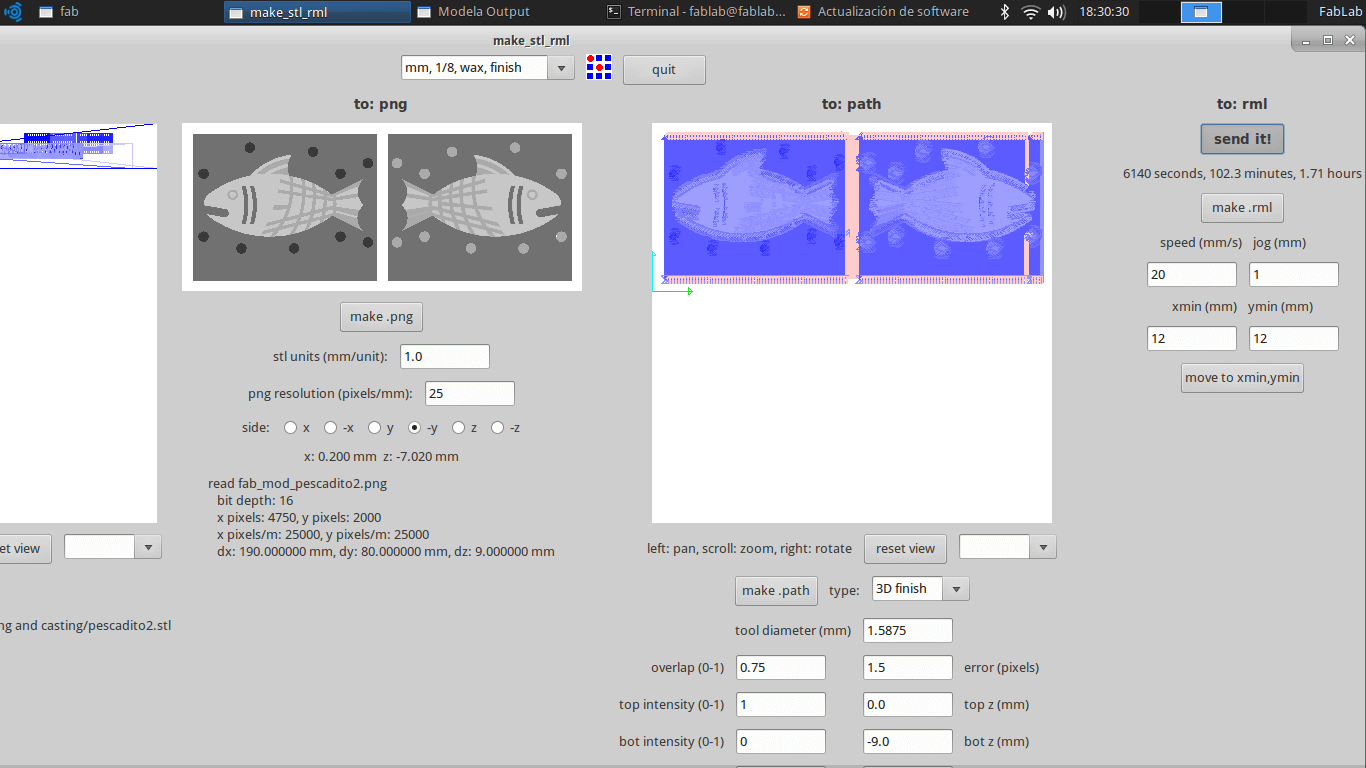
13. I chose as tool mm, 1/8 wax_finish, but changed the diameter of the tool to 1.5875
14. Since the referenced I used previously was milled, I used as height reference the center wall of the mold, and then moved the end mill to the wax origin position (x=12,y=12)
15. Then I clicked on make path for getting the path of the end mill.
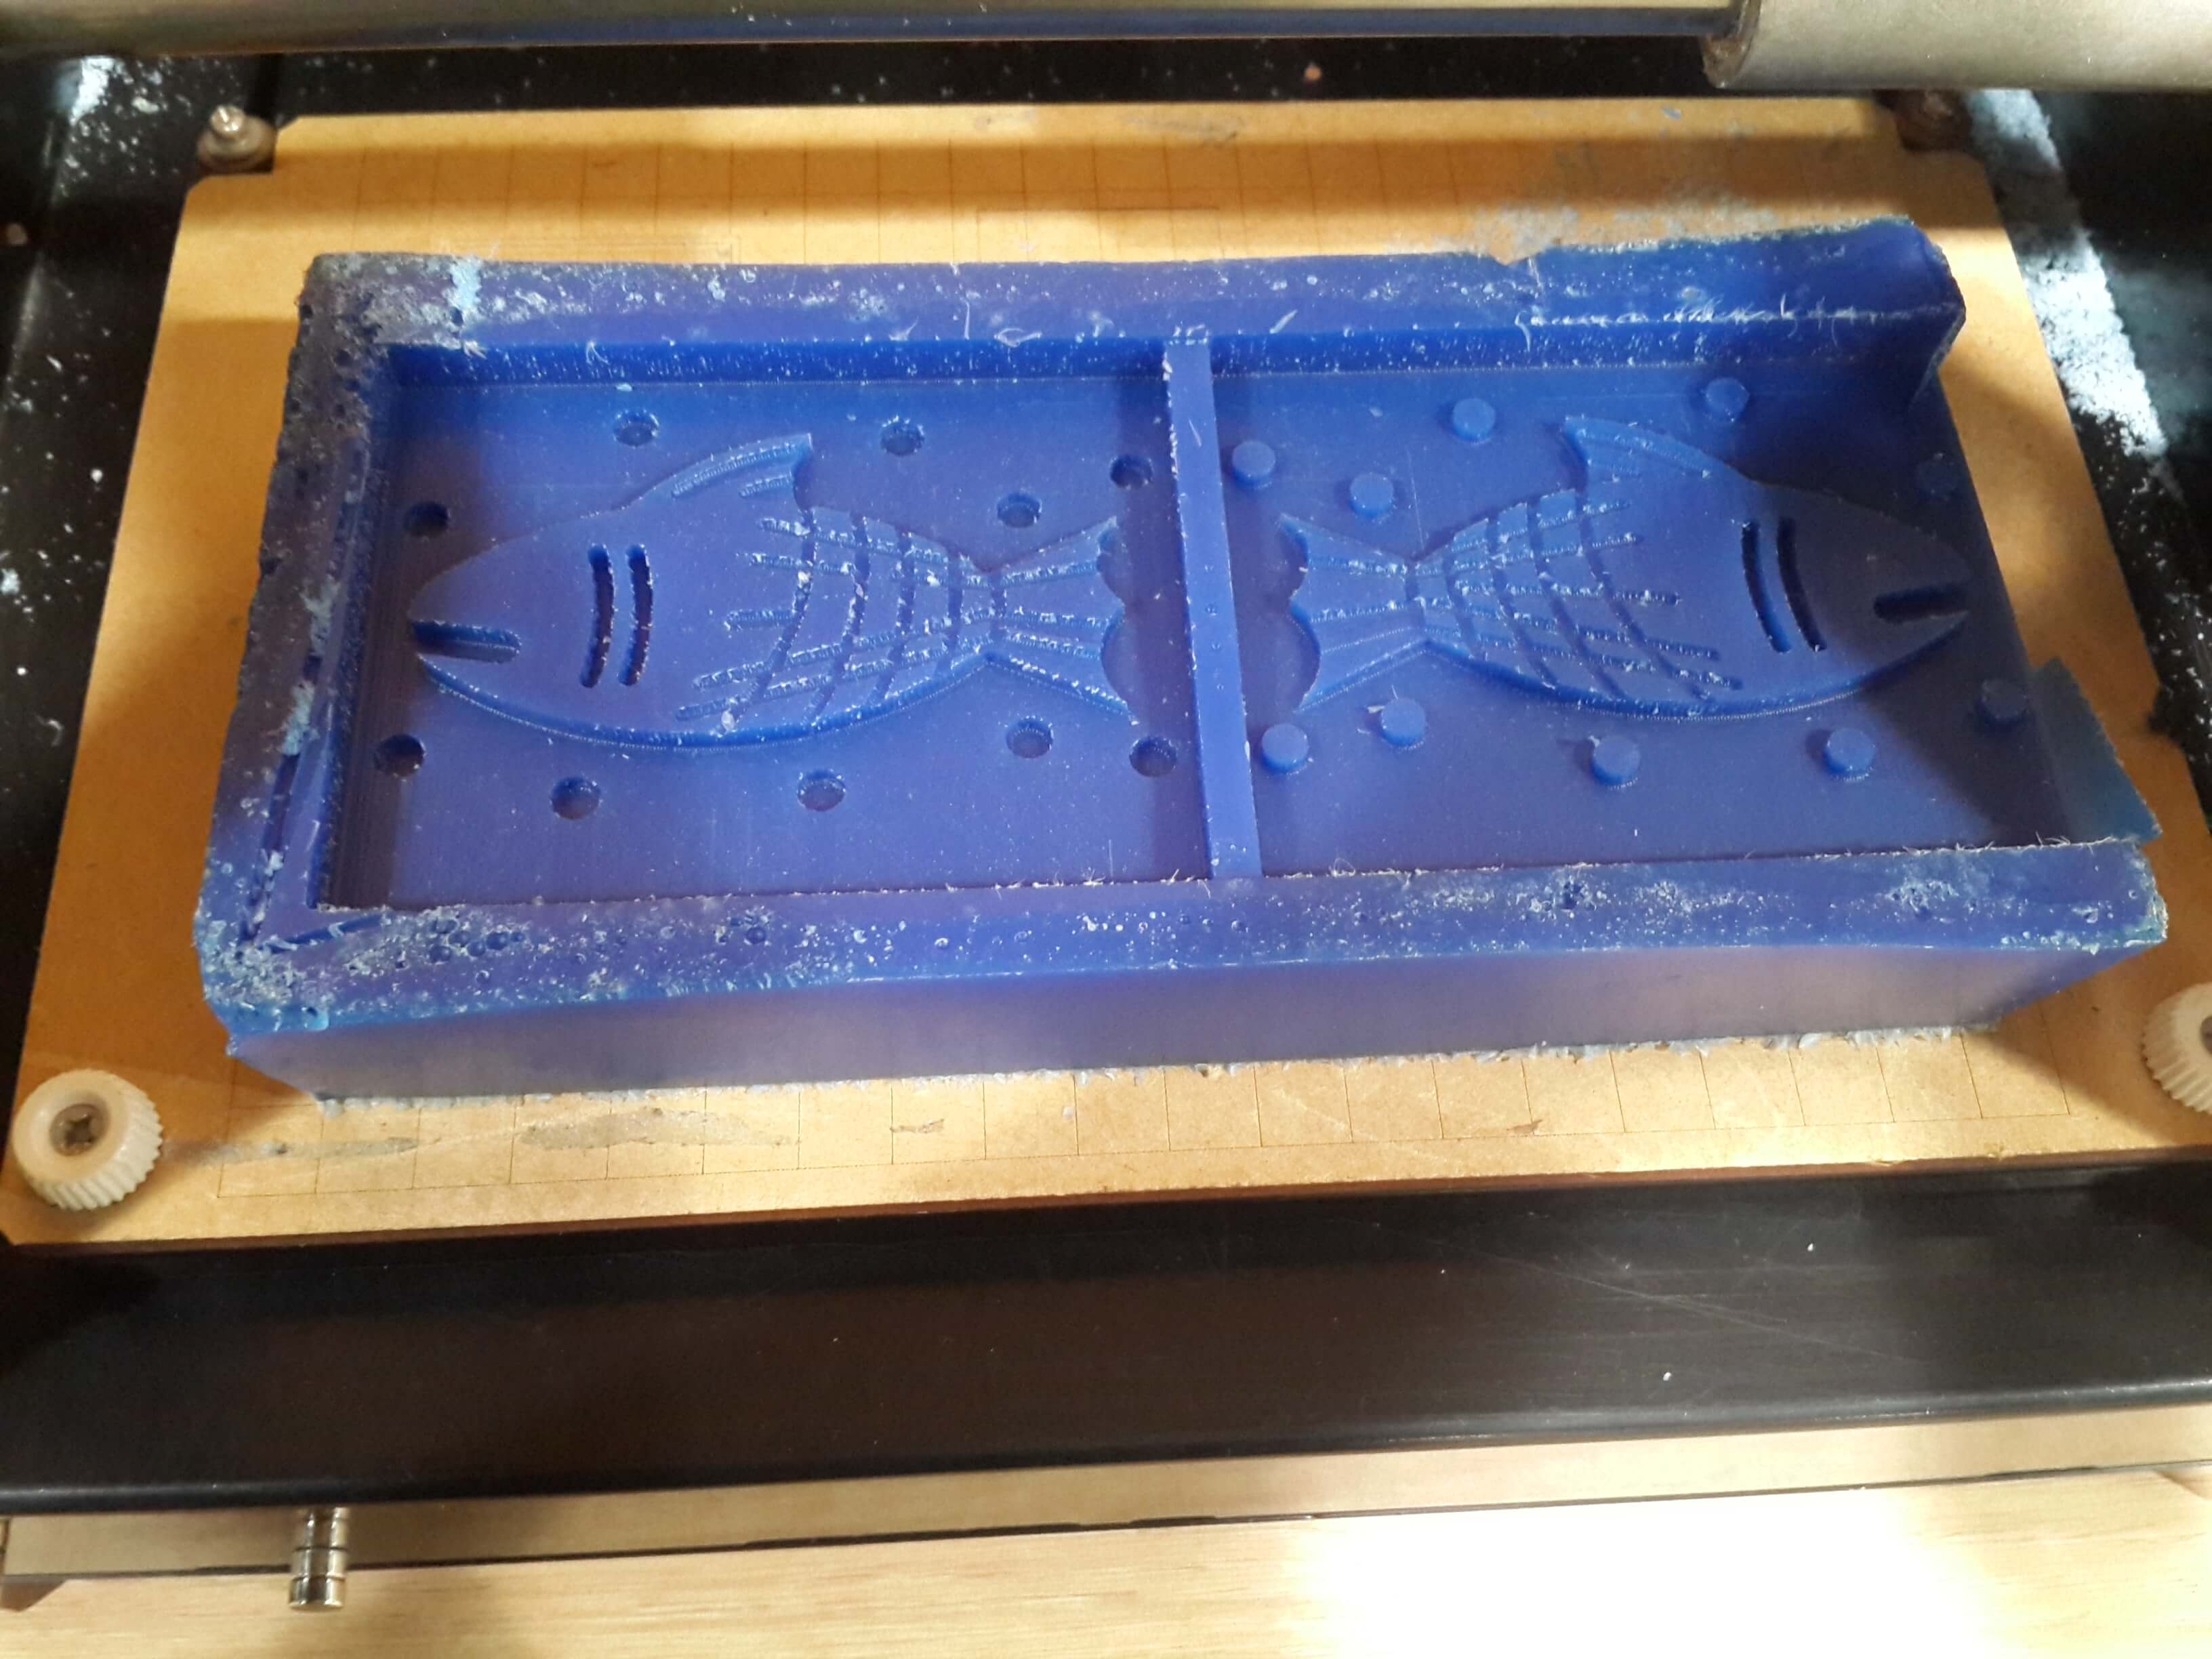
Casting the mold
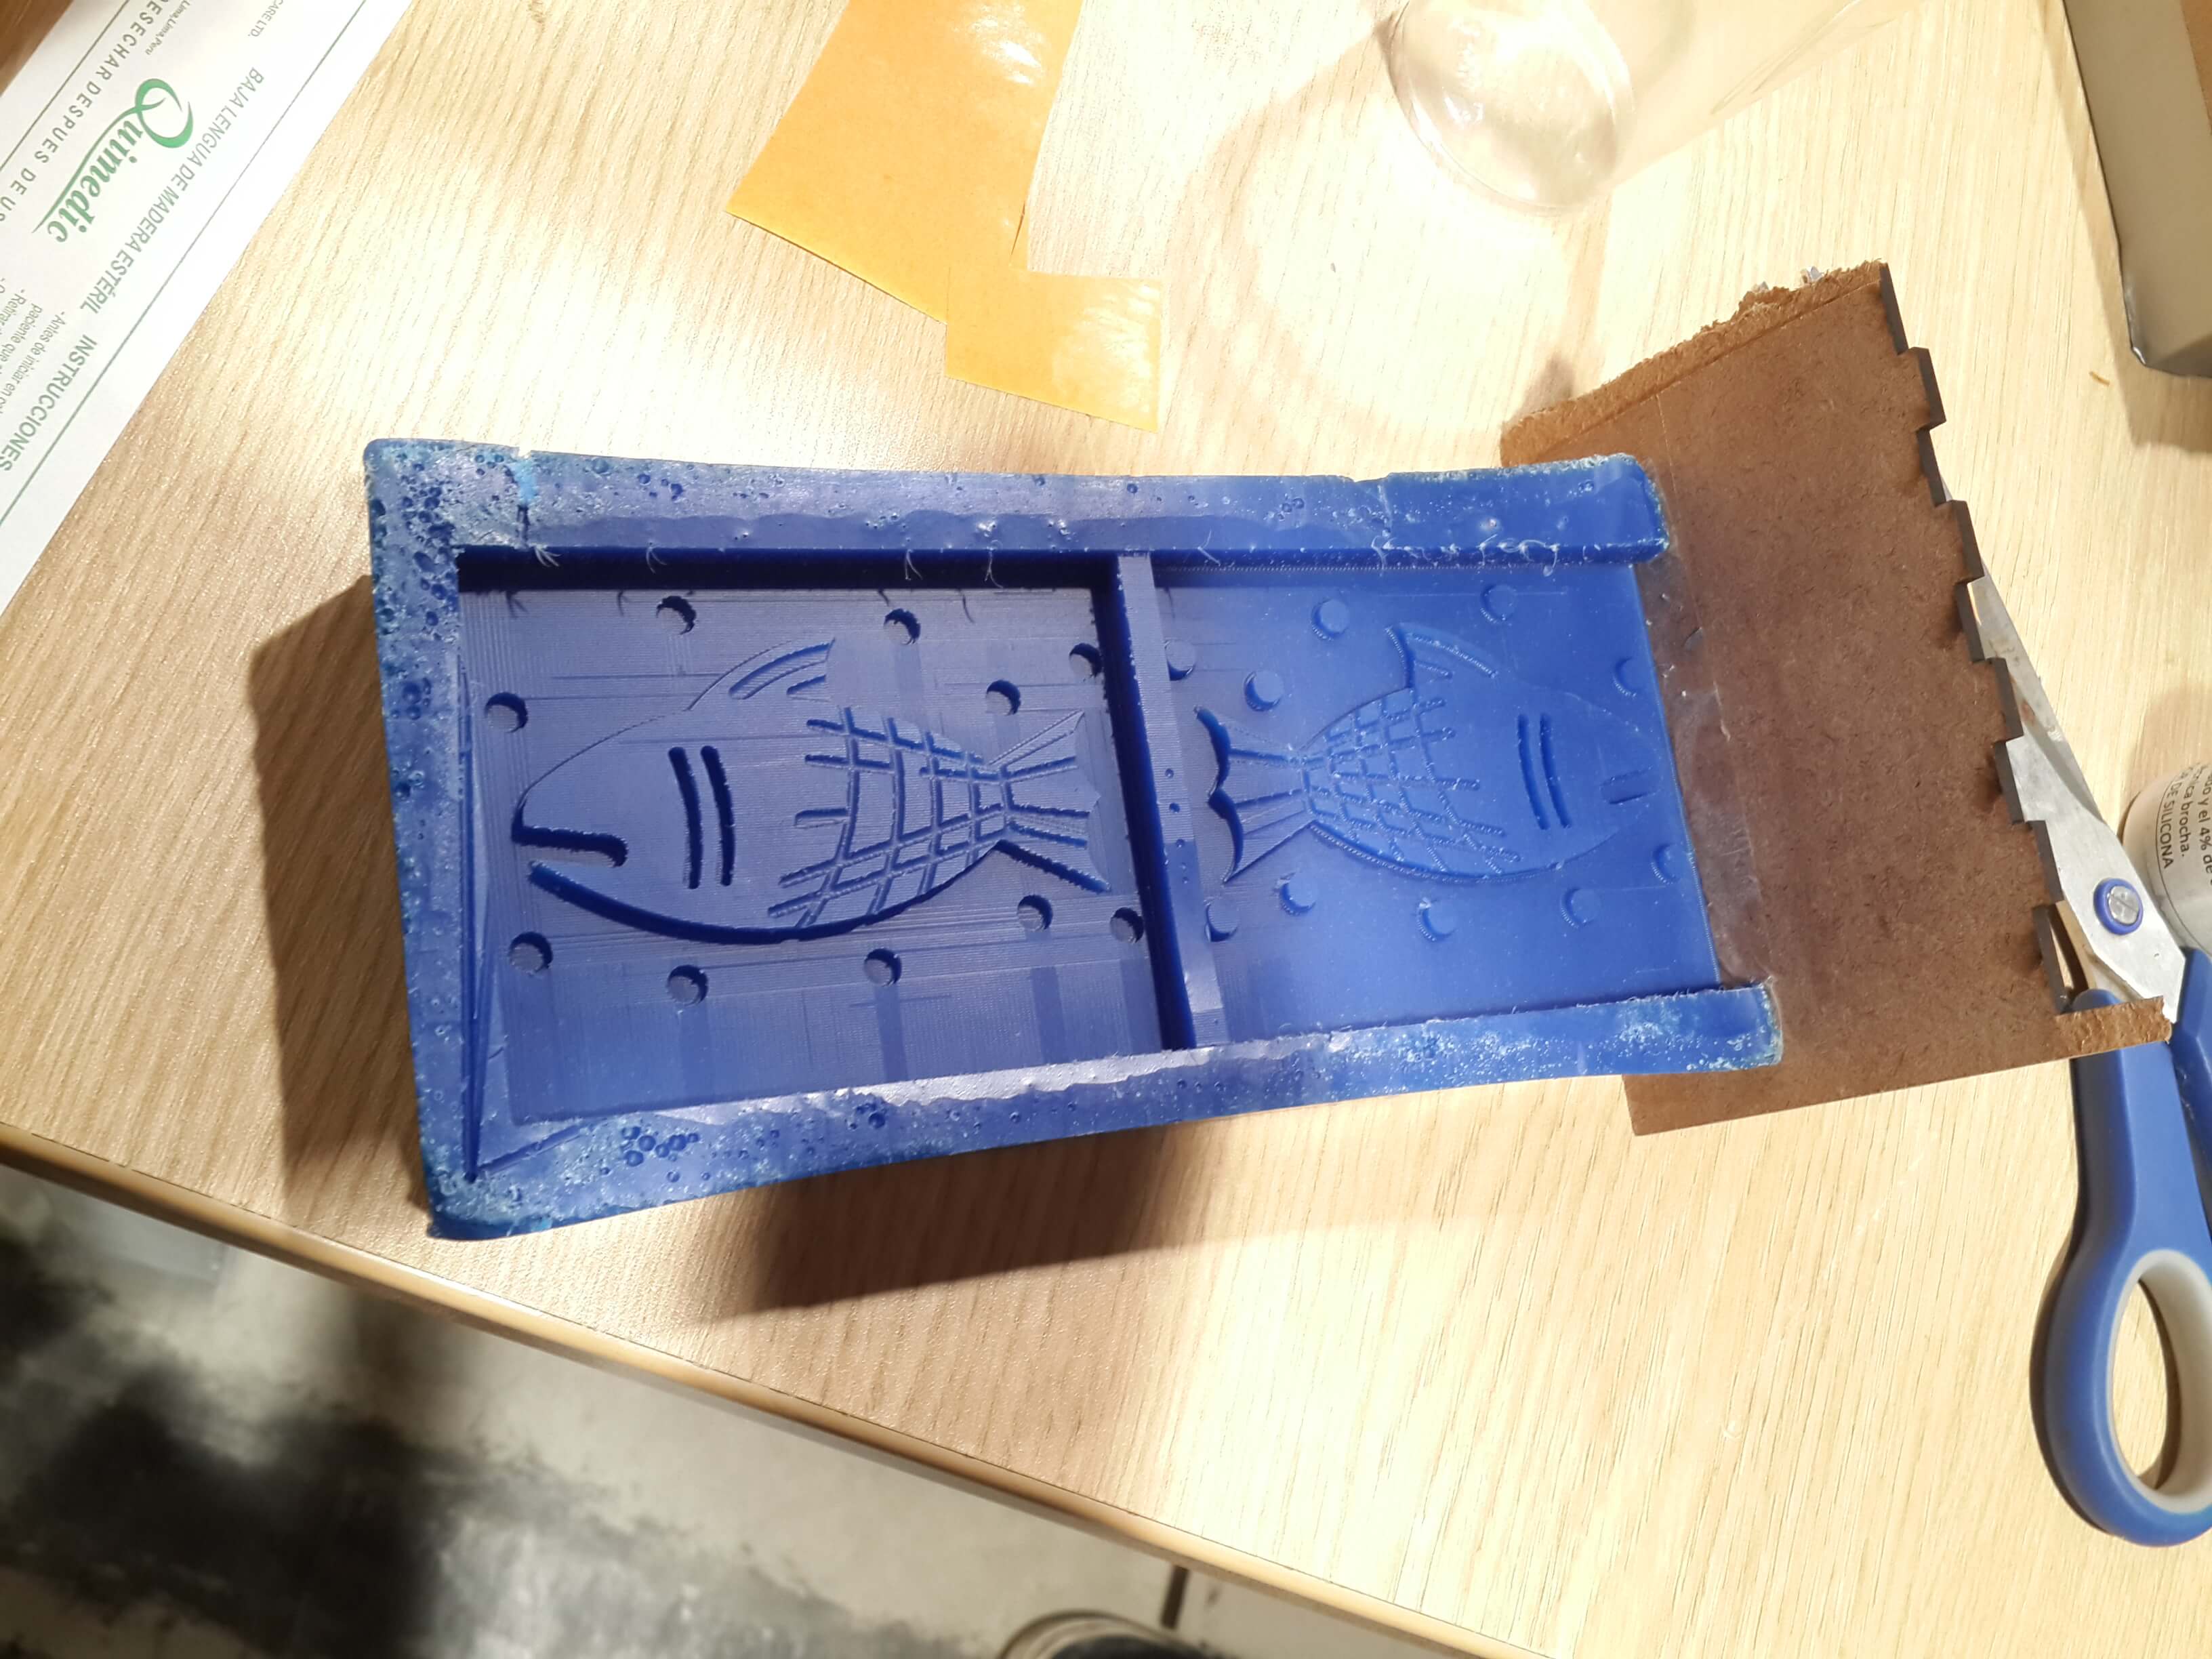
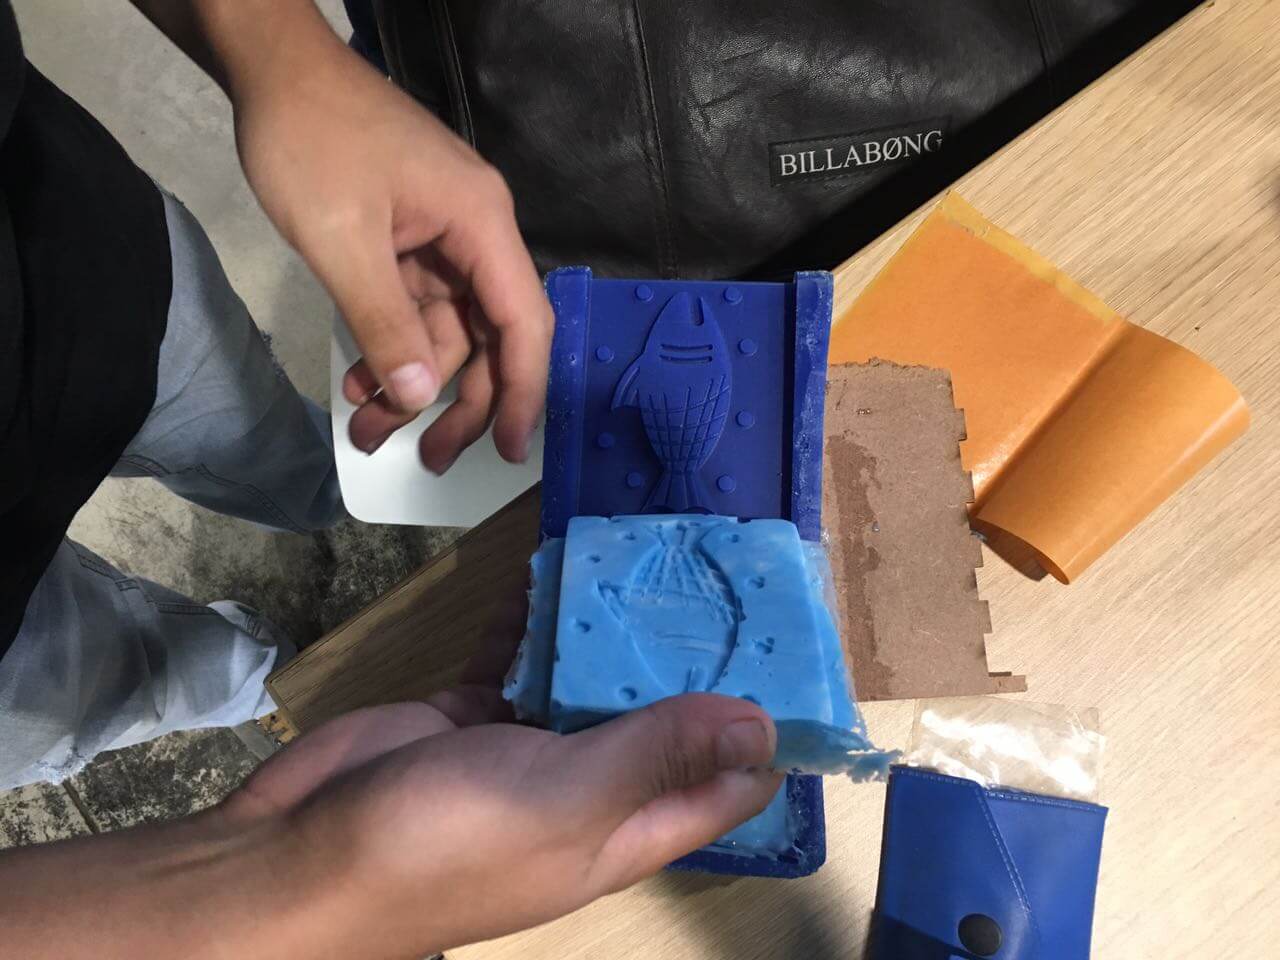
Once I had the wax positive mold, the next step was to get a silicon negative mold. This is done by pouring silicon in te wax mold. Unfourtunatelly one of the walls of my wax mold was partially milled and fell from the mold, so I replaced this wall by a piece of mdf board I found.
Once I solved this issue, I did the next steps:
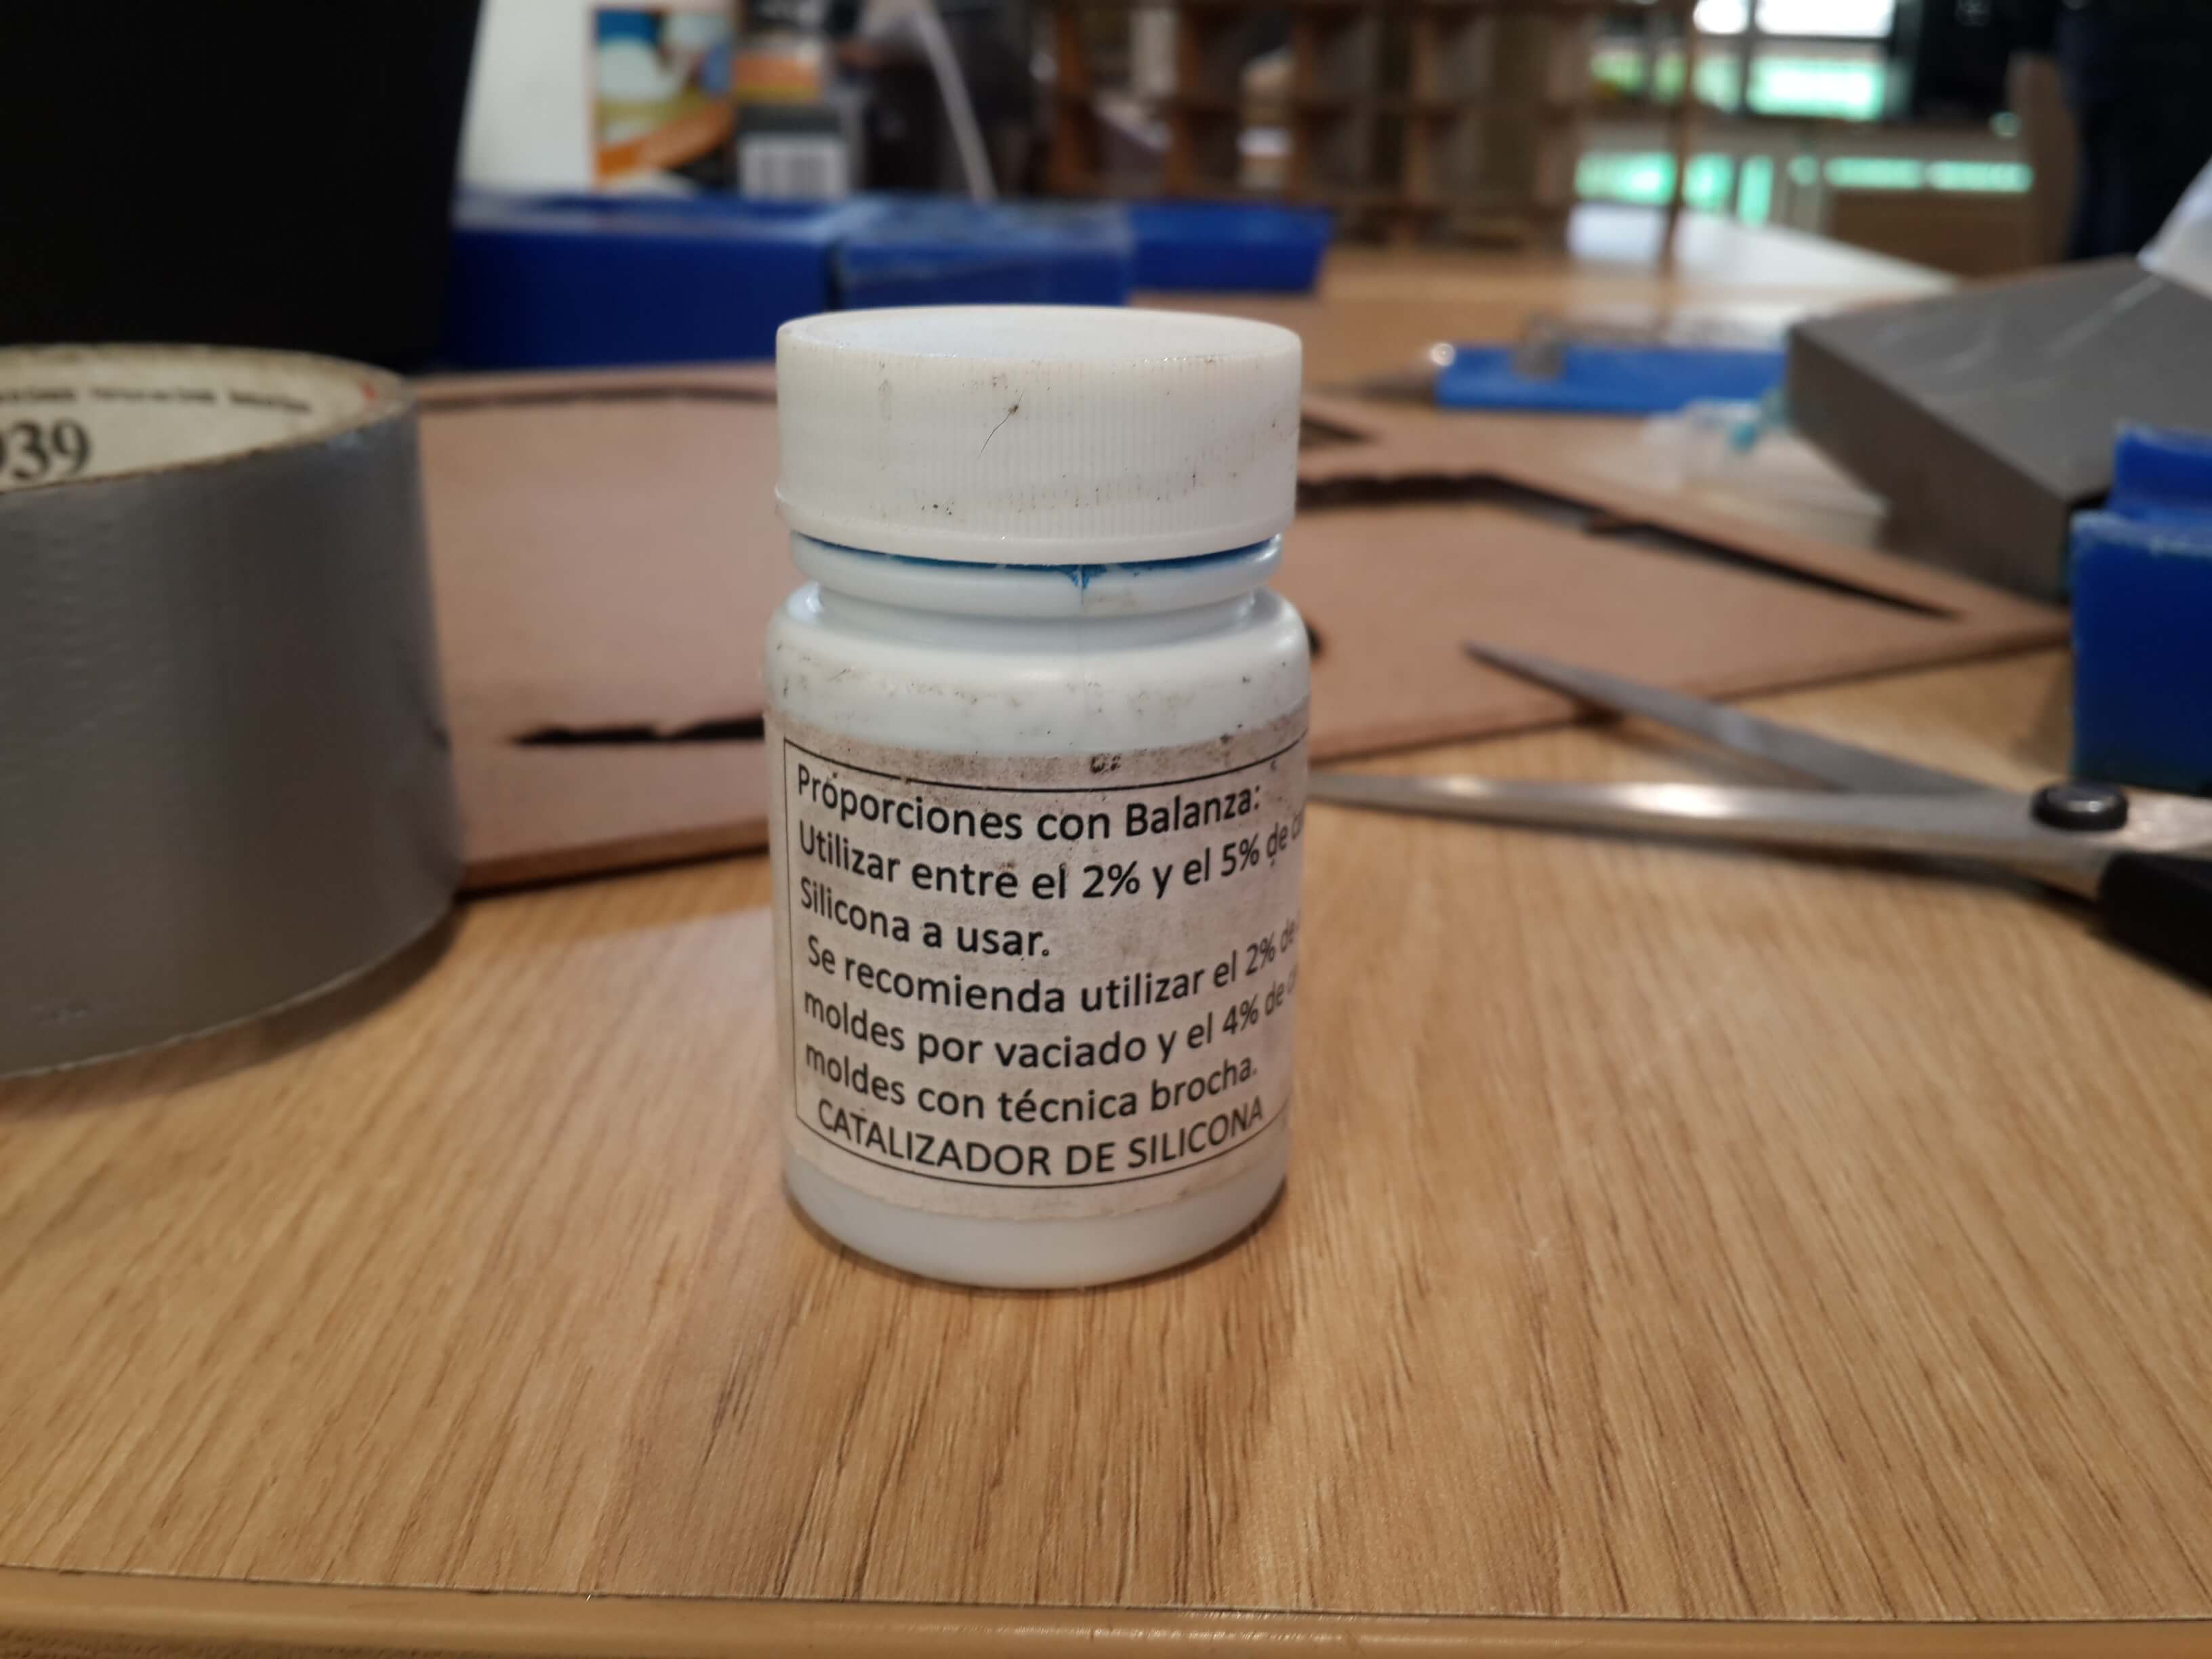
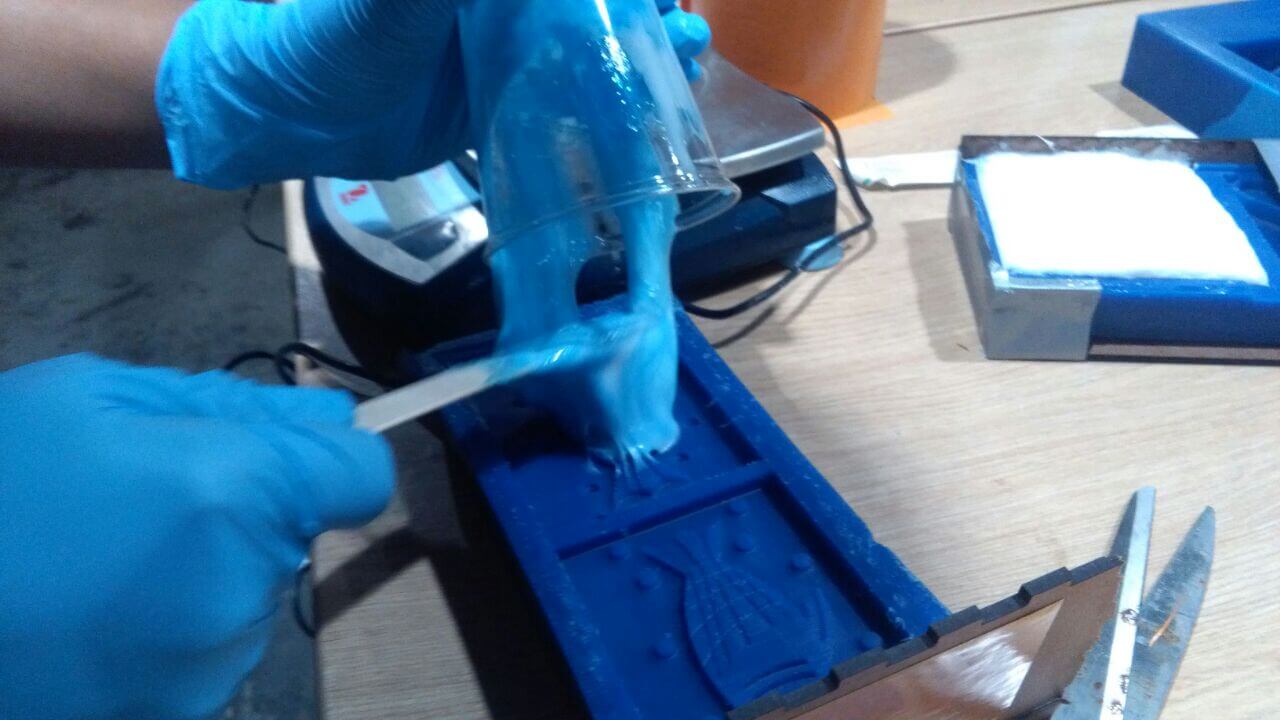
1. With the aid of a balance, I mixed 80 mg of silicon with 1.6 mg of silicon catalizer (a proportion of 2% of catalizer per mg of silicone).

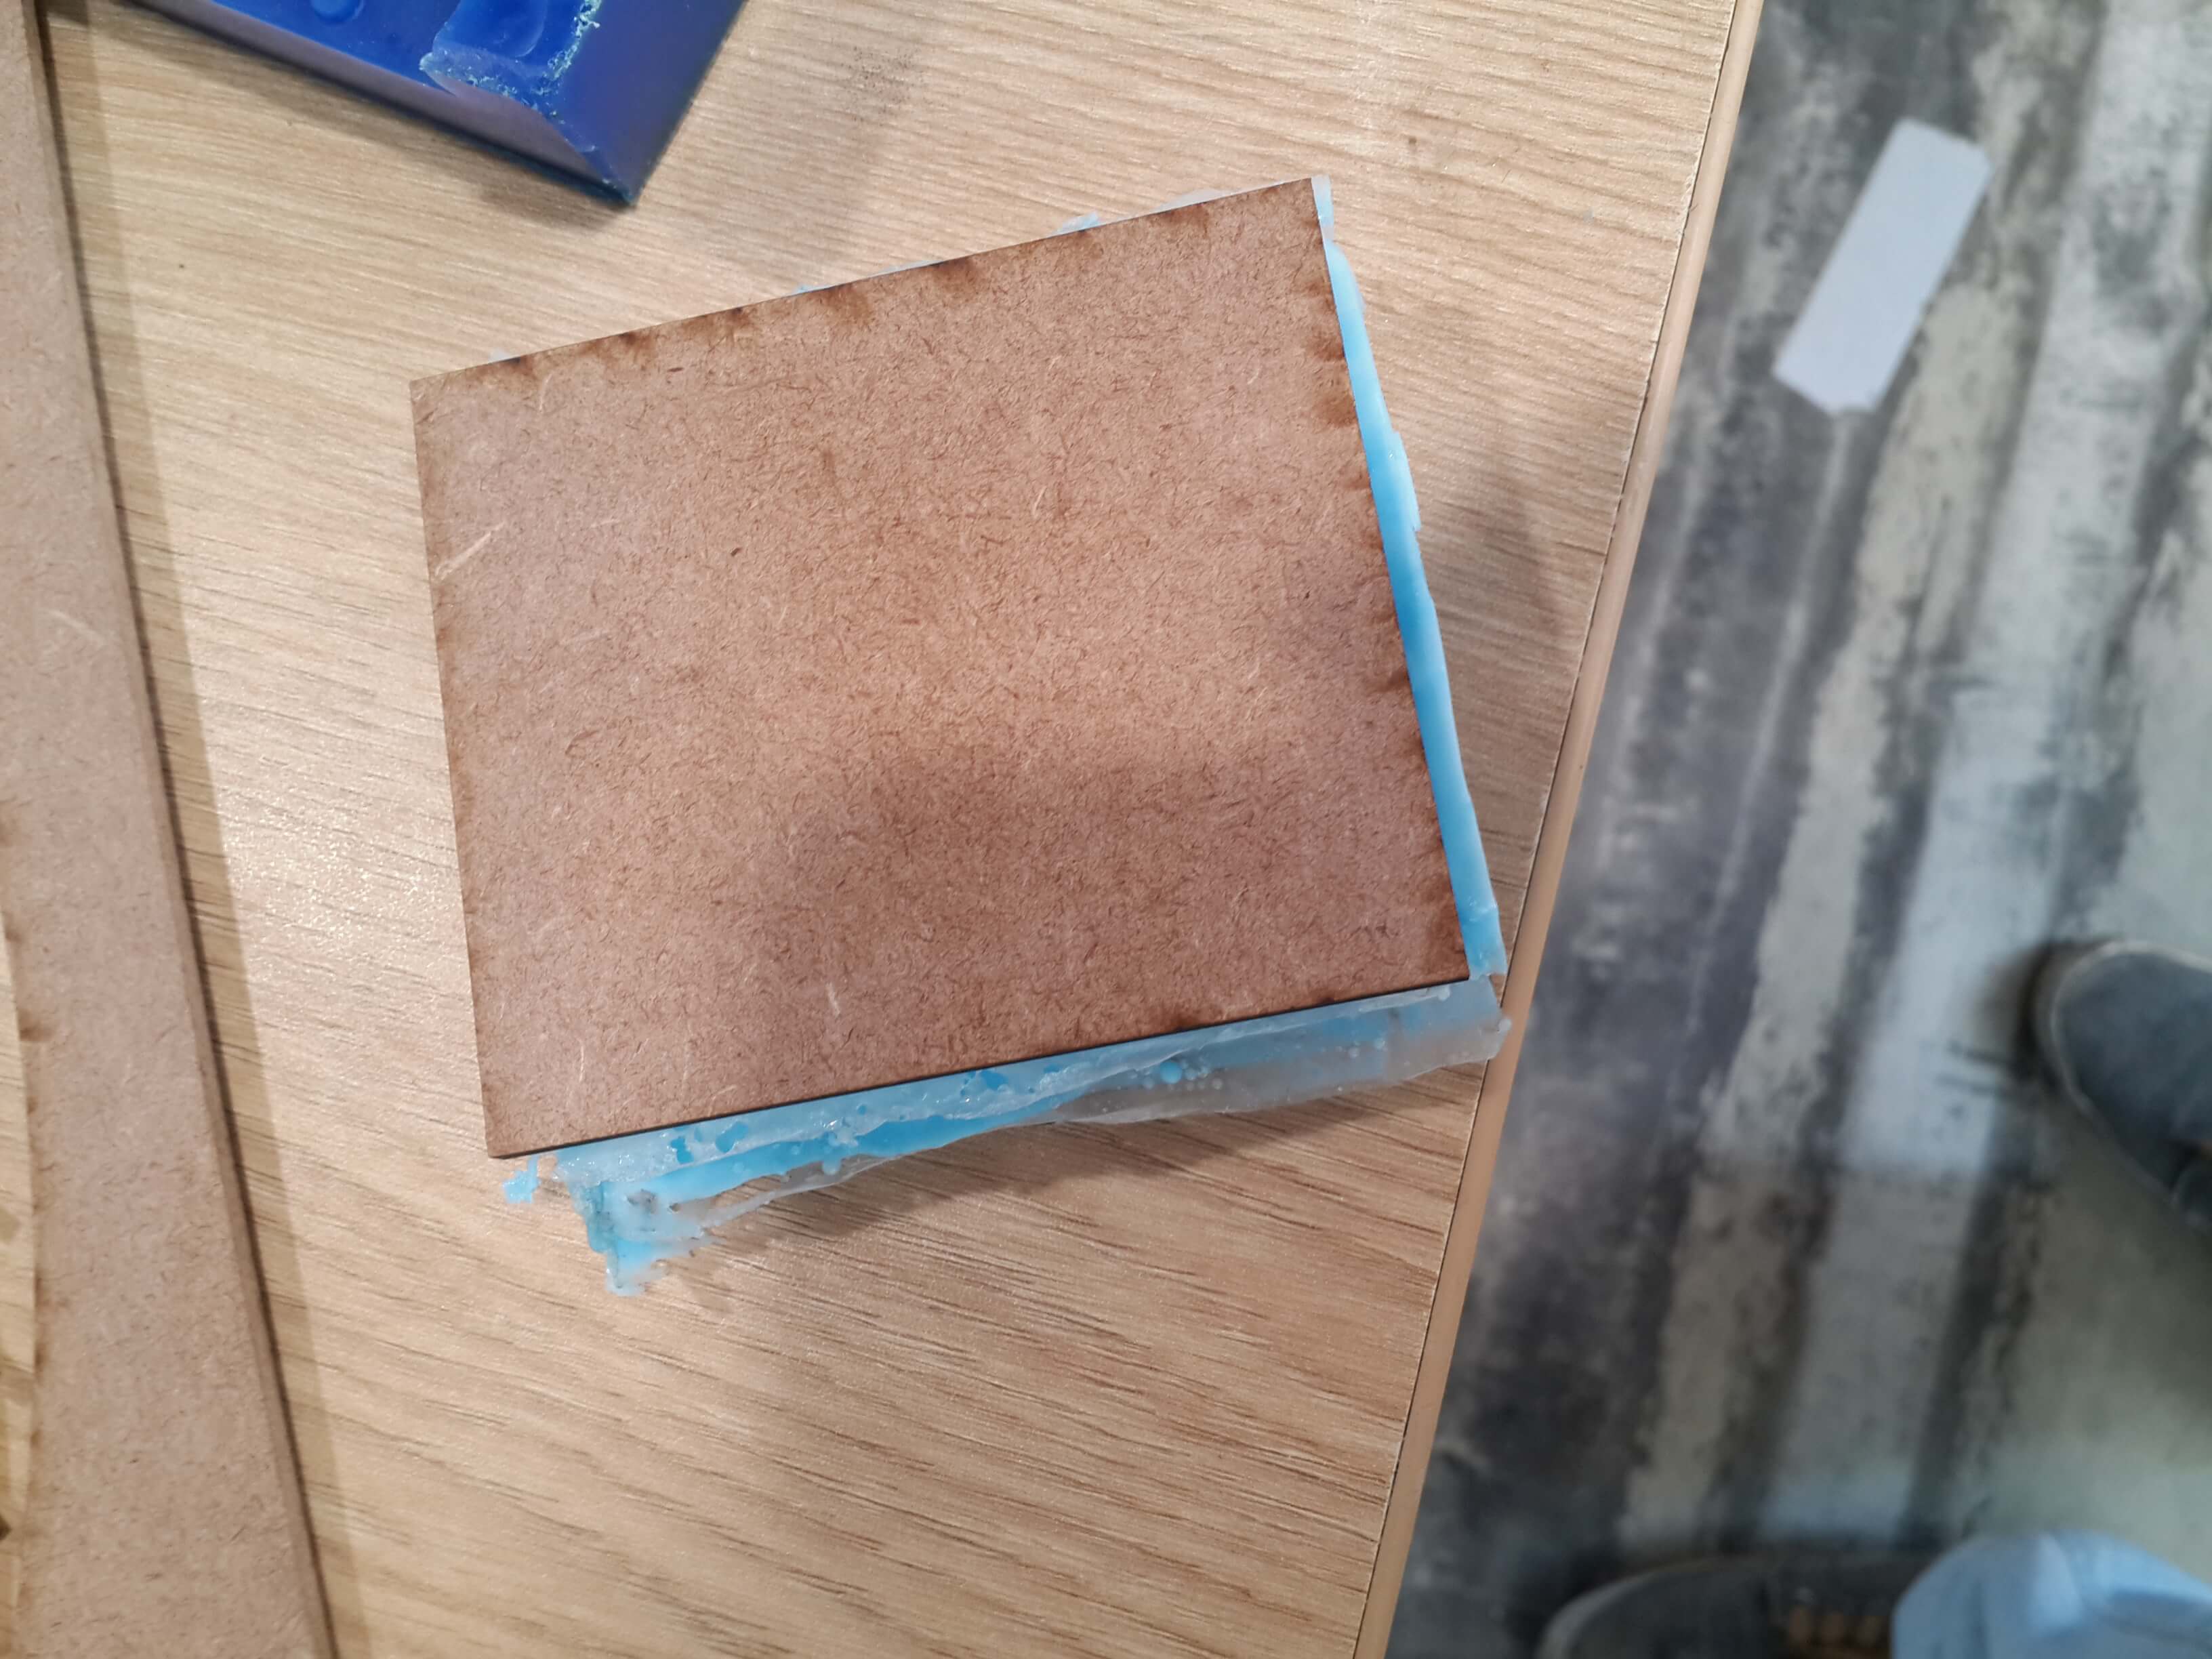
6. I putted the silicon molds between the MDF board and fixed it with tape

As shown on the video, some details were lost, like the eyes of the fish, in order to fix this, I could have used a mill of a smaller diameter than 1/16 inches.