Project Management
For this assigment we have to:
- (DONE) Build a personal site describing you and your final project.
- (DONE) Plan and sketch a potential semester project and add it to your website.
- (DONE) Upload it to the class archive.
- (DONE) Work through a git tutorial.
Have you:
- Made a website and described how you did it?
--> yes <--
- Introduced yoursel?
--> yes <--
- Described and made a sketch of your final project?
--> yes <--
- Documented steps for uploading files to archive?
--> yes <--
- Pushed to the class archive?
--> yes <--
Working With Sublime Text And Emmet
Before I started to build my personal web site, I made a quick review of css, html and javascript, and then I started to learn about bootstrap and dreamweaver by watching some youtube videos.
However, when I started to build my website, I realized that working with bootstrap and dreamweaver was pretty tedious. So, I started to look for other front-end frameworks, until I found Materializecss.
I looked for some Materializecss tutorials over the intenet, and noticed that programmers used Sublime Text 3 with Emmet to faster their coding. So, before learning how to use materliazecss, I learned how to use Emmet with Sublime Text by watching the video below.
Emmet is a plugin for Sublime Text that contains lots of snippets (this are samll pieces of code,usually words, that expands into much more code when triggered) and uses them for deffinning its own programming language.
For example, if you write the snippet div*3 and then trigger it by pressing the tab key, It will be created three division tags one after the other
<div> </div>
<div> </div>
<div> </div>
While if you write div.blue*3, it will create three division tags with the class blue.
<div class="blue" > </div>
<div class="blue" > </div>
<div class="blue" > </div>
Or if you write ul>li*3, it will create a ul (unordered list) tag containing three li (list item) tags.
<ul>
<li> </li>
<li> </li>
<li> </li>
</ul>
By combining this snnipets and others, Emmet can create much more complex structures and let as save a lot of time when coding.
Working With Materializecss
Once, I had the enoguht knowlede about Sublime and Emmet, I watch a list of video tutorials about Materializecss, which can be founded below. And then I started to code my website.
Building My WebSite
Firstly, I wrote the main structure of an html file and then link to the materialize css files inside the <head> tag.
<head>
< link rel="stylesheet" href="../css/materialize.css" >
</head>
Secondly, I divided the body into three parts by using the html tags: <header>, <main> and <footer>.
<body>
<header>
</header>
<main>
</main>
<footer>
</footer>
<body>
Inside the <header> tag, I inserted a top navigation bar using the <nav> tag. While, In the <main> tag I inserted a division with the <div> tag and assigned it the class container (which is a materializecss class that defines the width of the content inside a html tag). And finally, I assigned a page-footer class to the footer (which is a materializecss class that defines the style of the footer).
<body>
<header>
<nav>
</nav>
</header>
<main>
<div class = "container" >
</div>
</main>
<footer class = "page-footer" >
</footer>
<body>
Then, inside <nav> tag, I created a division with a nav-wrapper class for the top navigation bar and created another division with the side-nav class for the side navigation bar. Inside the footer I created a division with a container class for putting some links and created another division with a footer-copright class for putting my name and e-mail. Finally I filled the <main> tag with paragraphs using the <p> tag, images using <img> tag and videos using the <iframe> tag.
<body>
<header>
<nav>
<div class = "nav-wrapper" >
</div>
<div class = "side-nav">
<div>
</nav>
</header>
<main>
<div class = "container" >
<p> </p>
<img> </img>
<iframe> </iframe>
</div>
</main>
<footer class = "page-footer" >
<div class = "container" >
</div>
<div class = "footer-copright">
<div>
</footer>
<body>
Just to mention, the materializecss framework has two classes for dividing the screen like a table; one is the row class, wich represents a row and the other is the col class, wich represents a column. Every row has a width size of 12 simple columns wich ocuppies the same space of 6 double columns. A simple column is defined by the class s1, m1 or l1 while a double column is defined by the class s2, m2 or l2 depending on the size of the screen. In general, the sizes of the columns go from 1 to 12, so it is posible to have a row wich is filled with an s1, an s7 and an s4 column (they all sum 12 simple columns).
Working With Git and GitLab
Finally, I read the documentation about GitLab on the FabAcademy website and followed all the steps for generating the SSh Key and uploading my code to the server
a) Setting up your SSH Keys on Gitlab:
This are the steps I did for generating my ssh key:
1. I downloaded and installed Git.
2. I oppened the Git Bash command line window and typped the next command for generating a new SSH key
- id_rsa.pub: Is the public key, the one is used on the server for verifying the signature of the ptivate key.
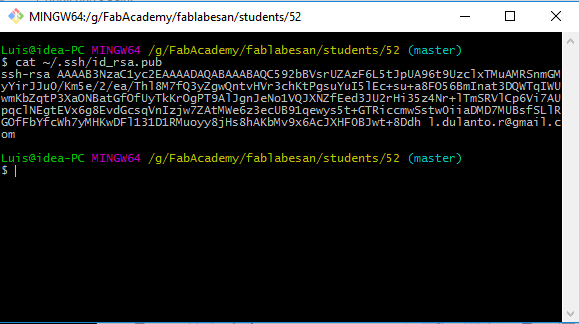
4. I coppied the key.
5. Then, I navigated to http://git.fabacademy.org, clicked on "ssh keys" and pasted my public key.
b) Pushing a basic html page (Git)
1. I cloned the local FabAcademy repositorie of FabLab Esan and navigated to my assigned directorie.
2. I right clicked on the window and clicked on git bash here.

3. Then, I downloaded all the content of the Fabacademy repository to my pc by writing the next comand and hitting enter:
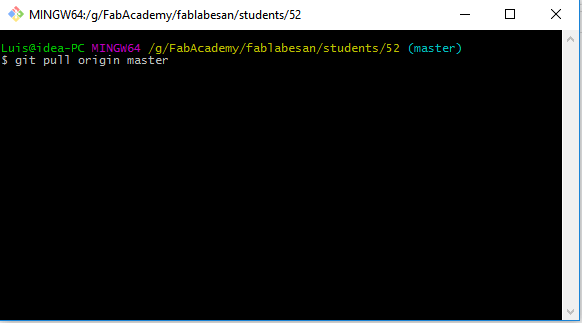
4. After that, I made git to look for changes in my local repository.
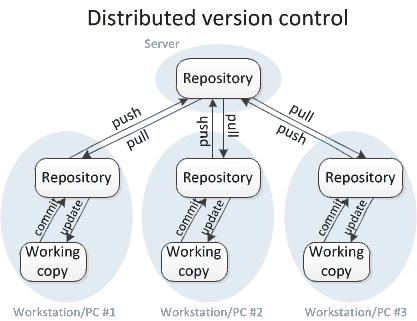
The image below shows the explained process, this corresponds to a distributed version control system.
Sketching a Potential Final Project
Robotic Arm
The idea I have, is to develope a 3D hand or arm, which could be controlled by sensors or a pc, like the image below.

Why?
The real reason why I want to develope this robotic arm is because I want to develope a prosthetic which could be controlled by myoelectric signals.
However, doing the research for building a pattern recognition system which could overcome or compete with others systems of the state of the art will probably take much more time than the duration of this course. Thus, instead of developing a whole intelligent controlled prosthetic, I will focus on the hardware itself.
As an electronic engineer I can notice that its necesary to make at least the next steps only for the hardware:
1. Selecting the motors.
2. Design the motor drivers.
3. Solder the components of the motor driver circuit.
4. Selecting sensors for feedback.
5. Design and embeed a data adquisition system on a microcontroller.
6. Program a control system based on the feedback.
7. Program a communication interface.
8. Design the console controller circuit.
9. Solder the components of the console controller circuit.
Where step 6 could be expanded into more steps, if the controller is an intelligent controller. Since this would require to model the whole system in state space and embeed this system on the microcontroller.
Ideally, I would like to develope a 3d printed glove equipped with sensors for controlling the robotic hand. Neverthless, if it's too complex or if there is not enough time, I would controle it directly from a pc or use a console controller like the one the image below.

Overview
There are two possible ways to generate the movement on the hand and fingers: the first one is using motors on each hand joint and the second one is using strings to move each joint (similar to how a real human hand works). The first one implies that motors must be small enough to fit inside the fingers and thus, the will have not enough power to lift weight. While the second one implies that there must be something inside the arm pulling the strings. I sketched up a general solution based on the second movement option solution and the steps mentioned on the previous section.
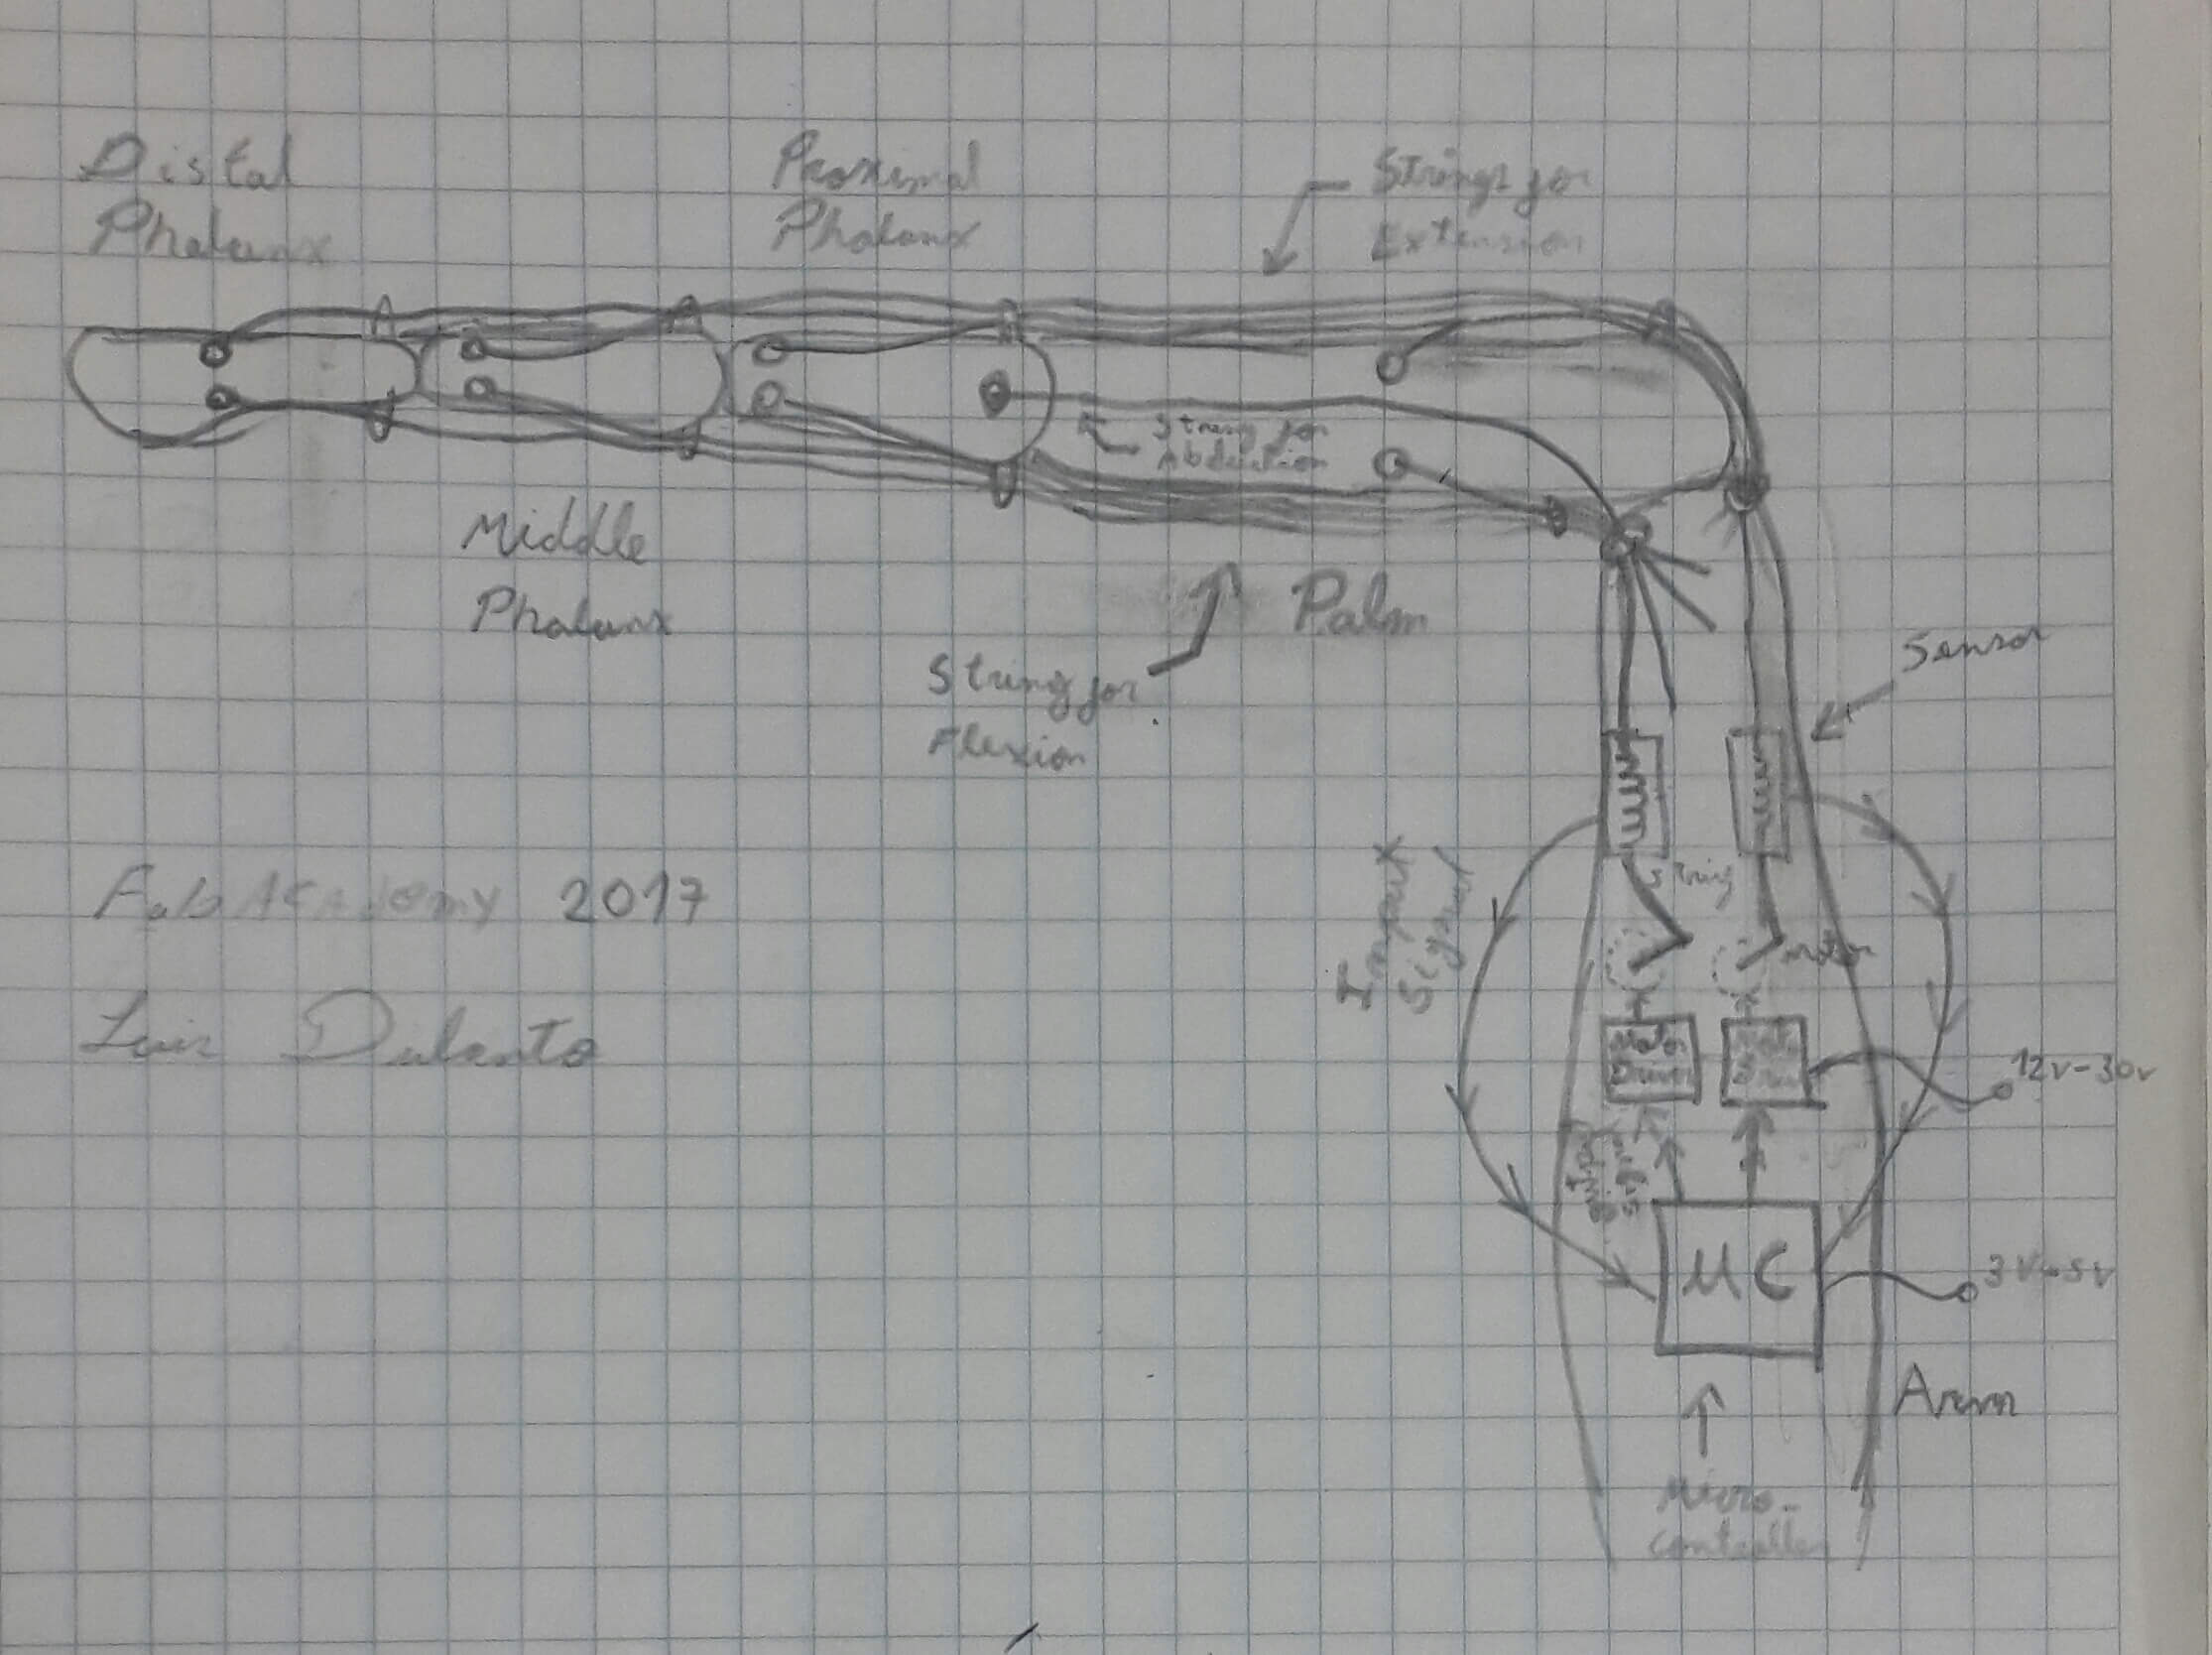
This is a solution for a 22 DOF hand. It uses strings for making the extension, flexion, abduction and aduction movement and has a sensor on each string, which tells the microcontroller how much degrees should a motor be rotated, so that it apply enought tension on a string such that an specific phalanx does not move while the rest of phalanx are moving. The strings are pulled by motors in this solution, but there are other ways to do it, like using artifical muscles, based on pneumatics or others.