
FINAL PROJECT
FAB KART
Well I decided to make a go kart as a final project, which I called THE FAB KART.
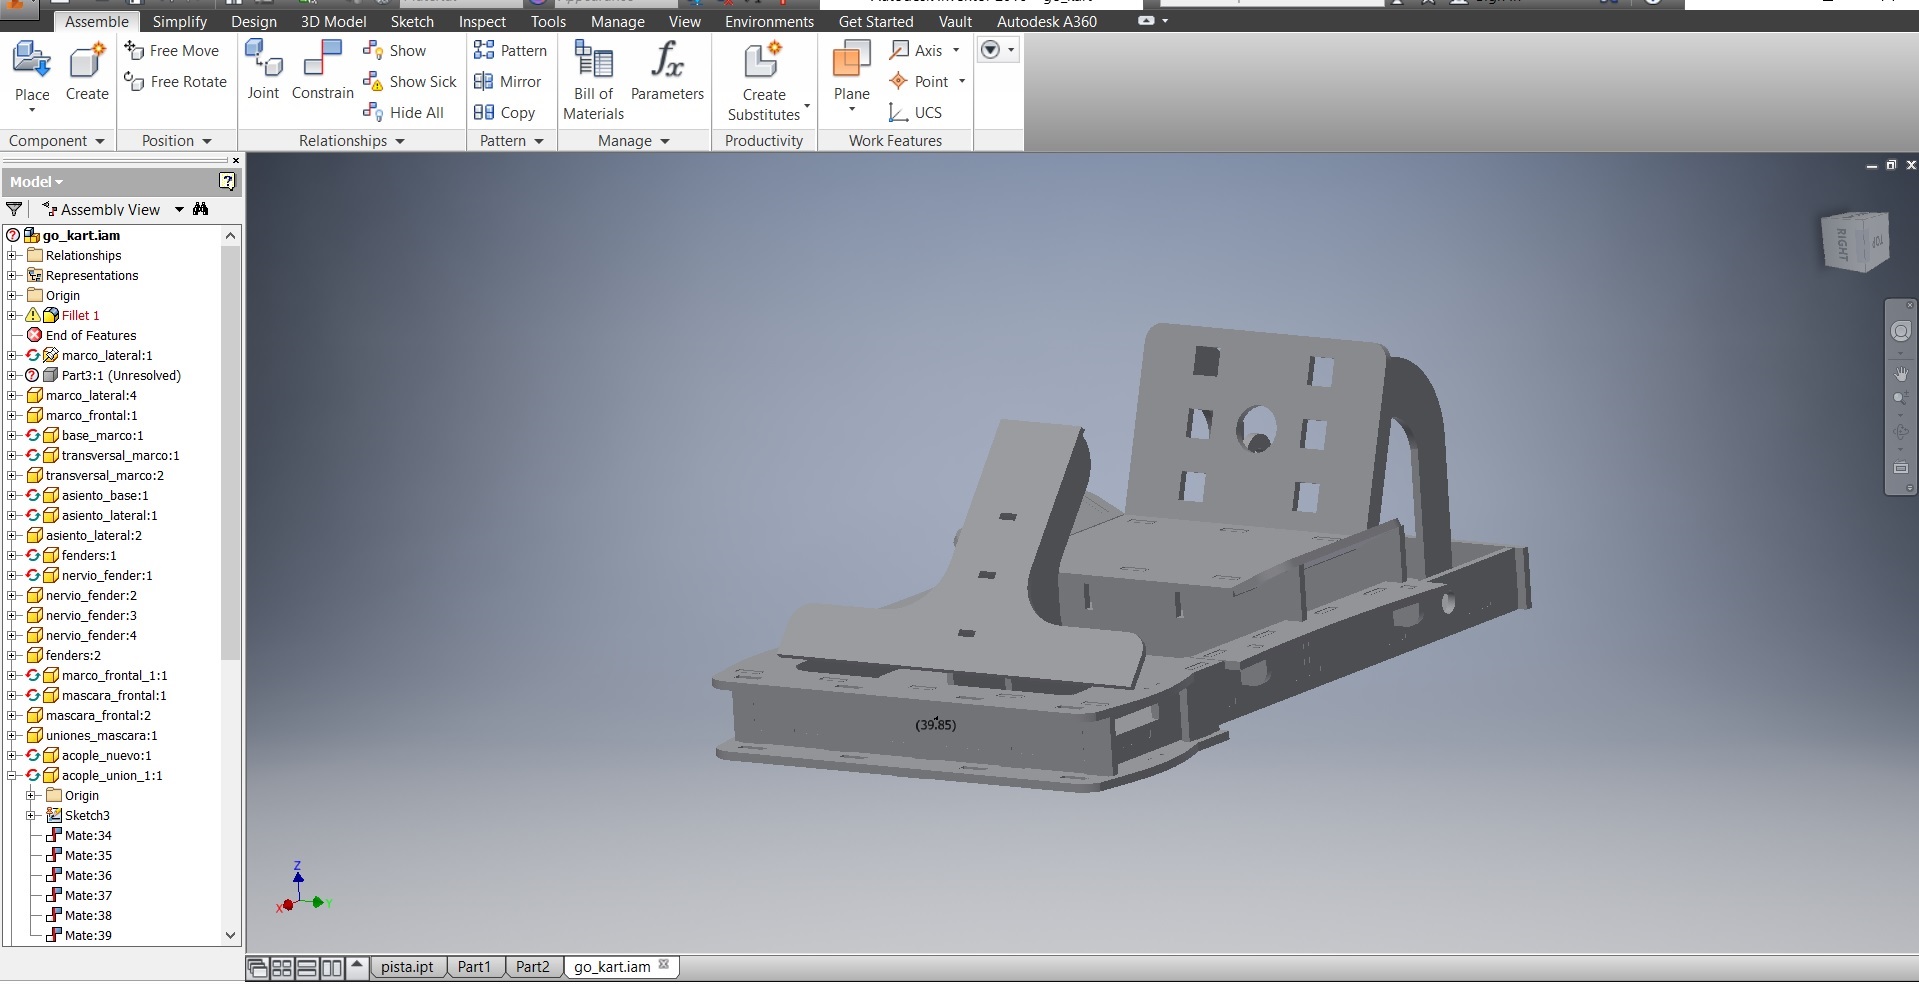
First, I sketch as one piece in inventor, a first model of kart.
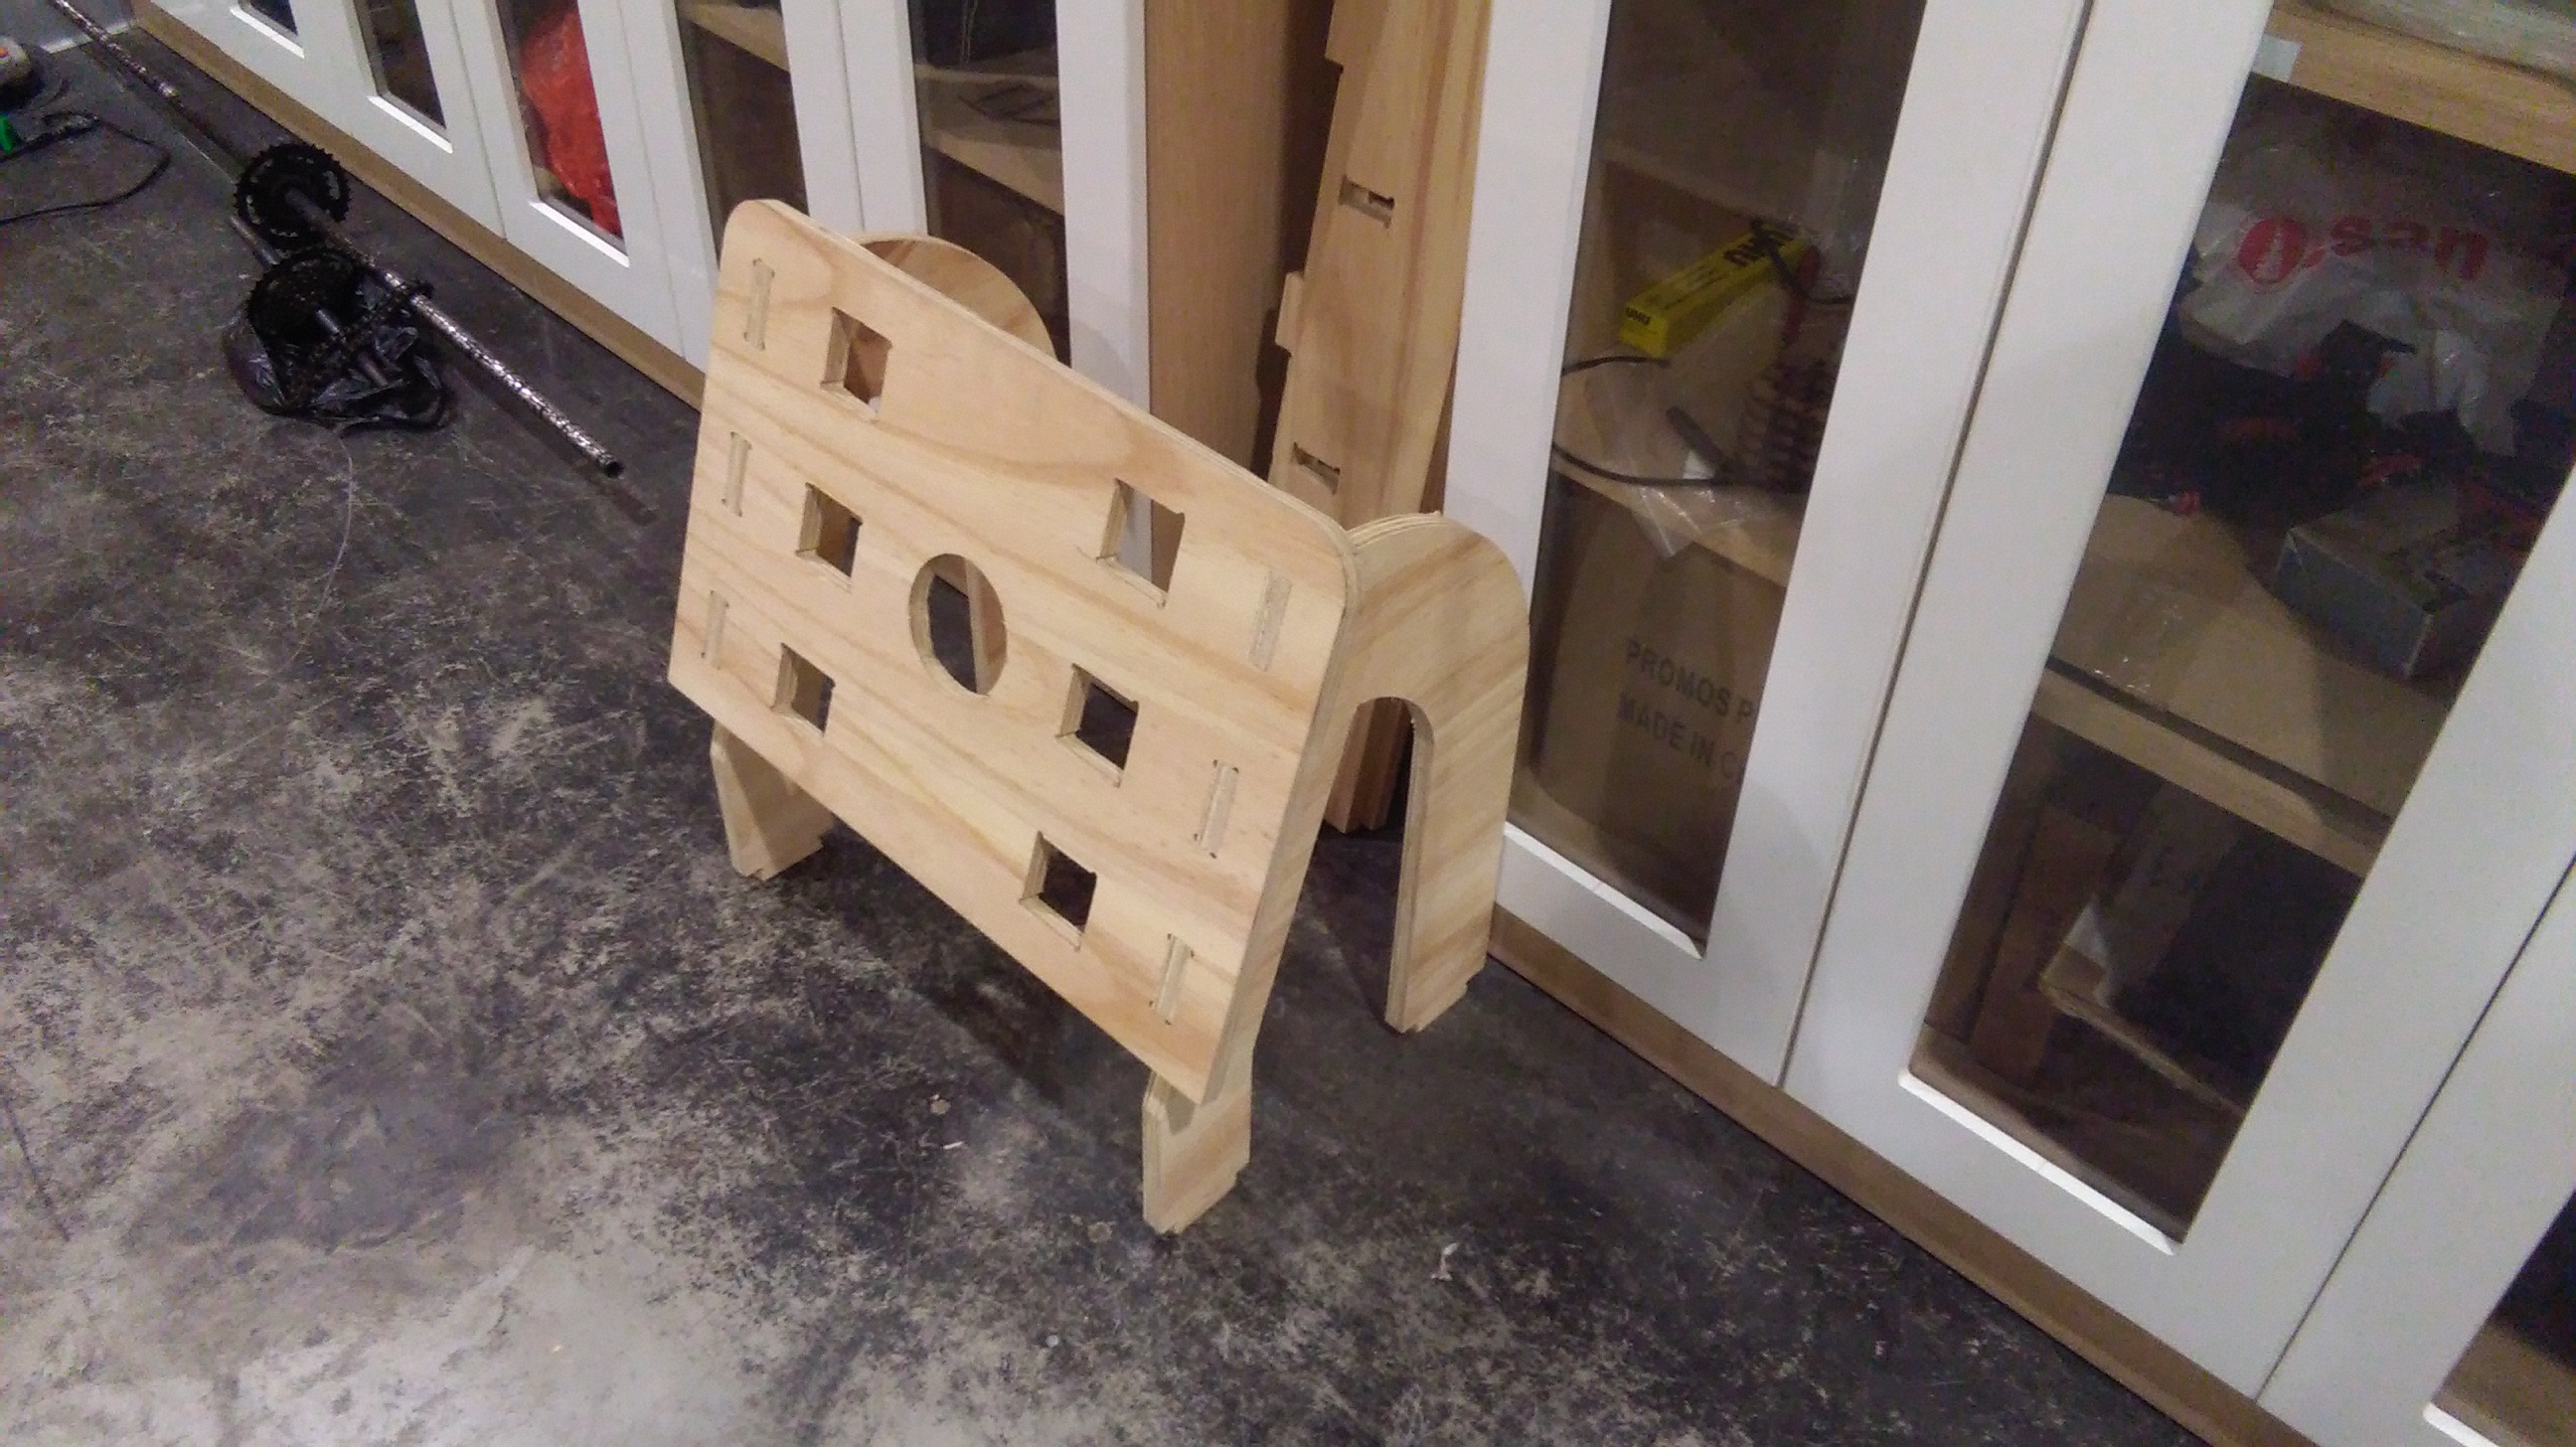
Then I design each part of the prototype in Autodesk Inventor, which contains the pressfit in its design and is intended for milling in 18mm thick.
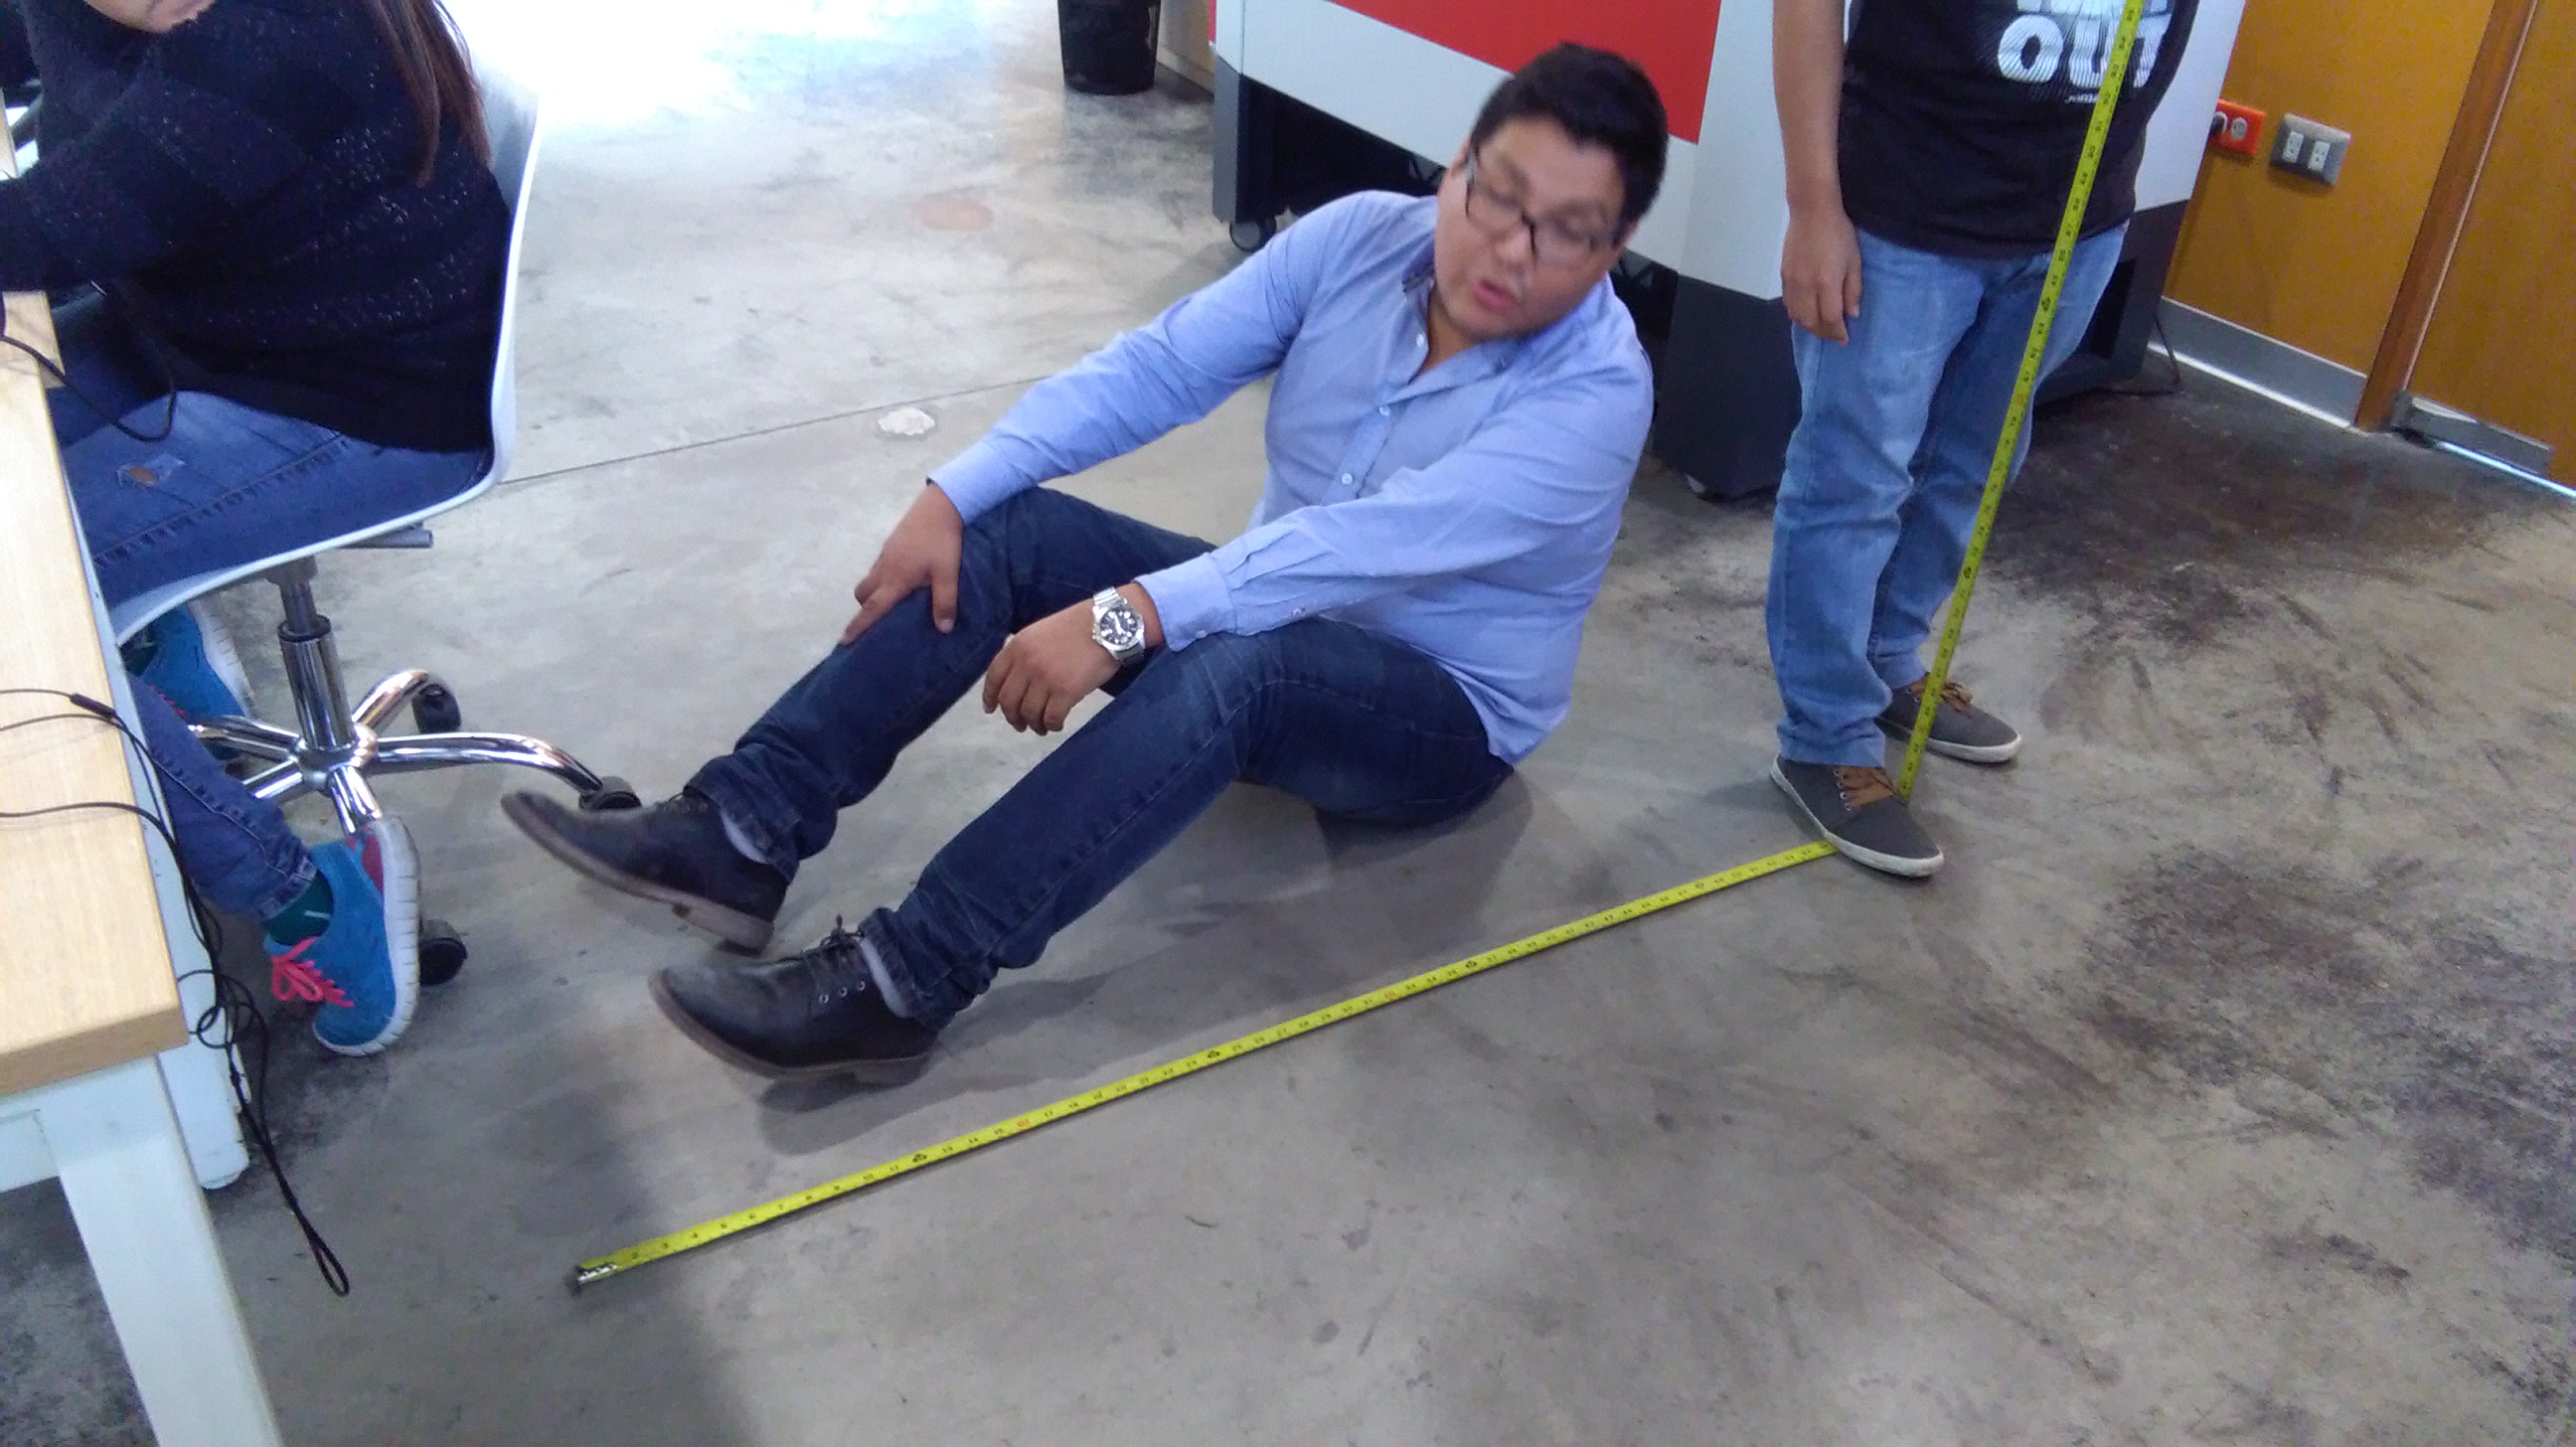
Well prior to the previous step I perform a dimension test, measuring myself to get a referential measure.
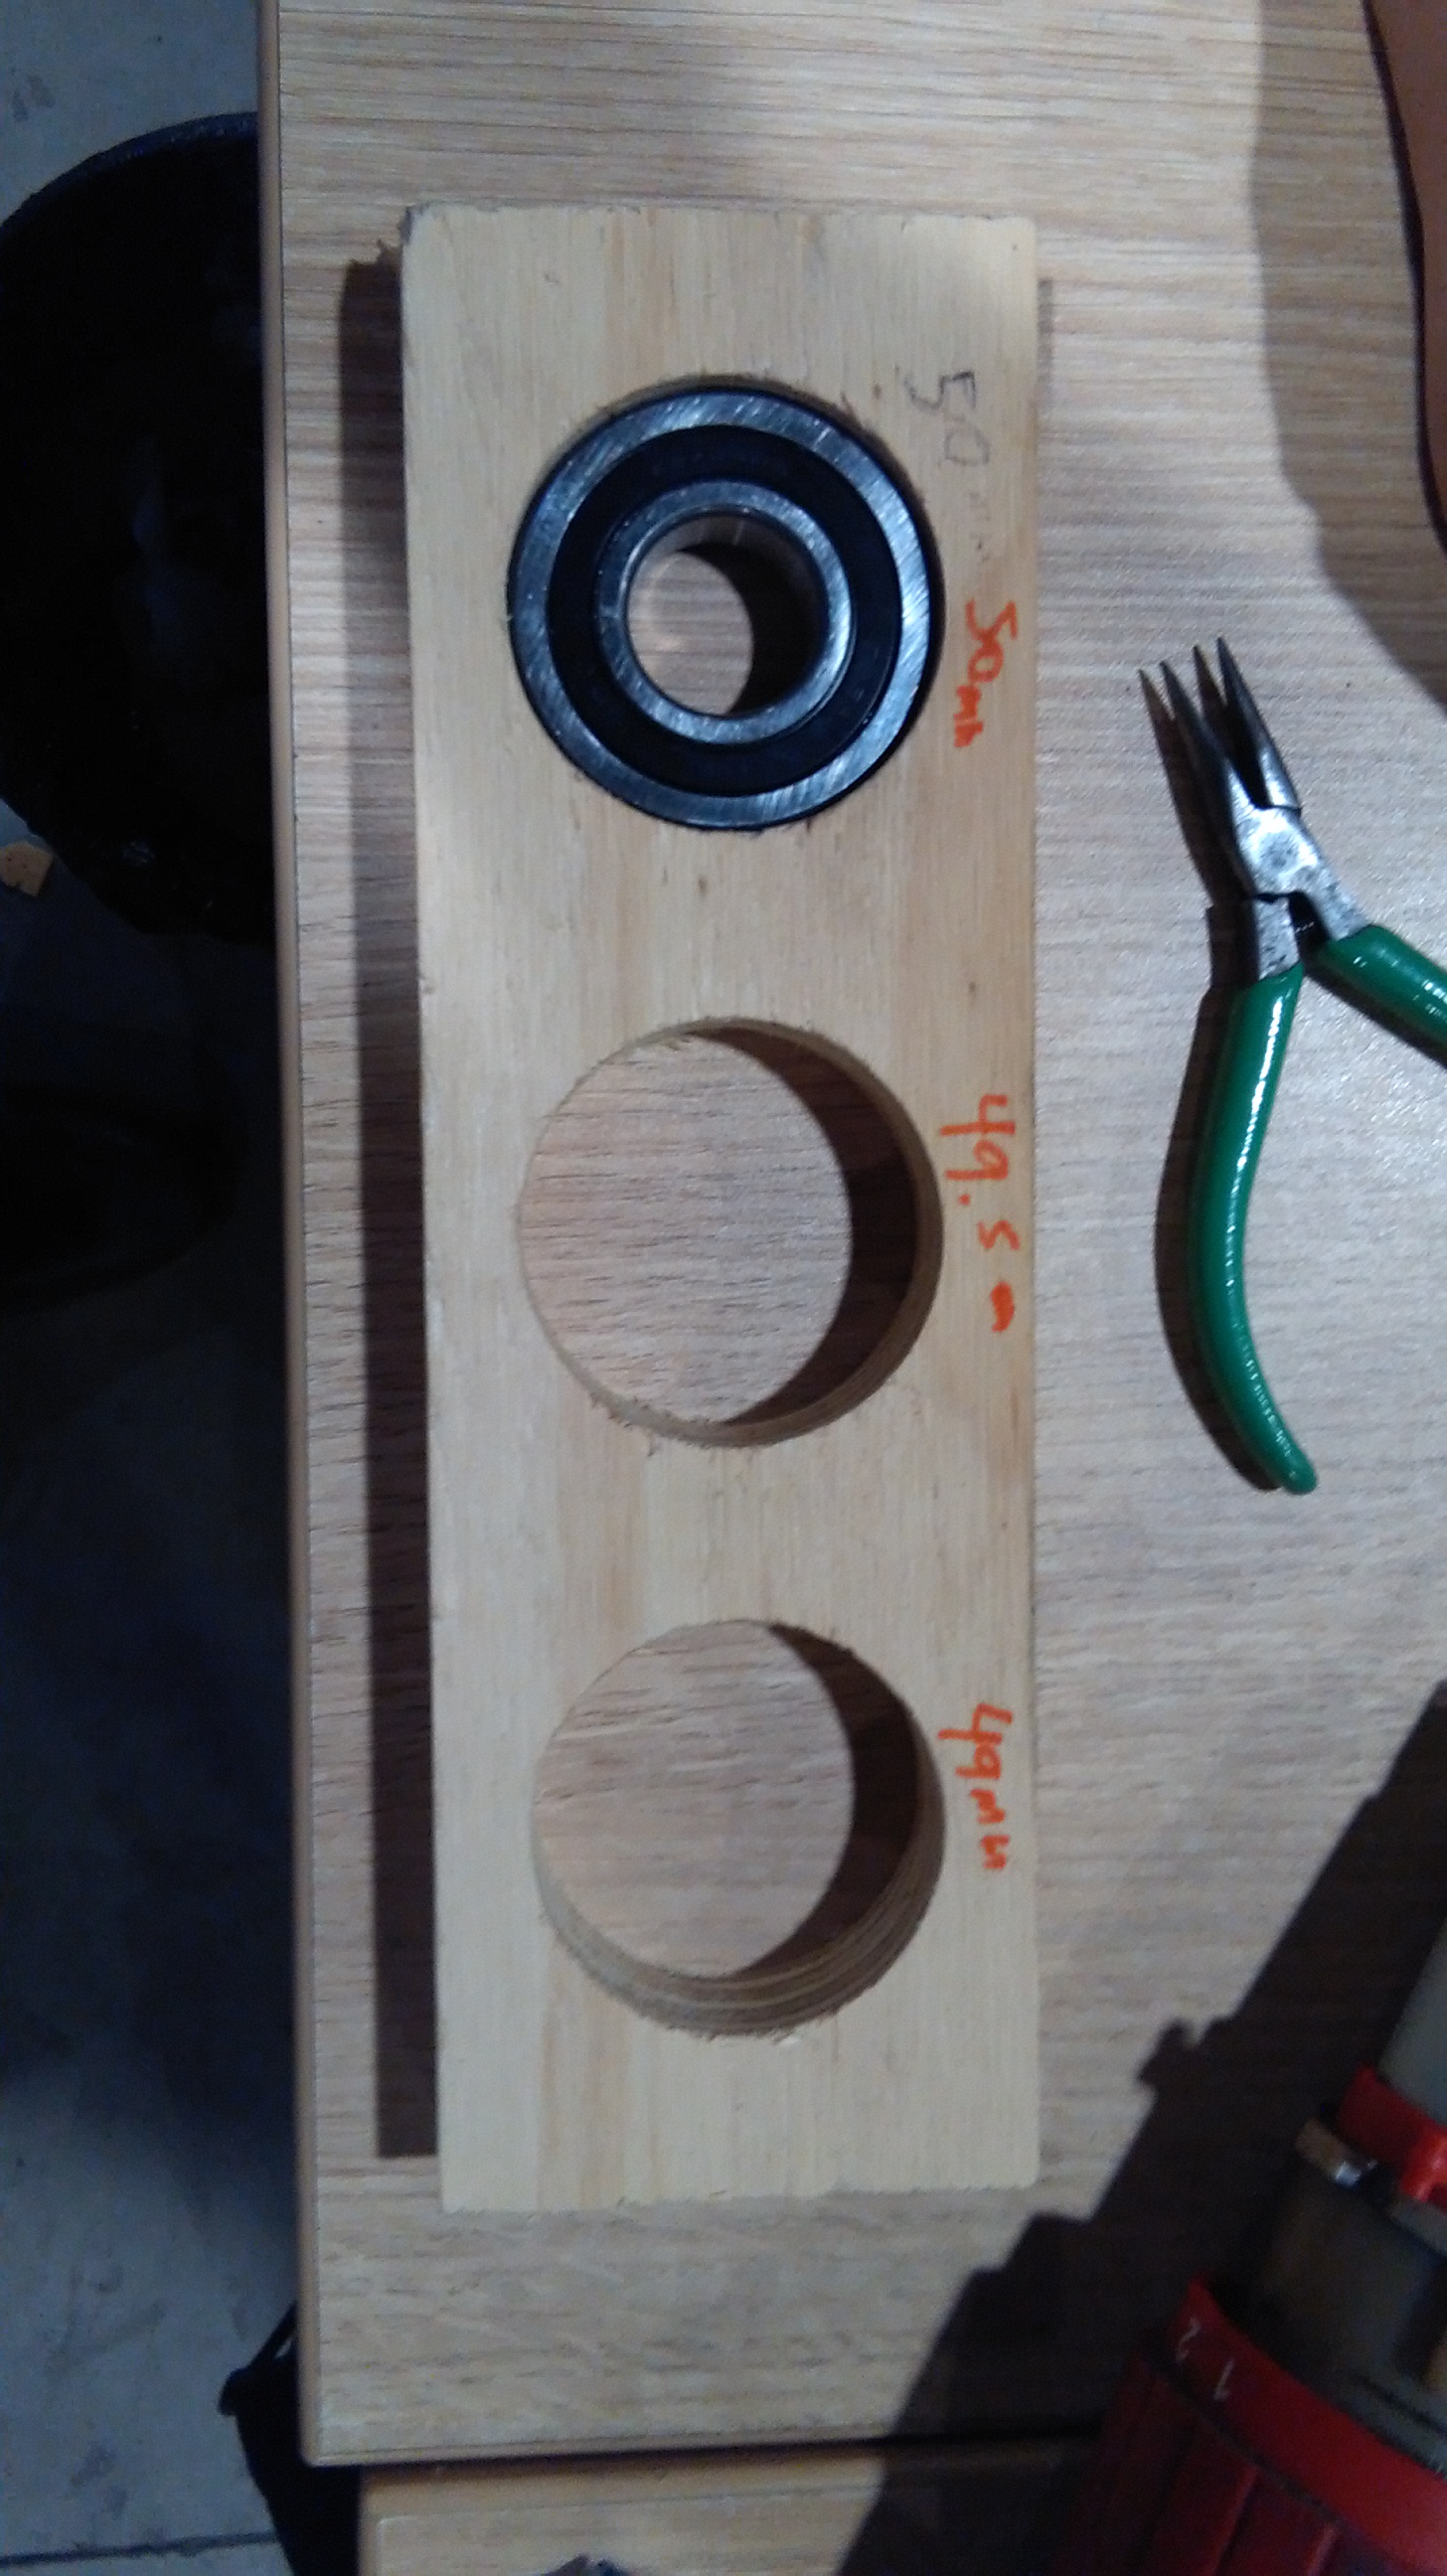
Then perform a dimensional tolerance test with the material to be worked that is Triplay of 18mm, and a value of 0.5mm was determined for female male pressfit
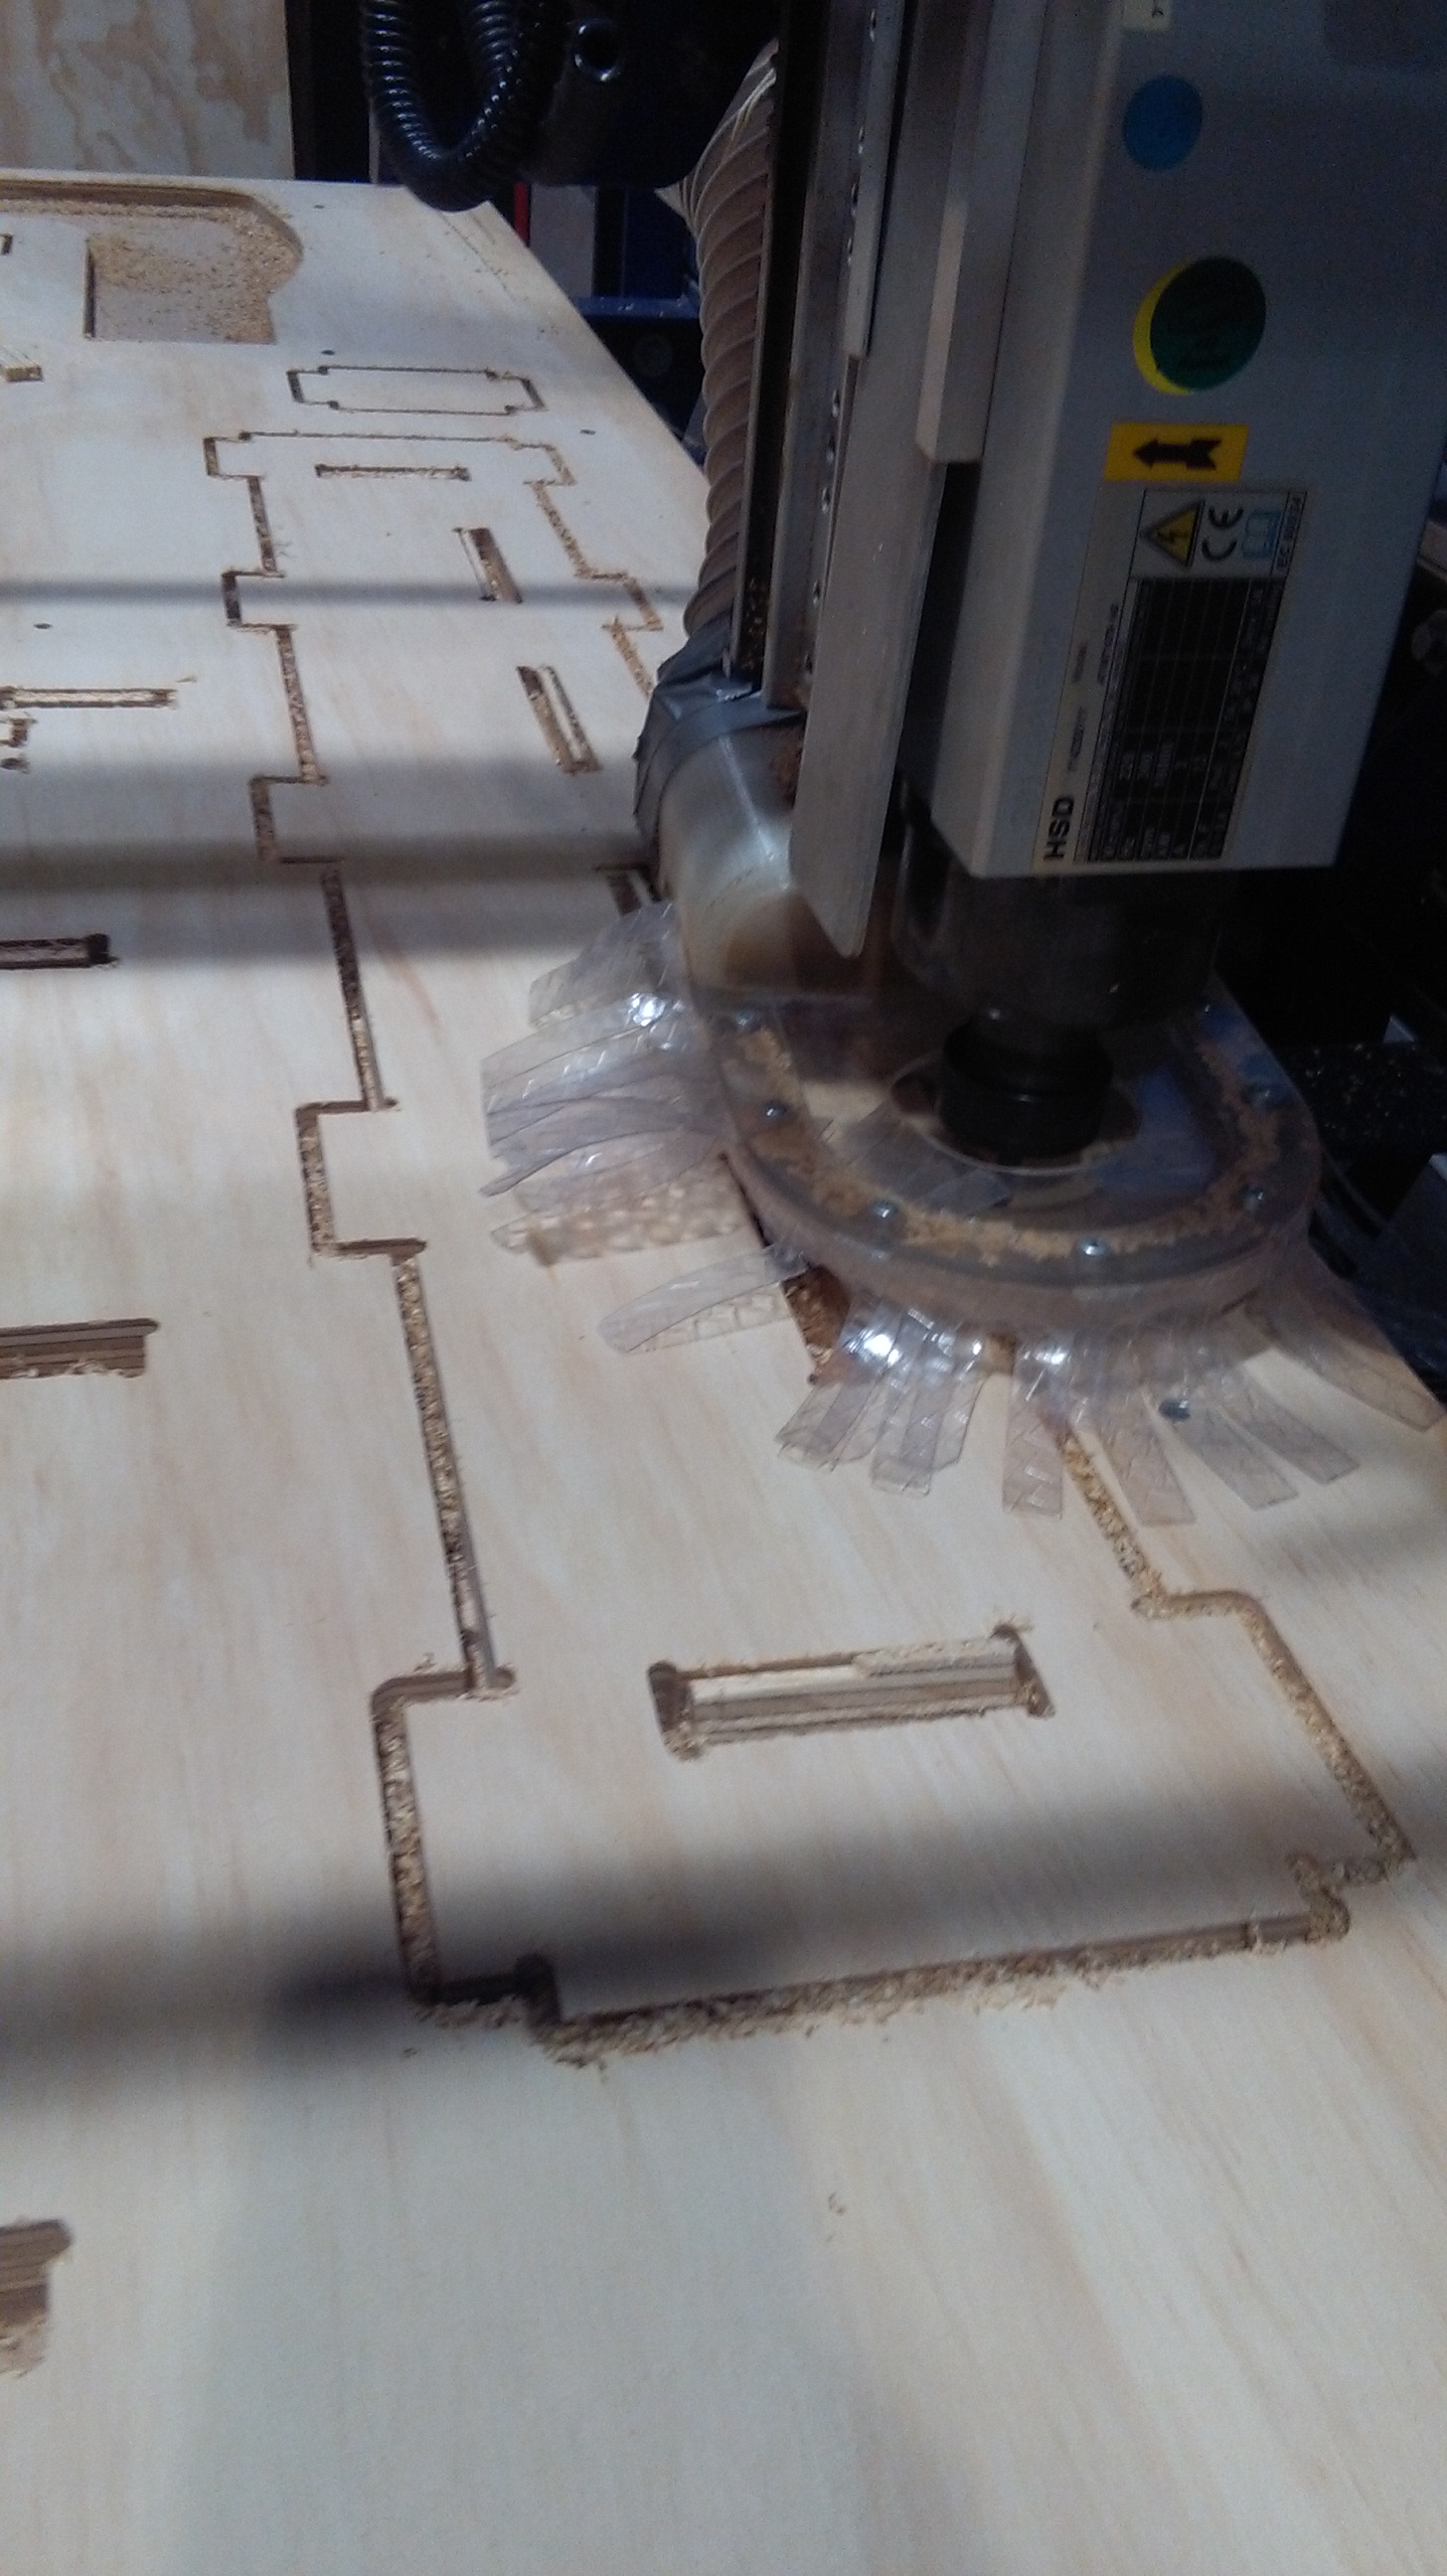
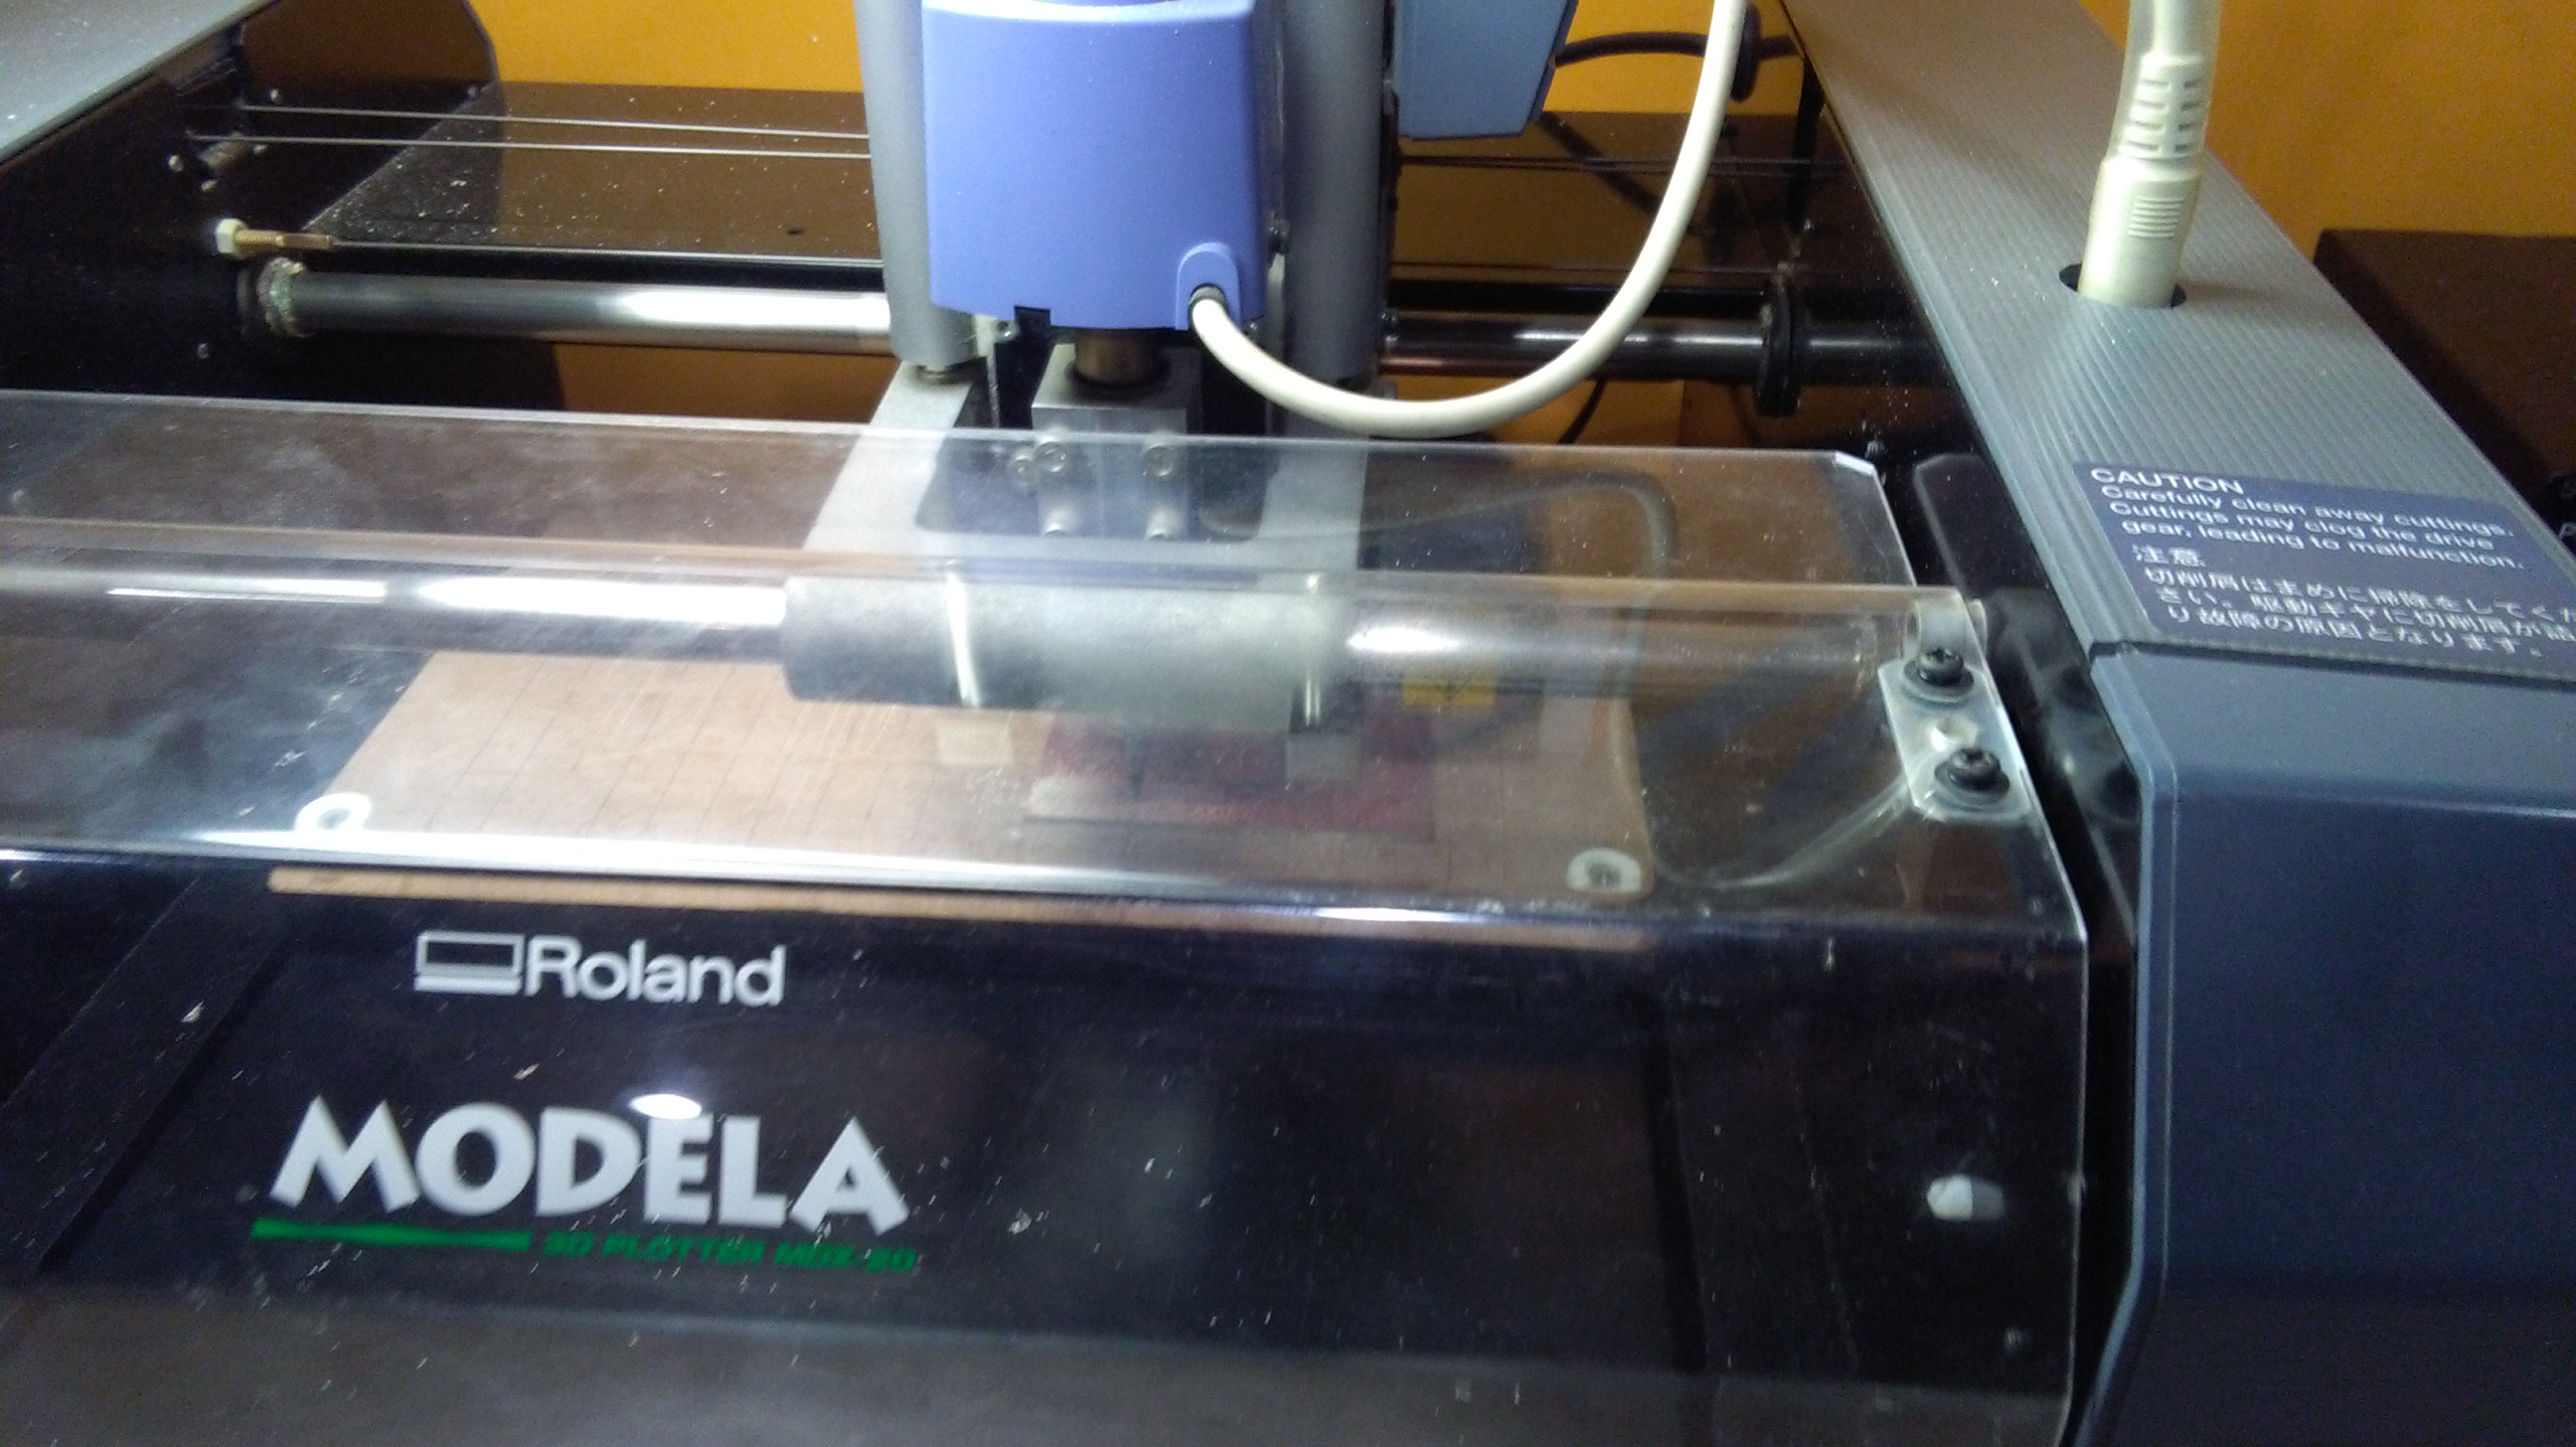
Then all the pieces are milled in the Shopbot.

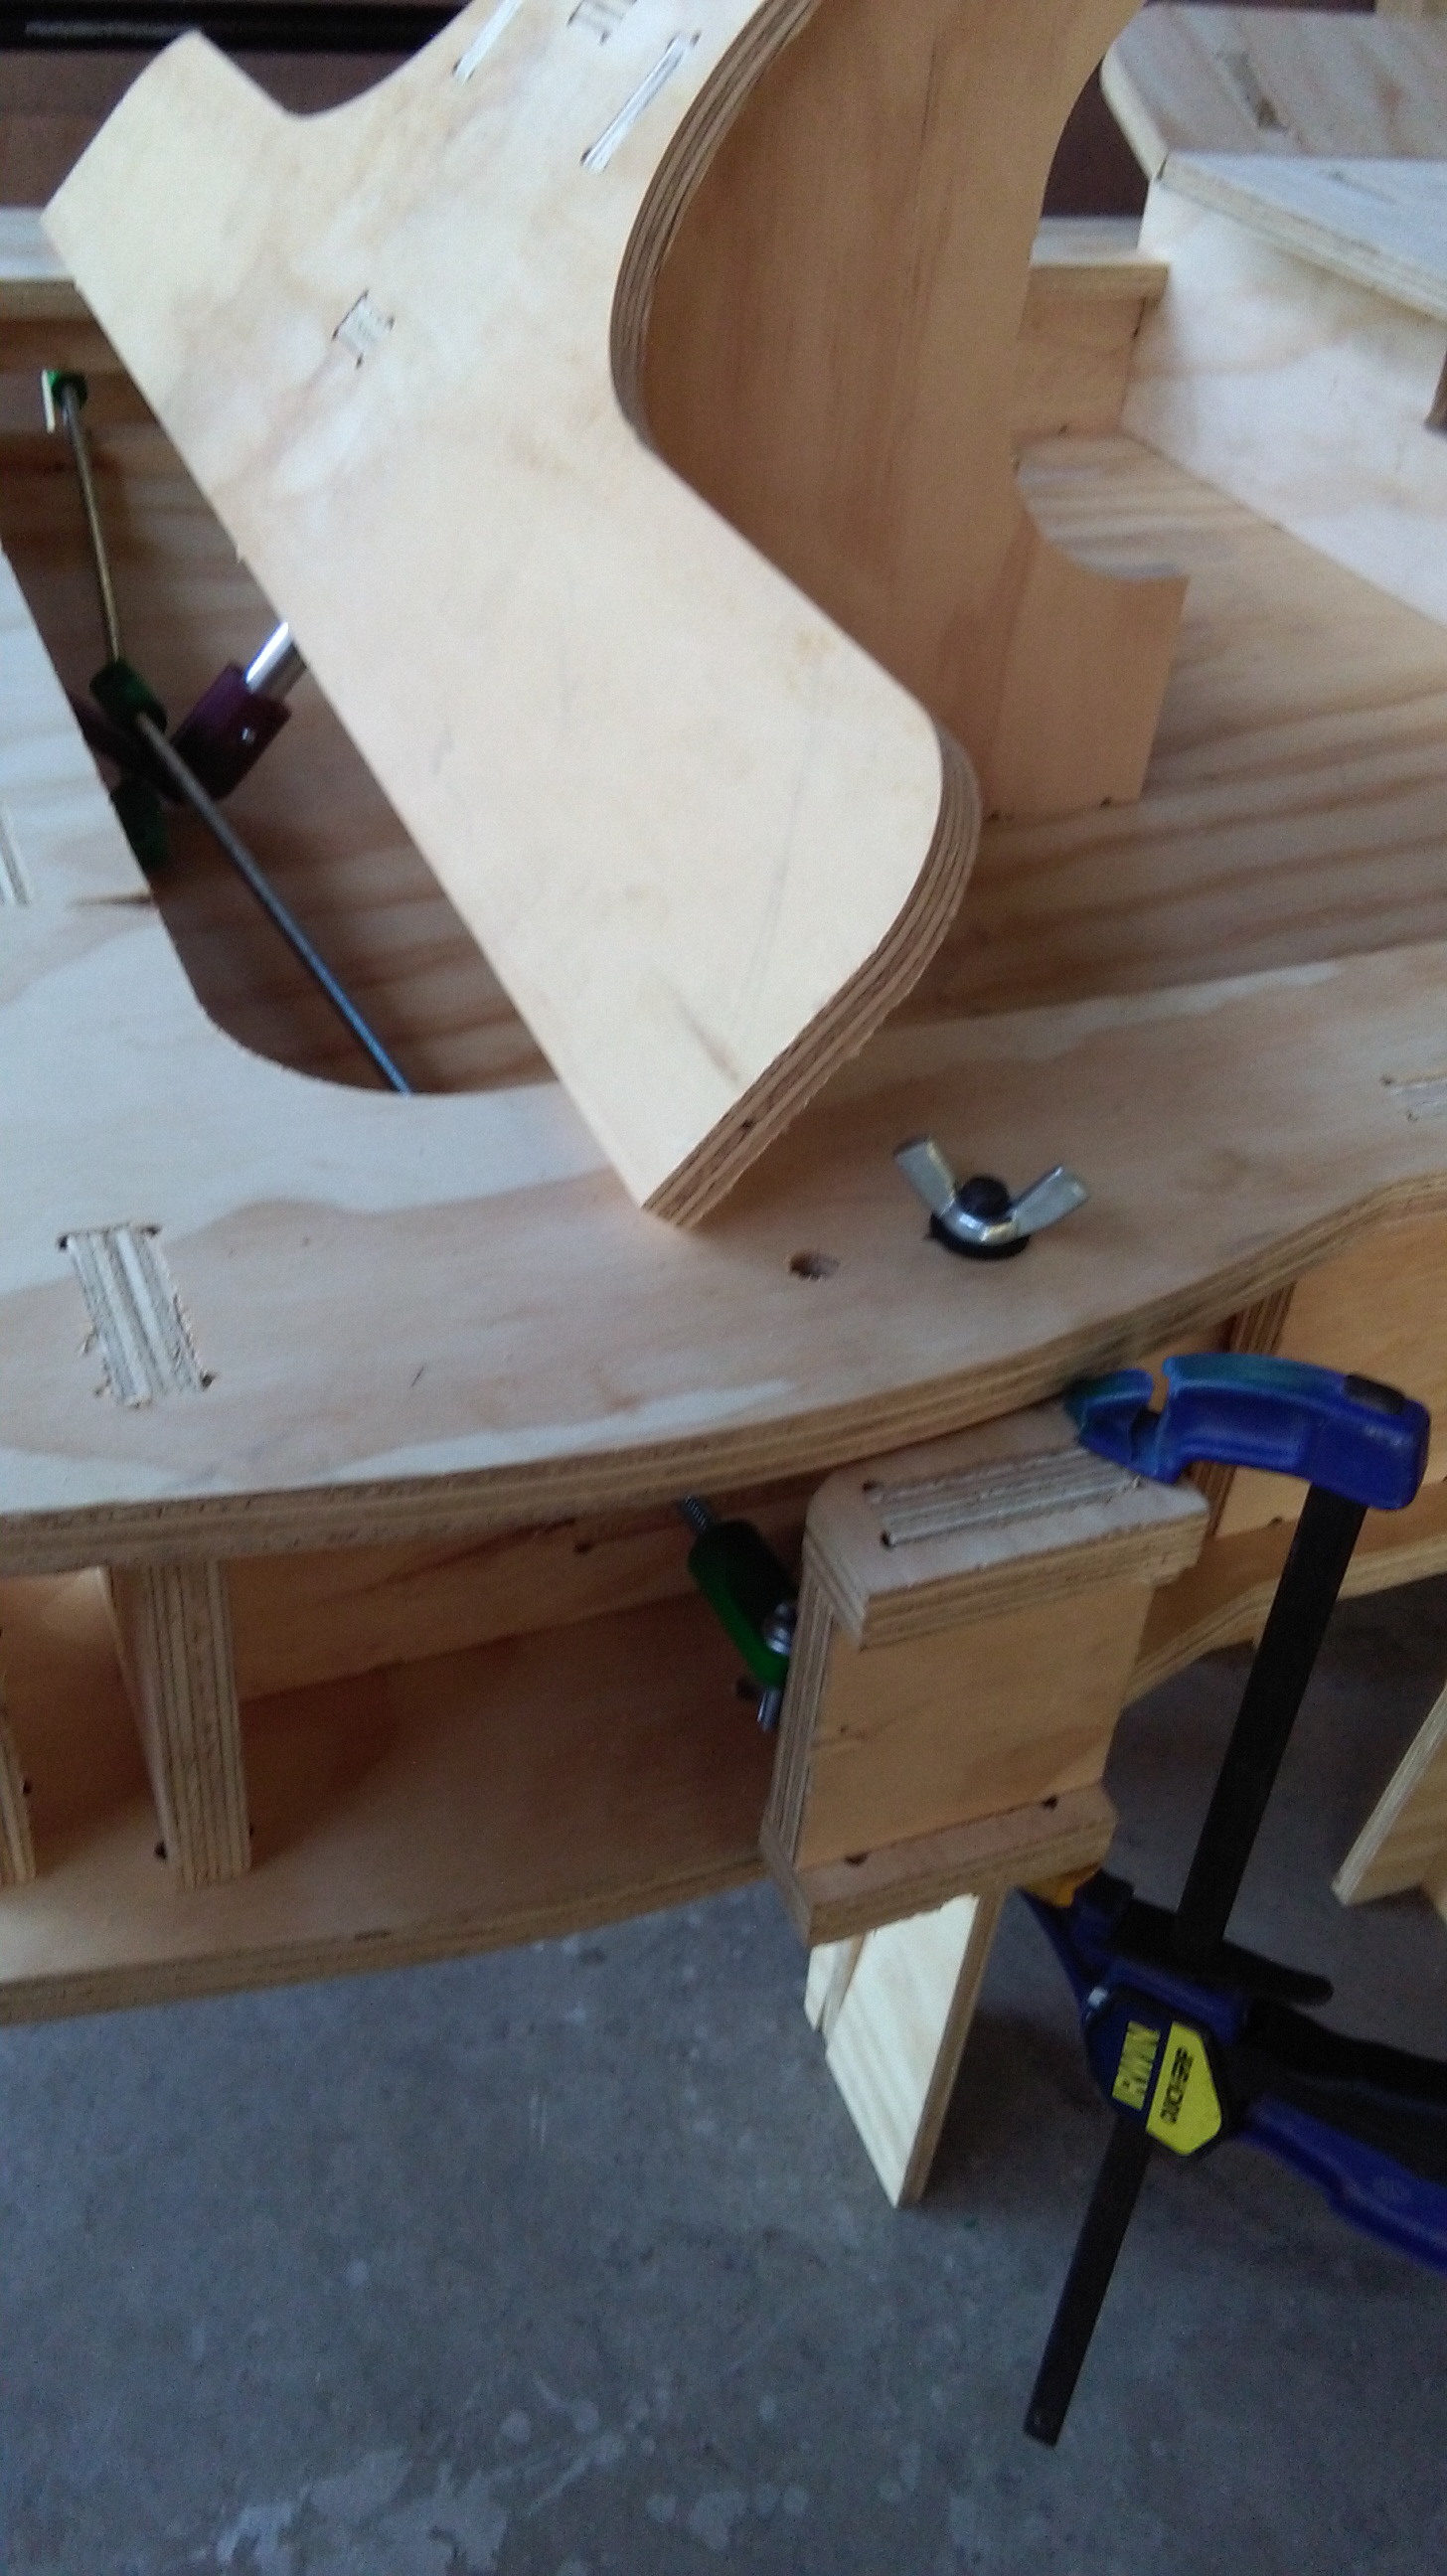
Then began to assemble all the pieces according to the design.
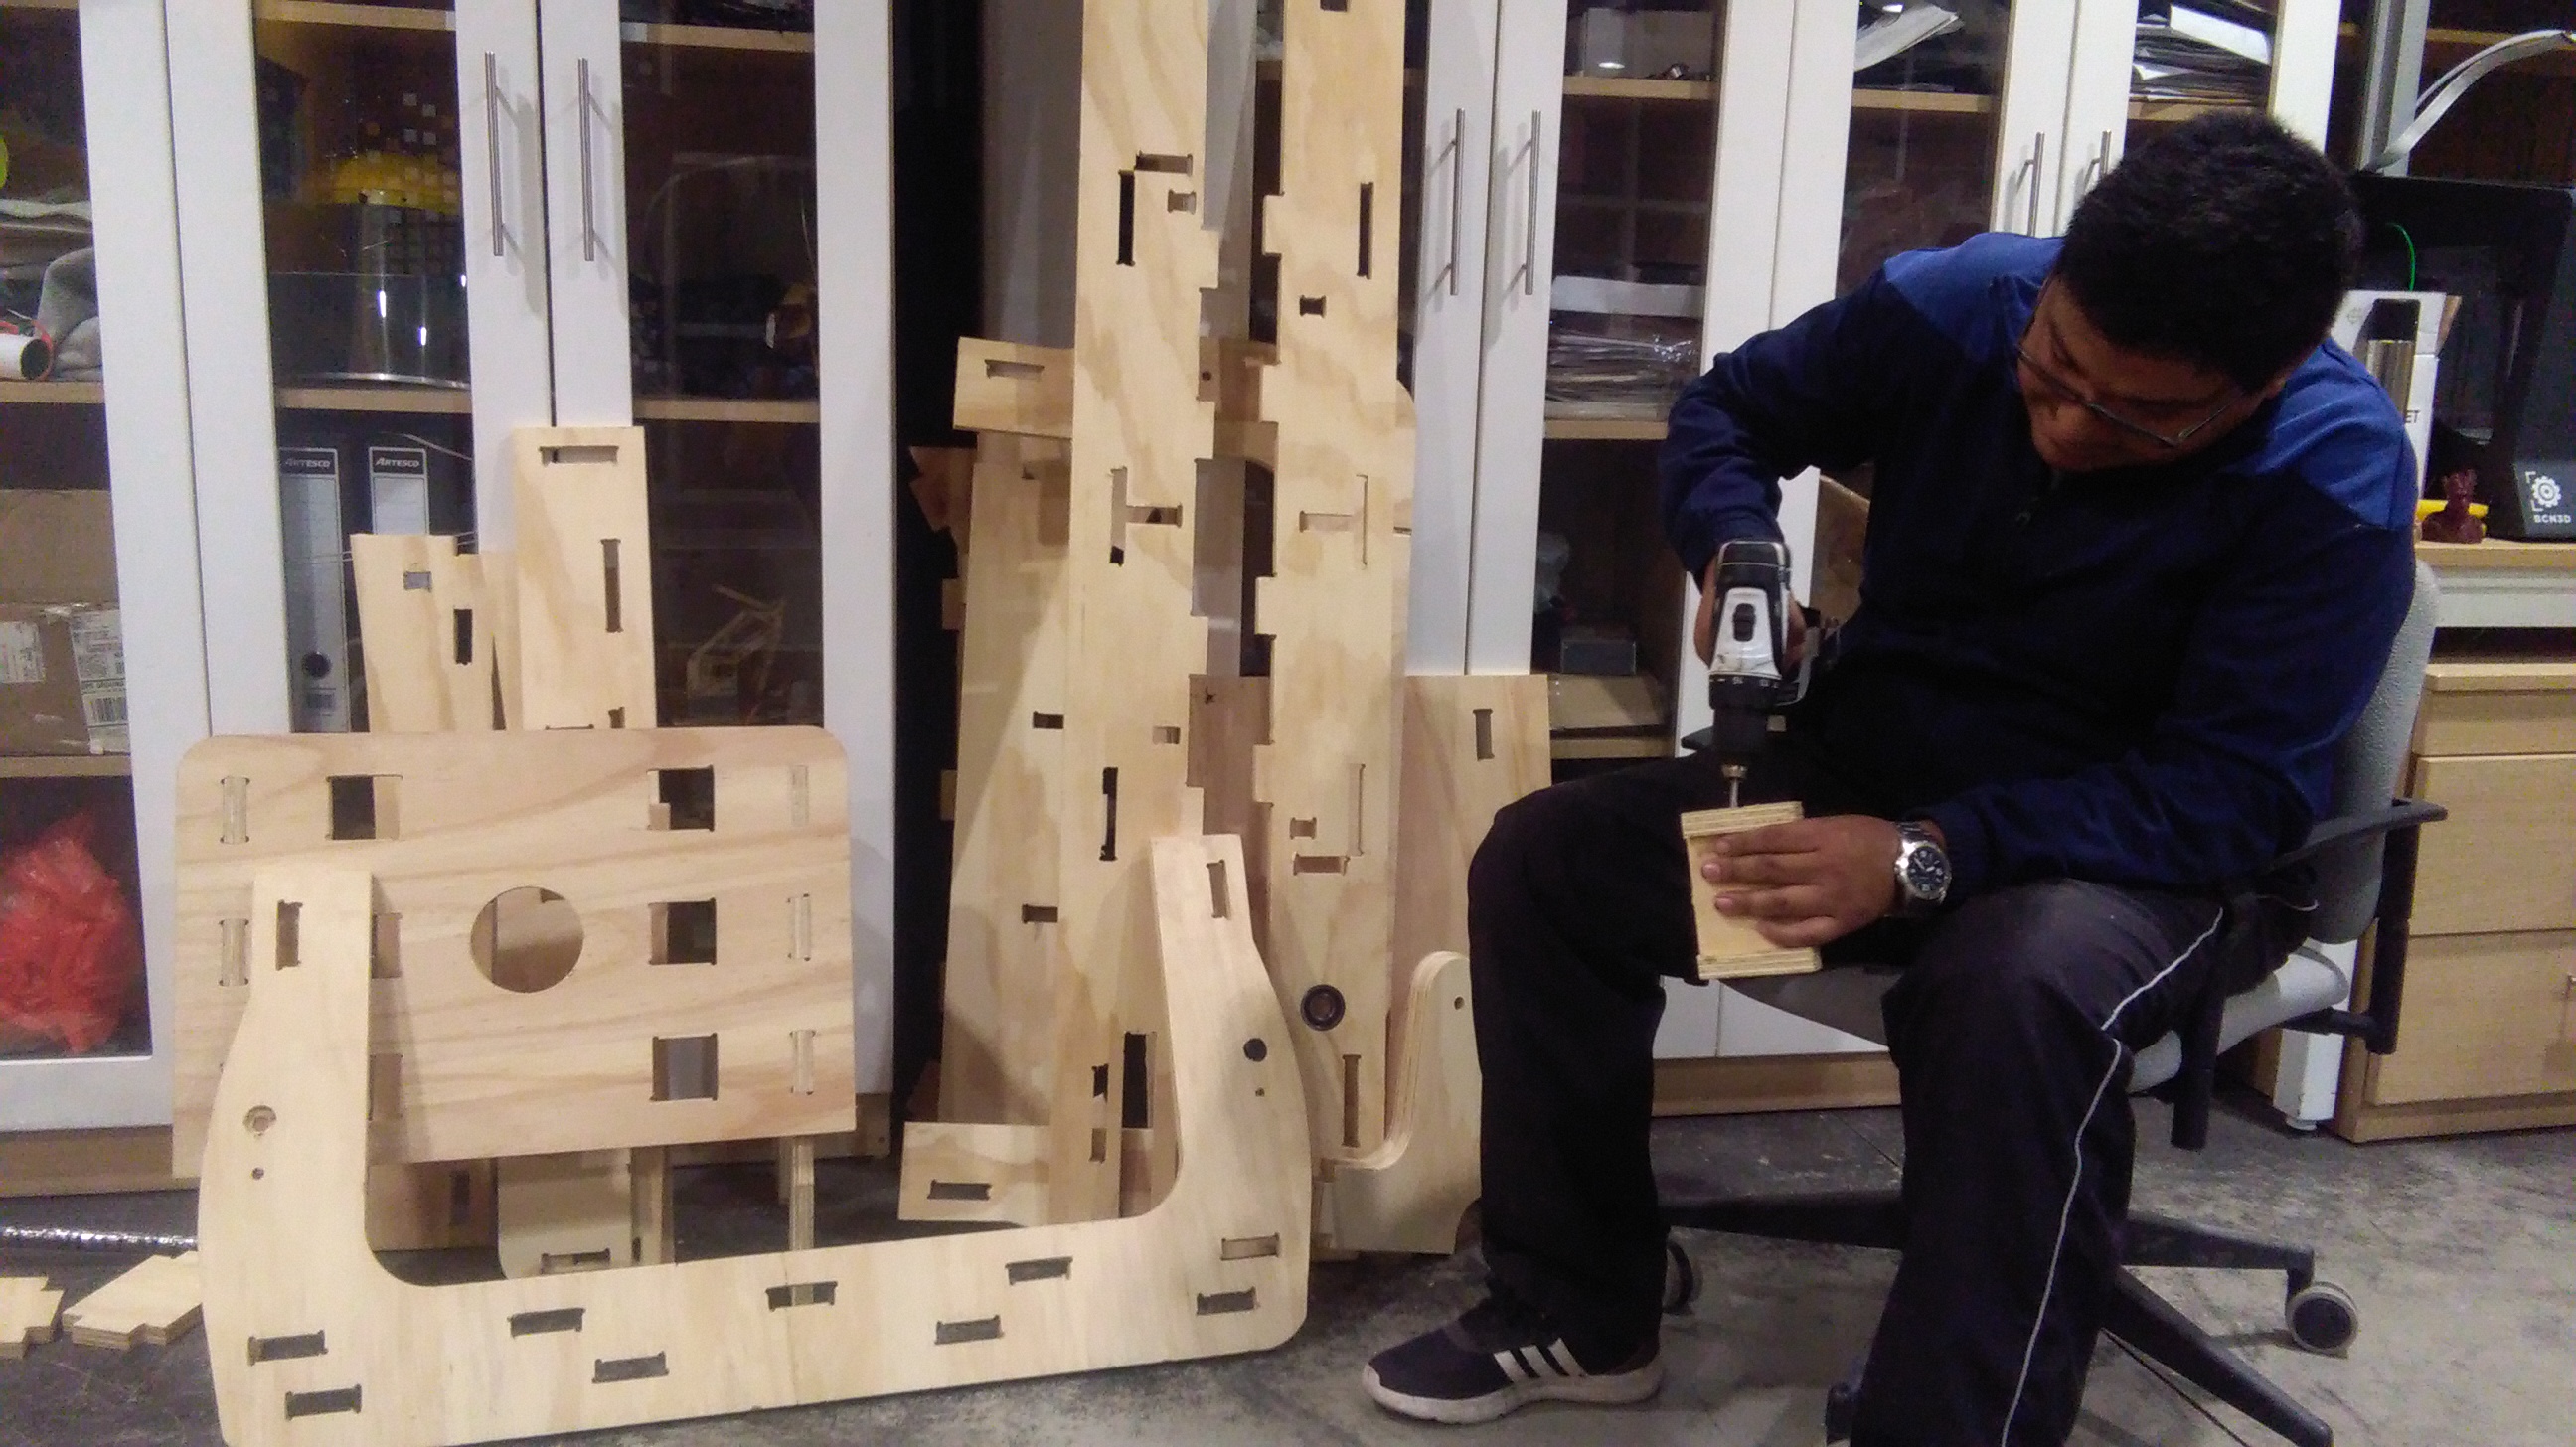
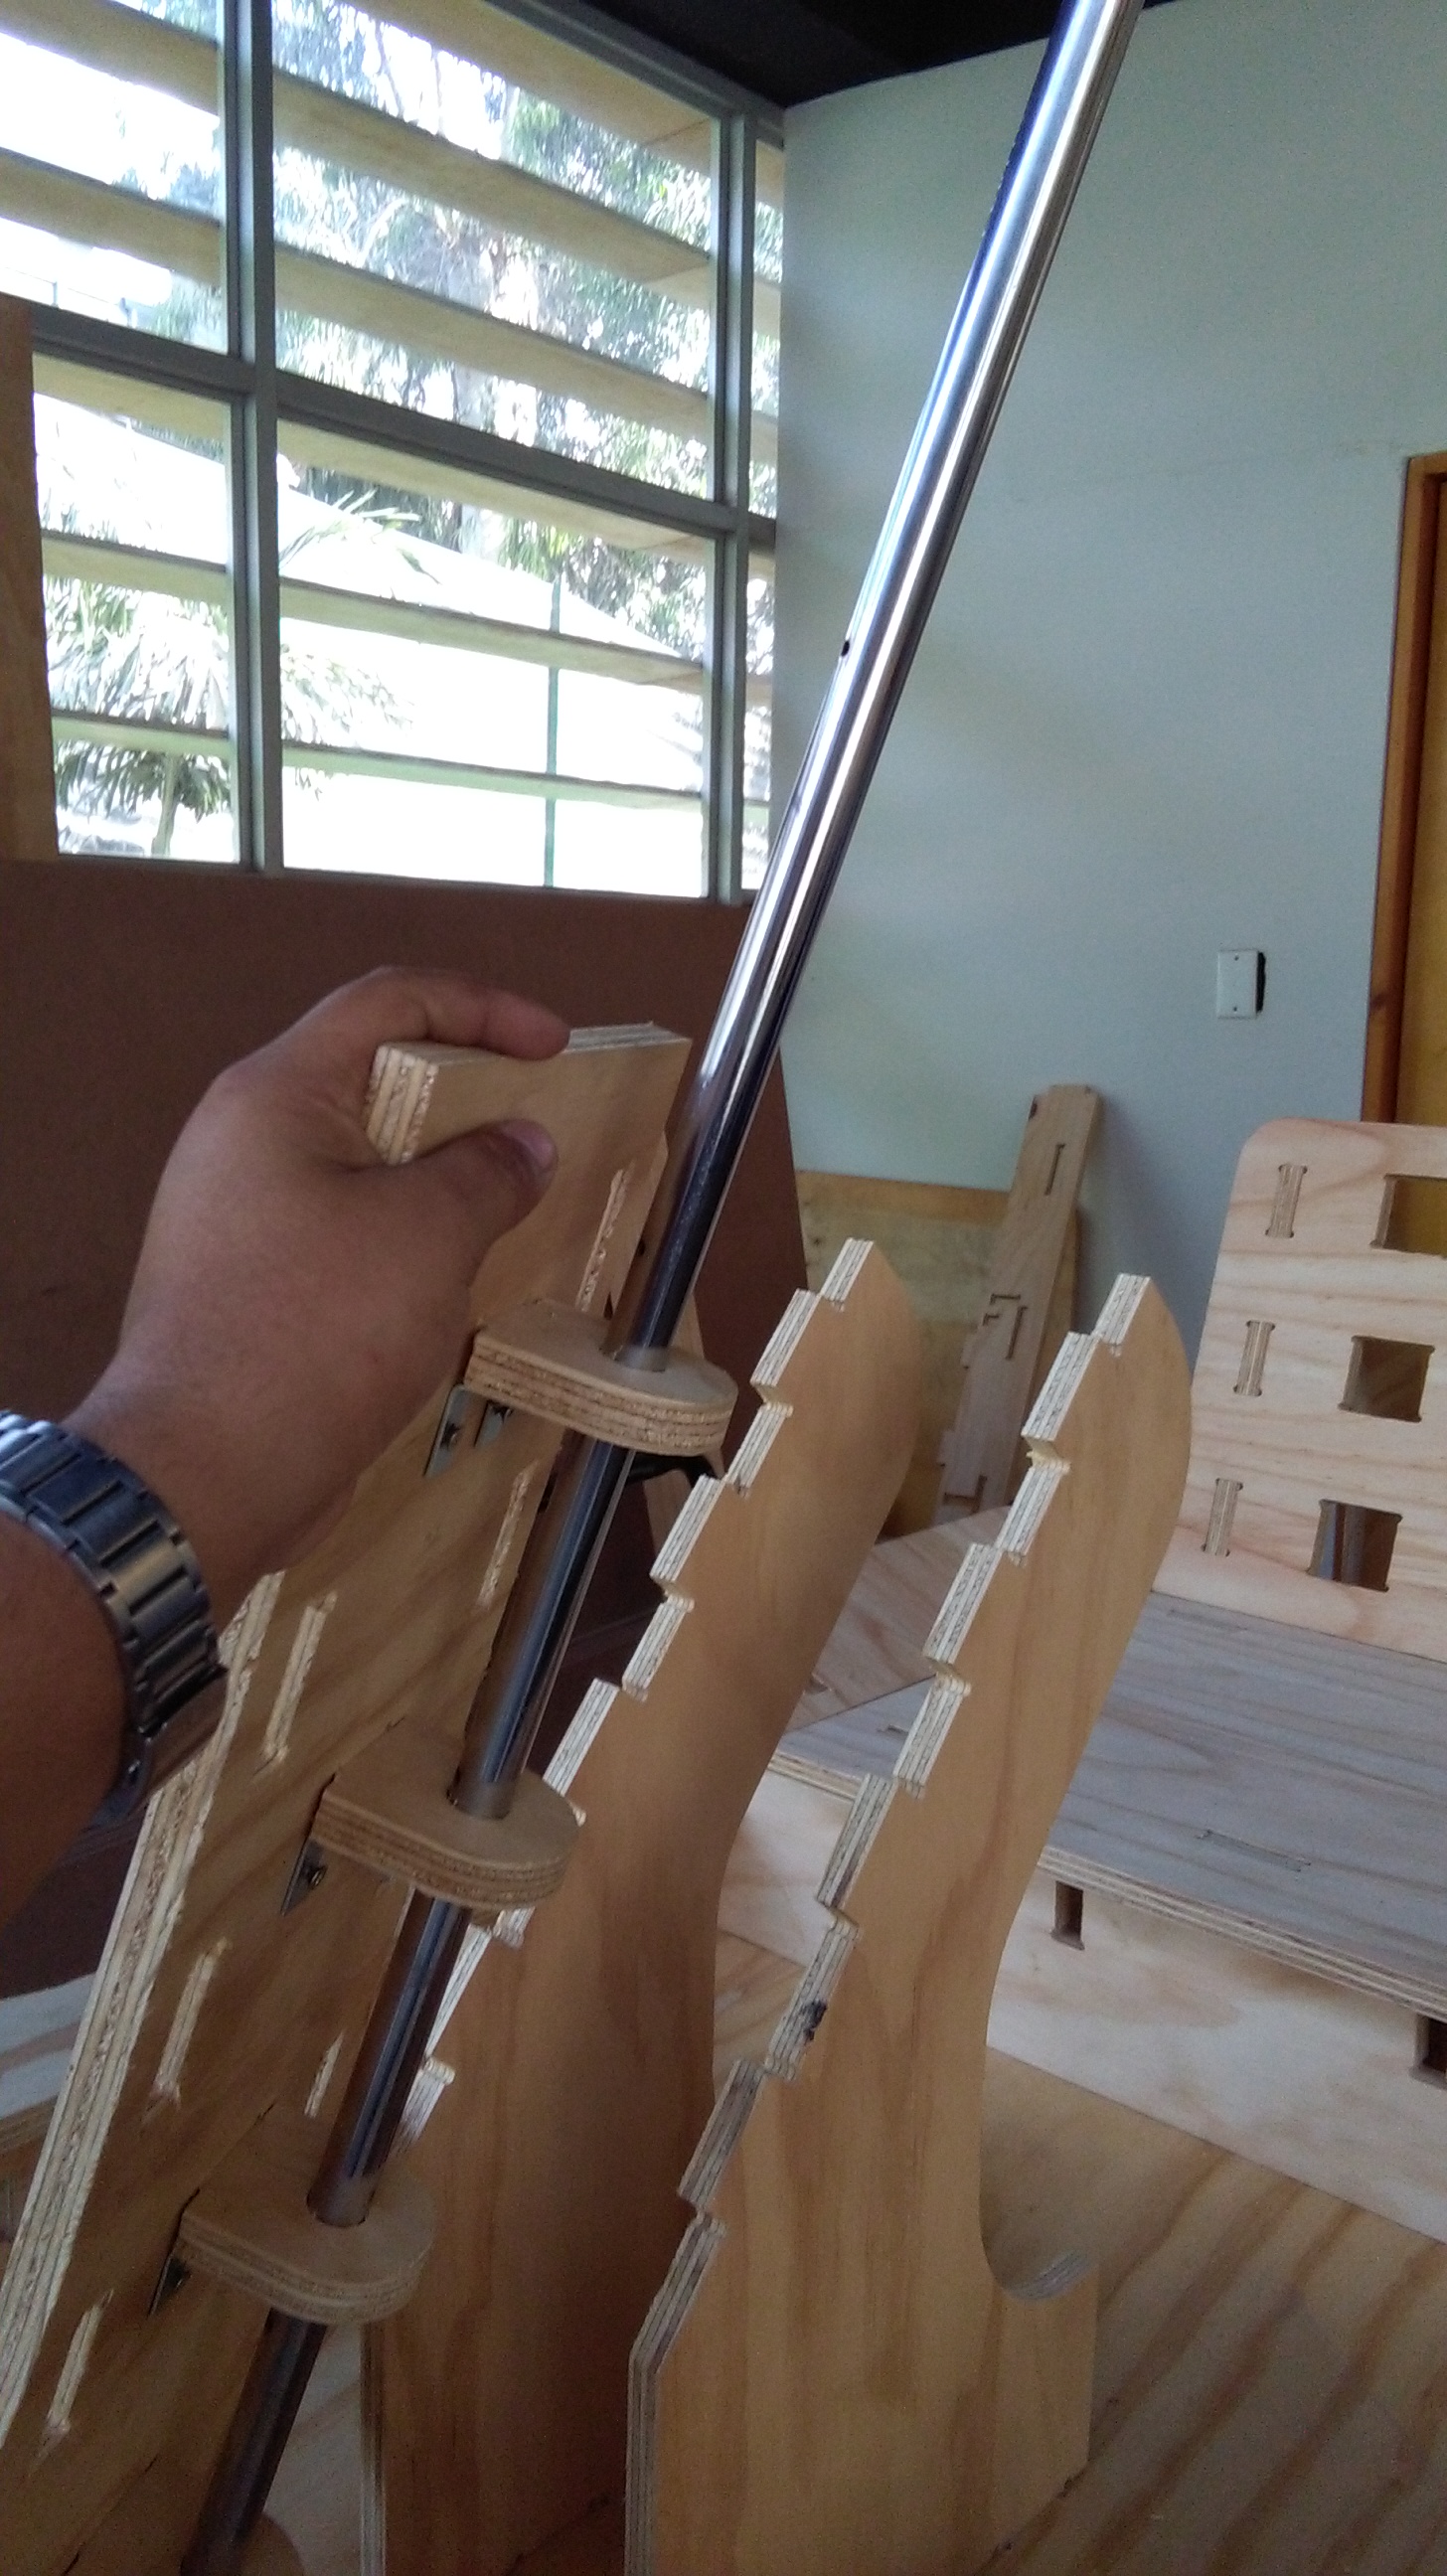
To assemble the steering, presses are used to prevent the parts involved in the steering from being displaced during assembly.
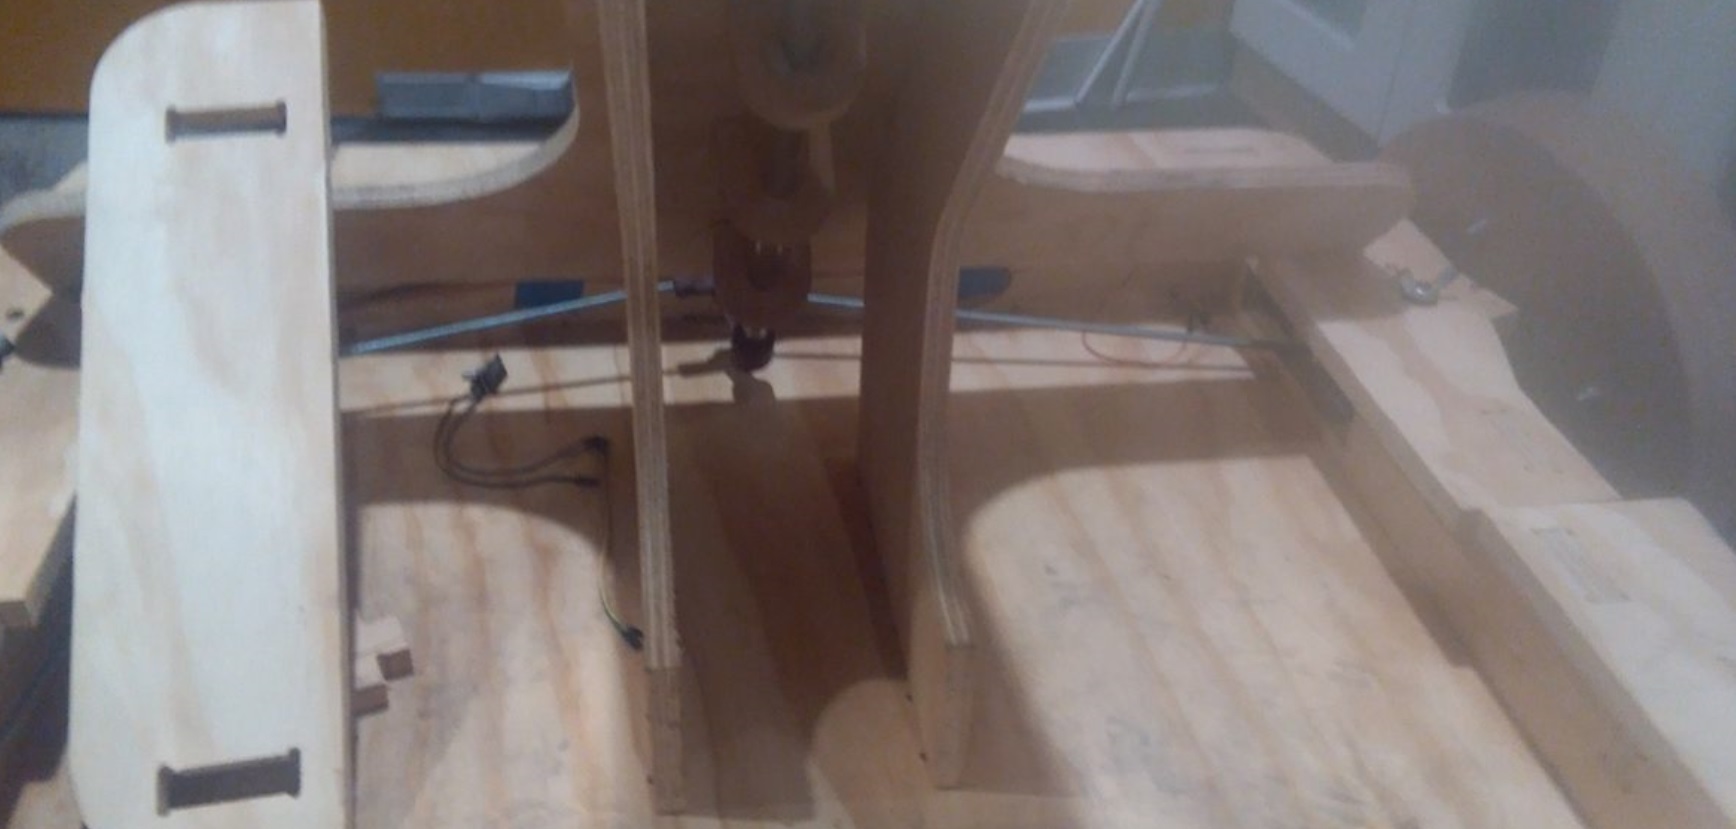
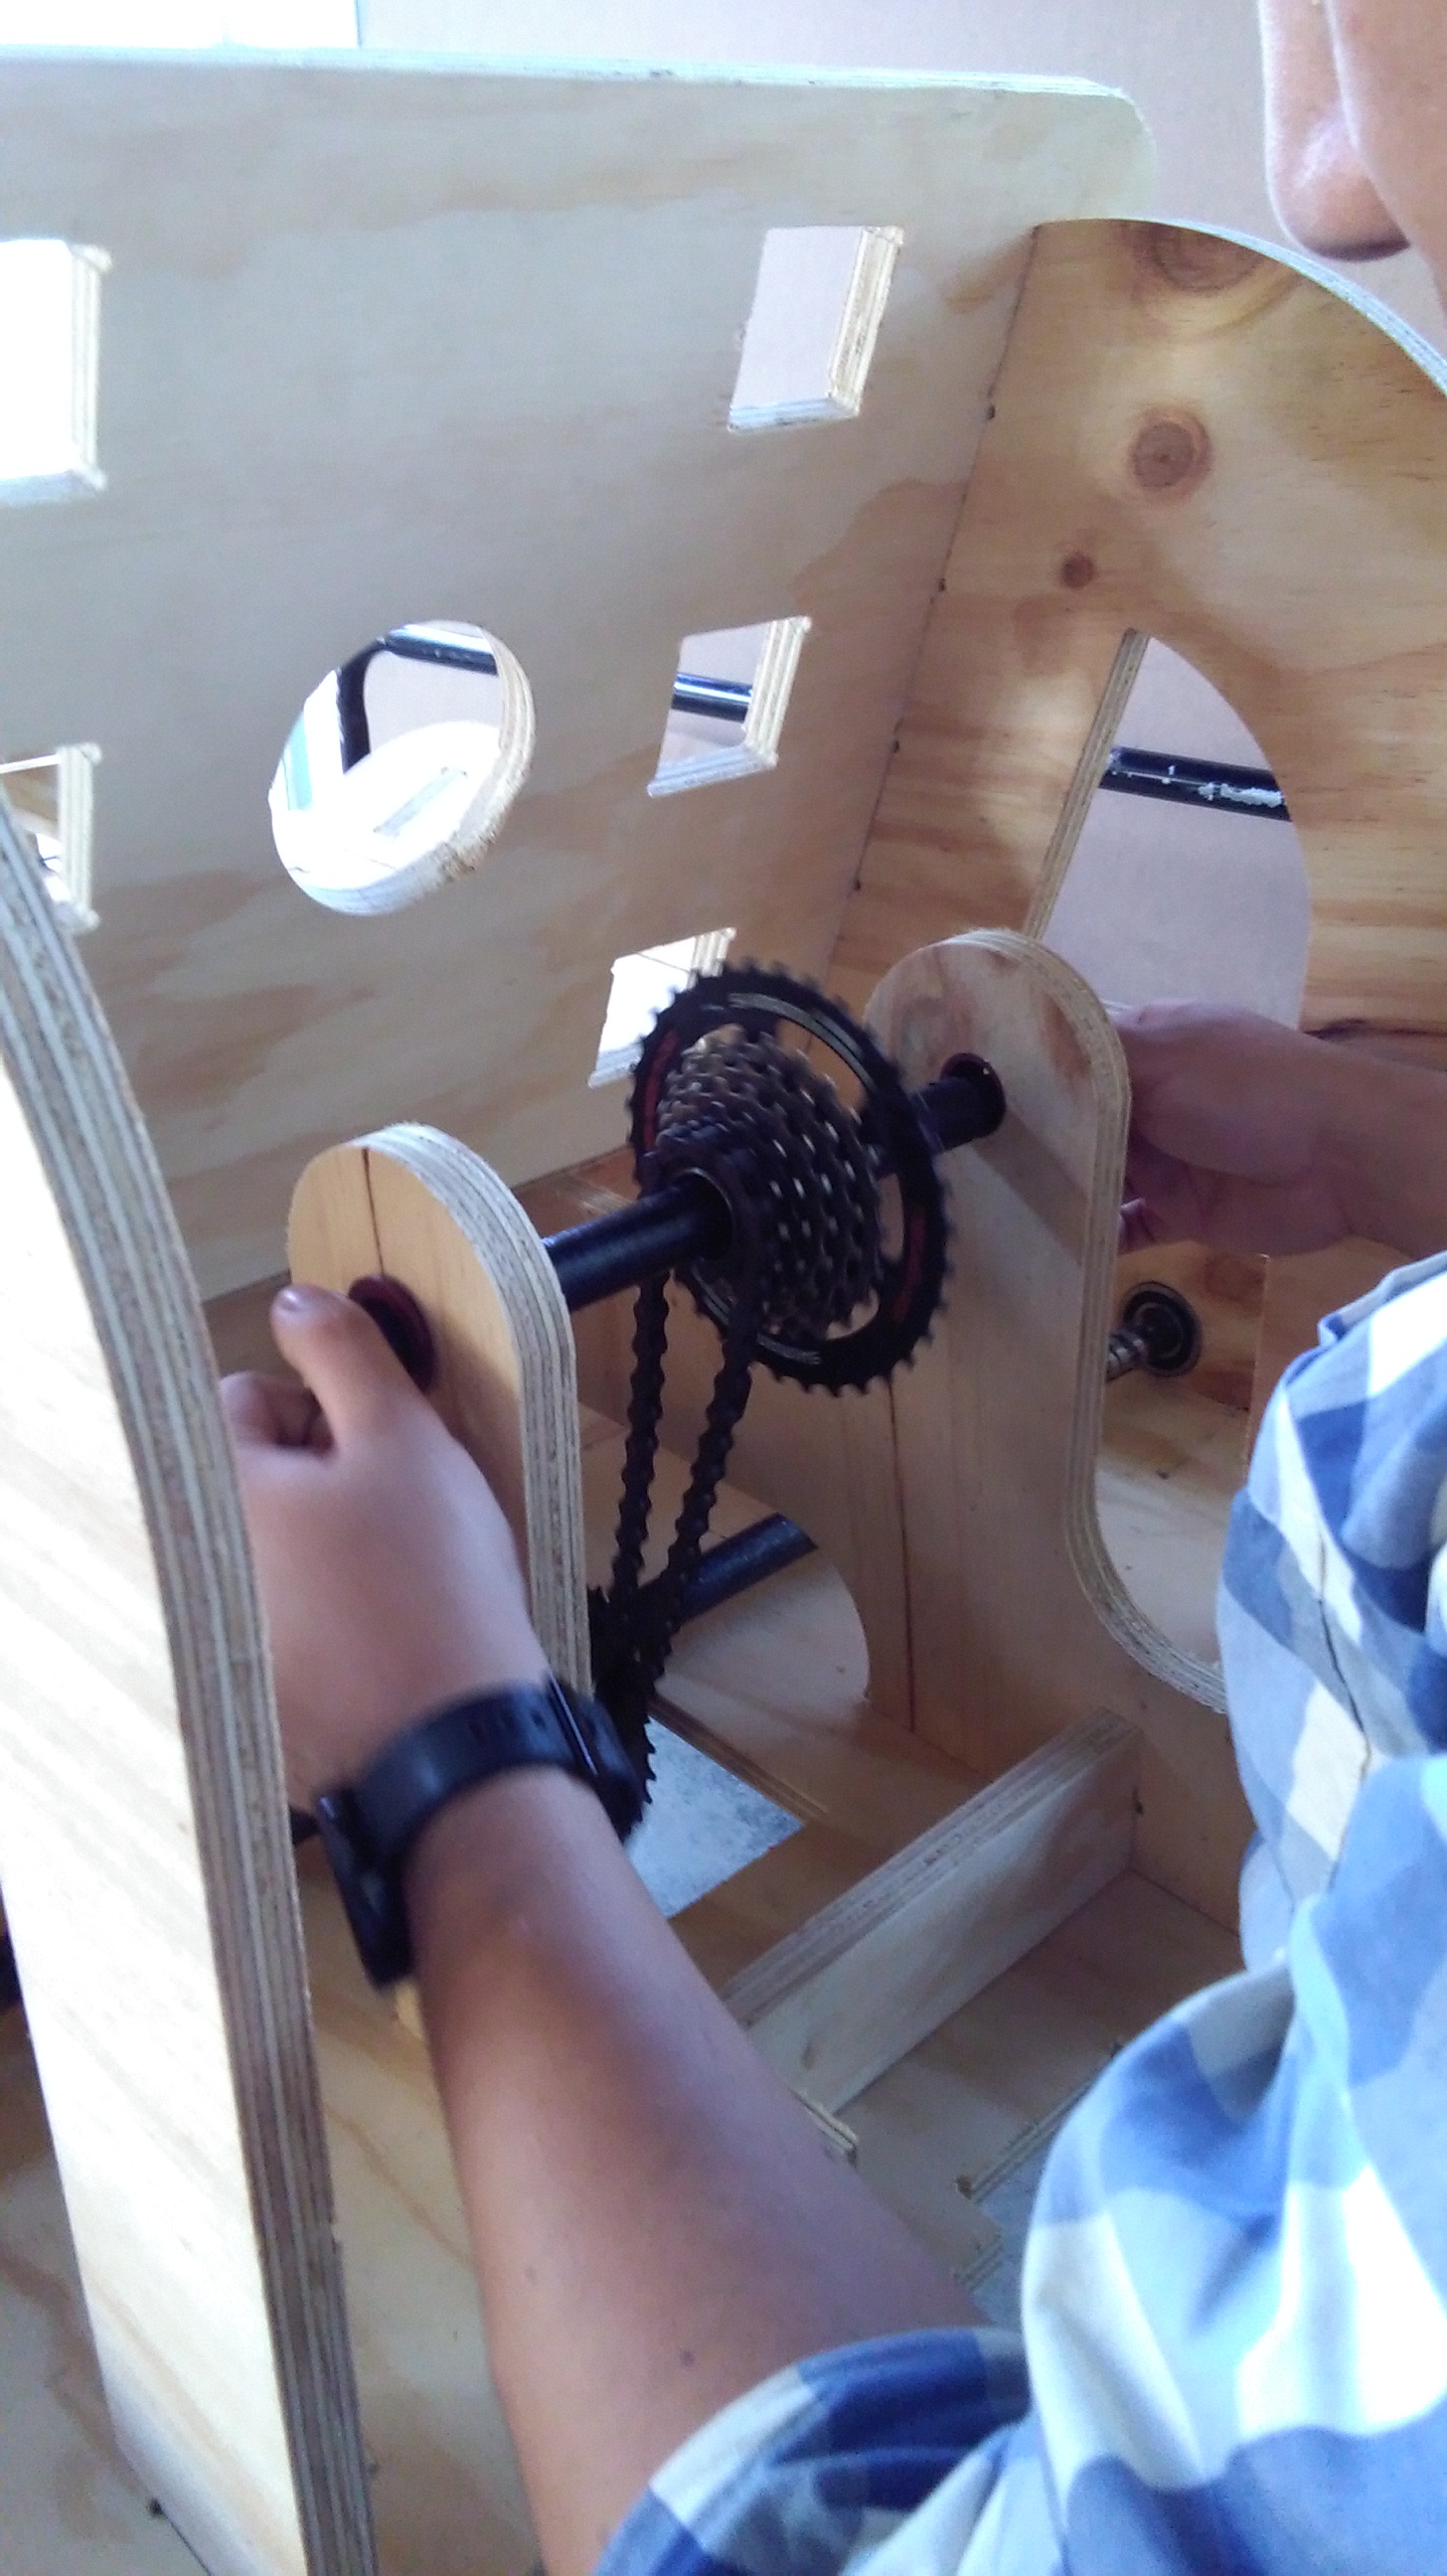
For the transmission part, gears and chain of a bicycle mounted on an axle were used, which when meshing with the motor exerted the movement in the kart. This is the system that will cause the displacement for the kart.
CLICK HERE FOR WATCH VIDEO
![]()
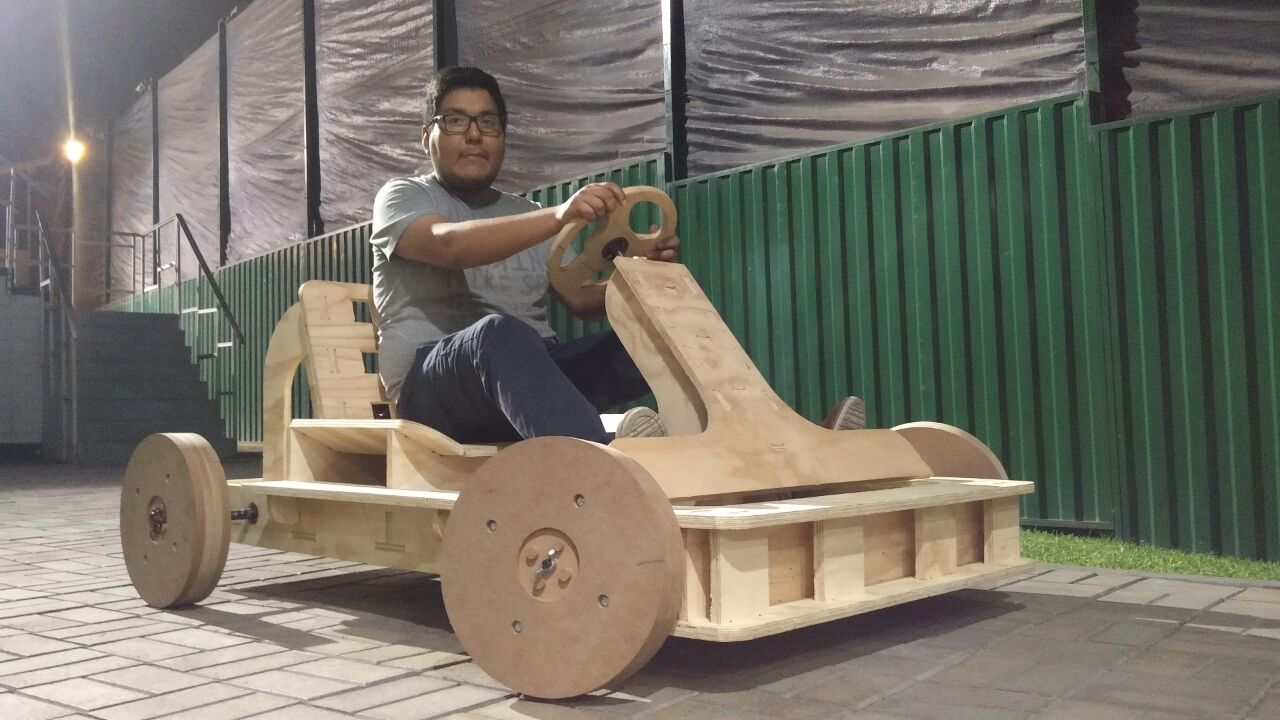
Then perform a first test of handling and stability with my Diploma instructor.

Wiring Diagram
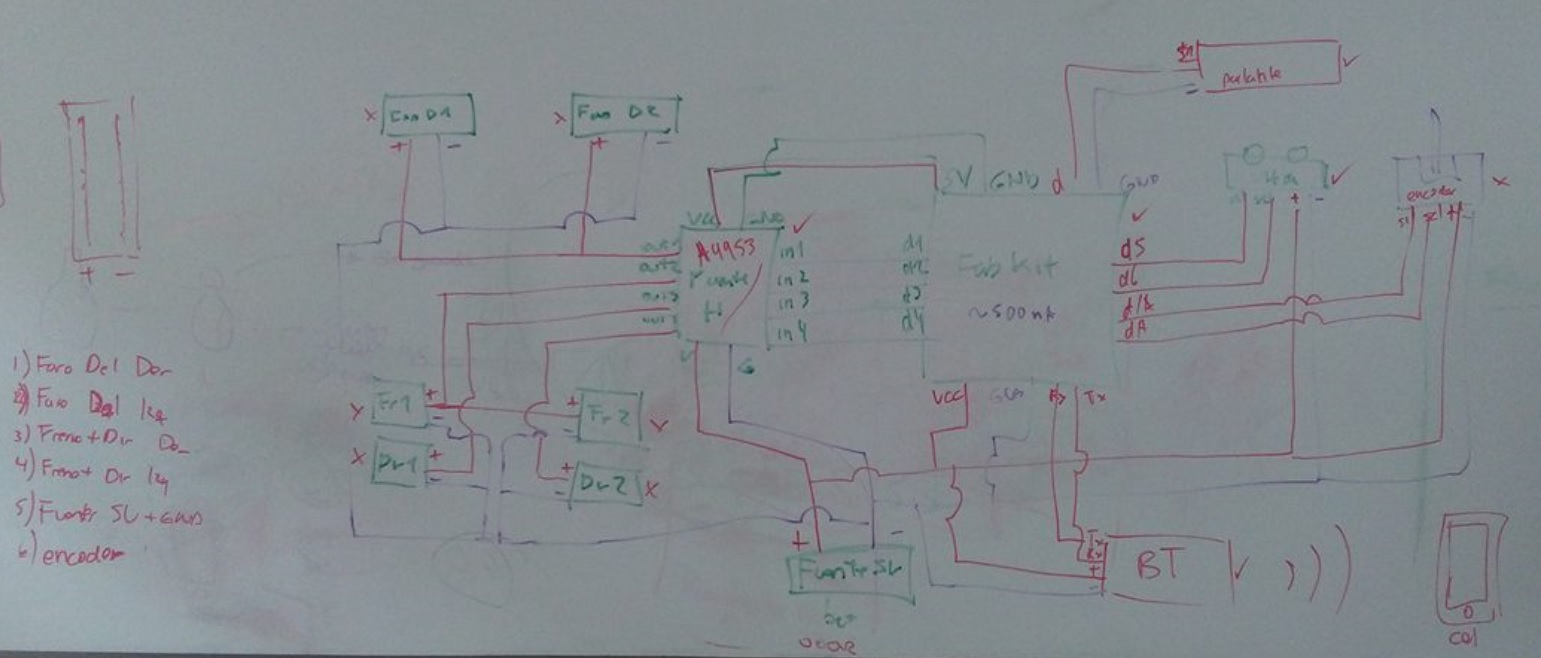
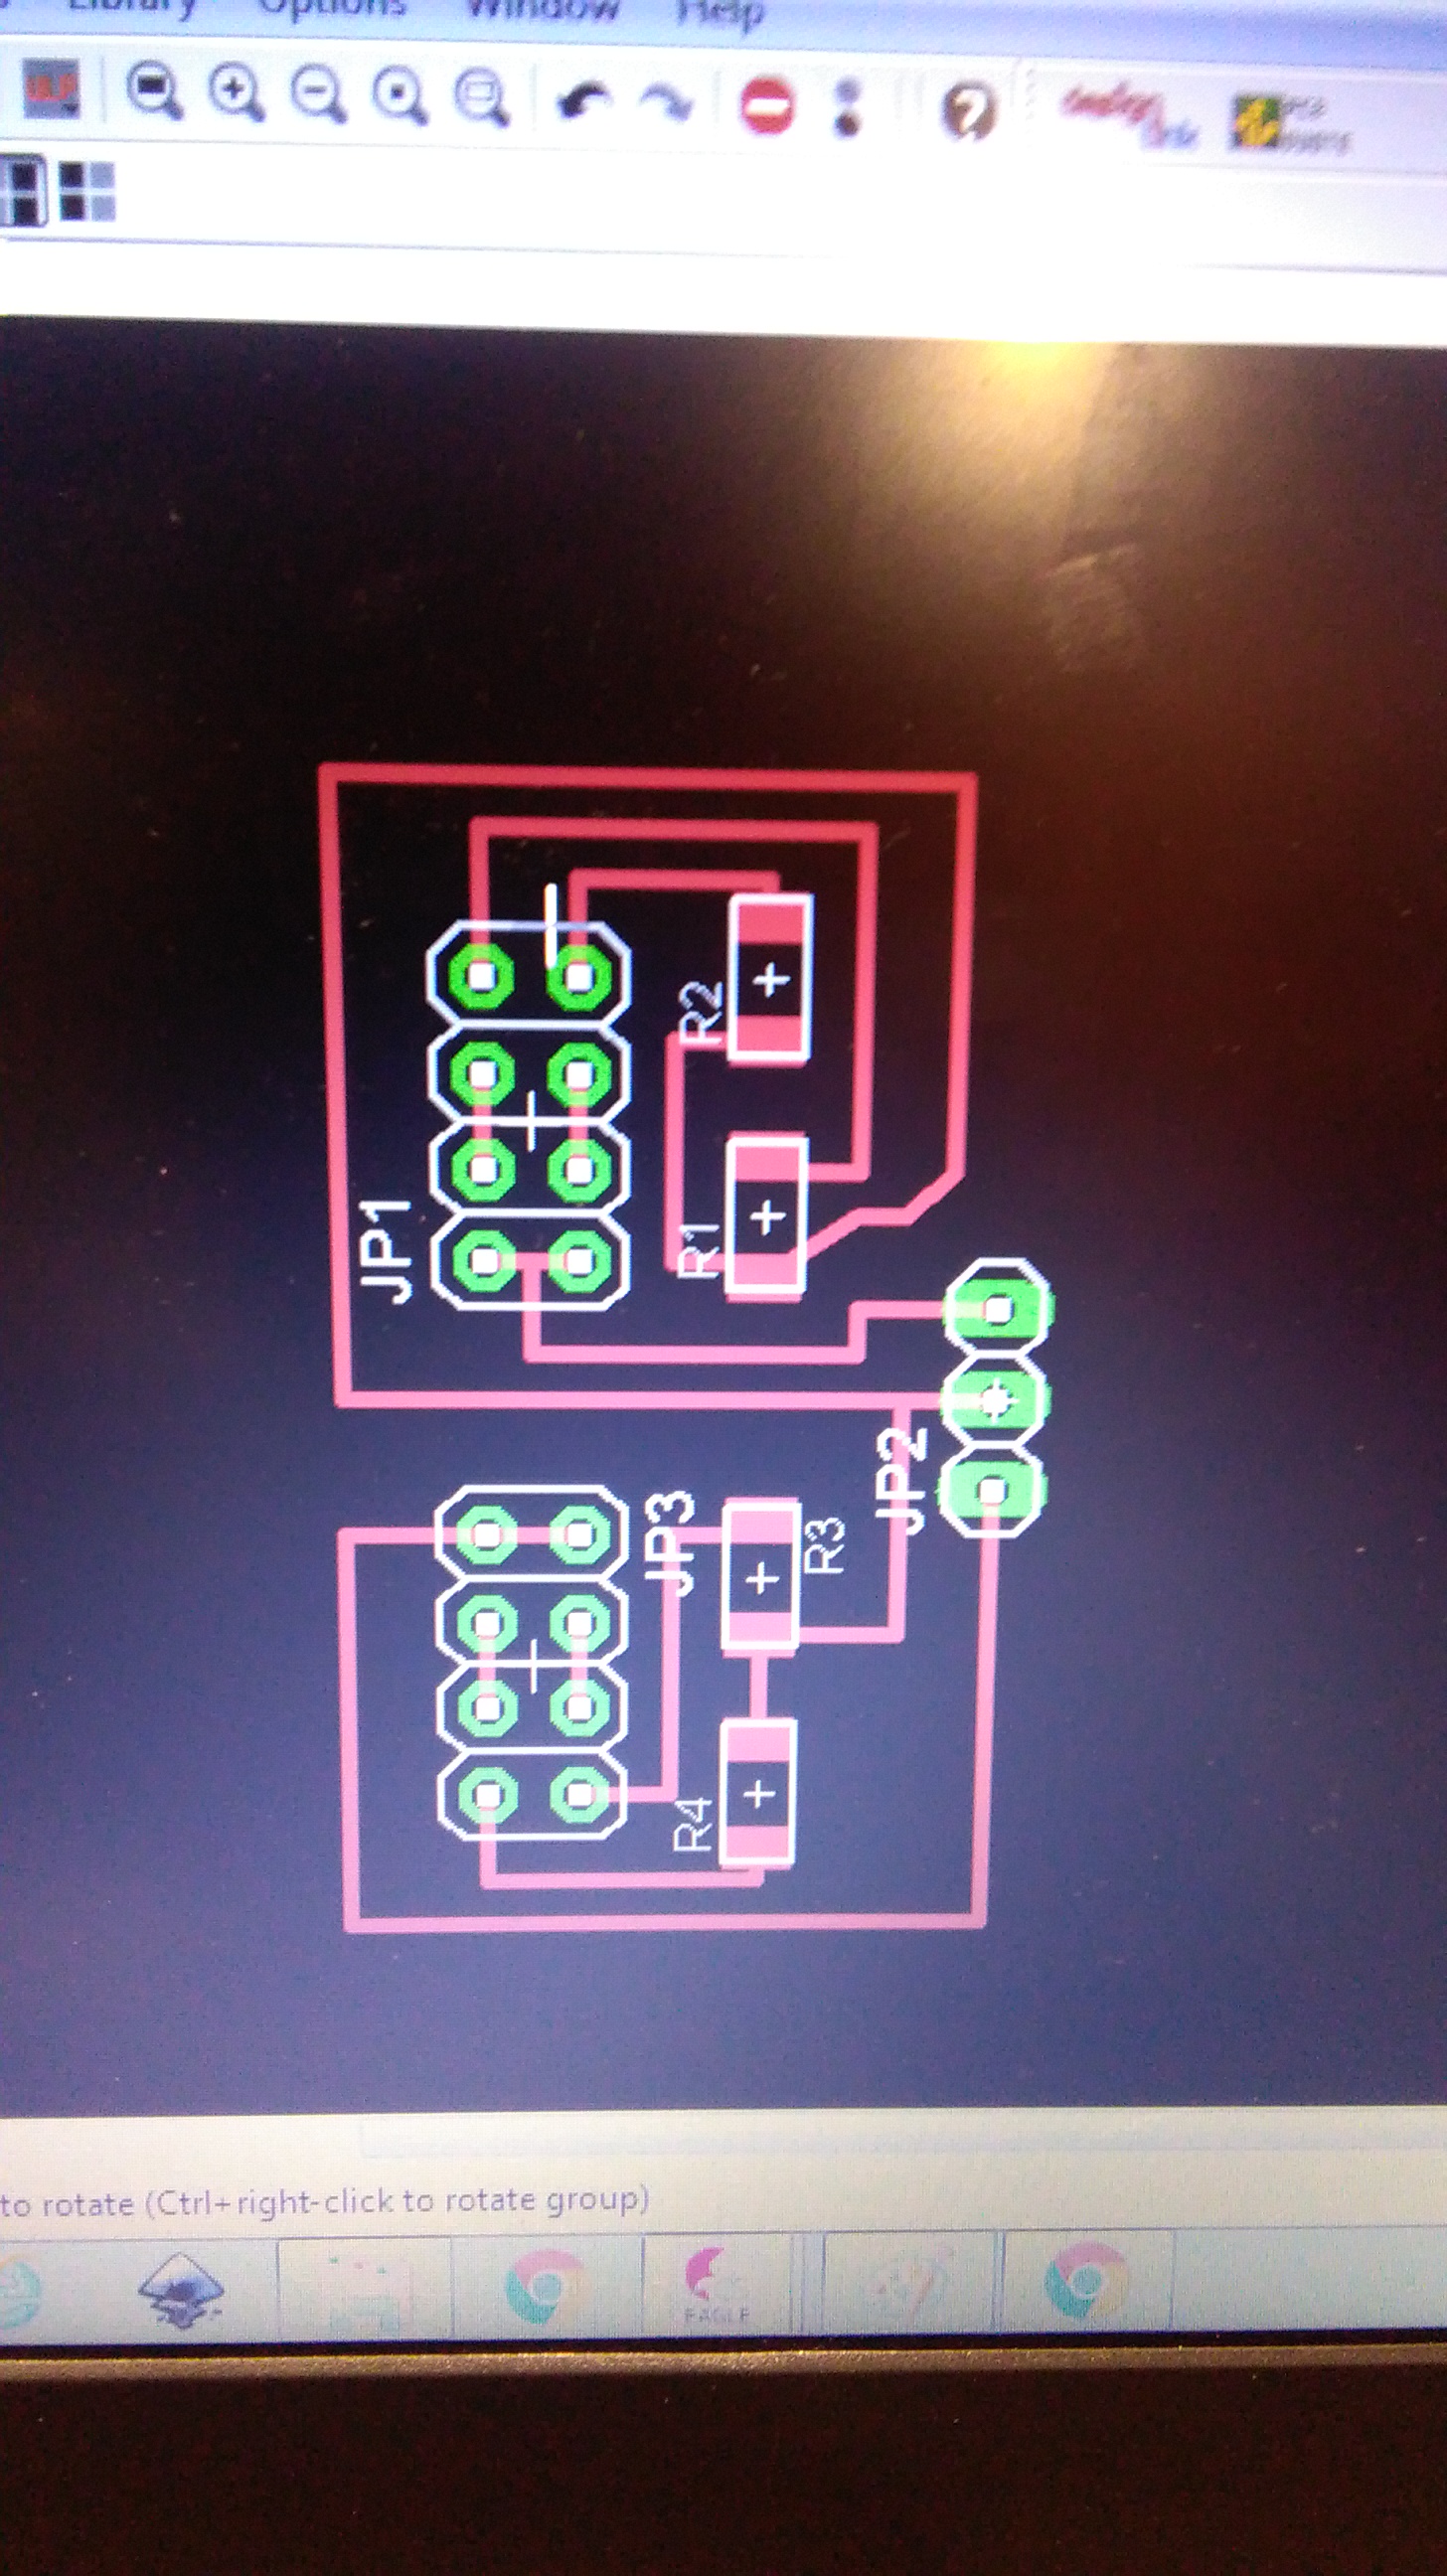
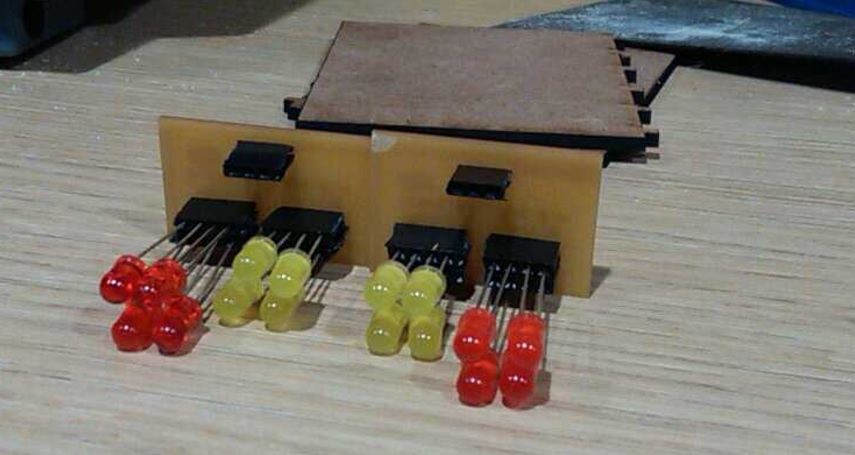
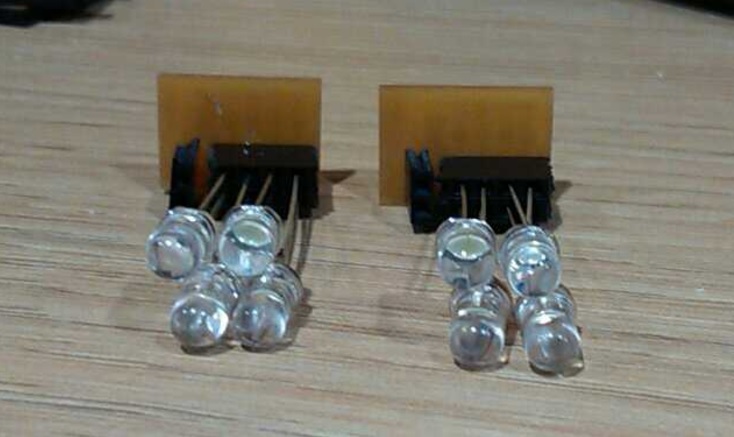
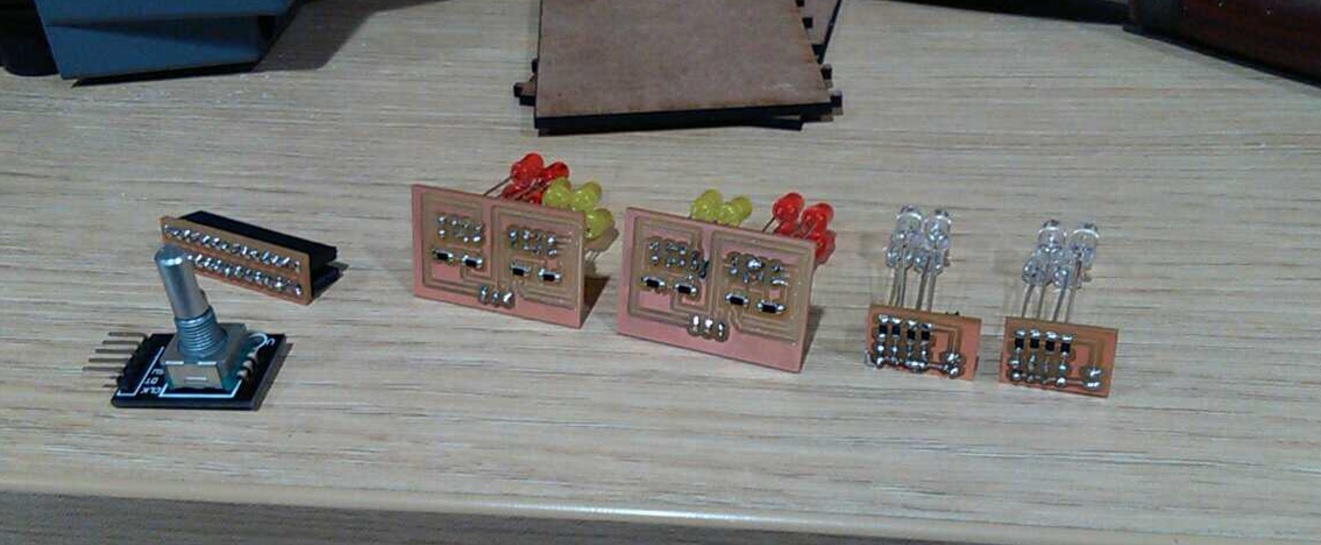
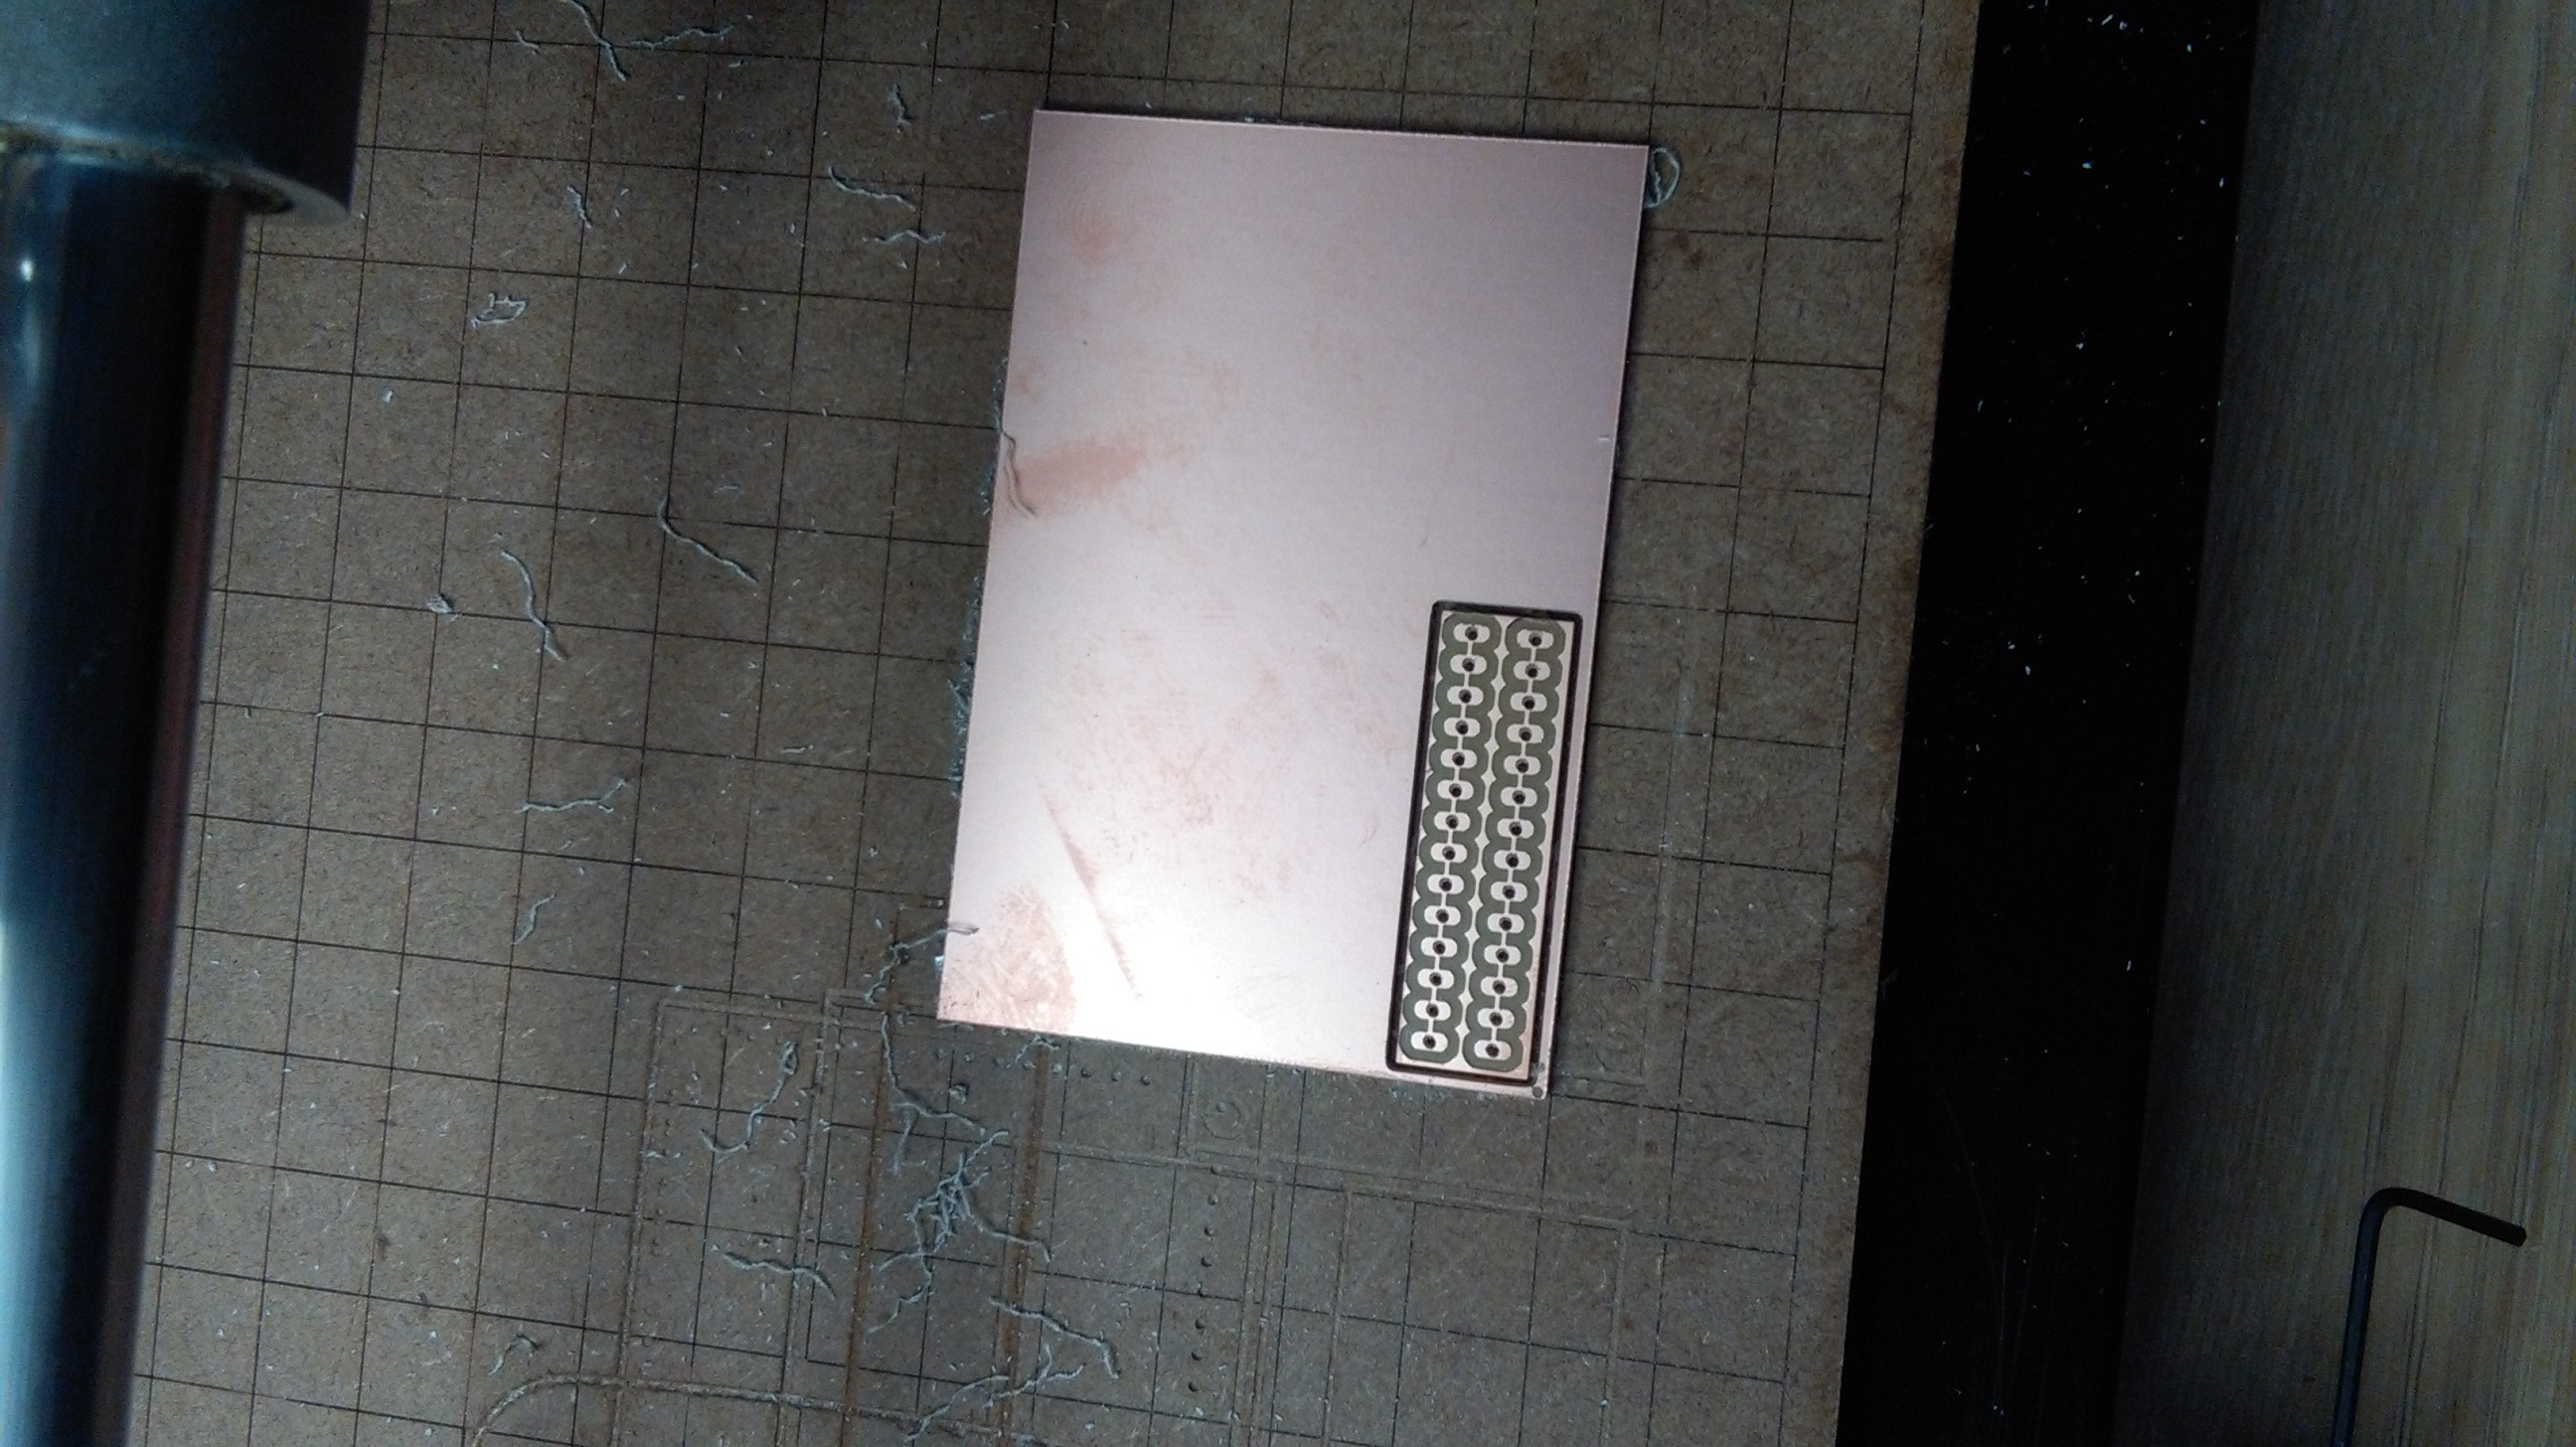
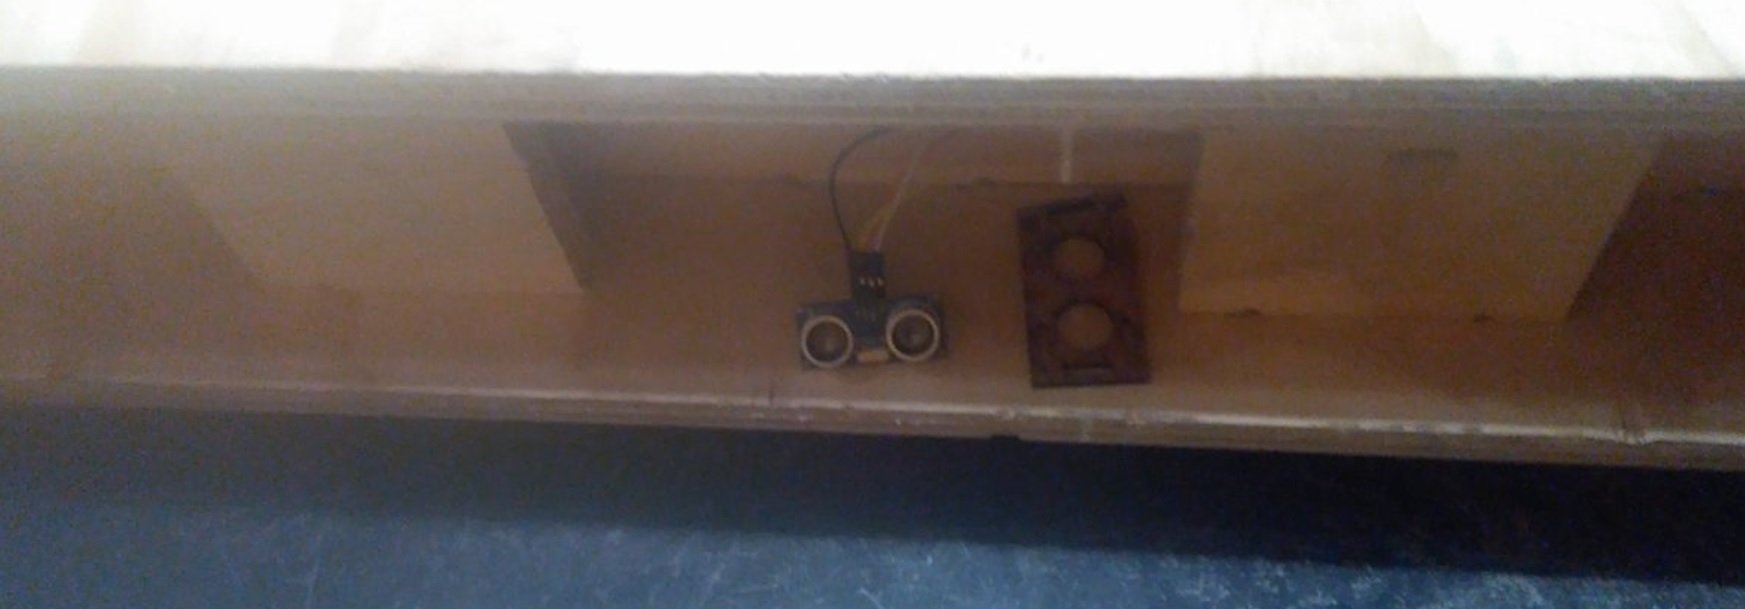
After checking that the kart could hold the expected weight, I started to mill the boards to have my electronic boards needed for the inputs (encoder, Ultrasound), output (Led Lights hole), Fabduino FABKIT 2.0, H Bridge for LEDs .
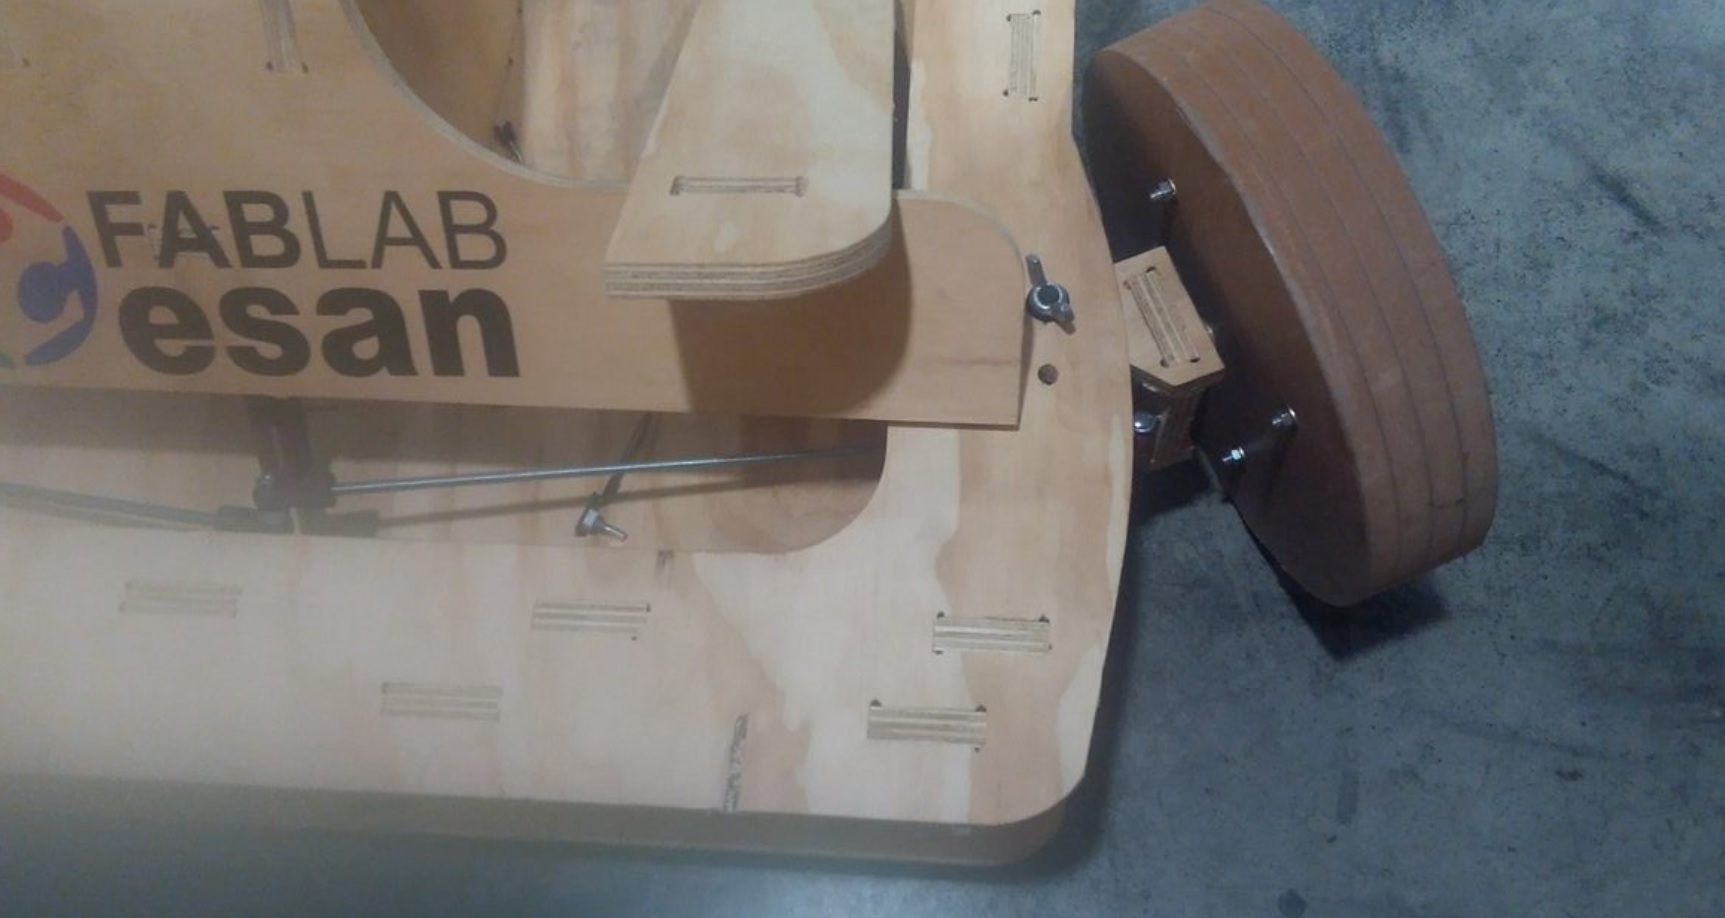
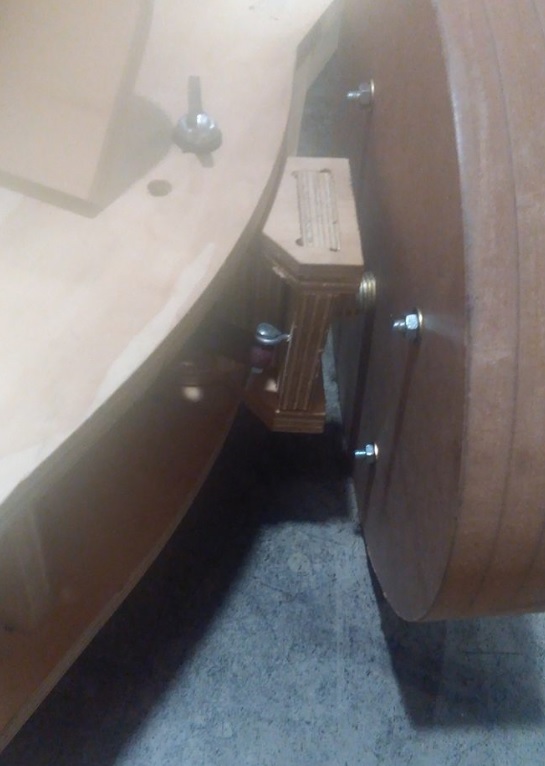
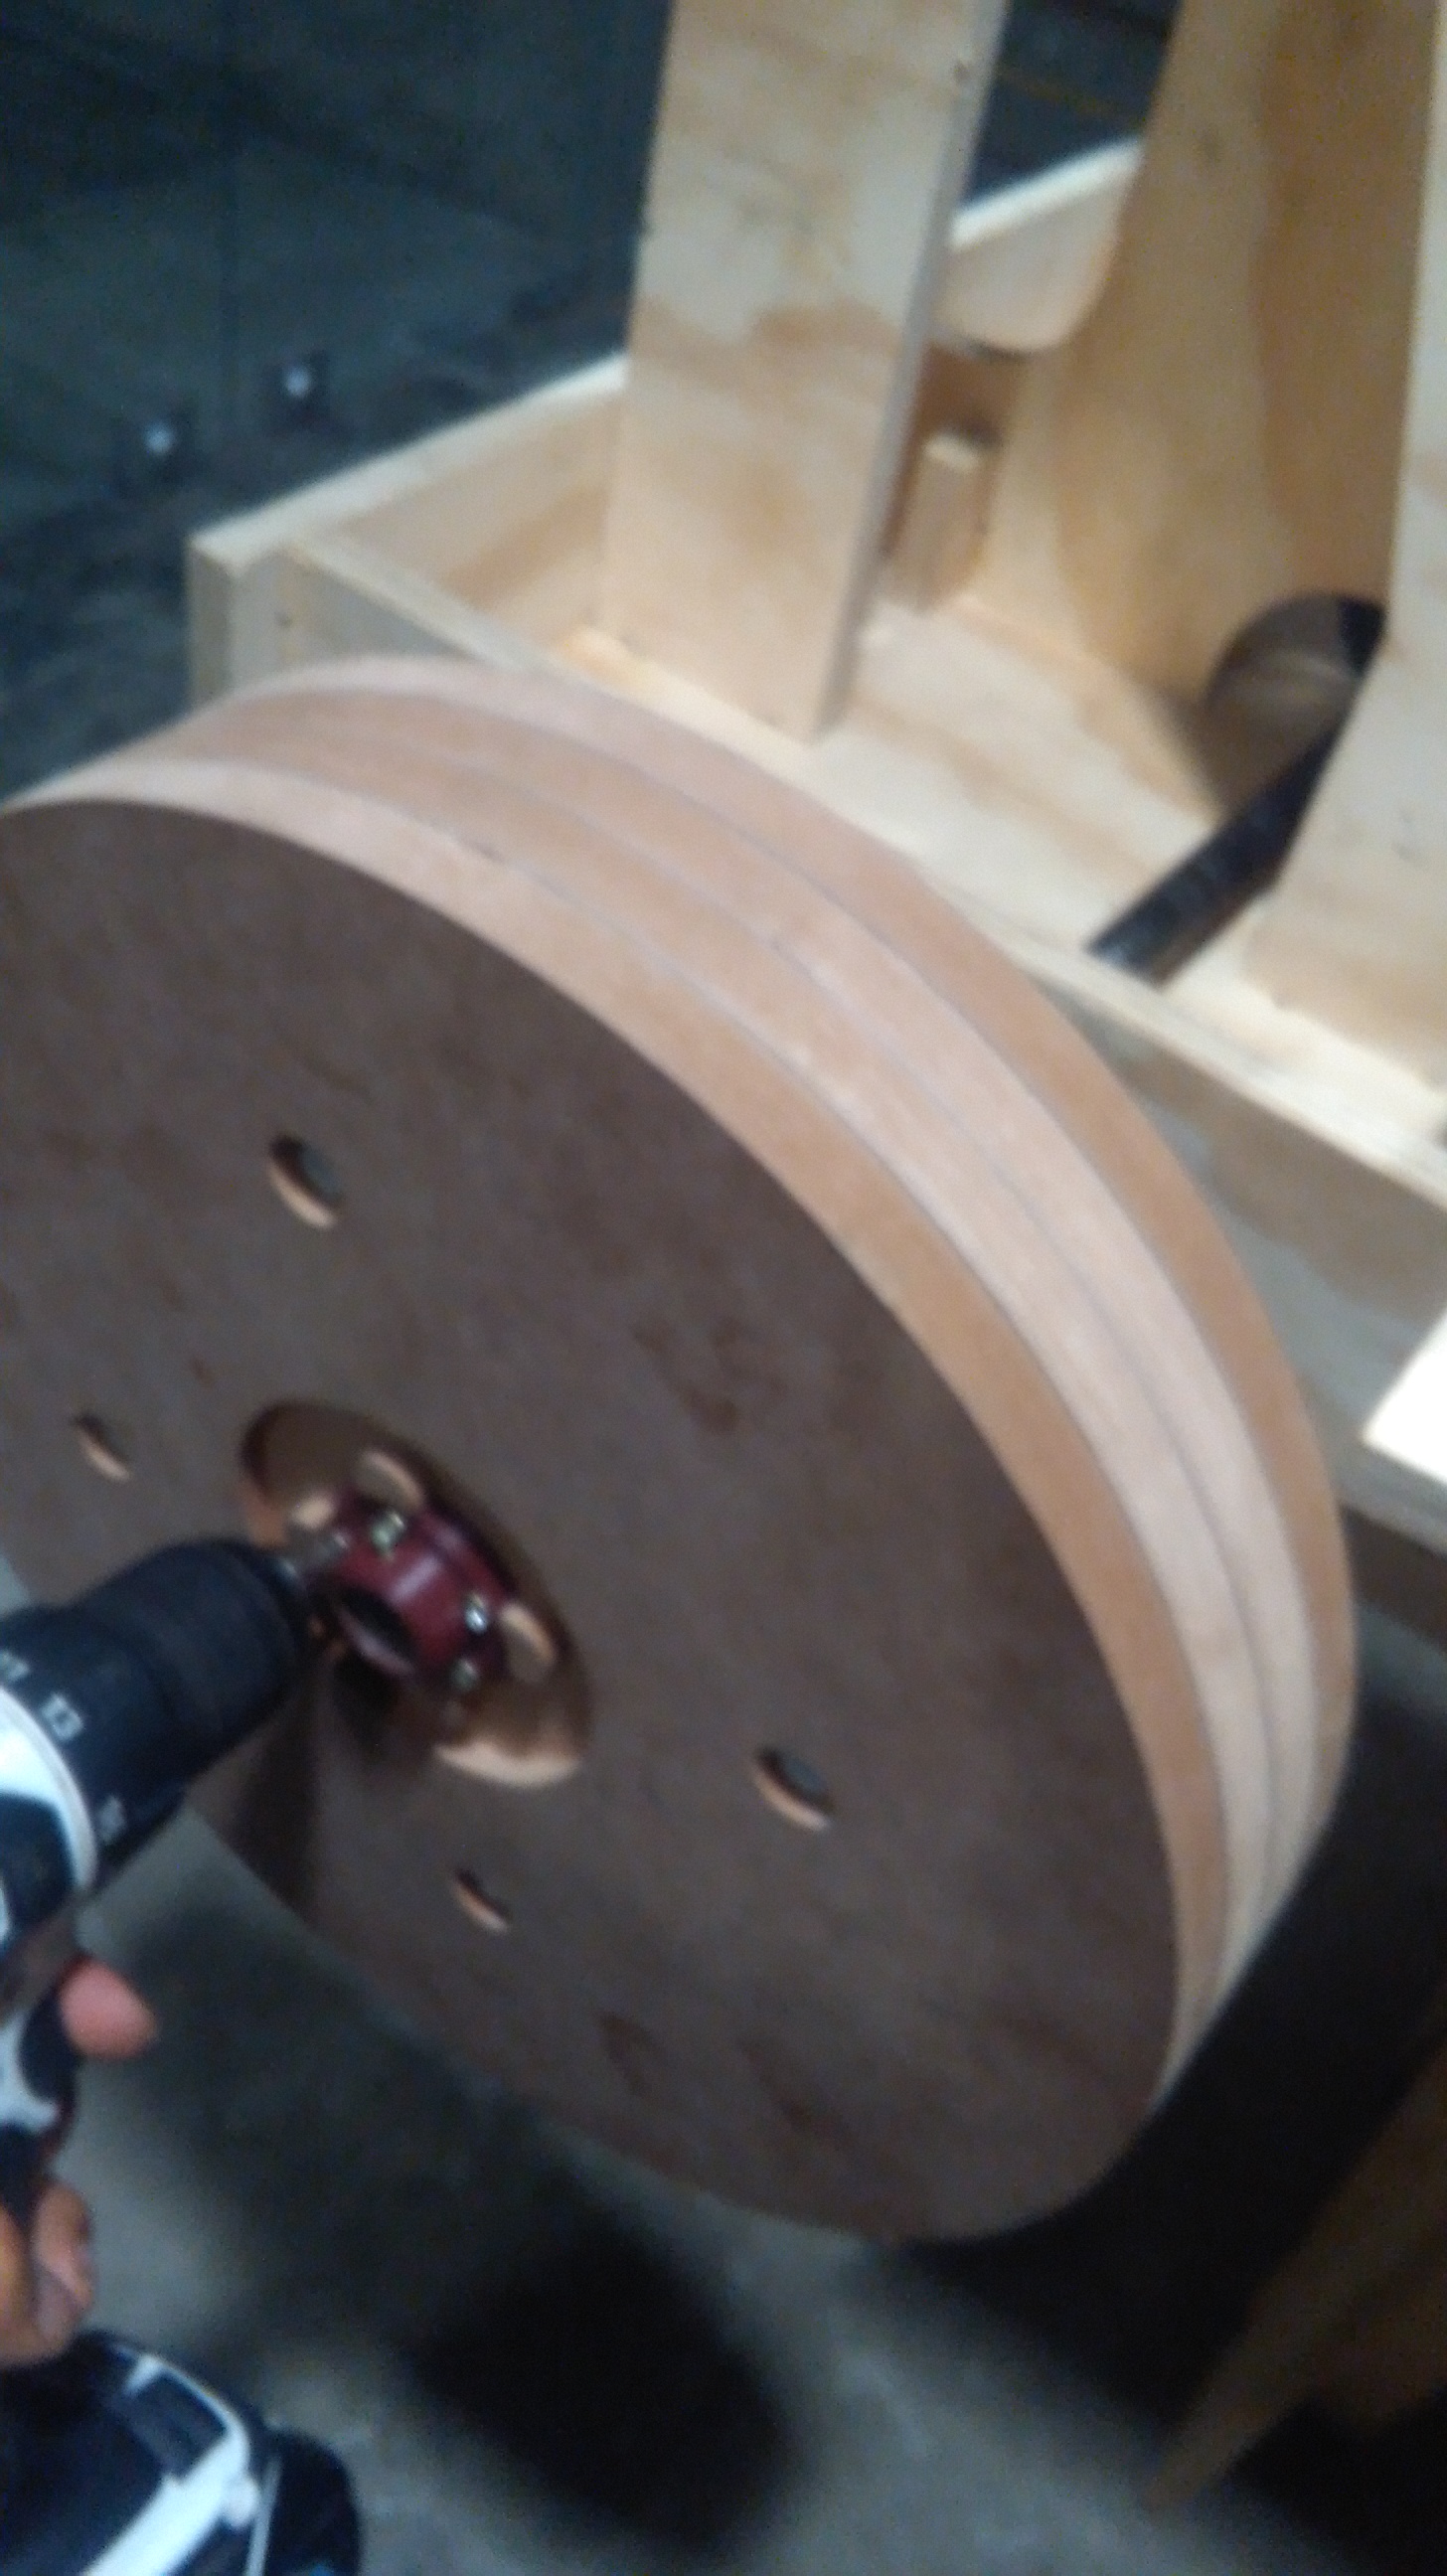
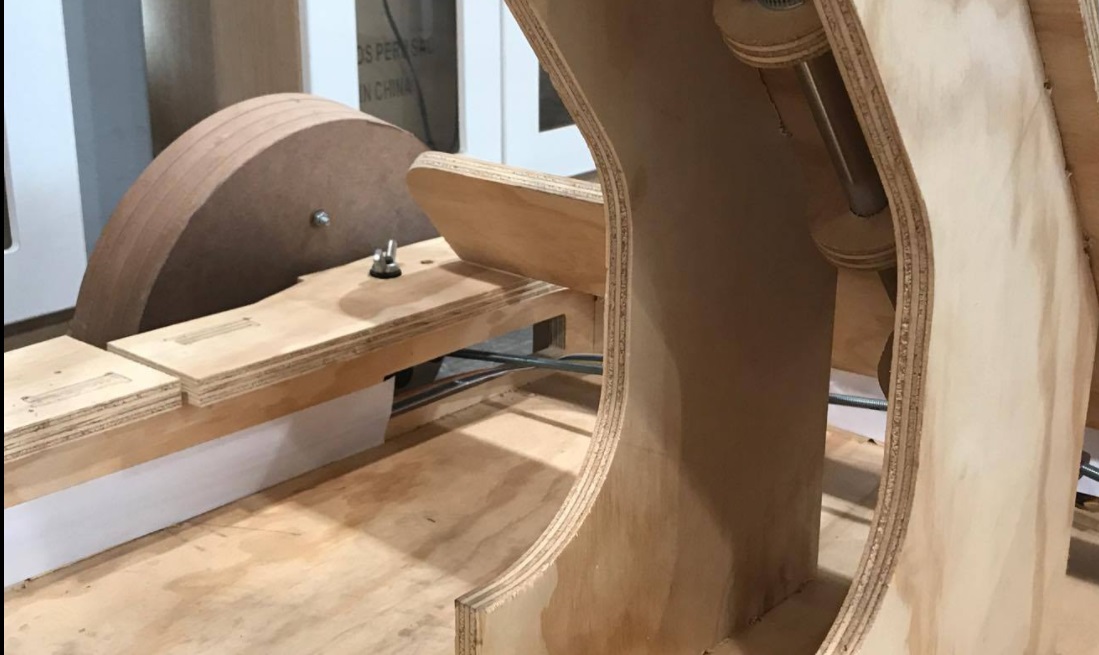
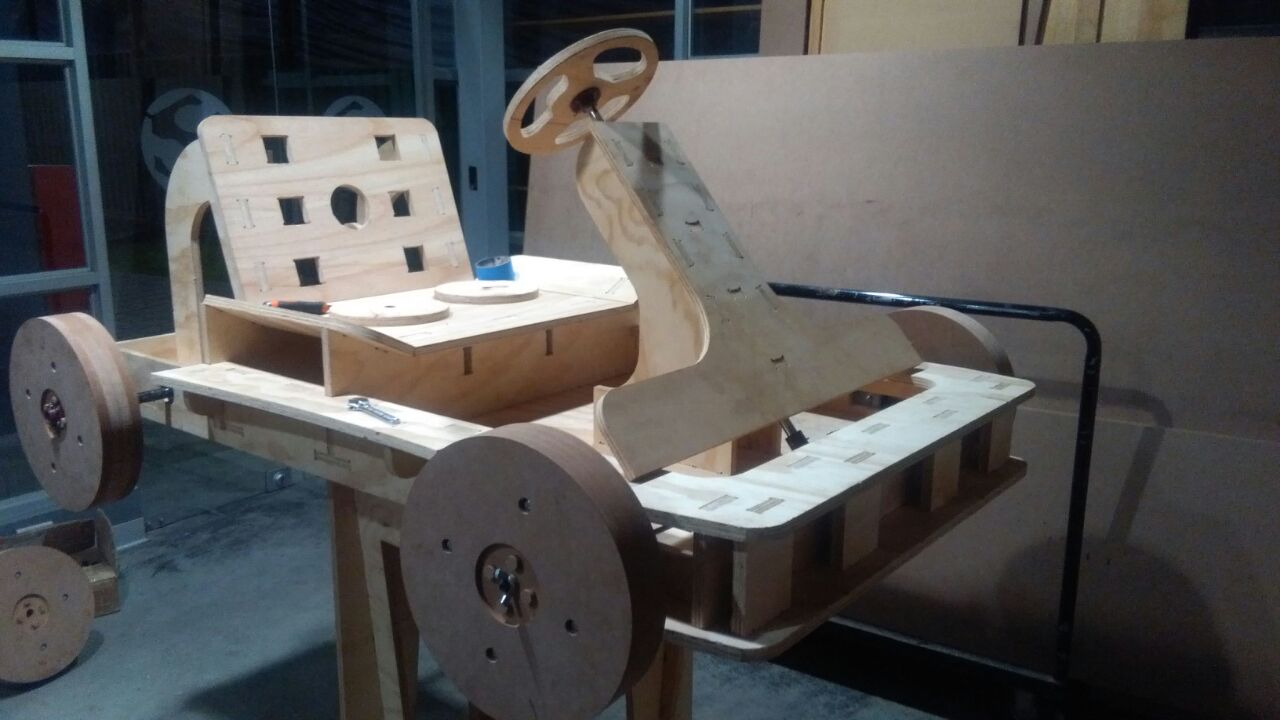
Then assemble the final design wheels, which are made of 18mm MDF, and are fixed with 3D-made PLA coupling.
Originally I had a lot of cables lying around, as any electronic project.
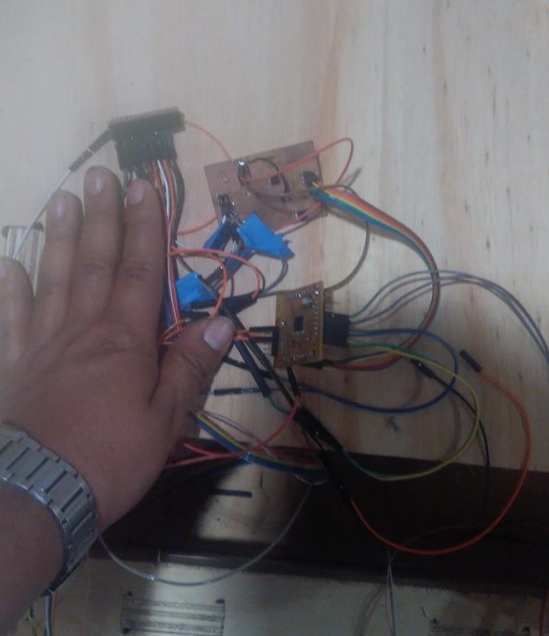
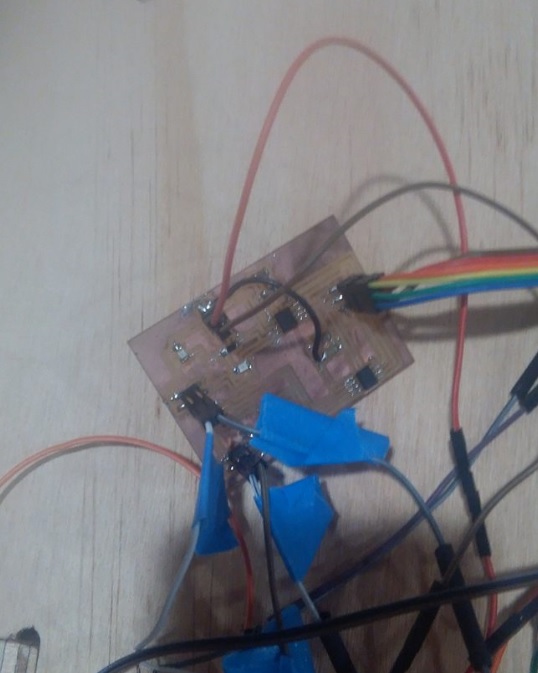
To improve the wiring, I made a simple little MDF box to put all the boards there, so they are not lying around.
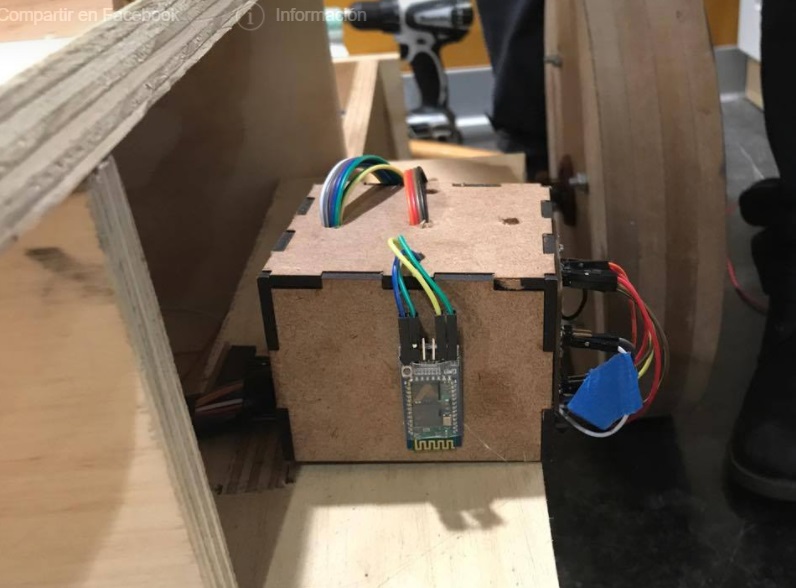
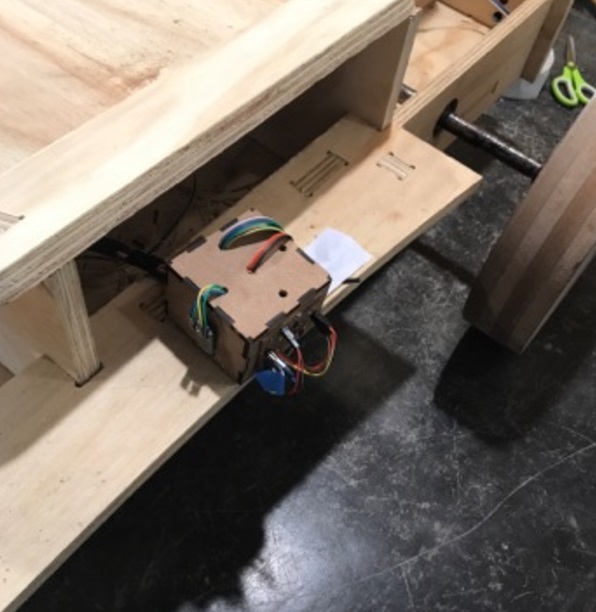
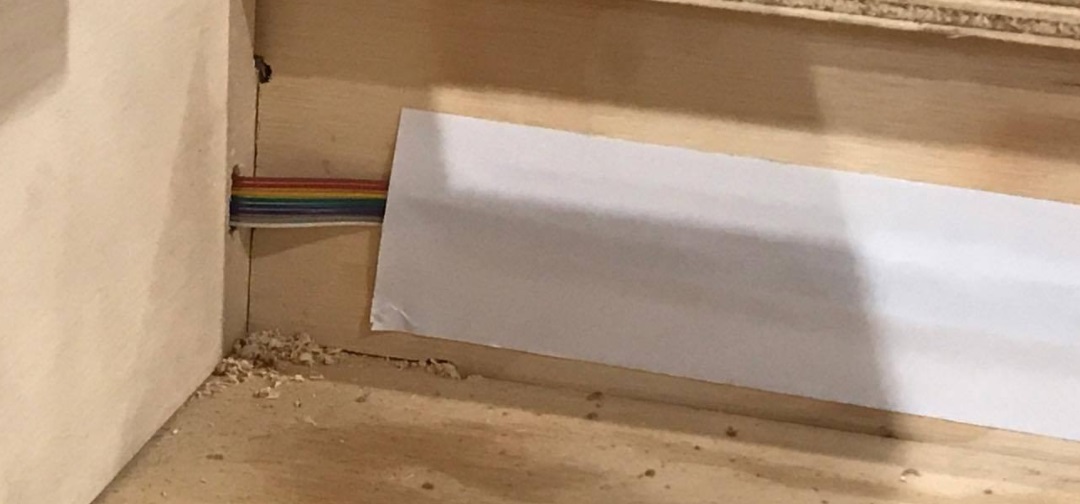
As I had to cover a big distance from the boards to the input/output I used ribbon cable, which has the advantage of being thin and flat. I used tape to hold the cables to the wall.
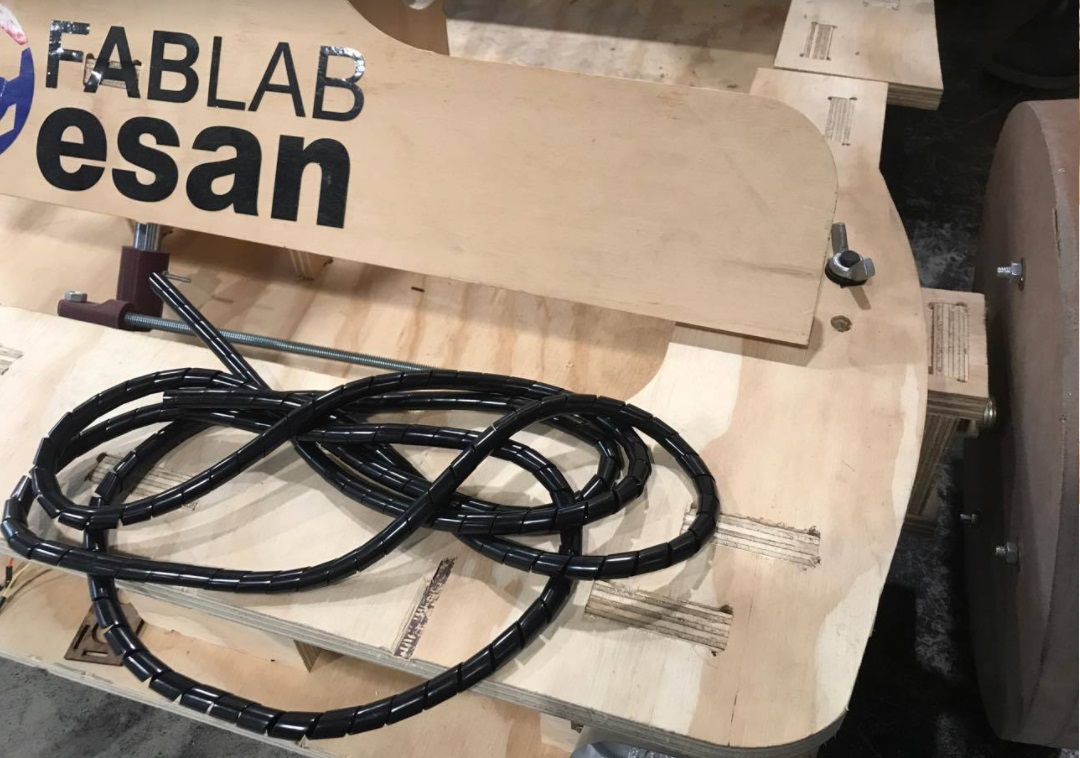
When I make an improved version of my kart, I will use cable hose to organise the cables. I already bought it.
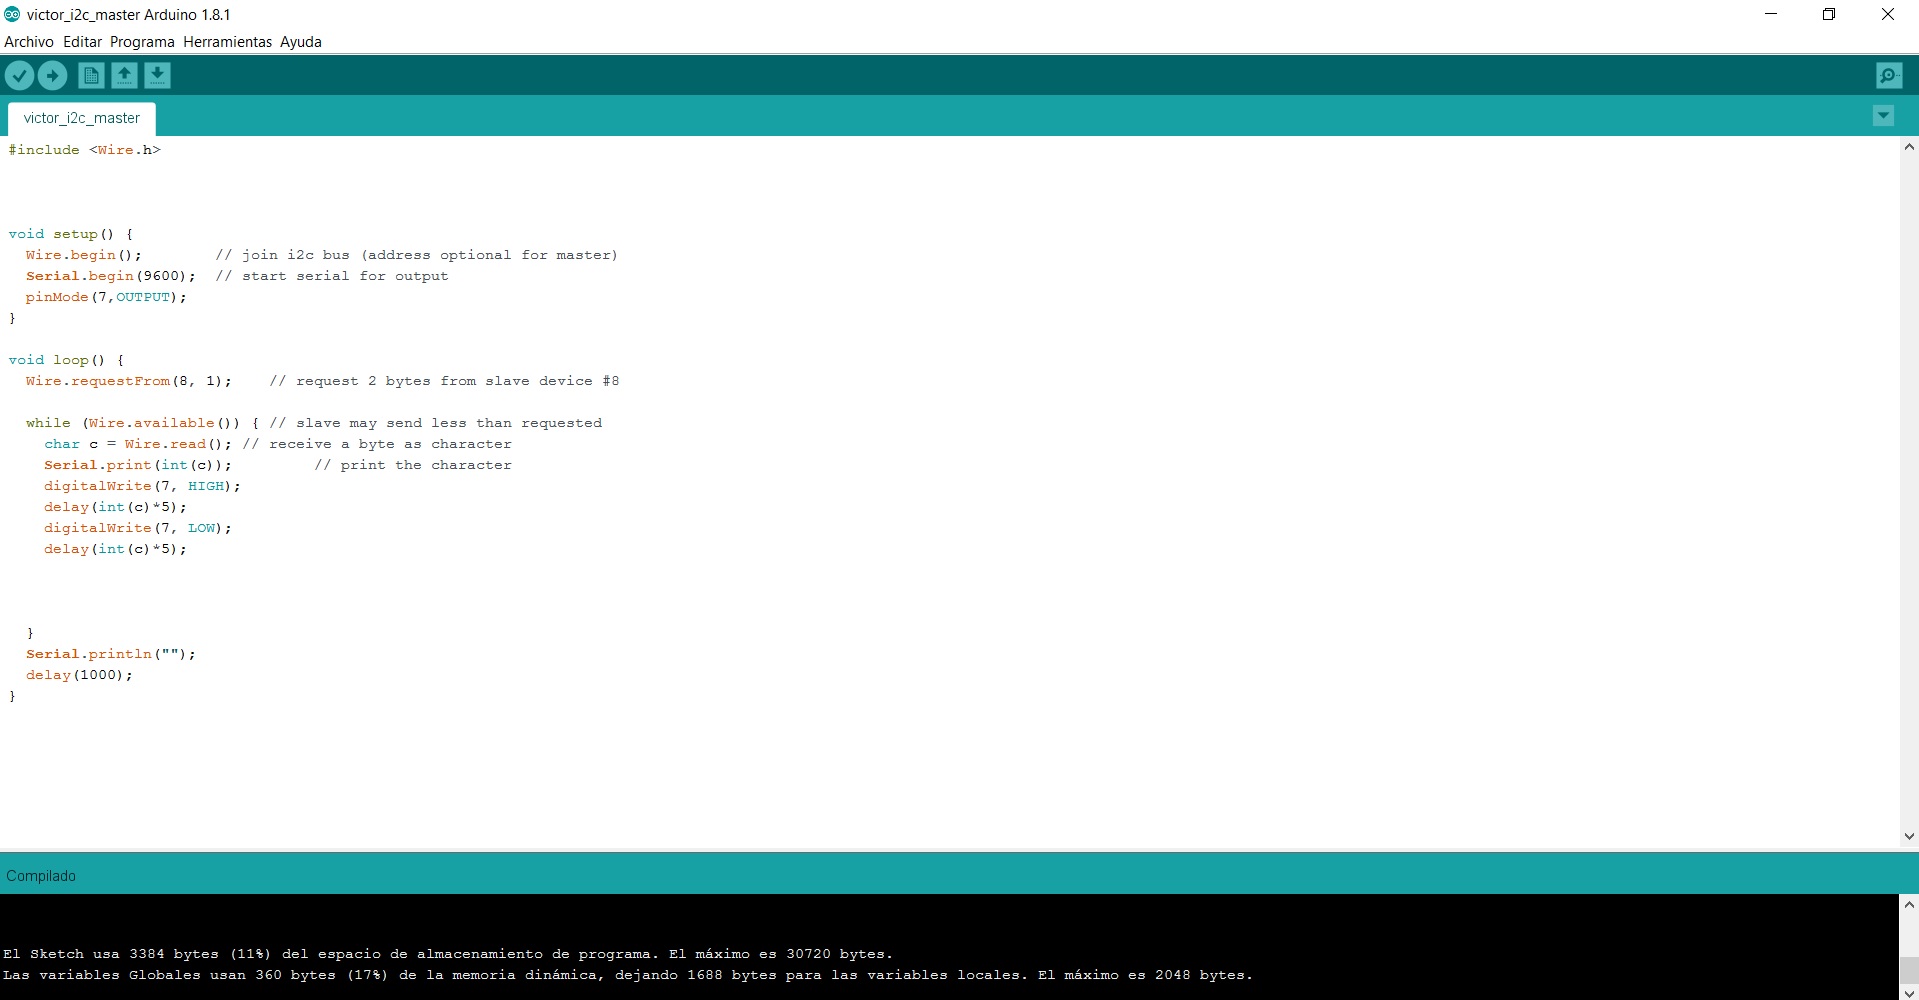
Then the programming in Fabduino, which will work with the bluetooth to be operated from the application on Android. The application or interface
that will be used will be the same manufactured and detailed in Assignment 16, and will enter the code in arduino language.
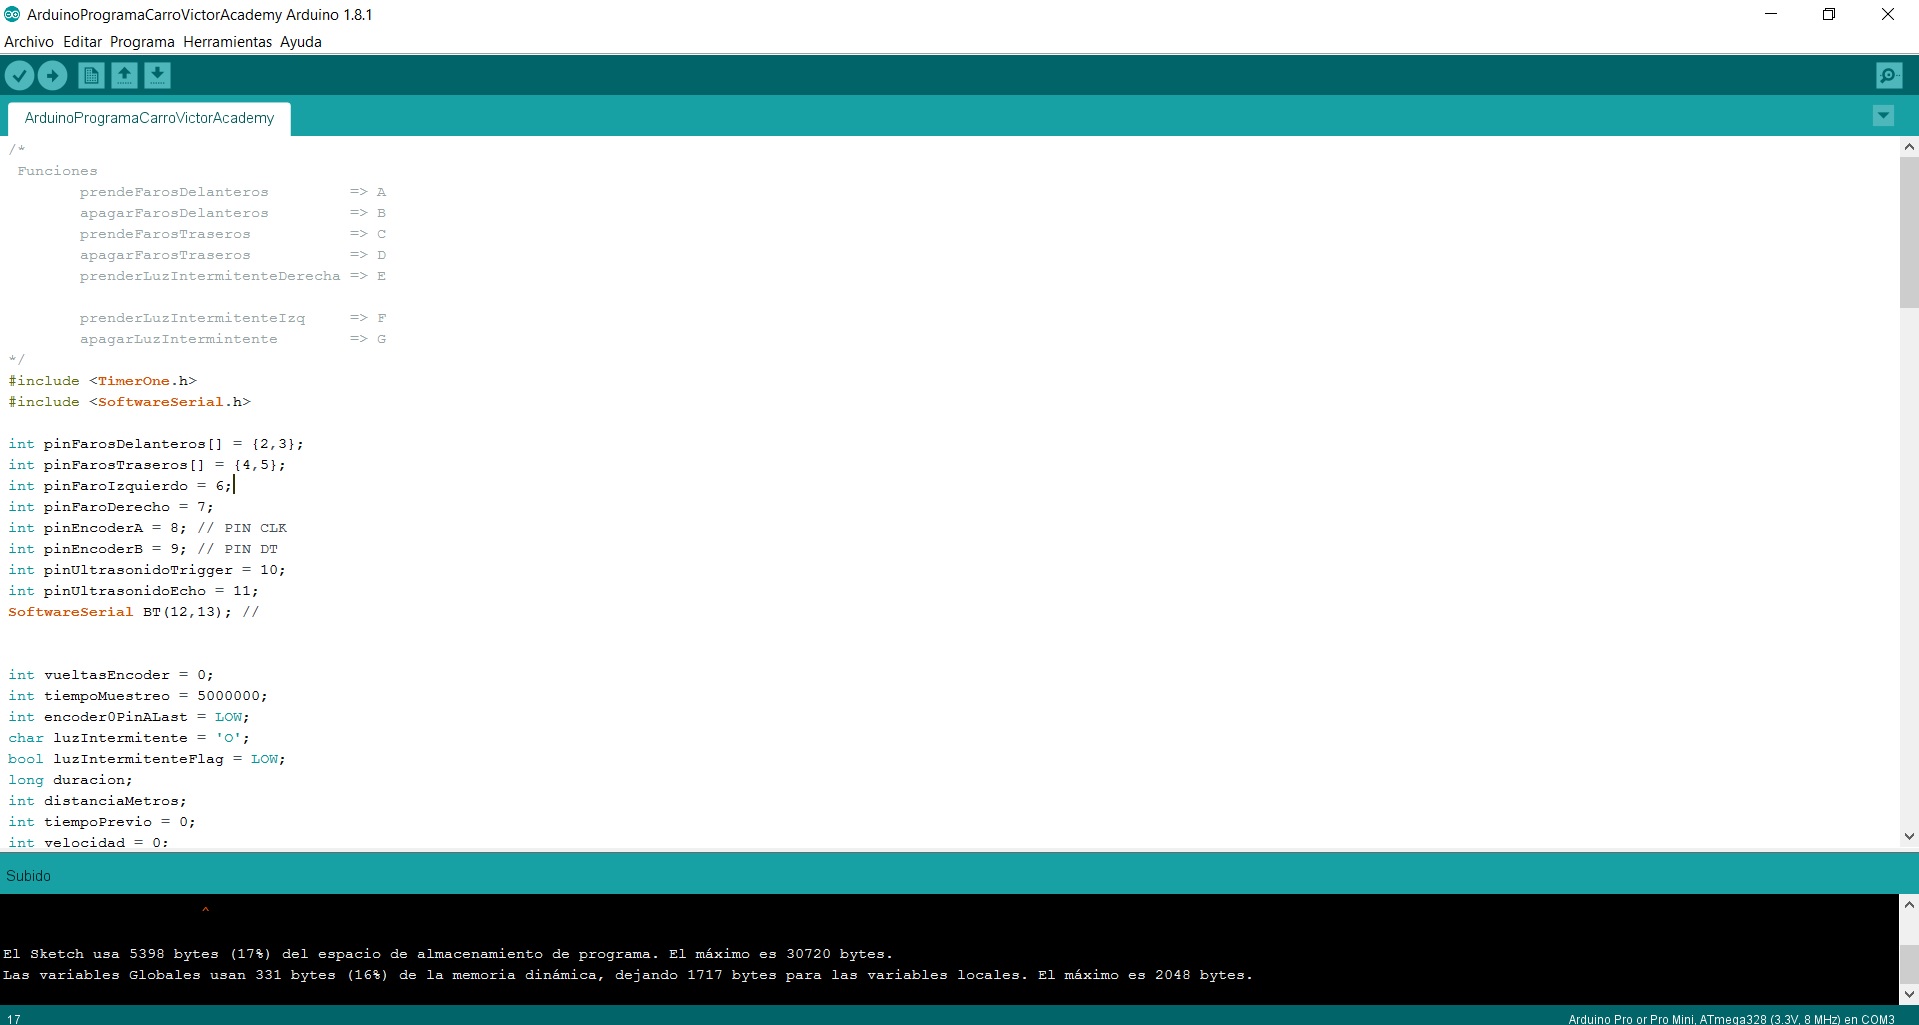
click here for download files arduino
![]()
This test turns on the headlights.
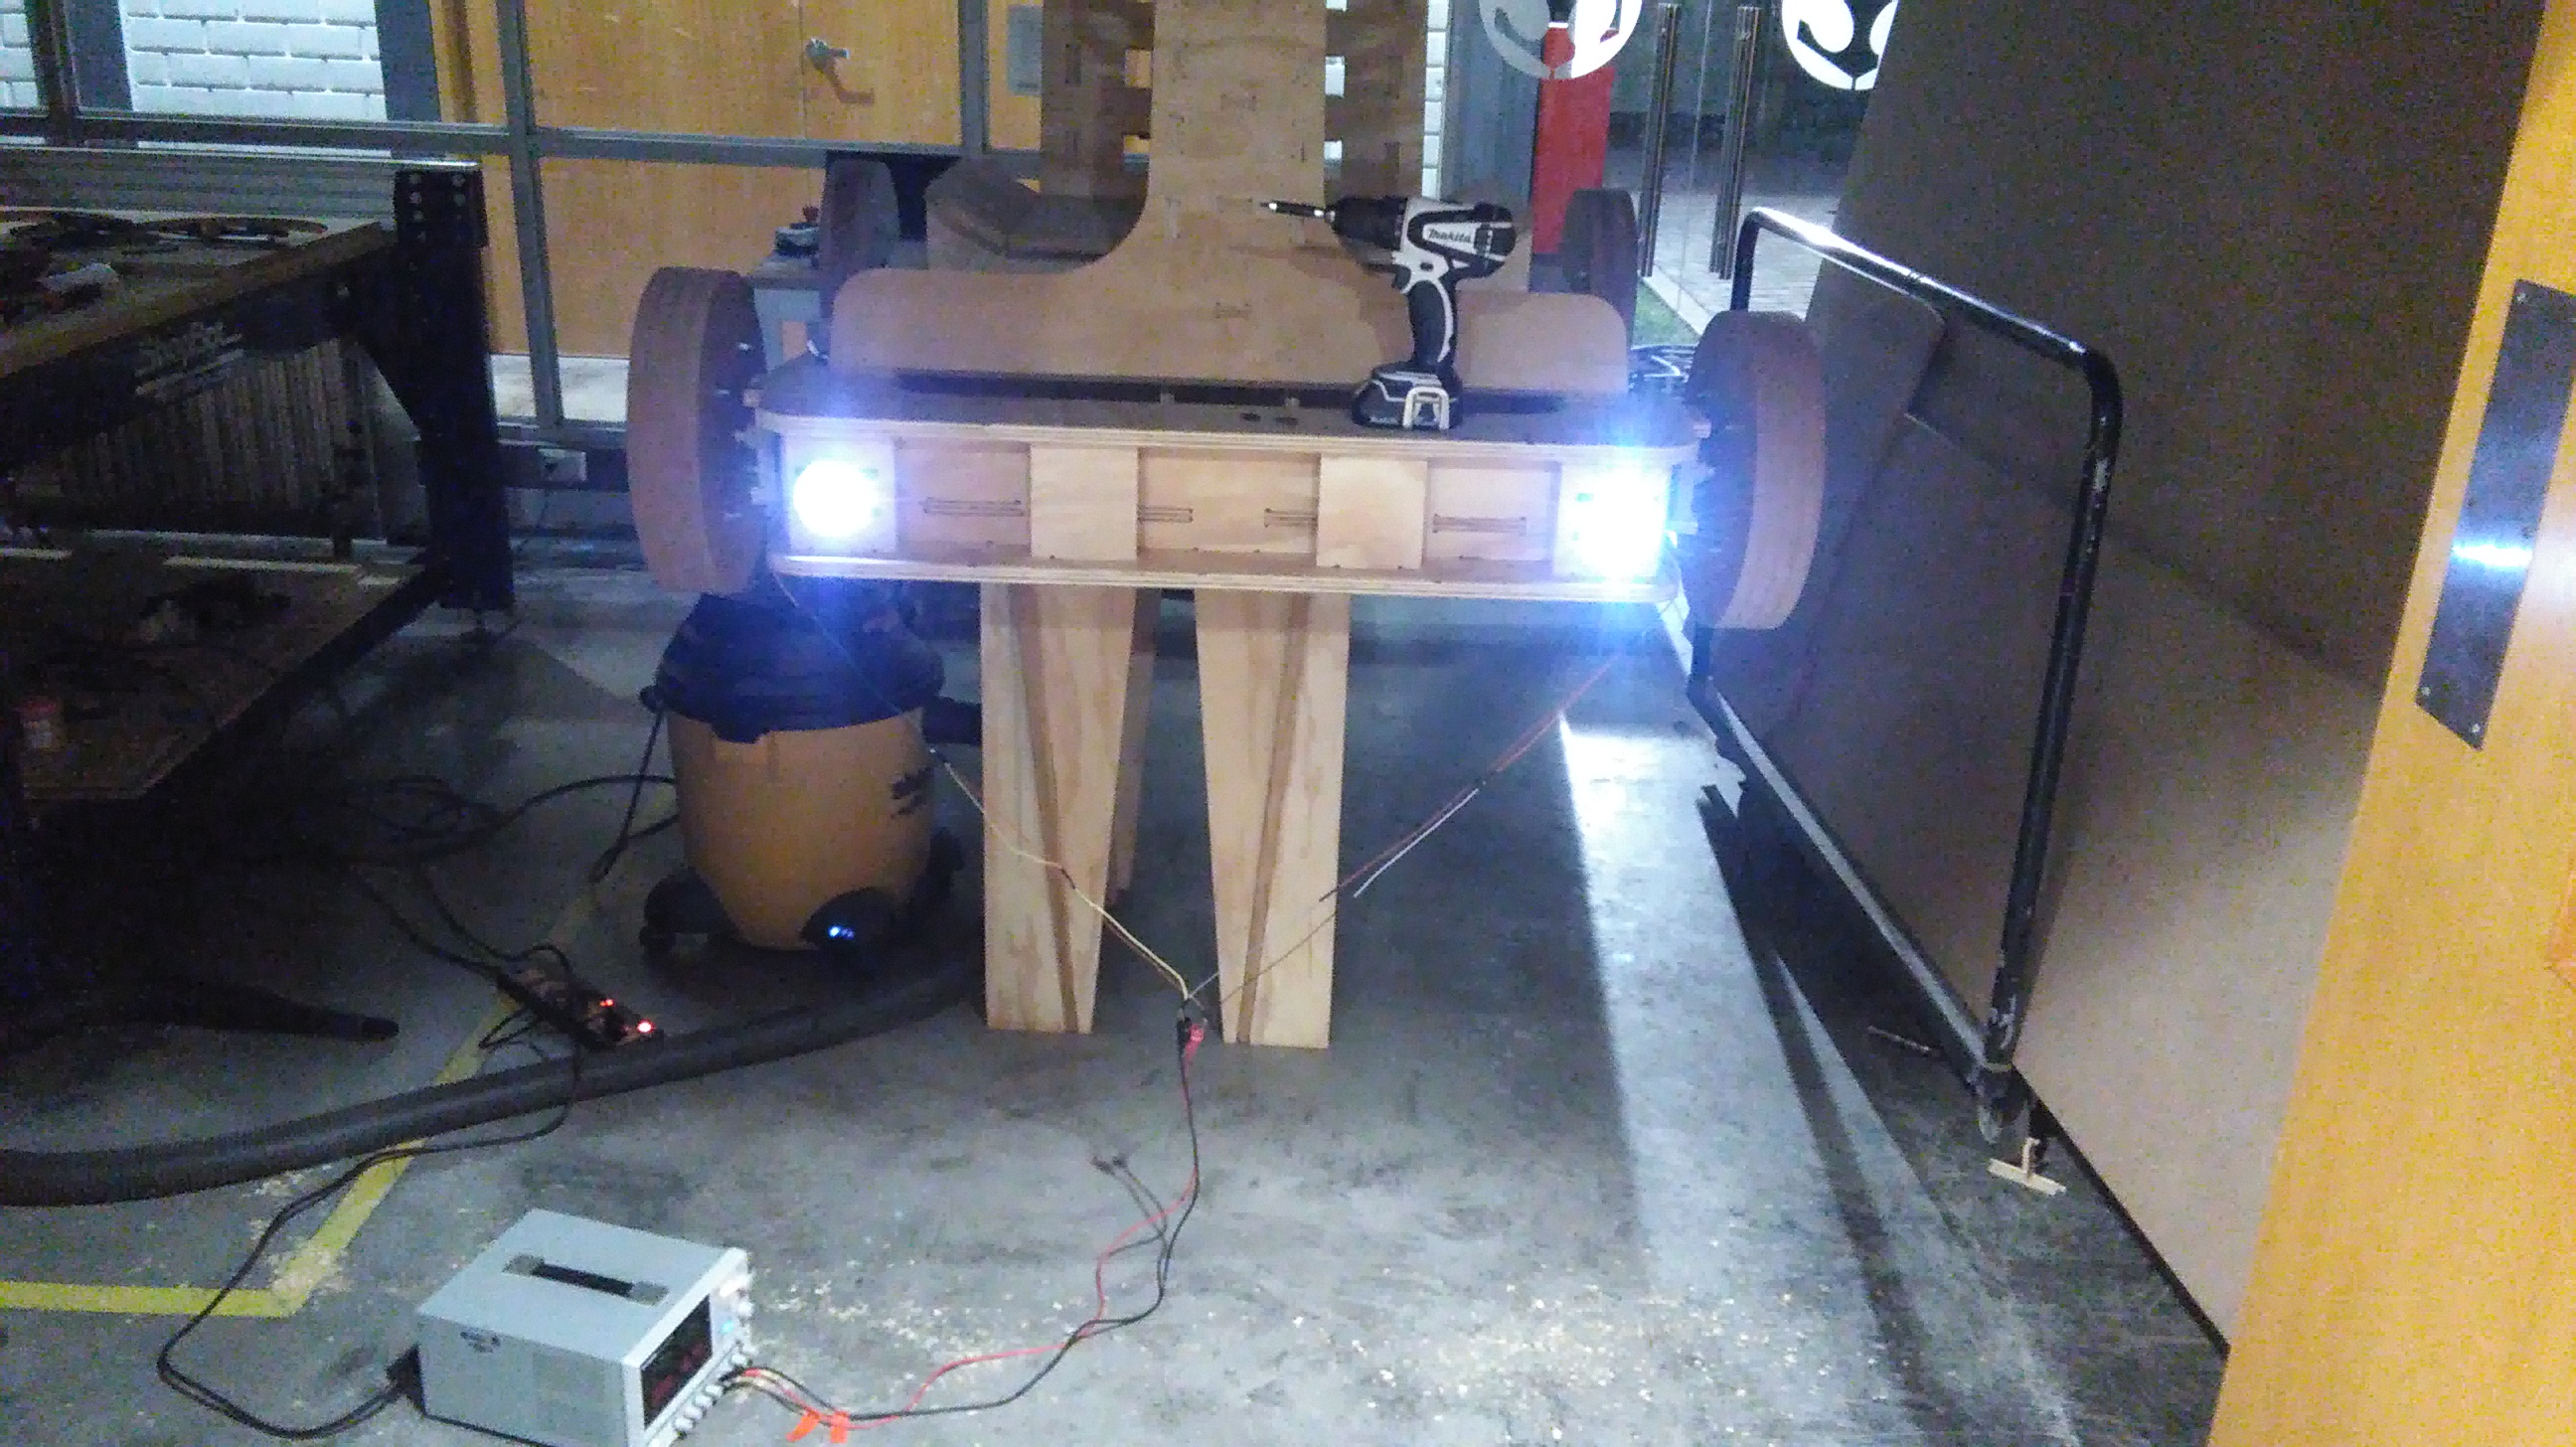
CLICK HERE FOR WATCH VIDEO
![]()
Finally it was possible to turn on the inputs and outputs, as well as the execution of the application via bluetooth with android. It was possible to execute the encoder and measure with the ultrasound. It was not possible to move the vehicle for a budget issue, since it has all the mechanical structure but it requires a motor of greater torque which exceeded my budget.
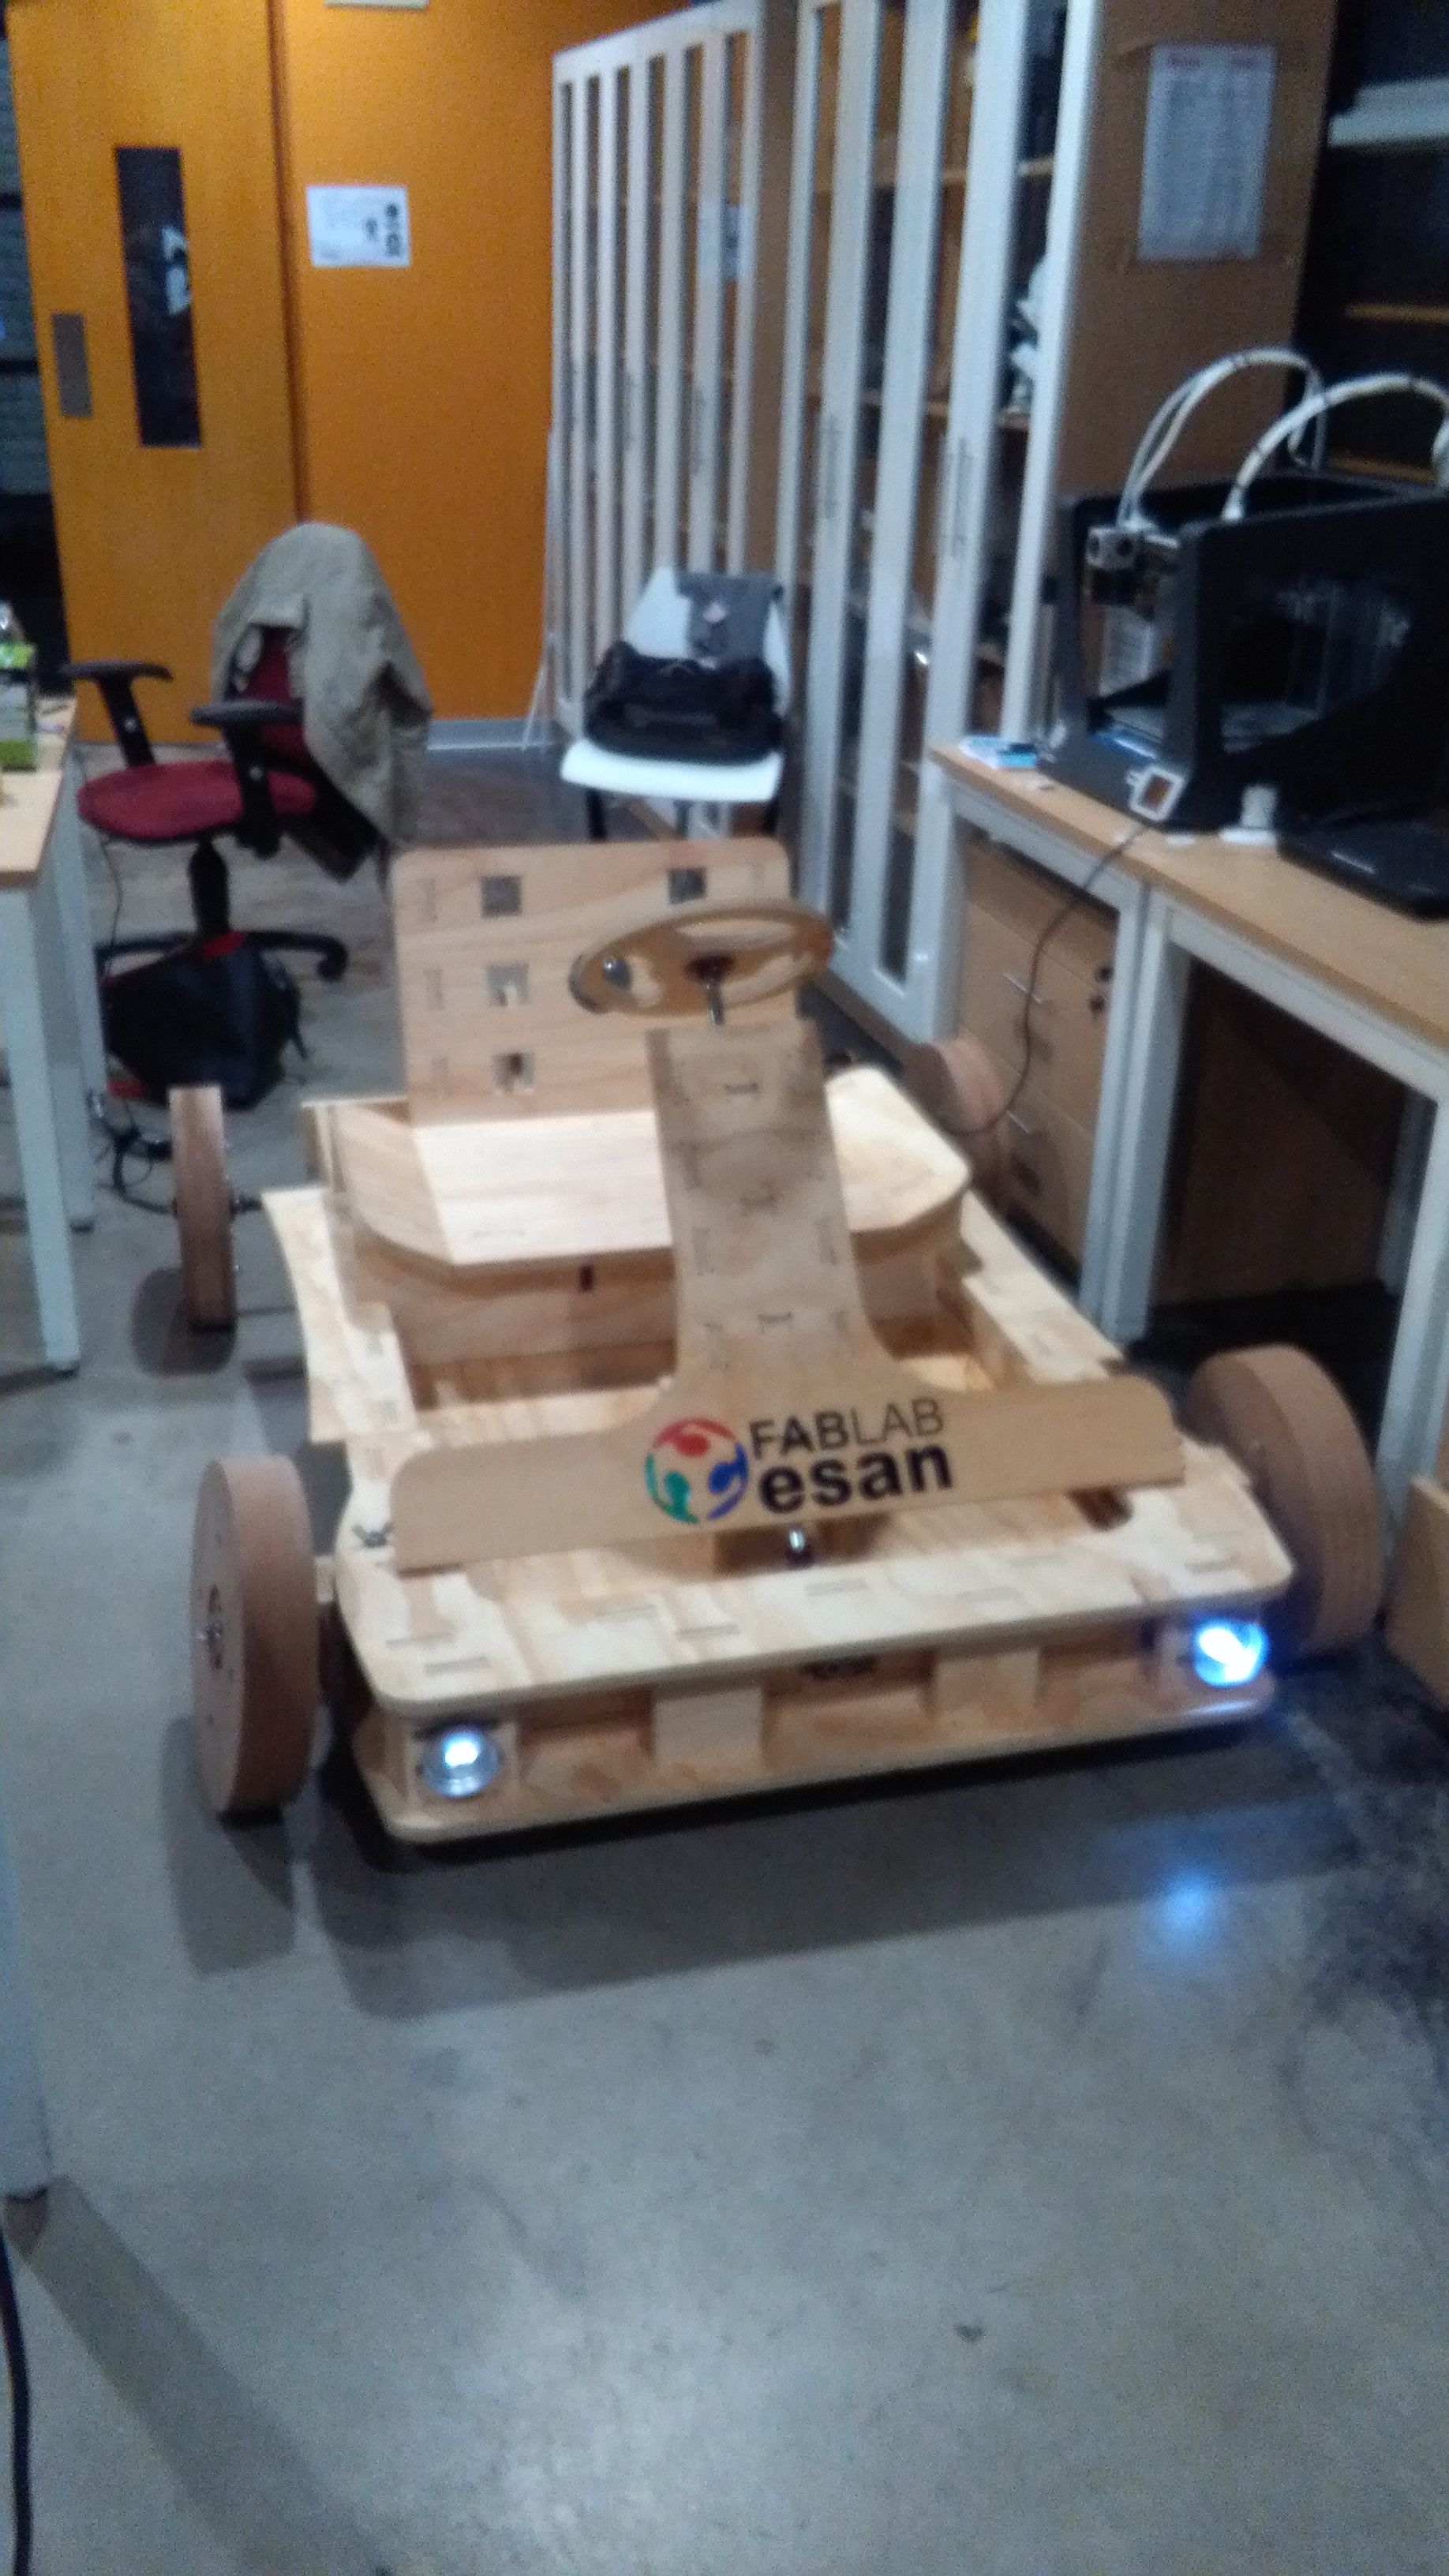
Finally this is the FAB KART !!
you can download the files
![]()