week 14
Composites
ASSIGNMENTS:
- Reading the material safety data sheet and the technical data sheet of the resin used.
-
Designing and fabricating a 3d Mold of about 1sqft.
- Producing a fiber composite part in it.
making the design
weekly work
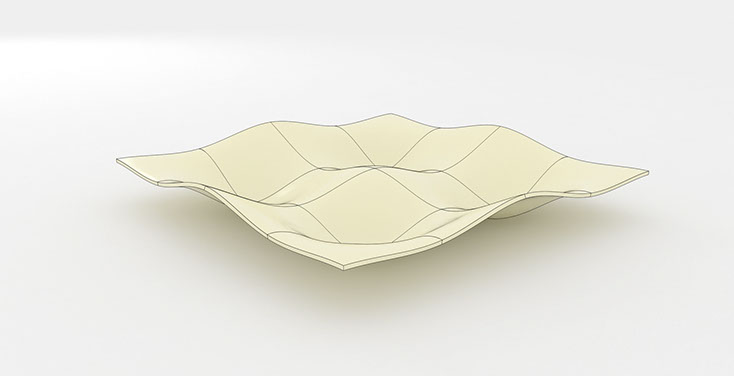
For this assignment, I have designed a table bowl of 1 foot square to keep all the small things like keys, coins and small components that lie on my working desk. The design looks like following:
final project
modeling in rhino
For the surface model, I used T-Splines with Rhinoceros 5.12. It was initially a surface and further tweaked with control points.
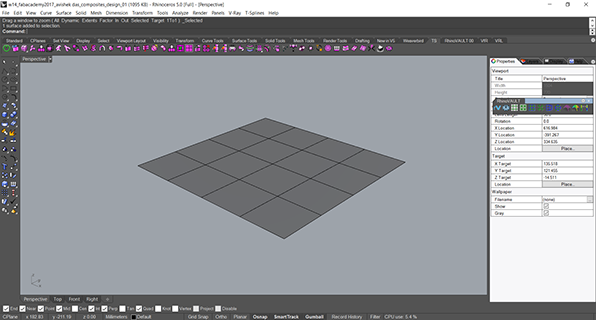
Base Surface
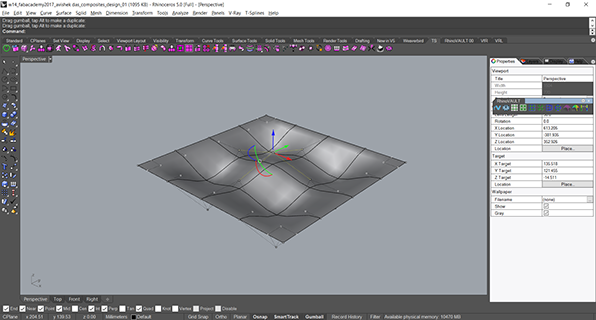
4 Depression with the control point | Straight Edges
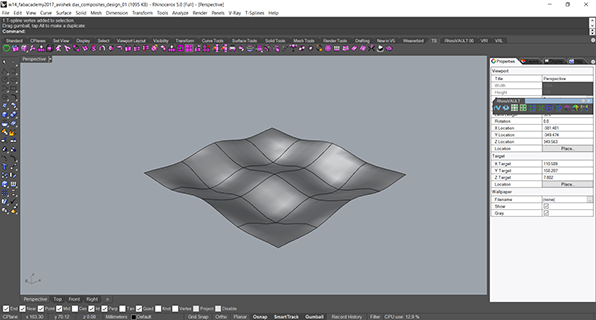
4 Depression with the control point | Modified curved Edges
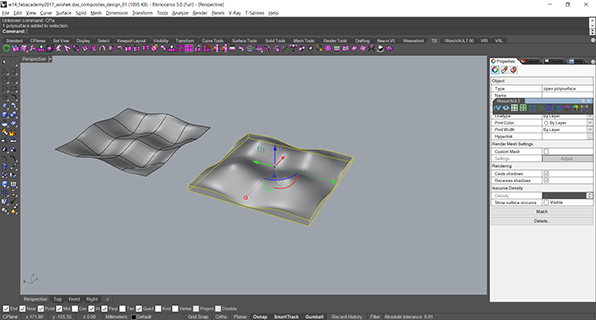
Flipping over the surface and making it solid for ease of milling.
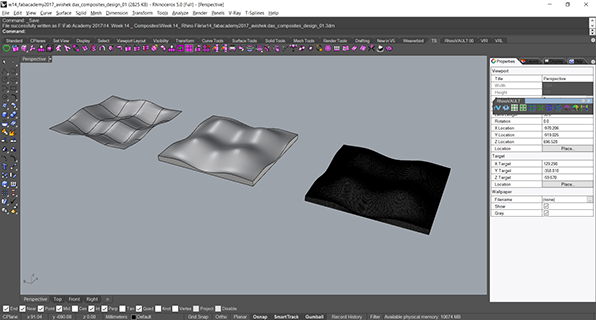
From Surface to Solid Polysurface to Machinable watertight mesh. The mesh was exported in STL format.
machining preparation
For the machining process I have made the toolpath in Partworks 3D. Setup is as follows:
Roughing Toolpath: 1/4 Inch Straight Cut 2 Flute . Feed and Plunge 4. 5500 RPM
Finishing Toolpath: 1/4 Inch Ballnose 2 Flute. Feed and Plunge 4. 12000 RPM
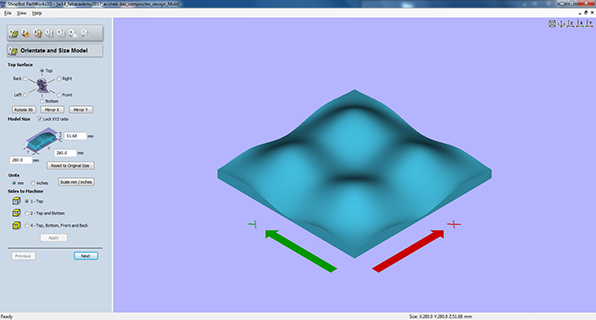
Setting up the Mesh.
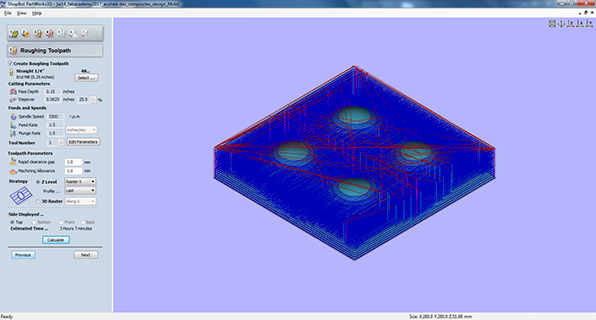
Roughing Toolpath Preview
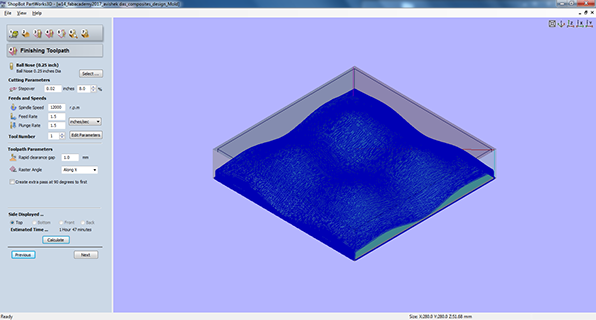
Finishing Toolpath Preview
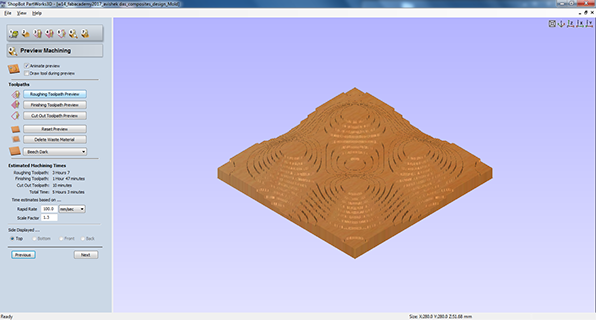
Roughing Toolpath Simulation
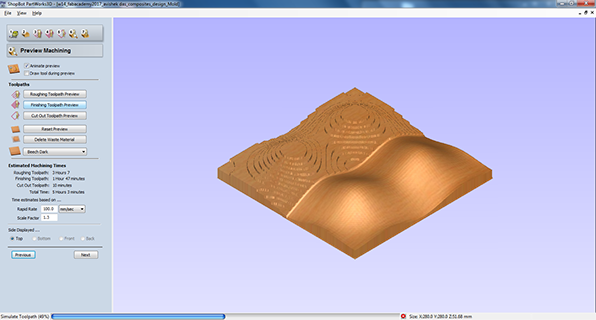
Finishing Toolpath Simulation
machining foam
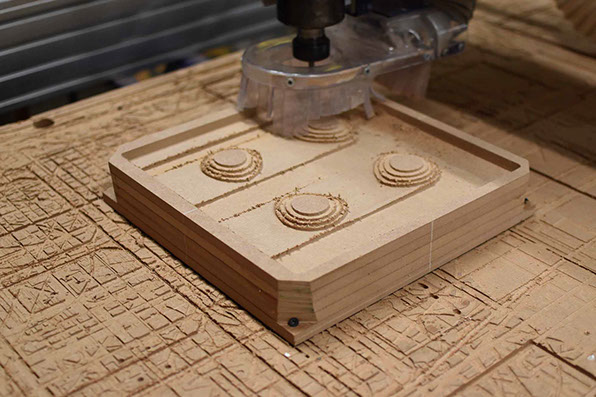
For this assignment I had initially planned to mill it one MDF then the speed of the milling was too slow and the mold was needed only to keep the burlap in place with the resin. So I chose PU foam to mill the mold.
Rejected MDF Milling.
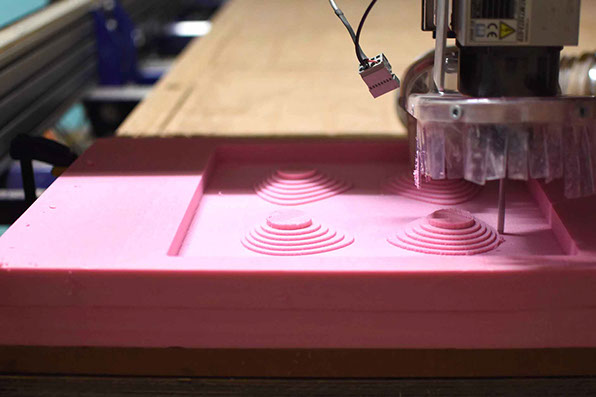
Milling PU Foam.

Quality of milling at Feed rate 4

Starting of Finishing Toolpath
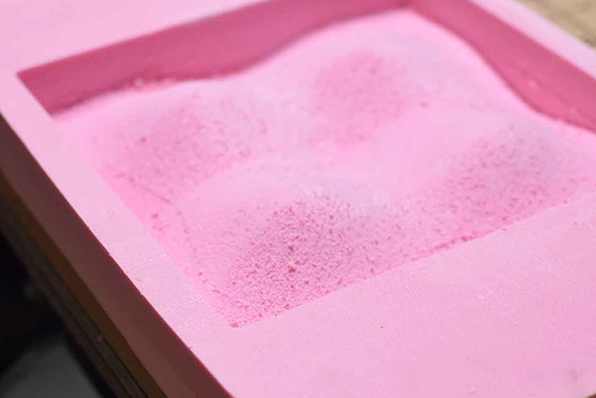
Complete Milling
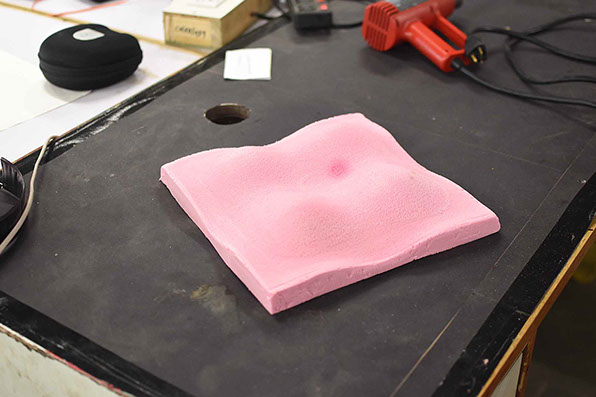
Finished and Cut mold. This was placed a little under hot air gun. So all the small foam particles curdled and it was scraped off with a piece of burlap to make it comparatively smooth.
making composite
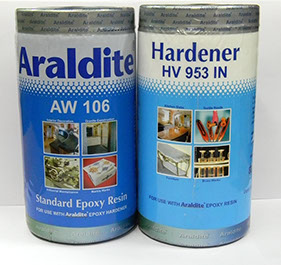
For this assignment I chose to use Araldrite AW-106 Resin and HV 953 hardener. First I had read the datasheet I have found for the same resin. It can be downloaded from here.
The following things I have learnt from the data sheet that might be helpful in the process:
- The resin cures in temperature range of 20 Deg C to 180 Deg C.
- at 20-25 C Handling strength is achieved at 7 hours and cured at 12 hours.
- Visually the Resin will be creamy viscous liquid and the Hardener will be Amber looking liquid.
- The surfaces need to be cleaned from dust to be applied before.
- Thickness of each layer should be .05mm to.1mm between the layers.

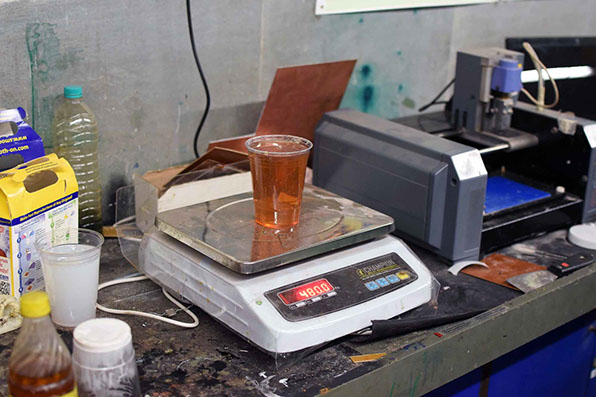
Me and Chandni decided to do this experiment together to we took large amount of resin and hardener. We took it 1:1 by weight as prescribed.
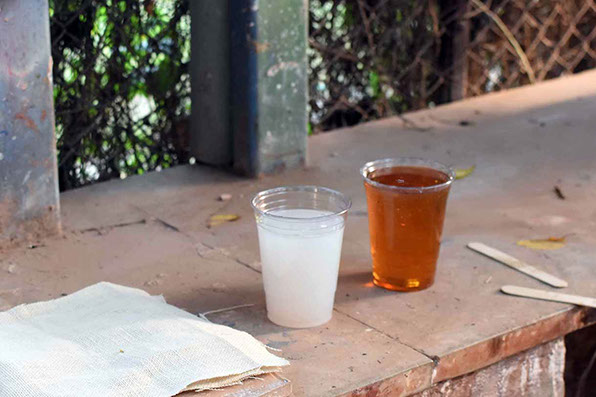
We took both mix an got outside the lab as it had a not so pleasant smell and mixed them.
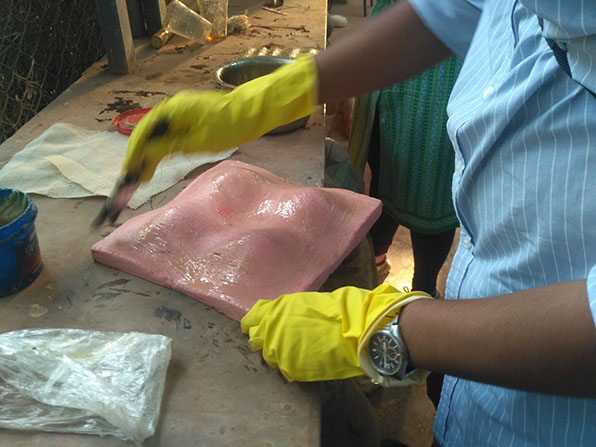
I took machine grease and coated my mold with it. Then first layer of resin was applied.
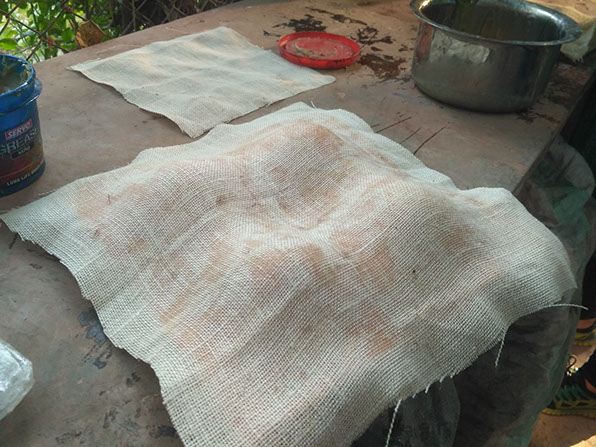
Then layed the first layer of burlap and coated with resin again.
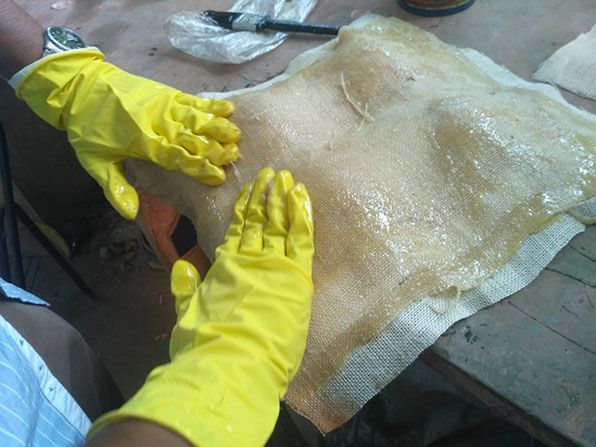
Then molded the shape into place.
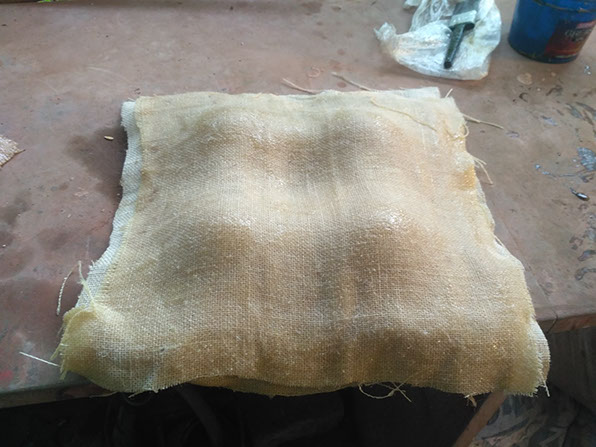
With the fourth layer of Burlap.
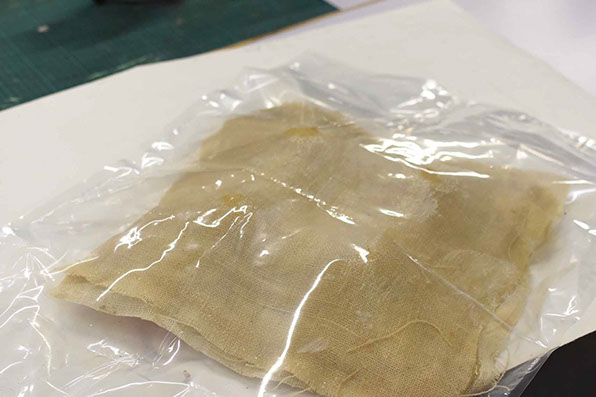
Then I took the whole assembly and put it into a vaccum bag.
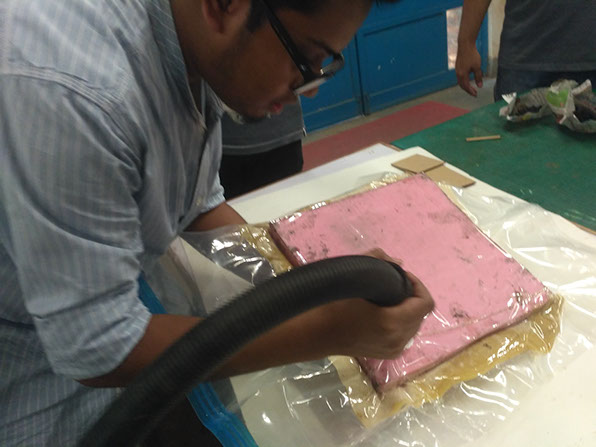
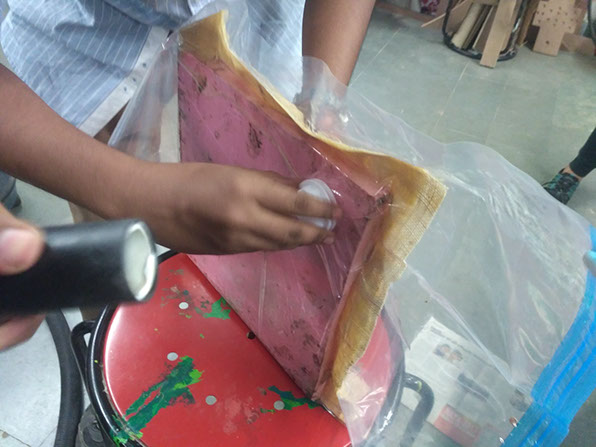
Using a vacuum cleaner I sealed the bag properly without any traces of air possible.
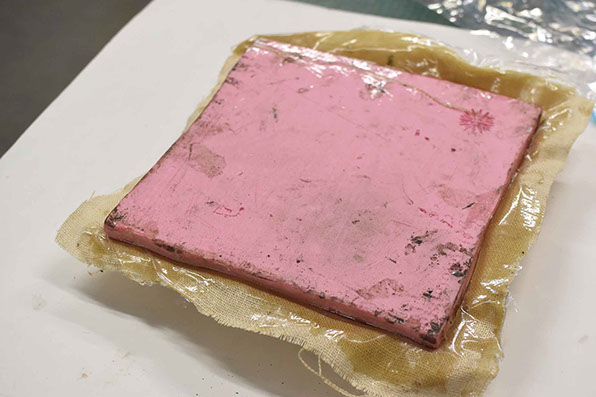
After about 16 hours took the mold out of the bag and the foam was easily removed with a chisel.
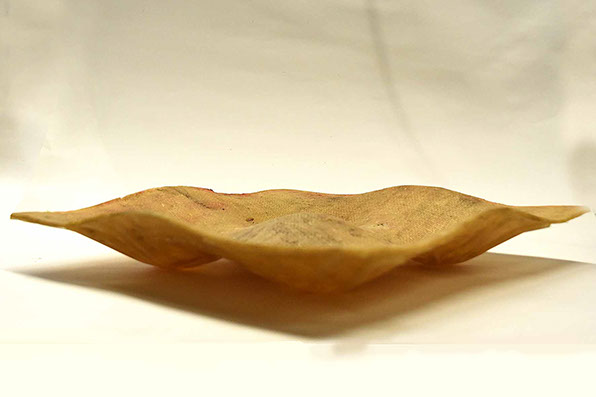
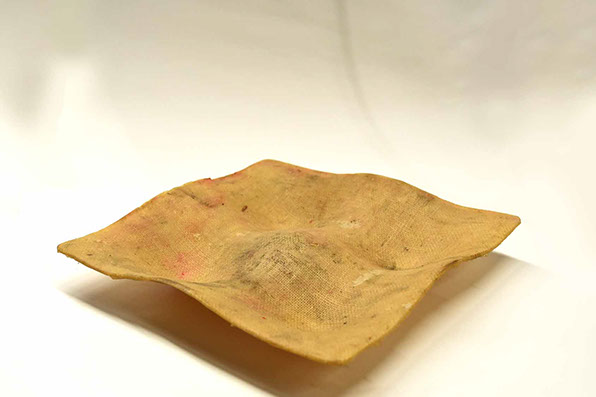
Post that sides were cut by hand tools and finished to give the desired shape.
final product
The files for this week can be found here.
go to WEEK 15 >>
Avishek Das | 2017 | FabLab CEPT