Week 12
Molding and Casting

The twelfth lecture on Wednesday April 19th was about Molding and Casting: types, materials, additives, processing, safety, machining, software. Assignment given by Neil for this twelfth week was:
- Design a 3D mold
- Machine the 3D mold previusly designed
- Use the 3D mold previusly machined to cast parts
As far as I could tell, "Molding and Casting" is litterally a "world apart" and maybe a whole course could be taught about it; is now not difficult to understand how this could become a job for well paid professionals in a lot of different application fields (e.g. pastry-making industry, props-making and special effects in movie industry).
Designing a 3D mold
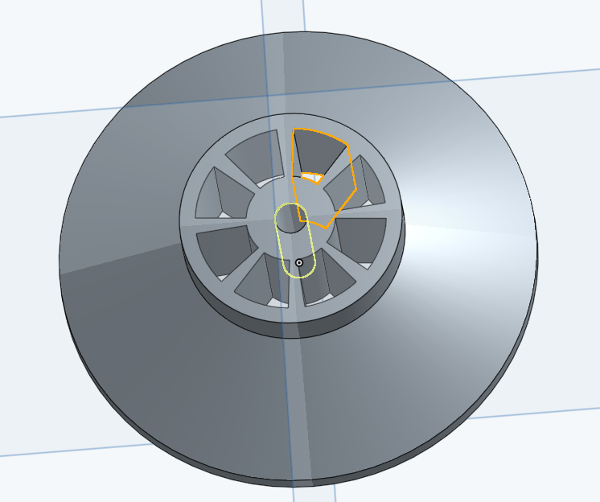
As explained by Neil during Molding and Casting lecture, time has come to design a 3D mold: a little object to be fully milled using all of three axis of the milling machine; milling machine can be far more precise of 3D printing: the casting parts can be smooth, better finished and at the end more likely to reach a market; in such situations, mold is maybe always the best option as far as the 3D mold can be technically milled (this meaning in fact, super-semplifying: no nested models, and no undercuts; there are tricks to do molds for such parts, as reducing it in multiple parts, but that's at a pro level). So I decided to make the mold for a pulley as a part of an hypothetical Smile Dispenser Leonardo's-like machine that I imagined for artist Olafur Eliasson and his very special Fab Academy 2017 "Smiling Works" assignment.
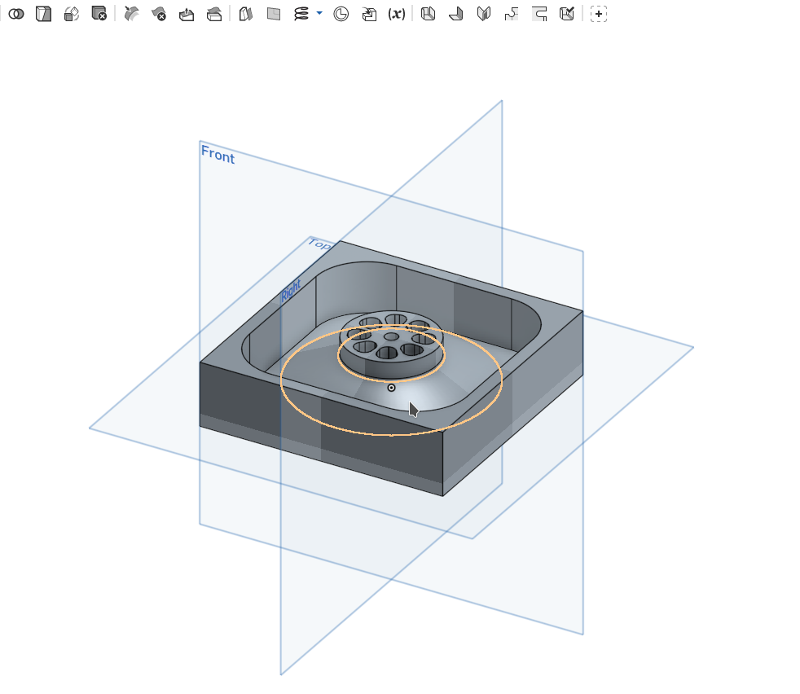
About mold design I decided to use OnShape 3D design cloud software
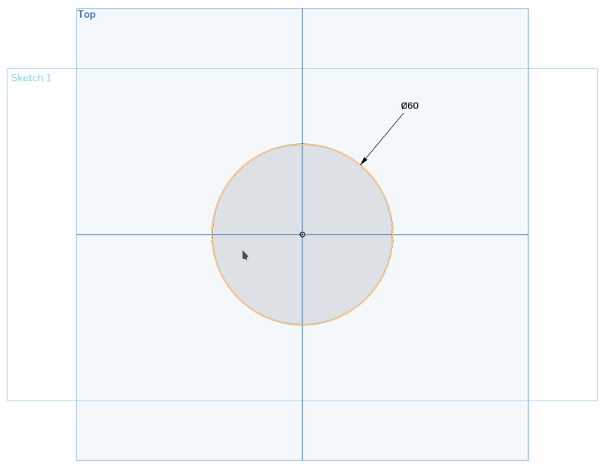
(...mold design...) / 1 -loft
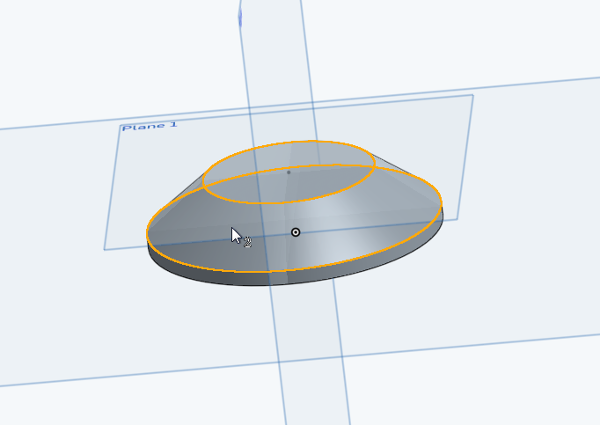
(...mold design...) / 2 -extrude
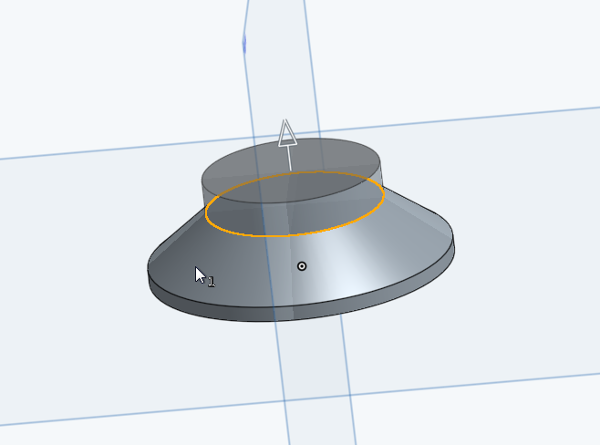
(...mold design...) / 3 -making holes
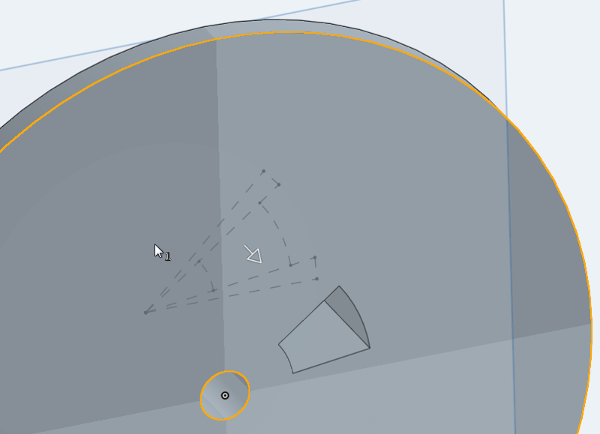
(...mold design...) / 4 -multiplying holes
(...mold design...) / 5 -adding fillets

(...mold design...) / 6 -enclosure design
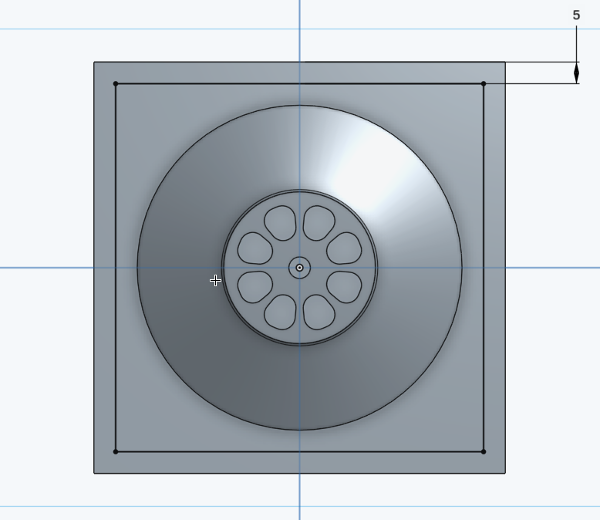
(...mold design...) / 7 -enclosure refining
Machining the 3D mold
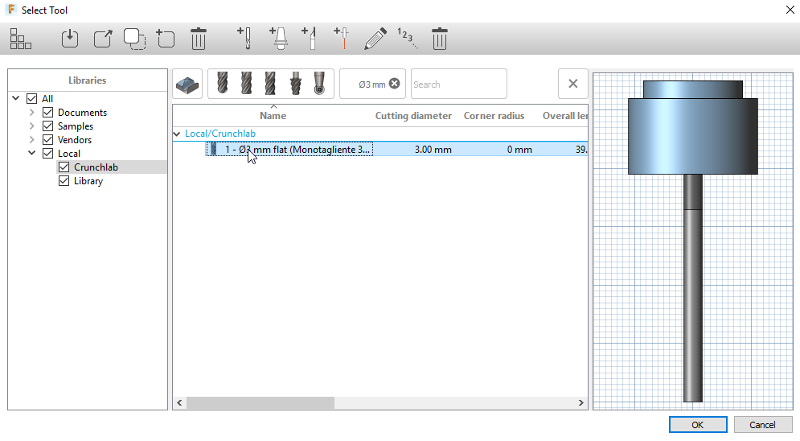
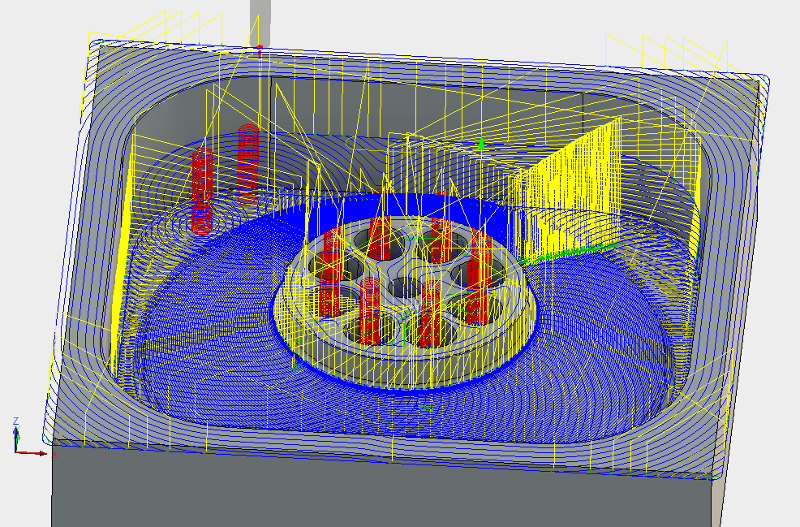
About mold machining first I decided to use Autodesk Fusion 360 CAM Module, following a nice videotutorial; starting from 3D model importing
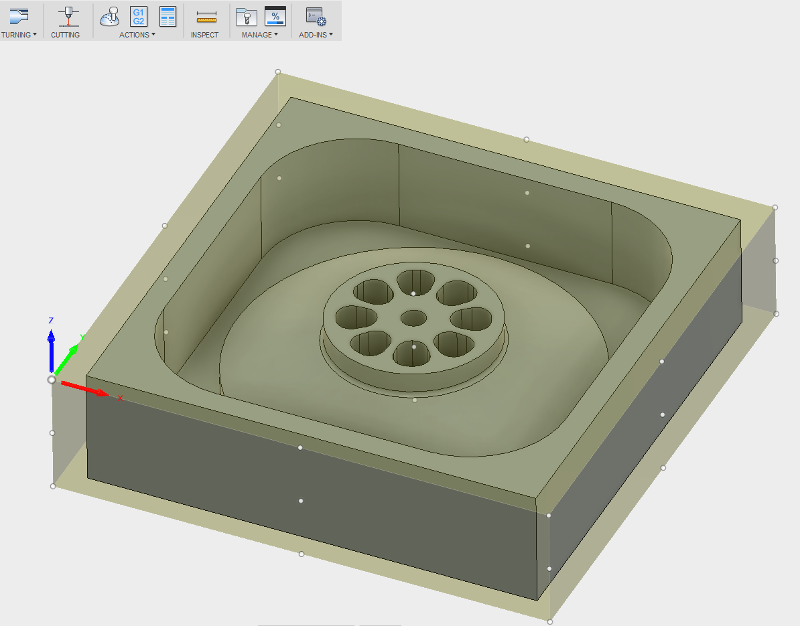
(...generating G-code...) / 1 -tool selection (3.00 mm flat endmill)
(...generating G-code...) / 2 - toolpath
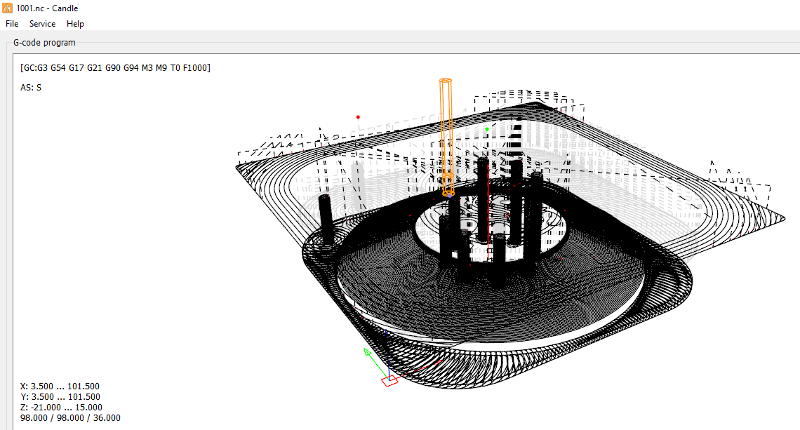
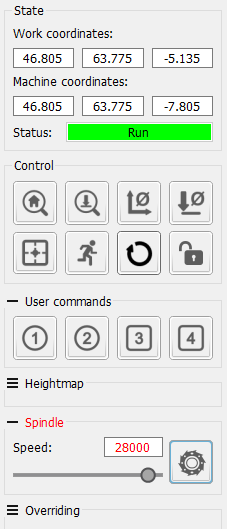
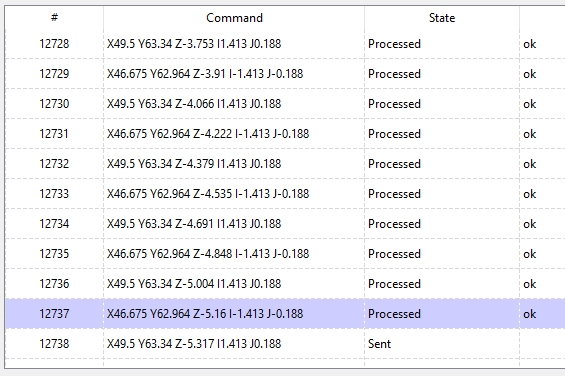
then imported the Fusion 360 output GC File G-code into Candle software, a GRBL controller application with G-Code visualizer written in Qt that supports the following functions:
- controlling GRBL-based CNC-machines via console commands, buttons on form, numpad
- monitoring CNC-machine state
- loading, editing, saving and sending of G-code files to CNC-machine
- visualizing G-code files
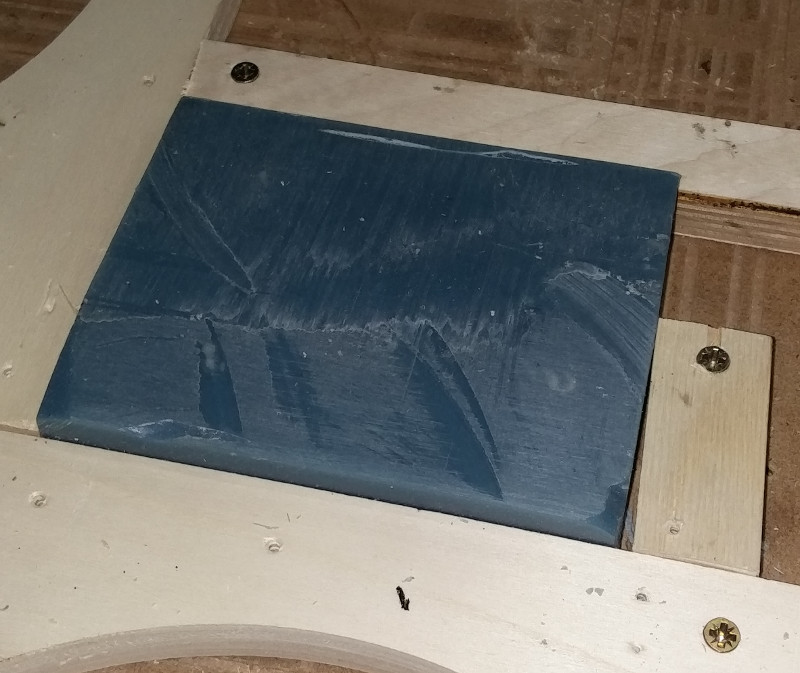
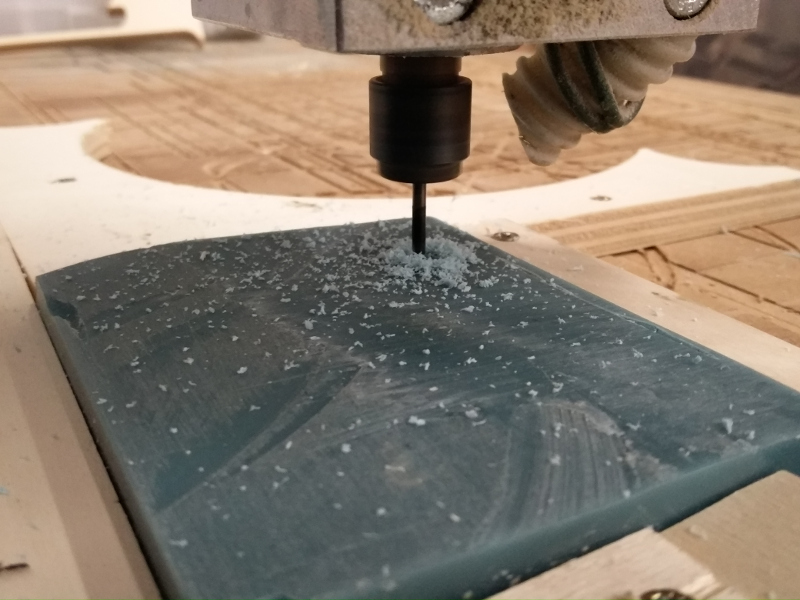
Time to prepare material to be machined to obtain first mold: that is a mix of Paraffin wax (87%) and LDPE (13%)
(...mold machining...) / 1 -start running
(...mold machining...) / 2 -g-code processing
(...mold machining...) / 3
(...mold machining...) / 4
(...mold machining...) / 5
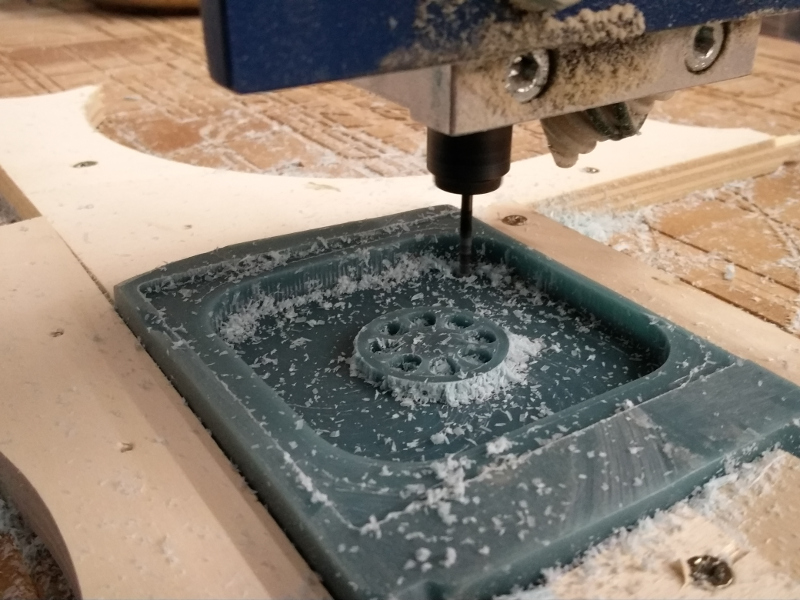
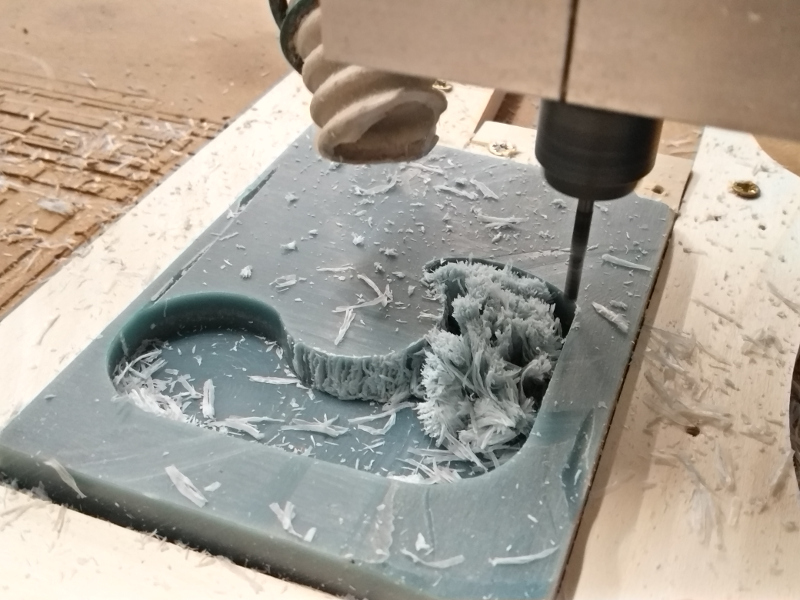
(...mold machining...) / 6 -finishig up
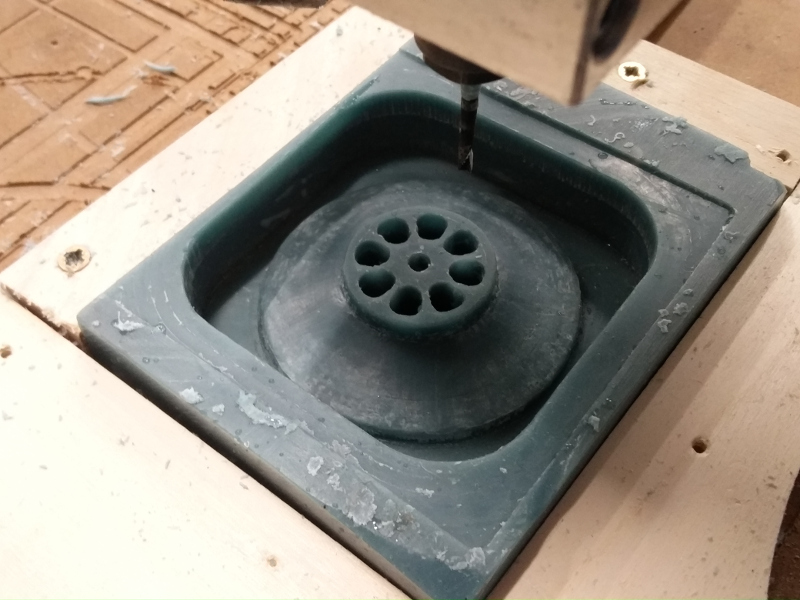
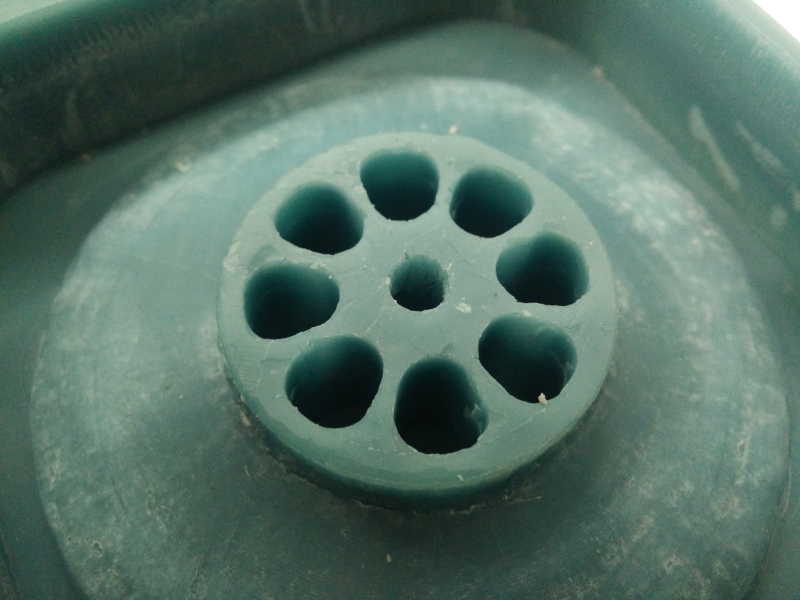
(...mold machining...) / 7 -mold final result

(...mold machining...) / 8 -mold detail
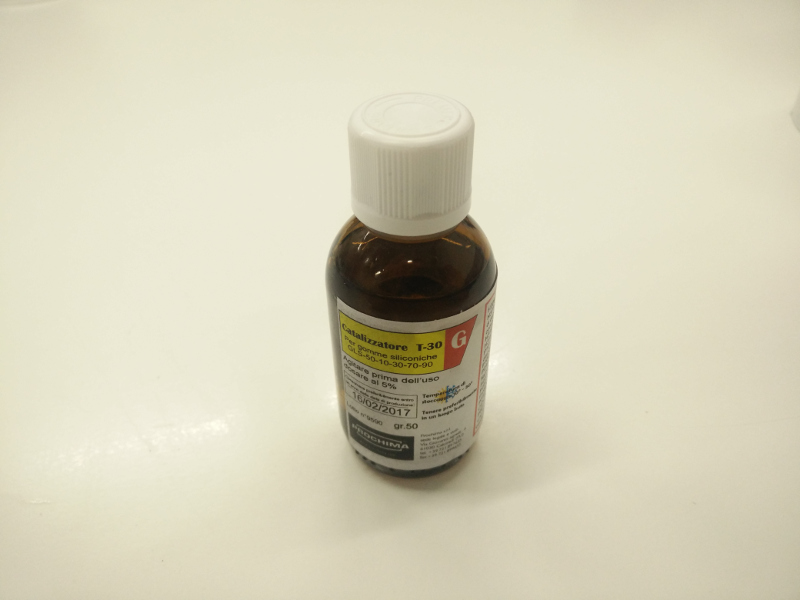
Time to cast into the first mold silicone rubber to obtain second mold (negative). I decided to use GLS-50a bi-component silicone rubber from Prochima, one of main chemichals manufacturers in Italy for rapid prototyping. Part A (rubber itself)
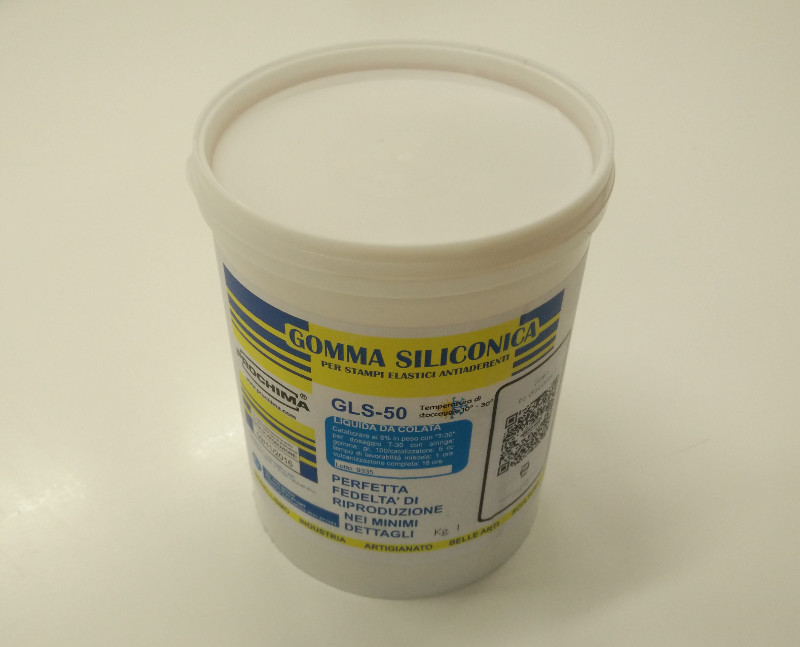
has to be mixed to Part B (catalyzer) in a 100/5 proportion
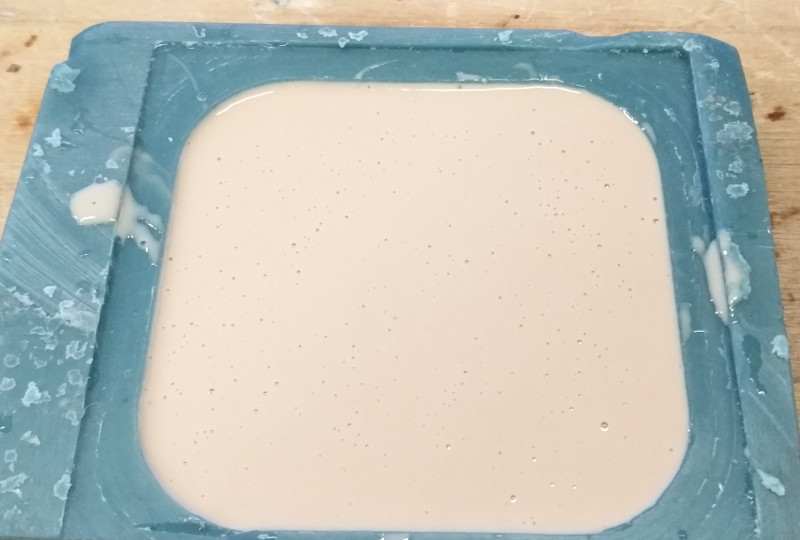
Casting rubber inside the mold
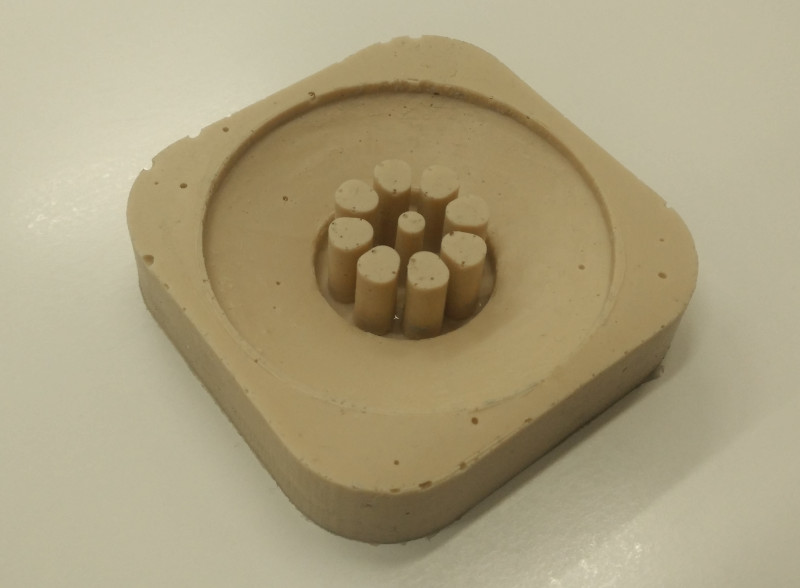
After 24 hours I exctracted the second silicone rubber mold
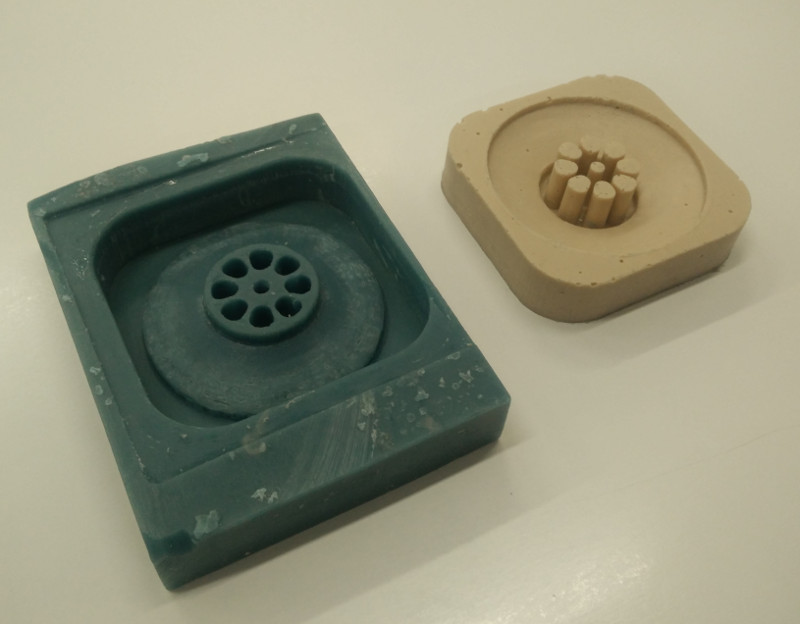
Here the two molds together (positive and negative)
Casting Parts from the 3D mold
Time to cast parts; since silicone rubber it's fine for alimentary use, I decided to cast chocolate pulleys; got some chocolate tablets
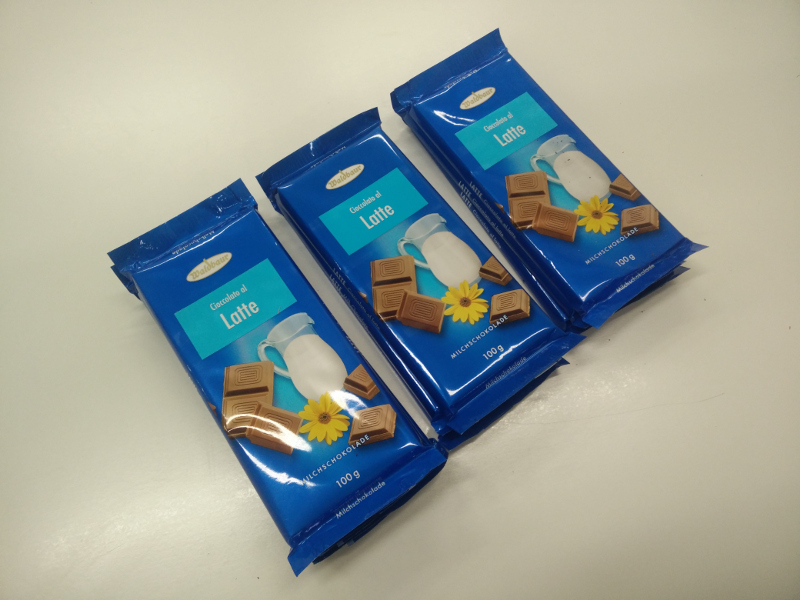
melted them in microwave owen
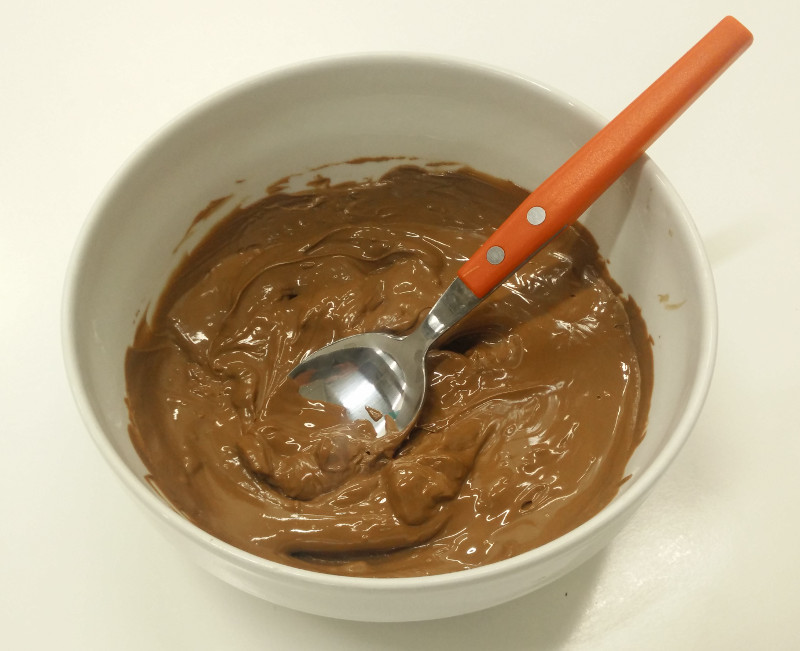
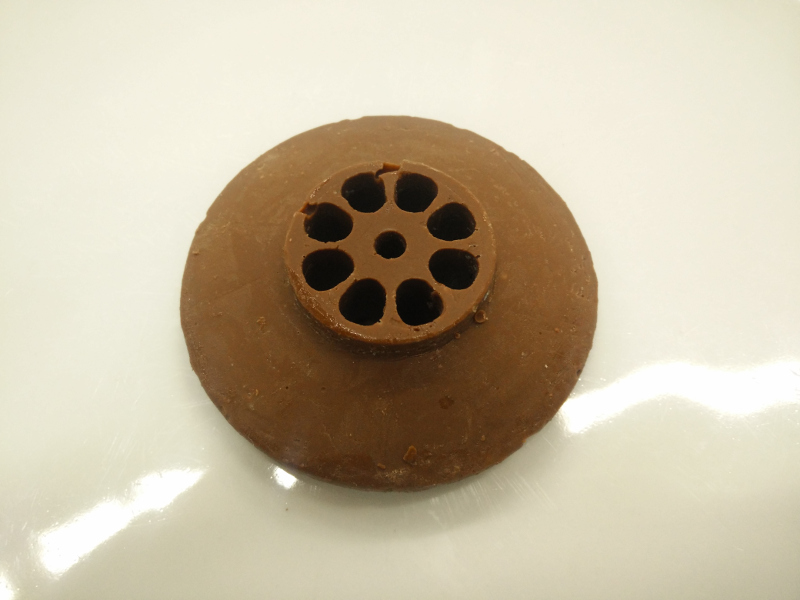
casted into the mold
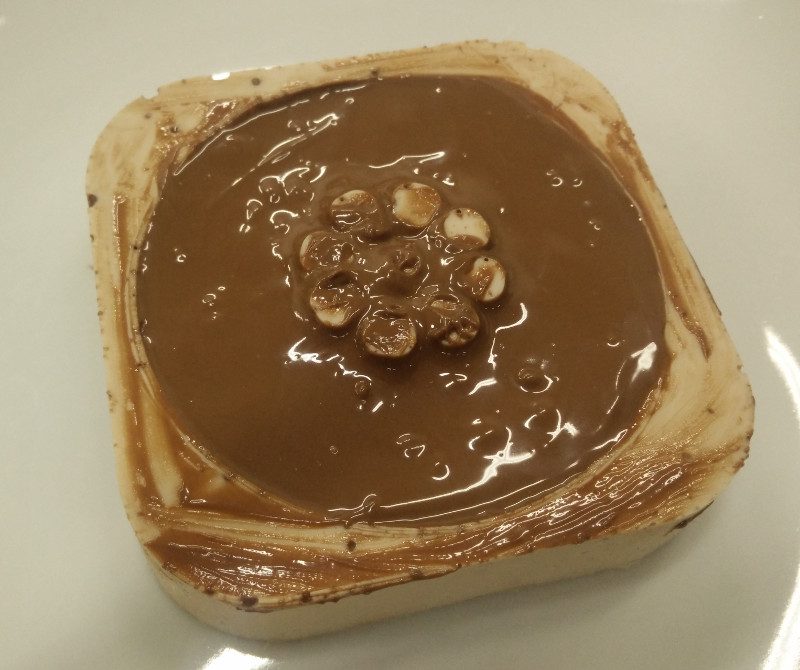
and here's the final result: YUMMY!
Source files
- pull.sldprt -Onshape output SLDPRT File
- pull.nc -Fusion 360 output NC File