Week 05
3D Scanning and Printing

The fifth lecture on Wednesday February 22nd was about 3D Scanning and Printing: different 3D scanning technologies but, more in particular, 3D printing technologies from both the hardware side (costraints, processes, machines) and the software side (file formats, applications, tools). Assignment given by Neil for this fifth week was:
- Test the design rules for your printer(s)
- Design and 3D print an object (small, few cm) that could not be made subtractively
- 3D scan an object (and optionally print it)
Testing design rules
With the idea of testing design rules, I decided to model and print a small cap for my old PiggyBank

since the old cap was in fact too loose and almost broken: it needed to be replaced with a new one
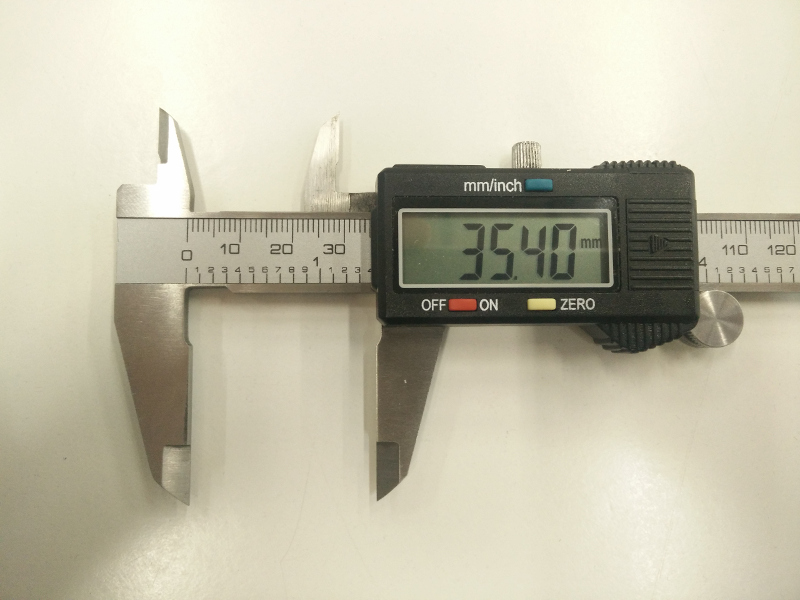
I started from the hole to be filled with the new cap
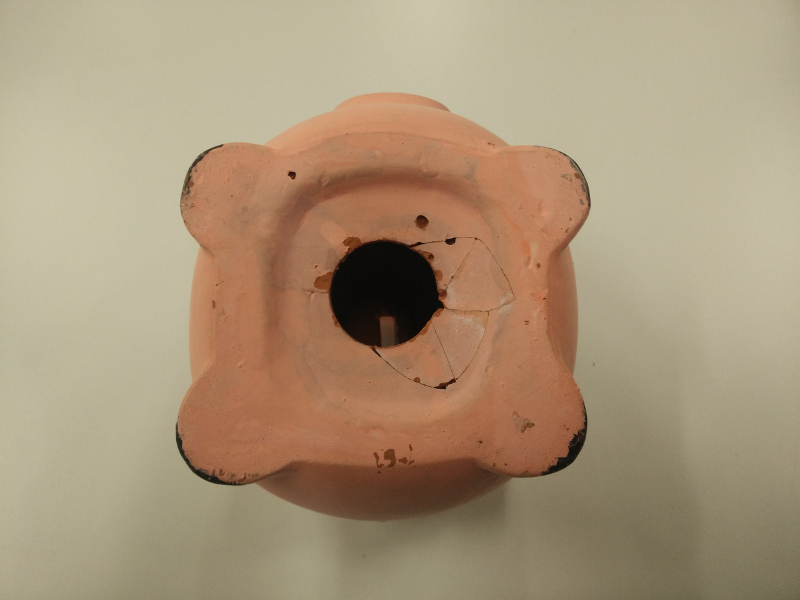
with the inside caliper I measured it's exact size: 35.40mm
This time I decided to give a try to FreeCAD 3D software; FreeCAD is a free and open-source general-purpose parametric 3D CAD modeler, currently still in beta stage of development; it is aimed directly at mechanical engineering, BIM and product design but also fits in a wider range of uses around engineering; its functionality can be accessed and extended using the Python programming language. The thing that makes me happy about FreeCAD, is the fact it's been released under the term LGPLv2+ license: as far as I can, I prefer using a Free Software and a GNU/Linux system.
I started sketching cap's half profile, with a 17.20mm external edge
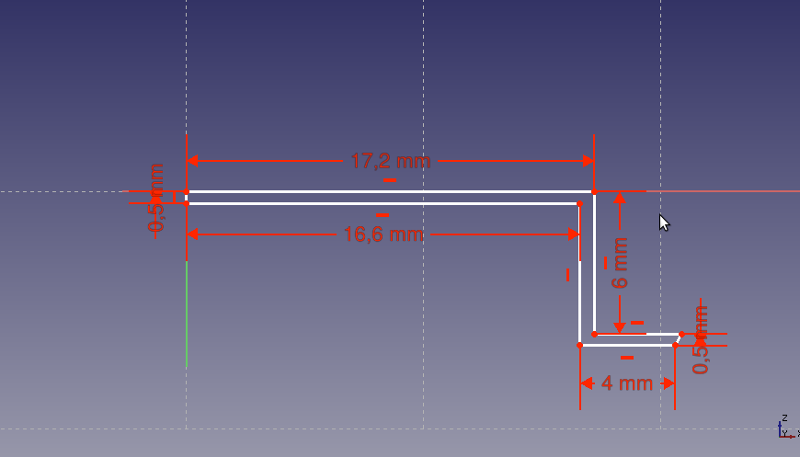
then I applied to it a 360° revolution over vertical sketch axis
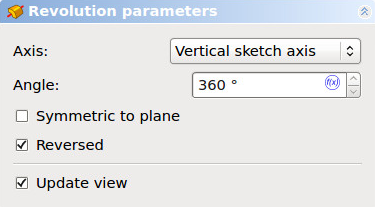
stright to obtain the final model, and exporting to STL file, ready for 3D printing machine
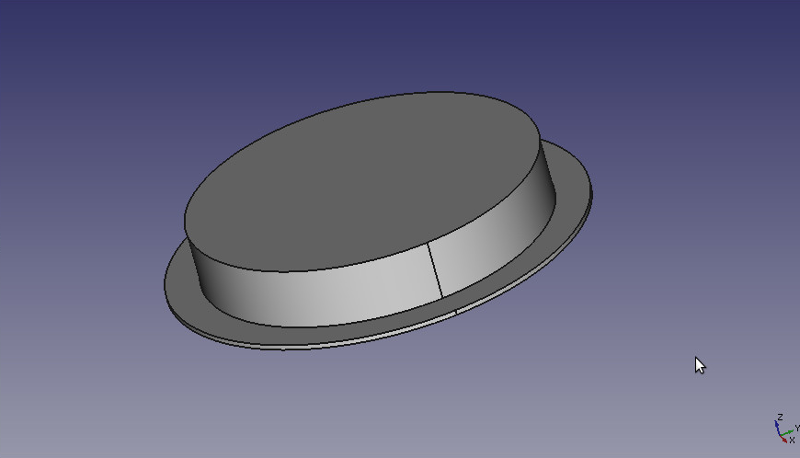
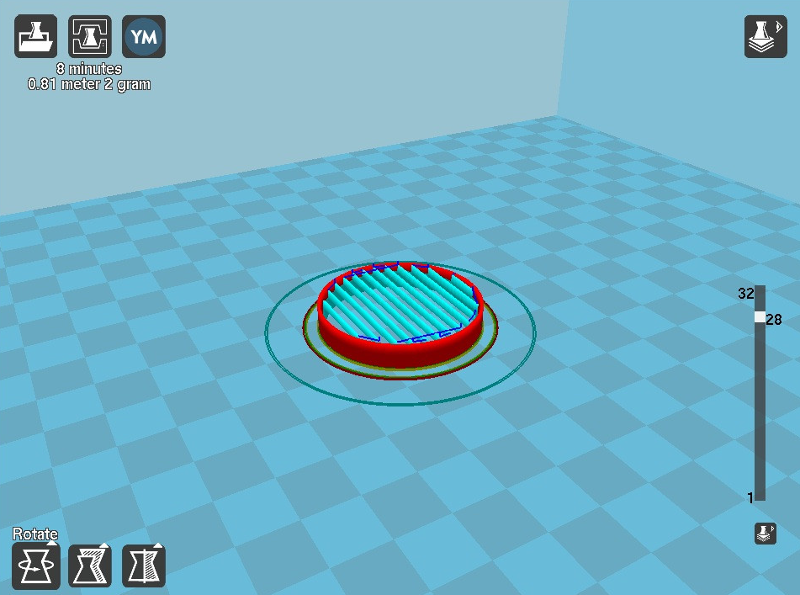
At this point, I imported the STL file from Cura software. Cura is a 3D printing slicing application originally created by David Braam, now maintained and distributed by dutch 3D Printers manufacturer Ultimaker; it's released under the terms of the free software Affero General Public License. As other slicing applications, Cura converts the STL 3D model into a series of thin layers and produces a G-code file containing instructions tailored to a specific type of 3D printer.
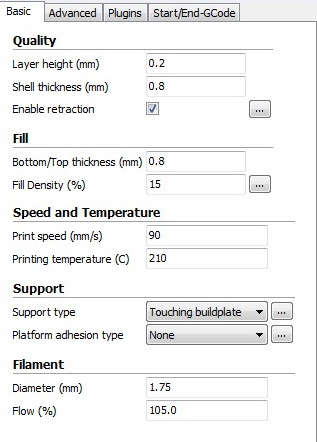
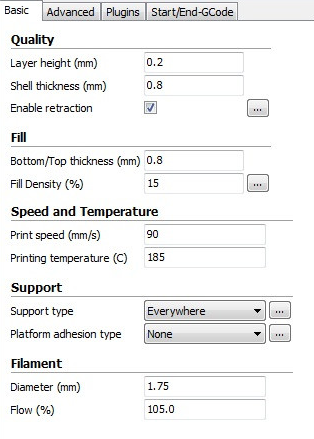
From Cura sofware interface it's possibile to define lots of settings, the most basic being Layer height (mm), Shell thickness (mm), Retraction, Fill Density (%), Printing Speed (mm/s) and Temperature (°C), Support type, Filament Diameter (mm) and Flow (%).
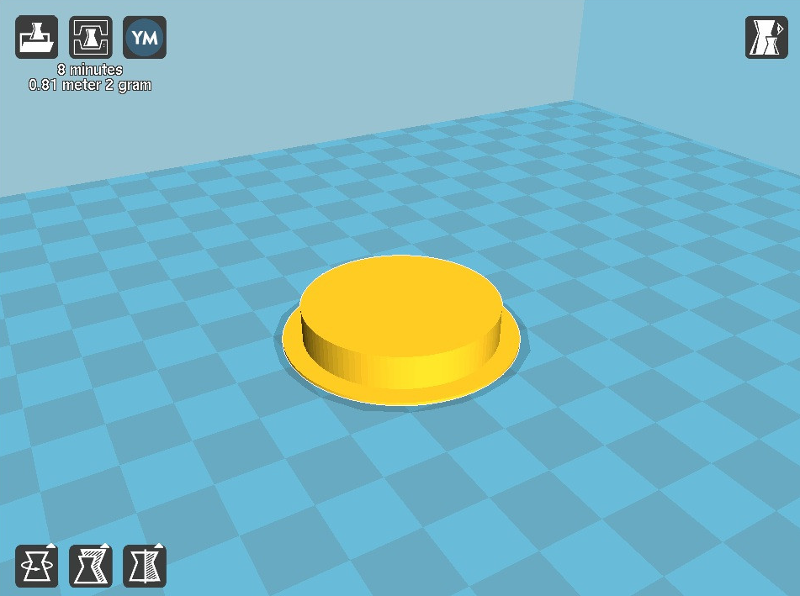
Once defined all the parameters, Cura makes possibile to visualize the layers and gives an extimated printing time and 3D printing filament consumption (filament meters/grams)
At this point it's possible to start printing, that's basically consists in sending the G-code to the 3D printer {Makerdreams iNvent-ONE}
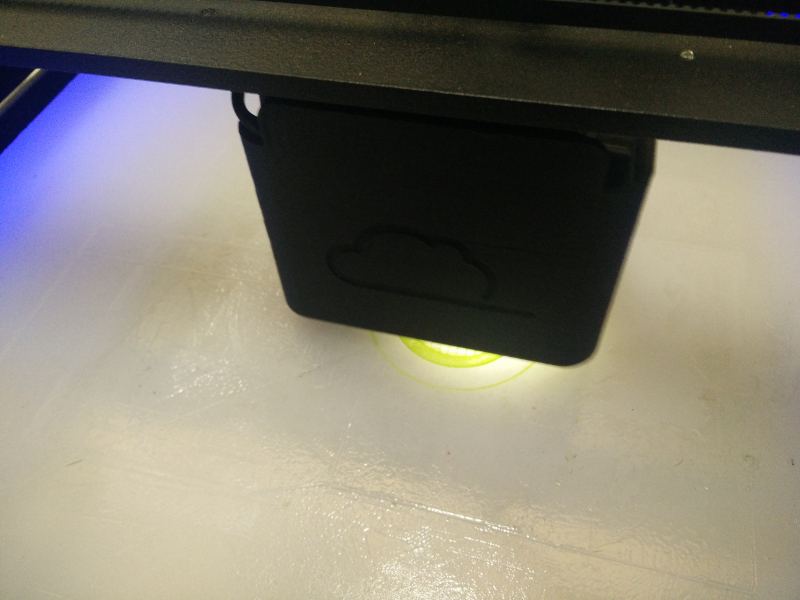
(...3D-printing in progress...)
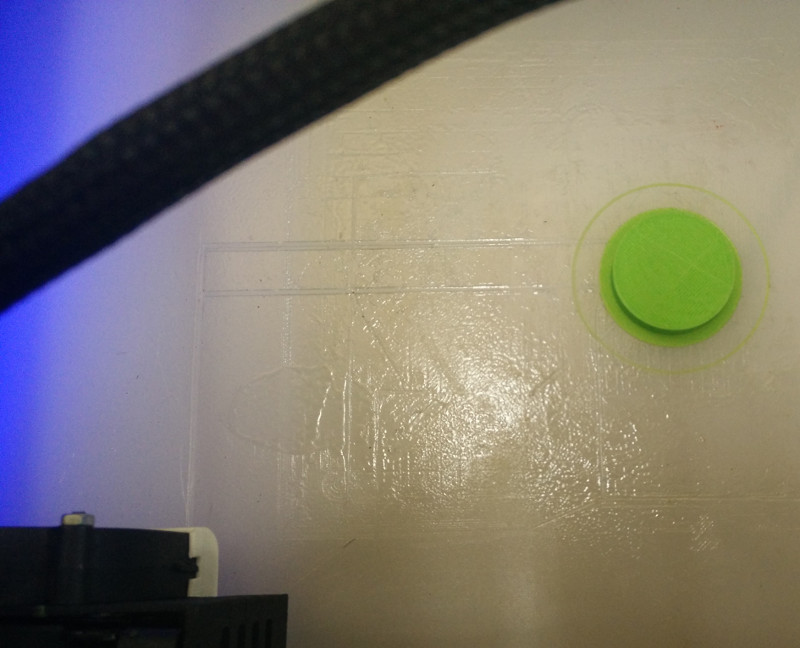
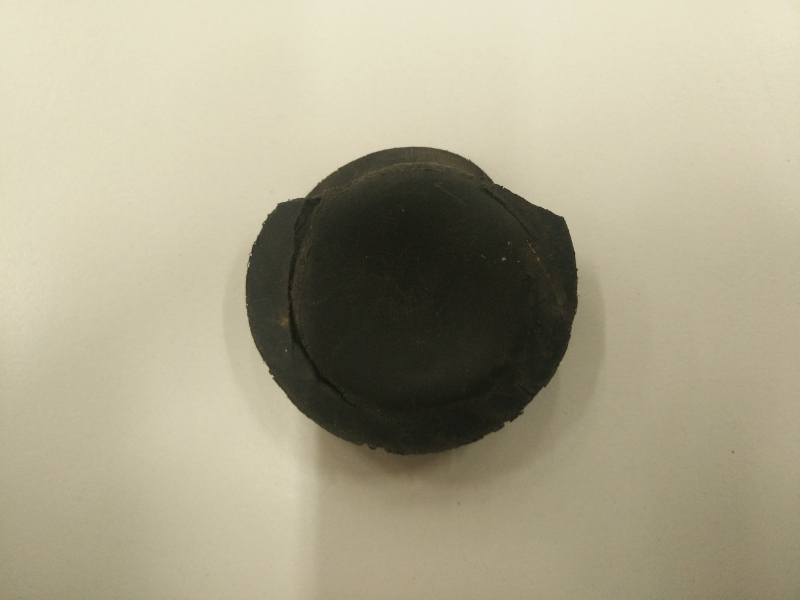
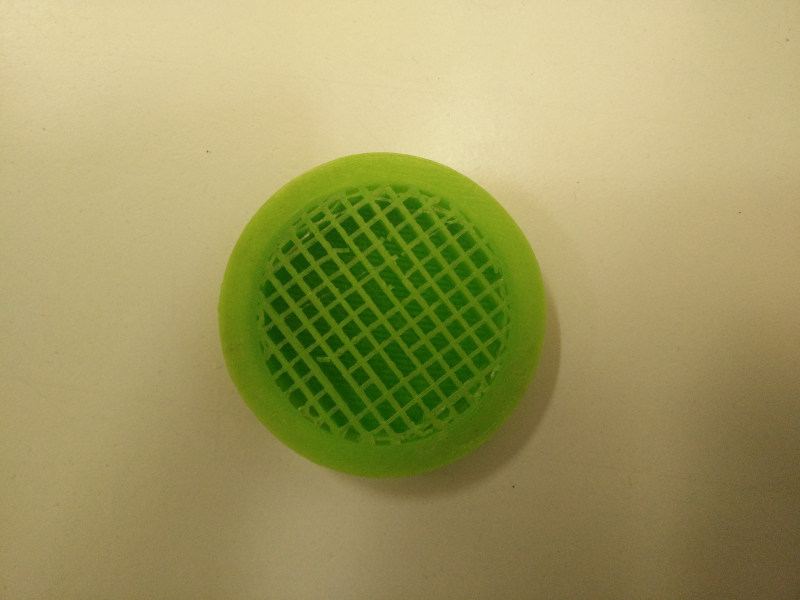
Here's the new 3D-printed cap
From upside-down can be seen the 3D printing support (to be then removed)
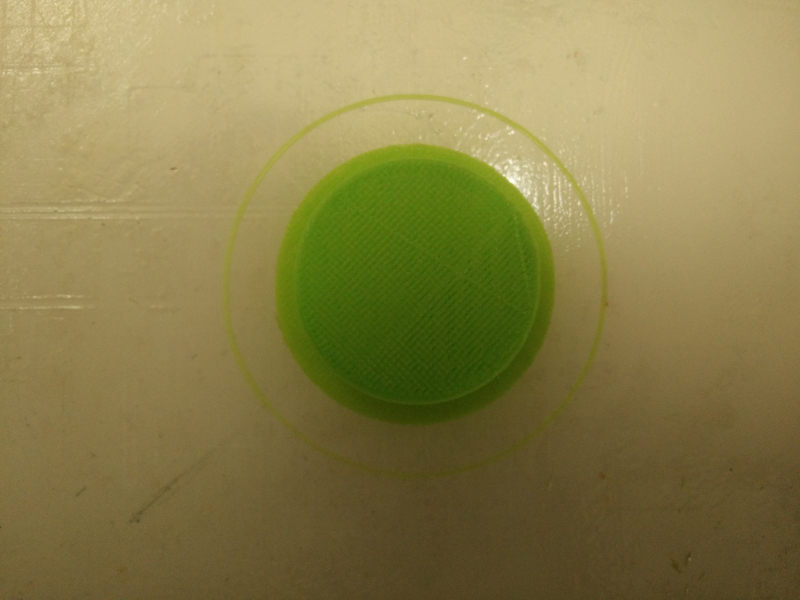
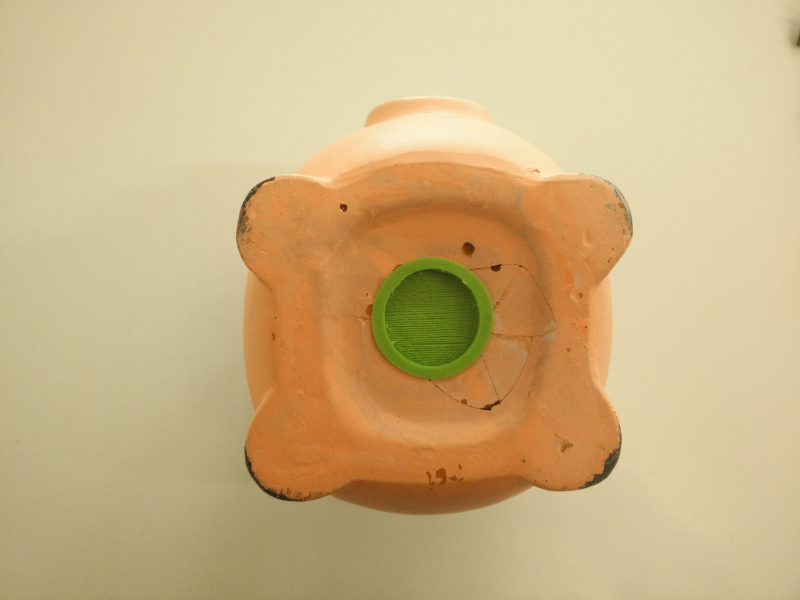
The cap fits perfectly Piggy Bank's hole
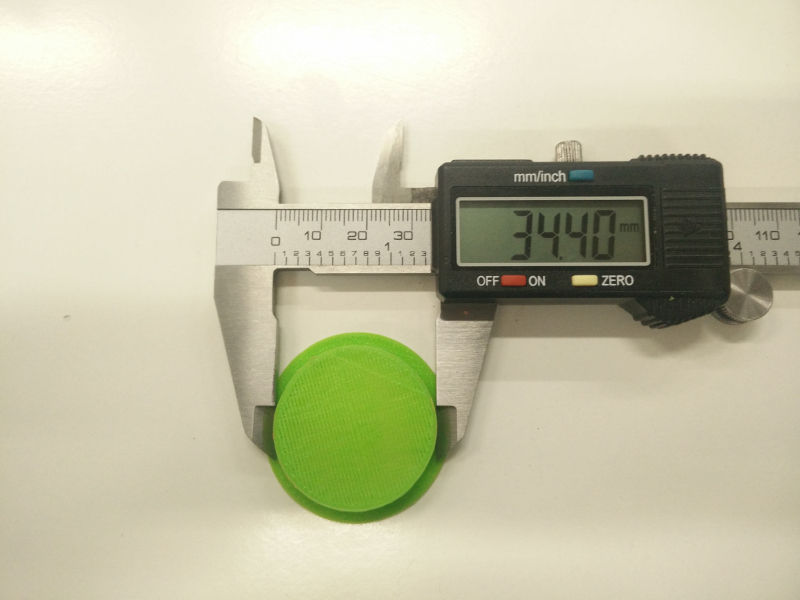
with the outside caliper it's possibile to measure 3D-printed cap's exact size: 34.40mm -exacly as the drawing's size, one millimeter less than the hole
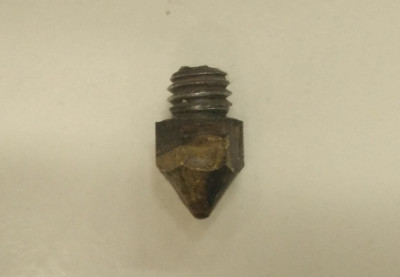
Same STL printed with another 3Printer model {DIY Rep-Rap Prusa i3}, gives a different result, less precise ( ~0.18 mm)

Prusa i3 inaccuracy can be explained perhaps with wrong calibration, or mechanical parts / movements less precise; also Prusa i3 extruder hotend was quite worn out
Designing and 3D printing a cat-toy ball
Thinking about a small "3D-printed object that could not be made subtractively", I was inspired by Crunchlab cat Nyan: I decided to build a cat-toy! Being an object with nested parts, it can only be made through additive manifacturing techniques.
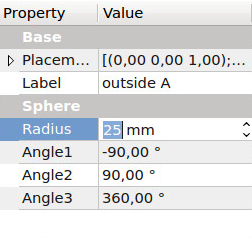
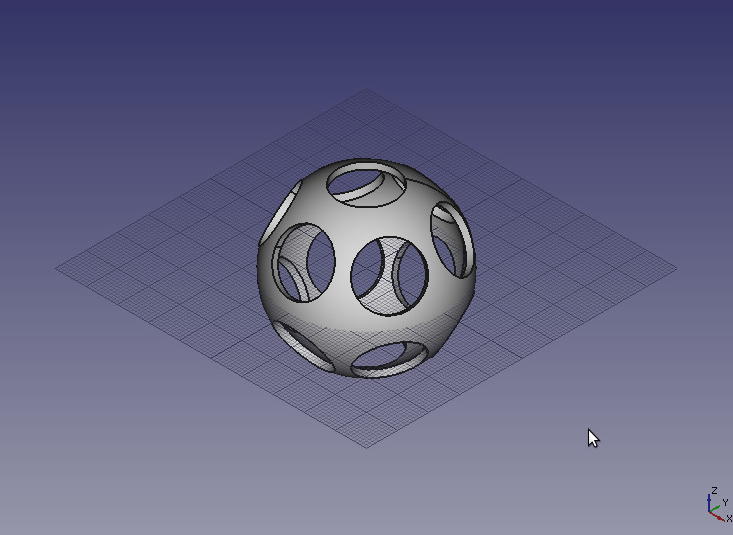
Once again with FreeCAD software, this time using the Part Workbench, I created a sphere

of 5 cm diameter (25 mm radius)
then six cilinders
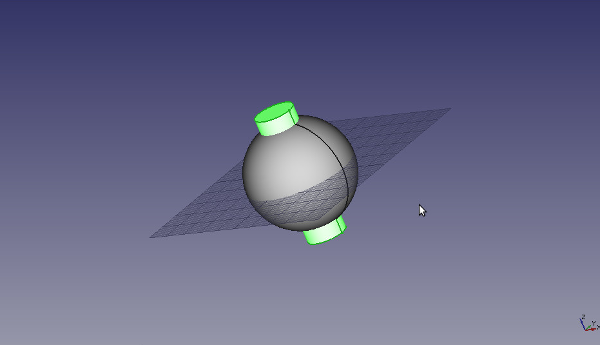
conveniently translated and rotated
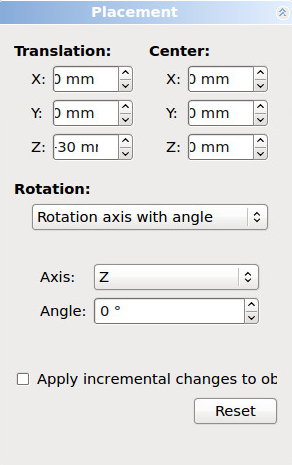
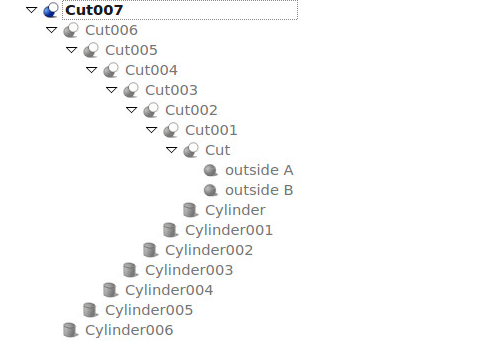
whose volumes are subtracted from the through a "Cut" boolean operation
and here's the "nesting" as visible on the "Tree view" window
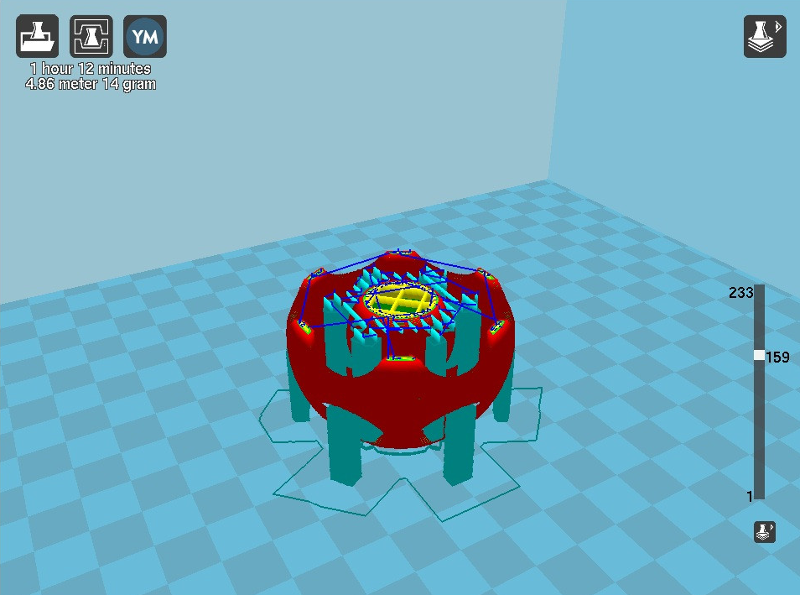
Now again the FreeCAD out STL can be imported inside Cura software for the "slicing"
setting 3D printing parameters as follows
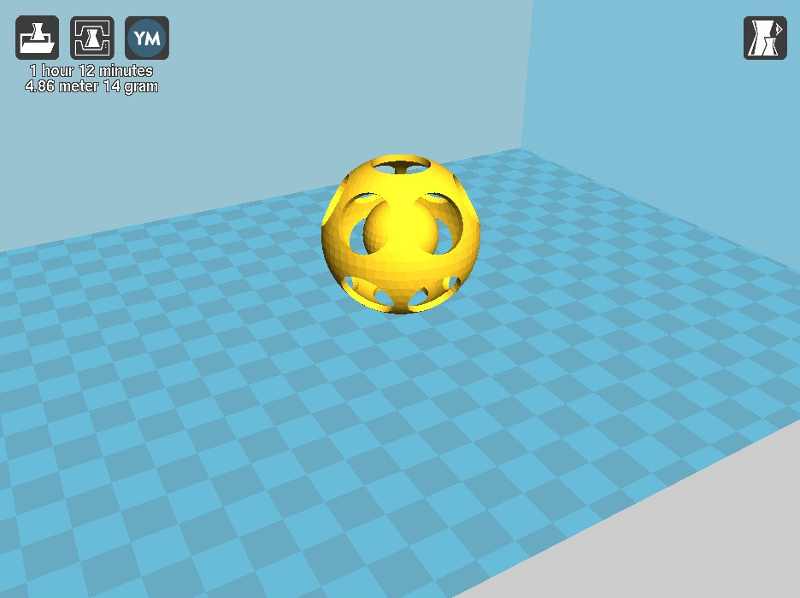
Here are the slicing layers the extimated printing time (1 hour 12 minutes) and filament consumption (4.86 meters / 14 grams)
(...3D-printing in progress...) / 1
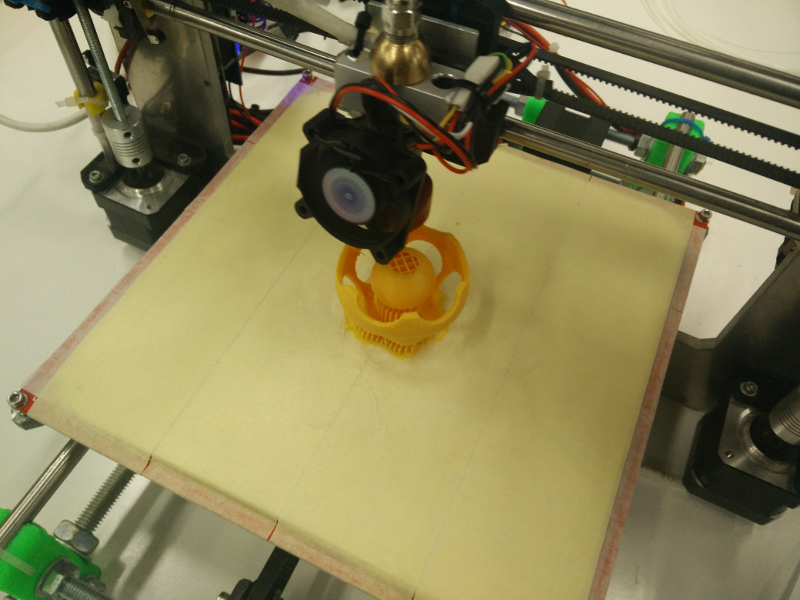
(...3D-printing in progress...) / 2
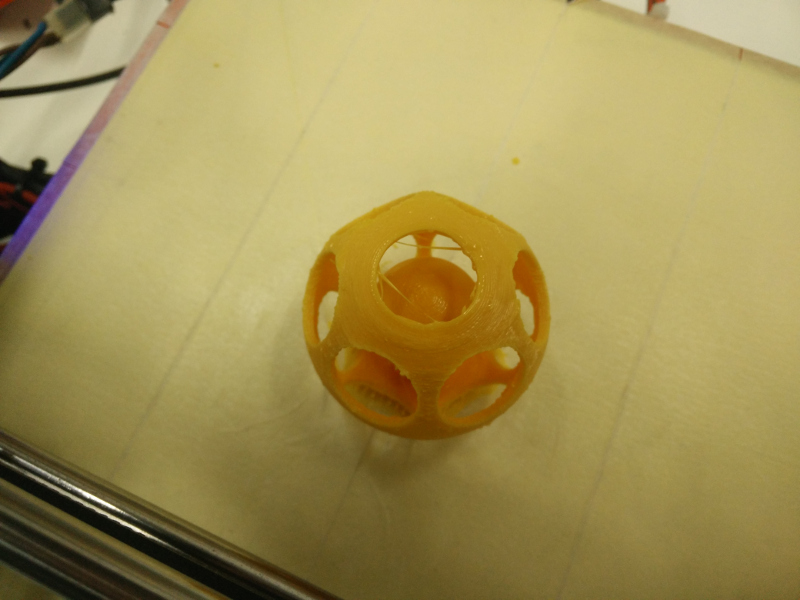
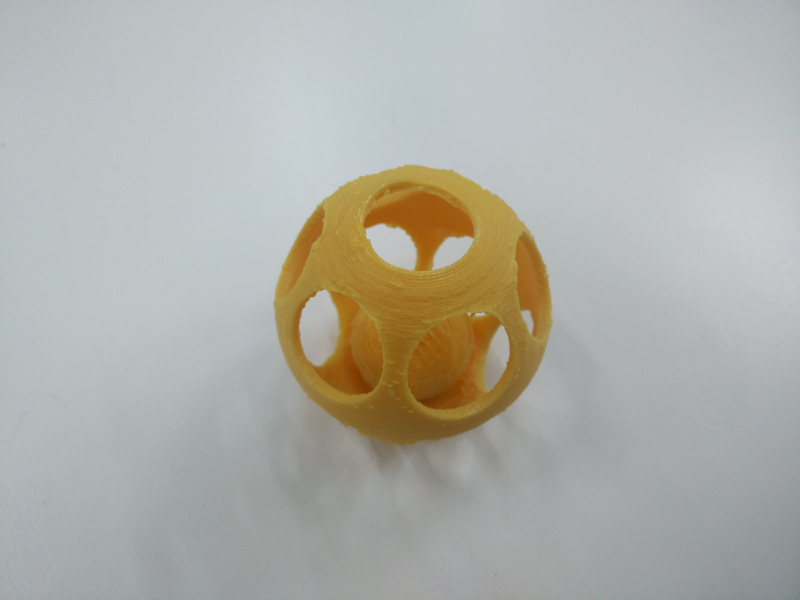
Here's the new 3D-printed cat-toy's "Hero shot" -not very good; still problems due to the nearly worn out DIY Rep-Rap Prusa i3 extruder hotend
3D Scanning piggy bank
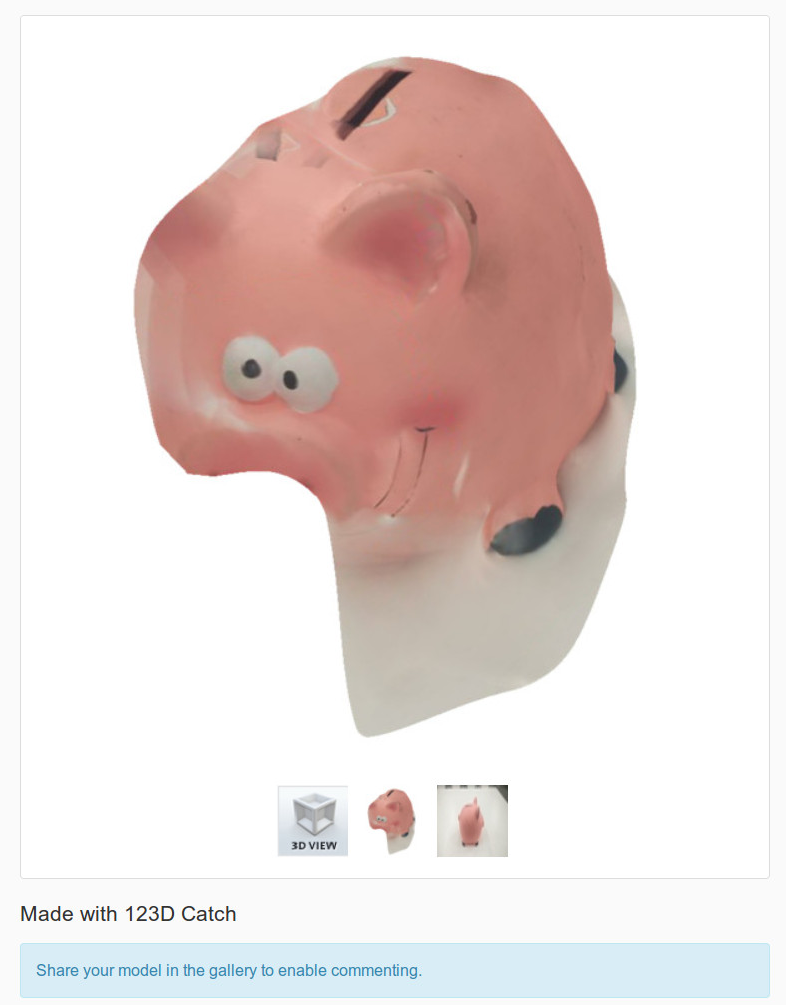
Going back to the beginning of this week's assignment, with some sort of "circularity" and also to remain "in-topic" with this week's "animalesque theme", I decided to 3D scan my old PiggyBank. I did the very first try, with the 123D Catch for Android, a software application based on photogrammetryand part of the (planned-to-be-discontinued) Autodesk 123D suite of hobbyist CAD and 3D modelling tools. This experiment was indeed very unsuccessful:
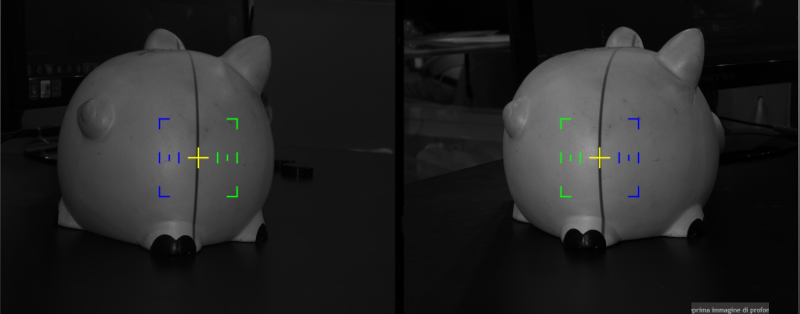
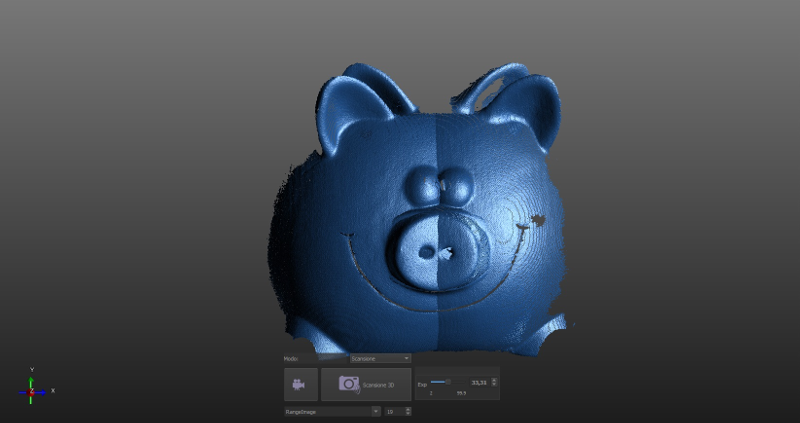
I made the "real" 3D-scanning experience through Scan in a Box 3D optical scanner based on structured-light and IDEA software, the professional 3D scanning application that comes with it; I was not super happy with it, since this is proprietary software only available over a Windows system and, as far as I can, I prefer using Free Software -however it worked like a charm! :) This 3D scanning software has a nice user interface that includes a main toolbar

a main window with two images coming from the two cameras (upper section)
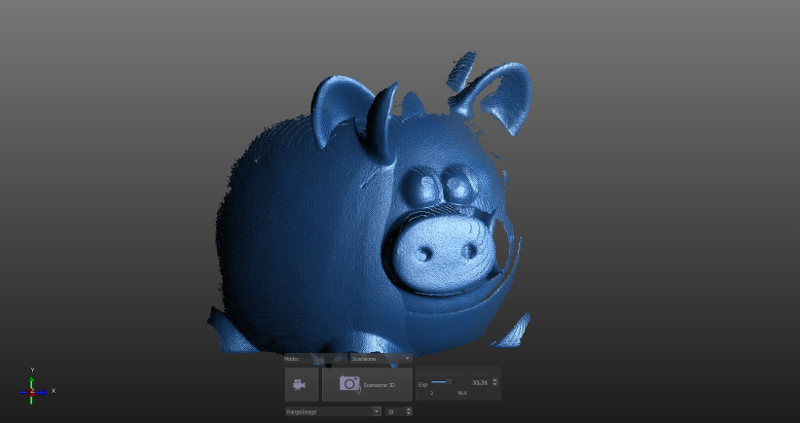
and a visualization of the acquired data (lower section)
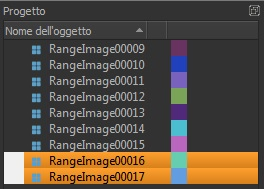
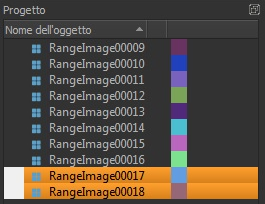
On the left side there's the "Project Management Panel" with the "Range images" list. This Panel allows to organize and manage all the data associated with a project. When IDEA software starts, the project is empty and will then be filled with the captures and the generation of new data
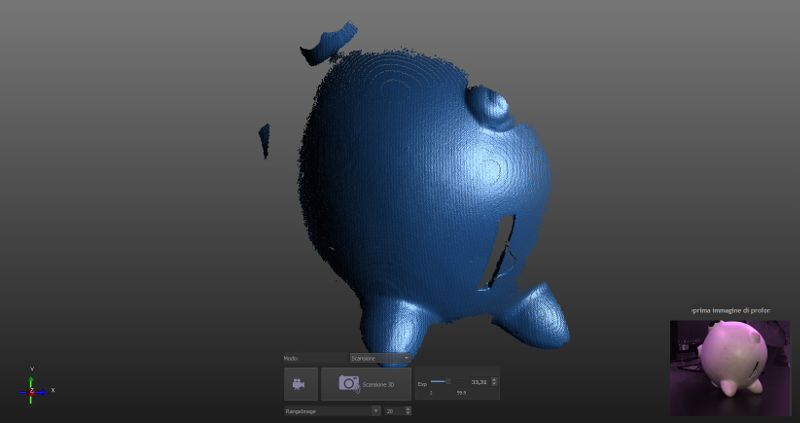
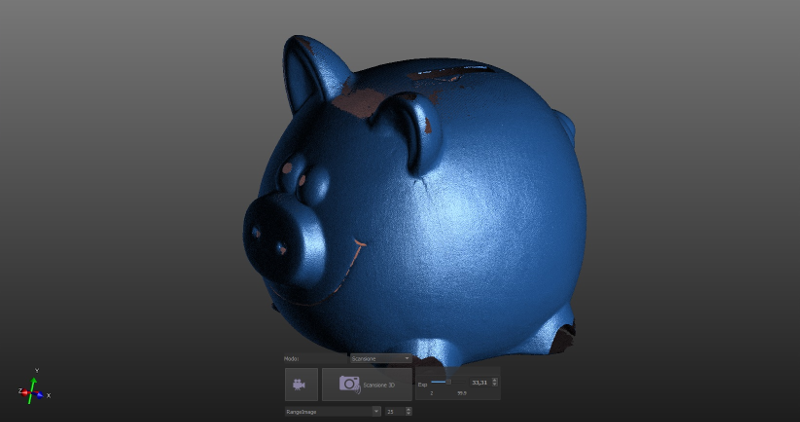
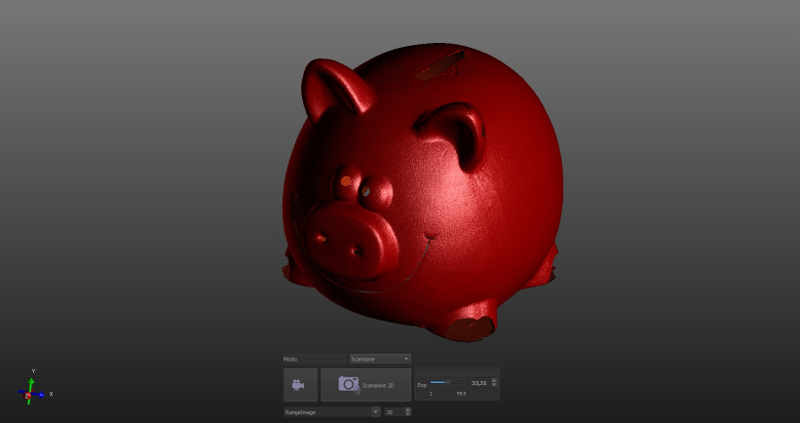
After optical setup and cameras' calibration, a series of images of the Piggy Banks has been acquired through automatic (turntable) or manual method, with the positioning help of black vertical lines that are projected on it
(...acquiring "Range images" in progress...) / 1
(...acquiring "Range images" in progress...) / 2
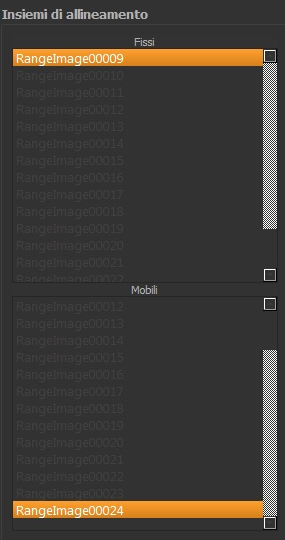
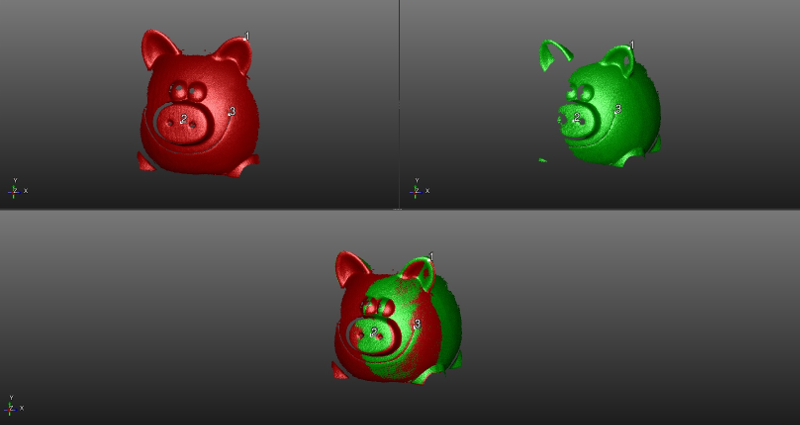
After all "Range Images" have been acquired (in this case a total number of 26 "Range Images"), the second moment is "Range images" alignment: for each couple of "Range images" three ovelapping point are selected, thus helping IDEA software to better understand complex shapes.
(...alignment in progress...) / 1
(...alignment in progress...) / 2

Here's the post-alignment result
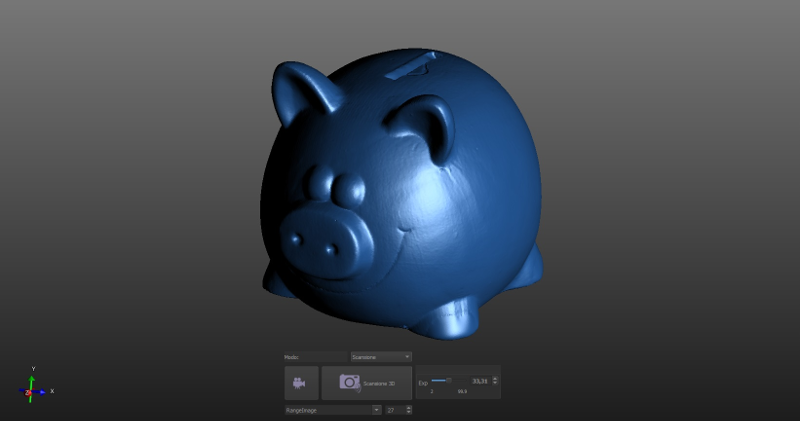
Final result is obtained with "Mesh Generation" that closes the surfaces
(...mesh generation in progress...) / 1 -upper view
(...mesh generation in progress...) / 2 -lower view
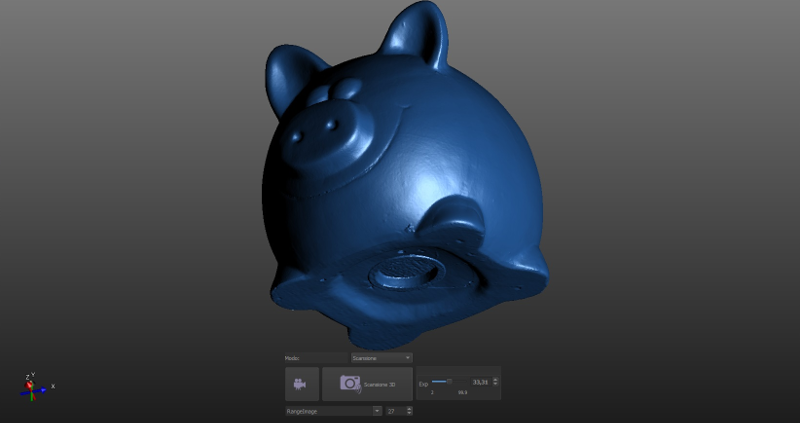
Here's the virtual "Hero Shot"
PiggyBank by SebaFru on Sketchfab
-nice result this time!
Source files
- cap.fcstd -FreeCAD output FCSTD File
- cap.stl -FreeCAD output STL File
- meow.fcstd -FreeCAD output FCSTD File
- meow.stl -FreeCAD output STL File
- piggy.stl -IDEA output STL File