05. 3D printing and scanning
Assignments
- Check the constraints of 3D printer by printing a test part (group activity)
- Design a object which cannot be printed by subtractive method & print it using 3D printer
- Scan a 3D object
3D printing
In our FAB LAB, we have ultimaker2+ 3D printer. We have 0.25, 0.4, 0.6 & 0.8 mm nozzles. For our exercise, we used 0.4 mm nozzle. so, the layer thickness should be less than 0.4 mm.
Also, we used PLA material for 3D printing. We have three colors - black, white & red.
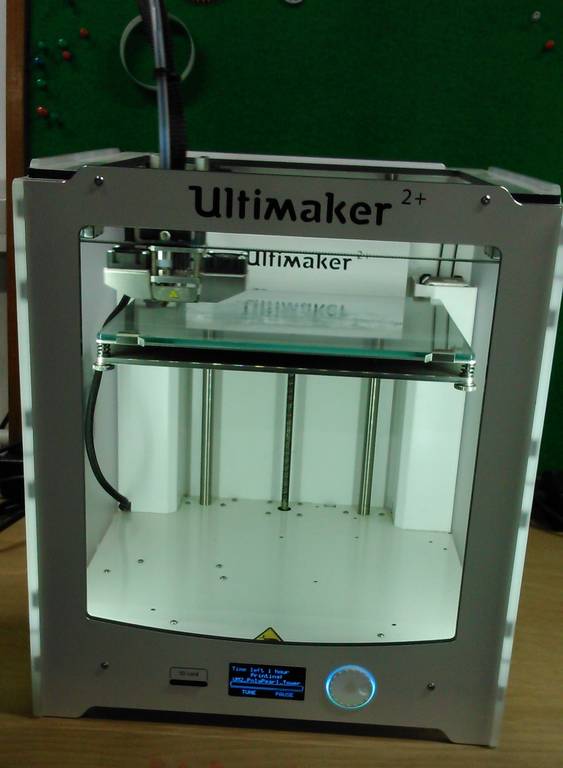
3D Printer
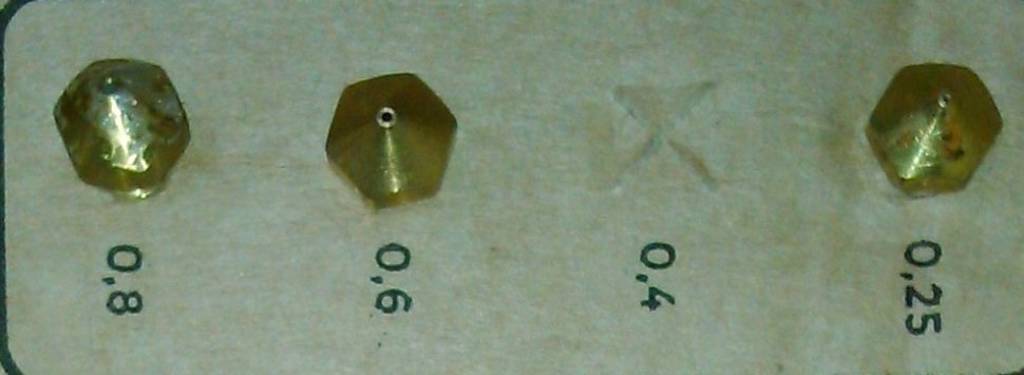
Nozzles
PLA Material
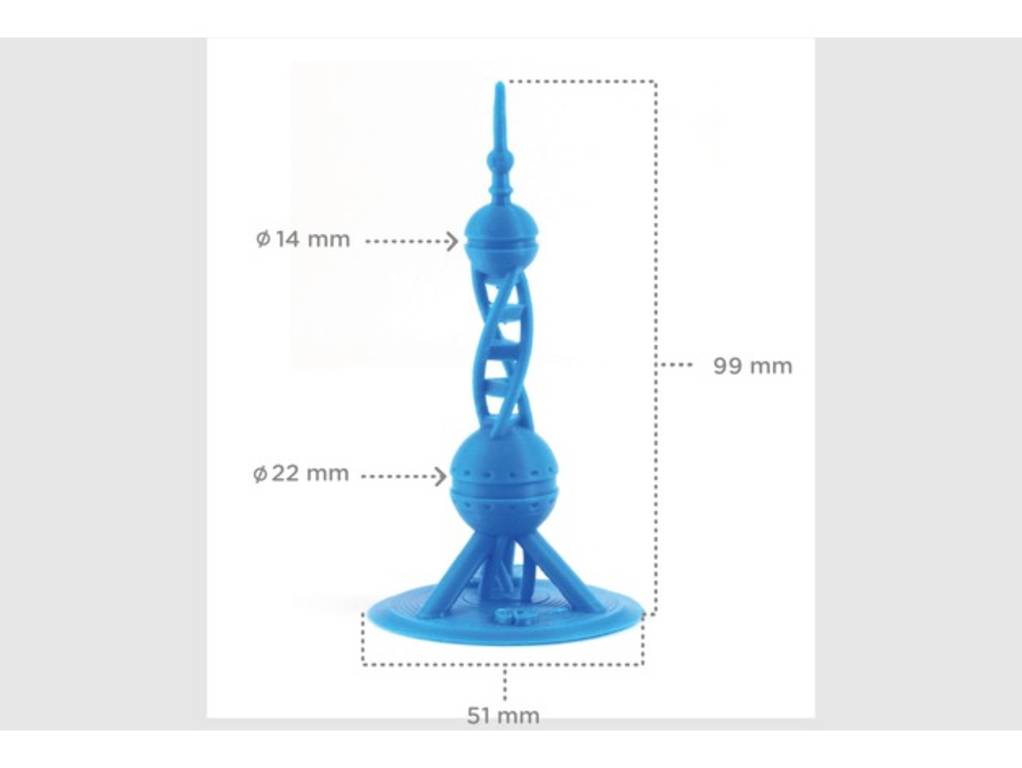
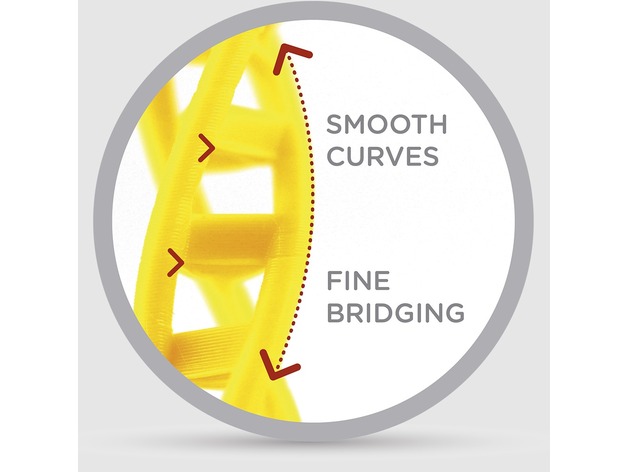
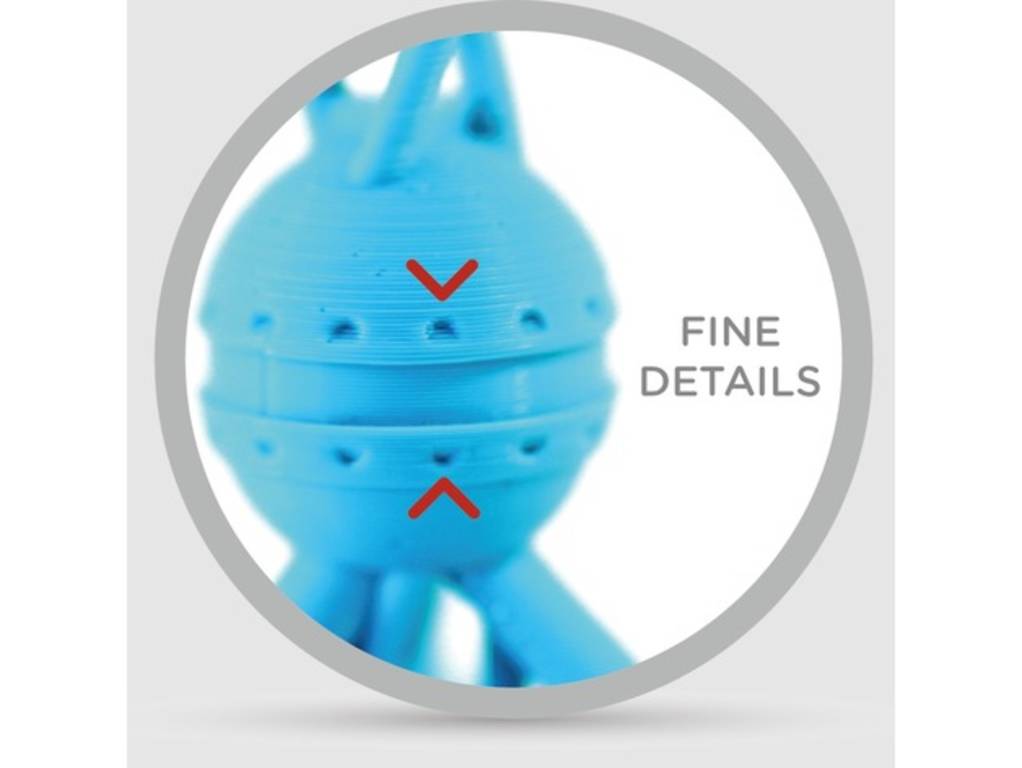
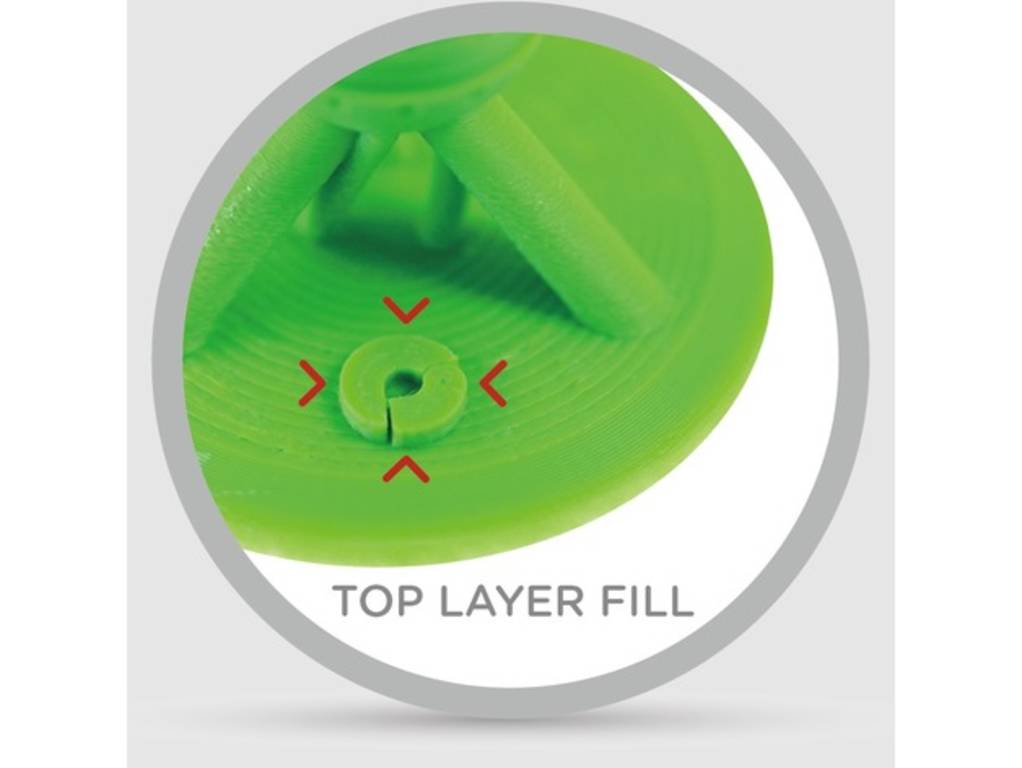
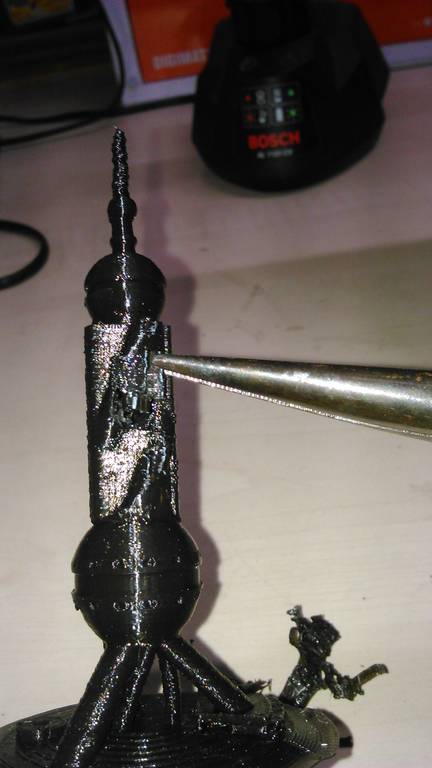
For checking the constraints of 3D printer, I downloaded a pearl tower design from thingiverse.com. The design includes many fine details which are designed to test the 3D printer and filament to their limits!
Then I installed cura on my laptop & opened .stl file (downloaded from 'thingiverse.com'). I kept settings as follows:
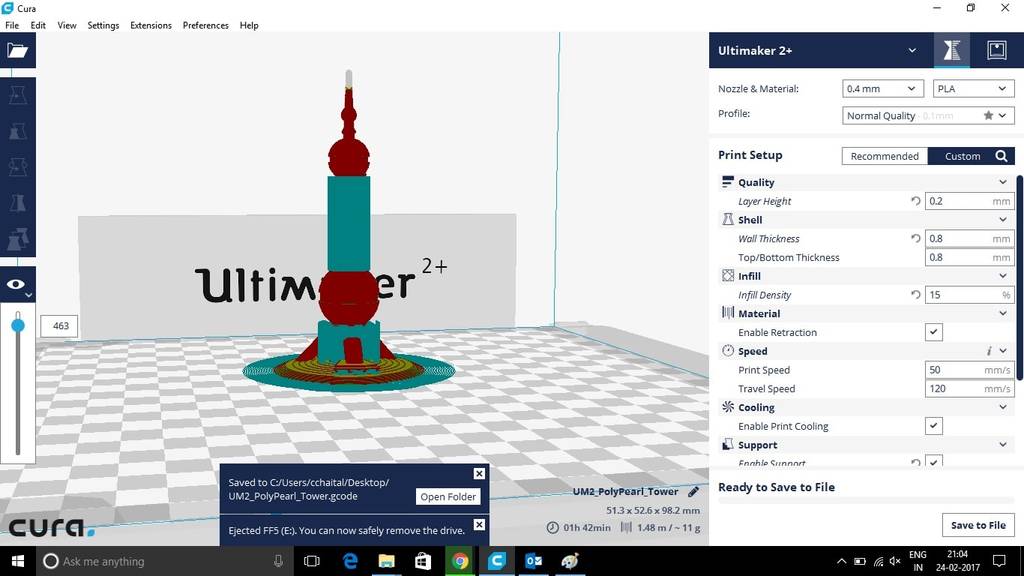
I saved .gcode file in SD card & attached SD card to UltiMaker2+. First, I adjusted the table using "Maintainance option". I decided to print it in black colour. Then I started printing. In between, I changed the printing speed to 160%, material flow to 130%. After around 2 hours, the printing was completed.
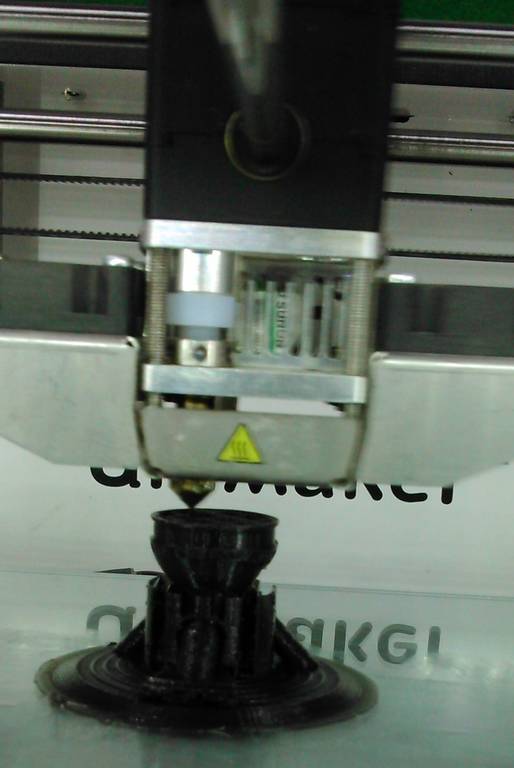
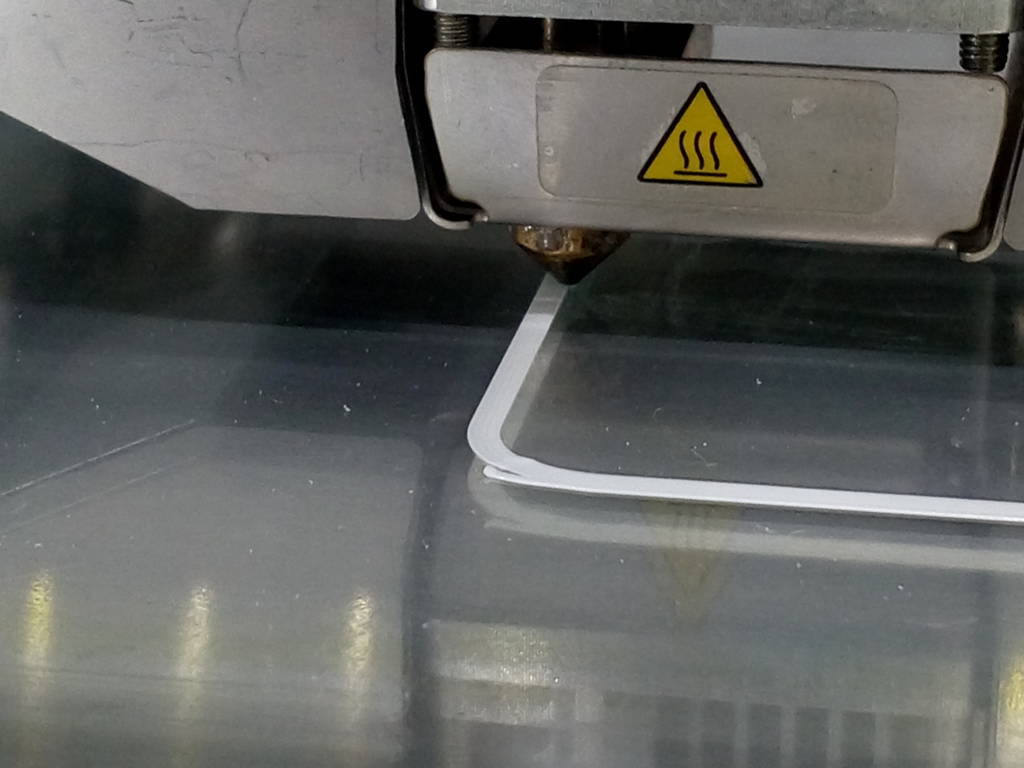
During Printing
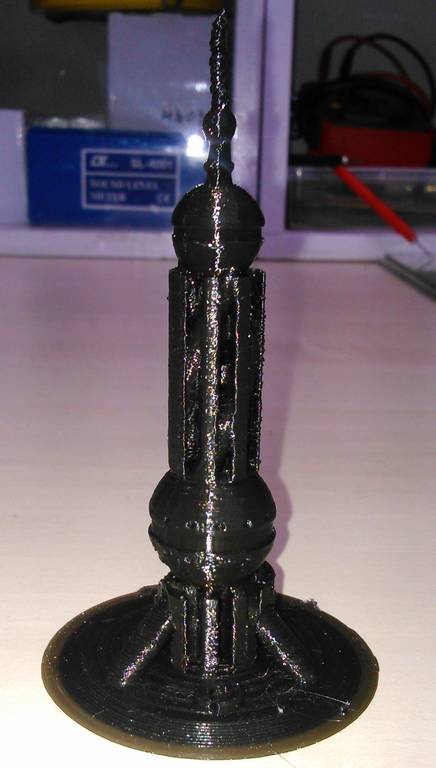
After Printing
Then I removed the support layers & brim using nose plier.
Removing support

Removed Brim

After removing support layers and brim
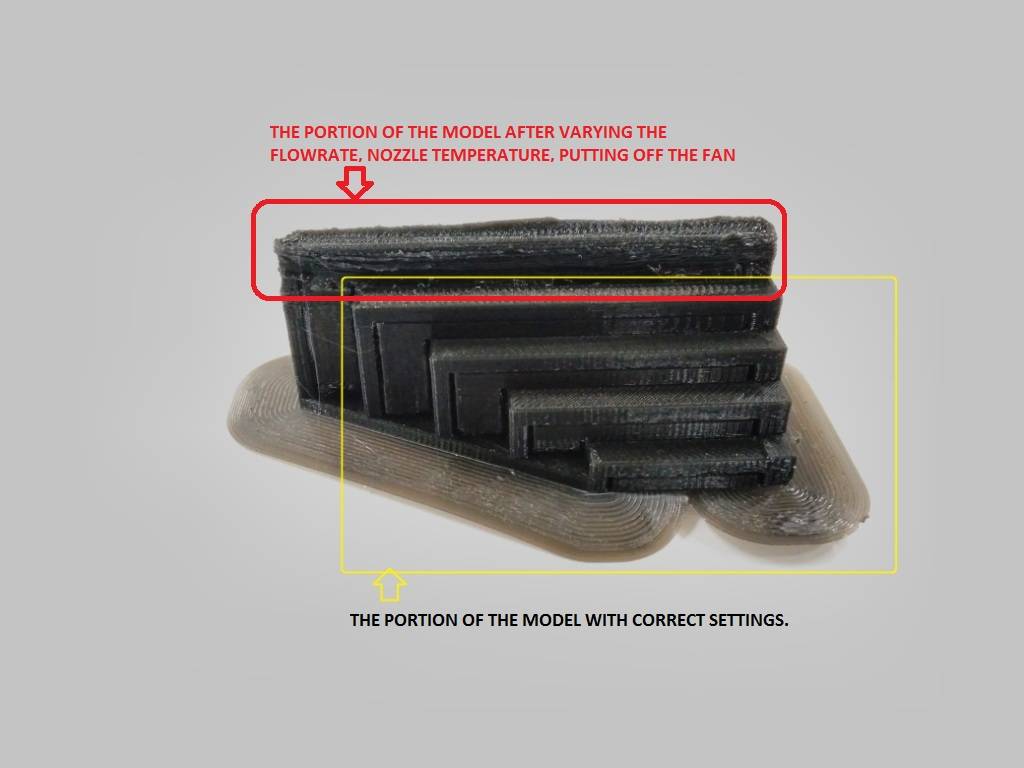
We printed 2 more objects as a part of group activity to check the constraints of our 3D printer. This time, we changed the settings intentionally & observed the results.
Then I decided to design a pen stand and print it on 3D printer.
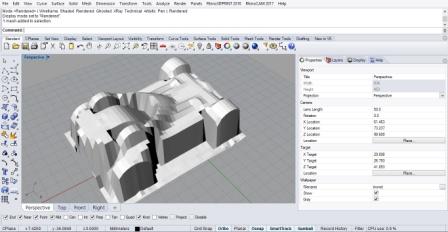
I used rhino to design the pen stand.
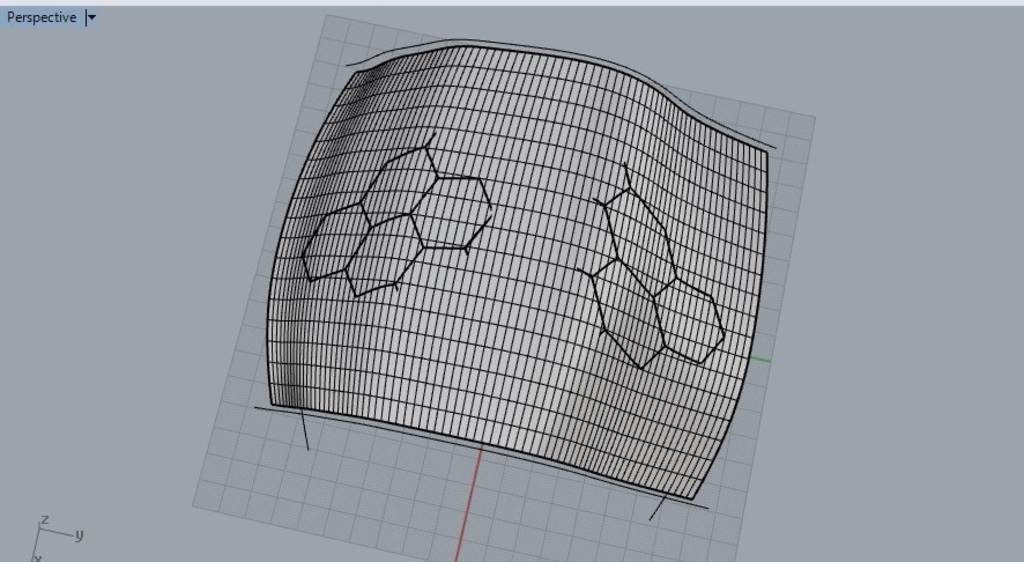
I prepared step by step plan to design the pen stand. First, I created a hexagon-array in top view. I had planned to use SWEEP1 command to create hexagonal pipes. But, while designing I used extrude along the curve command.
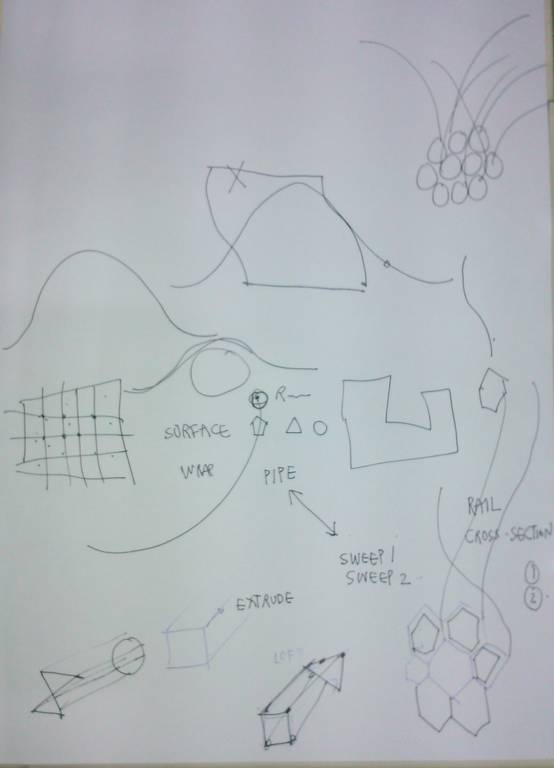
Plan
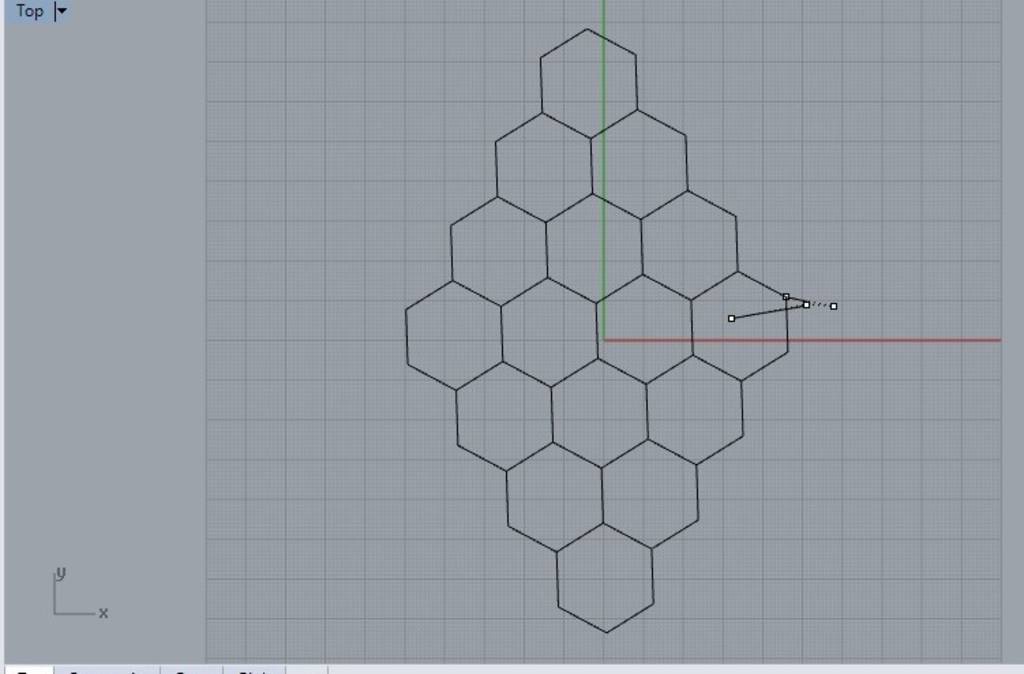
Hexagon array
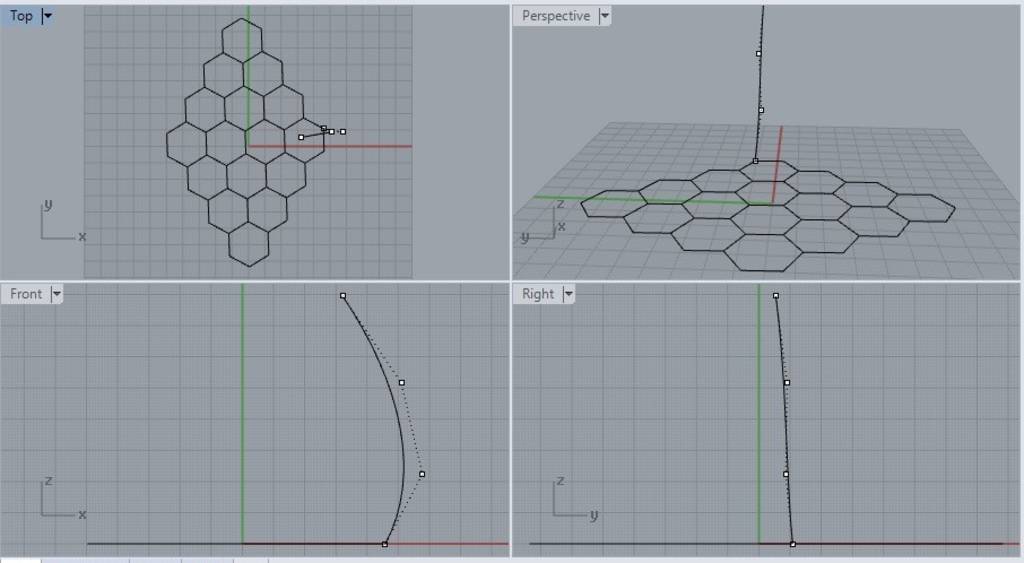
Curve for extrusion
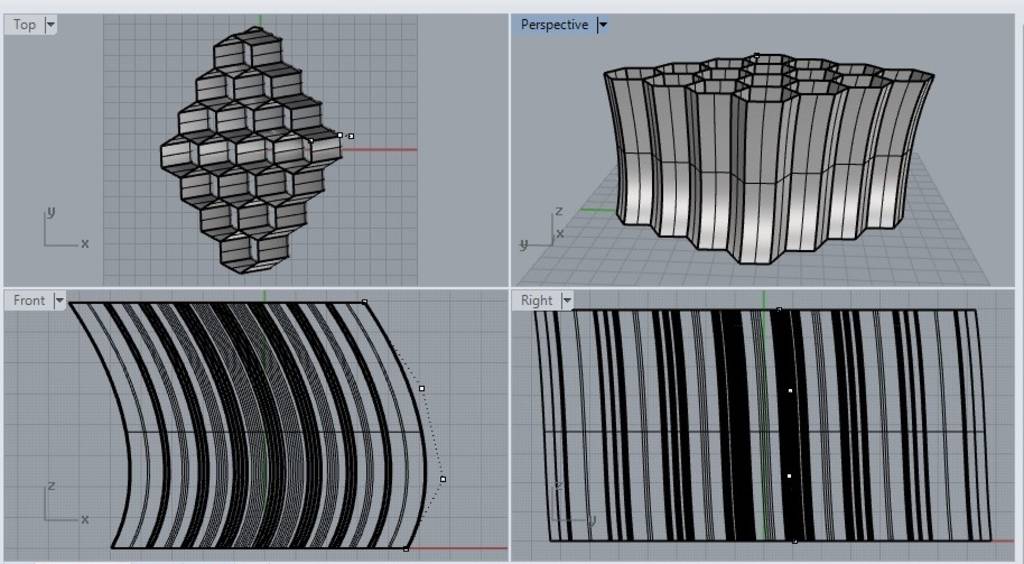
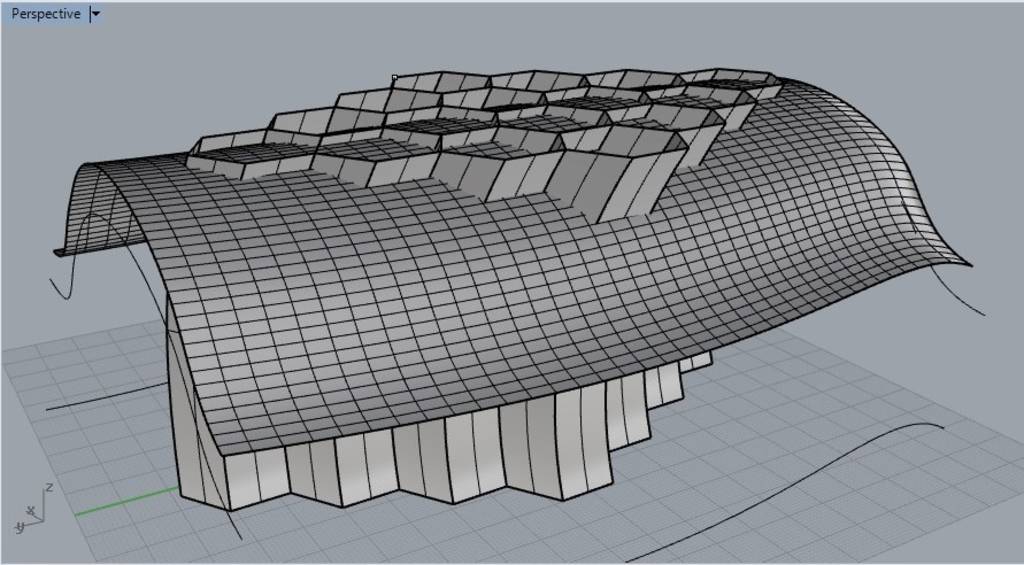
Extruded Hexagonal surfaces
Then I created two curved planes using 'curve network' command & trimmed the hexagonal pipes using these two surfaces.
Section Plane 1
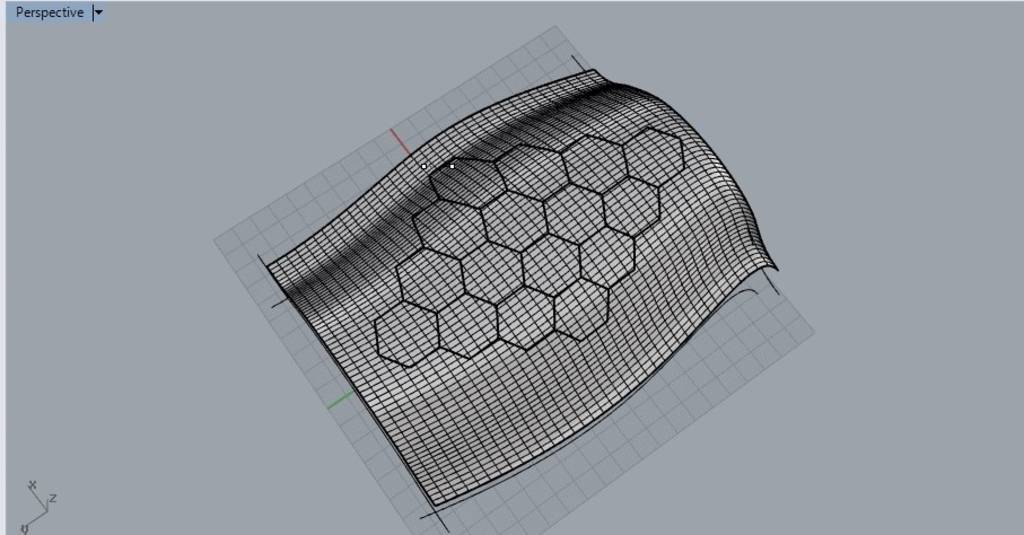
After trimming with section plane 1
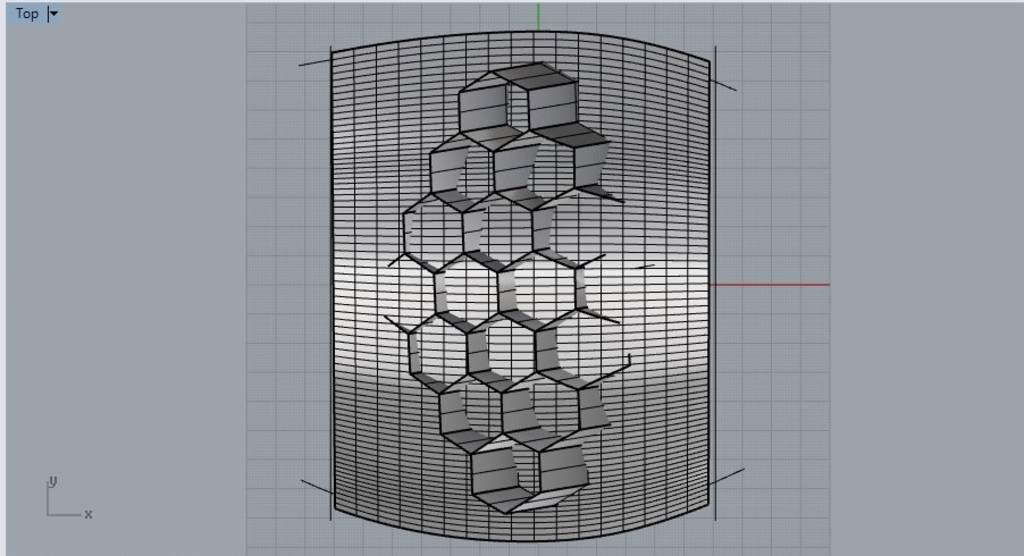
Section Plane 2
After trimming with section plane 2
Then I created surface at the bottom to make the object closed. After this, I made a base plate by extruding the bottom surface in -ve z direction.
Based plate added.
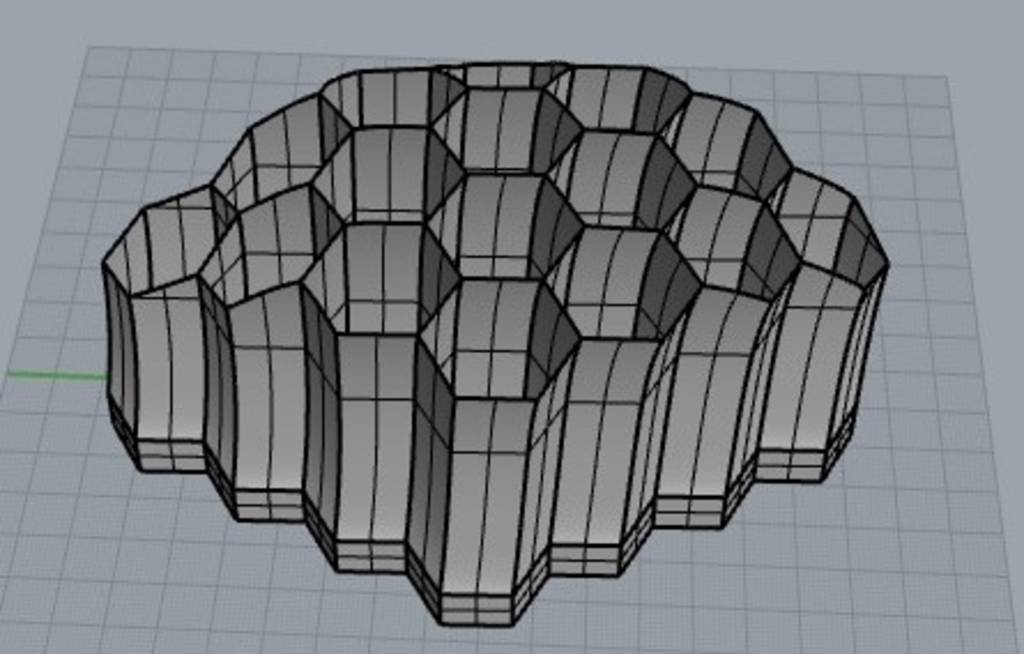
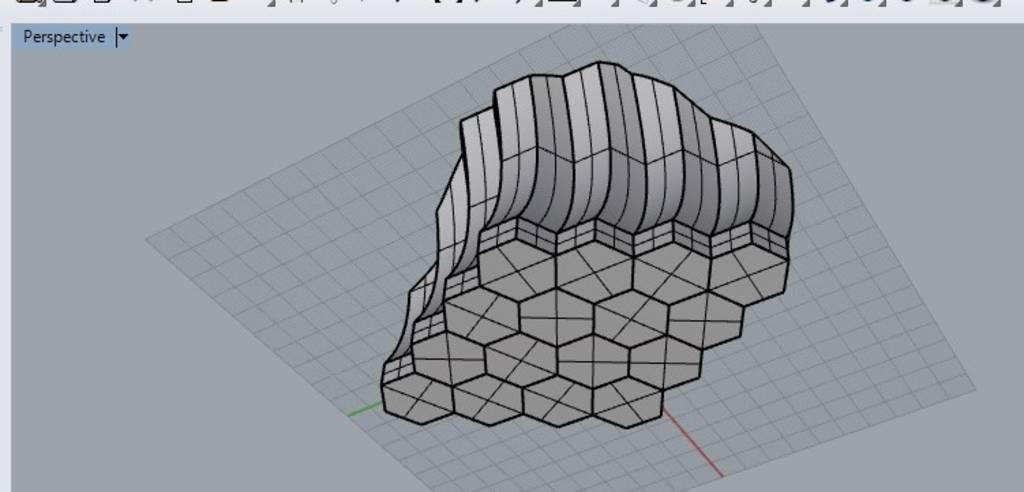
3D model of pen stand
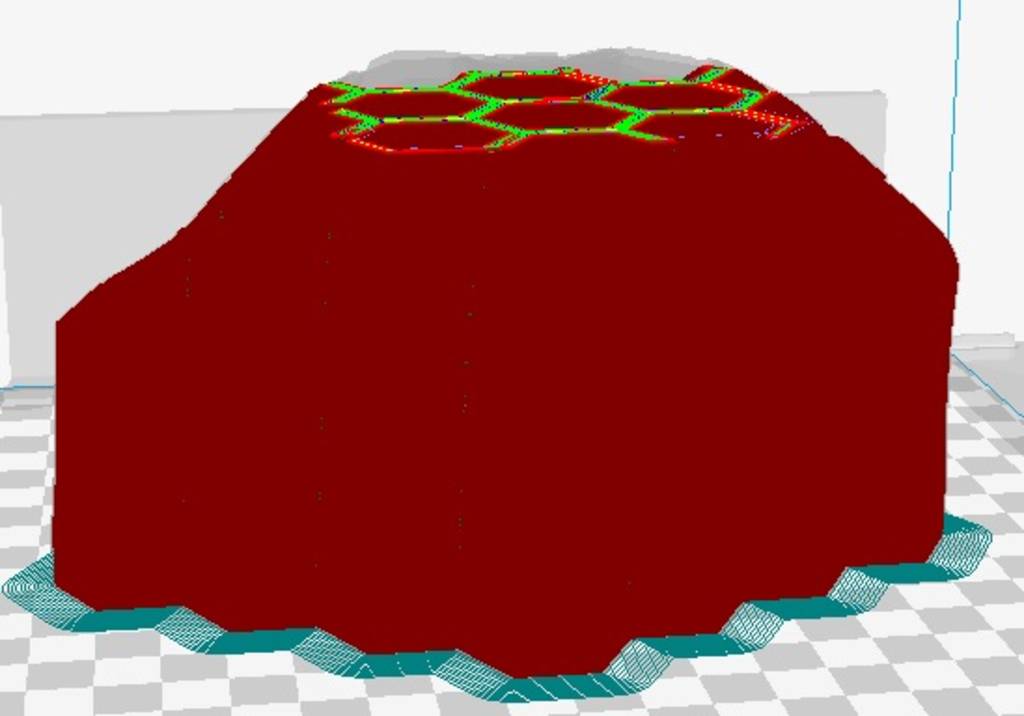
Then, I converted 3d model file into .stl file & opened it in cura. When I made layers view ON, then I came to know that certain parts of my design were invisible. as shown below.
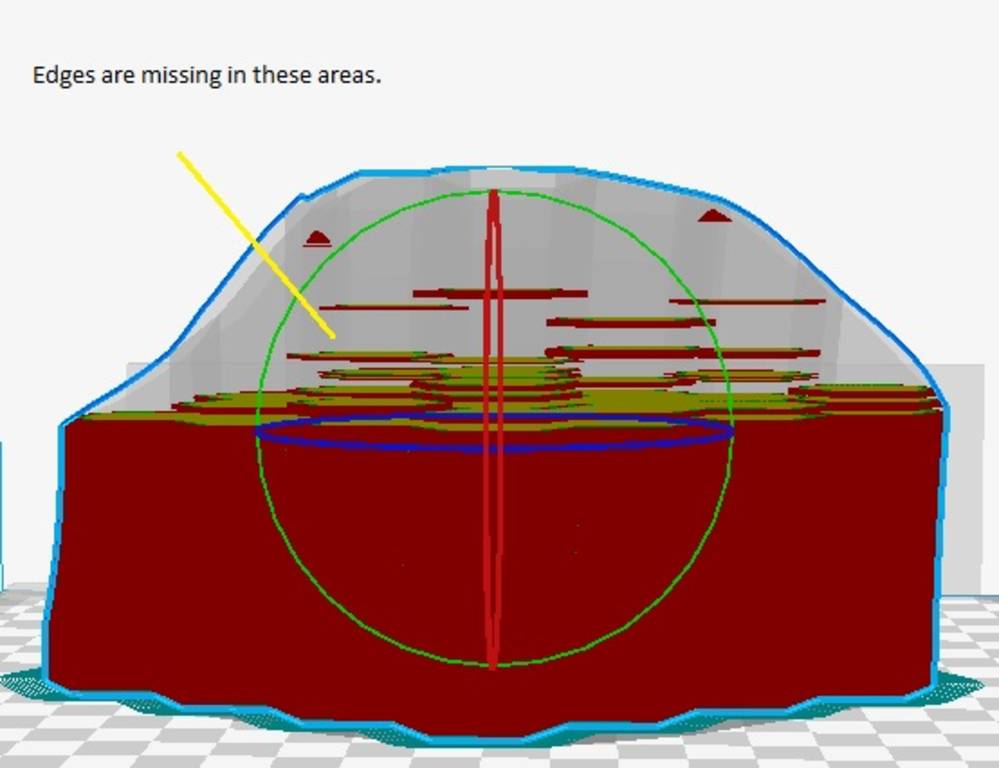
After surfing on internet, I came to know that ths problem occured because I had not given the thickness to the walls in the design.
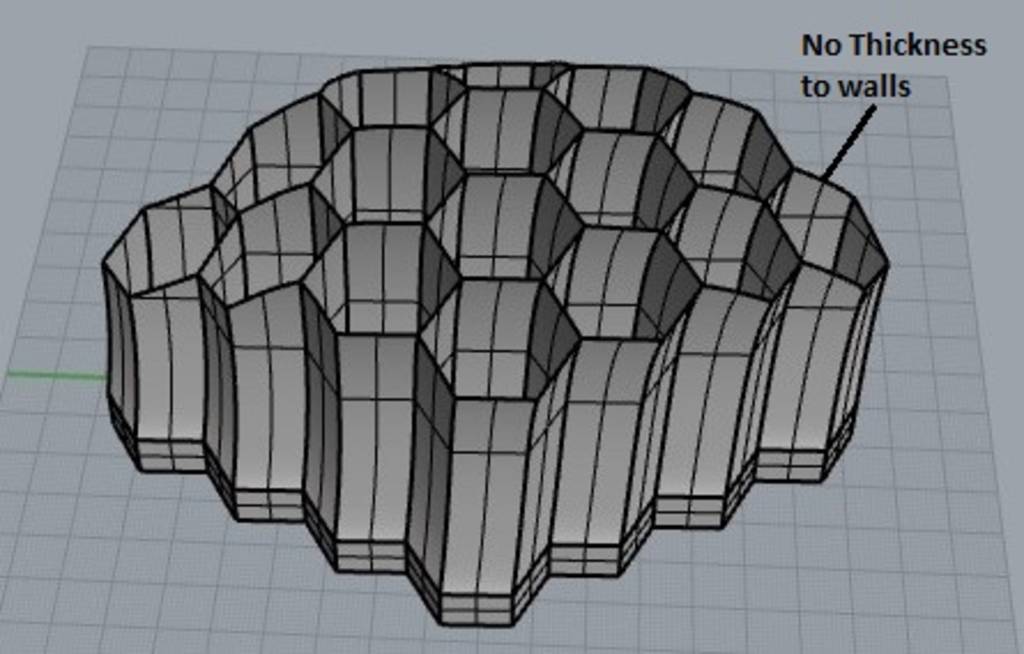
Then, I added thickness to the walls.
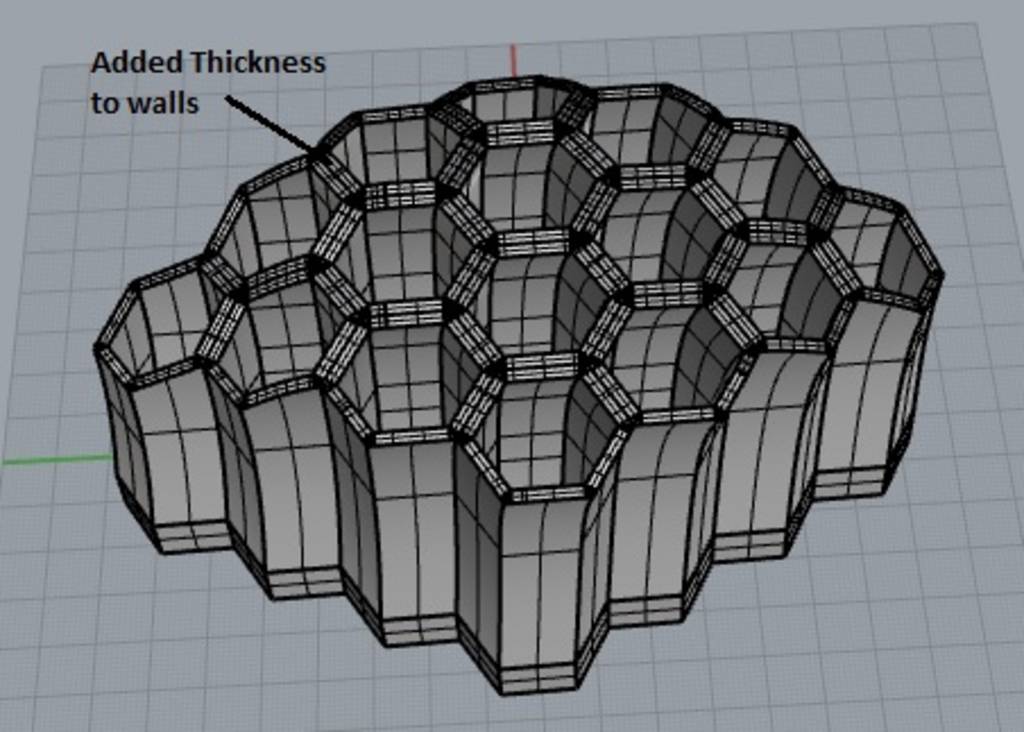
After adding thickness, the problem was solved.
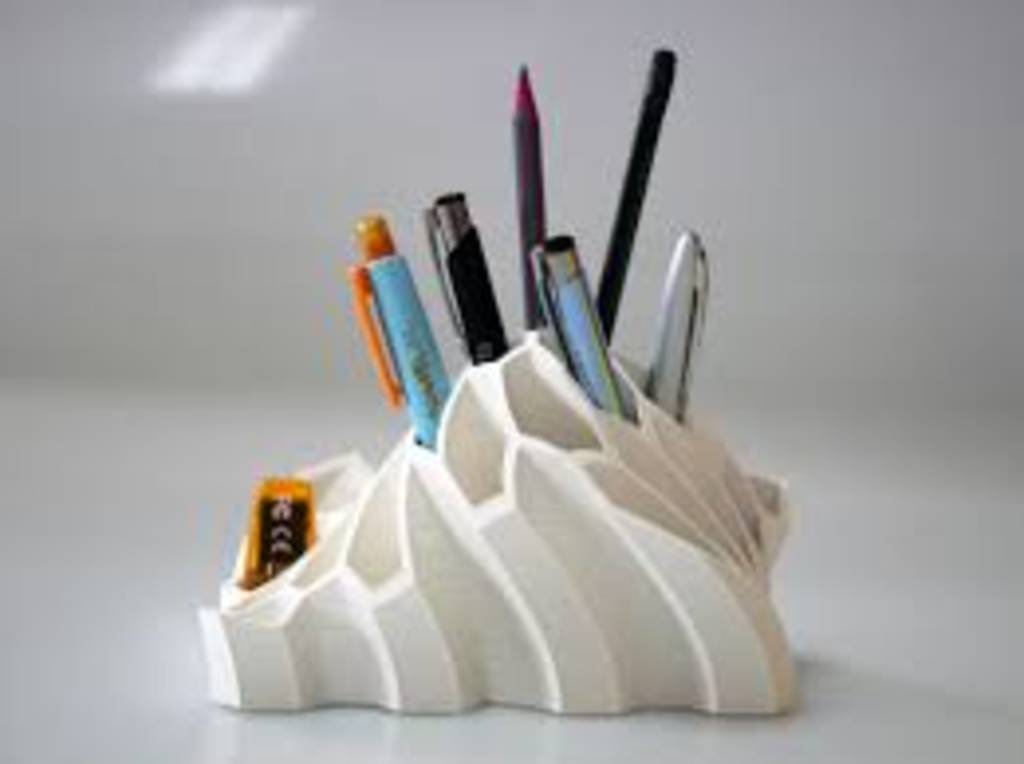
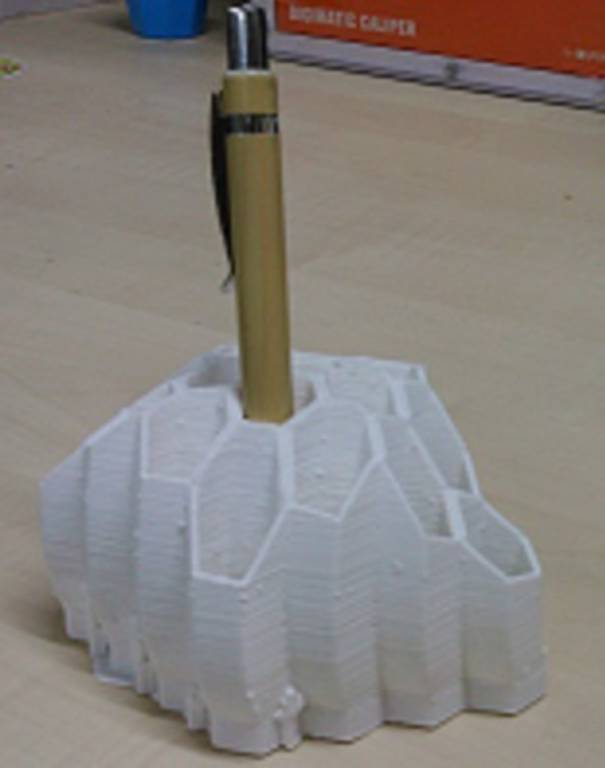
Hero shot of final printed object!!!
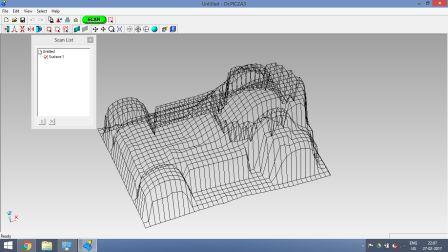
3D scanning
We decided to scan a toy car.
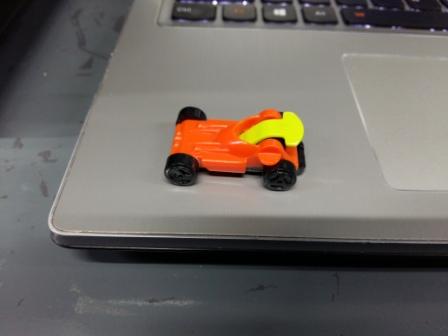
We used MDX-40 machine for scanning.
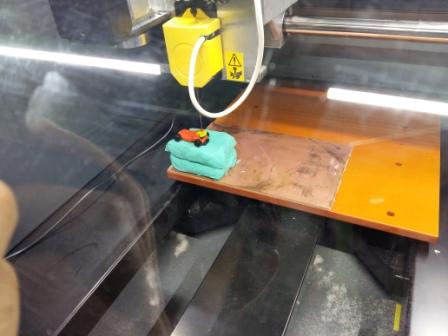
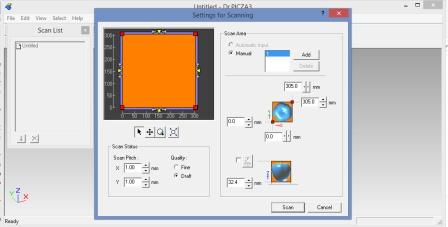
Here is the hero shot of 3D scanning..