Described what you learned by testing the 3D printers.
Shown how you designed and made your object and explained why it could not be made subtractively.
Scanned an object.
Outlined problems and how you fixed them.
Included your design files and 'hero shot' photos of the scan and the final object.
I have never done any 3D printing. I am still having encountered feelings with this technique. I understand it has a lot of potential on prototyping for checking out sizes and looks of pieces fairly fast. But I still think it has a lot of limitations, material and precision wise.I know there are high resolution printers, but those are much more expensive machines. I can see how there are some shapes that can't be subtraction machined, at least out of one piece, but I don't really remember any product where 3d printing is really used as a final piece way of fabricating. I don't know, I might change my perception at the end of this week.
I gave it a lot of thought on how does an object that can only be made additively looks. Most of the objects can be made subtractively, but for getting complicated shapes sometimes have to be done on different parts that afterwards are joined together. Also, most of subtractive machines are limited by their axis number, usually 2 or 2,5. So, complex shaped pieces and quadric surfaces are other molded and casted, or additively fabricated. There are also some mechanisms that if are wanted to be fabricated from one piece can only be made with additive machines. The most obvious example of this are the ball joints. These can be made with a 3d printing out of one print.
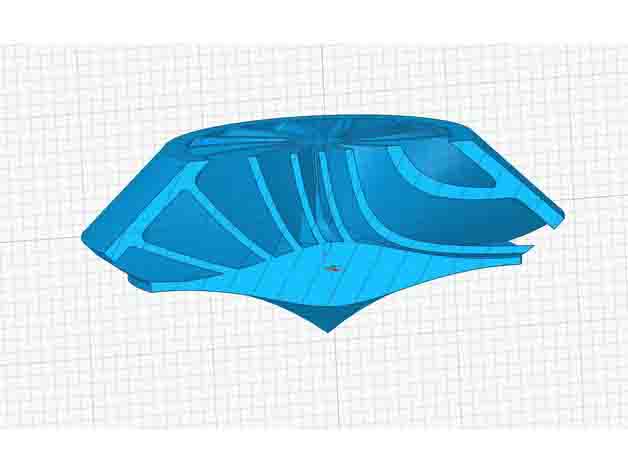
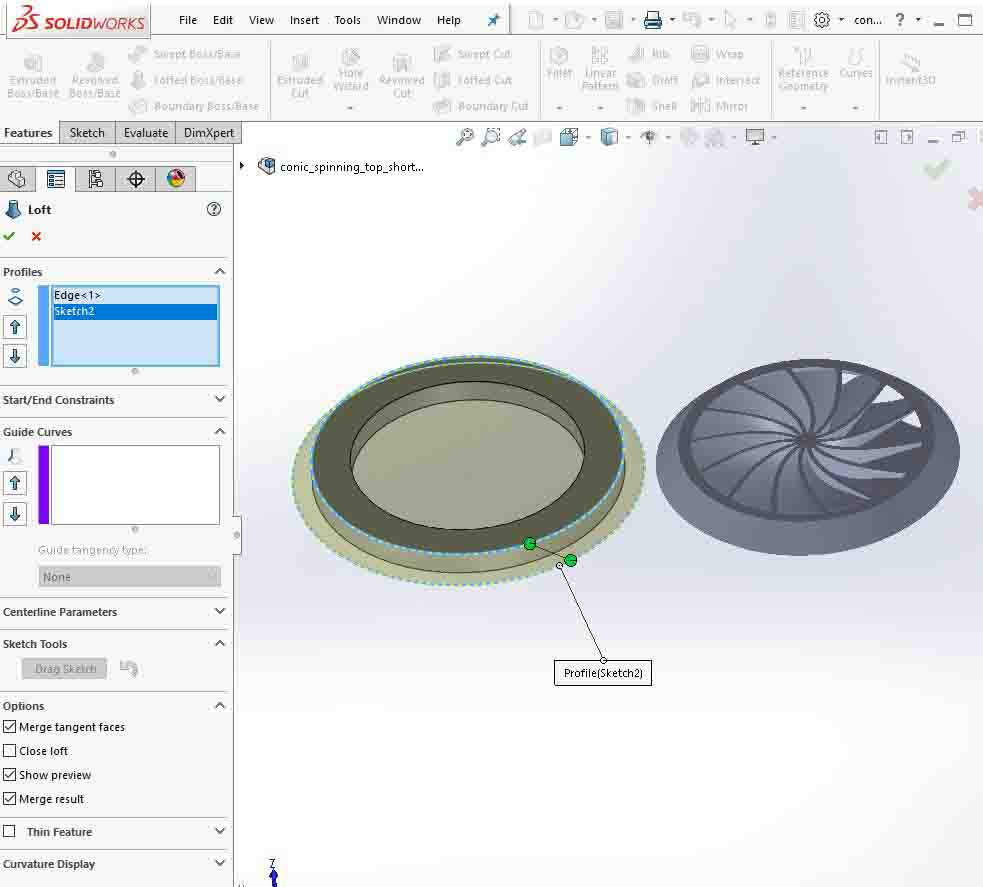
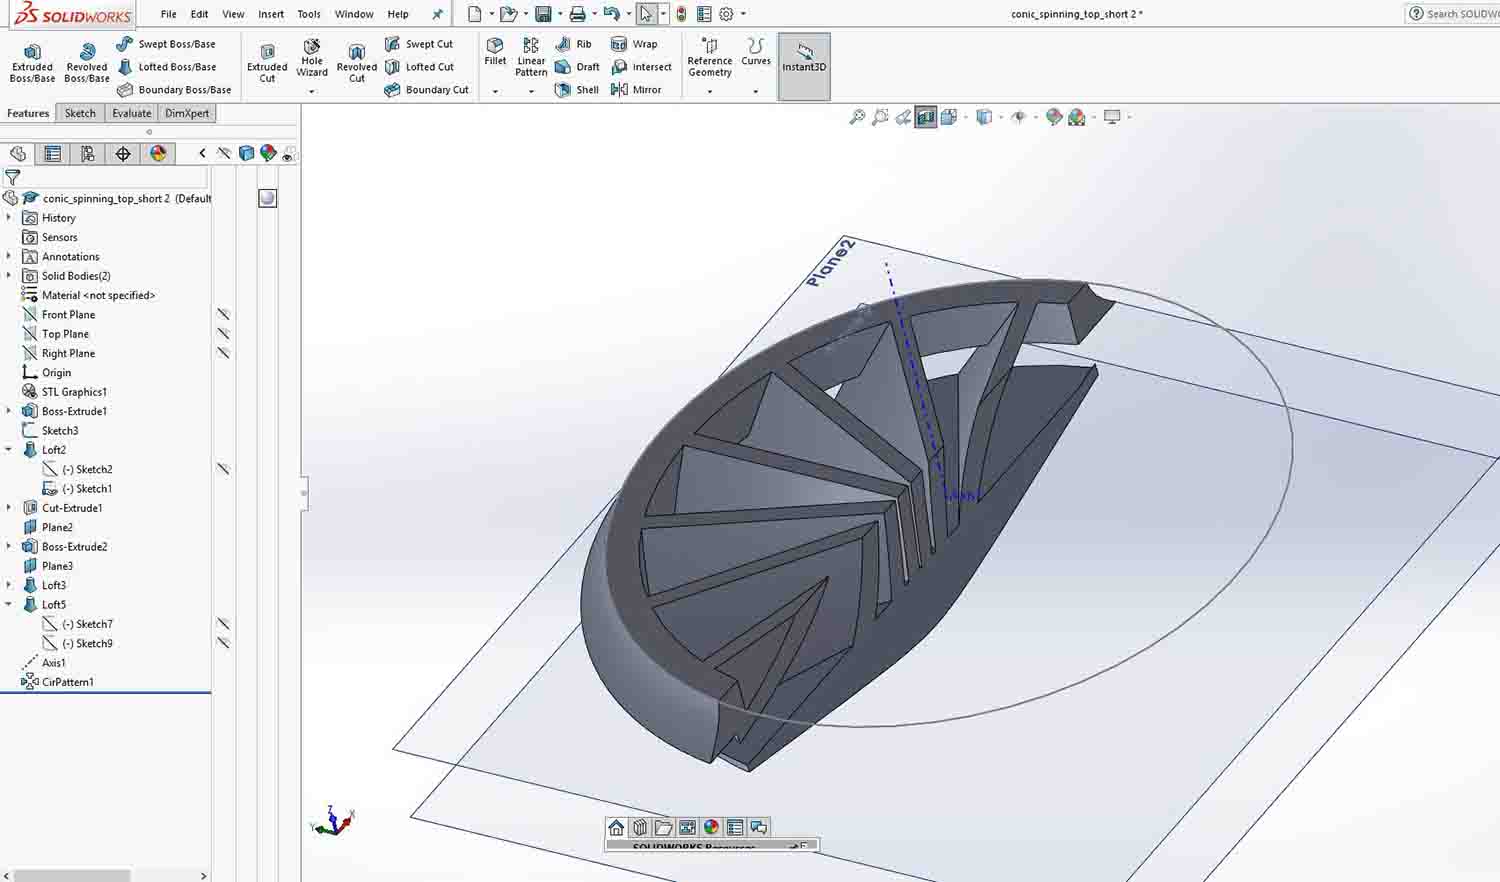
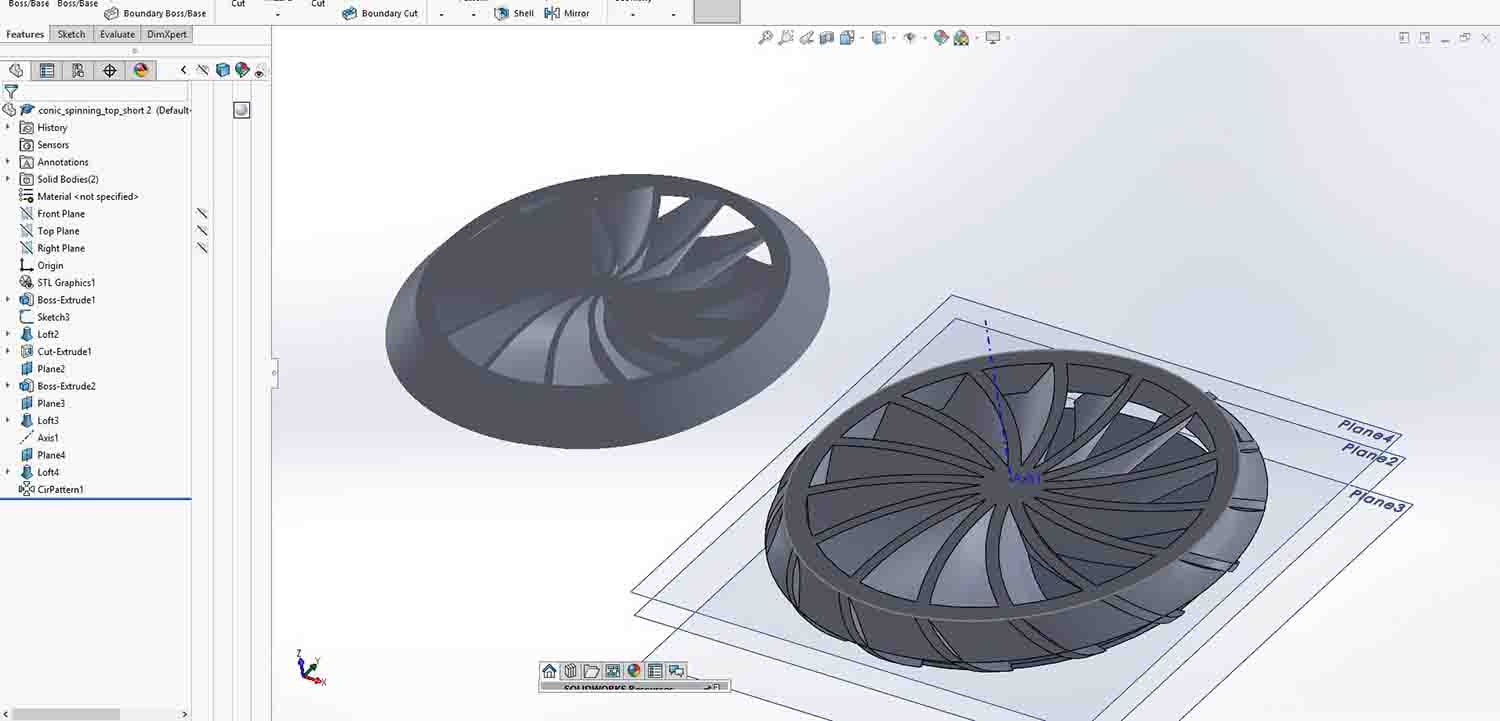
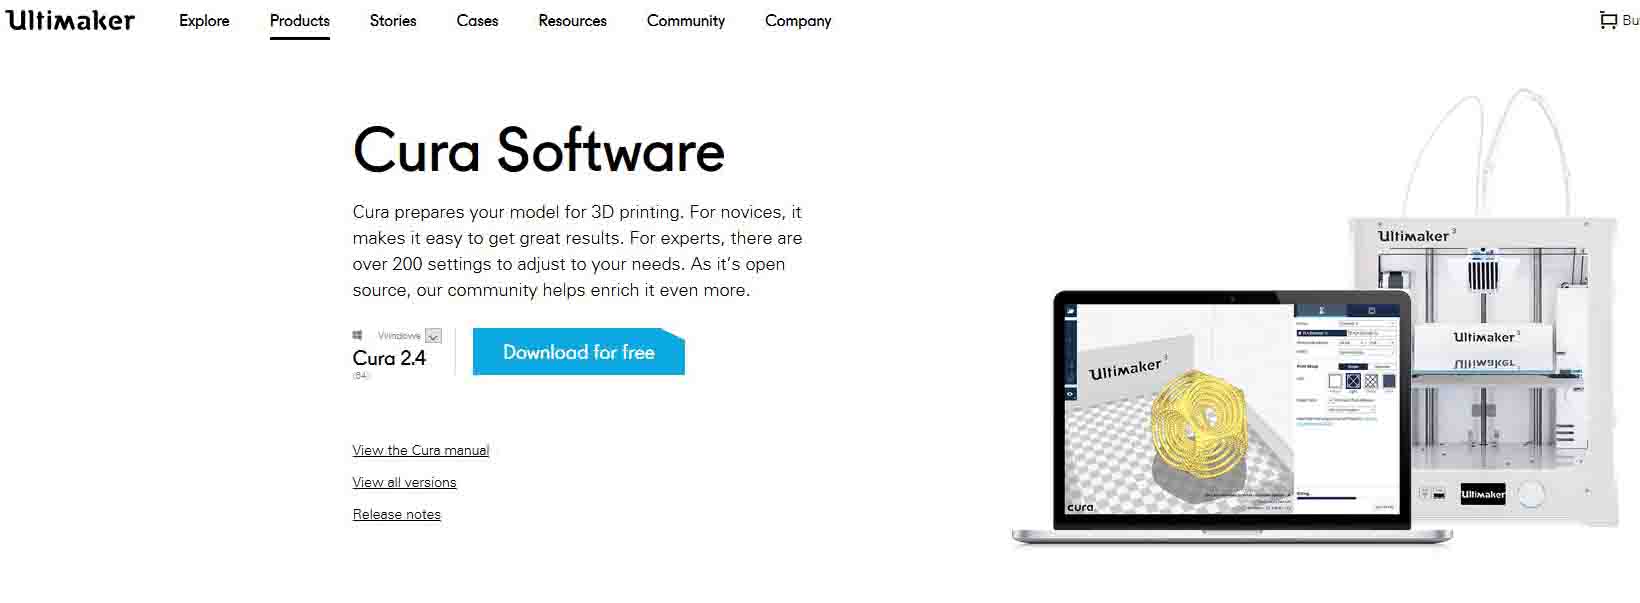
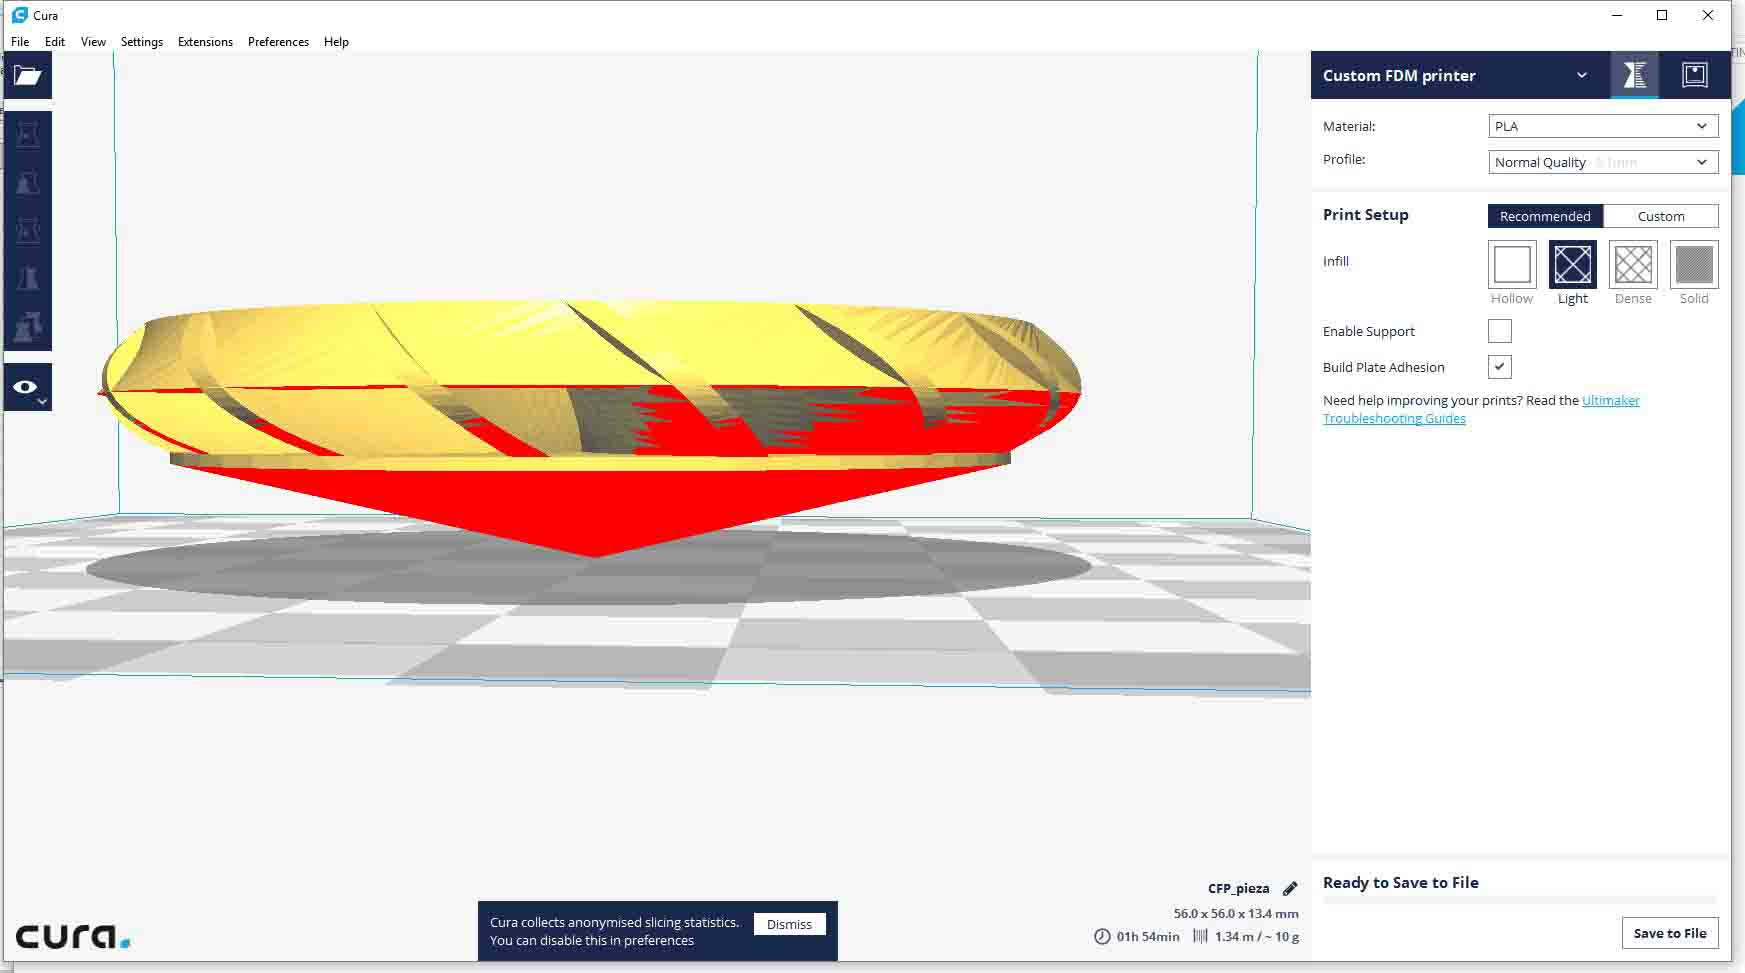
3D print is definitely not the fastest process of fabrication. As we are lot of people in the lab I decided to start with a small piece. I have run into several conic spinning designs on the web. This is a spinning device that works when air is blowed on top of it. I decided it could be something interesting as it has propellers inside and the only way of fabricating them from one piece might be 3dprinting. I downloaded a .stl file from thingiverse and after having understood how it works I made my own version of it on solid works. I modelled it with my own modifications, thinking on spinning performance. The trickiest part was model the propellers, as they are curved in both plan and section. I managed to do this with a lofted extrusion of 3 rotated curves on 3 different planes. Afterwards I made a polar array. Once I was happy enough with my model's look, I saved it as .stl. Solid works does this directly. Once the STL file was ready, the next step for 3d printing is to use a slicer program. In our lab, the 3d printers are connected to a computer that uses Cura, which is an open source software developed by Ultimaker. The parameters are already set on the 3d printer room’s computer to suit our 3d printers, but anyway we had a masterclass on how to use Cura and which parameters are the most important. The printing speed, the temperature and the infilling are the 3 basic parameters, but there are others very necessary as first layer thickness, to make sure the models sticks to the plate right.
Once the slicer is ready, we export the g code file. We have two kind of machines, ones that run from a SD card and others that are connected to a raspberry pi and have wifi so we can print straight from the computer using Octo print, which basically is a web interface for 3d printers. This is very easy, you just need to upload your gcode file and send it to the machine you want to print on. To set the bed first you must scrap it to remove any left material that might leave an uneven bed. We also put some hairspray to make sure that the first layer sticks to the bed properly.
My first attempt on 3d printing was a total failure, I didn't use the right setting for the machine I was using and the speed was too high, so the material was being deposited in a weird way and the piece was not growing up as it should have. I resent the file with the proper settings this time, and the piece printed smoothly. When I tried to spin it, it worked but not as good as I have thought my design would. I compared with a previously printed version of a downloaded conic spinning and this one worked much better that mine. I have some modifications in mind to improve its performance.
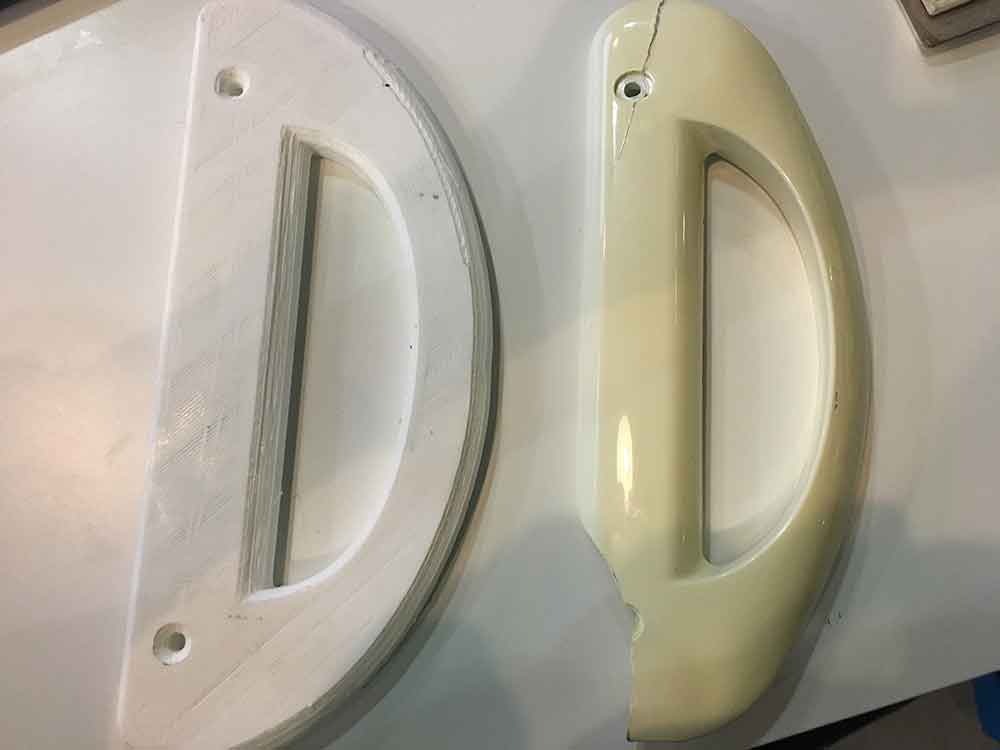
A couple months ago, my fridge handle broke. I kind of got used to open and close my fridge without the handle, but anyway I though it could be a good oportunity to fix it with 3d printing. I unscrewed the broken one and with a caliper I measured it and modelled it with Solid Works. I had to tweak the design a little bit in order to make it more suitable for 3D-printing. I decided to make a flatter piece to avoid using supports. Once I set the cura parametres for the mchine I was going to use, I choose a white PLA and sent it. I am very happy with the result, as I was a little scared it would be a little fragile, but no, it is very sturdy and works perfectly fine. The resolution of the first couple layers is a bit rough, we saw it and realized the bedd was too hot. We losered the bed temperature and the put more flow, and the result of the rest of the piece is alright.
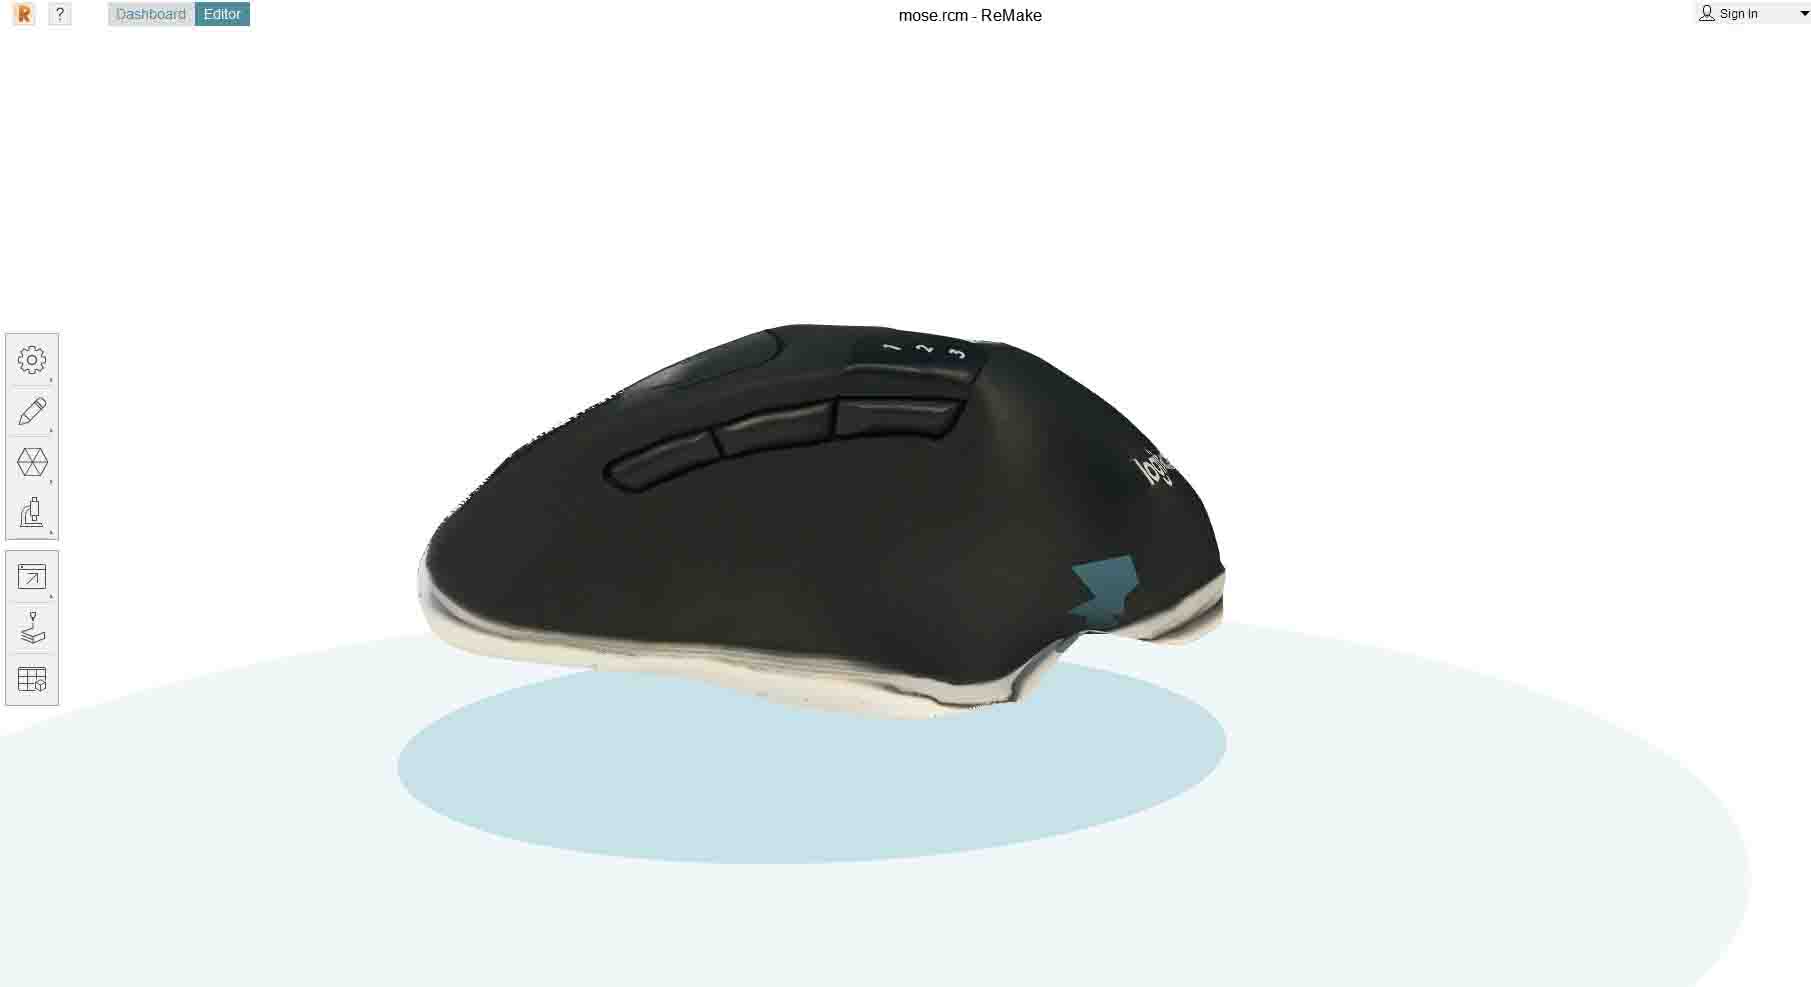
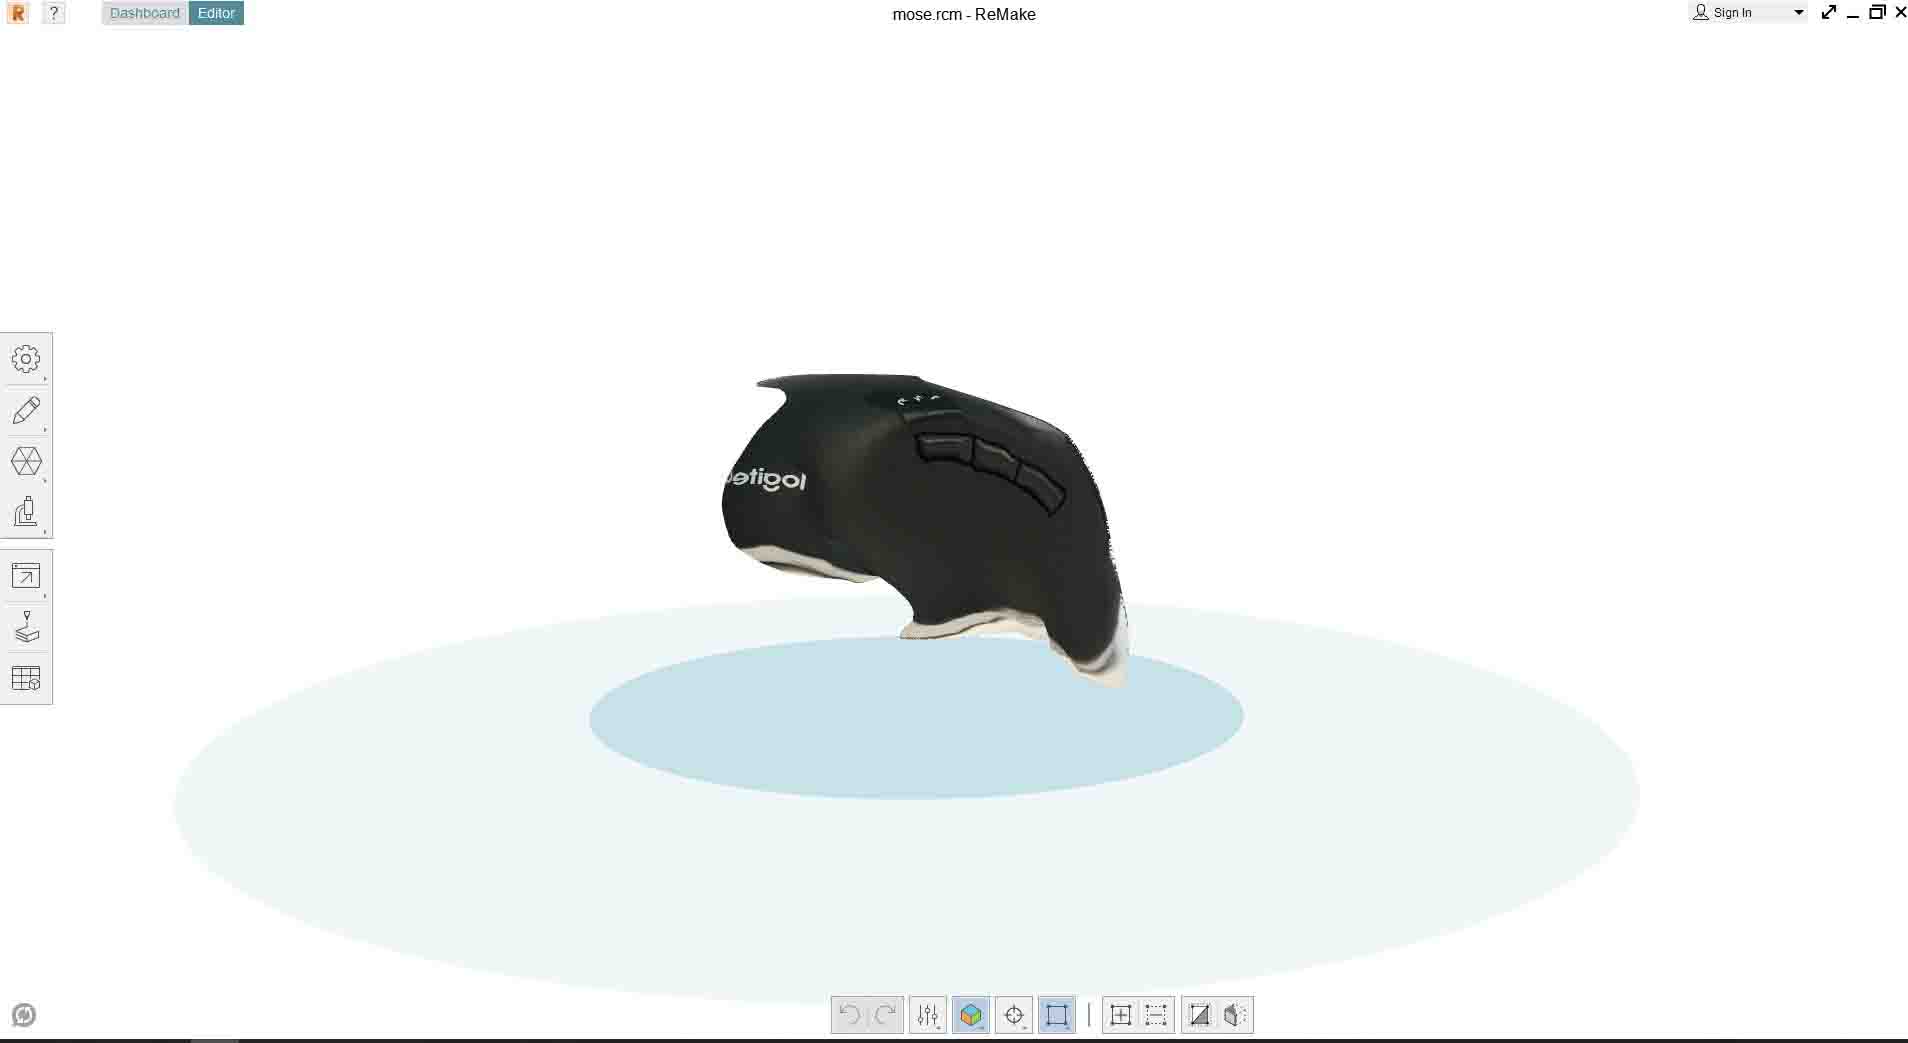
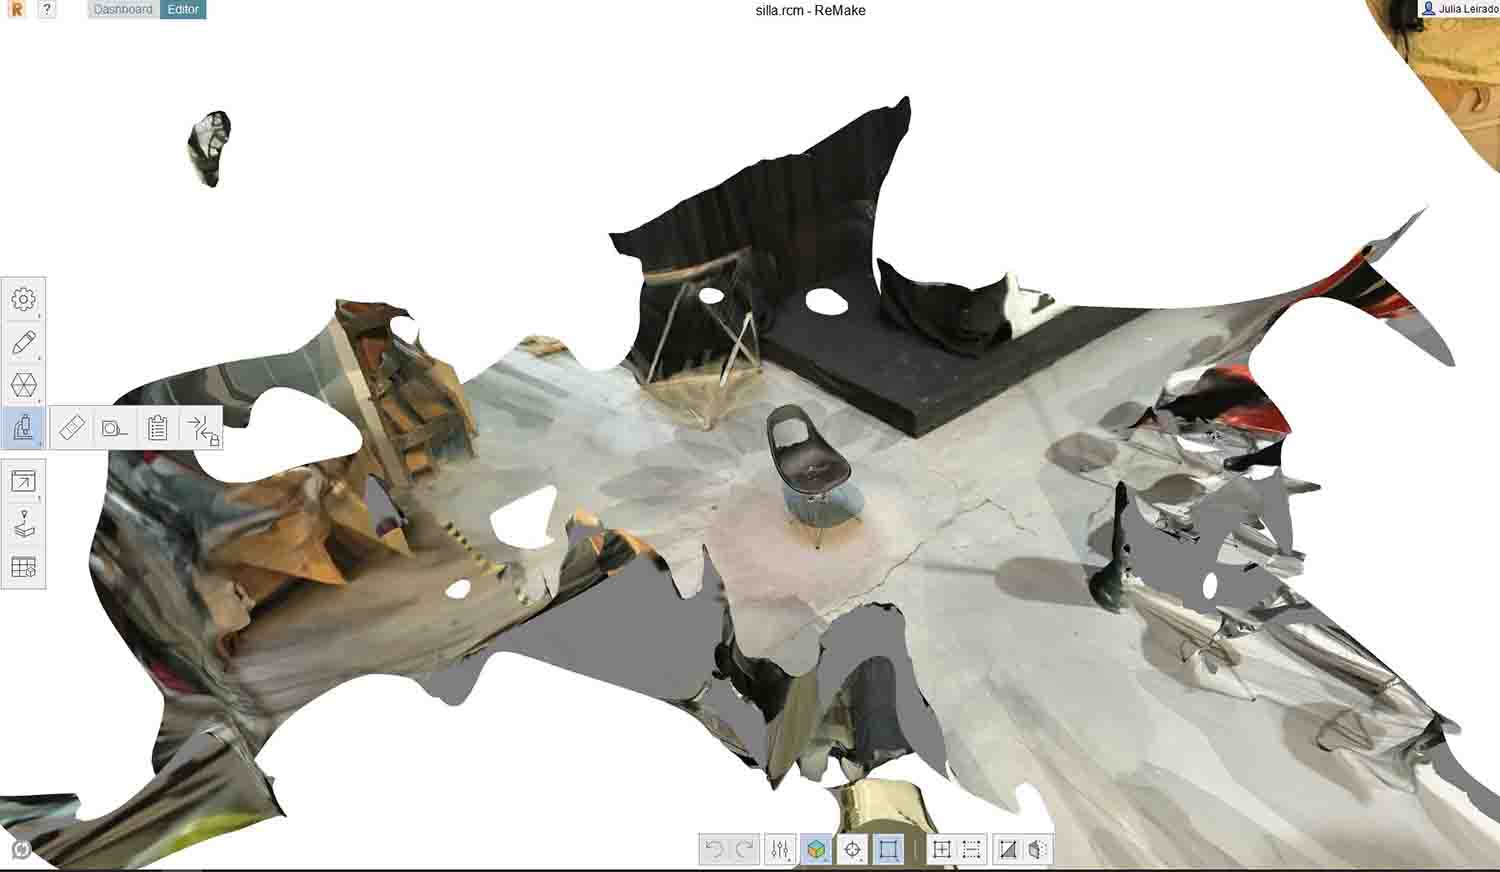
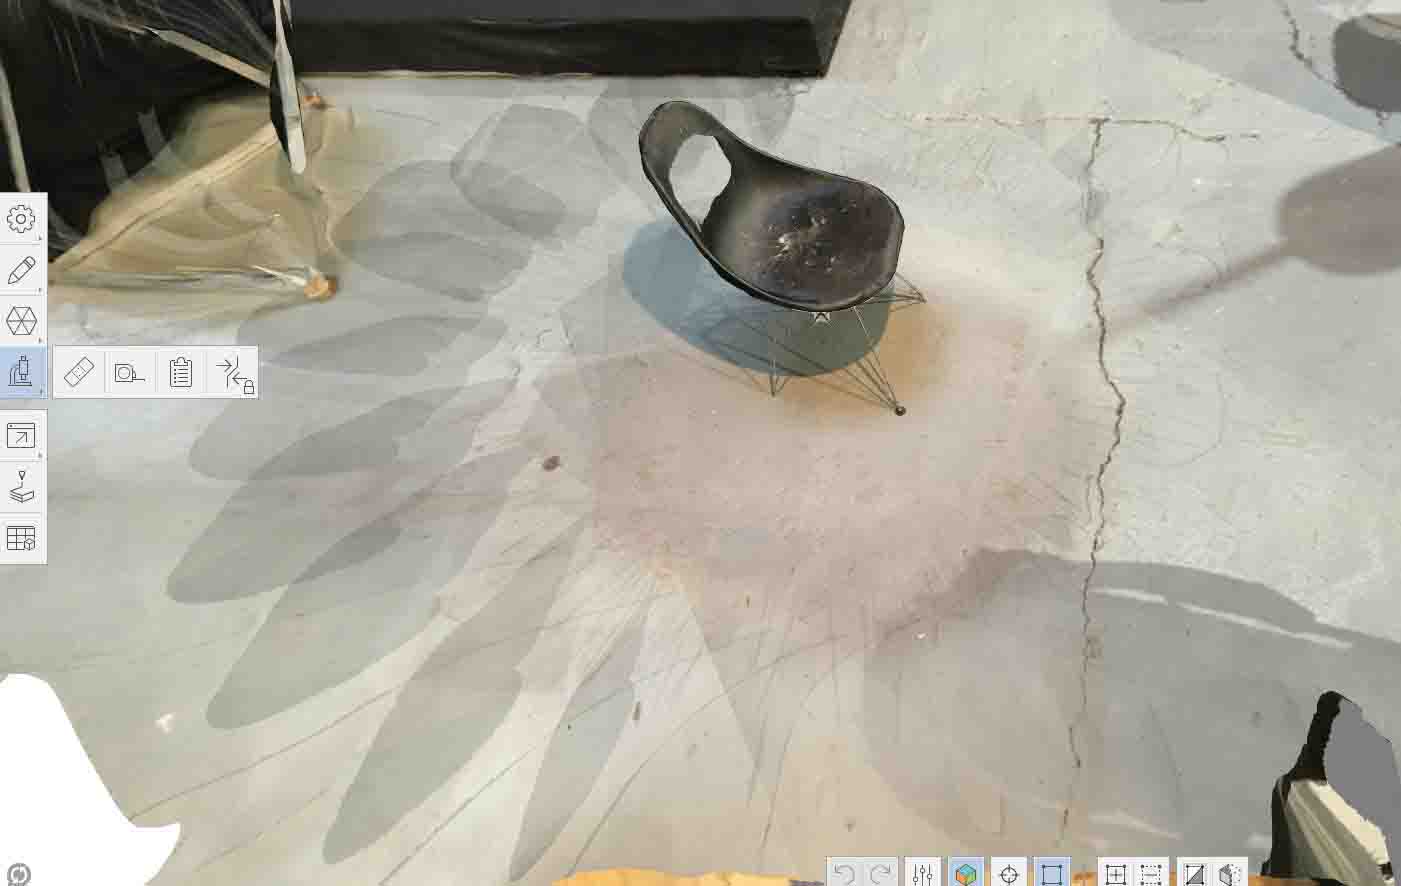
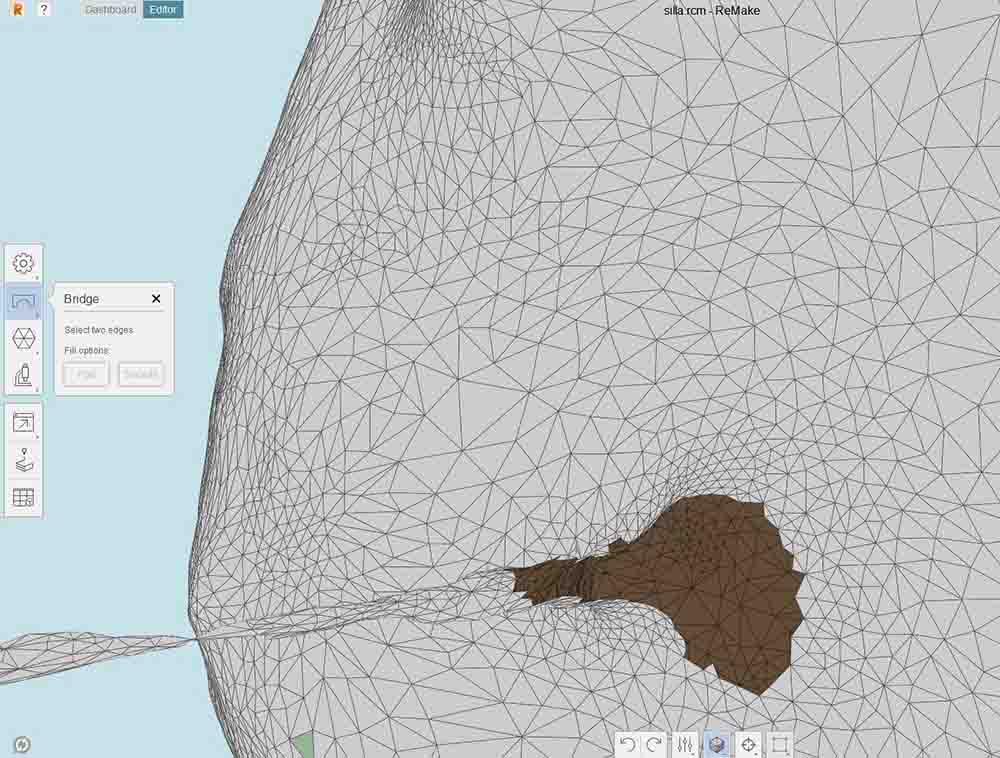
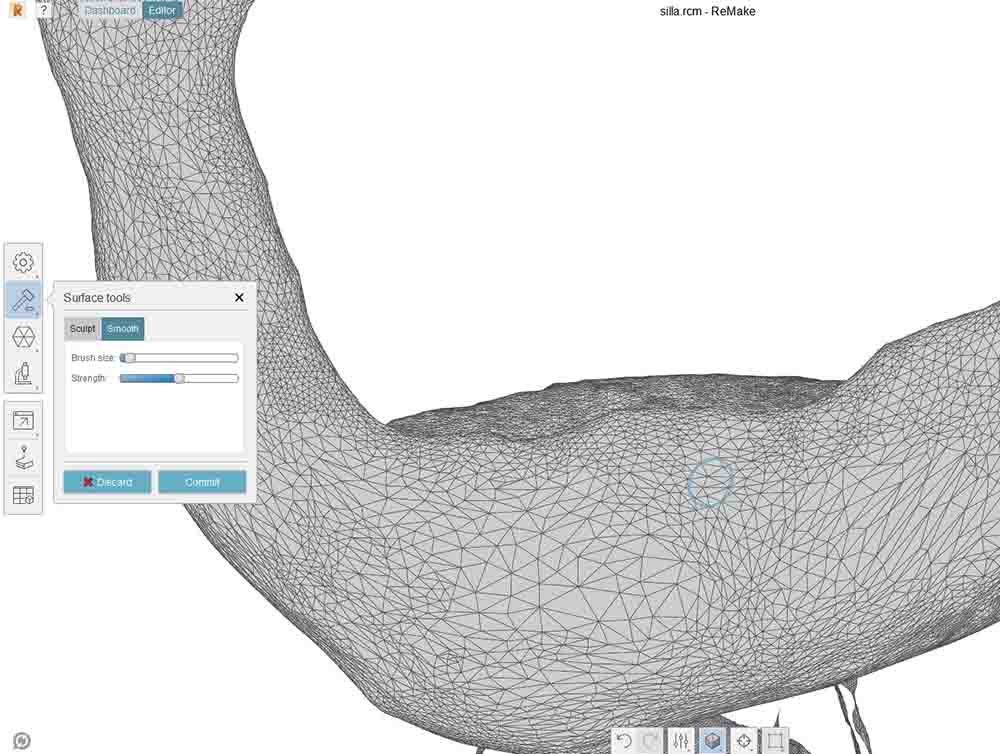
I thought that Autodesk Remake was a good approach to 3d scanning. Remake is the heir of 123D Catch. It basically recreates a 3D mesh from a series of pictures from 360 degrees of an object. This is interesting as you don't need anything more than a camera or a cell phone. I did this exercise with my classmate Pablo. After watching a few tutorials on how the software works we started with a computer mouse. We laid it on a table with white background and put a few lights to avoid wear illumination points. We fixed the camera and rotated the object. We learned this is not the good way of doing it, as the two times we tried this way it would create a one side mesh with the bit map “glued” to the outside. We tried also this way with a glue bottle, same result. Afterwards we started considering it might get better the info if the camera is the one that rotates around the object. This way we manage to get a compete 3d mesh. I tried with a chair. The first problem is that it gets also all the surroundings and environment. I have never used 123D catch so I don’t really know the difference between this one and Remake, but my first impression of the software was not really good, it takes a lot of time to do the whole processing. Once is done what I like is that you can do basic mesh editing on the software. It doesn’t allow you to sculpt as most of mesh editor do, but you can smooth and pull surfaces, reduce the number of polygons and close holes in the same interface. I think that not needing extra software for editing is very handy. But the program kept crashing while mesh editing.
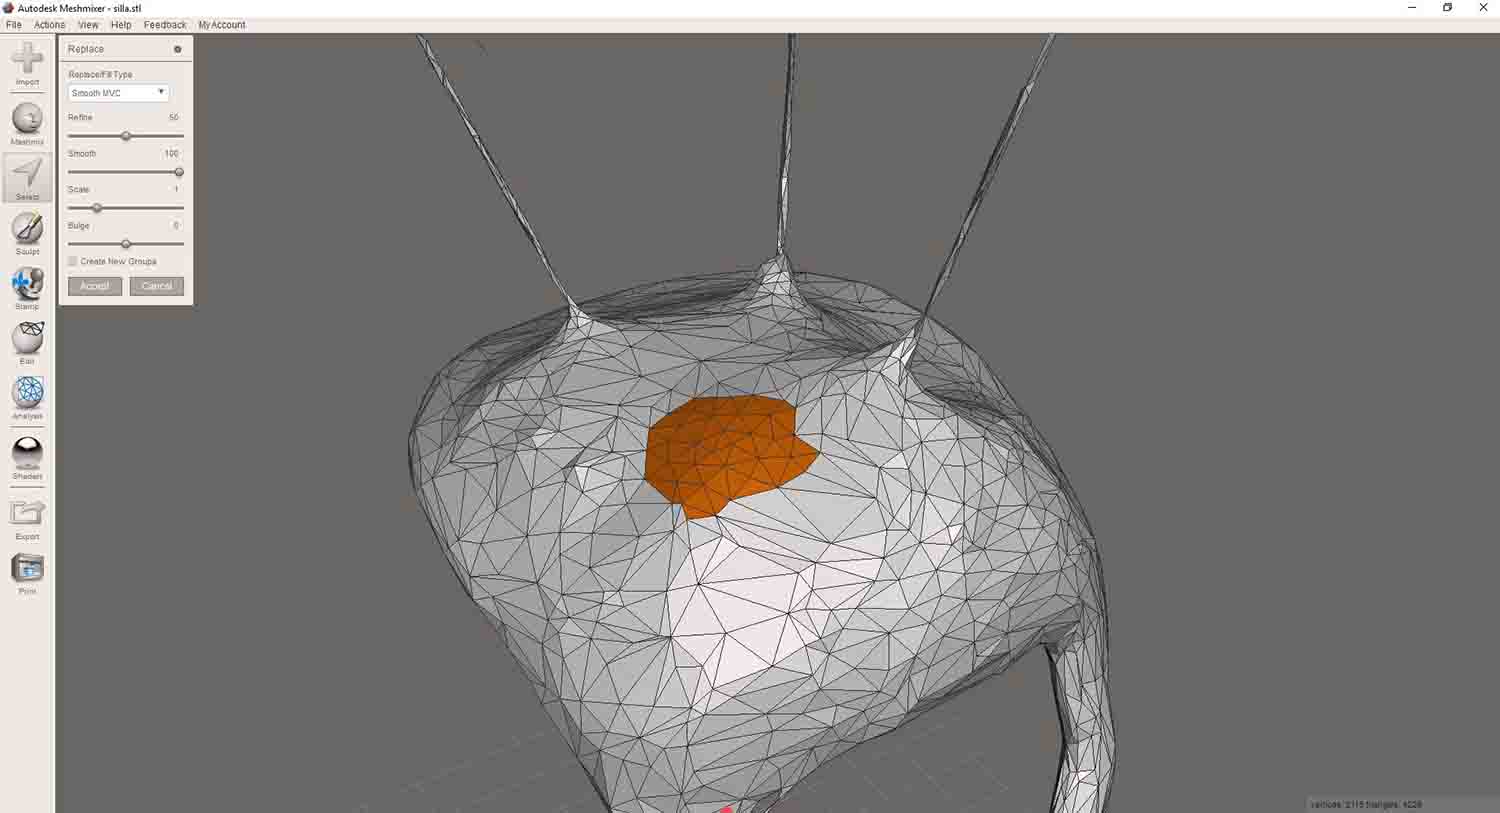
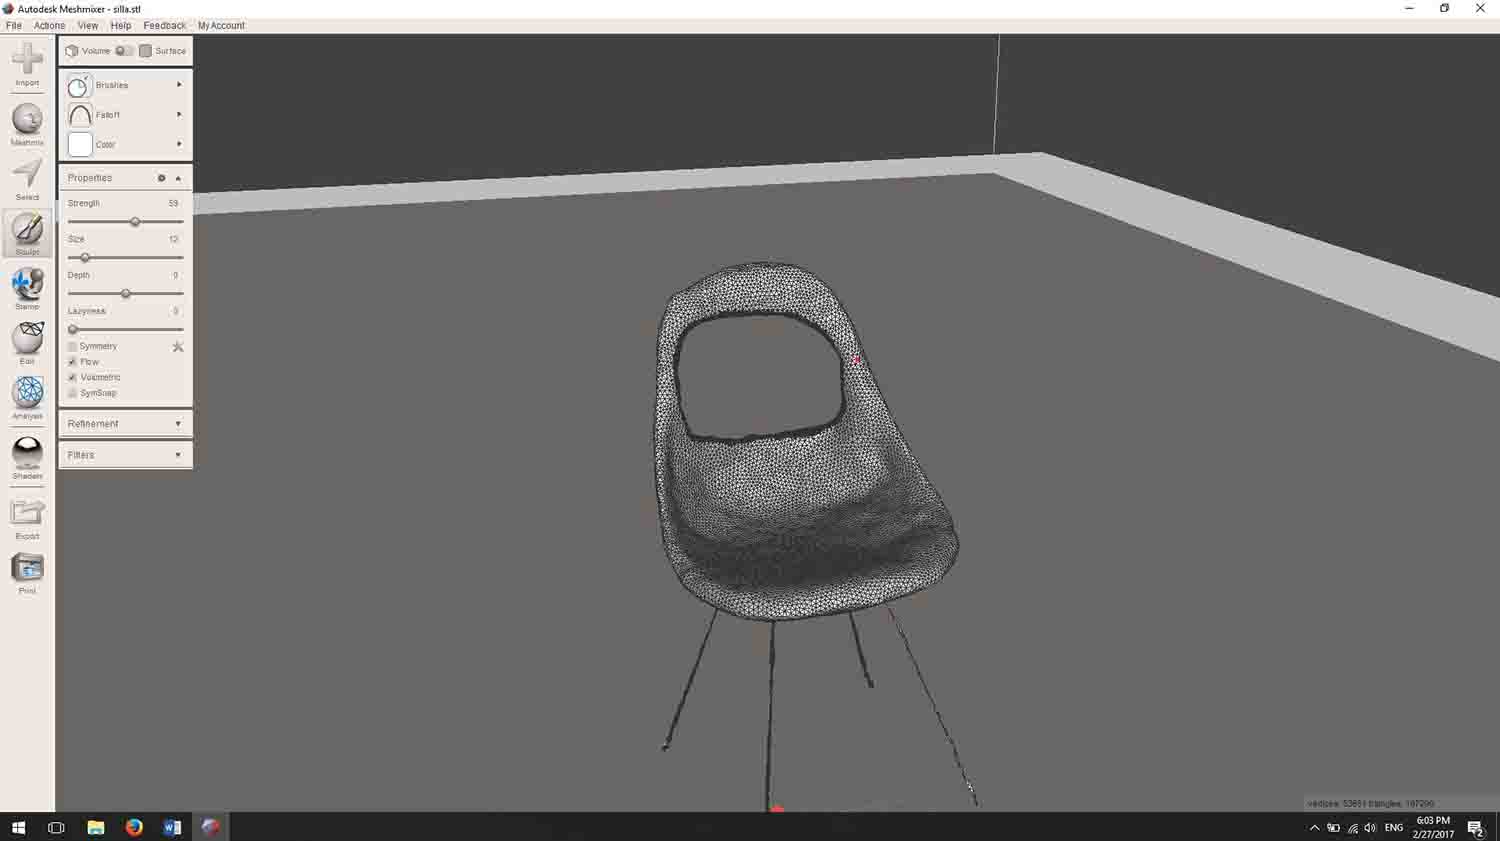
Afterwards I tried Autodesk Mesh mixer, and I totally fall in love with it. It is not a very accurate program, but I guess that mesh editing never is. I cleaned the surfaces, and sculpted a little bit the seat support. I also needed to do something with the legs, as they were a mess. This happened because they were metal thin legs and shiny surfaces don’t behave well with Remake and 3d scanning in general. Also, thin geometries tend to get confused with the environment scanned. I deleted all the legs but one. I remeshed it and fixed as much as I could with the sculpting mode. Afterwards I created a closed object out of it, and dragged it 3 times on the model where I rotated them and placed them were the rest of the legs were supposed to be. Finally, I got the mesh of a chair. It was not very accurate, but even though I had the intention of printing it to see how it looked.
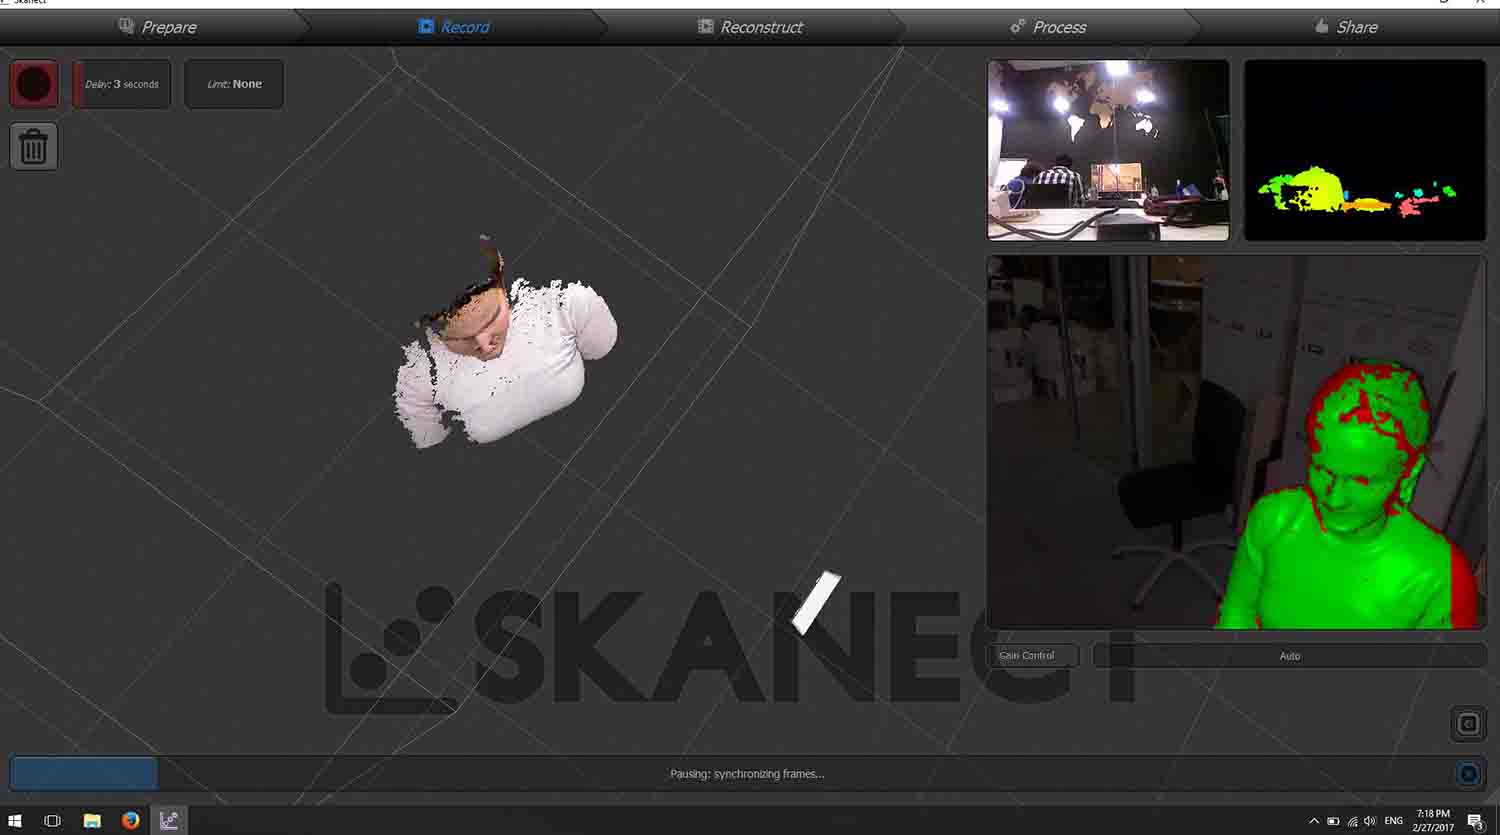
Having tried Remake, I wanted to use a real 3D Scan. I installed Skanect and plugged in a 360 Kineck. I use Windows and my computer didn’t recognize the camera. Apparently for windows on top of Skanect software you must install Kineck SKD. Now the green light was shining but the software was still not recognizing the camera. We tried different things, and we opted to try with a different Kinect. This one worked just fine. That is weird as the other one worked on my classmate Mac. It doesn’t make much sense but apparently the can get a little crazy sometimes.
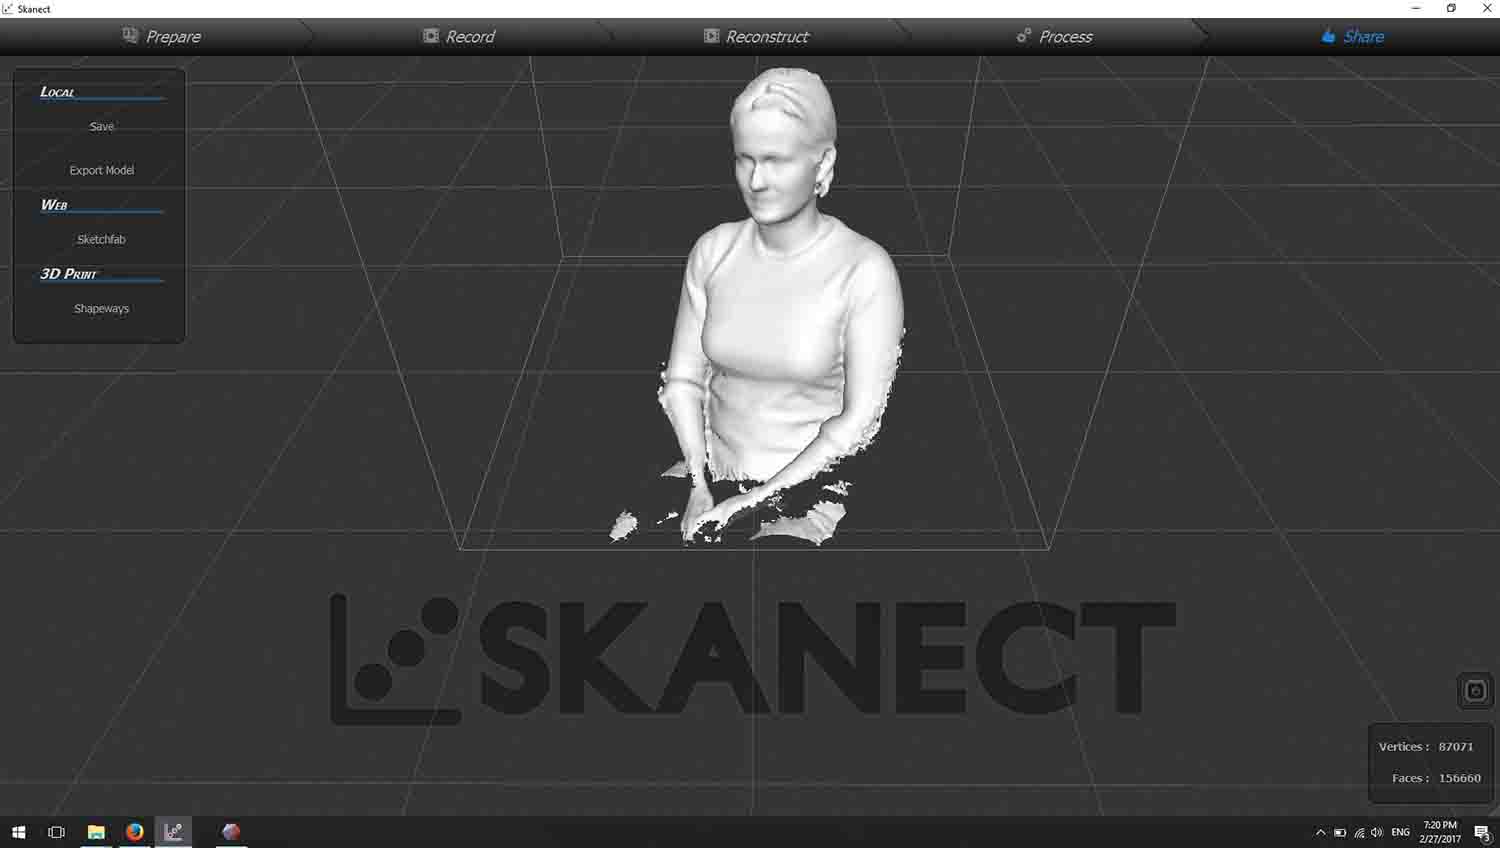
With the skanect working I run a 3D scan of myself. You just need to set the volume of the object you want to scan, press record, do a 360 sweep of the object/person and press regenerate. Afterwards you can export the stl, the problem is that as we were using the free version of skanect, the export is very low pol as you can see below. Not any recognizable geometries, but still fun.
We have a group assignment webpage where we have all the conclusions we reached during the test and all we learnt from it.
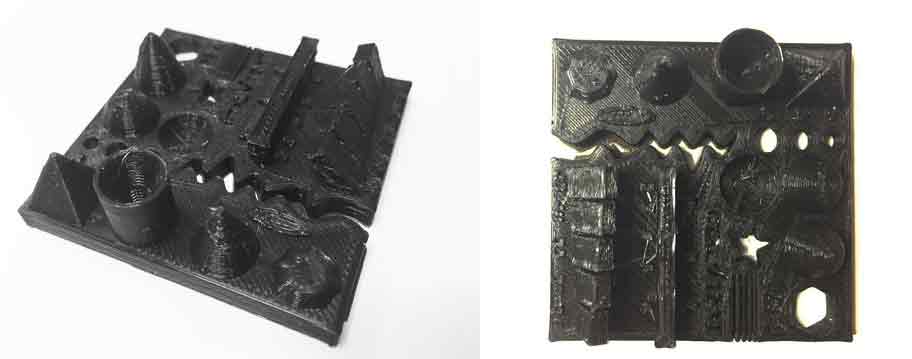
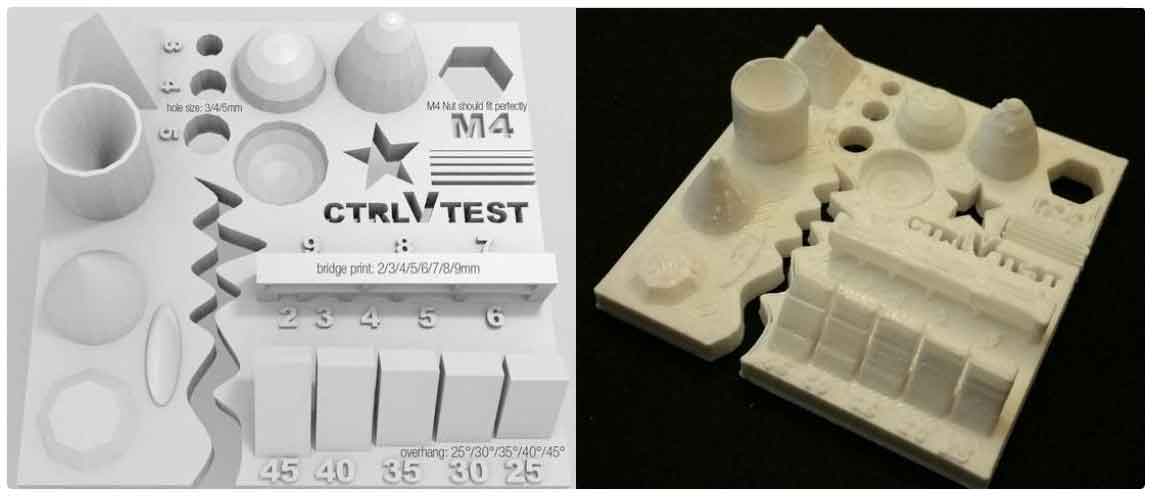
We basically downloaded a test 3d file from Thingiverse and printed it in our different machines. We discussed several points to look for when printing and how to solve some of the problems.
This is the test file we used:
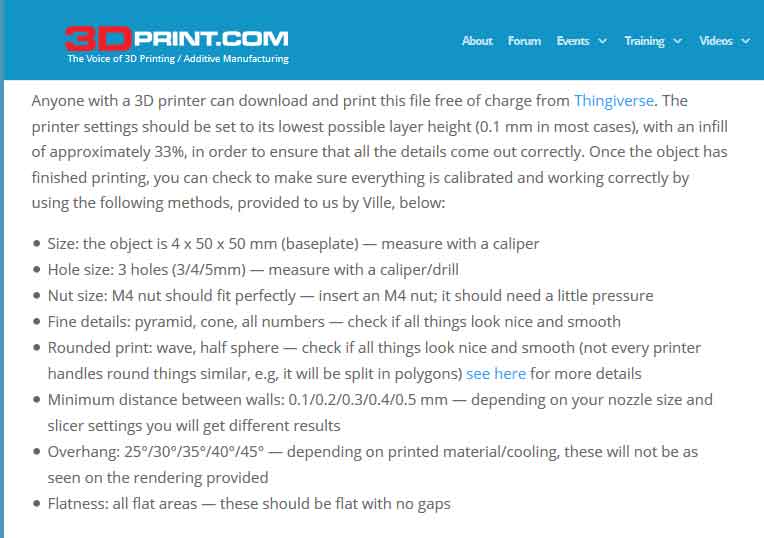
The info you can get out of this file is listed on this webpage. It is very interesting because is an all in checking file.
ReprRap profile nozzel 0.6mm
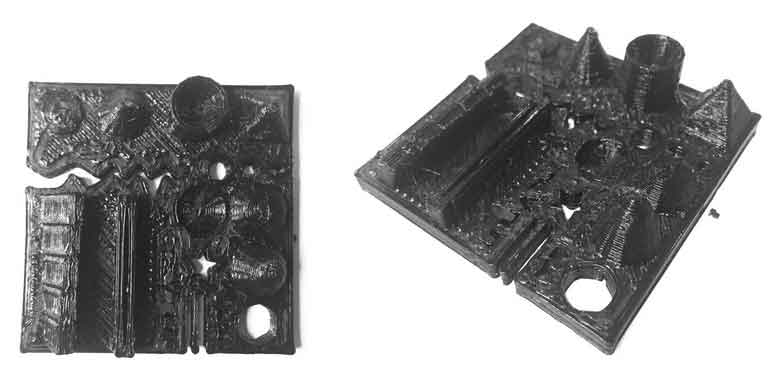
ReprRap profile nozzel 0.4mm
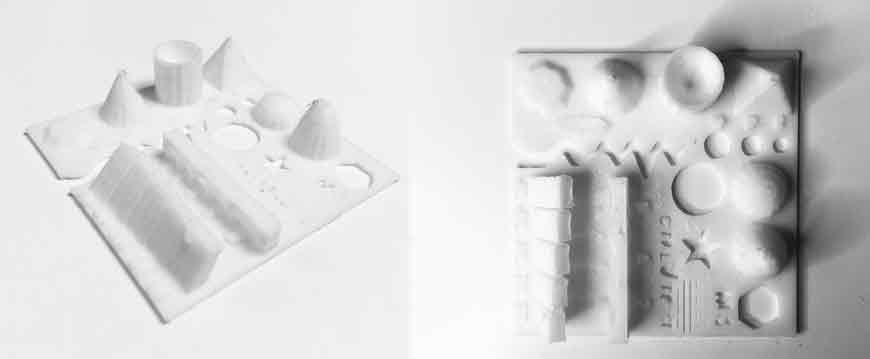
Prusa I3