
Made a website and described how you did it.
Introduced yourself.
Described and made a sketch of your final project.
Documented steps for uploading files to archive.
Pushed to the class archive.
This week's assignment was to create a web page to document all our work during FABACADEMY and upload it to the Git's course.
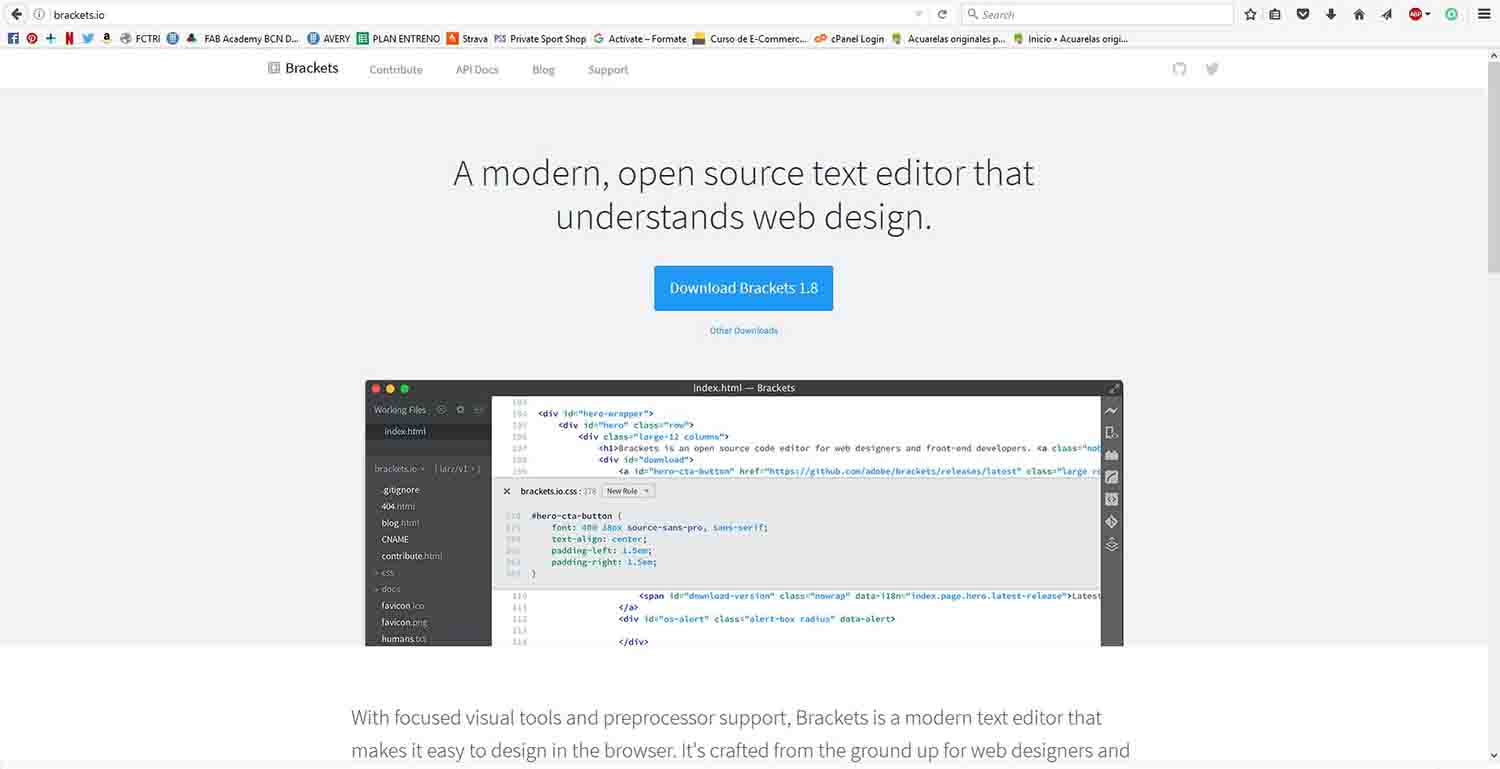
I learnt the very basics of HTML in Hight School, so it was not completely new for me. Even though the class we had on Thursday at the lab was the key to remember the little I knew and learn new things. I am using Brackets for my HTML writing, but I will probably try other programs later on to decide which is more suitable for me.
As part of the class we also where introduced to a couple of tutorials and documentation webpages as http://www.w3schools.com/html/ where there are loads of HTML useful information and step by step tutorials.
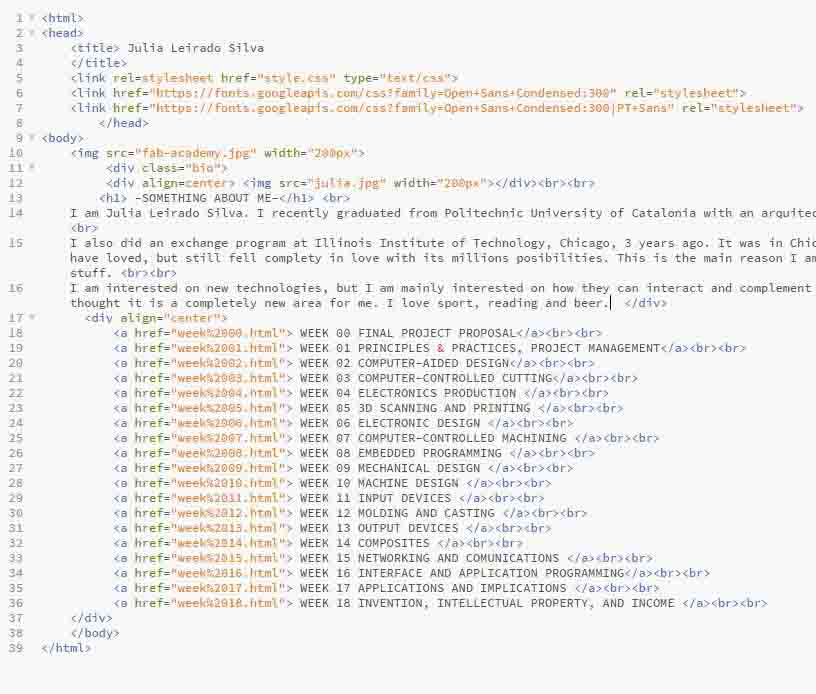
I didn't want to use a template in order to get a little practice in HTML. I also didn't want to do a very complicated webpage so I will be staying with my own wrote code. For the begining I will have a picture and a brief BIO on the home page and a list of the weeks' asignments centered below.
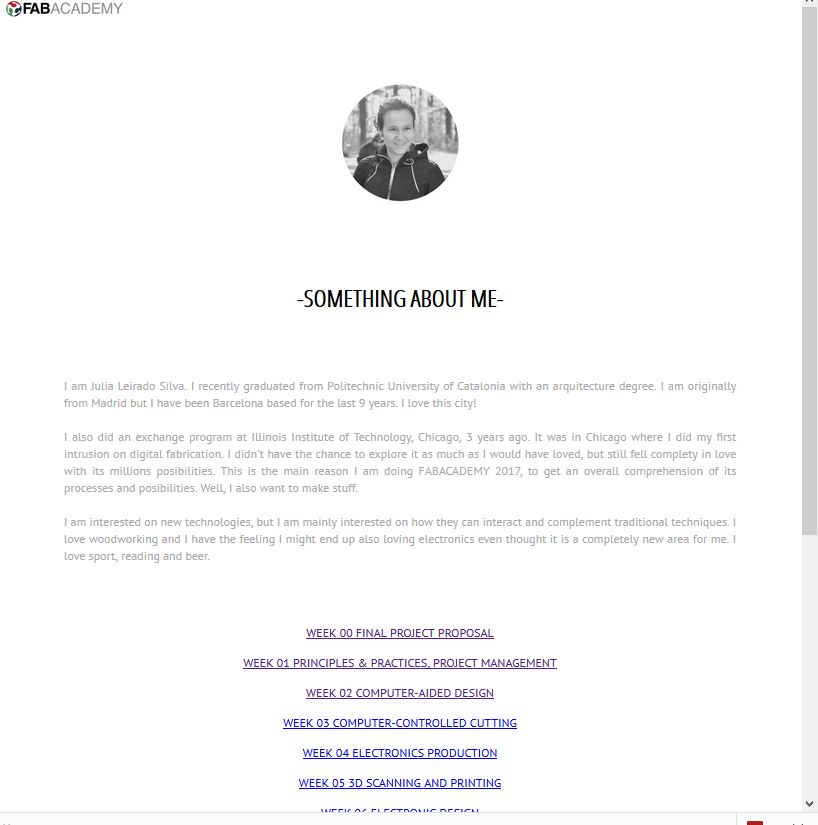
For further development I want to include a responsive image on the home page of something related to my final project as a header and want to transform the links to the assignment to pictures. So I still have investigations to do on HTML.
When the layout of our webpage was done, we had a GIT class to learn the basics of how GIT works and upload our pages to the server. It was complicated at the beginning to understand exactly how it works. Actually, I haven't completely figured it out yet. I have downloaded the GIT book on GIT's webpage an I hope it will enlighten me a bit.
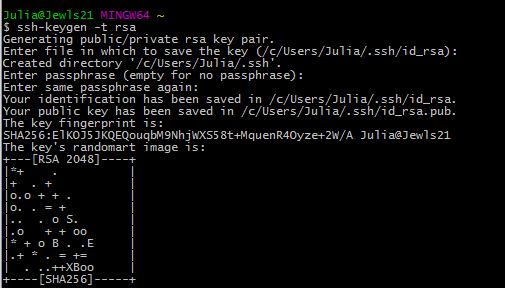
First thing we did was sign in fablabs.io and then log in http://git.fabacademy.org/ with those credentials. We had to send an email with our username so our instructor Santi so he could add us to the fablabbcn repository.After downloading GIT we had to generate a SSH key that basically will connect our terminal to the repository and our user to be able to pull and push info from our computer to the online repository.
Afterwards we had to decide in which folder will be our repository stored. It is better to be a quick acces location as we will be typing in this location everytime we want to pull/push something. I chose to create a Repository folder on my Desktop. We were ready to clone the barcelona fablab repository.

After cloning we just needed to upload our folder. It is important to pull before doing any push so we have the latest version of the repository. It is always necesary to commit after doing any changes on our folder. Doing this right is crucial to be able to push something right as the program wouldn't allow you to push otherway.
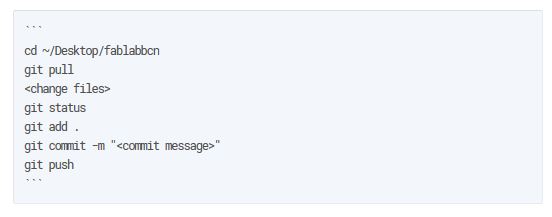
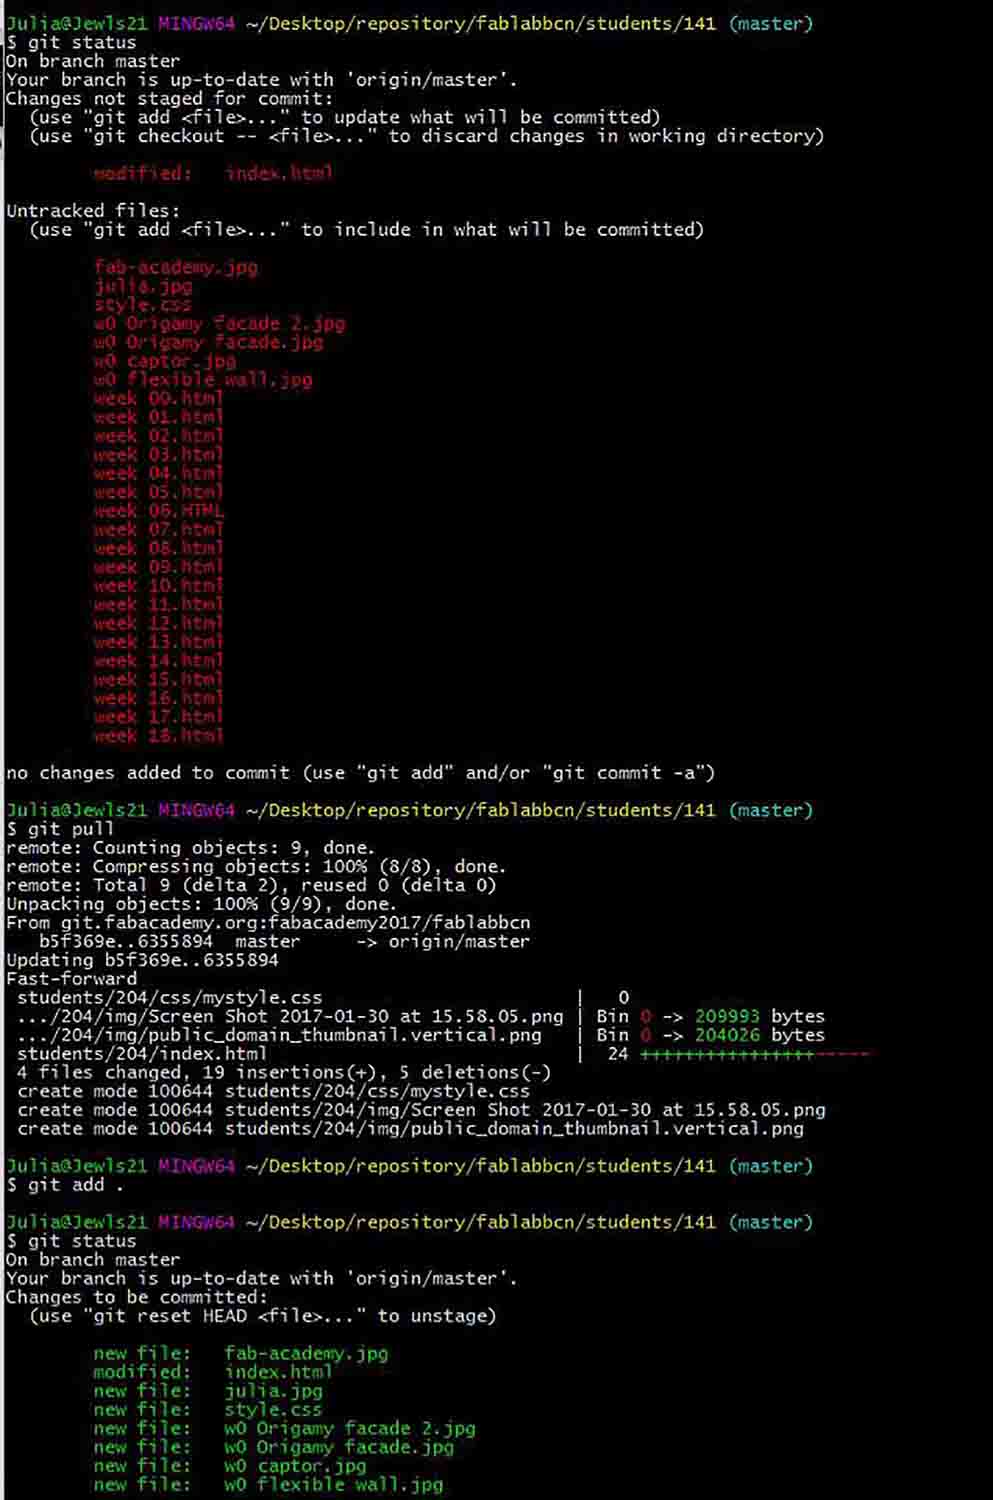
-git pull: is meant to download the latest version of the repository to your local folder. It is not posible to upload anything without having done git pull first.
-git add . : will add all the changes to the current repository.
-git commit: records changes on the repository under a name. It is important to label a characteristic name, so if you want to come back to that point of the repo later.This one is used in connection with the local repository
-git push: updates the changes made local to the global repository.
Now we only have to check that our webpage on the student's section of the archive is working.
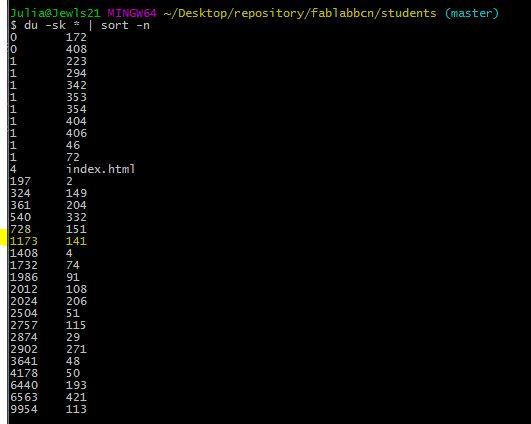
Tere is a limited space our webpage can occupy. Our weekly assignment's uploads should never be higher than 1 Mb. By writing on the Git bash du -sk * | sort -n
we can know how big our webpage is. These couple weeks it should not be a problem as we will not upload huge files and docs but in to solve this issue for later assignments our tutors have given us 2 options. We could either use Google Drive or Git hub and afterwards link our files and documents from there. I have been using Google Drive for a while, so I figured it out it would be a good option to work with Git hub to get a further understanding on how Git repositories work. I created an account on Git hub. If you create a public repository is free. Afterwards, I created a new repository called fabacademy-files. There are two options for uploading files. The first one is directly on the browser as you would do on Google Drive.
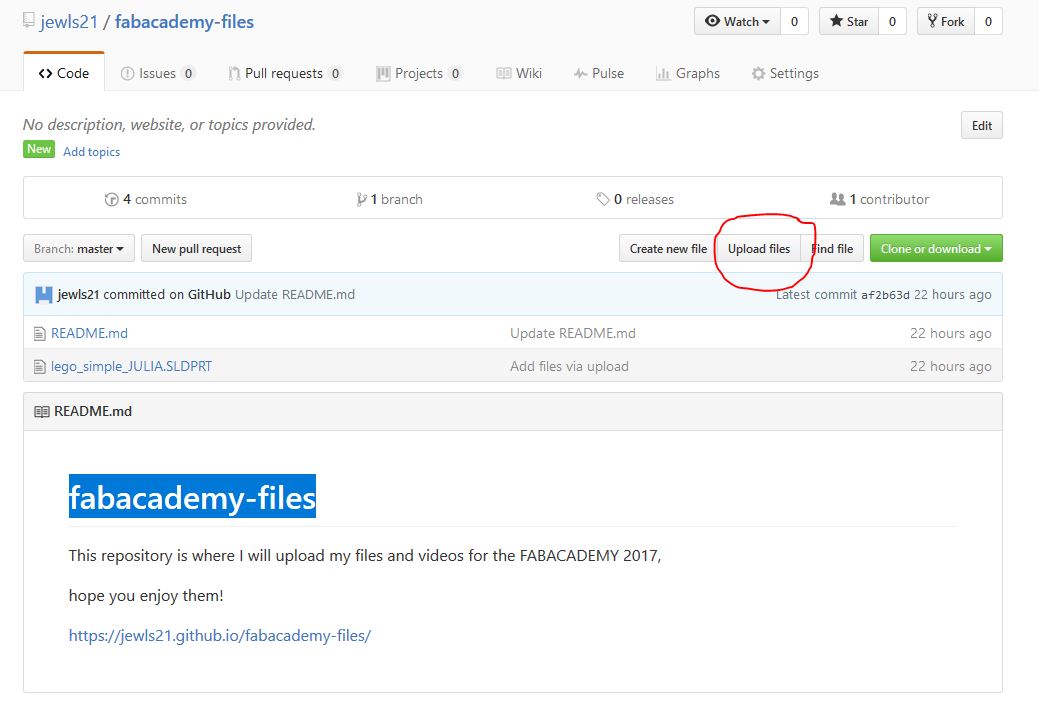
The other option would be to clone the repository locally on your computer and pushing every change you do on the folder. It reminded me of how dropbox or One drive work, with the synchronization of the files, but in this case it will only synchronize when you want. I have used the same SSH key I created for the Fabacademy repository. For getting it I had to write on Git bash clip < ~/.ssh/id_rsa.pub
as I use Windows. Now I will be able to link files to be downloaded.
I had some trouble deciding which my final project should be. I started with a few completely different options to choose from. I finally decided I will be working on a bike power meter. There is more information about my final project proposal on WEEK 00 FINAL PROJECT PROPOSAL section of my webpage.
BACK HOME <<<