Ruby Sun
Fab academy 2017
Week 5: 3D scanning and printing
Learning outcomes
A.Test design rules for 3D printing
B. Scanning - Skanect
C. 3D Printing - Reprap 4
D. Design and 3D print an object
A. Test design rules for 3D printing
For the group project, you can refer this link. Below are the important settings that we need to pay attention.
1. Layer height - this will determine the quality of our printing in height
2. Line Width - this will determine the quality of our printing in width
3. Percentage of infill - this sets up an internal mesh in our object, to make it less heavy but still resistant
4. Supports - this create some external supports in case we need them to hold any part that couldn't be printed without them
Through the group exercise, I know much more about how the settings will affect the real 3d printing production. By changing the parameters of 'In fill', 'Pads', 'Brim', 'Raft', 'Retraction', how this will apply to the outcome.
B. Scanning
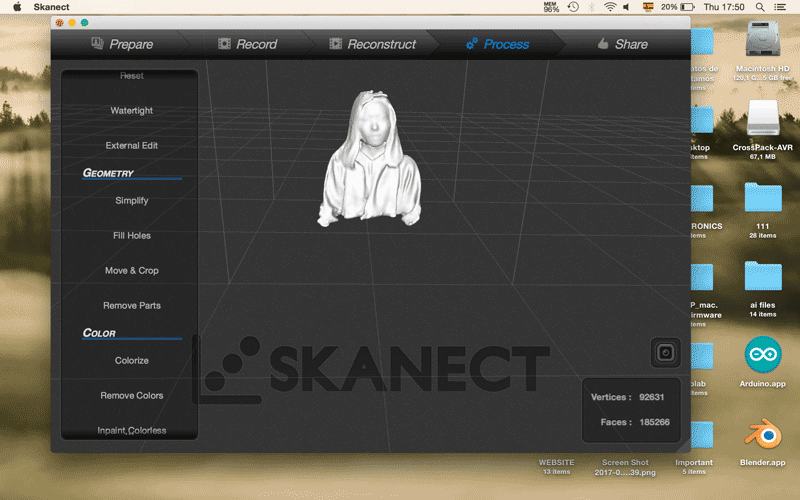
Skanect is used for scanning with the connection of Xbox. (I just downloaded the free version of Skanect for the trial.) For the preparation, I keep all the settings as original but choose the path to where I want the file to be located. Making sure that sensor is connected with the software as the sign of 'Structure Sensor' will turn from orange to green. After connection, i start the recording.To have a better scanning, I tried to turn very slowly, in order to capture every part of the body.
The advantages of Skanect are the ease of usage and the fast processing.
The limitation of the scanning is that even though I have already move very carefully, I did not adjust well for the height and that caused the 'sinking' of my hair. Also the scanning do not give a very detailed scanning, especially in the area of the eyes.
As there are some parts that I want to amend, I try to use Rhino for modification, like the eyes area.
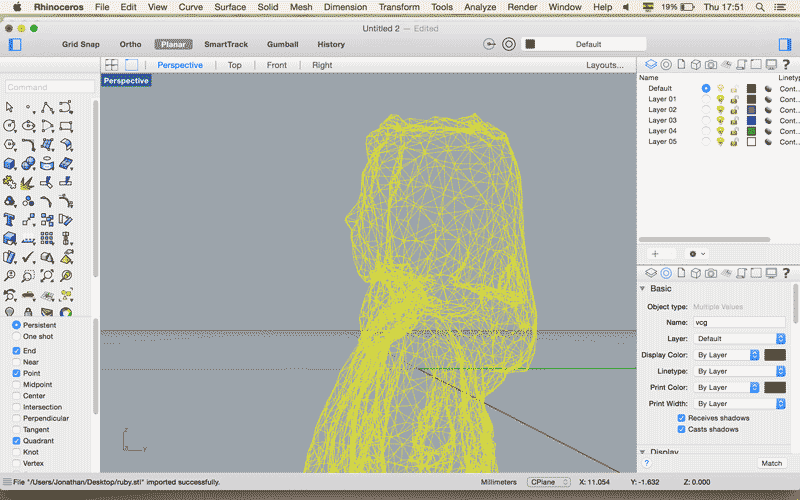
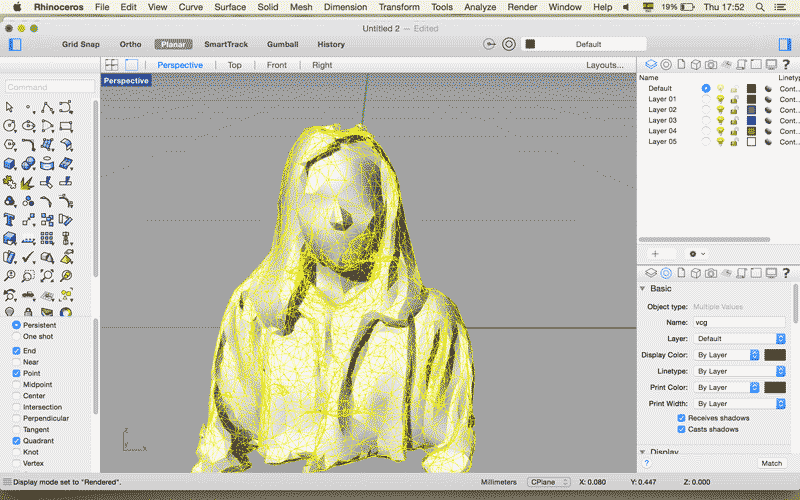
After the modification, export the file into .stl and use Cura to open the file.
Please press the link for downloading.
C. 3D Printing
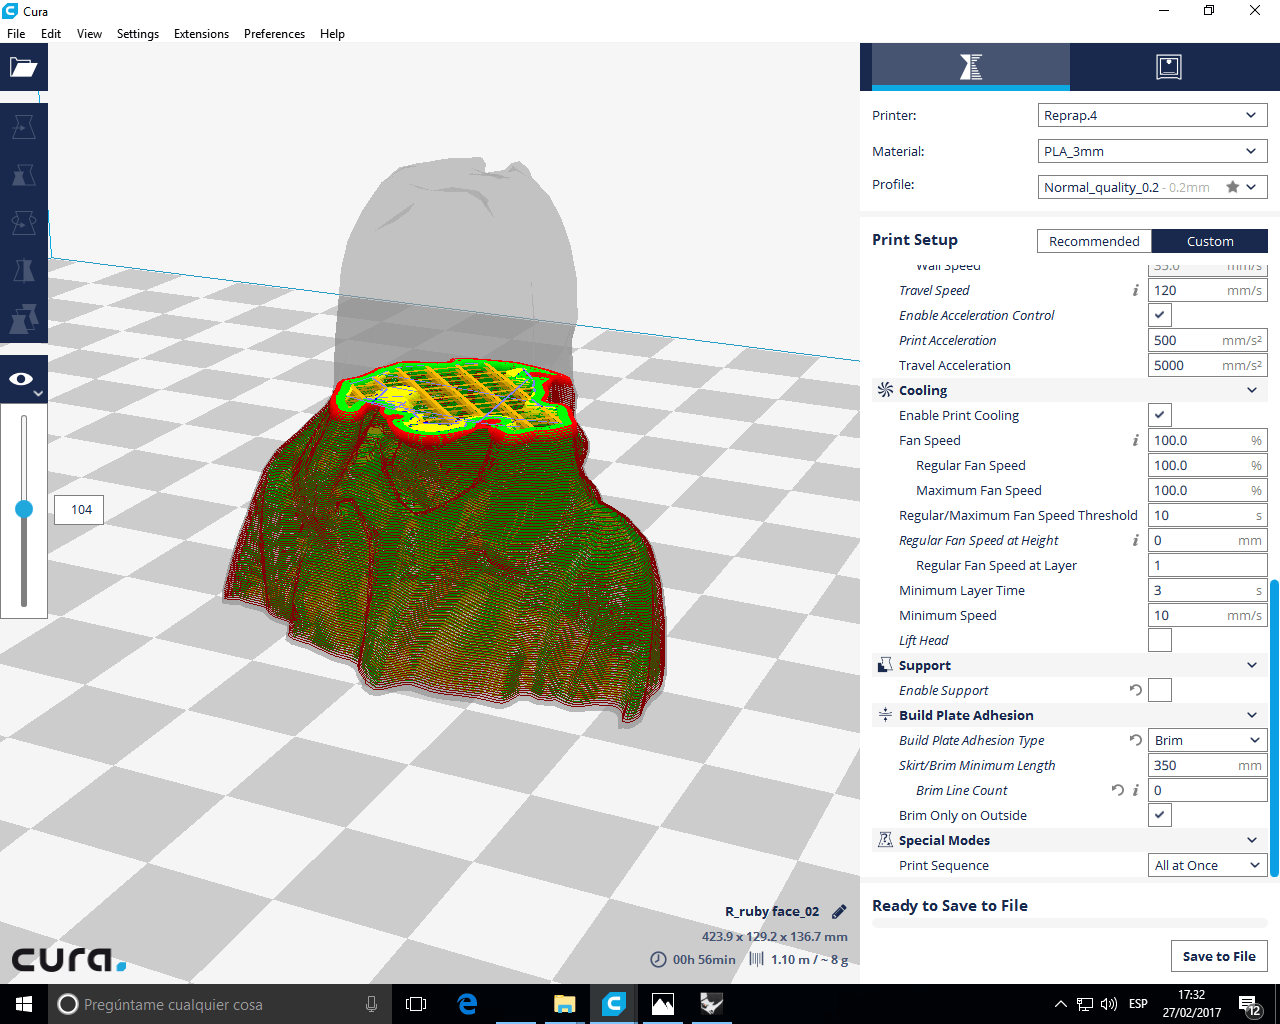
I used machine Reprap 4 for the printing and Cura for the software. The material used is PLA 3mm. The settings are shown in the picture as follows. The good point of using Cura is that when you adjust any settings on the right hand-side, the effect will be automatically shown with the figure, then I will know the approximate outcome of the changes and to see whether this is what I want when I 3d print the object.
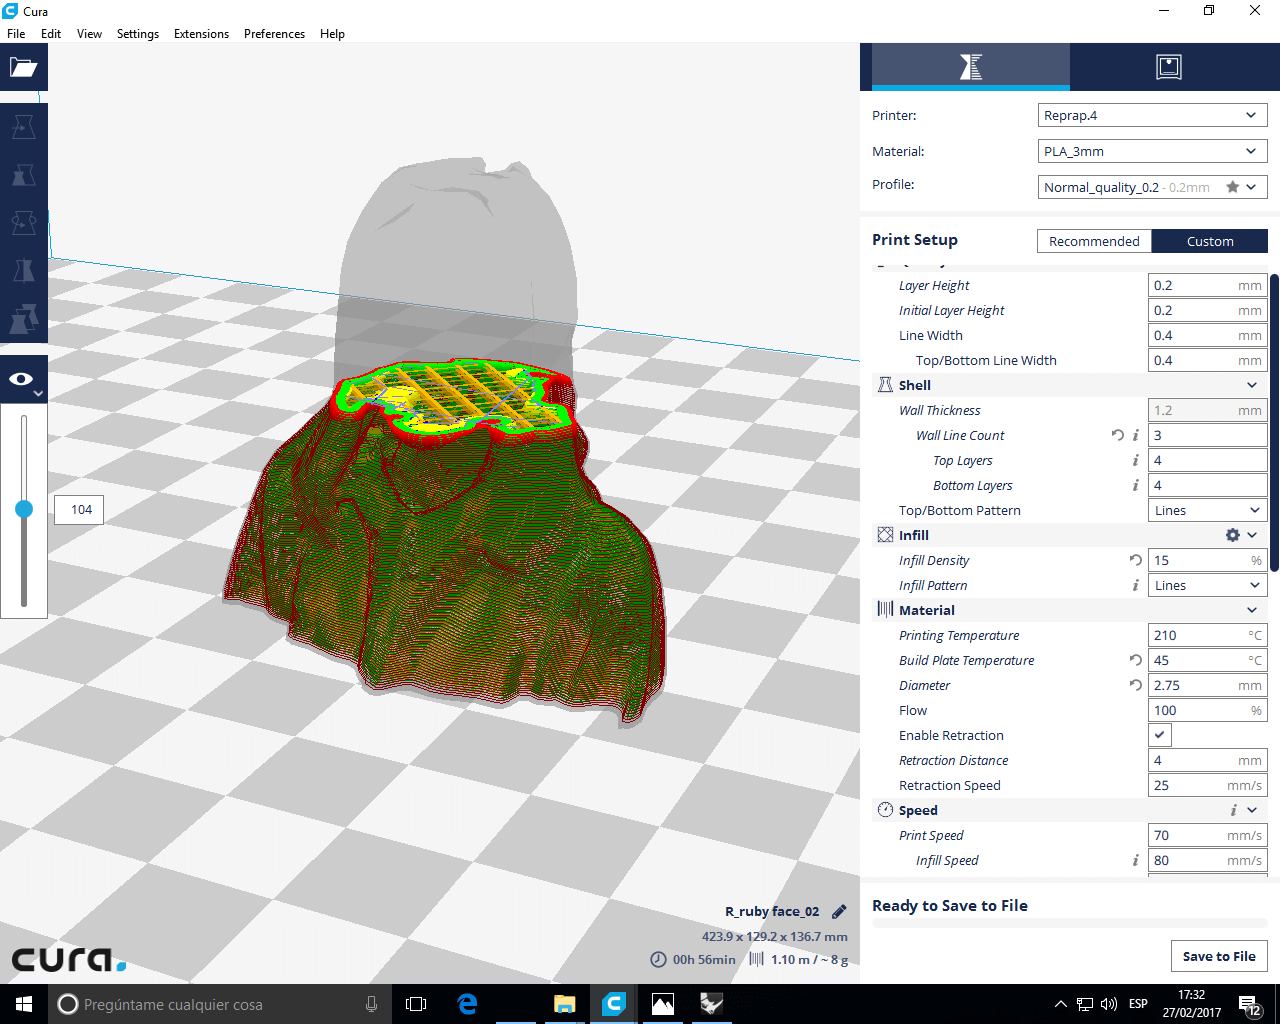
I have disable the support since my object will not break easily without support. I will use Brim instead to maintain the model on tghe bed.
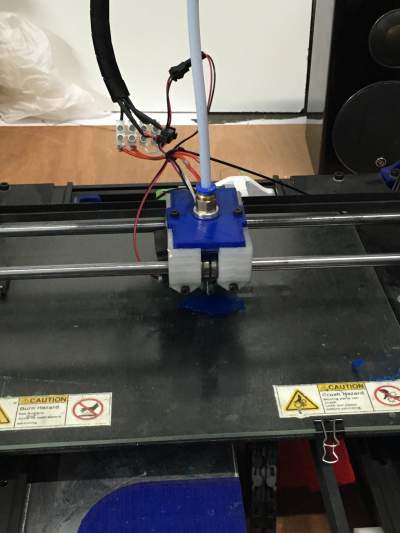
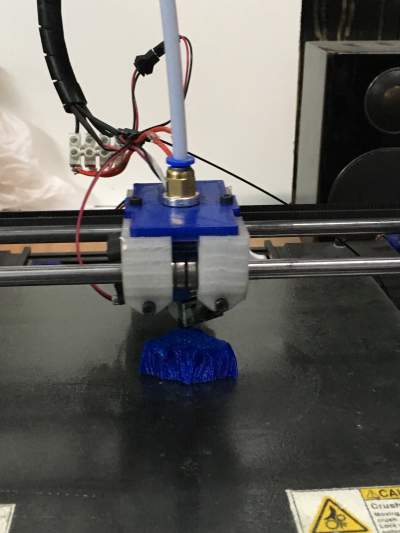
After setting in the Cura, I load the .stl file into the SD card. Before printing, use hair spray on the bed for sticking the 3d printing filament better.

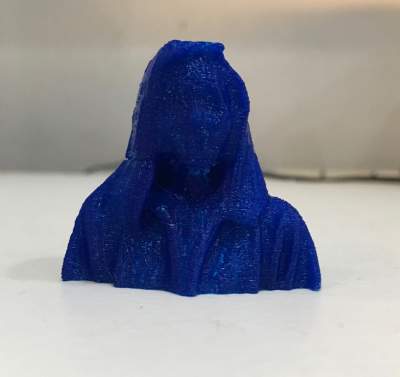
The advantage of the Reprap 4 is user friendly, but the limitation is that the final product is not with good detail comparing with the product printed by using Ultimarker. The surface of the product is quite rough. I tried to fix afterward for the 'sinking hair', but in vain.
D. Design and 3D print an object
D.1 Additive vs Subtractive Manufacturing
1. Additive Manufacturing
It refers to any processes by which 3D objects are constructed by successively depositing material in layers such that it becomes a predesigned shape. 3D printing is the most common example for the additive prototype development.
2. Substractive Manufacturing
It refers to any processes by which 3D objects are constructed by successively cutting material away from a solid block of material. Subtractive manufacturing can be done by manually cutting the material but is most typically done with a CNC Machine.
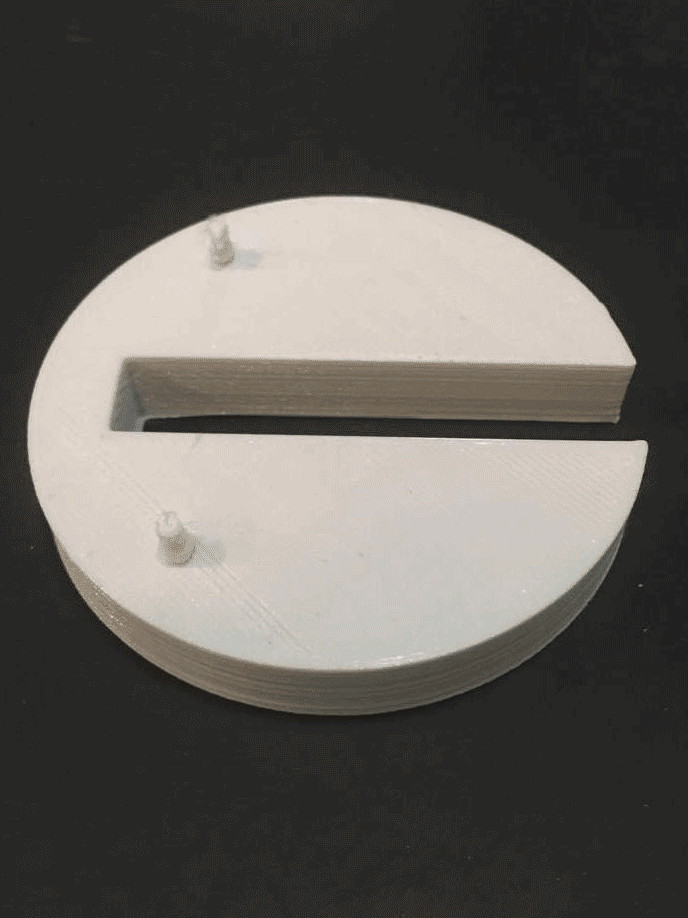
As I have not used any 3D software before, I will get myself familiarize with Rhino and make something useful for the final project (holder for the electronic components). For producing the holder, I choose 3D printing, because of the detail of the design with the two tiny tubes coming out from the circular disc. It would be more suitable to use the additive method.
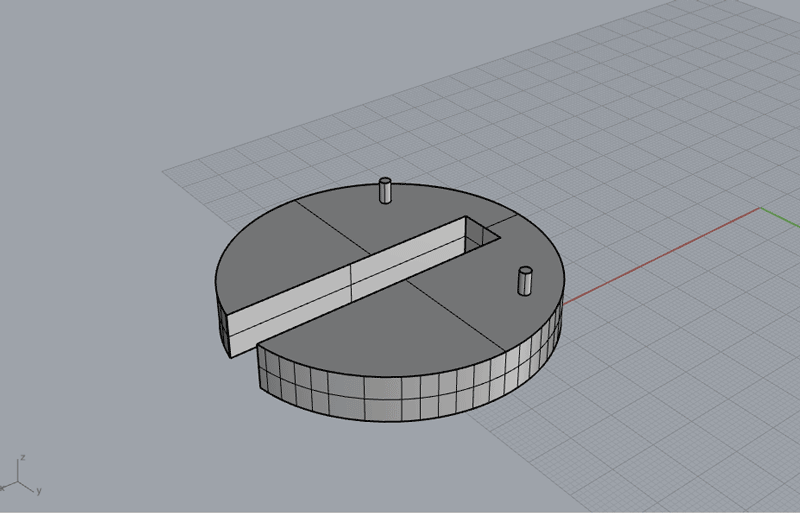
The whole process for printing would be the same as the above, but this time I used the Ultimaker. The final product is in much better quality with smoother surface. There are one tiny issue is that for the two tubes coming out from the disc, it is a bit bigger then the design especially in the connection between the disc and the base of the tube. At the end, I try to remove the excessive part by using a cutter.
Please press the link for downloading.