Ruby Sun
Fab academy 2017
Week 3: Computer controlled cutting
Learning outcomes
A. Vinyl cutting
B. Laser cutting
A. Vinyl cutting
A.1 Using Inkscape for the design
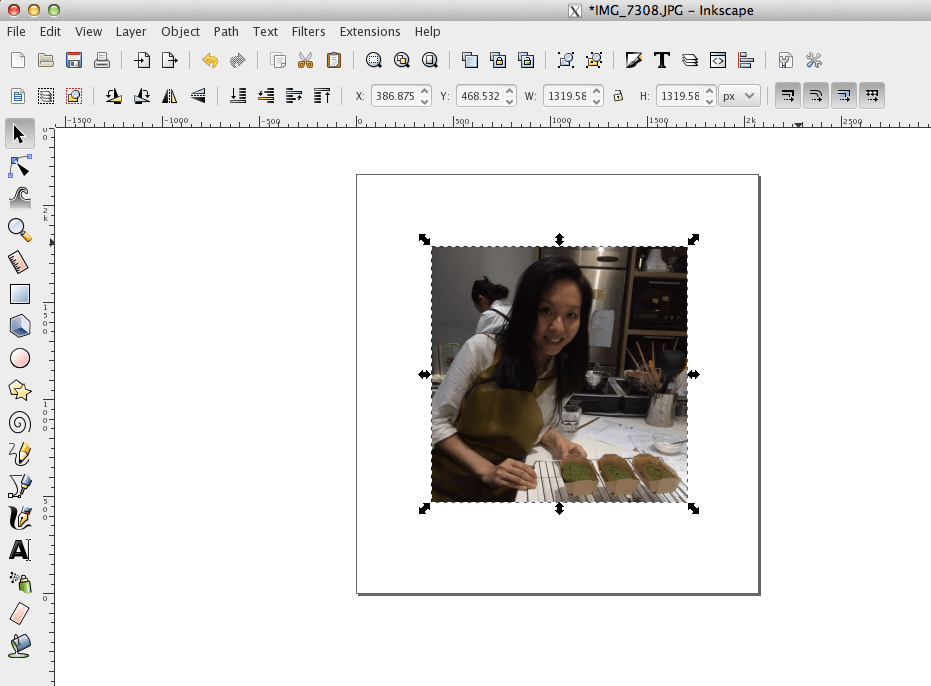
Firstly, I imported my picture in Inkscape.
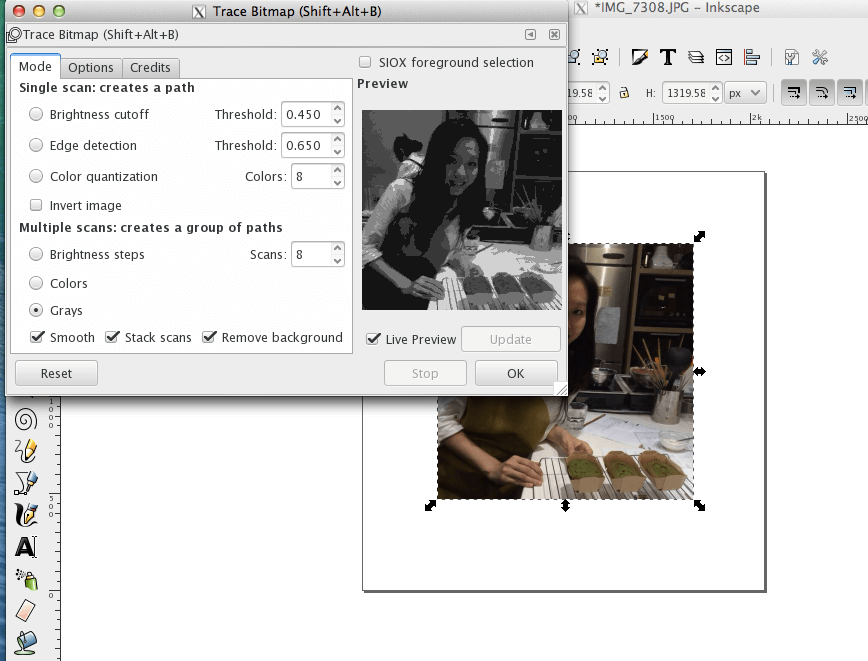
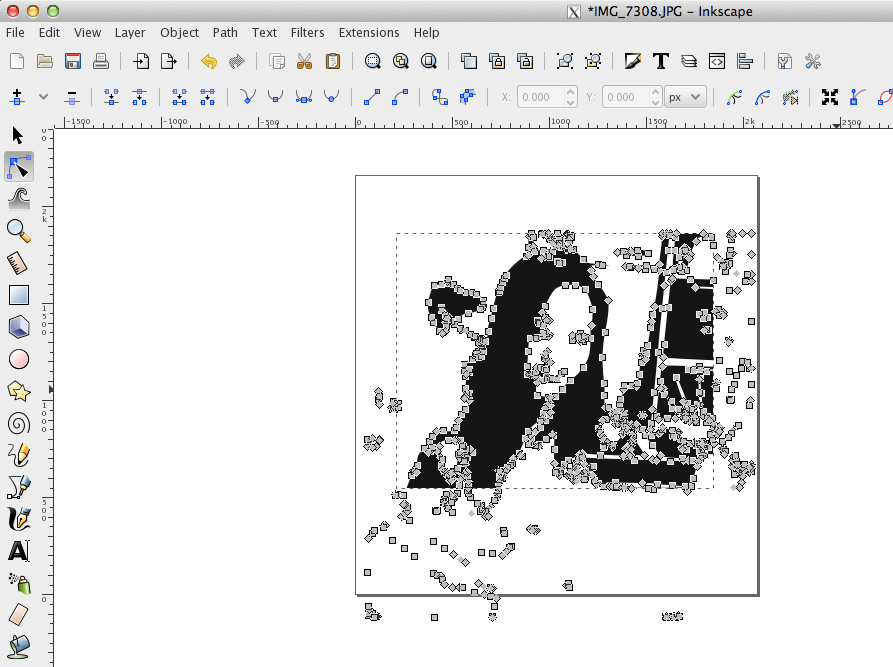
Secondly, I trace bitmap for the picture with the following settings.
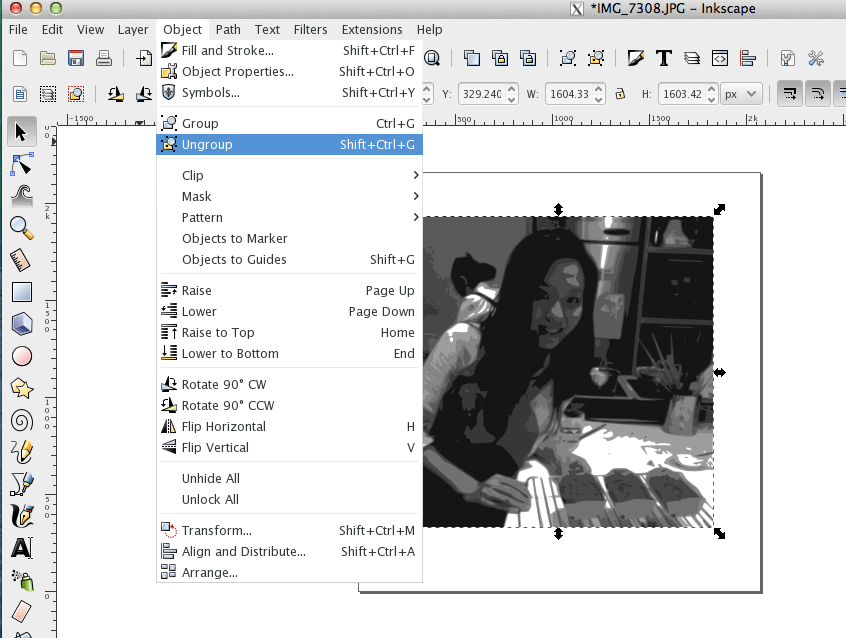
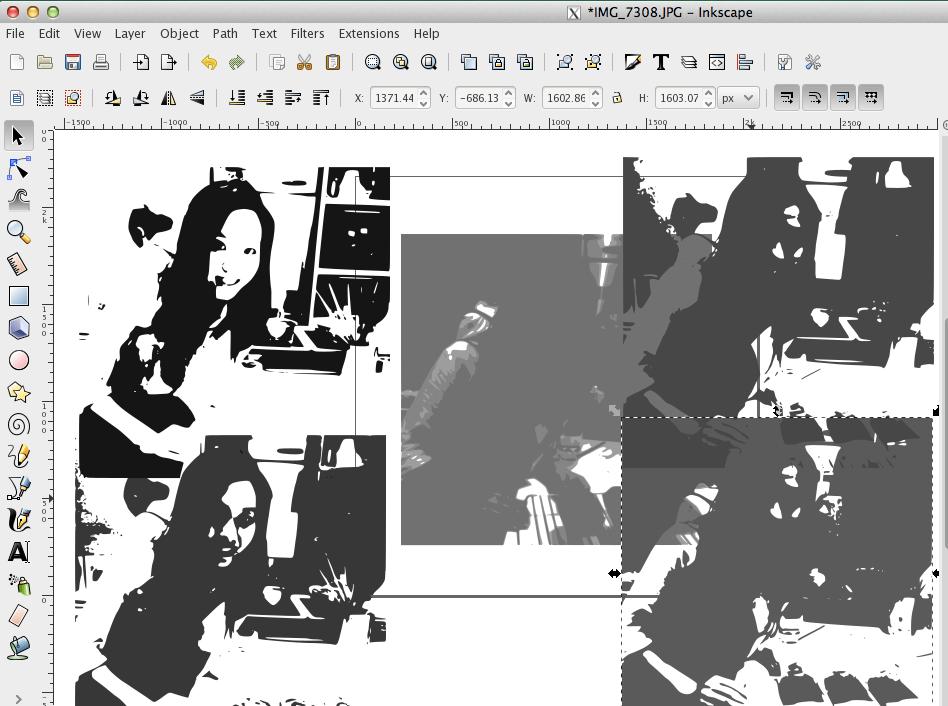
Then, I ungroup the images and choose the one which show the best of my picture.
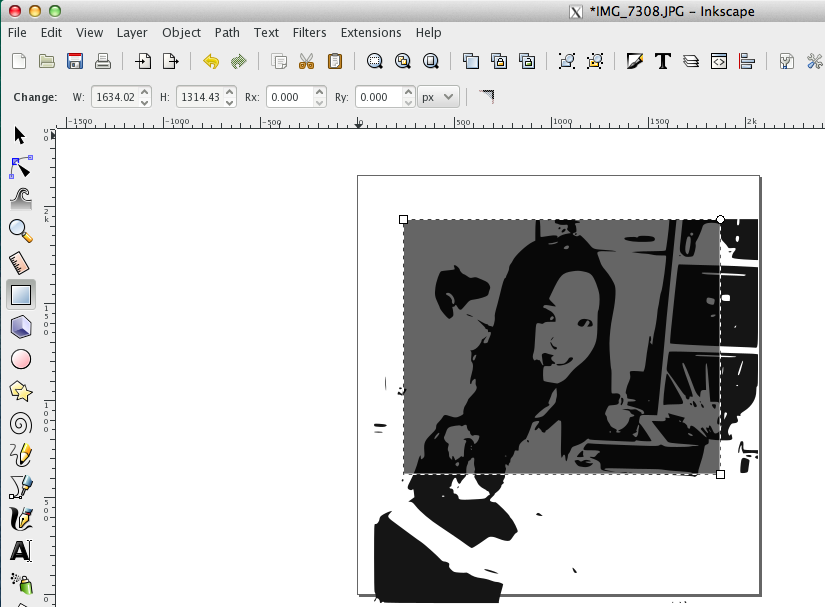
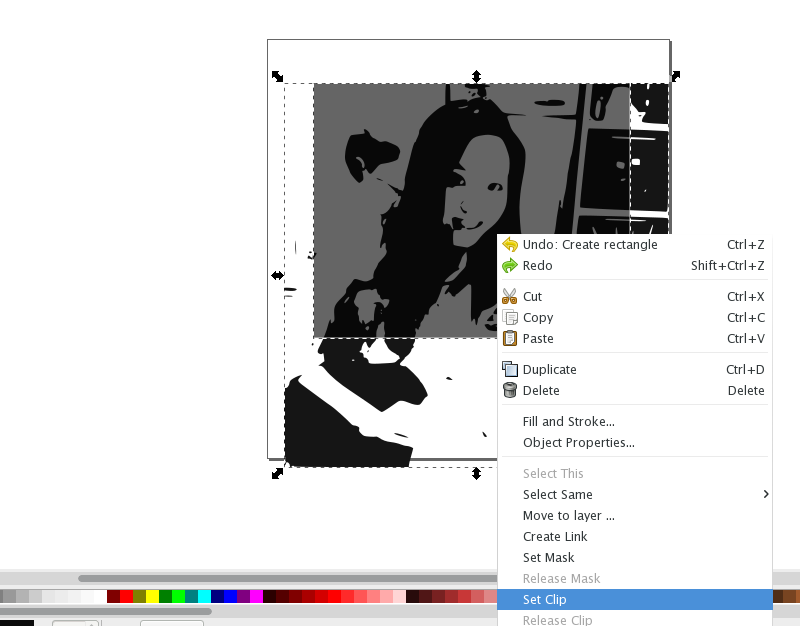
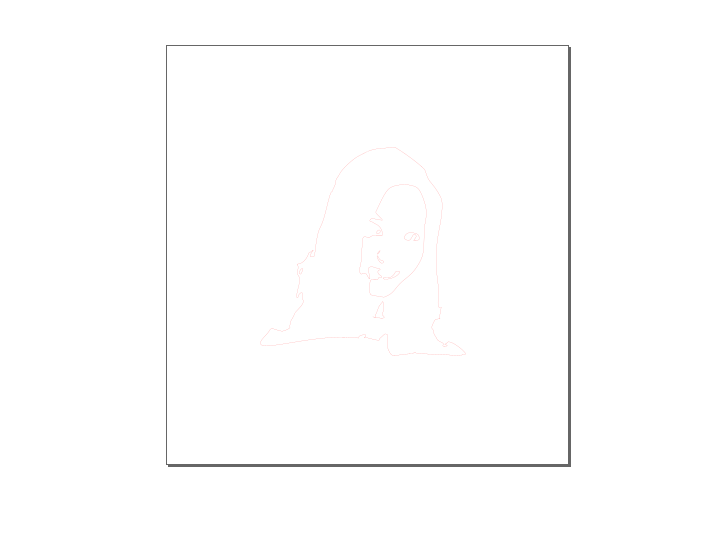
Afterwards,I draw a rectngle and select the area which i want and 'set clip' for cropping the image.
Finally, I fine tone the image, unfill the area and set the stroke before cutting.
Please see the link for downloading the Inkscape file.
A.2 Using Roland for vinyl cutting
Firstly, Feed the material through the slot.
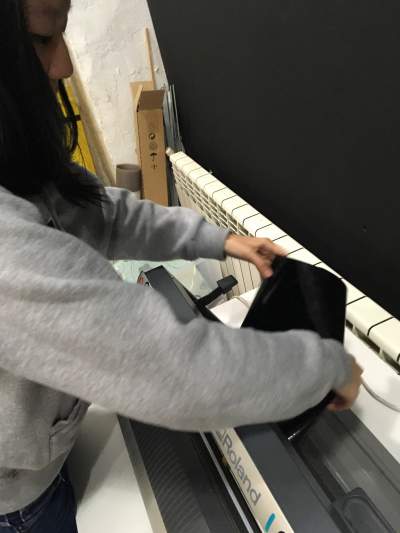
Secondly, Make sure that the material is holded by the wheel.
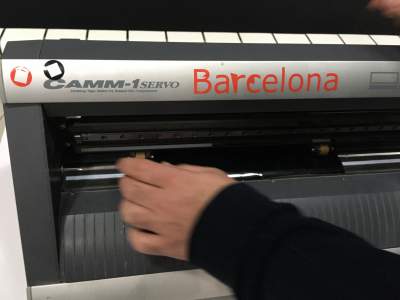
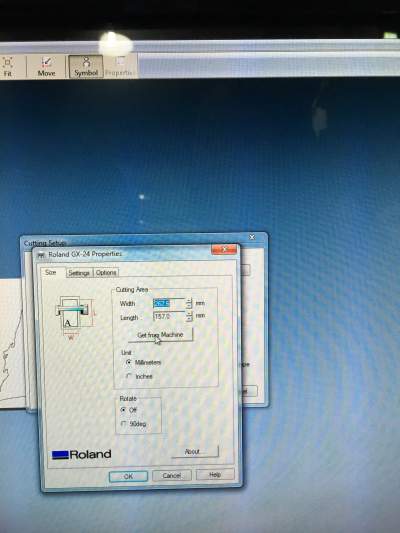
Thirdly, Get the cutting area dimenson through the machine.
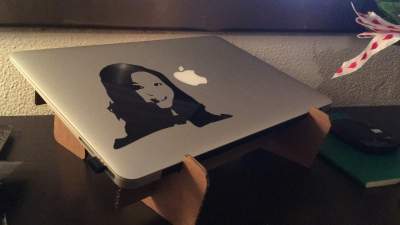
Finally, That is the sticker of myself on my laptop.
B. Laser cutting
B.1 Trying to use Antimony for the design
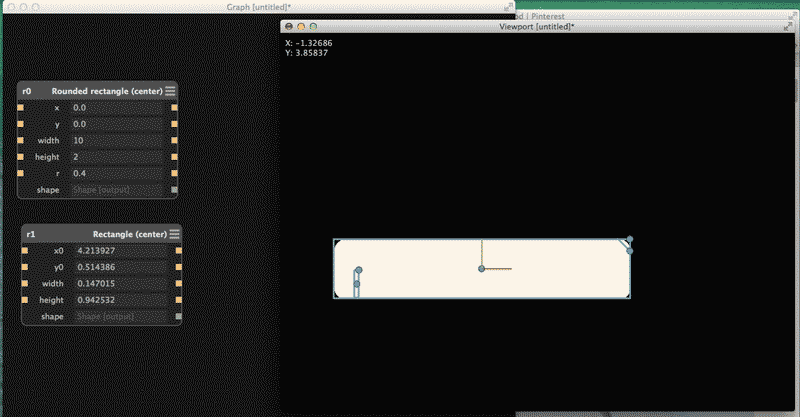
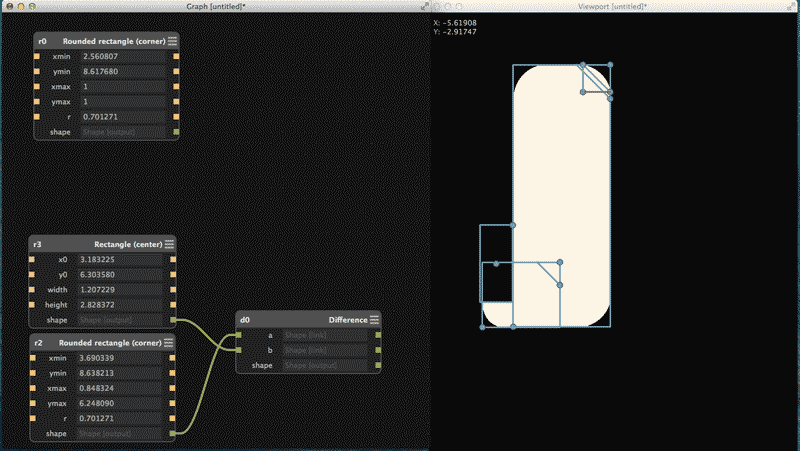
I want to make a laptop holder and there are two shapes for making the structure. Firstly, I draw a large rounded rectangle and two small rectangles.
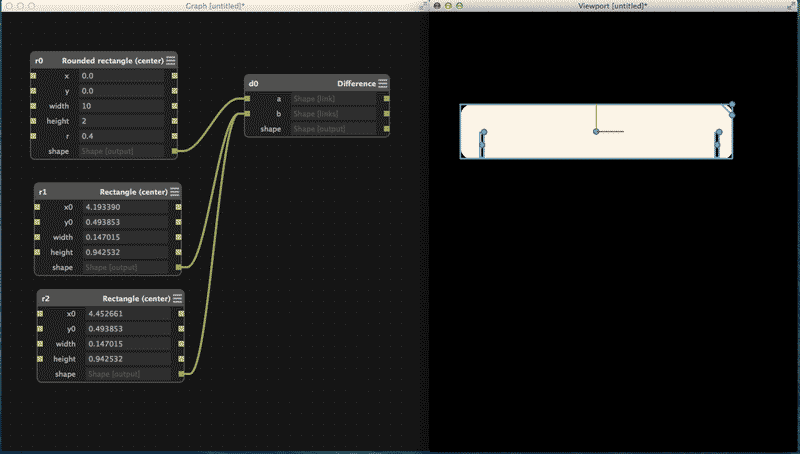
Then, i take the difference between the two small rectangles with the large rounded rectangle.
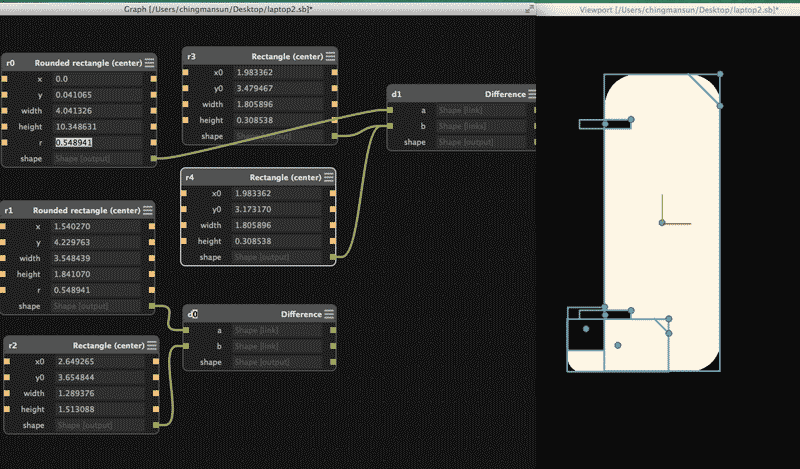
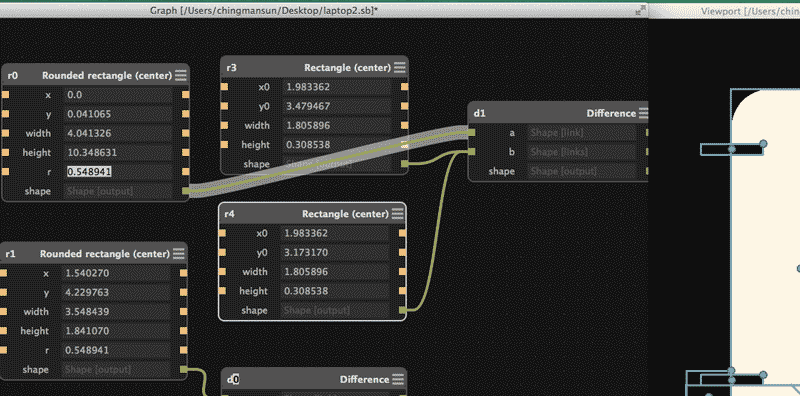
Two more rectangles are drawn and I take the difference between them.
The connection points are drawn by taking the difference again.
A triangle is drawn and attached on the right hand side.
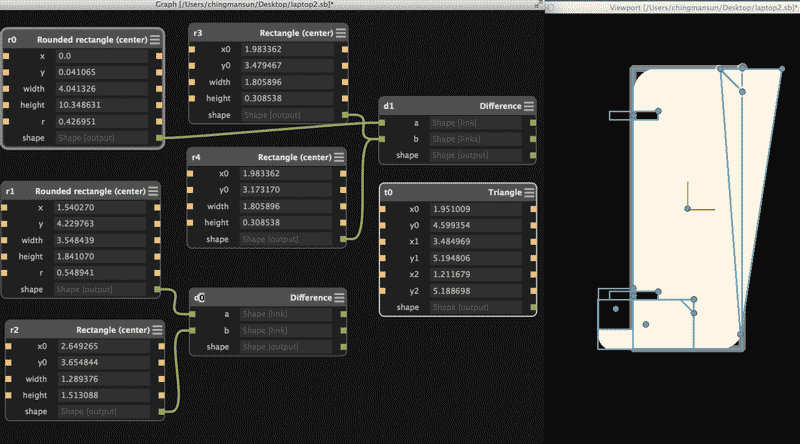
A circle is drawn and taking the difference with the shapes underneath.
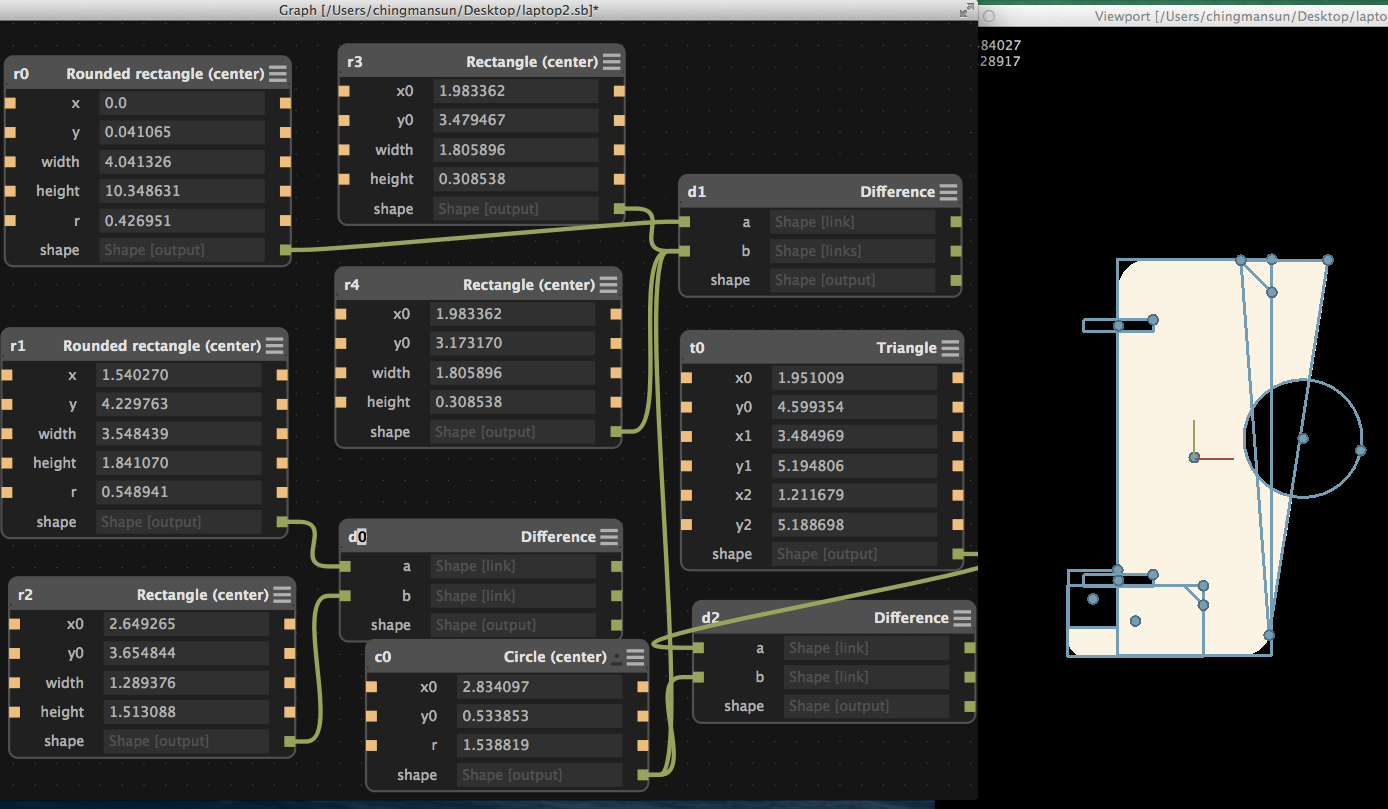
After trying the Antimony, I encountered two issues.The first one is that i cannot make round edges for other shapes apart from the rectangle, while the second issue is that i cannot scales things in porportion. Later on, i find out that i will have to connect the shapes with a scaling factor.
B.2 Using Fusion 360 for the design
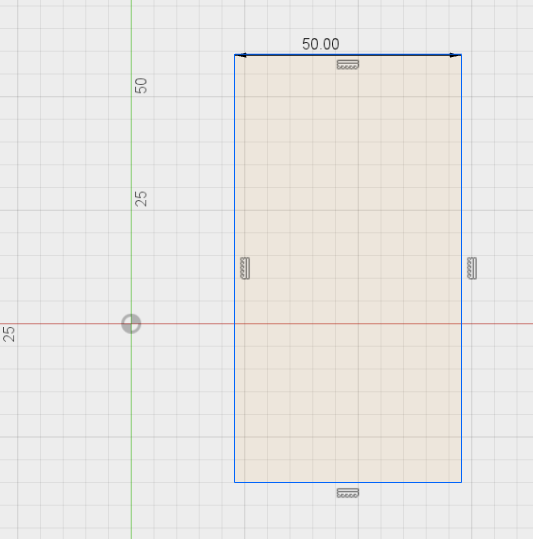
Firstly, i draw the rectangle through sketch.
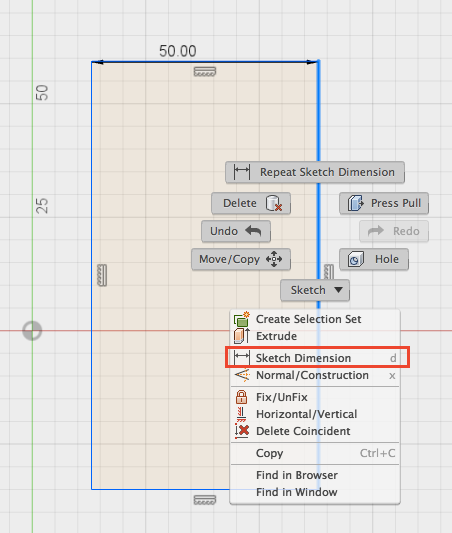
Secondly, I right-click and choose 'Sketch Dimension'.Select the line which you want to specify the measurement.
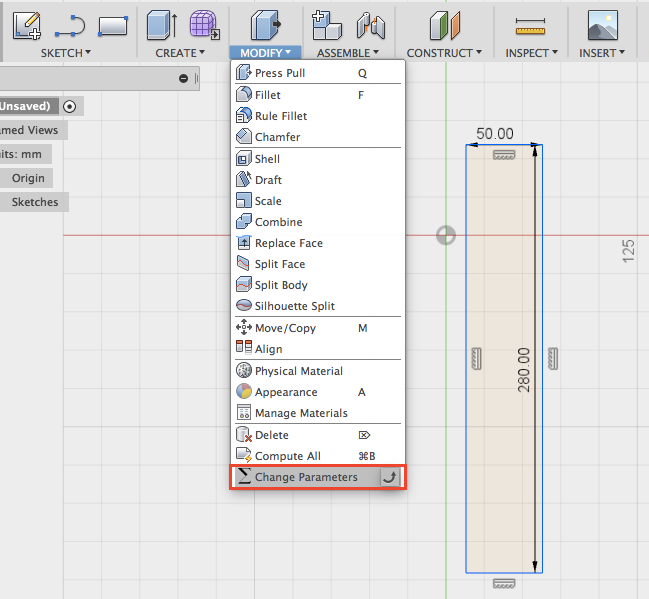
Afterward, click 'Modify' and 'Change parameters'.
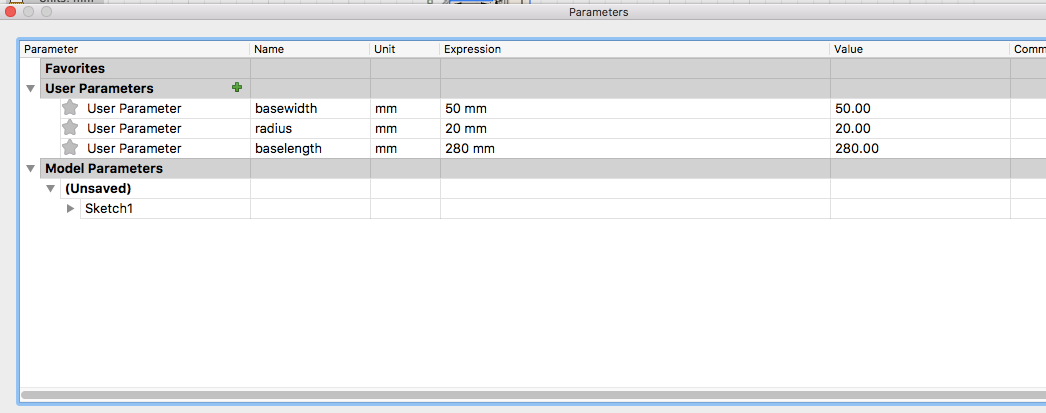
Then, press the sign '+' for adding parameters.
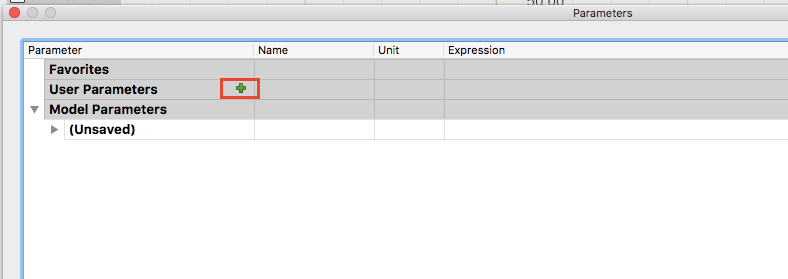
Later on, you can create the name of the parameters you want and specify the dimensions.
For making a 'Fillet', choose from 'Sketch'.

Then, select the angle where you want the fillet.
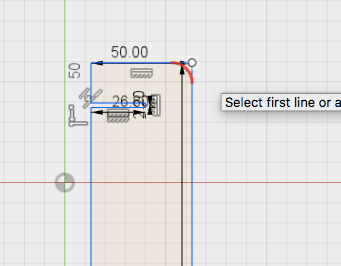
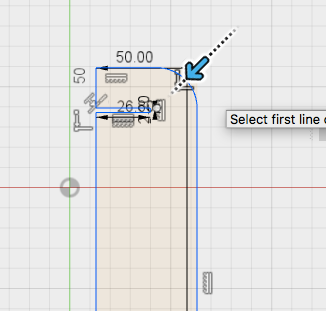
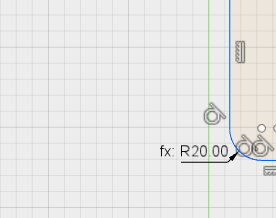
As previously I have set the parameter as 20mm for the radius, after making the fillet, go to 'sketch dimension' equals to radius.
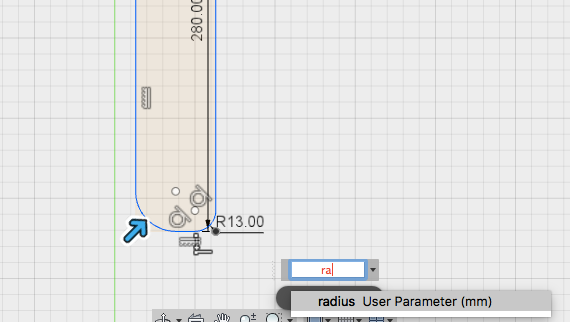
Then, the radius will automatically change to 20mm with 'fx' sign.
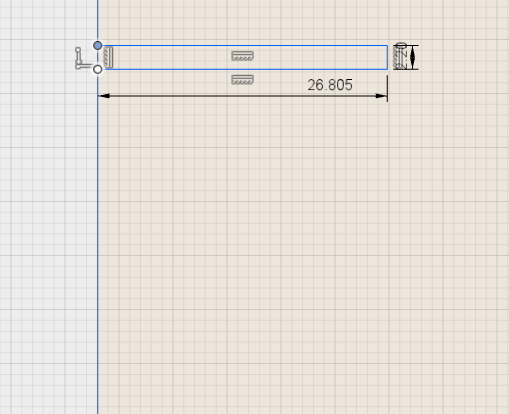
For the press-fit, 2.1mm is set for the thickness of the cardboard, so the width of the rectangle will be 2.2mm to take into the account that it will need to be about 0.1mm larger then the actual thickness of the cardboard.
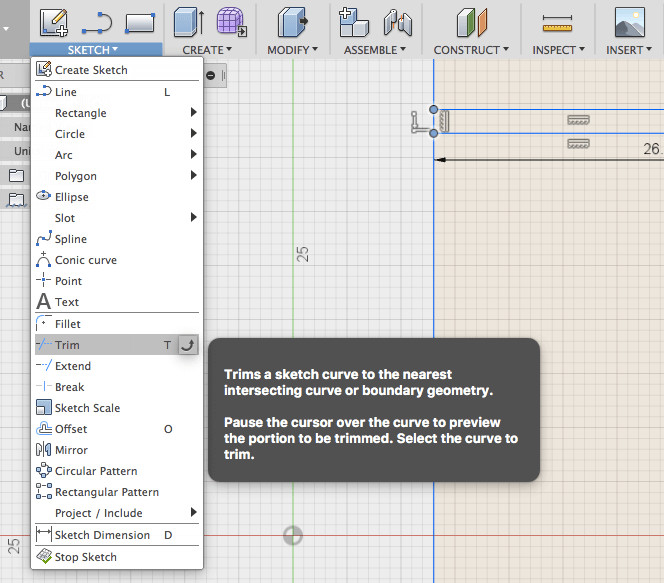
Afterward, use 'Trim' under 'Sketch' for making the hollow space.
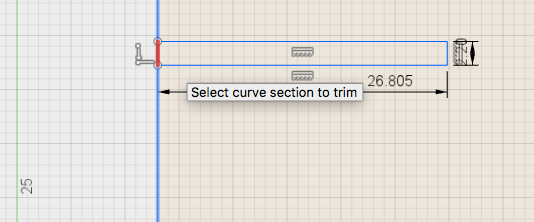
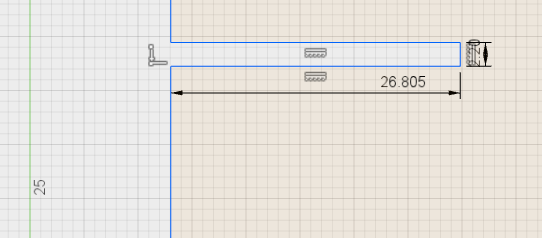
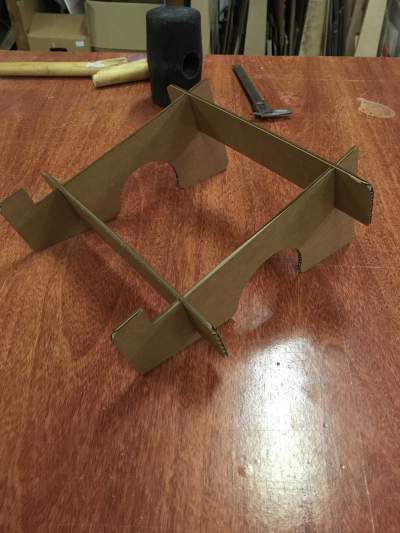
Finally, these are the two pieces for the press-fit. Press-fit means the interference fit between two parts in which one part is forced under pressure into a slightly smaller hotle in the other.
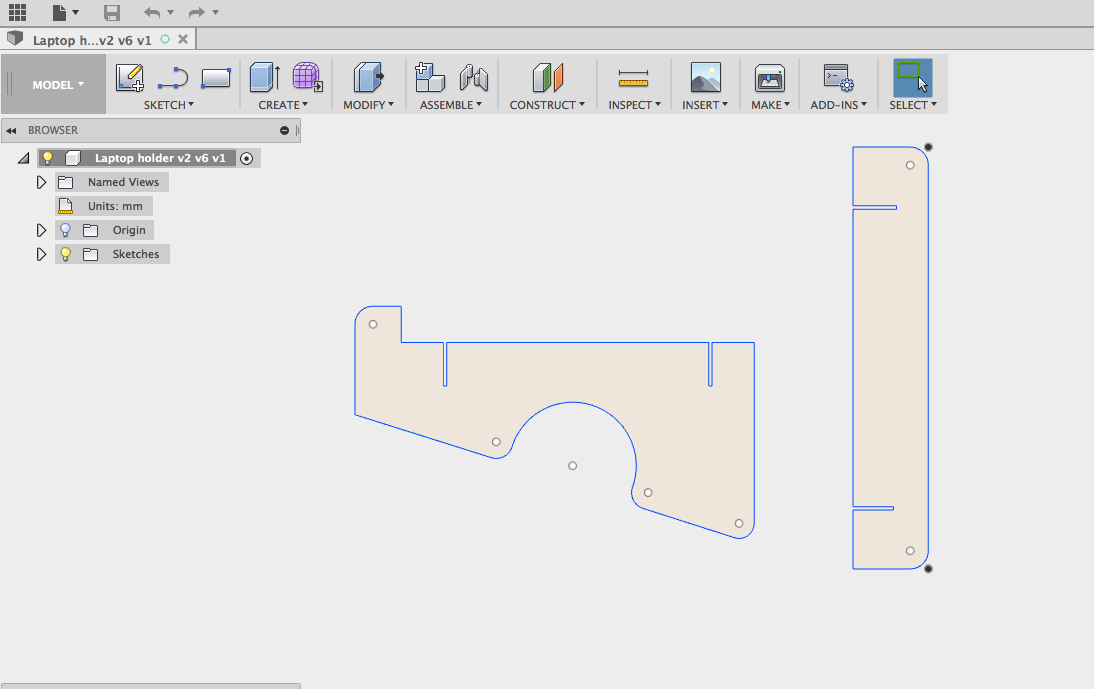
Please see the link for downloading the laser-cutting file.
After downloading the file, drag the .f3d file into the Data Panel in Fusion 360 for opening.
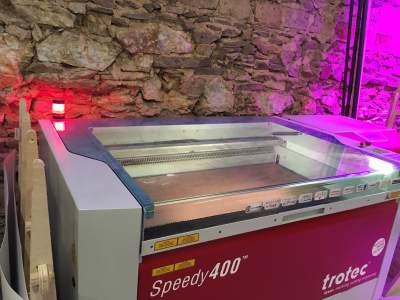
B.2 Using laser cutting machine for the laptop holder
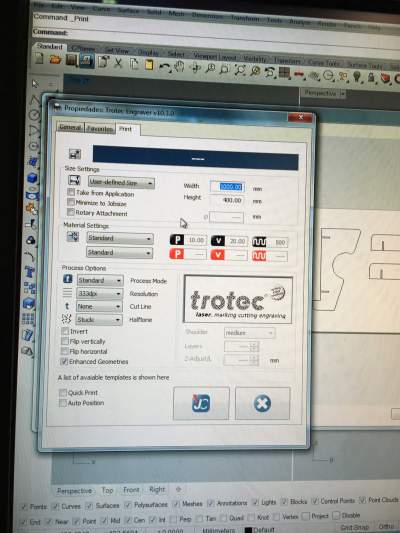
The machine that i used for laser cutting is Trotec Speedy400.
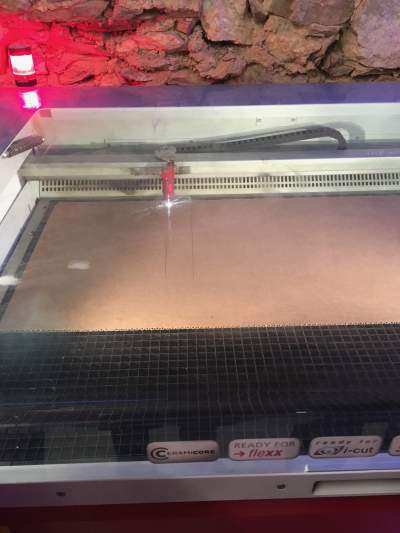
Firstly, Check the dimenson of the cardboard.
Secondly, Check the cardboard thickness and set the material focus point by adding 0.6 on top of the original thickness.
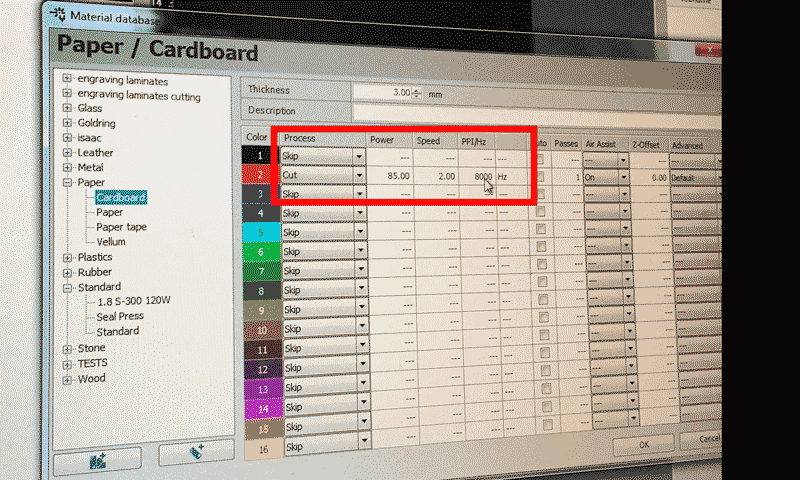
The setting of the machine are as follows:
1. Power : 85
2. Speed : 2
3. PPI/Hz : 8000
For engraving, higher speed and lower power is used. For cutting, lower speed and higher power is used.
Thirdly, Drag the image to the area and turn the cutting line into red.
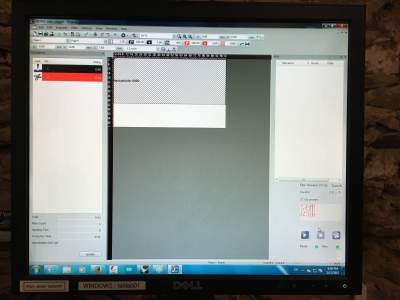
Then, the machine will start cutting.
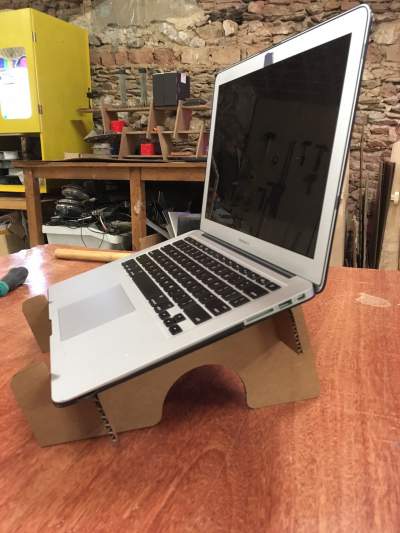
Finally, the laptop holder is made.