Week 3: Computer Controlled Cutting
Assignment:
- Explain how you drew your files for vinyl and laser cutting, also include design files
- Make a Press Fit Construction Kit
Vinyl Cutting
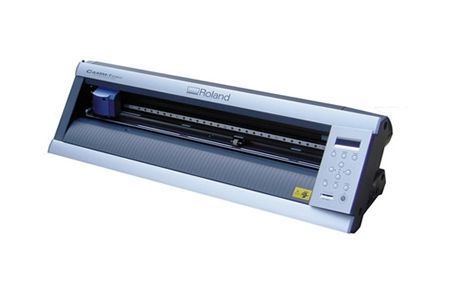
The machine we have in our lab is Roland CAMM-1Servo. We could cut vinyl sheets, flexible copper sheet and epoxy sheets in it. The material can be placed as piece or roll or edge in between the rollers.

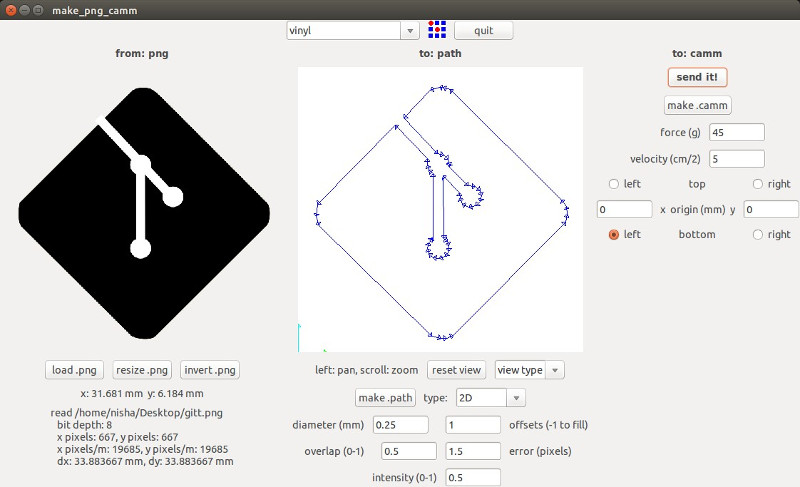
On terminal, typing command "Fab", the fabmodules window pops up.
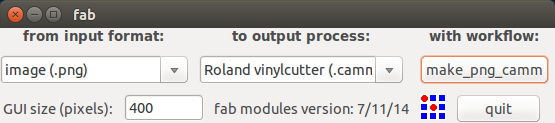
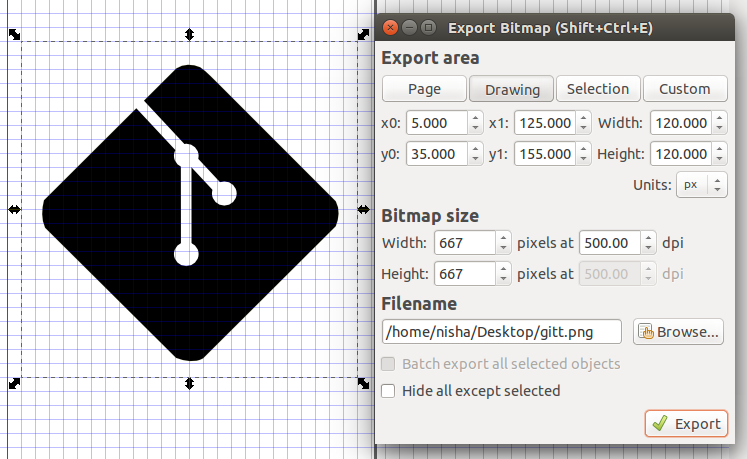
On clicking the button, make_png_camm window pops up, select the material as vinyl and load the png image. You could resize the png incase the dimensions are larger than the pre-requisite value. Also, invert the png colour. This is helpful as we can invert color of the image/circuit directly in the fabmodules rather than using any other picture editing softwares like Gimp. After making the necessary changes, click on the following buttons.
On make .camm, the job is send to the roland modella vinyl cutter, if the printer have been added to the system via CUPS. CUPS is the standards-based, open source printing system developed by Apple Inc. for OS X and other UNIX -like operating systems. Initially I added the roland vinyl cutter via CUPS and checked whether the machine was set up before sending the job.
Setting up printer using CUPS
Setting up the Machine
Things to be noted while setting up the machine:
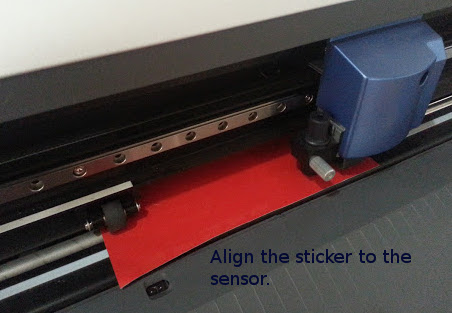
- The vinyl piece is placed in between the rollers (adjustable) and the sheet type is selected using the navigation bar in the machine.
- Always remember to set the origin, or else the blade will move to the previously set origin.
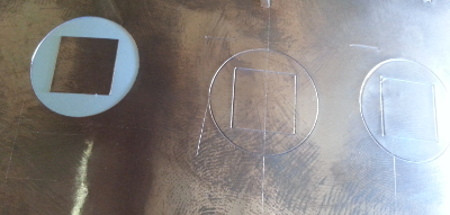
- Take a test cut at first to notice whether the vinyl stickers comes out perfectly. On pressing the “test” button, the blade tip cuts a square and circle. If the circle peels off without removing the square then the test is postive and blade possess no damage. During pre-fab's the blade did possess damage, sharing the image here.
- On sending the image to cut, the blade just cuts the vinyl and leaves the filament beneath intact. I later preserved the stickers cut by giving a masking tape covering.
Design file of git sticker(Svg format)
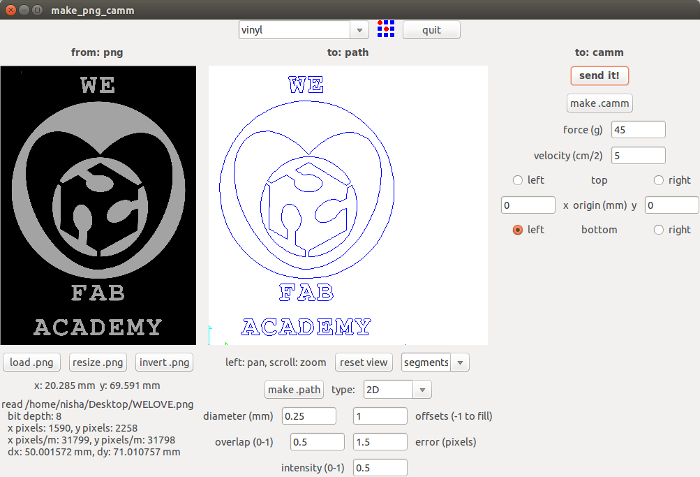
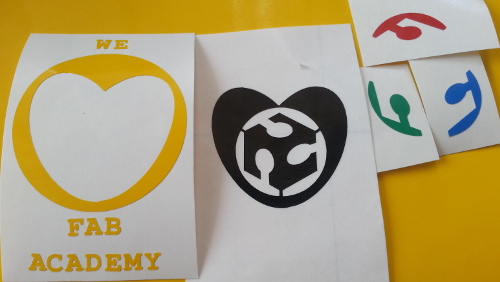
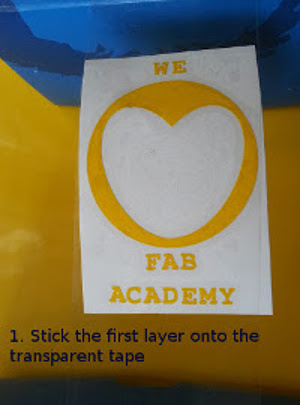
Cutting a multi colored sticker

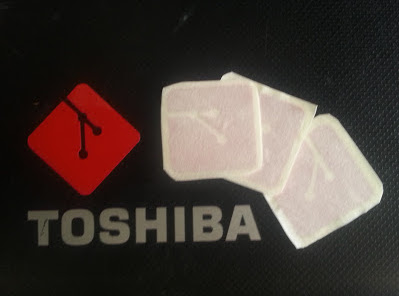
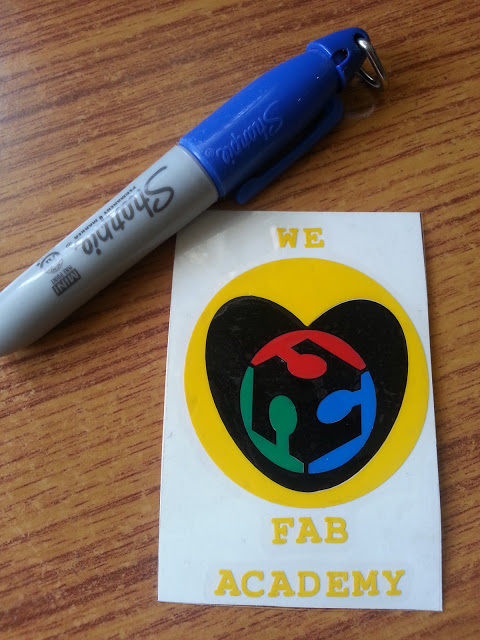
Final Sticker
My laptop with all the stickers. (It looks quite messy thou! :P)

Design file of multi colored sticker (Svg format)
Vinyl Flexible Circuit Cutting
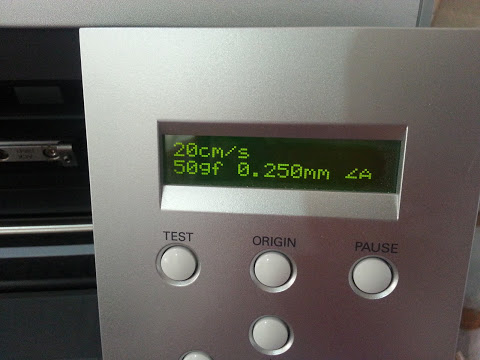
So, Initially when the test cut was done the square was peeling off from the base sheet. The force was set to 50gf and speed to 20cm/s.
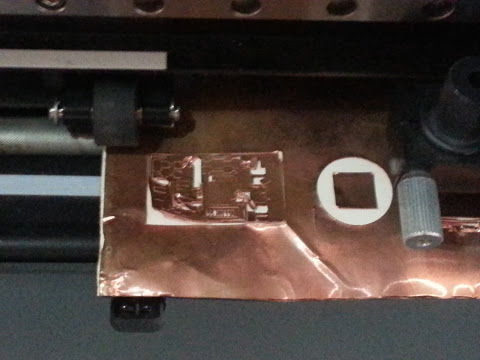
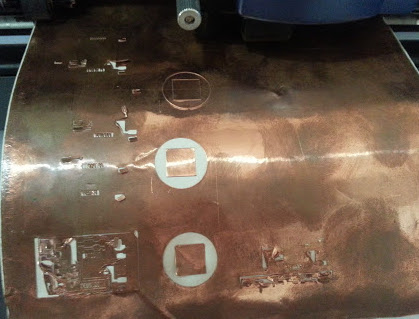
The copper traces came off even before the cut was completely done. So to find the perfect cut force and speed, I took a few test cuts with different speed and velocity settings. At a setting of 40gf, the test cut seems to be peeling off perfectly.
But when the circuit was cut with the same setting of force and speed, the traces were peeling off. I found that inspite of changing the force and velocity in fabmodules, still the traces were cut with the same force. Later, we manually set the force and velocity from 70gf to 40gf and 2.5cm/s to 1cm/s. Still the traces are peeling off from the base.
Since we weren't able to debugg the scenario, we informed the issue to our remote instructor, fransisco, he suggested to do the following. For Roland GX24 vinyl cutter, to be able to vary force, you need to do a one time process for the software. This makes sure the vinyl cutter accepts forces settings:
It seems the process was done already done once, further debugging needs to be done. I'm planning to catch up on this during the electronics production week.
Laser Cutting- Press Fit Construction Kit.
Initially I begin off with paper prototyping, and made a rough sketch of how it would be looking like.
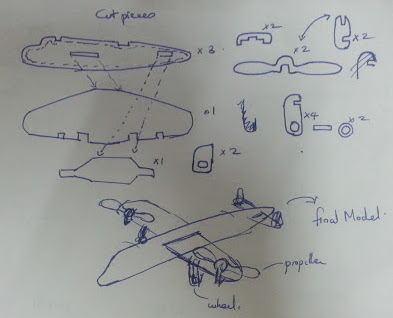
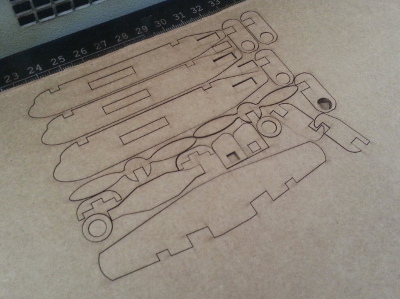
I am using Rhino for sketching the design. I followed the tutorial vimeo by savio silli to make the design in rhino parametric without using grasshopper. The cardboard is of 4mm thickness, in order to make the joints stiff I gave a clearance of 0.02mm each for each slots. I also did nesting of the parts, so that less cardboard is wasted.
The final design was then saved as .dxf format. I opened the file in inkscape and changed the line color to red, which is the default color for cutting in laser cutter used here. Black is the default color for engraving for laser cutter used here.
Final Assembled plane model
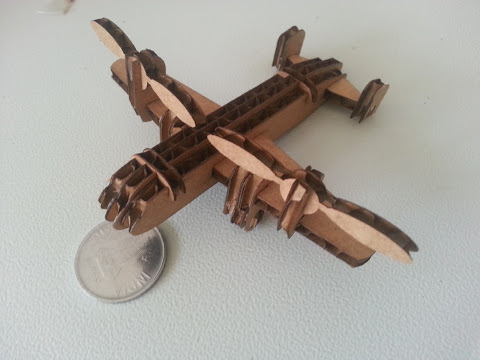
Design file of the plane (.3dm format)
I'm planning to create a press fit model for my furniture.
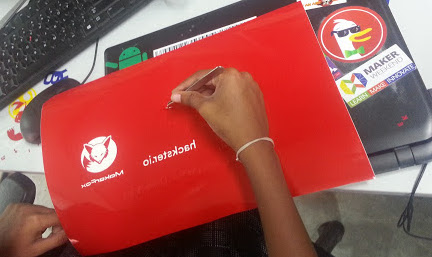
How We Saved The Day with the Knowledge from FabAcademy!
We used vinyl sticker cutter to cut out the design in vinyl. Always remember to flip/mirror the image before cutting.
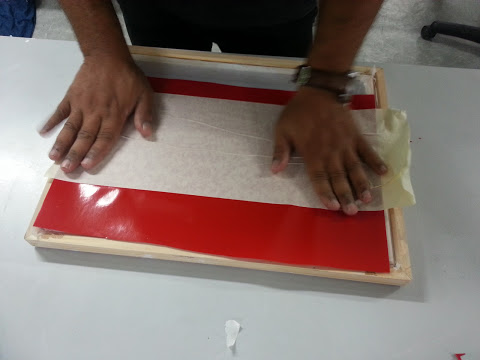
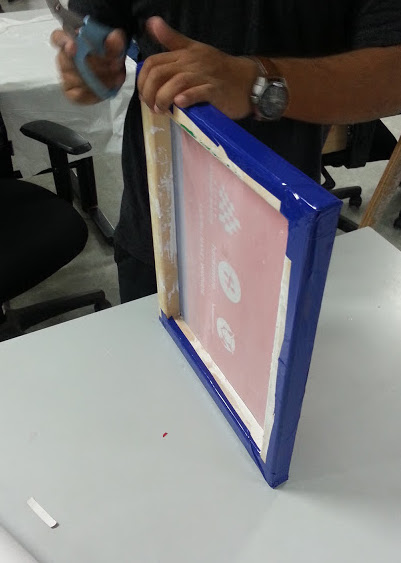
The challenge me and Atif faced was mainly to clean up the screenprinting frames that where used before and left unwashed. Tedious process indeed since we couldn't find any cleaning solvents too.
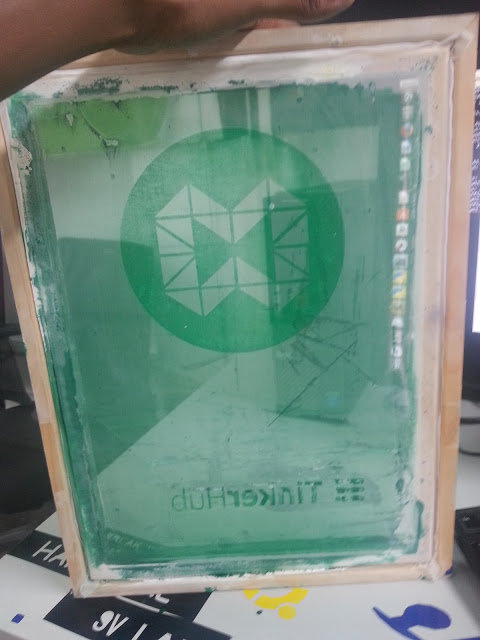
Stick the cutted vinyl onto the screenprinting frame and remove the areas where you need the paint to be on the T-shirt.
Don't forget Iron the fabric later before washing. This helps for the paint to stay longer.
png images of logo front and back side prints taken


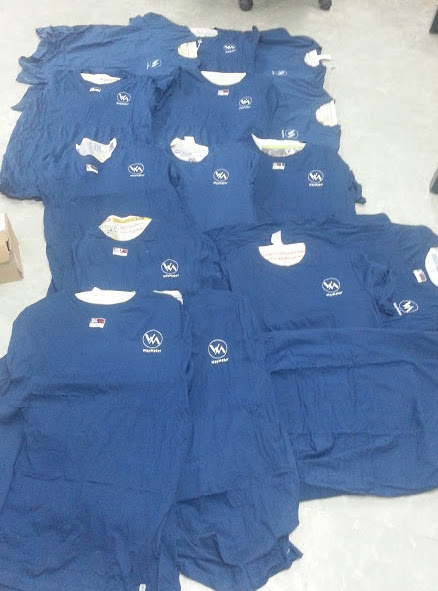
Few printed Tshirts..