She really likes walking during rainy ugly days...
But she does not like to walk on dirty and dry grounds...
To be honest, Fab Snail does not like many things...like polluted air or muggy days...
She is not the only one who doesn't like all that, just like all the other snails...
The difference is that if Fab Snails is not happy, she can turns into a real stalker!
(Also on your mobile -.-)
So take care of Fab Snail, she is a good snail...
She is just different from the other snails!"
Weekly Assignment
The weekly assignment was:
- Make something bigger than a chair
Software and Hardware
The software that i've used this week are:
- Antimony: used for designing the 3D and the 2D model
- Inkscape: used for transform the PNGs exported from Antimony into vectorial images
- Vectric VCarve: used for generating the cutting profile for the machine
Concerning the hardware:
- Shopbot prsalpha: CNC mill
Make Something Big!
For the assignment, i've decided to build a trebuchet (a medieval counterweight catapult).
I've started by googling some DIY projects about catapults and trebuchets and during my researches, i found
this interesting video which is a short (but very exhaustive) overview on the physic of the trebuchets.
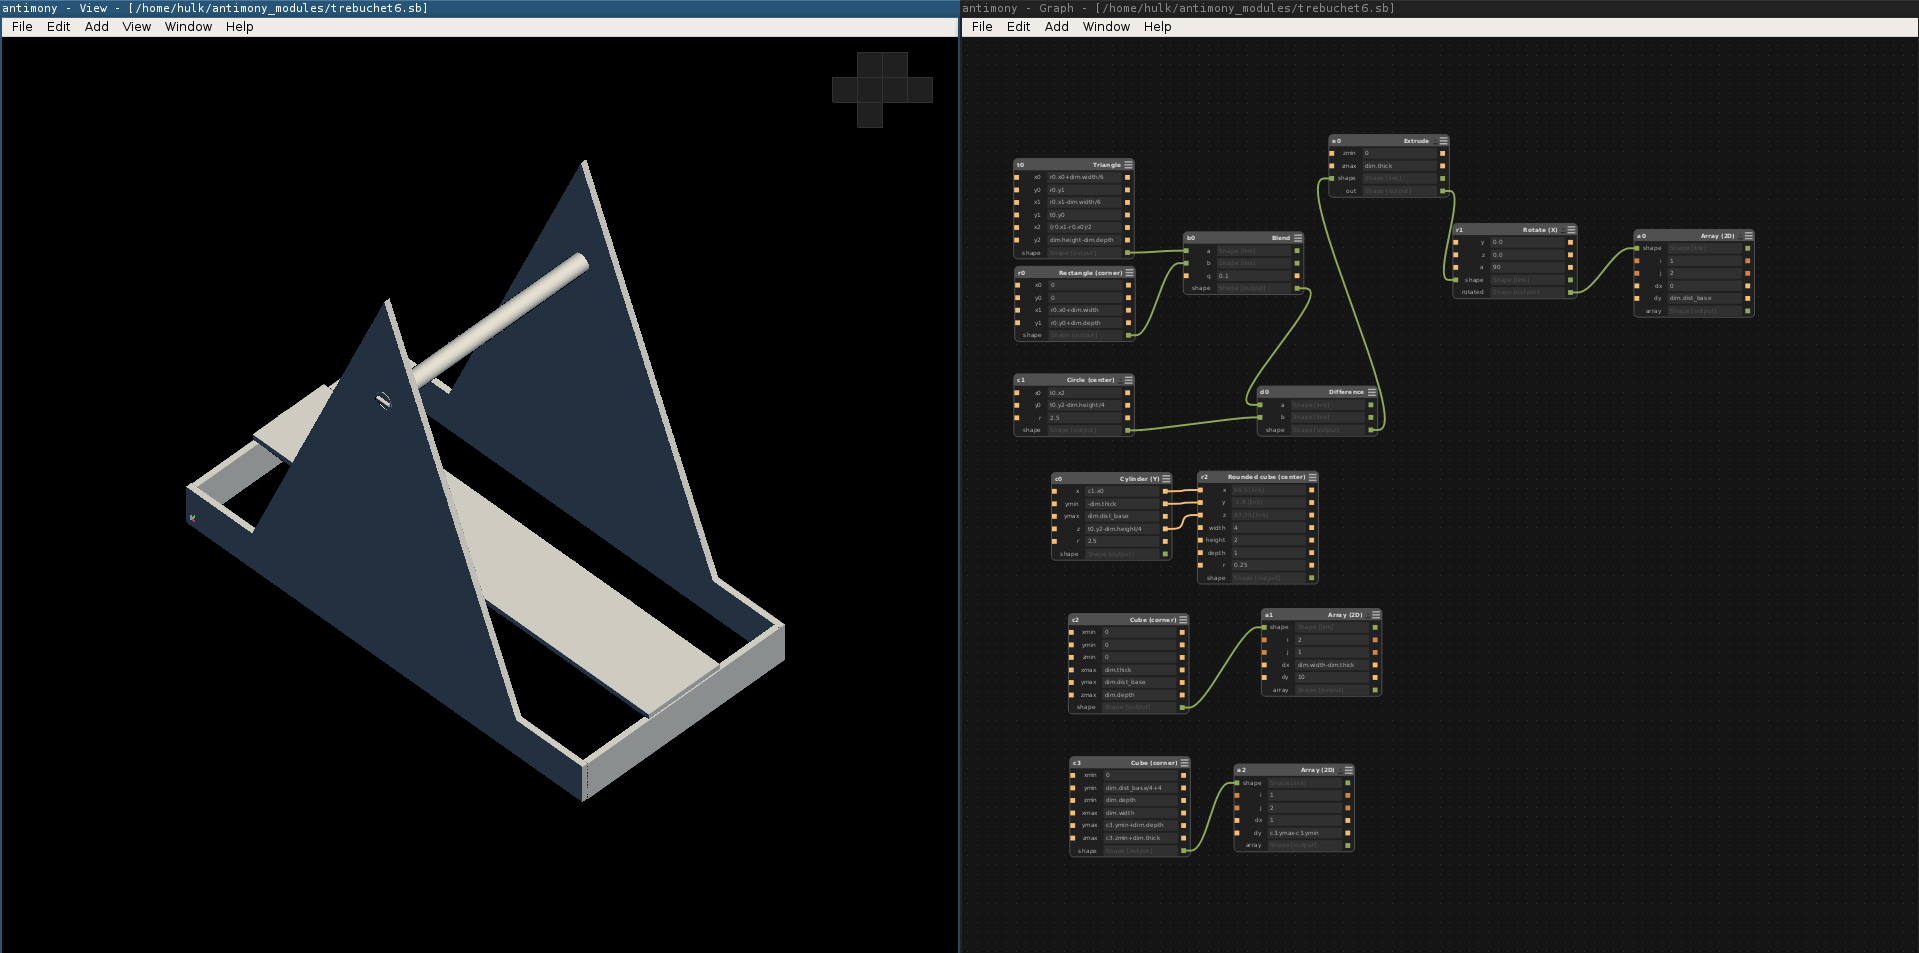
Then i've started to design the model in Antimony (3D MODEL - PIECES).
I've duild one model with all the parts mounted just to check if the idea that i had in mind could have been feasible.
I've build a second model with all the pieces unmounted on a plane.
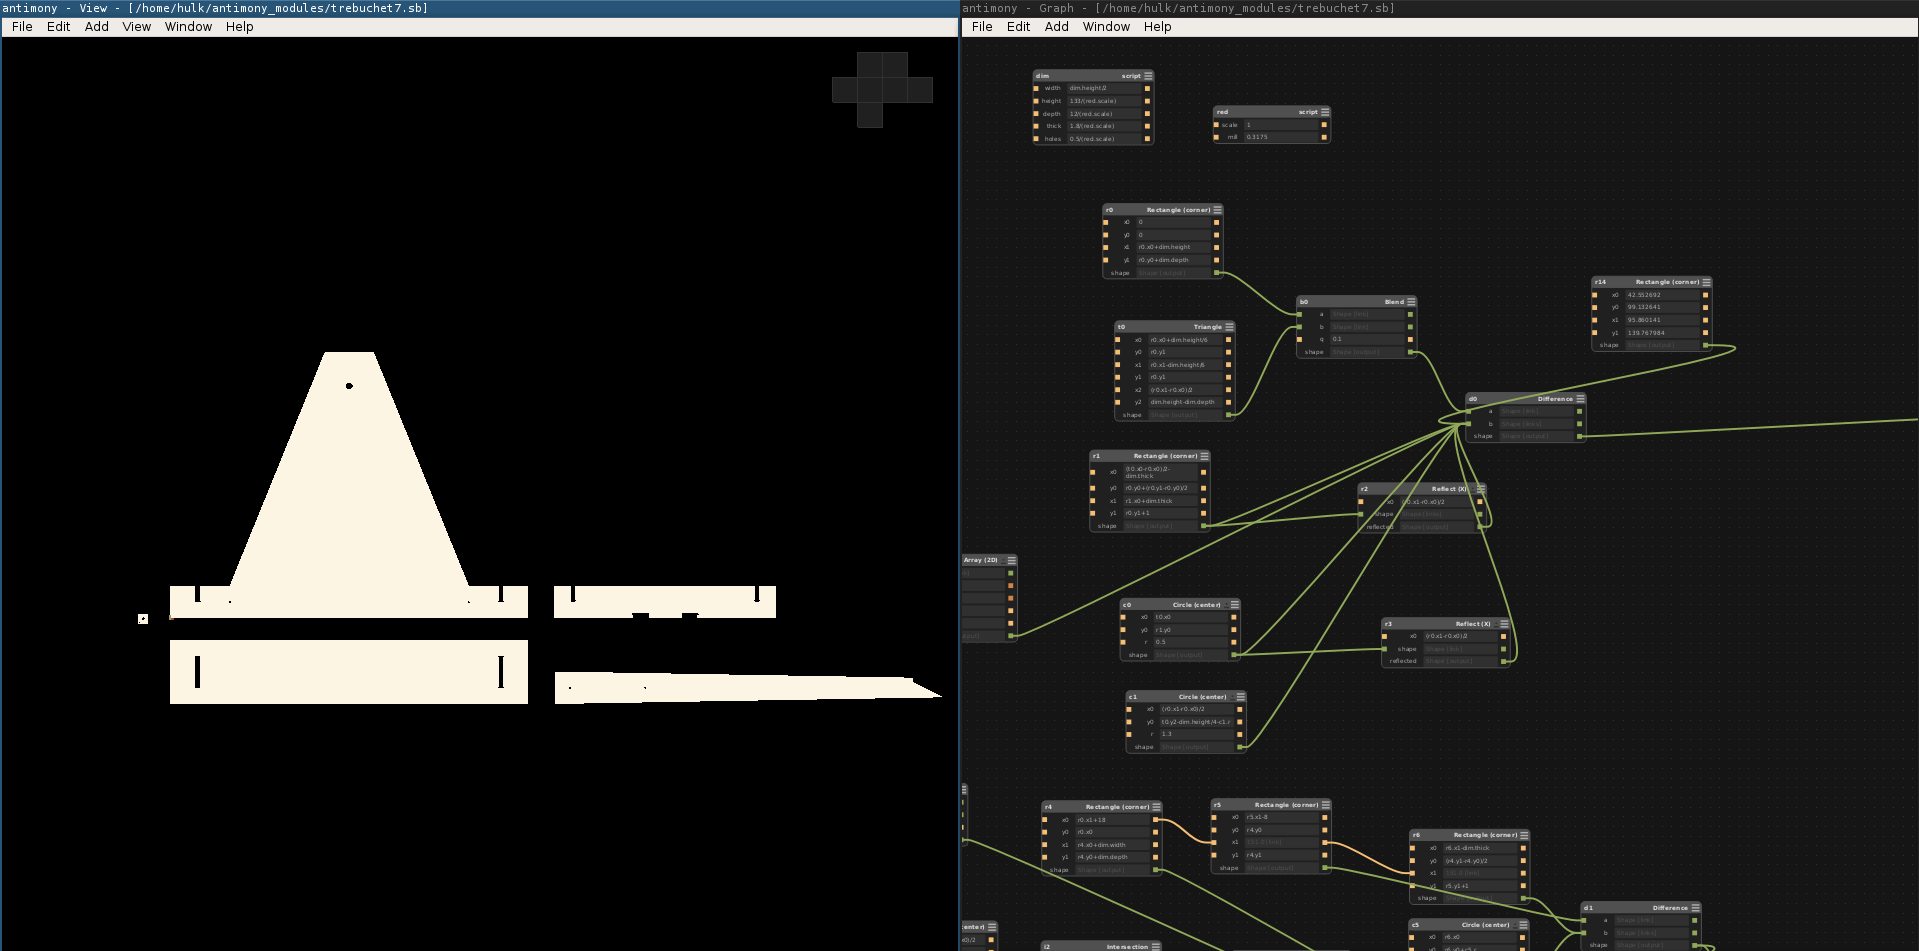
Then i've used inkscape to transofrm the PNGs in vectorial images using the procedure alrready described here
Then, i've used the laser cutter to build a scaled model of the object. This procedure was really fast because inside
my antimony model, i've defined a scaling factor wich is connected to all the shapes of the model so i can scale all the parts simply
by modifying one number.

This is the result:
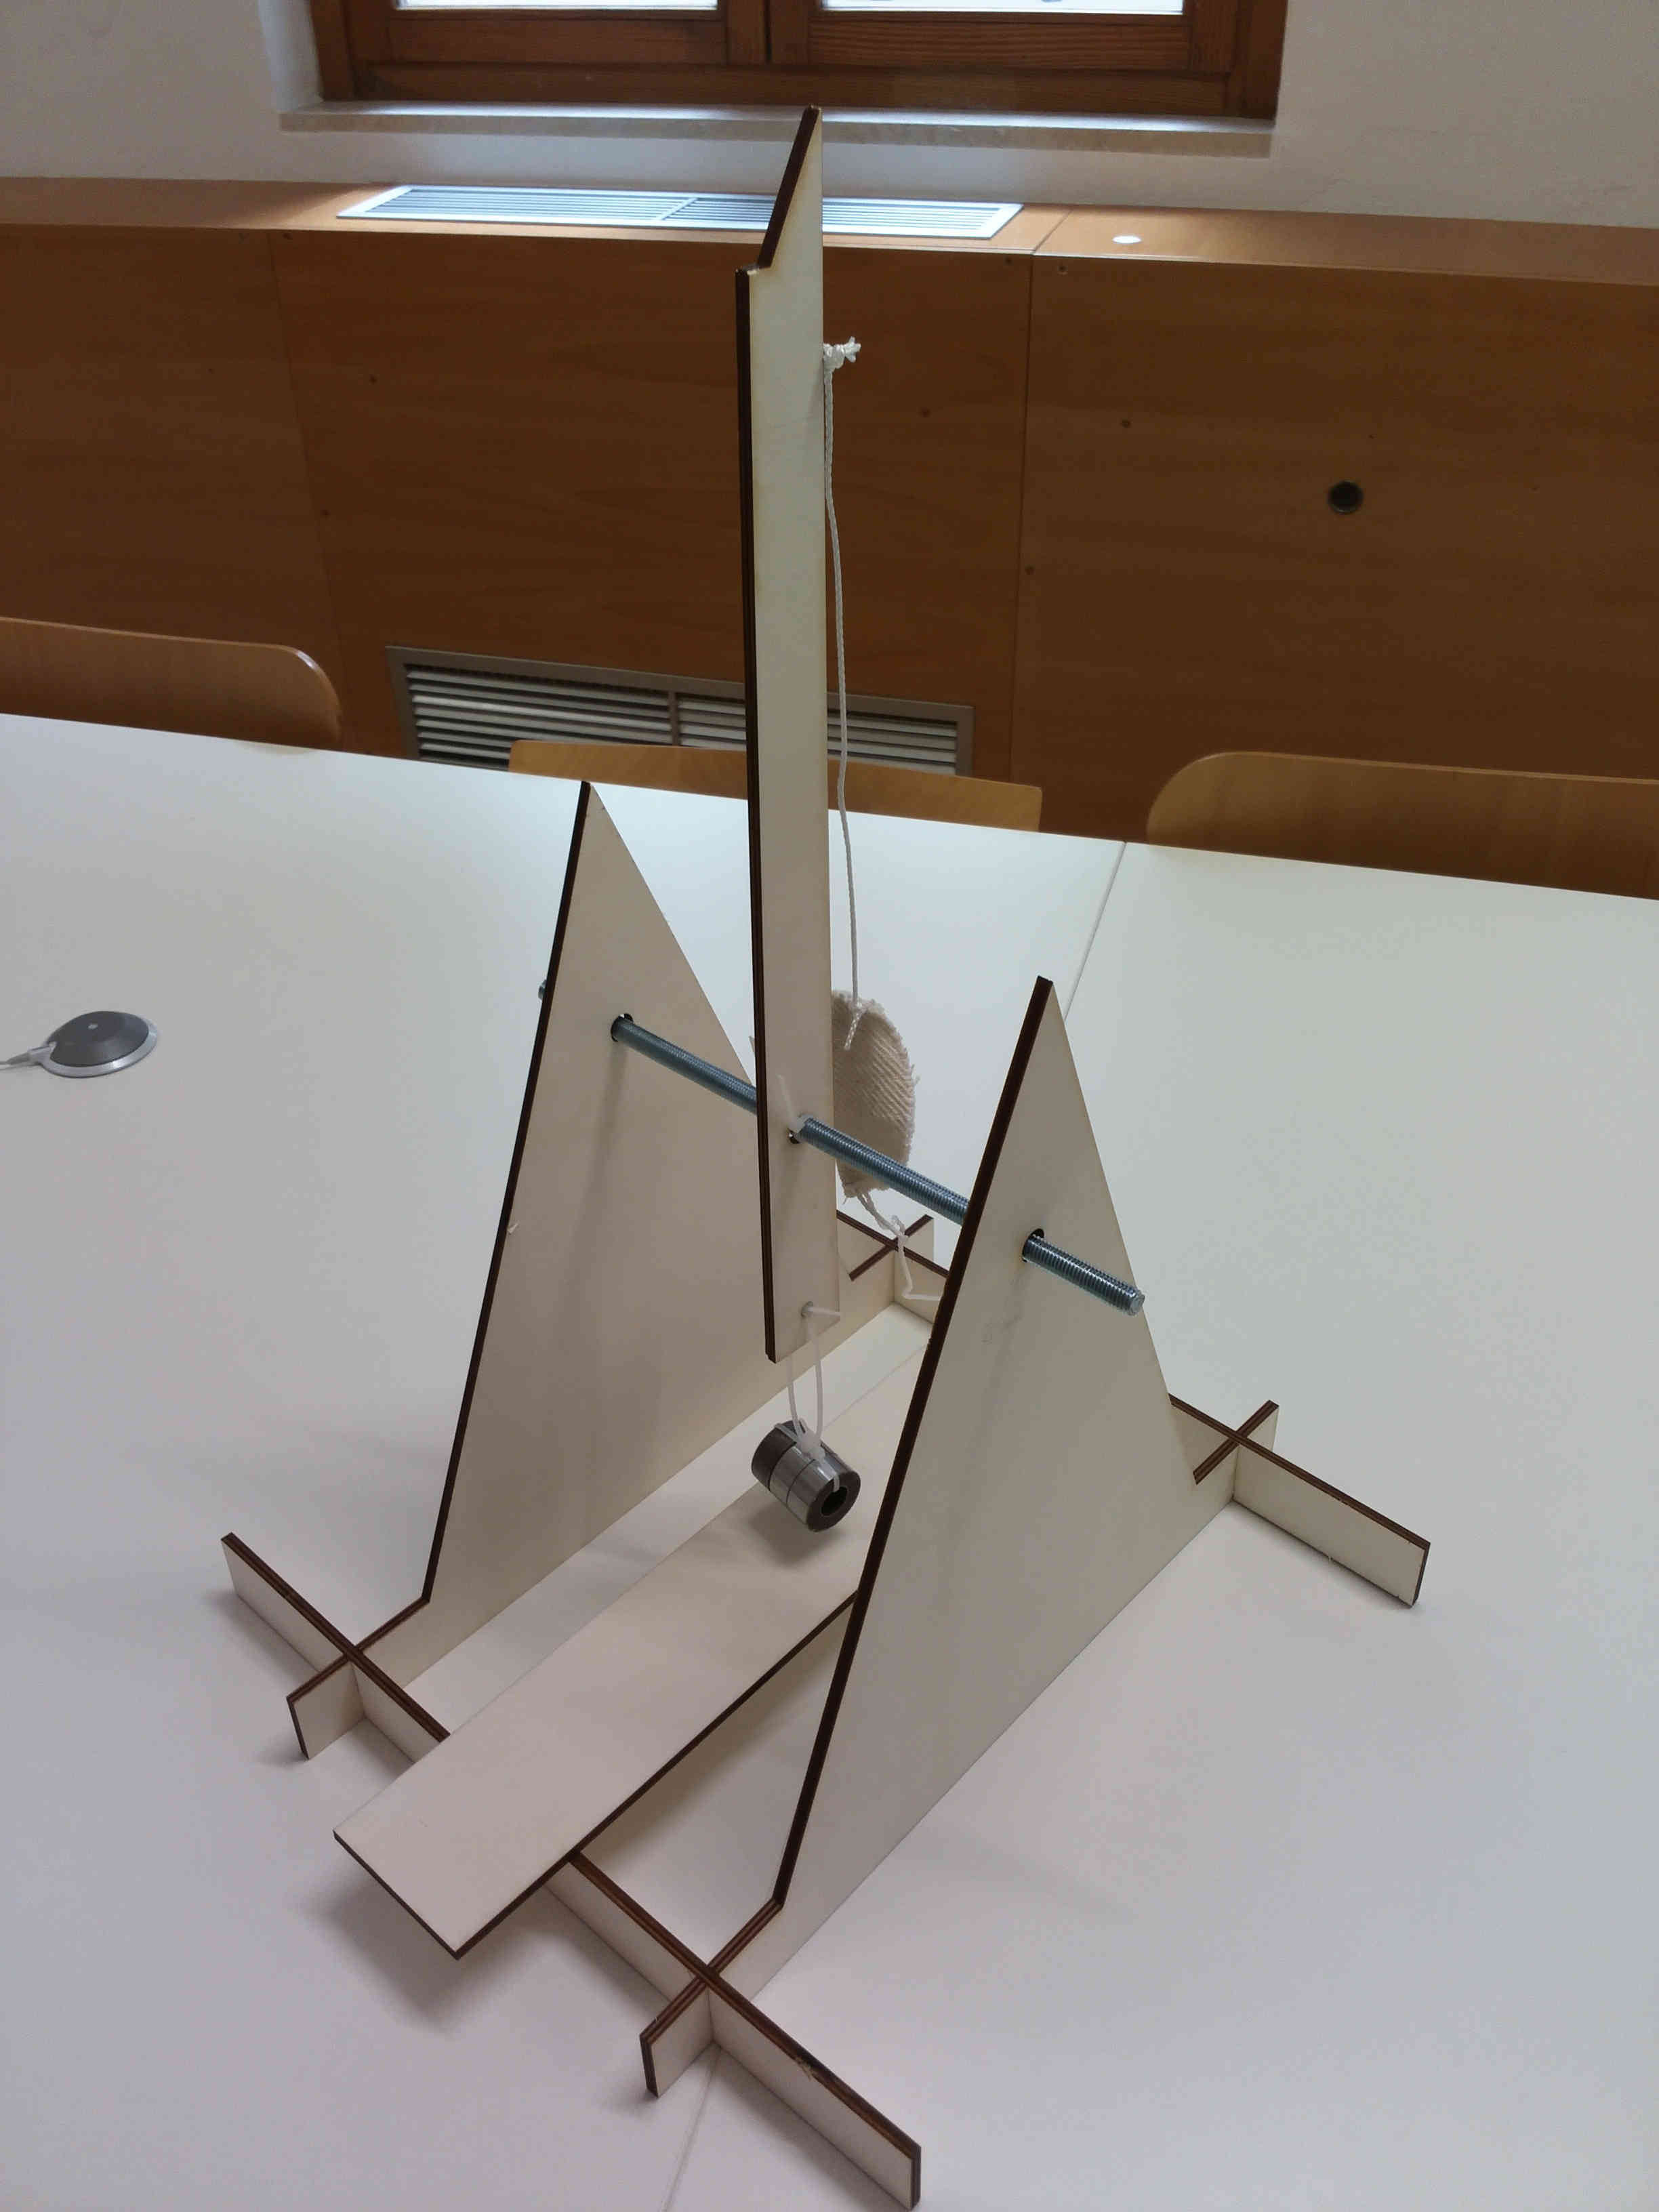
With the scaled model i was able to test the counterweight mechanism and to tune the lenght of
the wires to adjust the range.
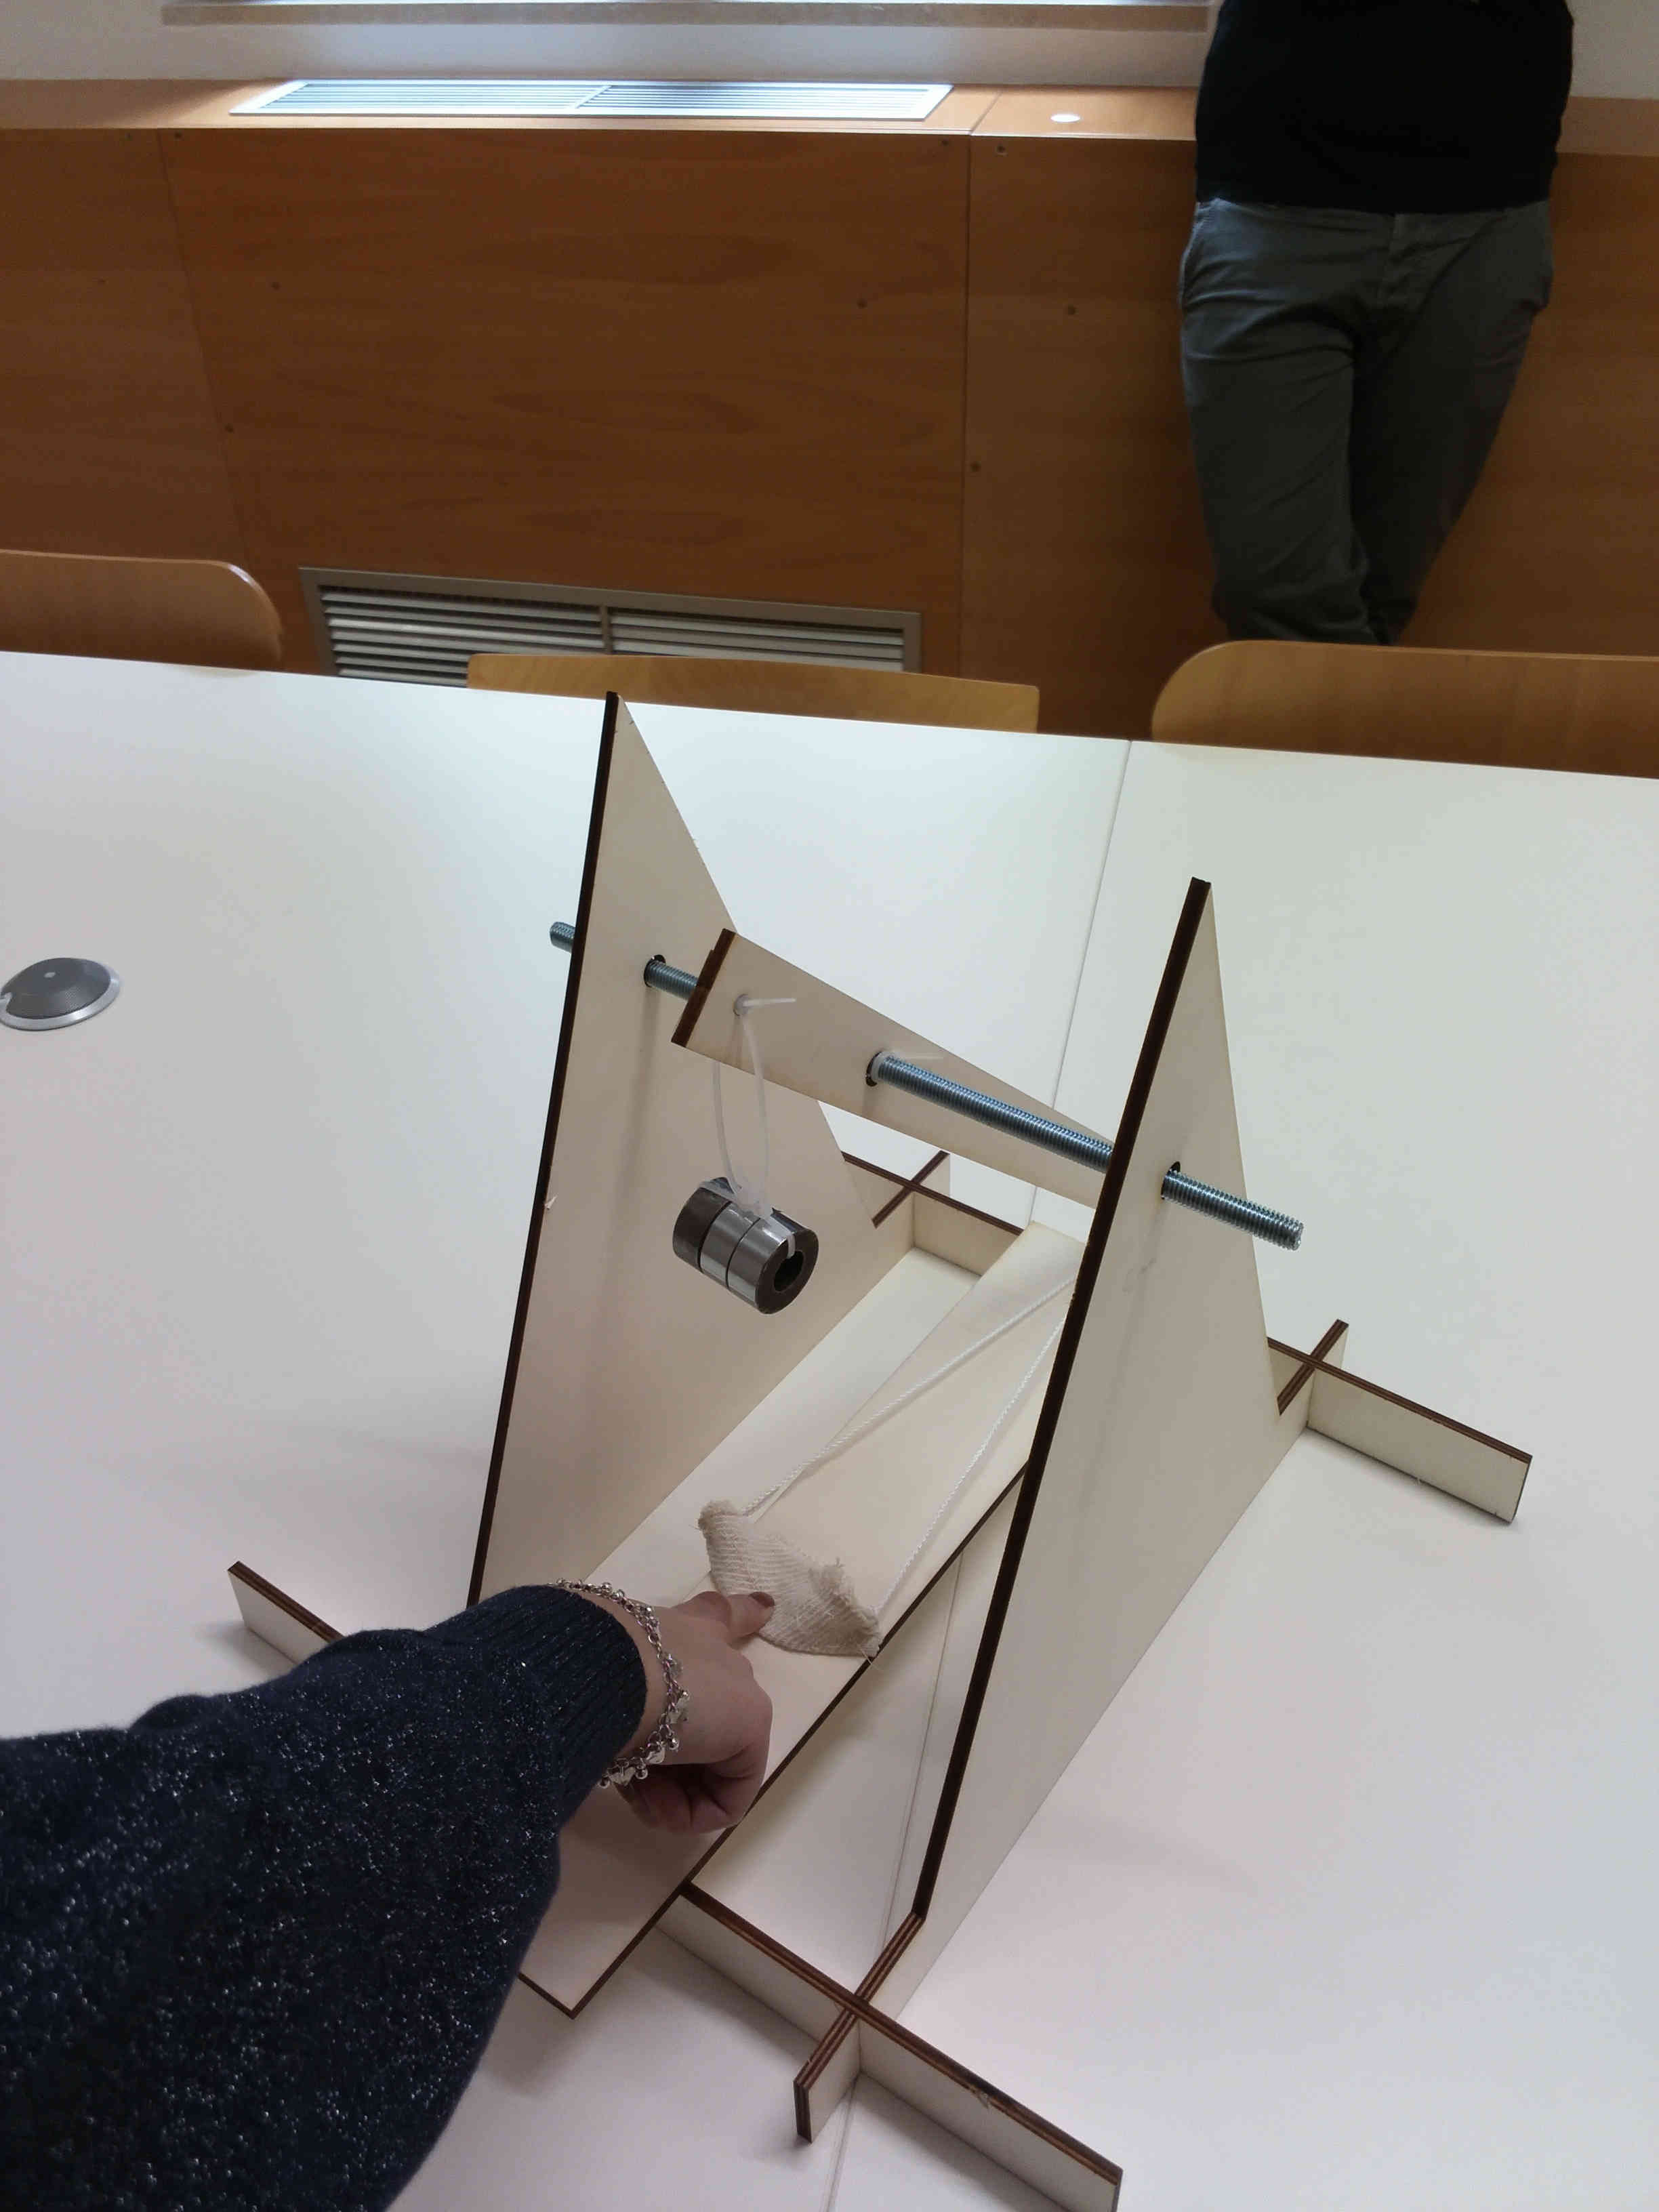
Once i've tested everything, i've modified a little bit the design because i've realized
that the spikes of the triangles were really dangerous.
I still have to attach the counterwight and the sling.
My final aim is to shoot inside the garden in front of the FabLab...stay tuned for the
video of the first shoot!
VCarve
After i've tested the scaled model, i was ready to prepare the file for the Shopbot.
At this point i've committed a really stupid mistake. I've scaled the model at the 85%
of the original size because i wanted to leave some empty space on the OSB table to cut a piece
for another project we were building in the lab.
I've not considered that all the holes and the .... would have been resized too.
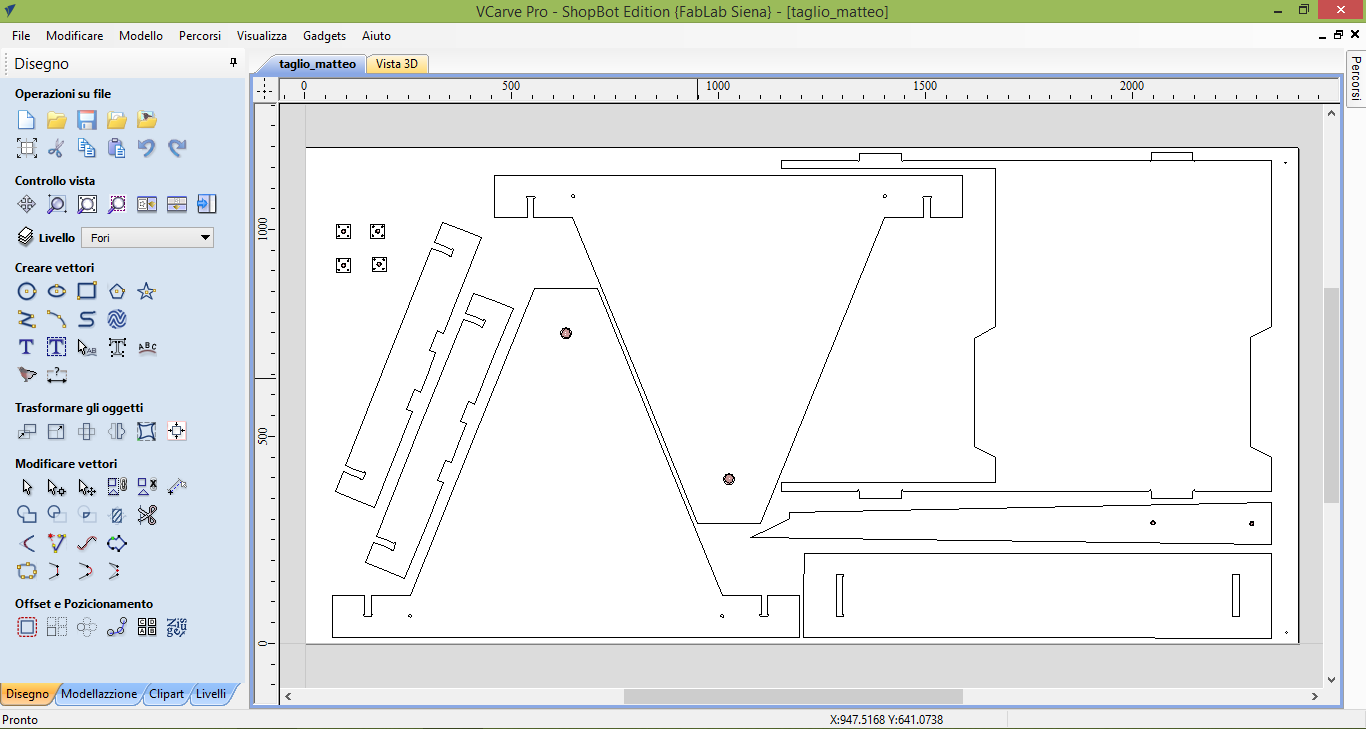
By the way, this is the 2D view of the VCarve file (DOWNLOAD)
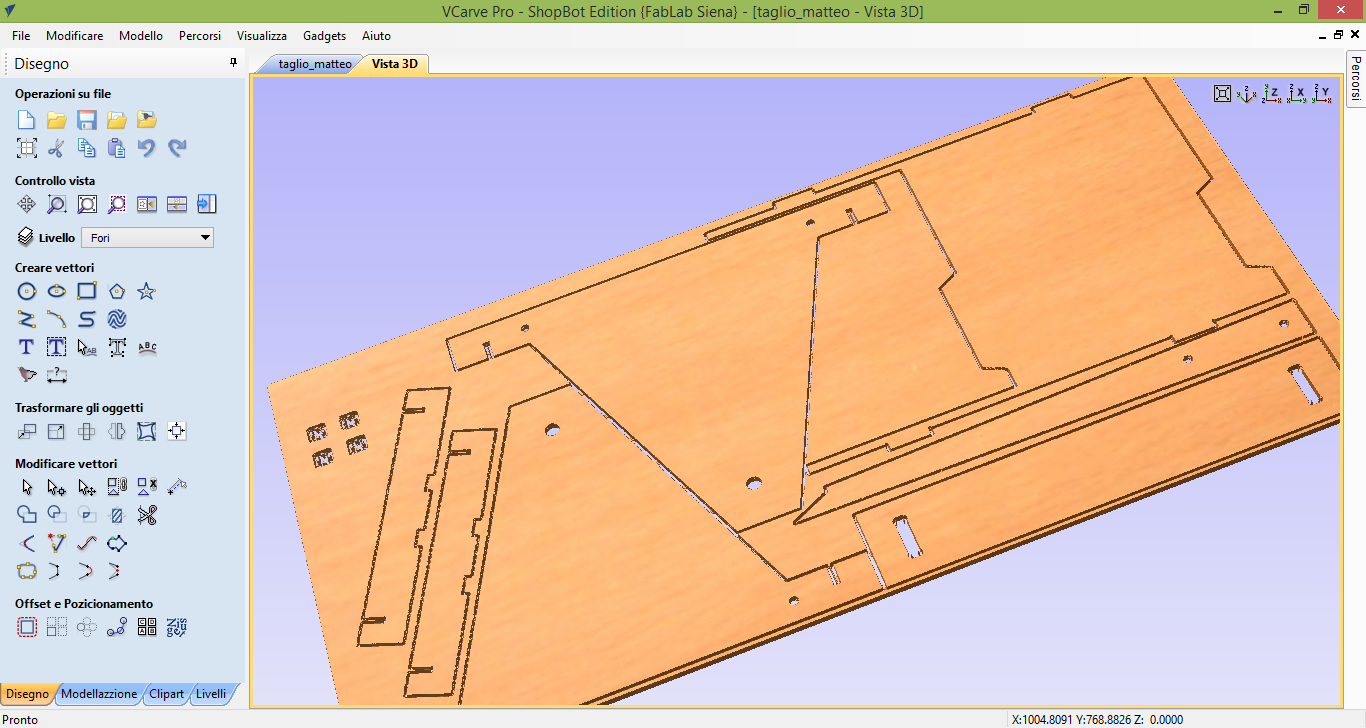
And here a preview of the cuts:
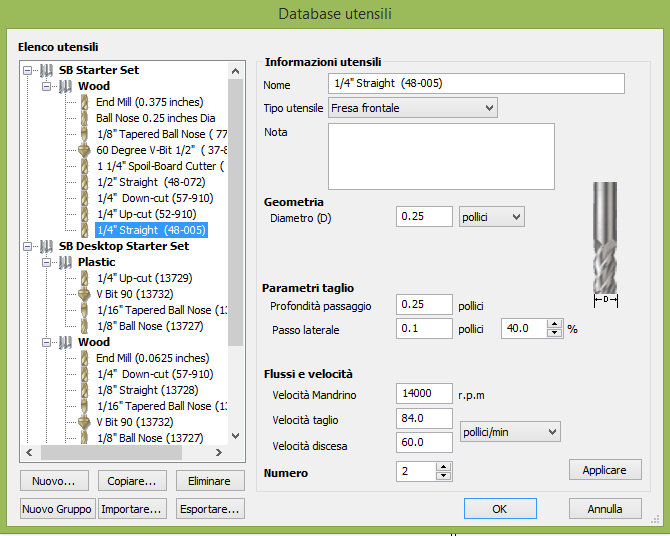
At this point it was necessary to tune the parameters related to feed, speed and chip load of the machine.
Reading the Shopbot manual, at page 3 i've found the explaination of the procedure to calculate
everything.
The workflow that i've followed was:
- I've decided a value for the RPM of the spindle (14000)
- I've decided the End mill to use (1/4" Straight - code 48-005)
- I've found the chipload of this mill from the manual (page 7) and it was o.oo5,0.007 and i've used 0.006
- From the same table i've identified the number of the cutting edges of the mill (1)
- I've calculated the Feed Rate (IPM) through the formula:
Feed Rate (IPM) = RPM x #of cutting edges x Chip Load
The result was 84 IPM (inches per minute).
And then i've finally started to cut :) :
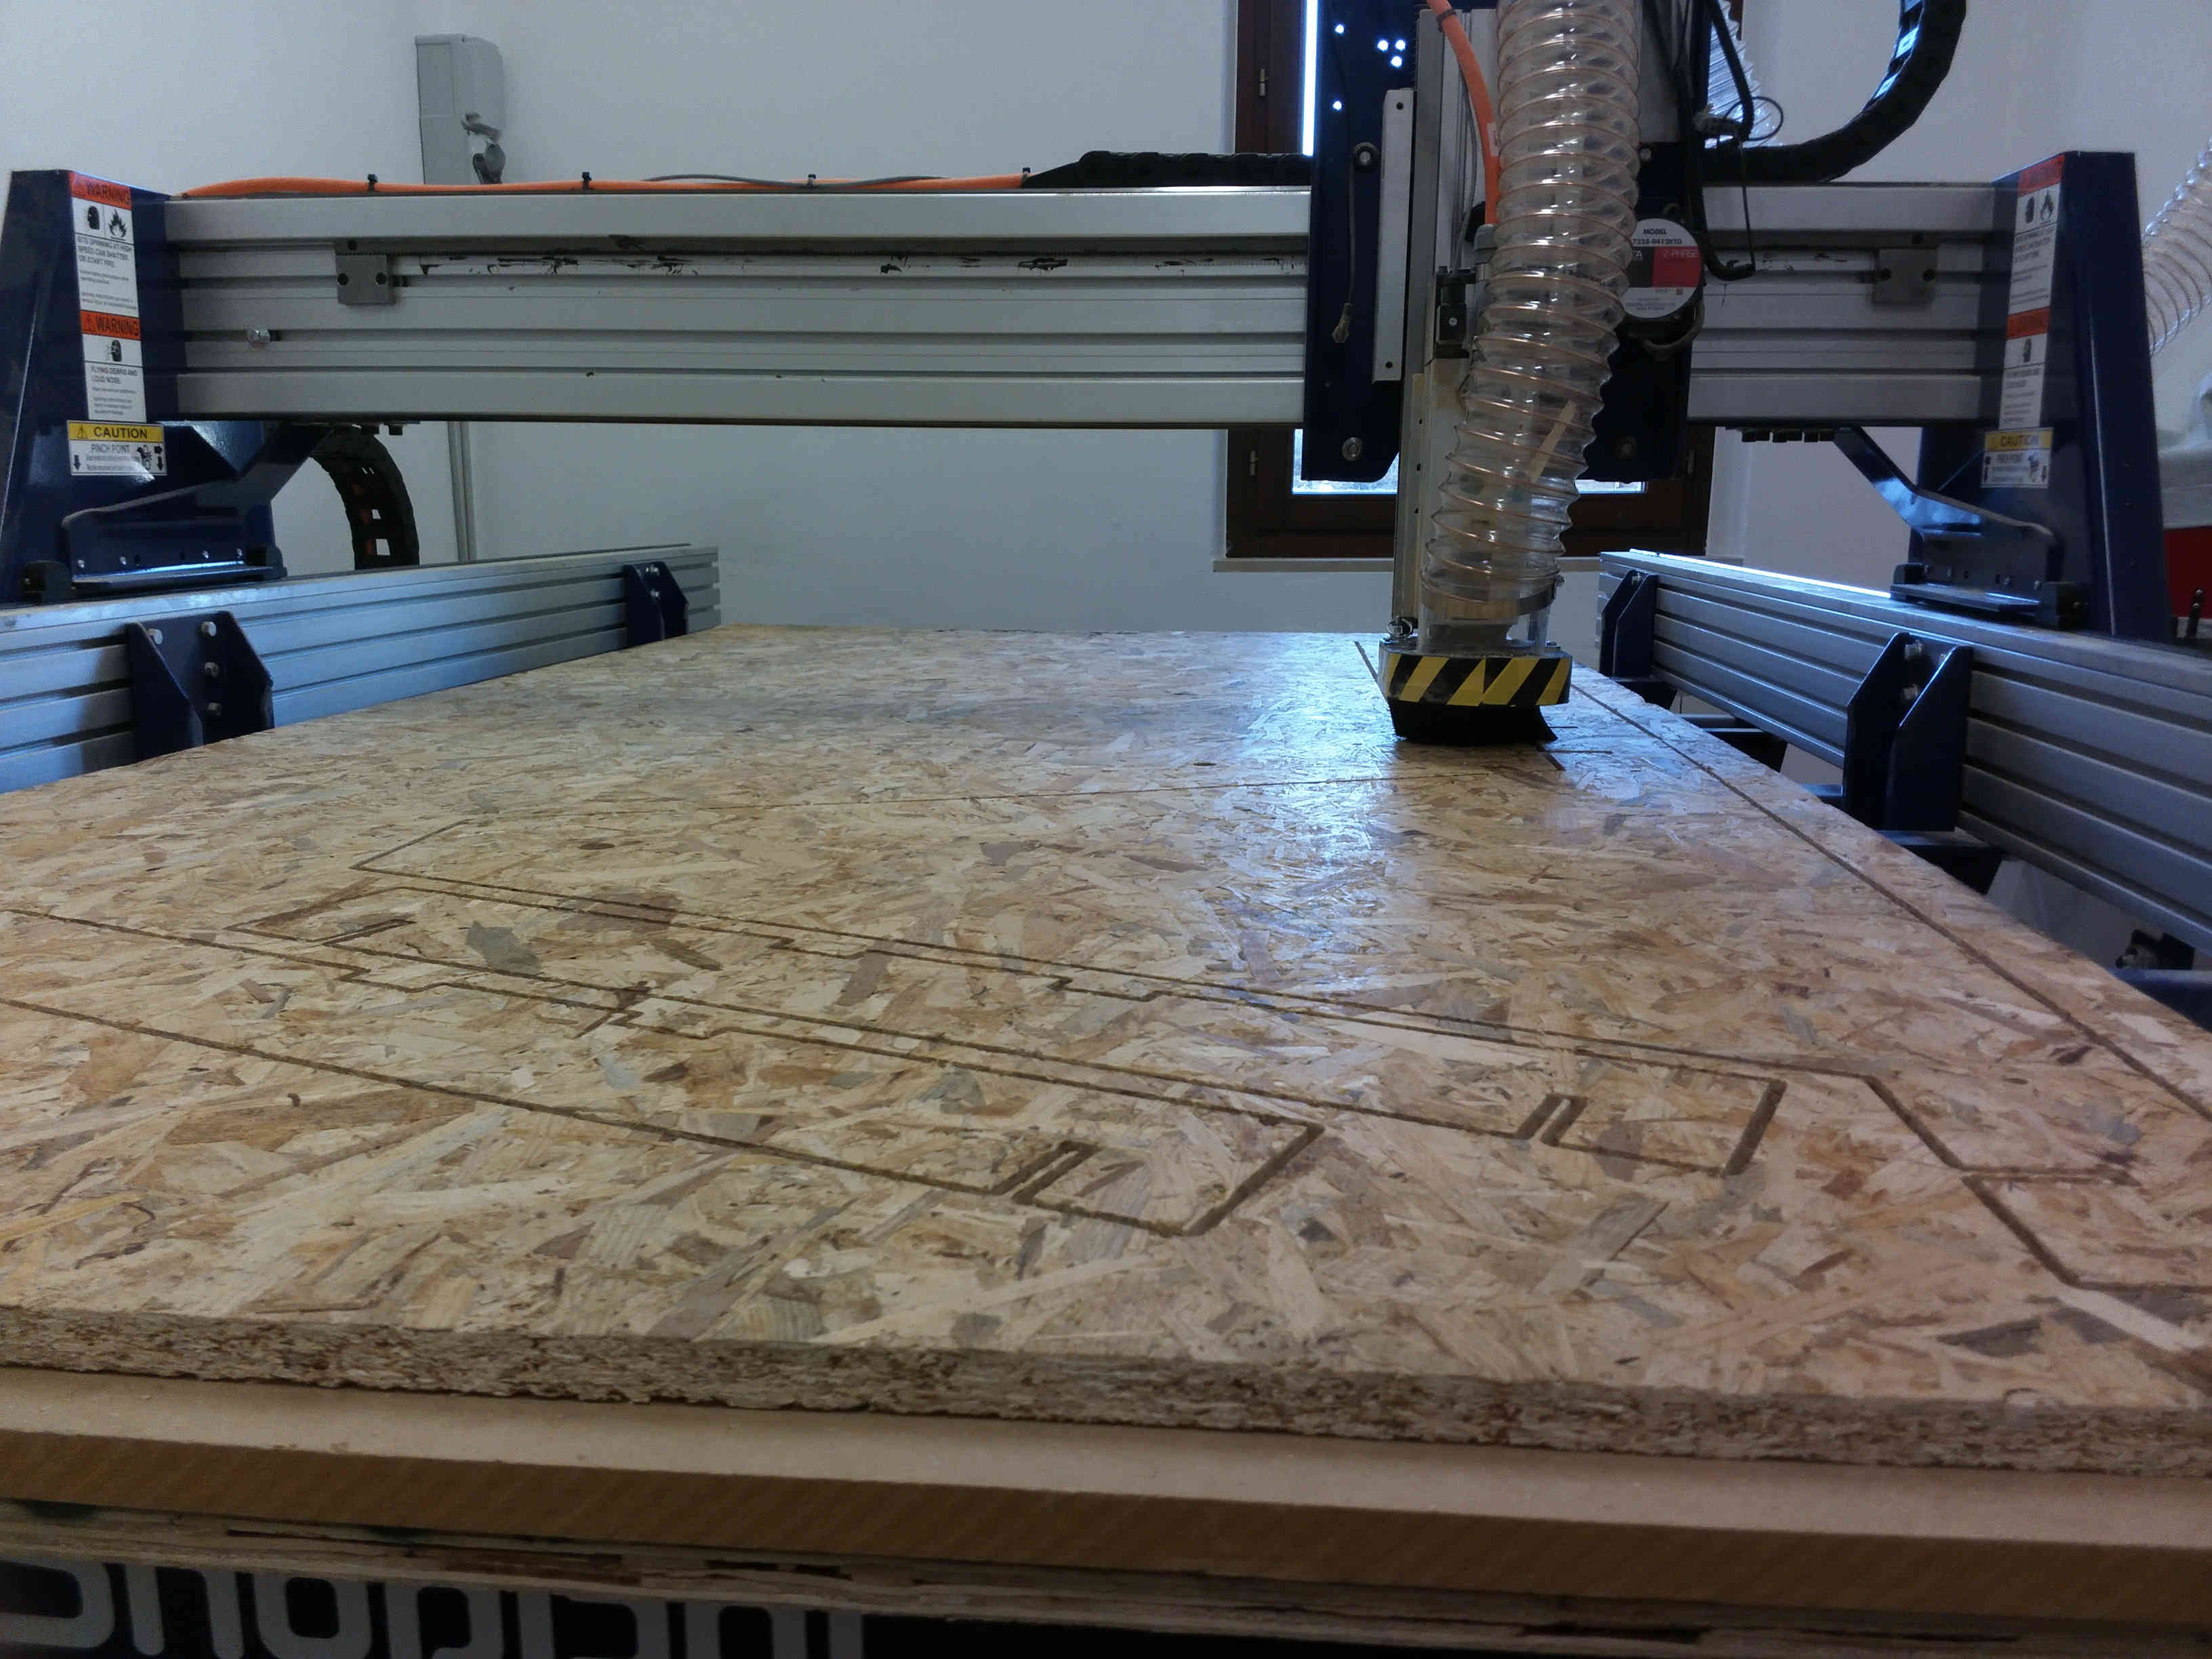
And this is the result:

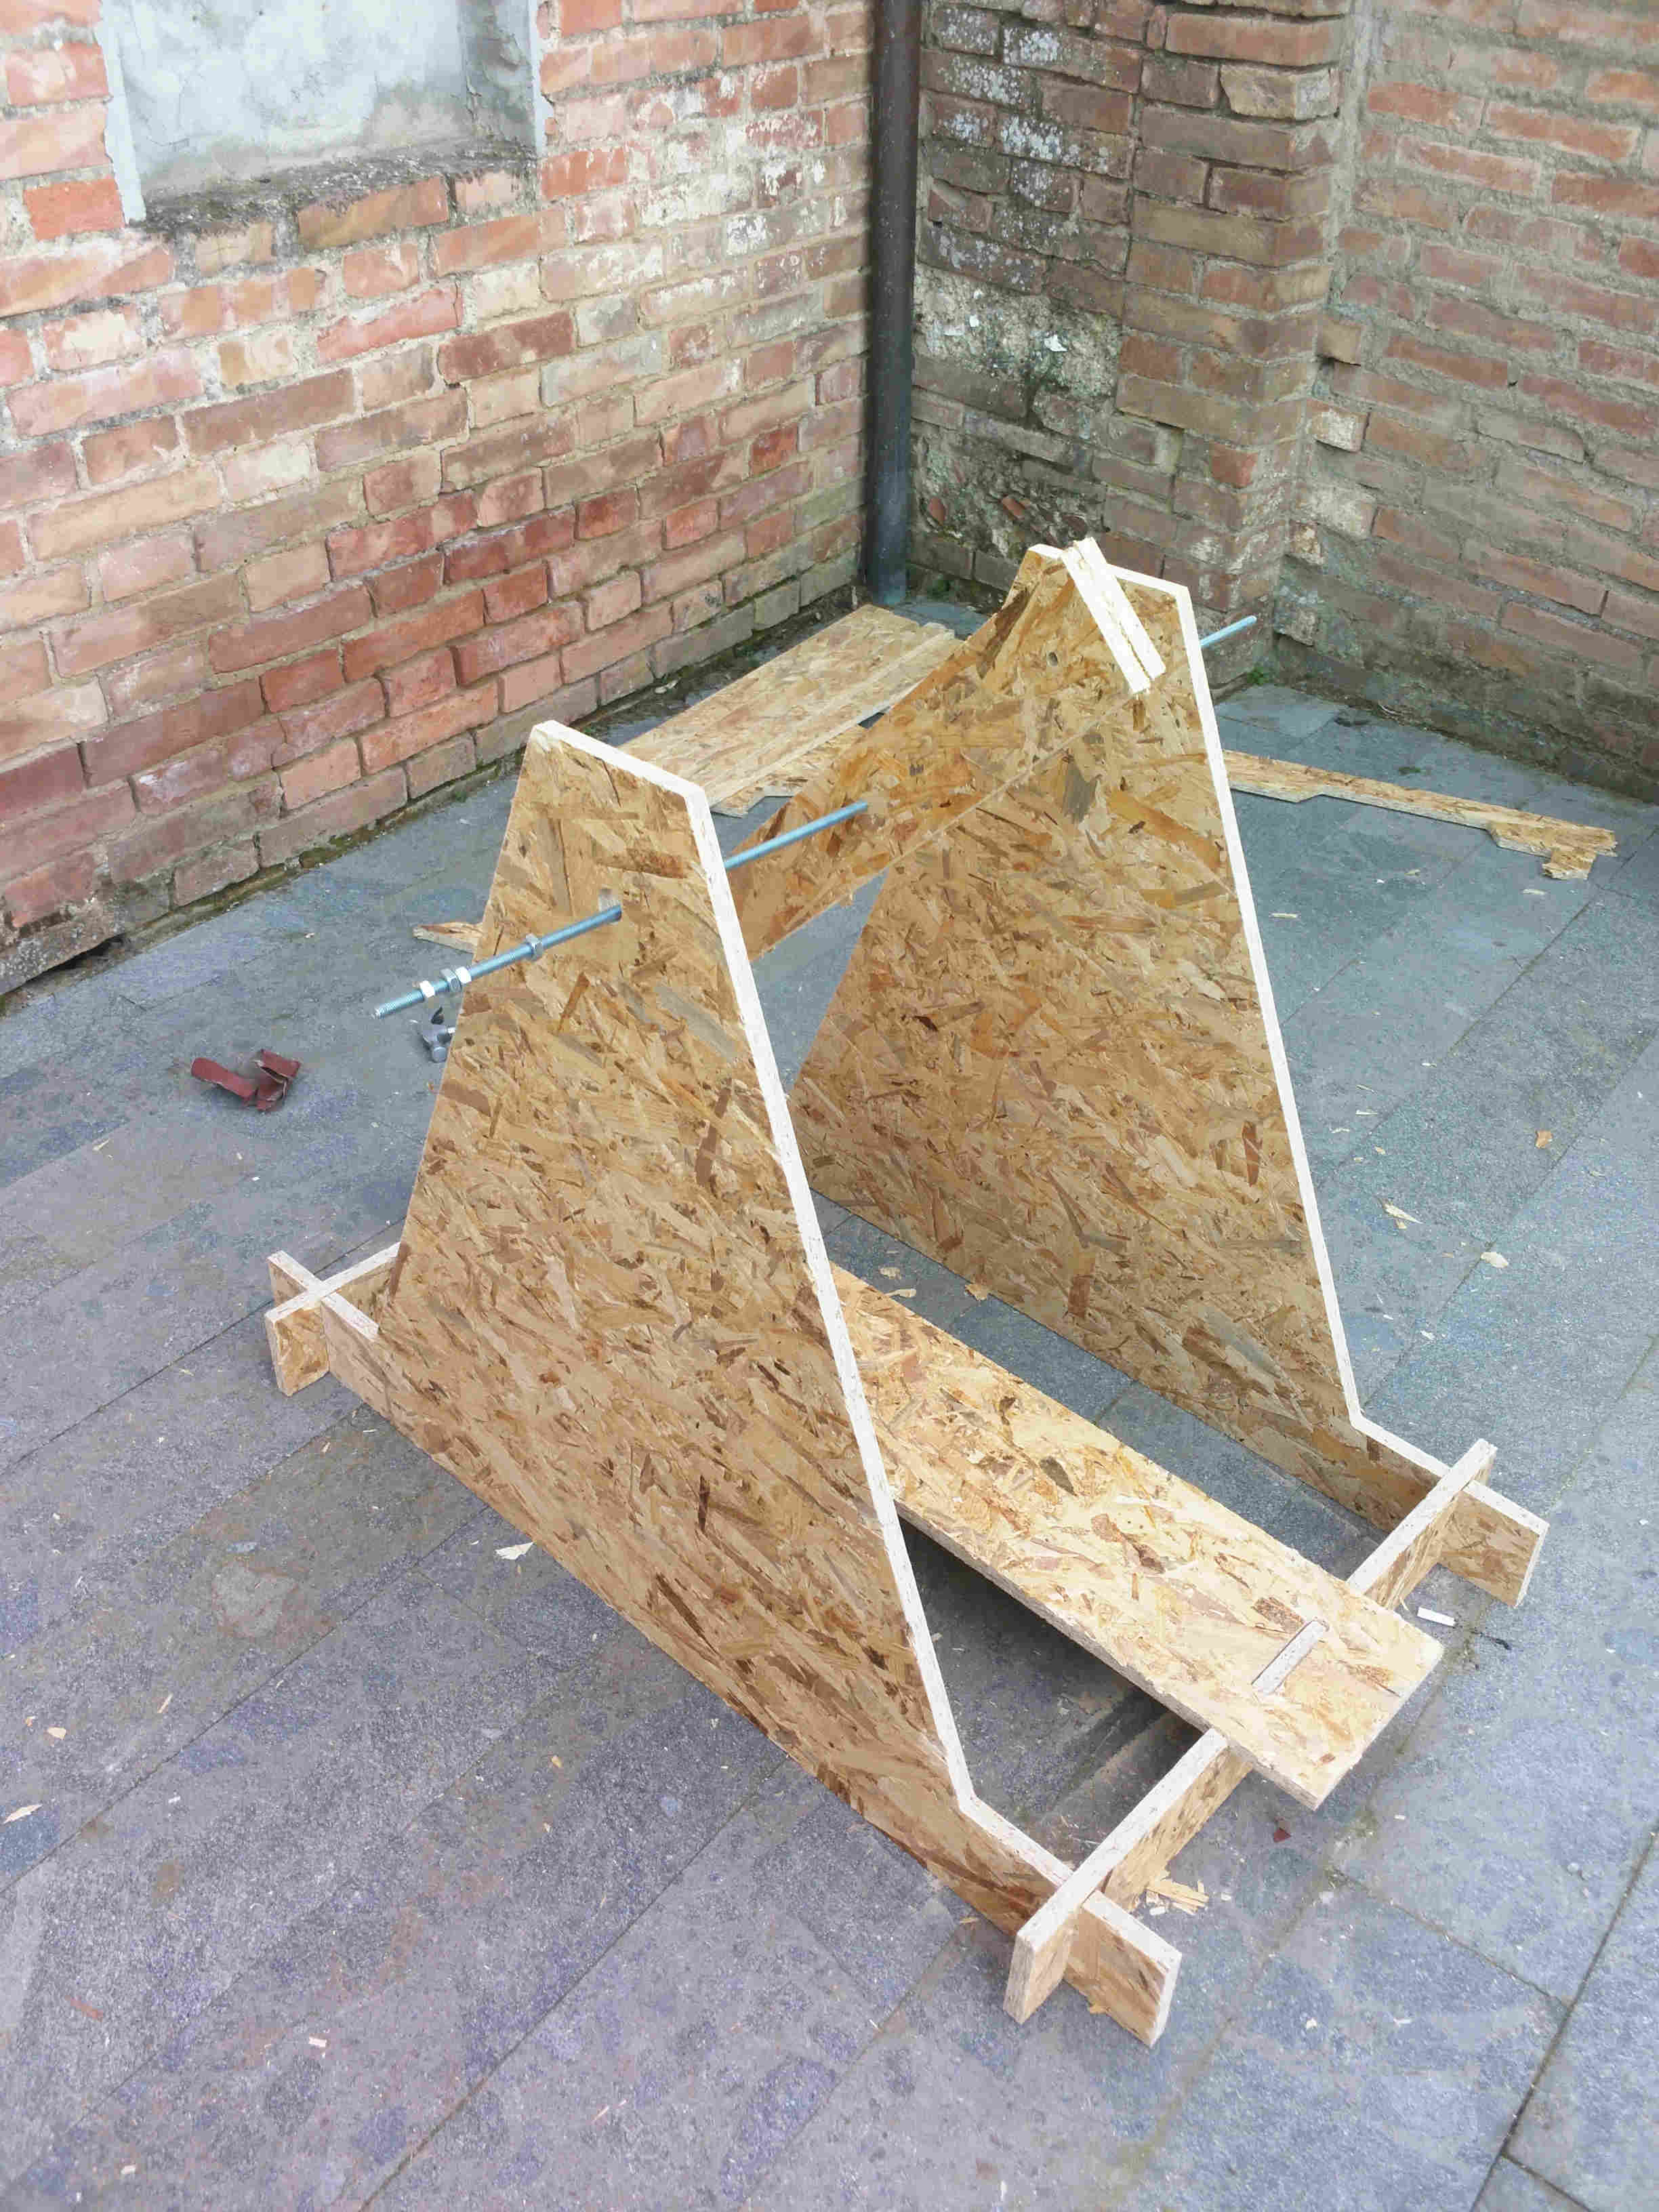
I still have to connect the wires for the projectile and to test the machine. To obtain this result, i've spent 3 hours with the sand paper to manually adjust the mistake related to the resizing of the model -.-. So the lesson learned from this experience was:
TRIPLE CHECK THE MODEL BEFORE CUTTING IT!!!
I swear i will never commit the same mistake in the future!
I'm still working in order to finish the wires needed to hold the projectile.
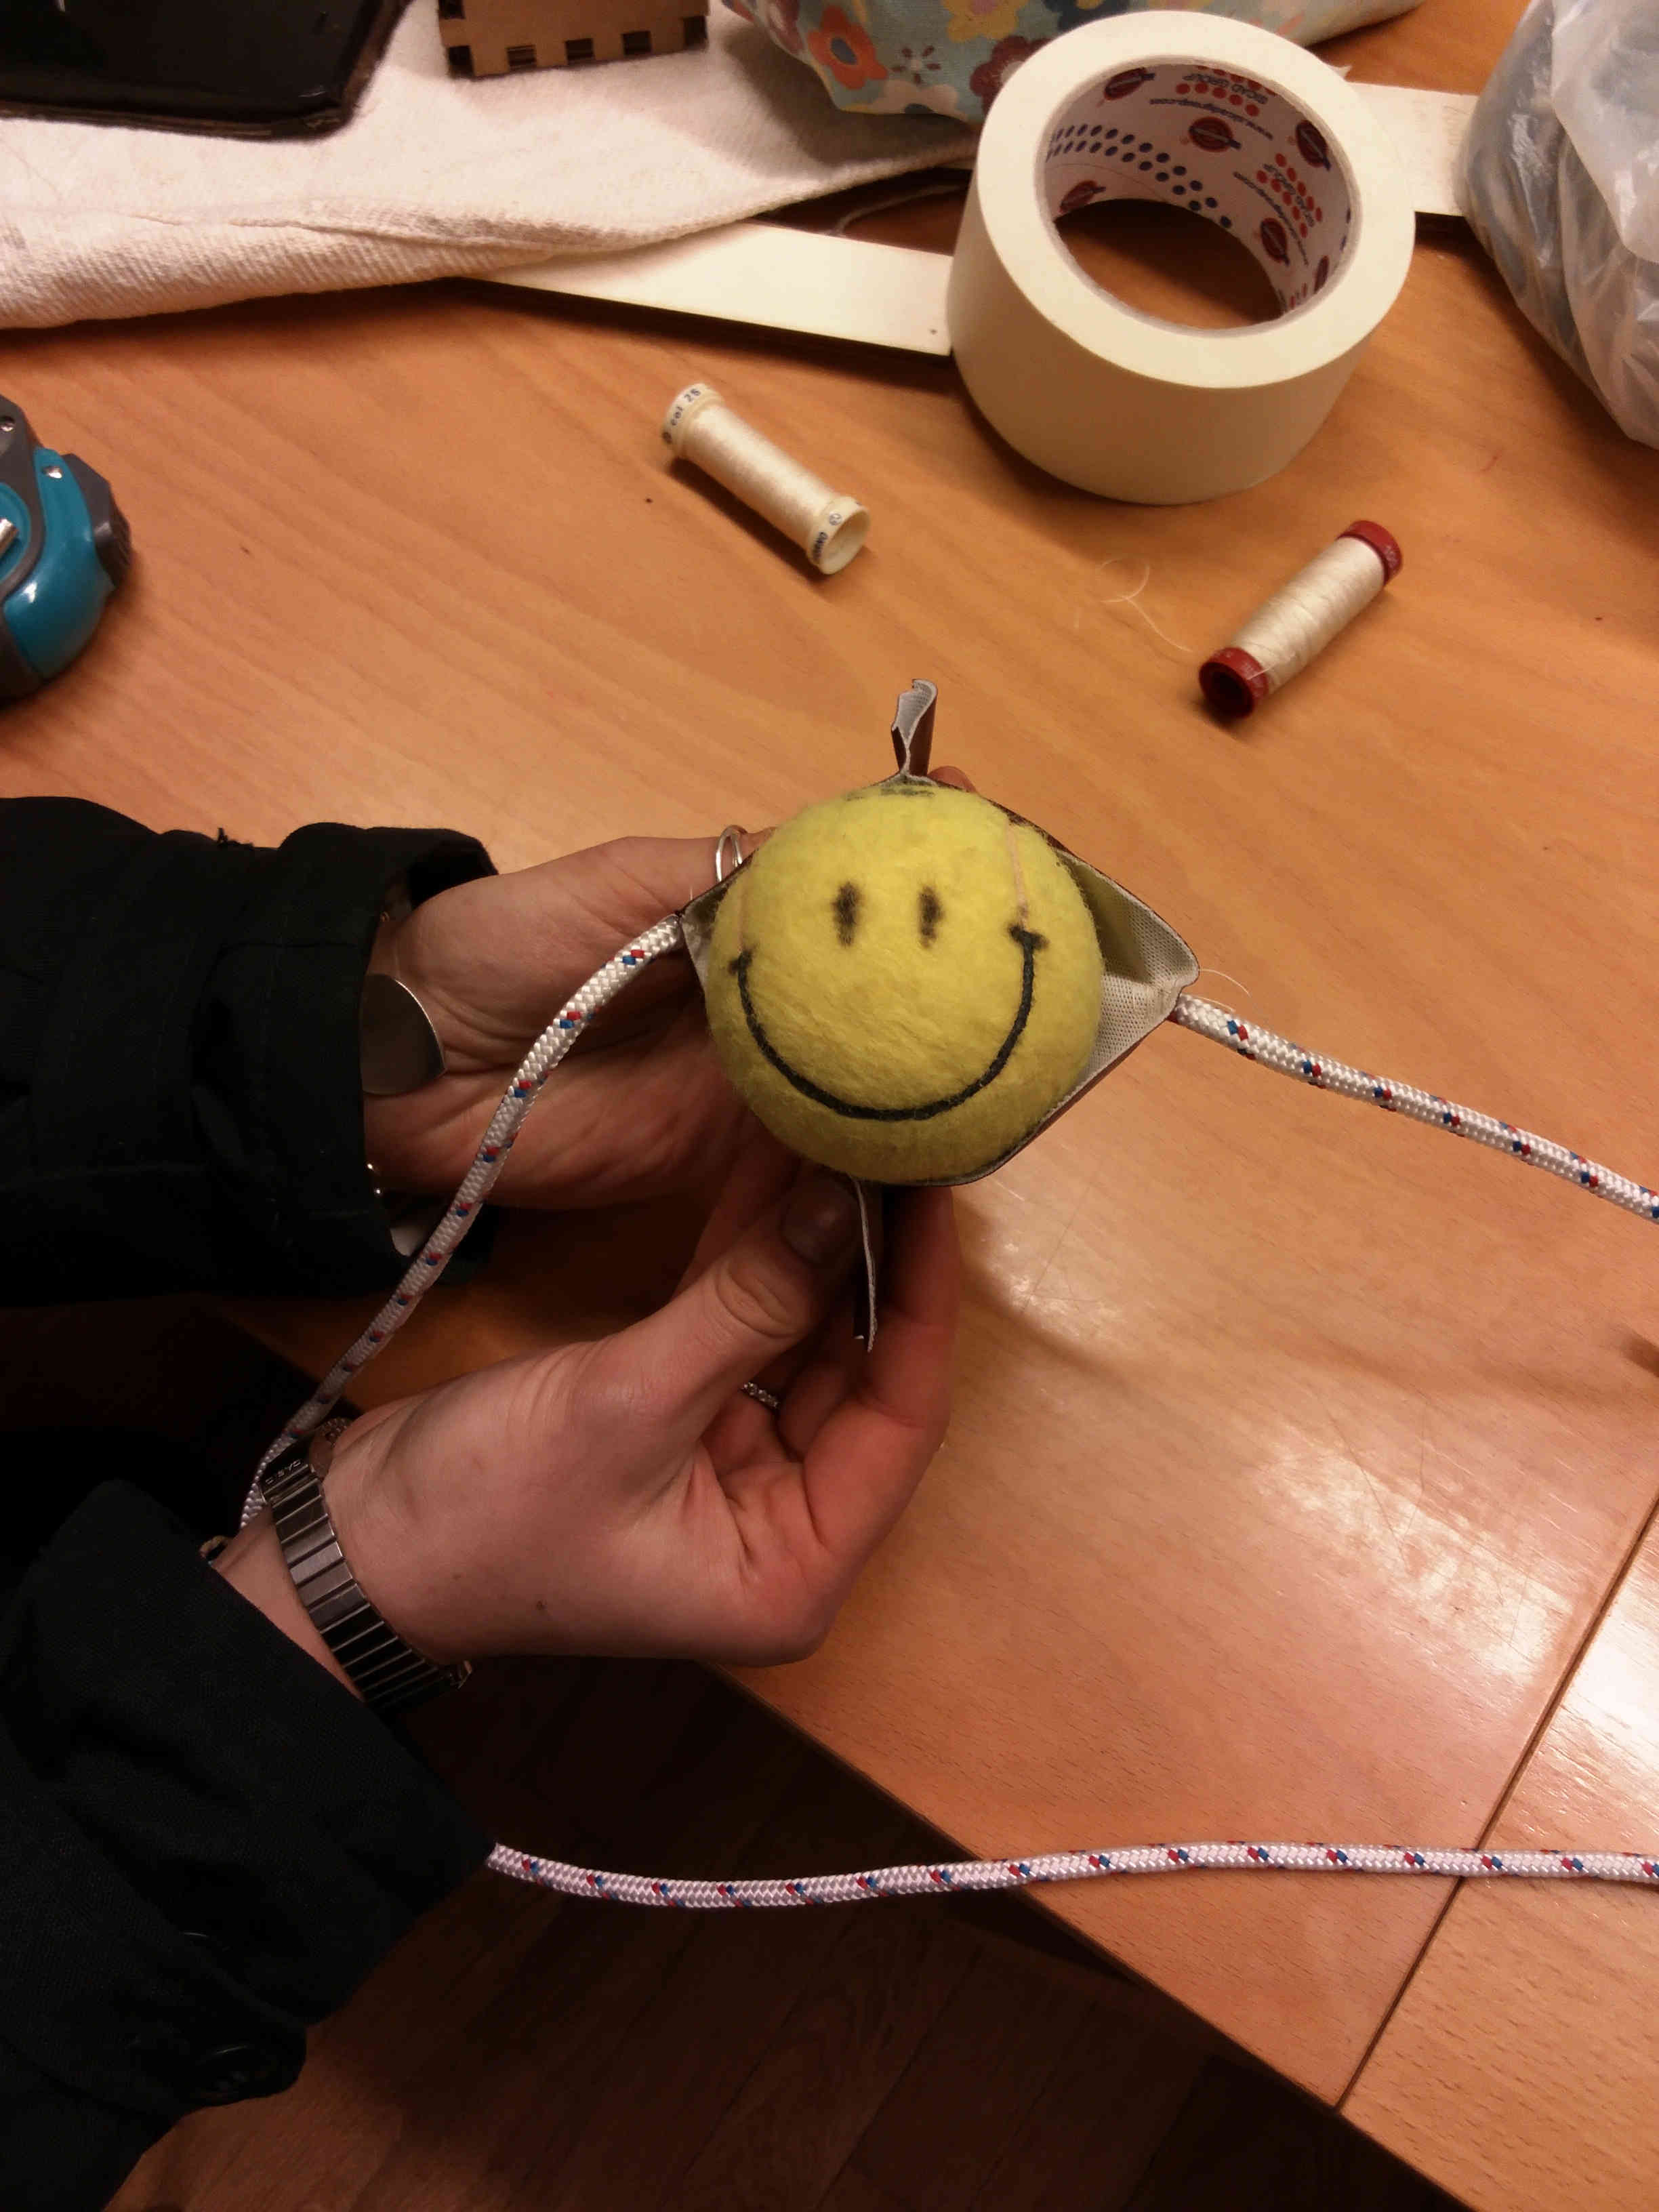
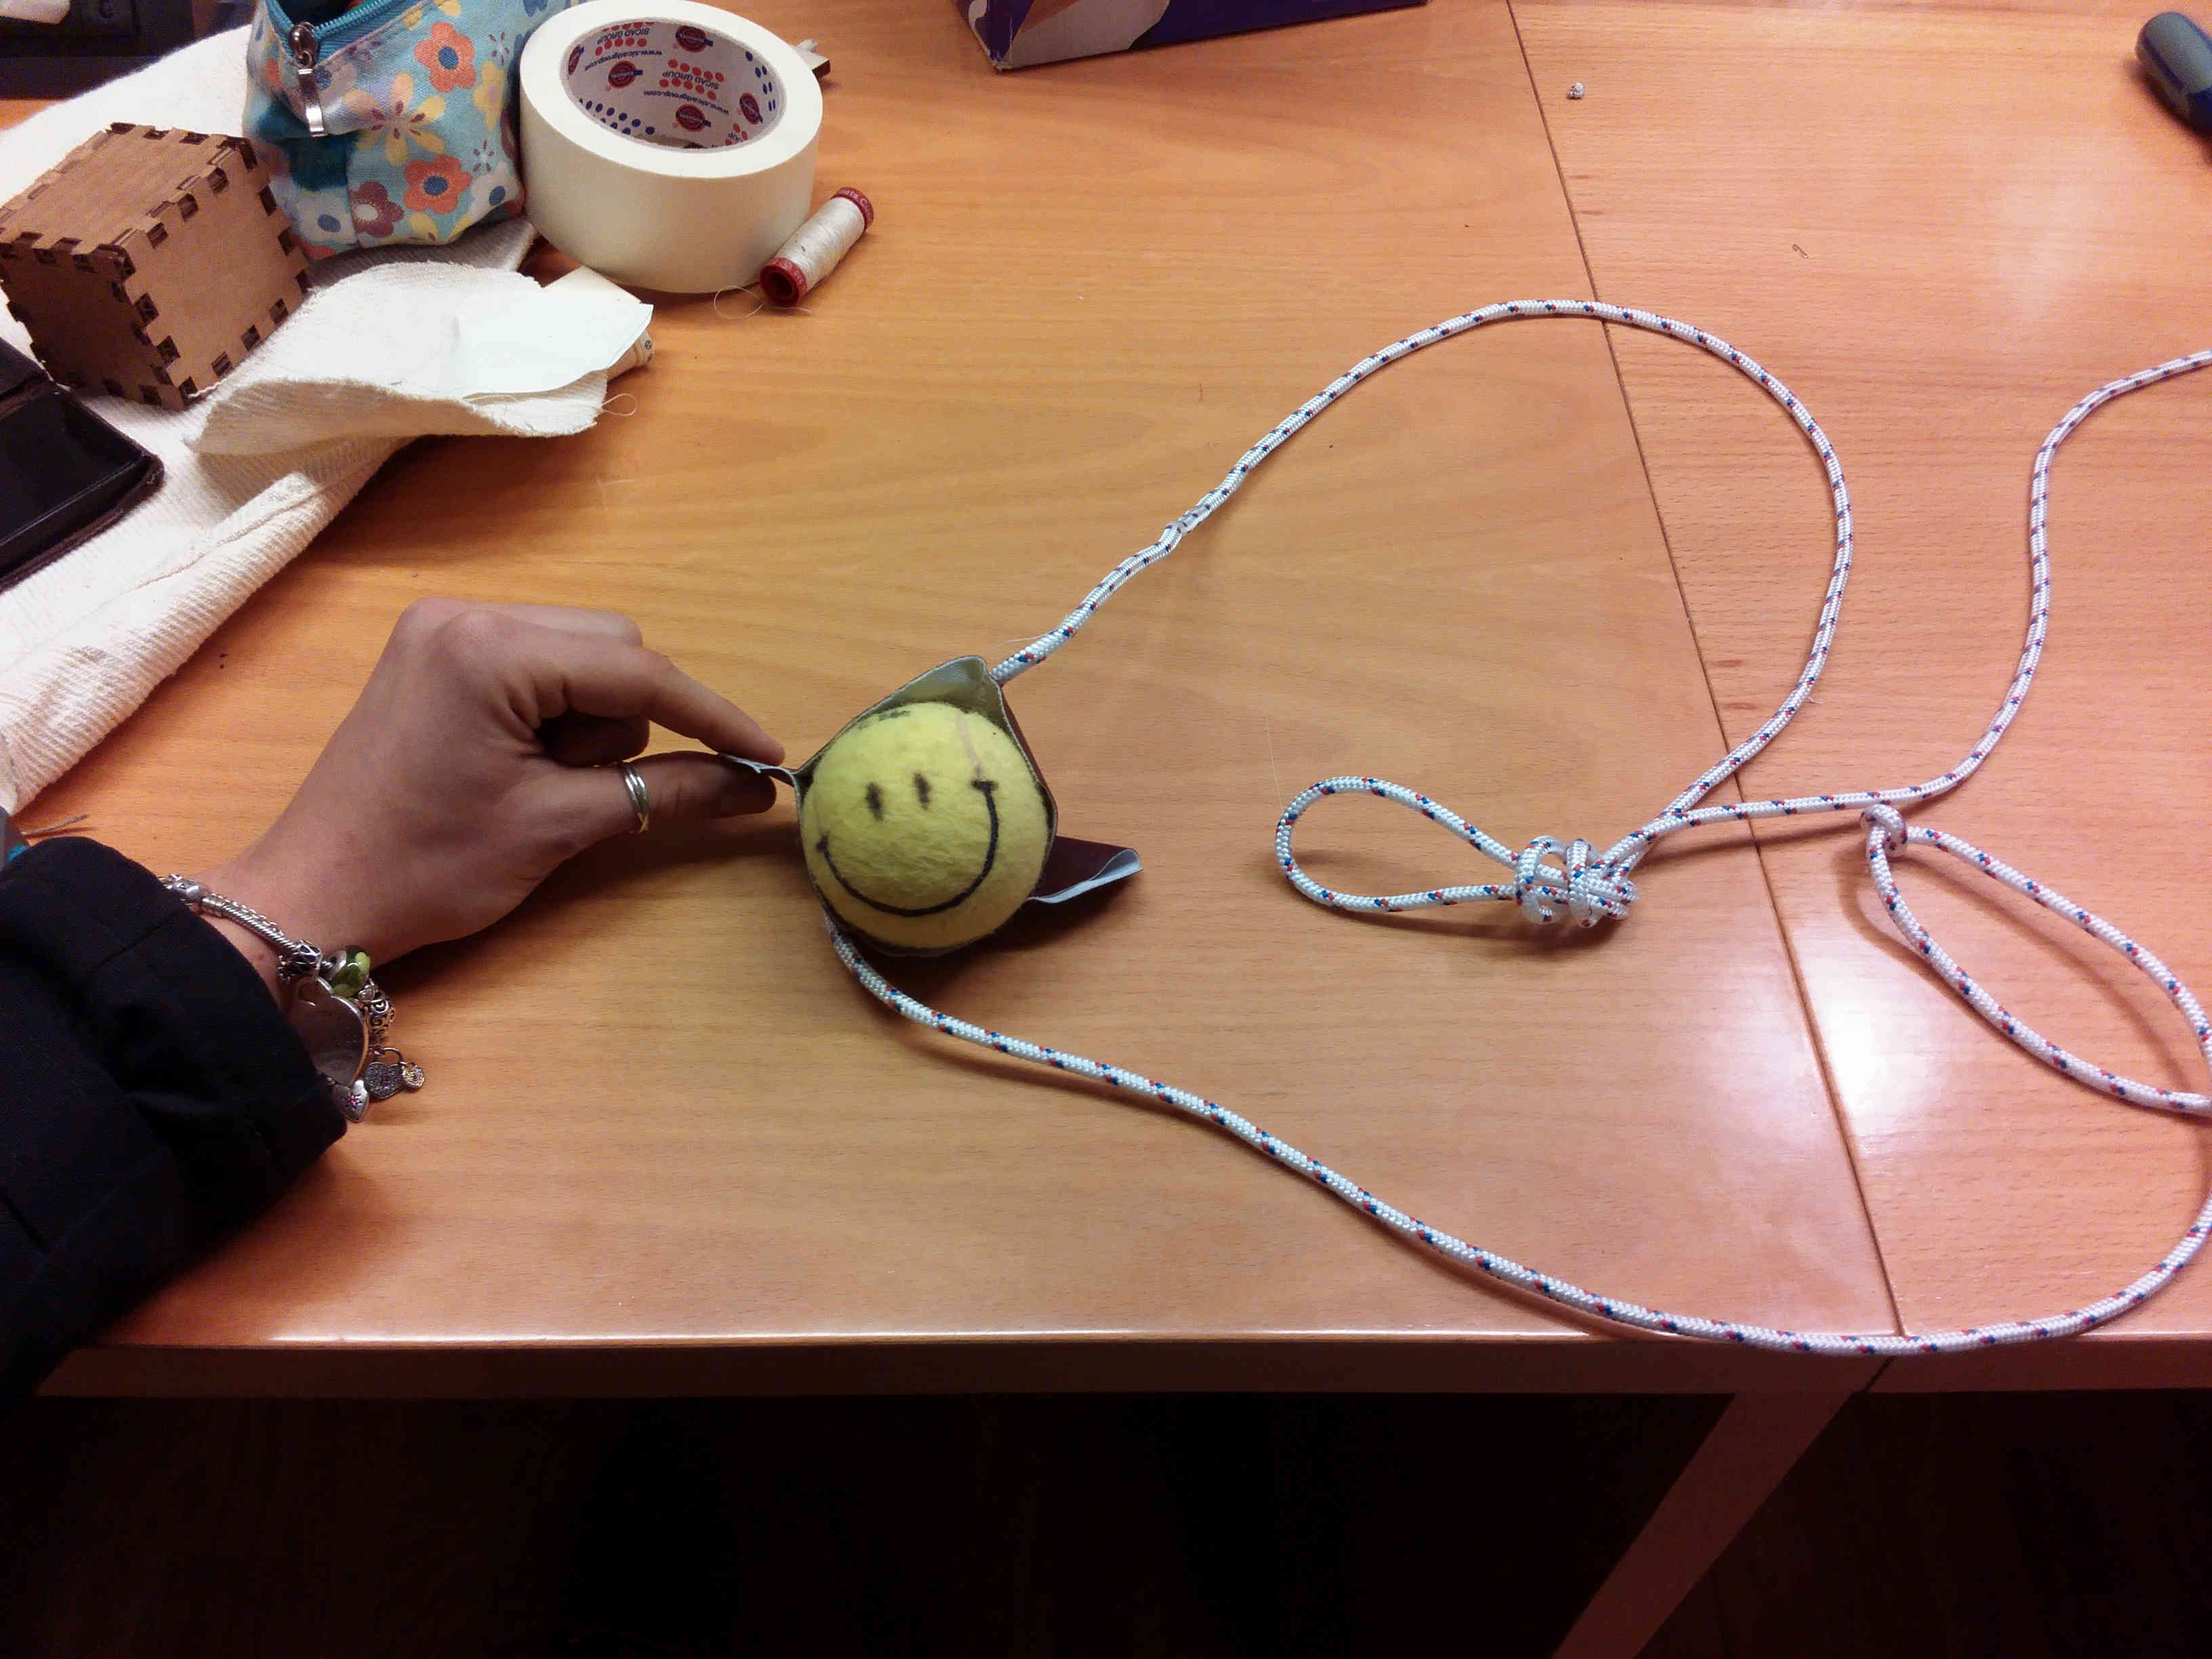
I want to test the trebuchet by shooting from the FabLab to the neighbour's garden :)!
I will post a Video of the shooting asap!
Conclusions
I think that the shopbot is the best machine we have in the FabLab. I really want to learn more about this machine and all the results that can be achieved. The problem is that the panels for the shopbot are quite expensive; in Italy, an OSB panel 1.8 cm thick costs 25 euros and a plywood panel of the same thickness costs 50 euros.