- Stefano Galbo
Beginner
2D raster program - GIMP
First program to be used was GIMP: it's quite good for freehand design (my graphics tablet saved me!), but for everything else is not so intuitive for a beginner.
I found very difficult any operations, even simplest ones as zoom, change color, change dimensions; GIMP is probably more useful for photos, but i don't need it for my final project.
This is a screenshot of the result (here, file) :
2D vector program - Inkscape
Inkscape is a user-friendly program: it's a good mix of precision and creativity.
I liked it so much for many reasons..here some of these:
- "Edit paths by nodes" command
 When you make any object (line, rectangles, circles), with this command is possible to change form, curvature,
nodes, so from a regular object it's easy to get a personalized object (Lucifero's head for example).
When you make any object (line, rectangles, circles), with this command is possible to change form, curvature,
nodes, so from a regular object it's easy to get a personalized object (Lucifero's head for example). - Plans
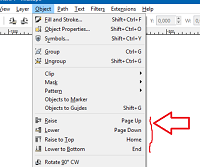 This function was useful in my project to show different heights of objects, especially to make more clear the draw with colors (head over the body, arms over the basis).
 - "Boolean" operations
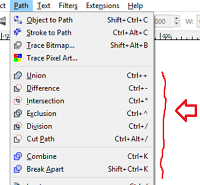 These commands are very powerful for a beginner, because they make easy to assemble different parts and get a single final part that would be very difficult to draw at once.
At first sight may seem difficult, my advice is to draw a red circle over a blue rectangle, and try every command to figure out the result (Lucifero's hands).
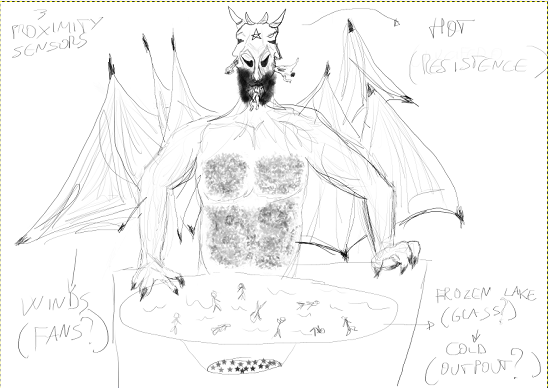
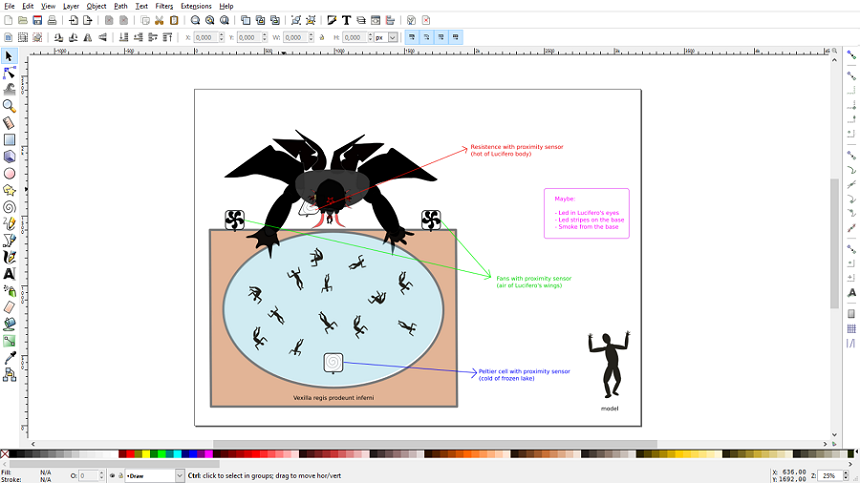
This is a screenshot of the result (here, file) :
Parametric program - Grasshopper (Rhinoceros)
Grasshopper is a plug-in of Rhinoceros.
First I read Rhino's guide (here) to know basic commands: each element has many variables, the only way to learn is try and try.
I liked Boolean operations on solids, they're easy to use and soon I got good results. This is an example of final project part (just a test):
I drew some solids and I used union or difference, then I used Osnap function to position correctly, finally I added a tube to simulate an hole for an electric cable (here, file).
To be honest, Rhino is very powerful, but has too many functions to learn in 1 week, so I preferred to learn his plug-in Grasshopper, more useful for my final project.
Grasshopper might seem really complicated, and initially it is! More than for other programs, for it is very useful to watch tutorial, because it was important for me to understand immediately the change of perspective.
In other programs (GIMP, Inkscape, Rhino) I drew one element, then I changed, moved or modified it, then I did the same with second element, and step by step I built a complex object.
In Grasshopper you couldn't proceed by attempts, you should be clear at beginning final result you want, then find commands to realize it.
Another advice is to use search keyword by double-click: a beginner like me doesn't know if and where a command exists, so I tried to search function I needed, and often I found it!
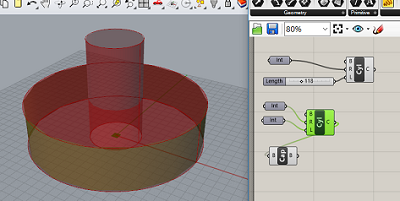
This is my first draw, failed.
Here I was still thinking in "normal solid" mode, I tried to render the object without mathematical relationships, only taking care of appearance.
For example, to make a "donut" I drew 2 cylinders with different measures, then I baked in Rhino, finally I subtracted one from the other...that's wrong!
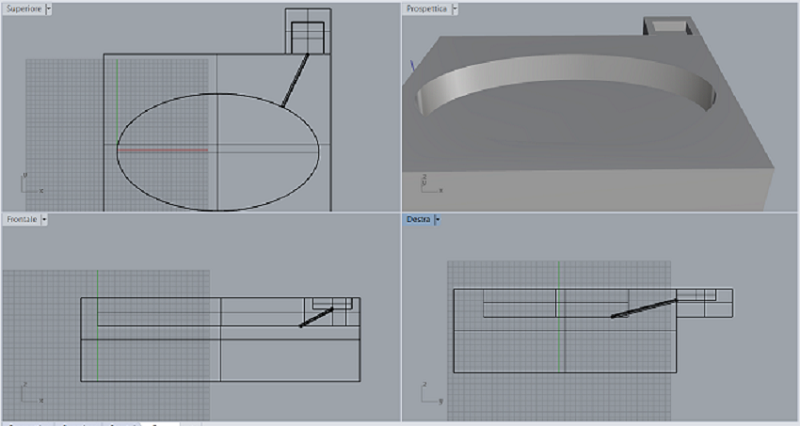
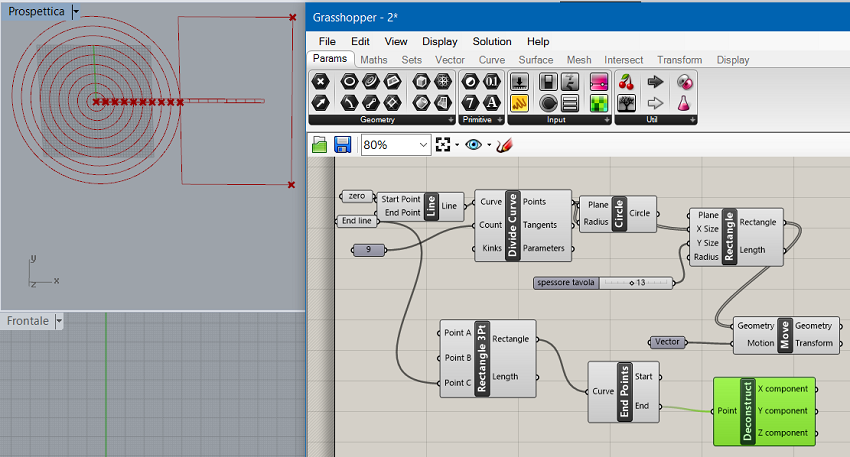
In order to desing a part of my final project, I drew a possible base of the structure.
I tried to think in "parametric" way, so i didn't draw many different circles but I looked for a single command to do that once; there are many ways in Grasshopper to reach the same result (that's fantastic!), I found one a little bit complicated, but functional: I split a line in equal parts, then I set each segment as a radius of a circle. I know it would be simpler to set a list of values, but I didn't know lists yet.
I was also able to create parametric rectangles from circles, but I had many problems to change their origin points: "move" command was not good because it shows also original object and not only the moved one.
Furthermore I could move all rectangles together, not distribute them at different heights by the lenght.
Because of few time, I couldn't do more this week...this is a screenshot (here, file):
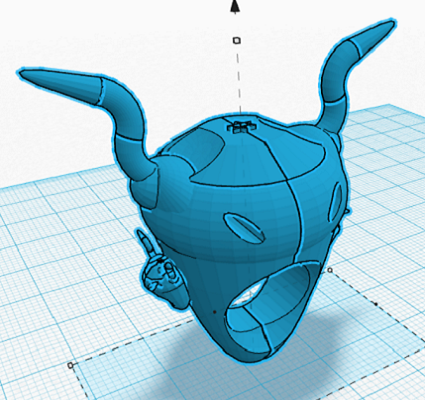
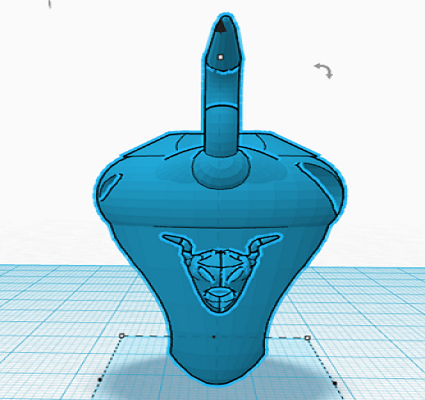
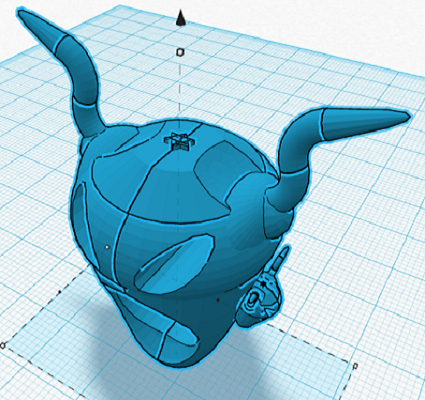
3D program - Tinkercad
Tinkercad is an online software very simple but quite complete, ideal for a beginner...few options but enough! With the learning page (singing in) after few minutes you will be a PRO in this software.
Because of my bad ability to draw I went very slow, but using basic geometric commands, boolean operations as holes and groups, and adjustments as mirror and align, I was able to create my Devil Ring. Here the .stl file.