Week 10
Machine Design.
ASSIGNMENT:
1.) Automate your machine.
3.) Document the group project and your individual contribution.
ASSIGNMENT:
1.) Automate your machine.
3.) Document the group project and your individual contribution.
Unlike previous weeks, in this assignment we had the task of a group project.
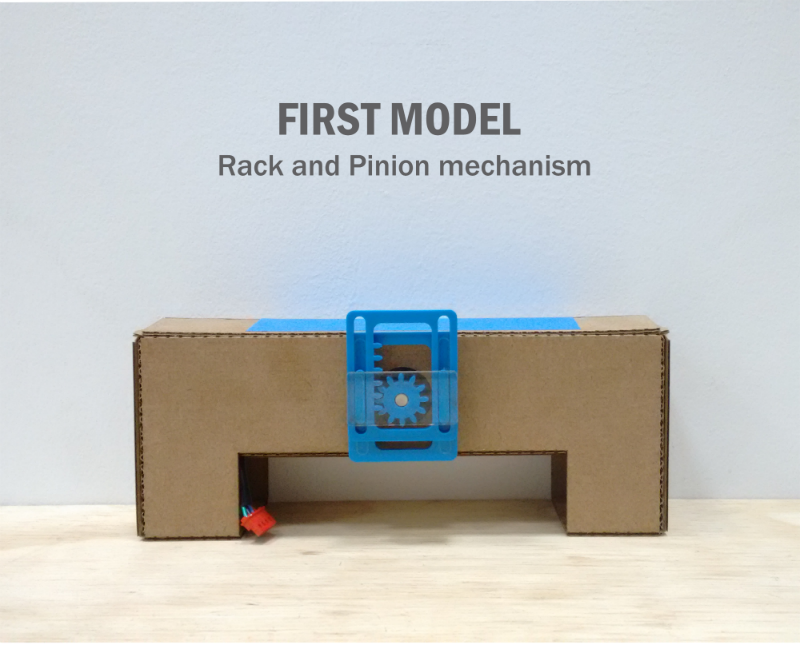
Last week we already had a formal proposal from the machine, but subjecting it to small tests we realized that we needed more stiffness in certain parts of the structure and re design the mechanism of displacement in the Z axis
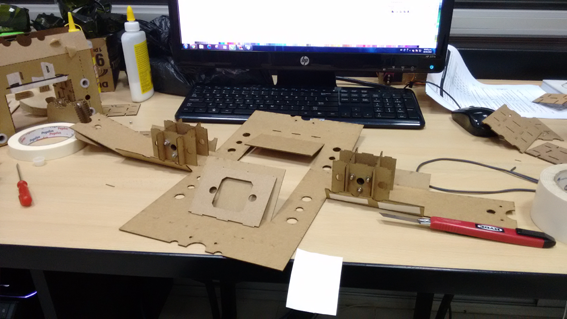
I redesigned the entire structure for movements in the X and Z axes, because the previous structure was very fragile to carry out the cuts in PVC pipes.
You can see my documentation of the previous week here: Machine design (Week 9)
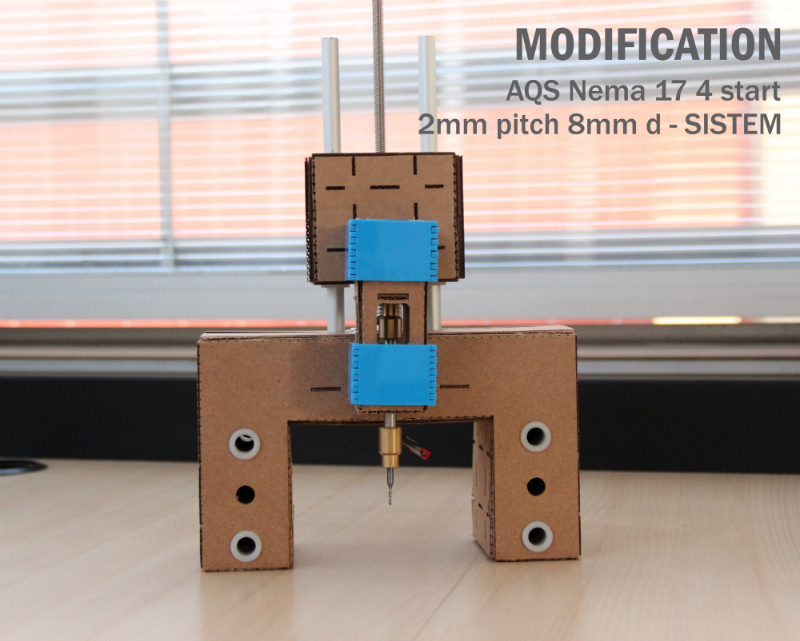
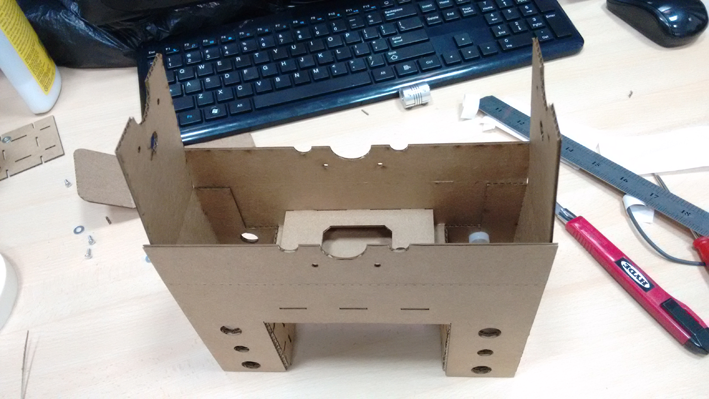
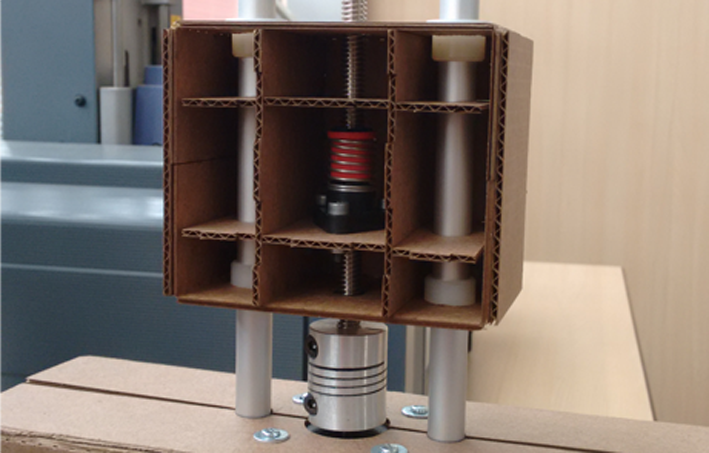
It was necessary to modify the operating mechanism of the Z axis relative to the previous week because we had problems of stability and rigidity.
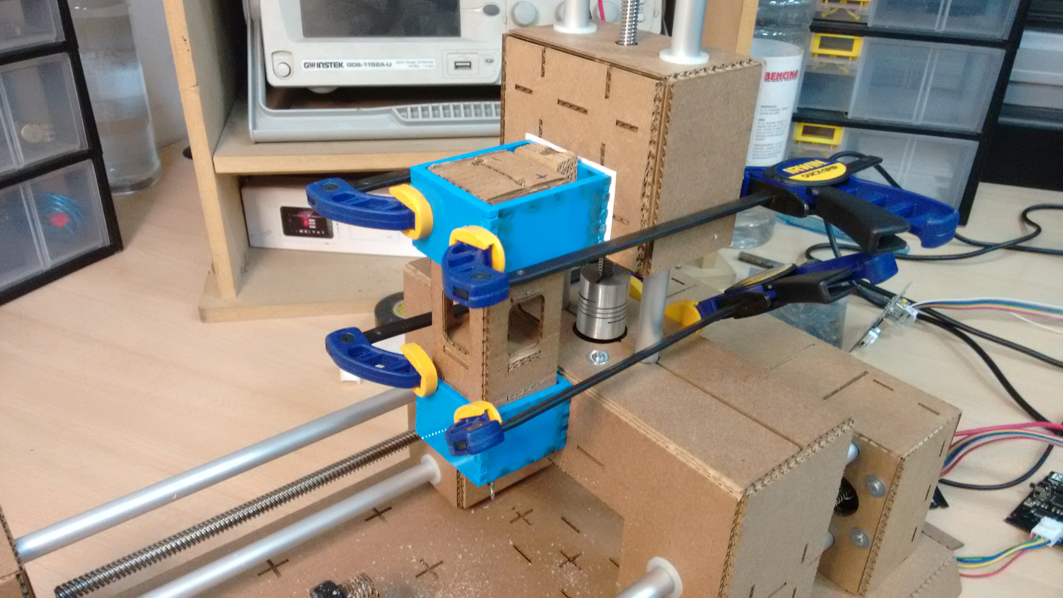
I used two pieces of acrylic to make a guide for splindle, thus it can move freely from the bottom to up to make the cuts.
This part of the project was quite complicated, because I had no experience with programming cards for the GESTALT control nodes, for that I followed very useful tutorials available on the web, Here some links for the most useful tutorials for programming GESTALT nodes:
- Getting Started With Gestalt Nodes.
- Welcome to gestalt’s documentation!
From the beginning we used UBUNTU for programming nodes, so it was not necessary to install drivers of the “USB-RS485” cable and the programmer “AVRISP mkIl”. So when connected to the computer it is automatically recognized.
For this project, I needed to handle 4 nodes at once, so I proceeded to modify the "xy_plotter.py" to work with 4 nodes, in the end we got the "xyzk_test.py" file. At the final of this page you can download all the files of the project.
Once controlled the 4 nodes, we focus on synchronizing the movement in the X, Y, Z, K axis, where basically each axis represented the following movements:
- X and Y: these two axes perform one movement as a whole.
- K: in this axis obtained rotational movement clockwise and counterclockwise.
- Z: In this axis, the spindle moves to cut the PVC pipe.
When I test the code with the machine, I realized that speed was very high for what we needed, so I proceeded to lower the speed axis movement. Inside the file "xyzk_plotter.py" you may find the line:
stage.xyzkNode.setVelocityRequest (8)
*8 is the speed that brings the default files.
We needed to reduce velocity scroll as little as possible, so our line was as follows:
stage.xyzkNode.setVelocityRequest (0.16)
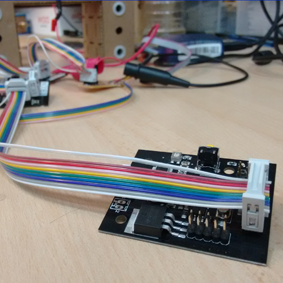
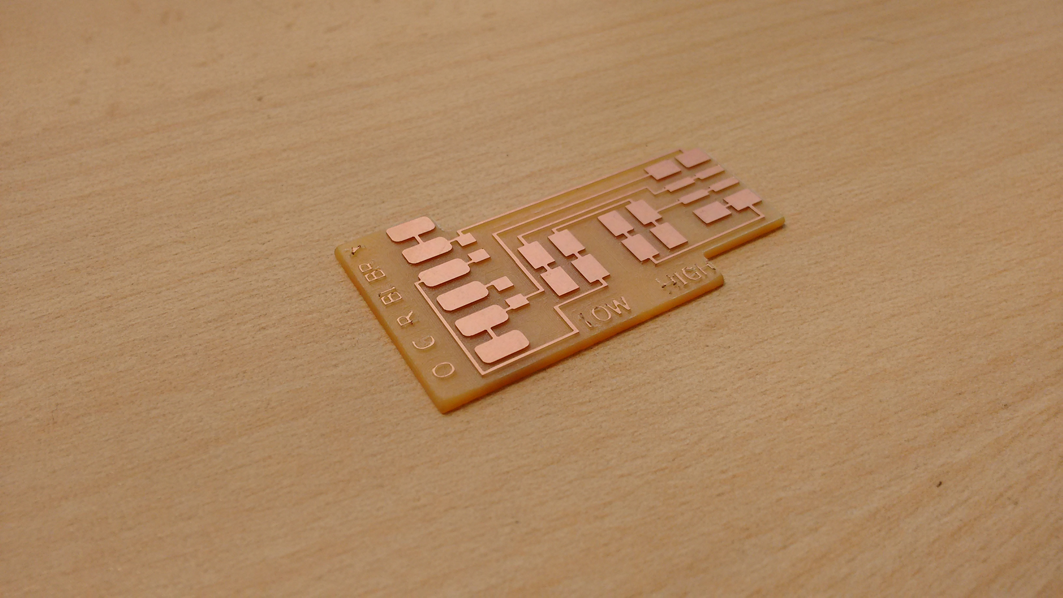
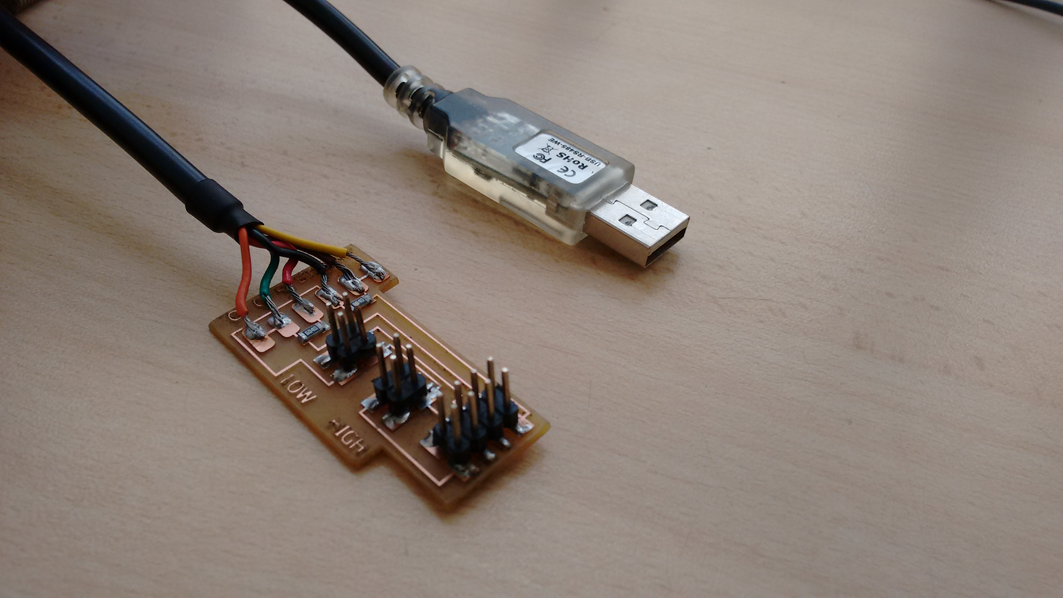
I milled and assembled the "FABNET" card, necessary for supplying voltage to the cards (12 V), allow communication between them and the computer.
Using software Eagle have prepared the file for routing the board in the Rolland MDX-20 and then soldering electronic components to it.
In the picture you can see the scheme used for connecting the FABNET, the gestalt cards and steppers.
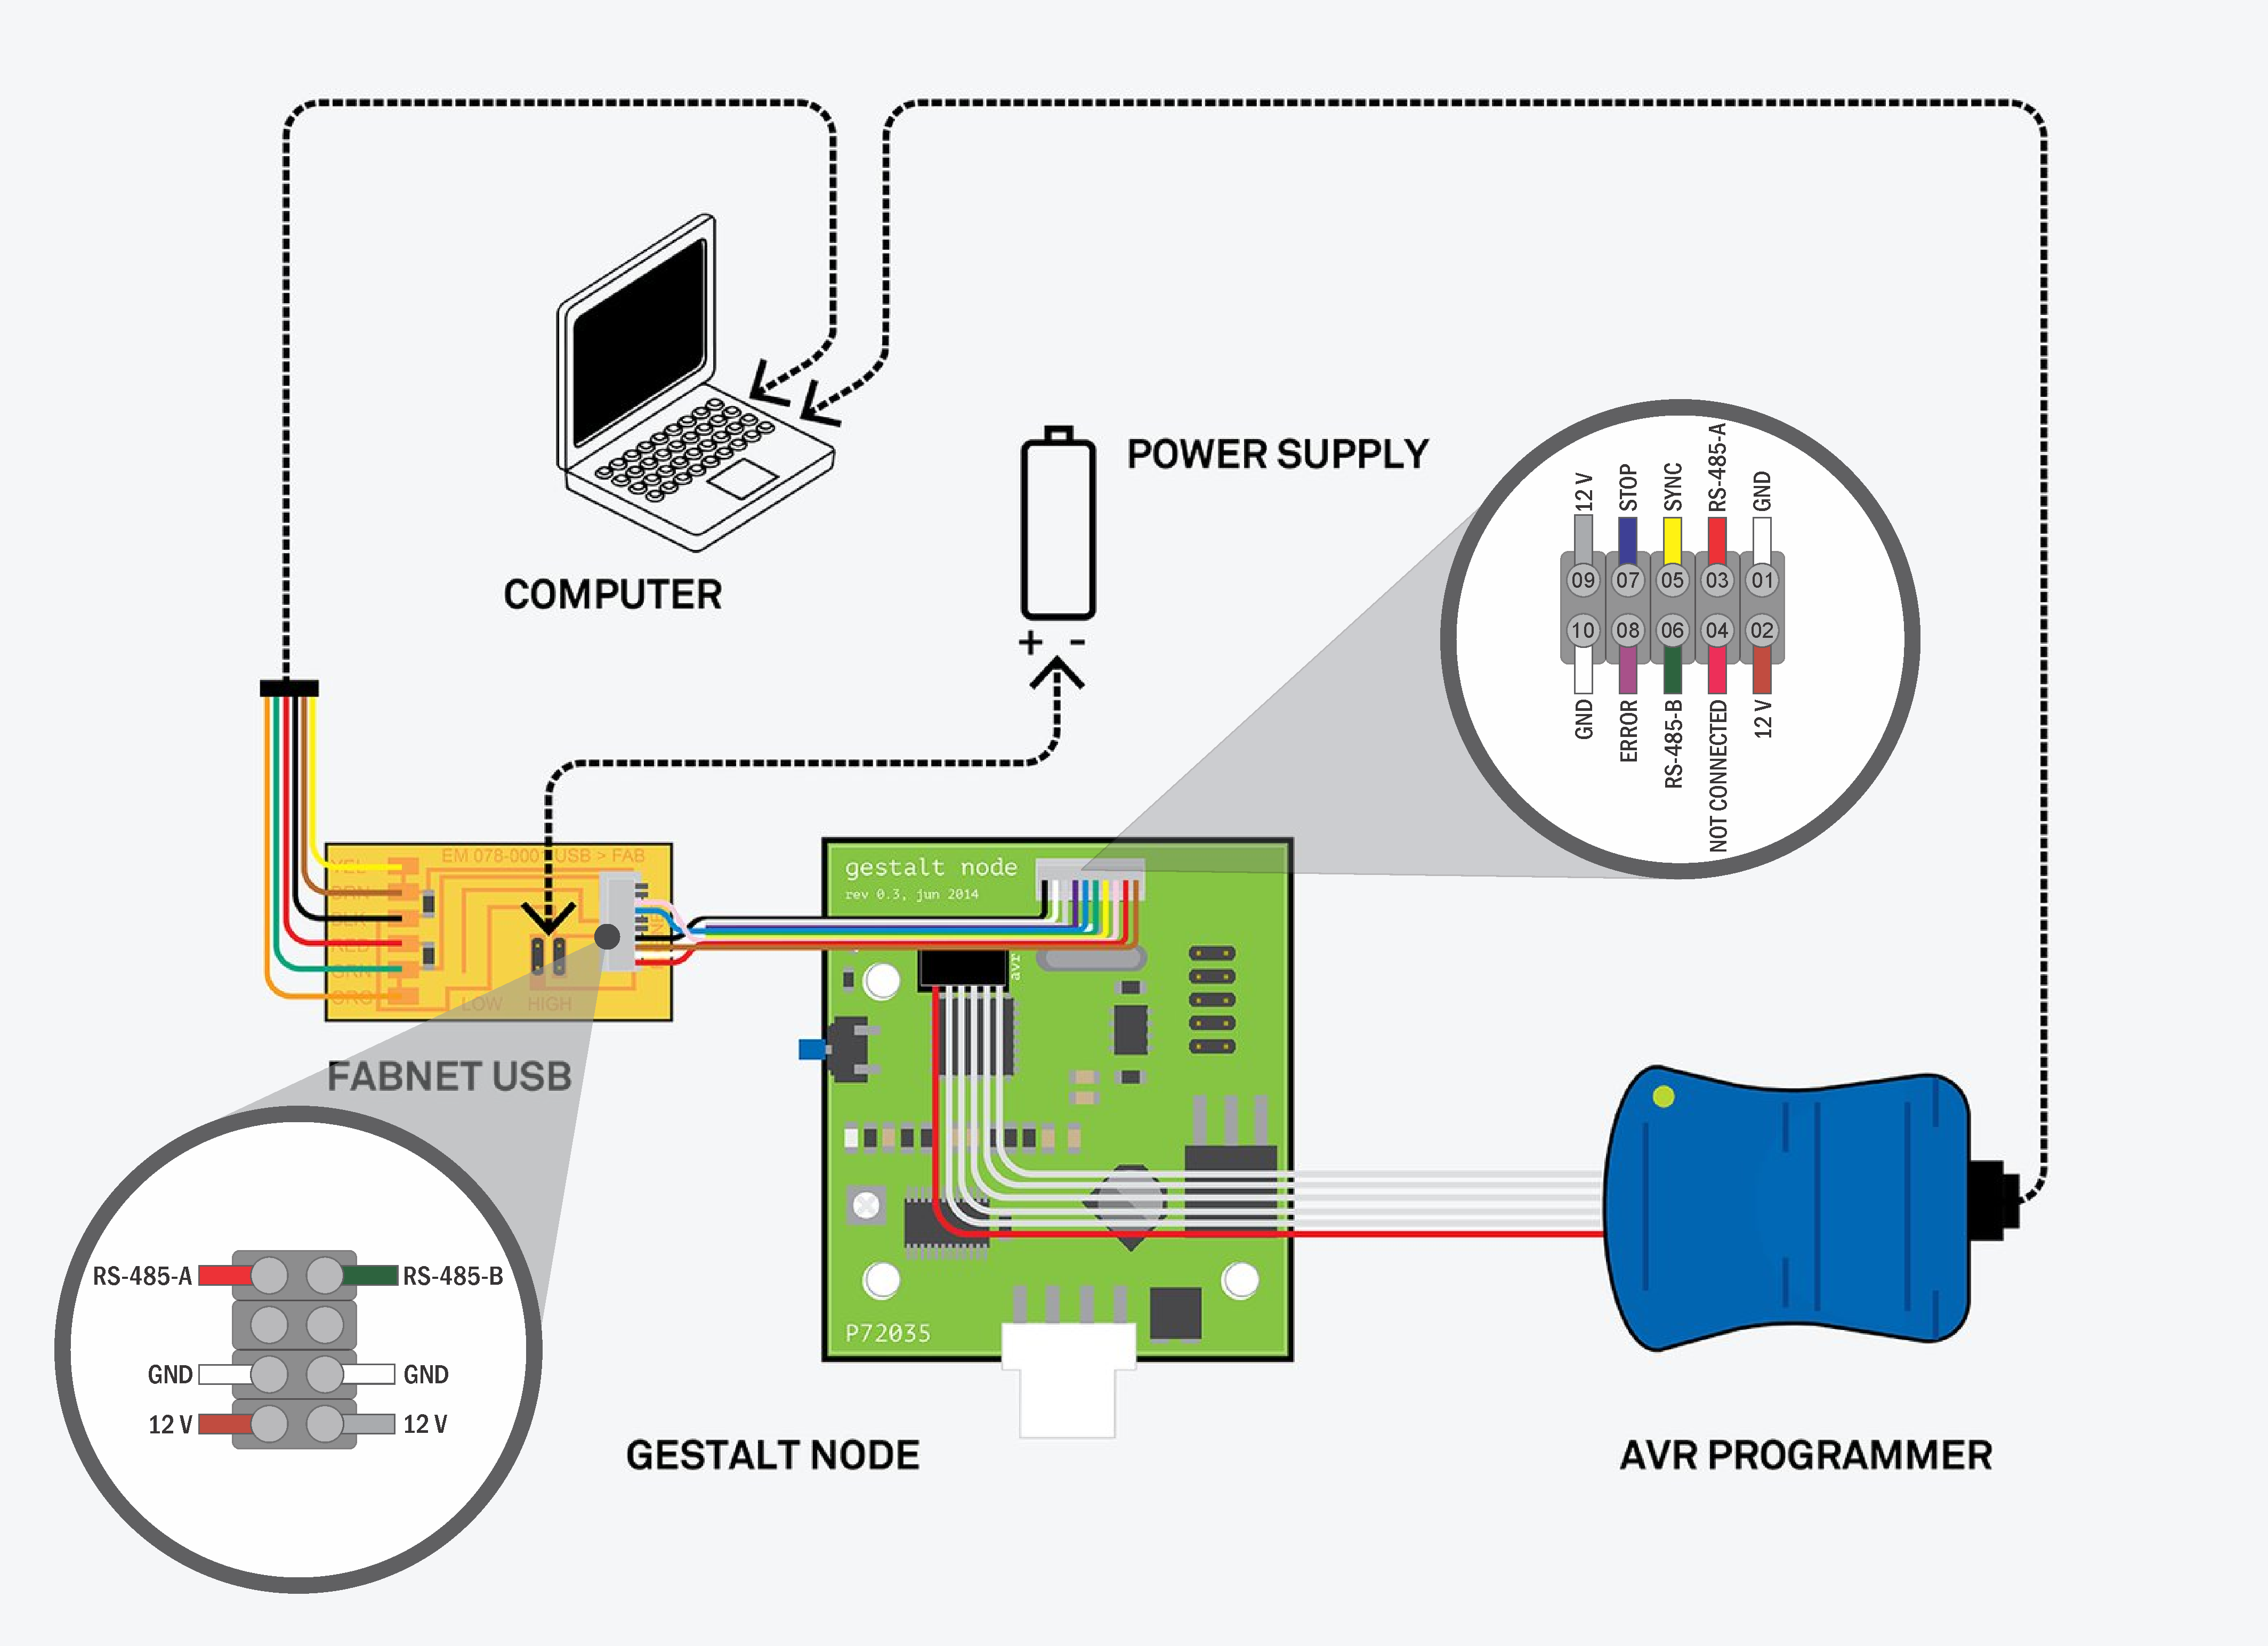
It’s very important be carefull with the order of the wires to connect the FABNET to the first Gestalt node, it is important because any mistakes could generate a short circuit or wasting your time.
Gestalt uses a matrix code reading XYZK movements in axes, but for this project I use RhinoCAM with Rhinoceros to program the machining of parts and generate the G code.
So there we have a problem, since the G code was not compatible with the matrices code of the gestalt. To solve this problem we receive the help of the assistant at the Fab Lab TECSUP, who helped us generate an algorithm that translates RhinoCAM G code, the code matrices for gestalt.
Here you can downloaddownload the code to translate the G Code to matrices code.
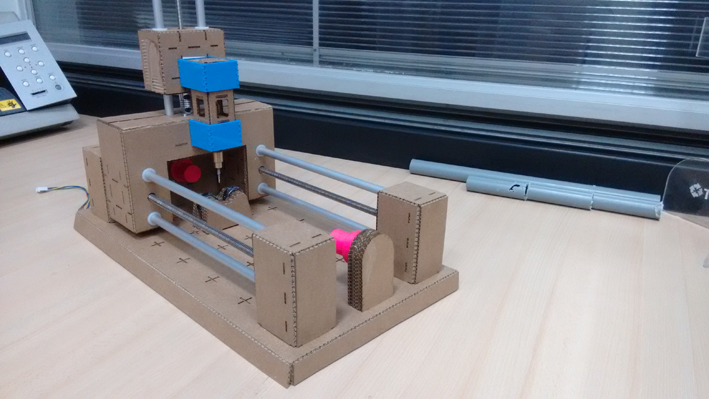
- The machine was finally works quite well, making cuts in PVC pipes.
- At first I had trouble loading the G code to the machine, but with the help of the translator I could solve that problem.
- It was one of the most difficult assignment that touched me so far, was now desperate and heavy but in the end was quite satisfying to see the project running and share with my classmates.
I'm currently taking this course in FAB LAB TECSUP, in Lima-Perú, through CIDI FADA UNA with the support of CONACYT and PARQUE TECNOLOGICO ITAIPU FOUNDATION


©DESIGNED AND BUILD BY FABIO IBARRA - FAB ACADEMY 2016
EMAIL: fabioibarrab@gmail.com