about
one.principles and practices
two.computer-aided design
three.computer-controlled cutting
four.electronics production
five.3d scanning & printing
six.electronics design
seven.computer-controlled machining
eight.embedded programming
nine.mechanical design
ten.machine design
eleven.input devices
twelve.molding & casting
thirteen.output devices
fourteen.composites
fifteen.networking & communications
sixteen.interface & app. programming
seventeen.applications & implications
eighteen.invention, property & income
Select "mill traces (1/64)" in the dropdown menu for the aircut.
Set X,Y and Z
the offset is 1 ; depht:0
click on "make path" - click on "make .rml"
set X,Y and Z
change the offset to 4 and the depht is 0.1
click on "make path" - click on "make .rml"
When the milling is finished we will change the milling-bit for a 1/32 bit and well'll follow these steps:
load the other .png with the outlines
change the offset to 1 and depht 0,5
click on "make path"
click on "make path"
click on "make .rml"
click on "begin milling"
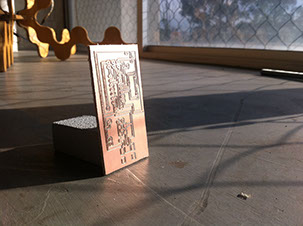
2. Cutting and milling the board.
First of all, we have to consider that our milling machine works with Linux. It was the first time that I worked with this operating system but I founded really similar to windows so I didn’t had any problem with that. Secondly, we have to know that our machine doesn’t work with a pre-installed program in our computer but it does through the internet: fablabmodules, program that allows us to handle the machine from our internet browser.
We will be milling the board using a precision desktop milling machine the Roland SRM-20.
final project
god.