It became some how easy for me to 3D design and print especially that the our 3D printer "Makerbot Replicator 2" is easy to use, however I never 3D scan any thing or used Meshmixer before
3D Scanning
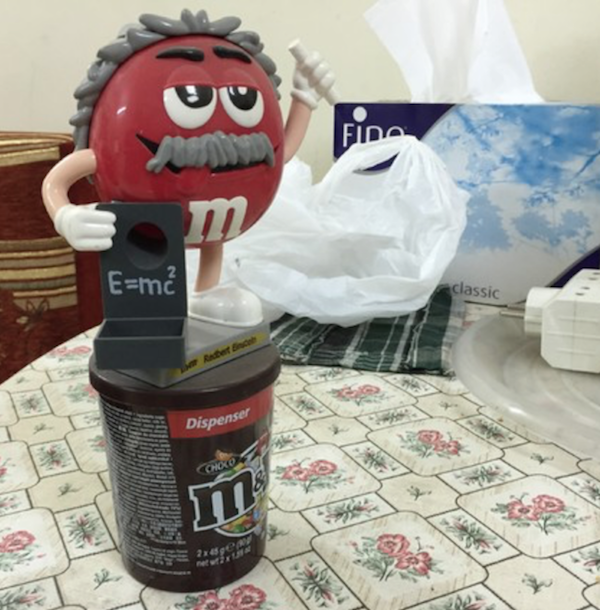
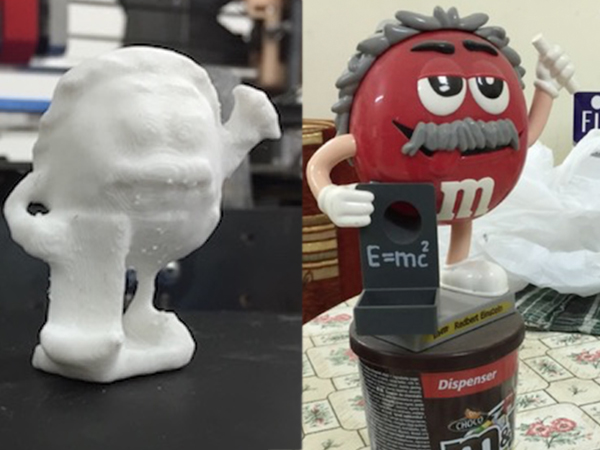
Don't ask me why I have this big "Red" model of "m&ms" chocolate at my home, I think we really like this chocolate :D
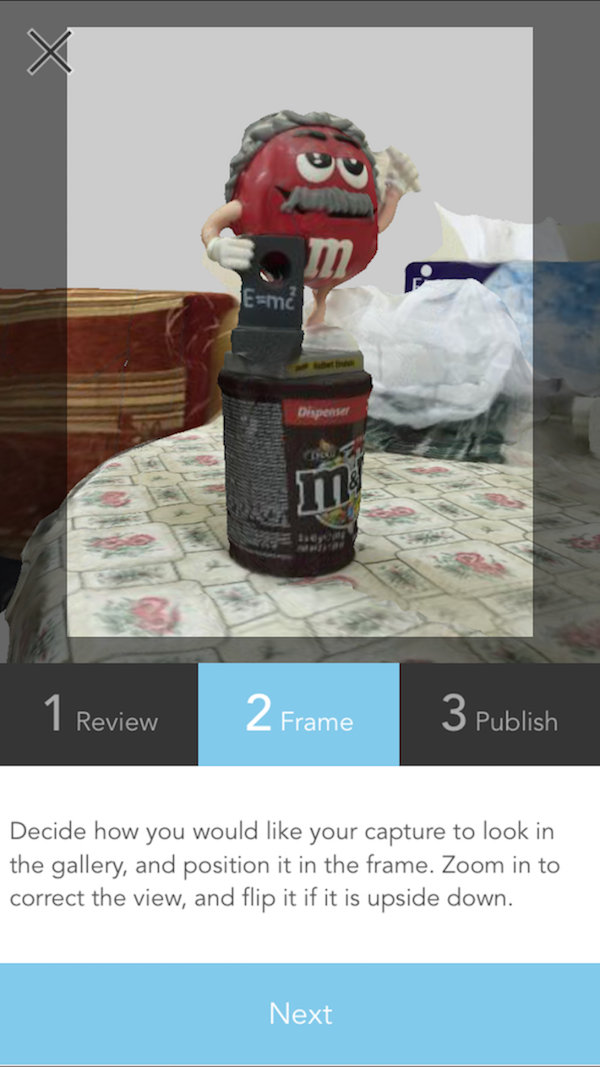
I wanted to try the 123D catch App, so I download it for the App Store and followed the instruction
It took the app a very very long time to render the photos, so don't worry if that happened
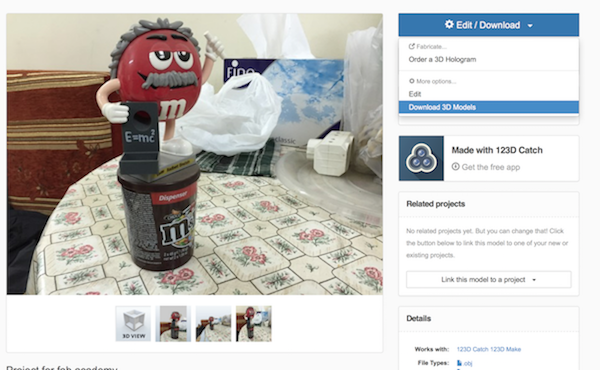
Editing With Meshmixer Phase
I started by downloading the scanned file from my account
.
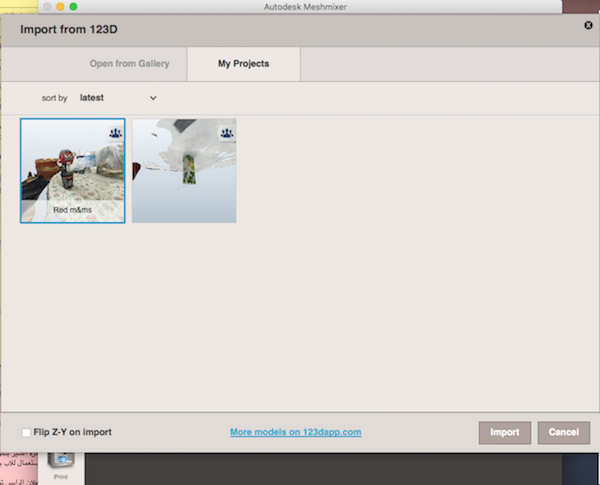
I downloaded the Meshmixer and imported the file to it
.
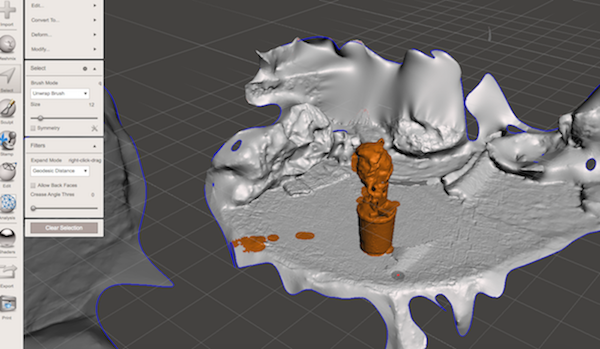
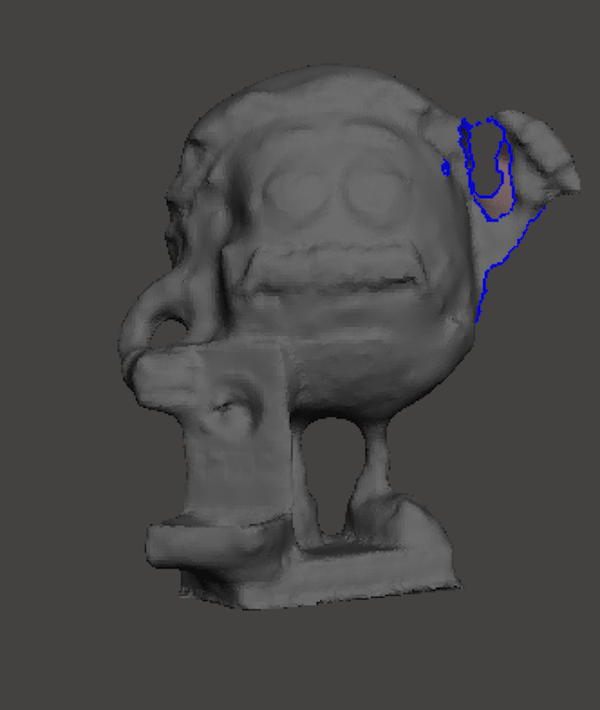
I watched some tutorials to learn how to use it but i found it easer just to do it, so i started by removing the accessory meshs that i won't use , you can do that by selecting the mesh you want and discard the rest
The problem that you will face when scanning by 123D catch that it will add extra parts to your original mesh and you will have to remove it later
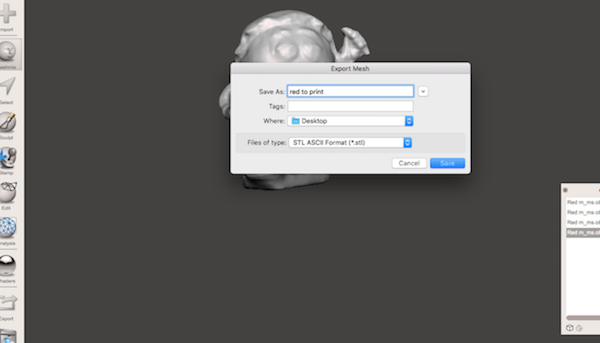
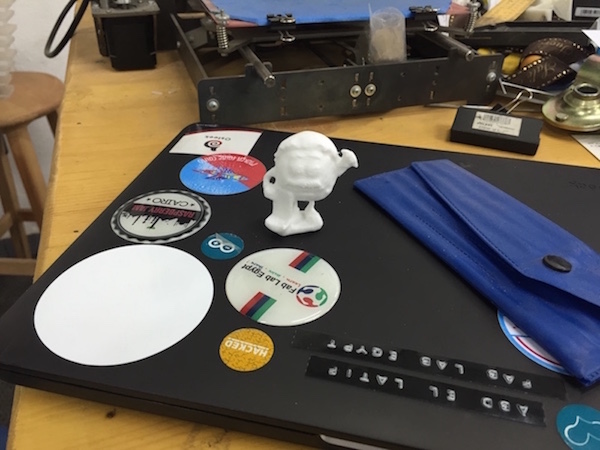
Don't forget after that to make your whole design a solid design so you can print it.
I saved the file in ASCII Format, there is no specific reason for that, but if you want to now the difference between Binary and ASCII this Article will help you
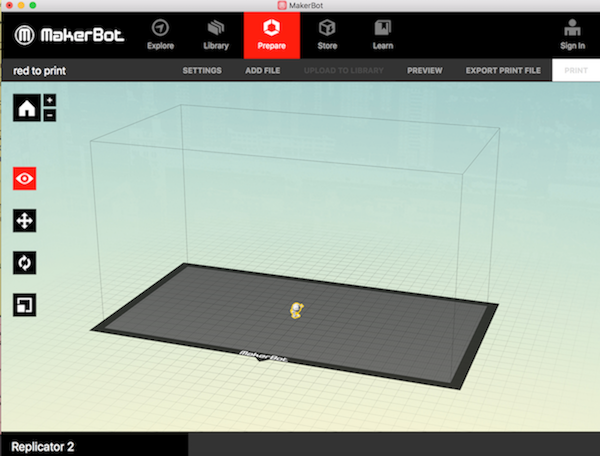
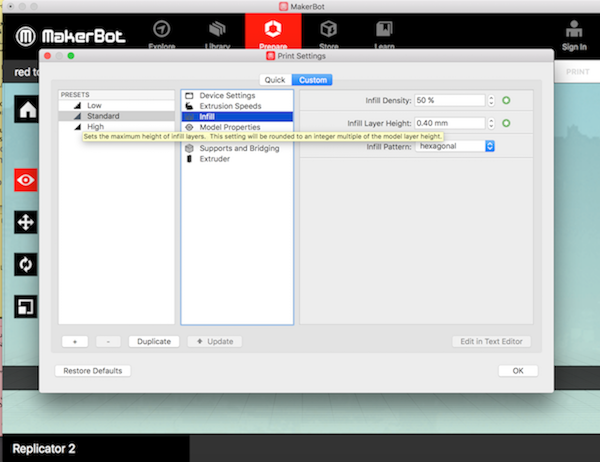
Depending on your 3D printer type, you will download it's software and open the file with it
Adjust the setting like infill percentage and type, whether you need a raft or you don't and if you need a support for the file
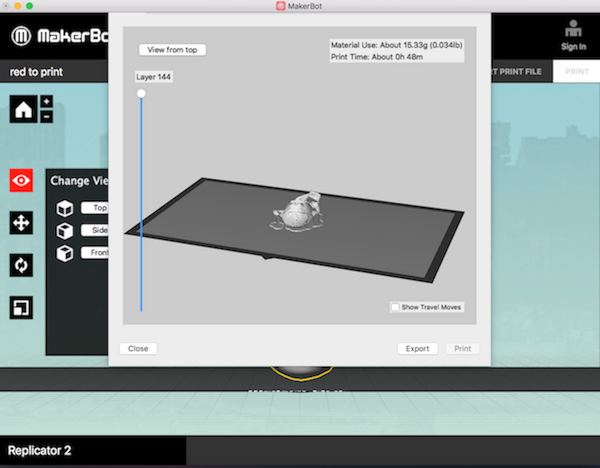
You can preview the file as a check up before printing
Download File
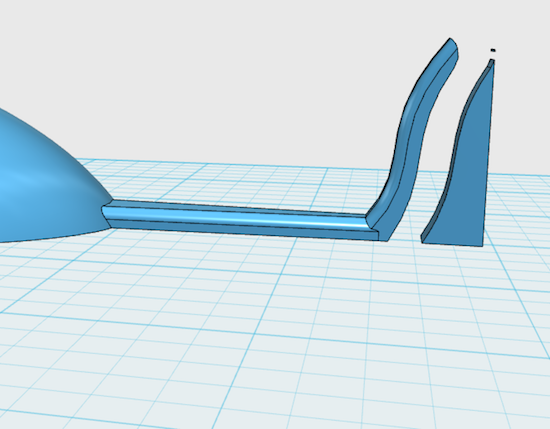
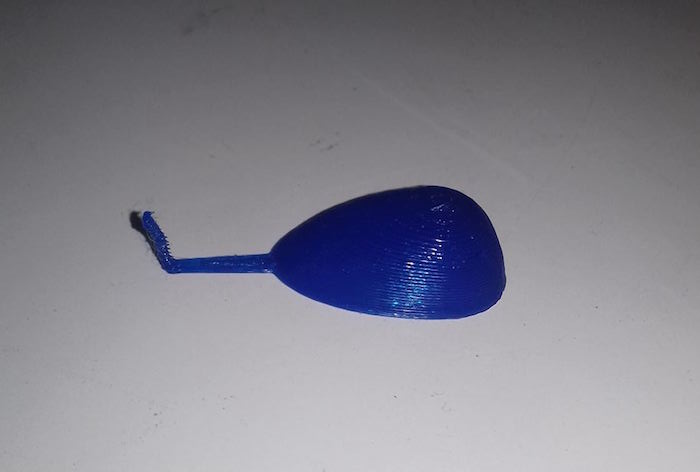
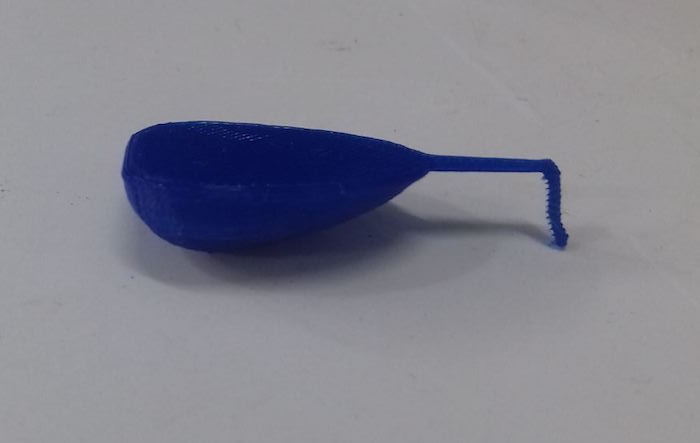
This 3D printed project can't be made subtractively also
In the Molding and casting assignment, I designed a design that couldn't be made subtractively by Modela, and I had to change it a little bit to do that
Here is the design
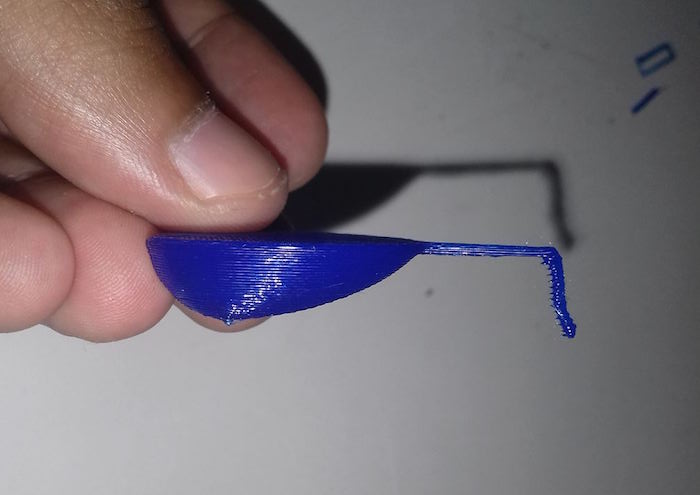
As ou can see i had to add the extra part under the end of the handle so it could be done, I wouldn't need this if i have used 3D printer