1-Scan and Print
Step 1
I used 123D Catch to scan my 3D model
With the Ipad app i took the pictures, but i had to use the PC application to edit and export the fianl scan
I used 123D Catch to scan my 3D model
With the Ipad app i took the pictures, but i had to use the PC application to edit and export the fianl scan
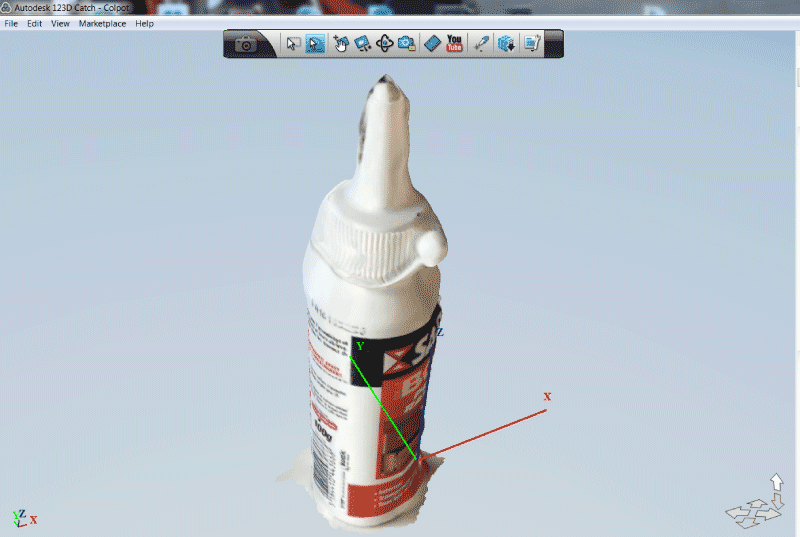
I first tried it on a wood glue pot to see how it was working
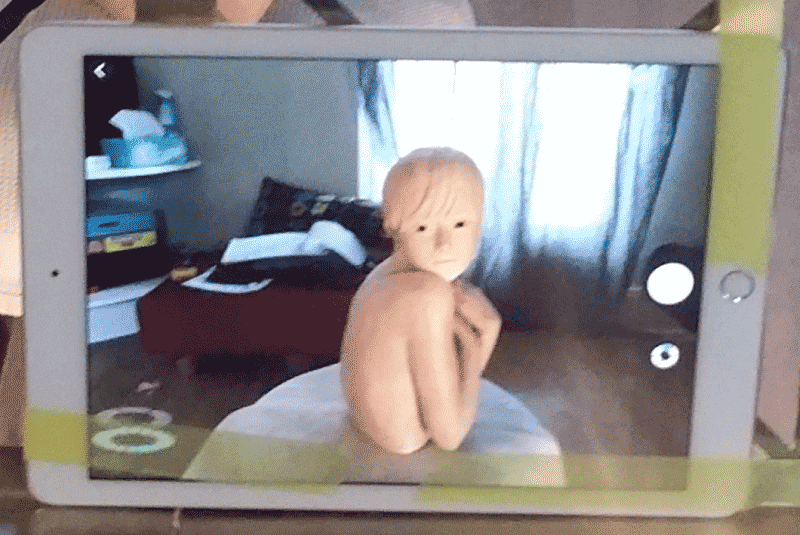
The principle is simple : you take prictures of all the sides of your objet on two different heights
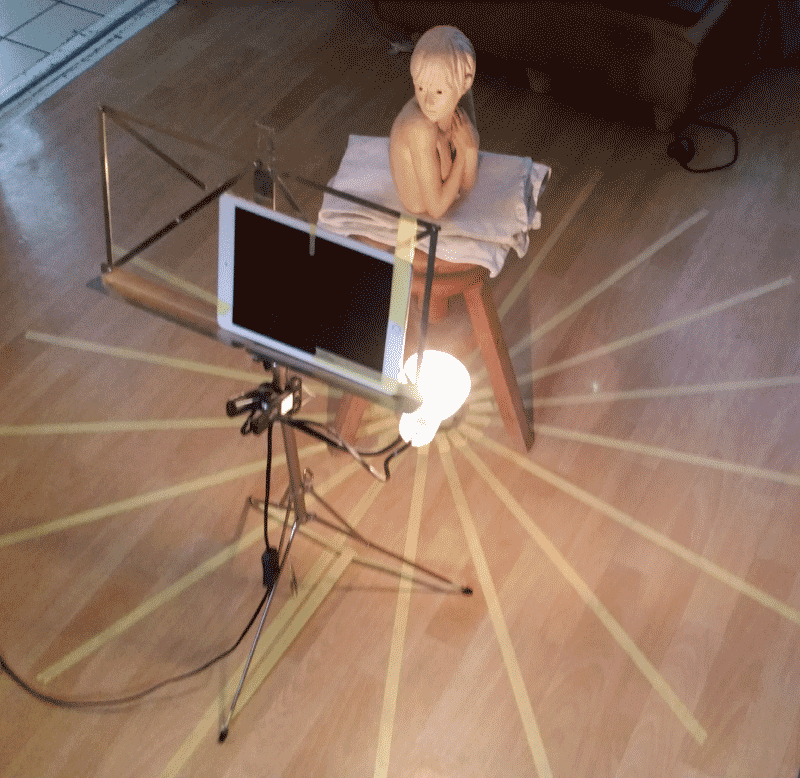
But walk around the object and carry the Ipad gave me a bad result on a simple shape
So i build a little installation to control angles (marks on the floor : 20° for 18 pictures), stability (music stand), distance (rope in between the stool and the music stand) and light.
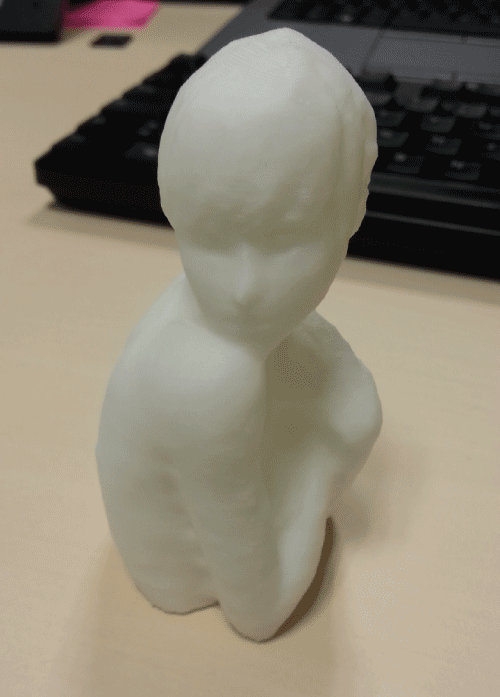
Then i tried to scan a sculpture i have on my desk made by Kami Kaouane
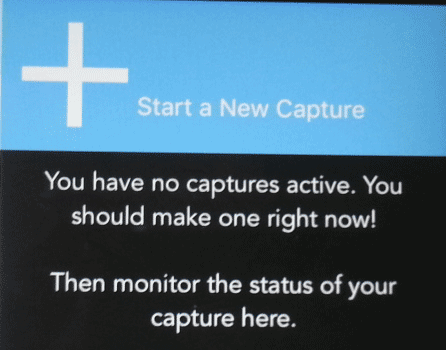
Then i started a new Capture
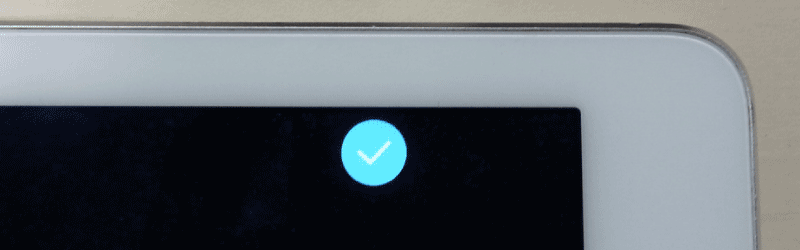
Once i had taken all the picture i had to clik on the blue button in the top-right corner of the screen
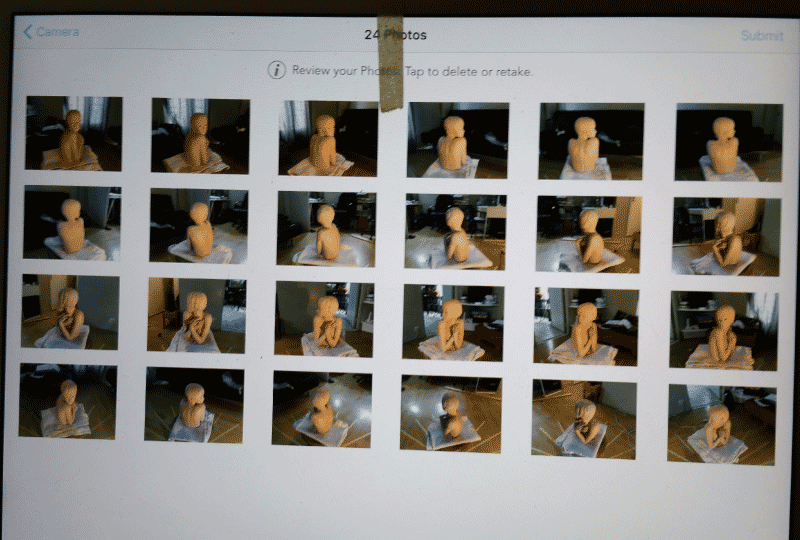
Pitcures all appears on screen to be checked, after what i just had to submit them
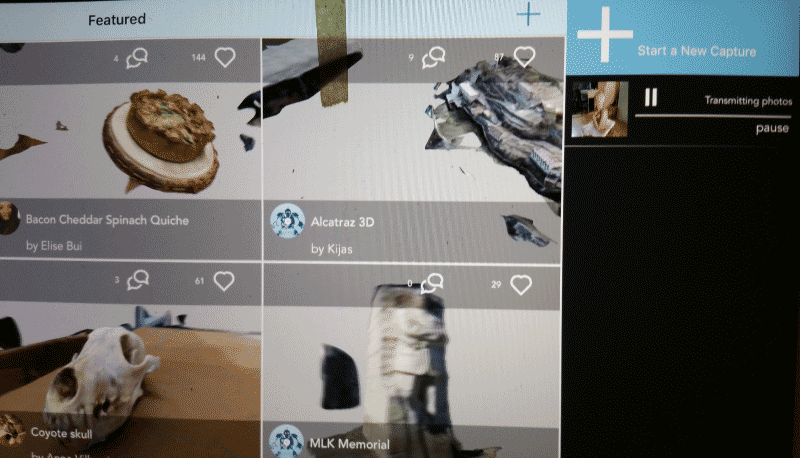
After a while all the pictures had been treated by 123D Catch
I opened 123D Catch on my laptop, and my project was waiting for next steps in the project section
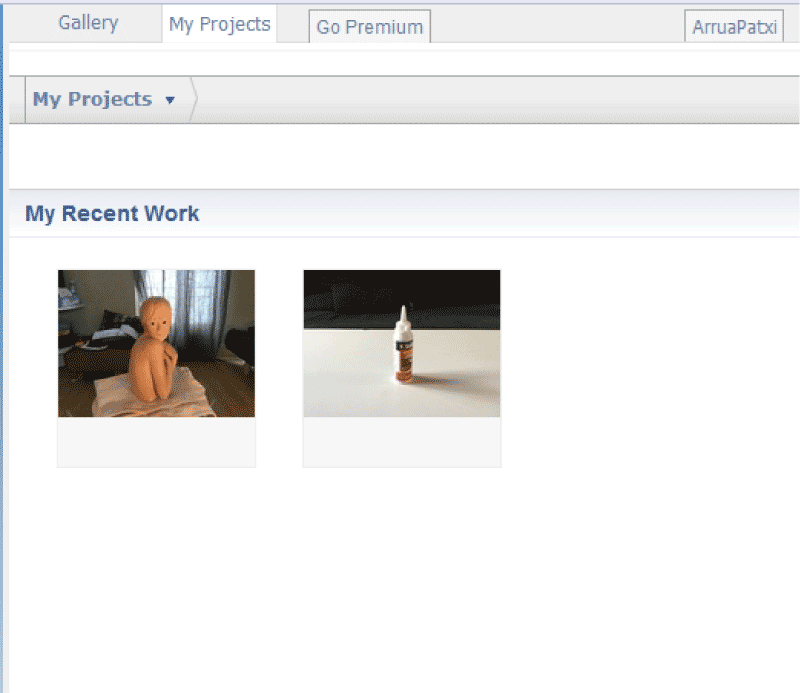
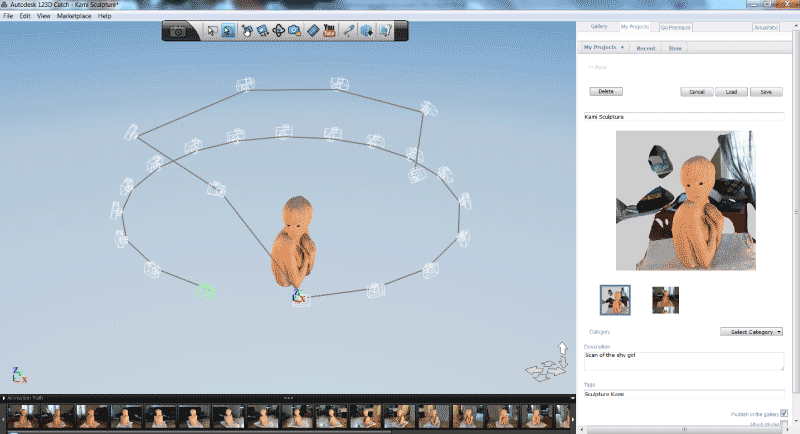
I selected my project with the sculpture and loaded it in the interface
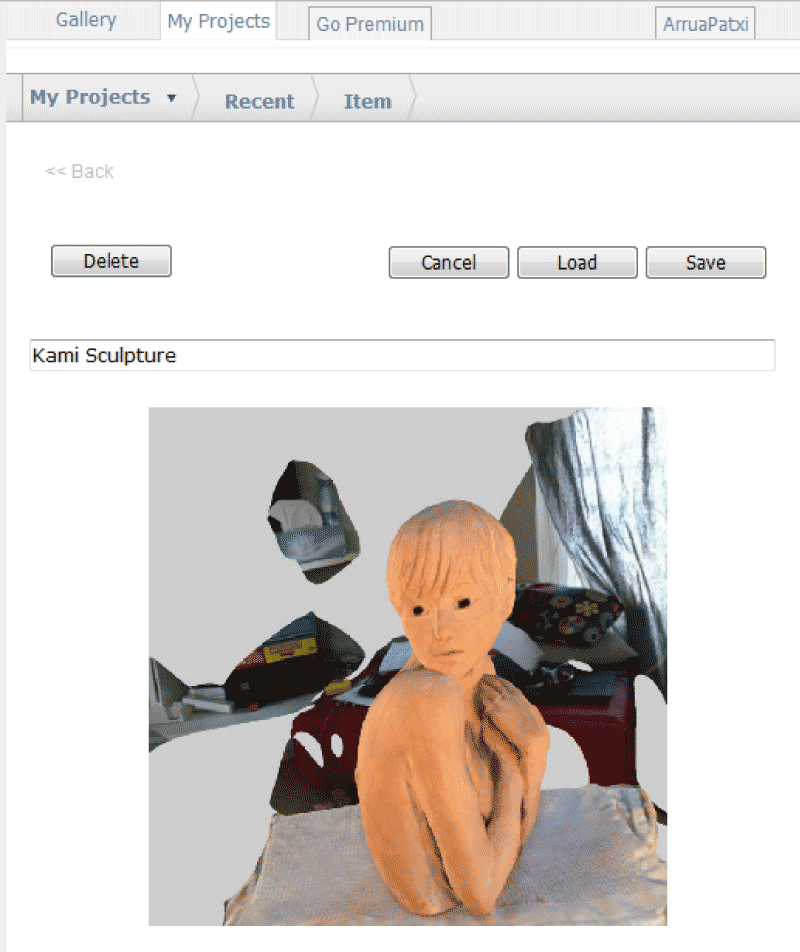
And finaly i saw the scan on screen
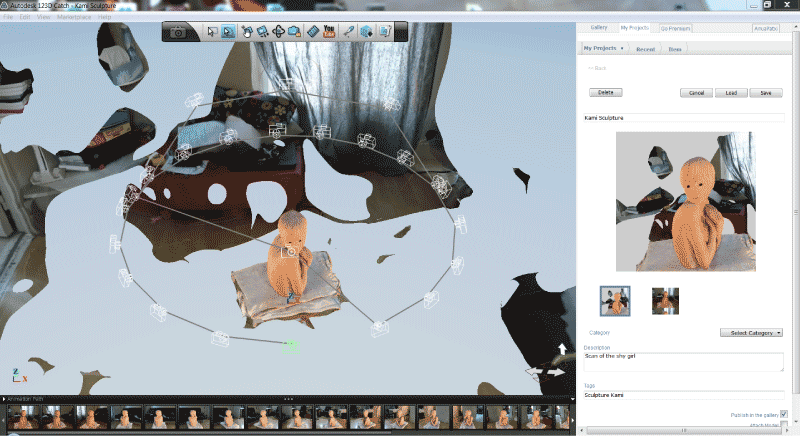
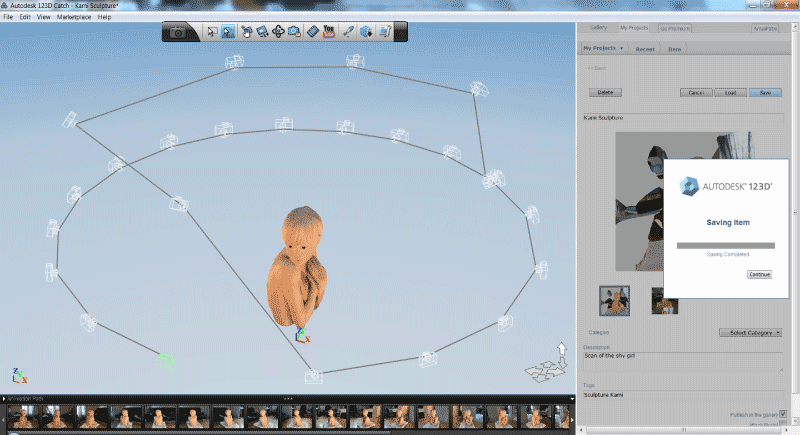
I erased all the unusefull parts using the selection lasso and the delete key
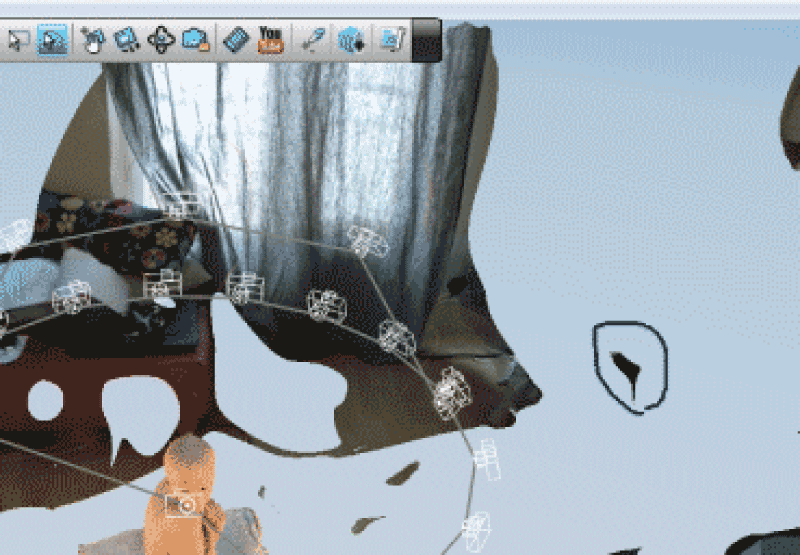
After few steps i had a clean scan of my sculpture
And first time i had cleaned it, i forgot...to save it
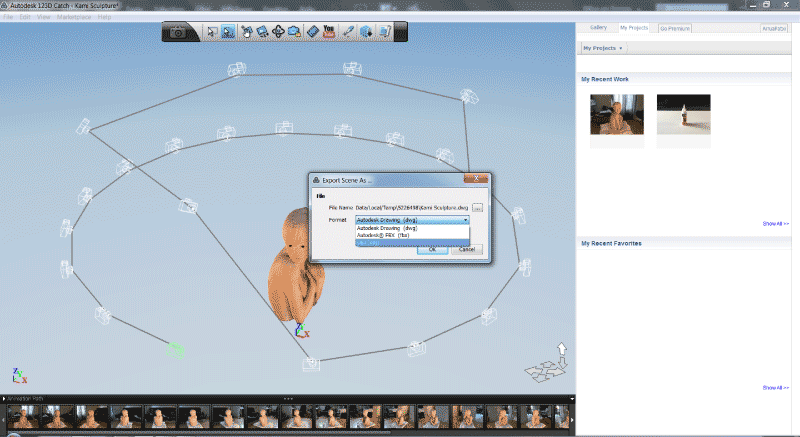
I exported it
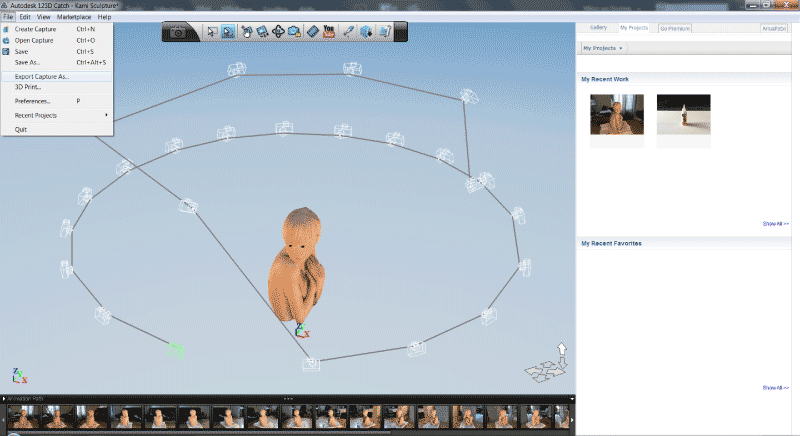
In a .obj format to import it in Meshlab
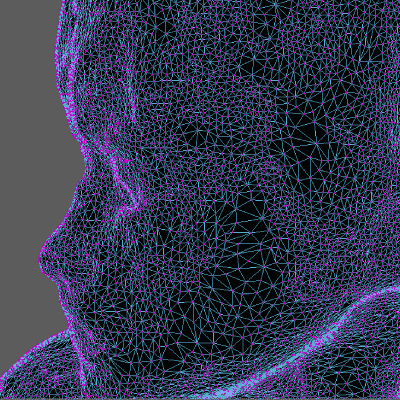
Now i have a mesh, but it has a hole at the bottom. To correct this i used Meshlab, a sofware made to repair 3D models
So i opened my 3D scan in Meshlab (I am using an old version (Basic 5.0), free, with a very few tools available, but very usefull)


The red exclamation mark in the bottom-right of the screen indicates me that there is a problem with my mesh

When you click on the red cross on the top-right of the Meshlab interface you get access to the repair menu

Then click on automatic repair, choose default repair and execute

It will automatically file the holes of your mesh

To finish this step of the repair, accept to remove the old parts


Now click right on the mesh to display the export menu, choose .stl format to 3D print your model

If there still are issues with your model Meshlab will ask if you want to correct them, click on repair

Then clik on export to get your .stl file

For this first print i choosed to use a UpBox 3D printer running with the free UP software
I printed it with ABS (Nozzle : 260°C / Buildplate : 110°C)

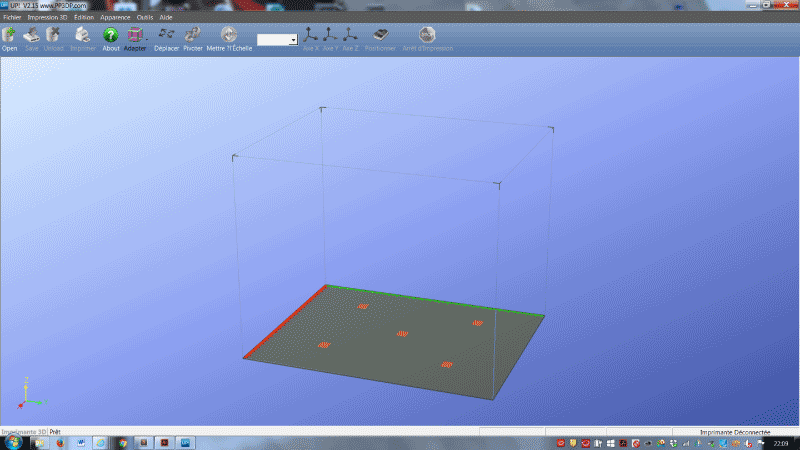
Open your .stl file

Just click on print, the printing settings menu is displayed
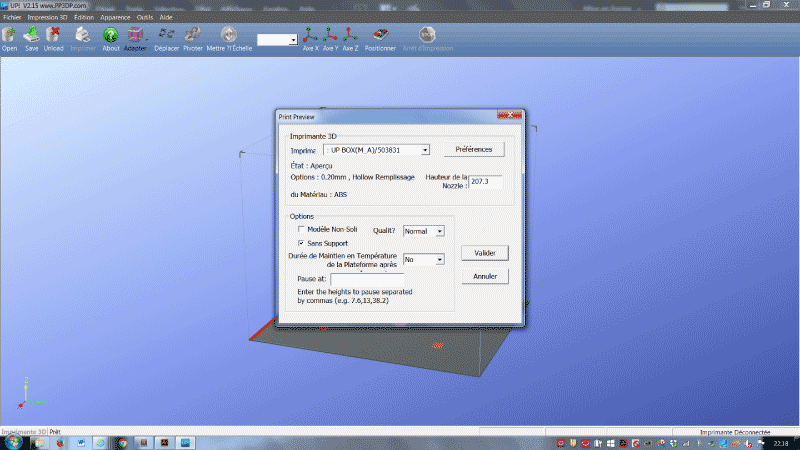
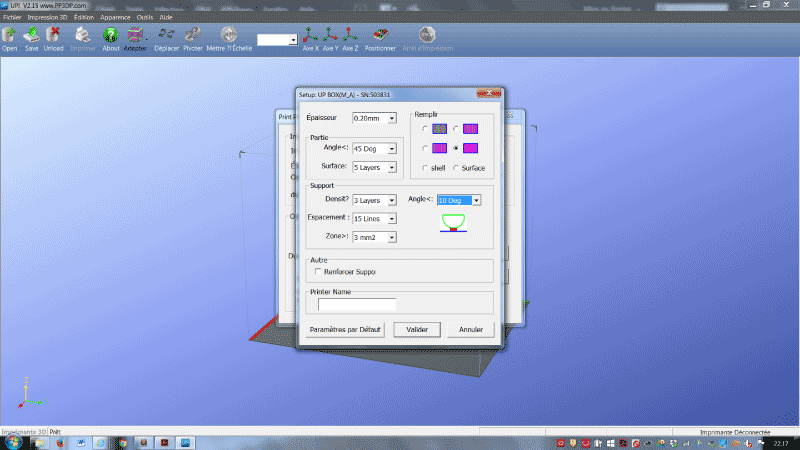
Go to the preferences menu
Choose a 0,20mm layer height to have a nice finish
5 surface layers will waranty a bit of solidity to the final print
Print it almost empty to save material,
No need to configure the supports because we don't print with them there
Validate and wait for the estimation of the printing time, then click OK to start the print
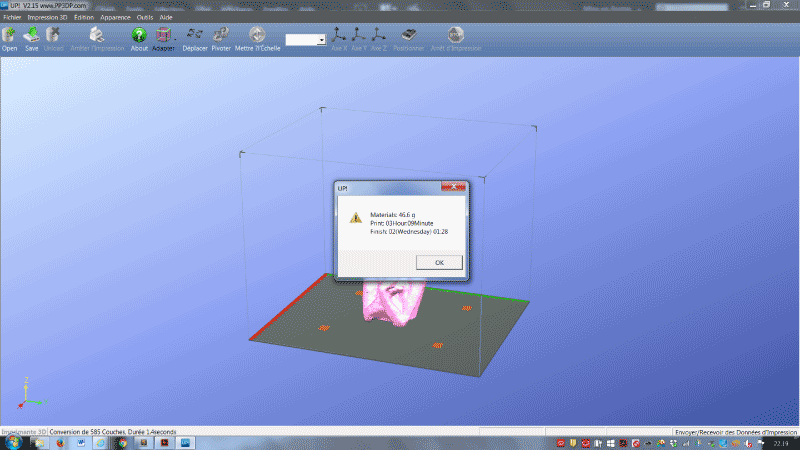
Print started...
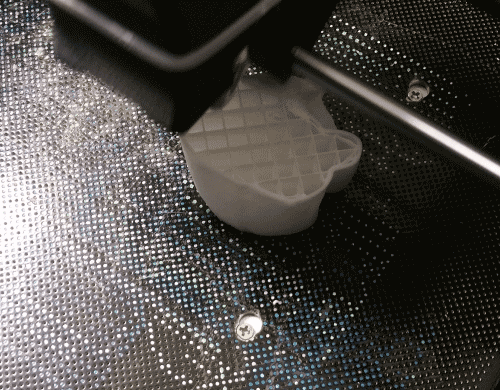
...and gone well with a nice result
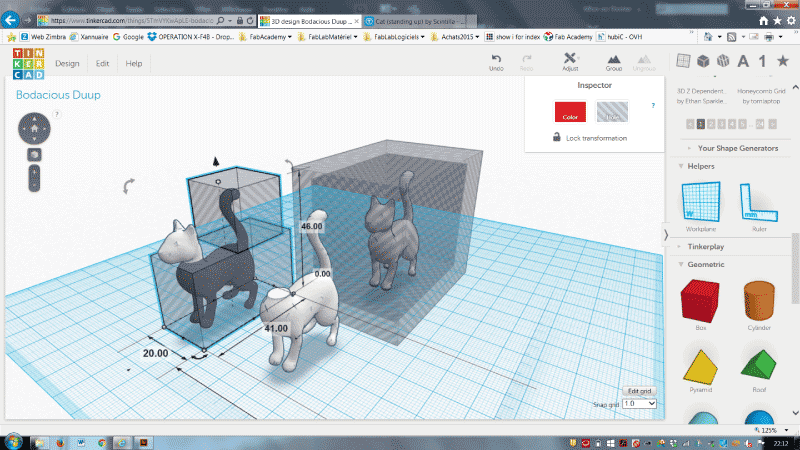
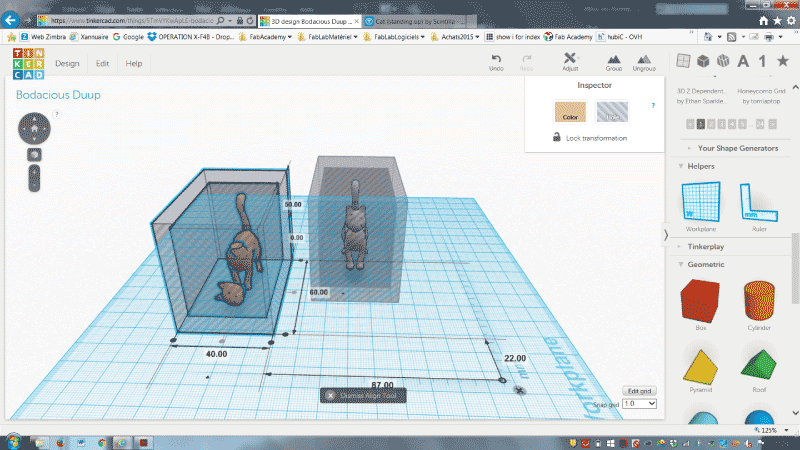
I created a model called "Curiosity killed the cat"
A living and a dead cat, each one in a identical and completely closed box
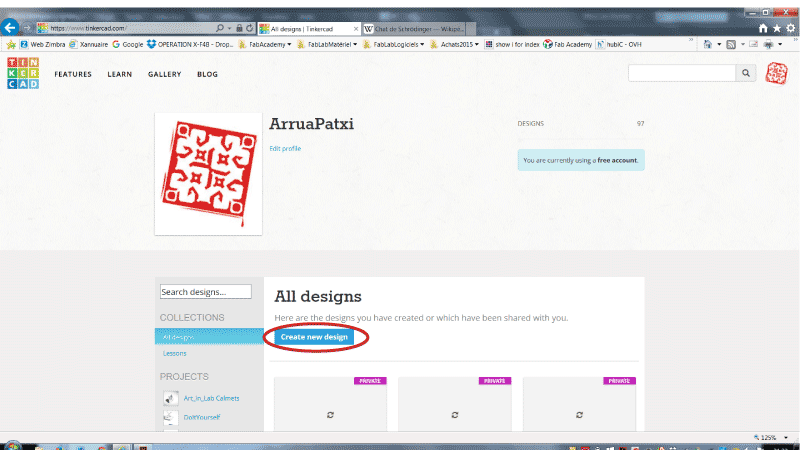
I did so in Tinkercad
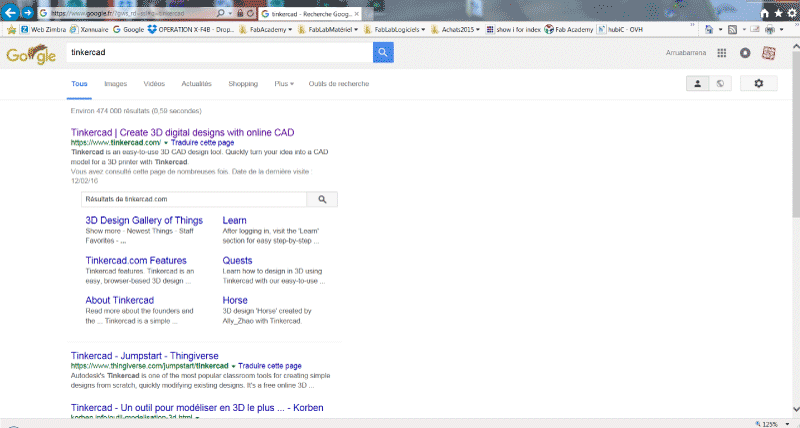
Create an account or simply connect if you've ever done it, then create a new design
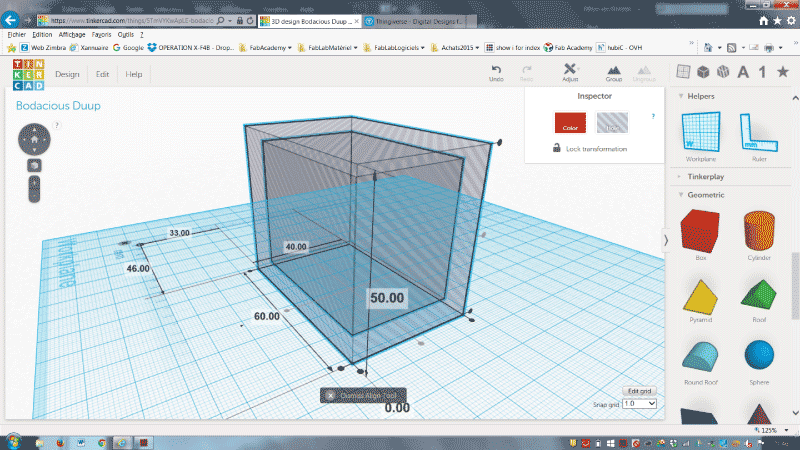
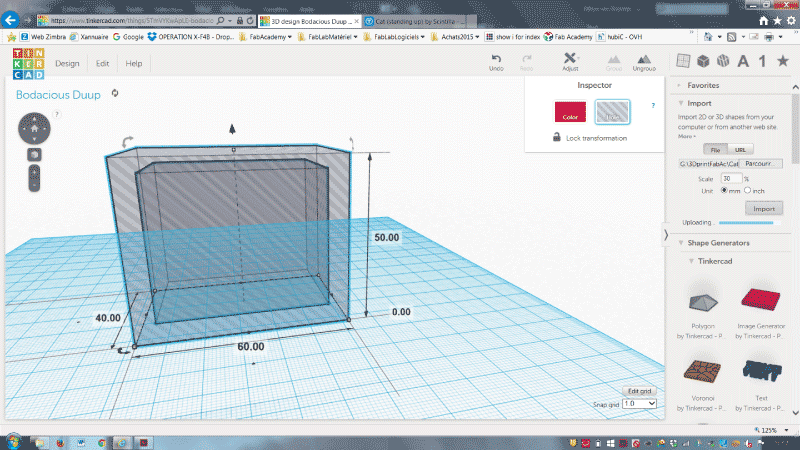
Create a simple box from the geometric menu
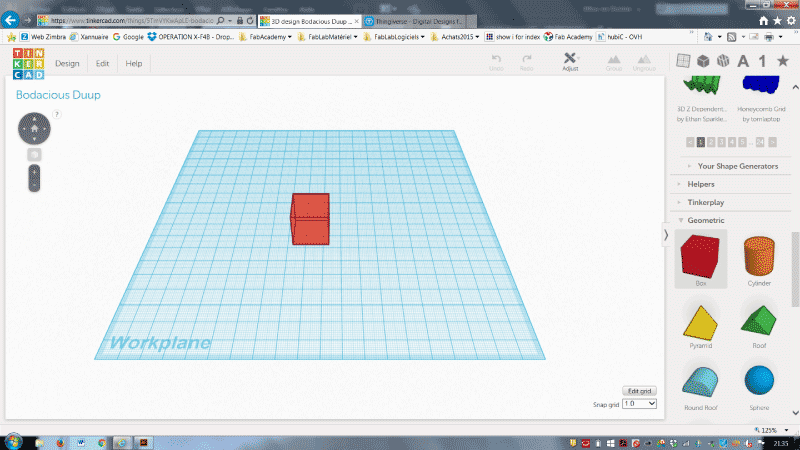
Create a ruler from the helpers menu to display and change the parmeters of your box
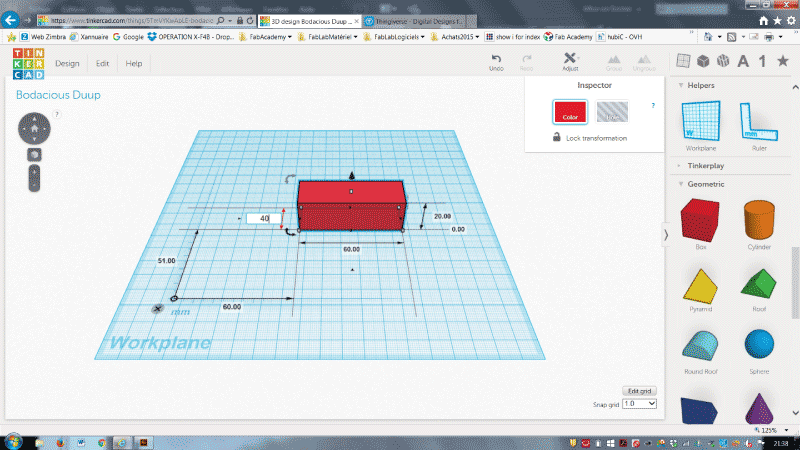
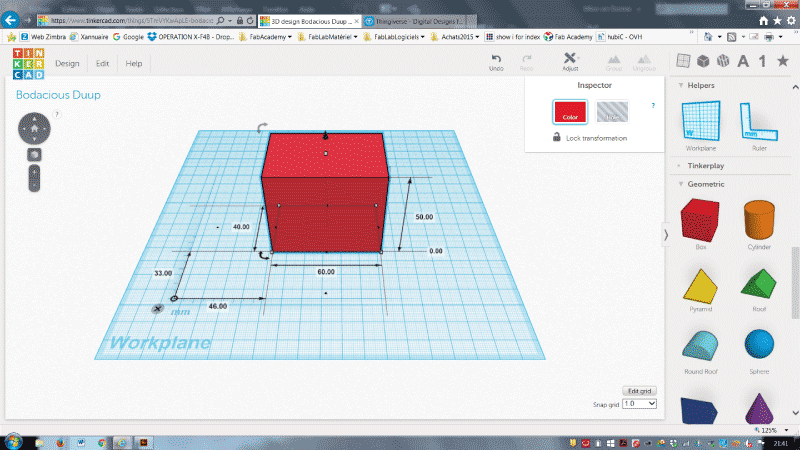
And make sure your bos is 60L x 40l x 50h (sizes in mm)
Click on Hole to have it transparent
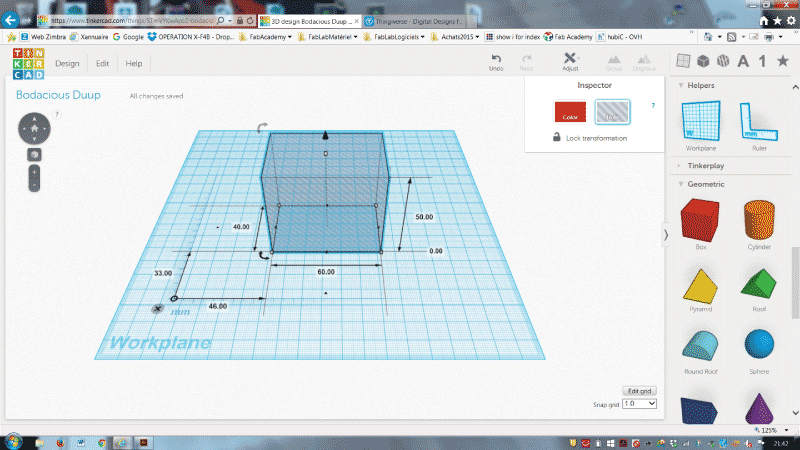
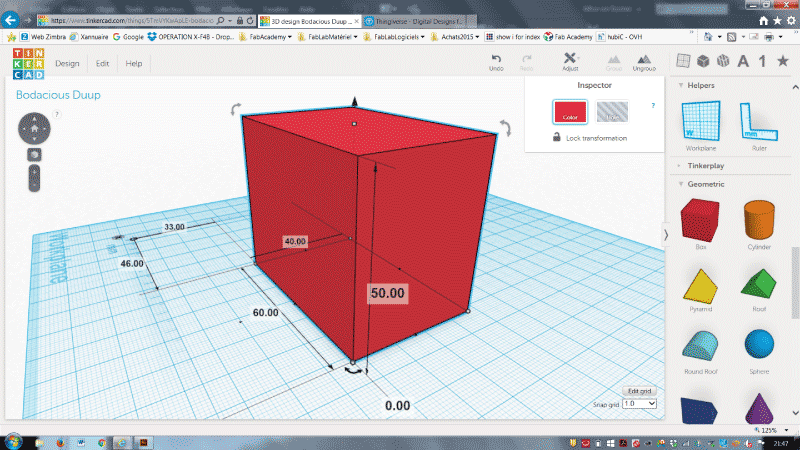
Select your box, use Ctrl+d to dupicate the box, ! keep it selected !, and resize it to make it smaller using Shift key and a square handle at the bottom cormer of the box

Select both boxes and choose align tool in the Ajust menu to align the two boxes in the middle in every directions
Select only the outside box and give it a colr to make it solid
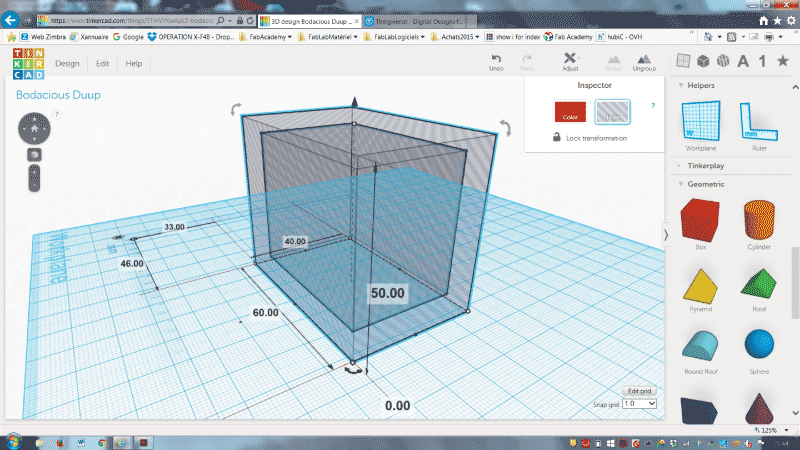
Select both boxes again and group them to create a hole in th middle of the outside box
Select the resulting box and click on hole to have it transparent again
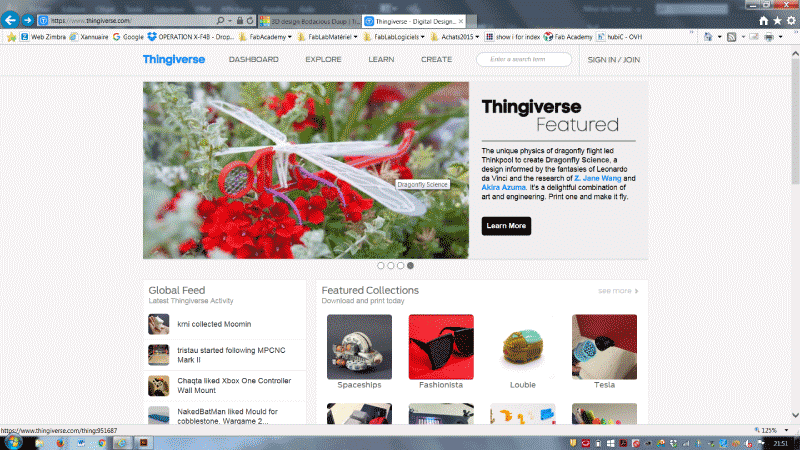
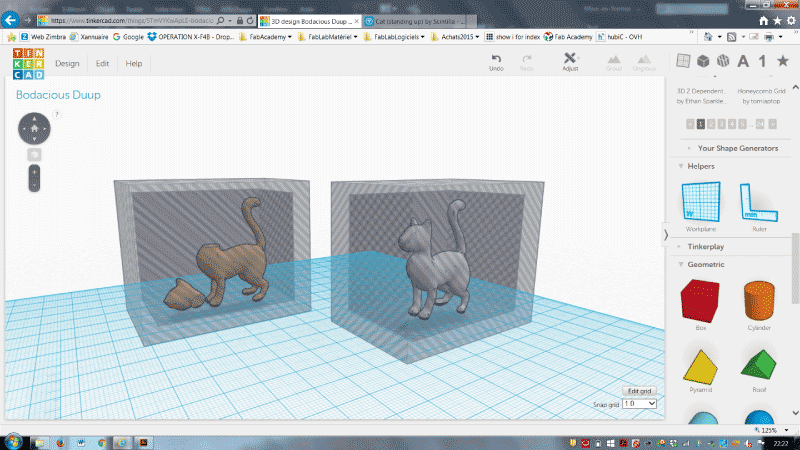
To go faster i went on Thingiverse to found a .stl cat model
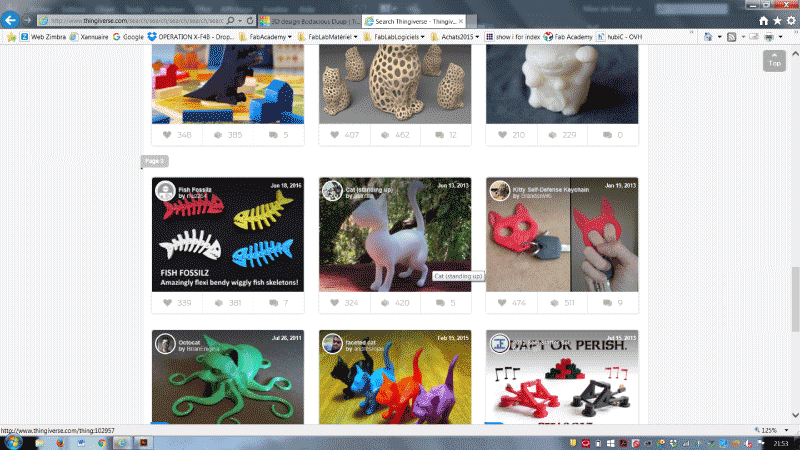
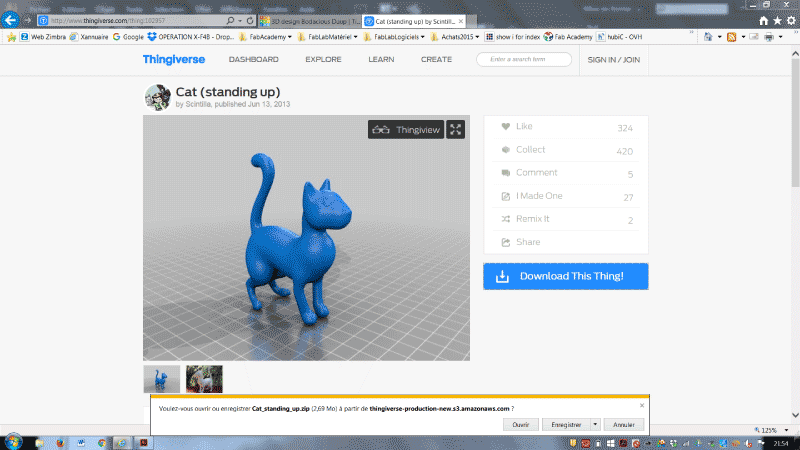
Then i imported it in Tinkercad
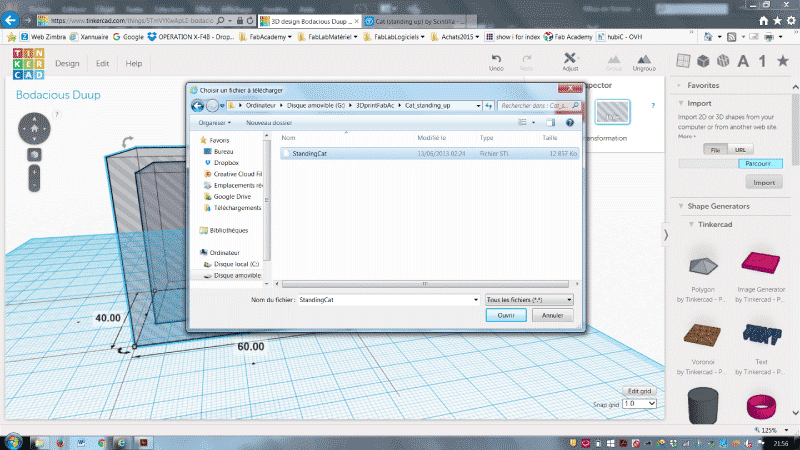
The cat appears, Keep it selected
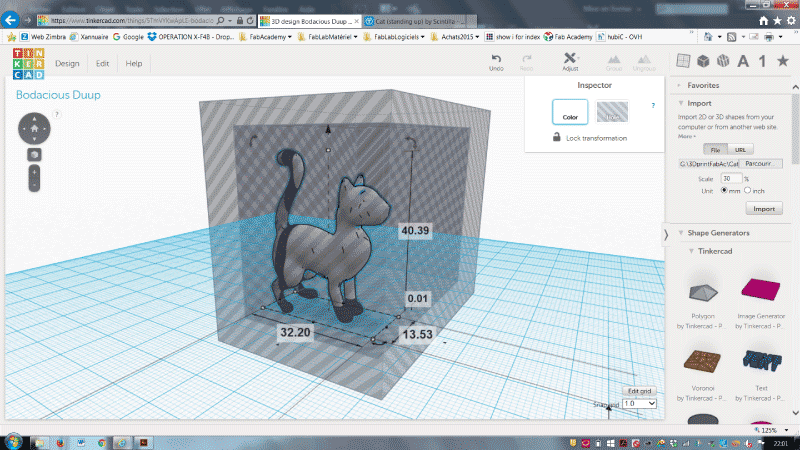
Duplicate it (Ctrl+D) and ! with the arrows no your keyboard ! move the copy away
Align one of the cats and the empty box

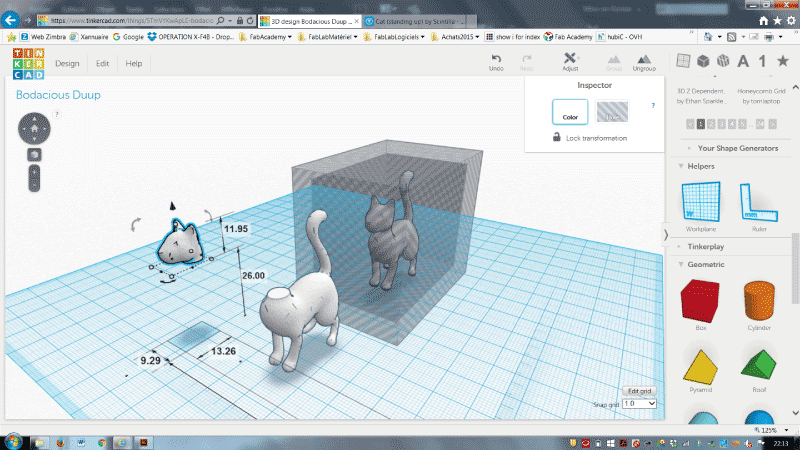
Create a box around the head of the cat outside the box, display it as a hole
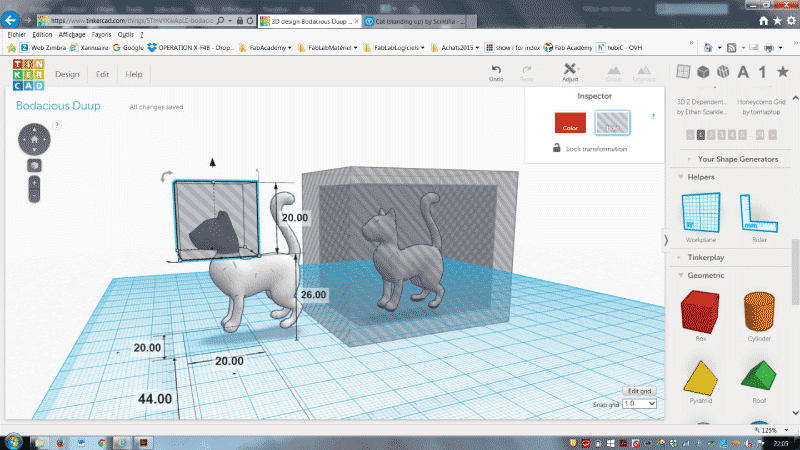
Duplicate the cat again and move it aside
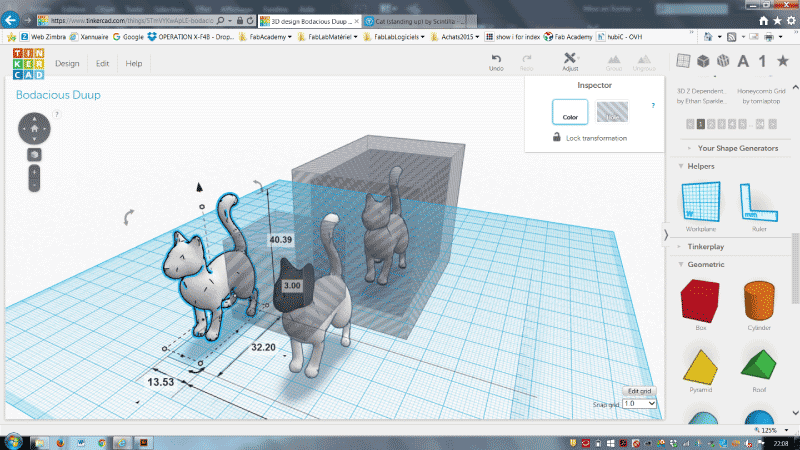
Group the cat and the box
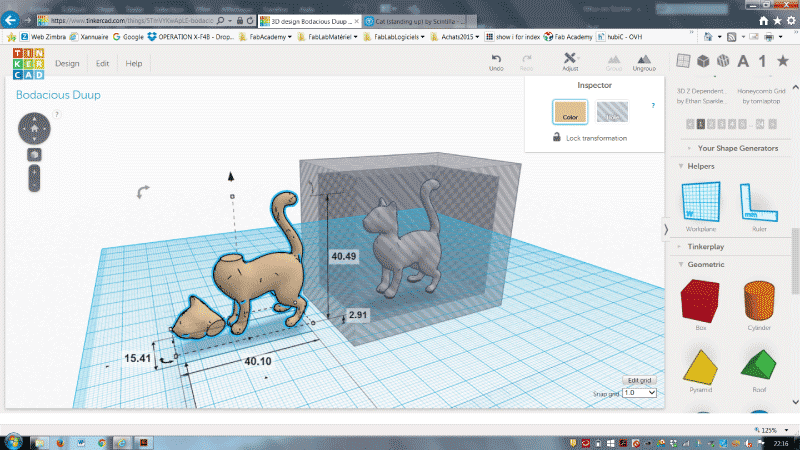
Create boxes around the body and the tail of the full cat and turn them to holes
Group the cat and th two boxes to keep only the head
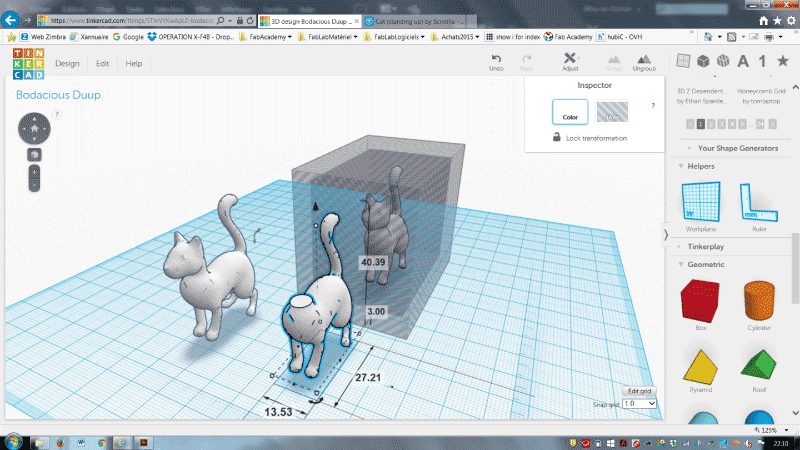
Move the head at the feet of the missing head cat, and you have a dead cat

Group the head and the body
Dupicate the empty box, move it aside and move the dead cat in front of it
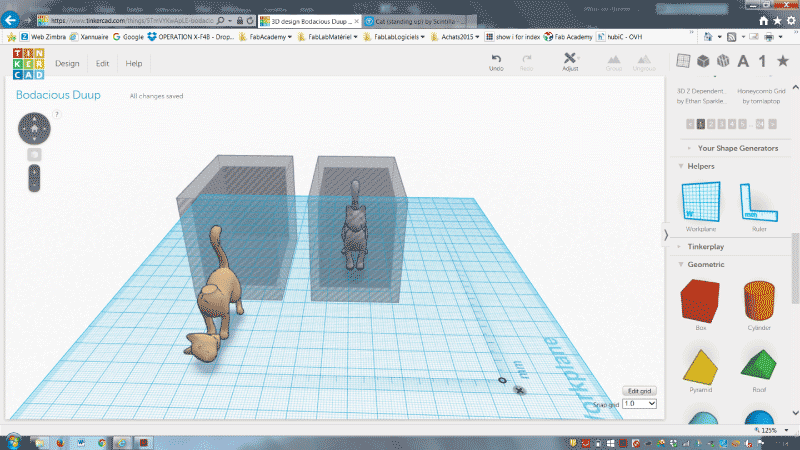
Align them in every directions
You have a box with a dead cat and an other one with a living one
Select the empty boxes and give them a color to make them solid
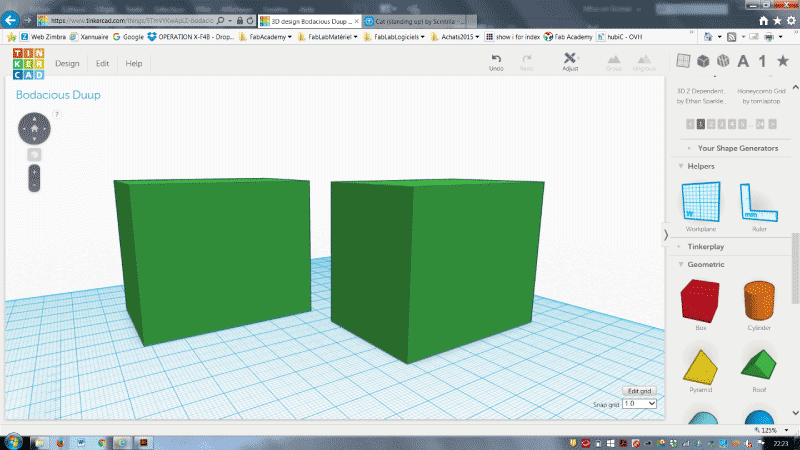
Select each box and its cat and group them

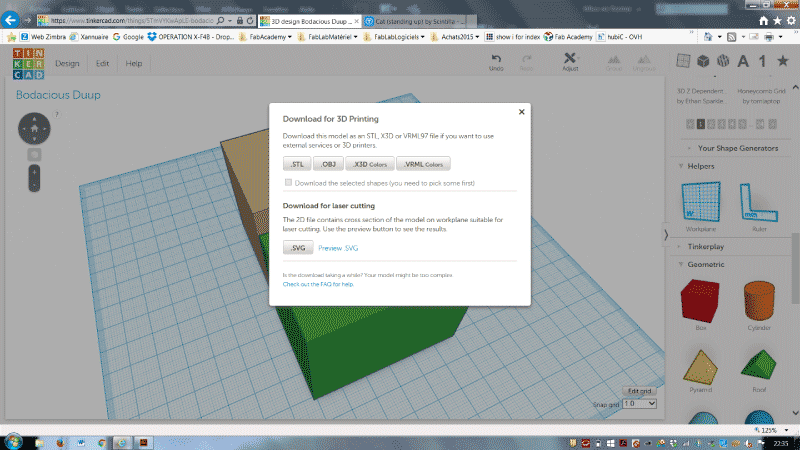
Export the model for 3D printing thrue the design menu
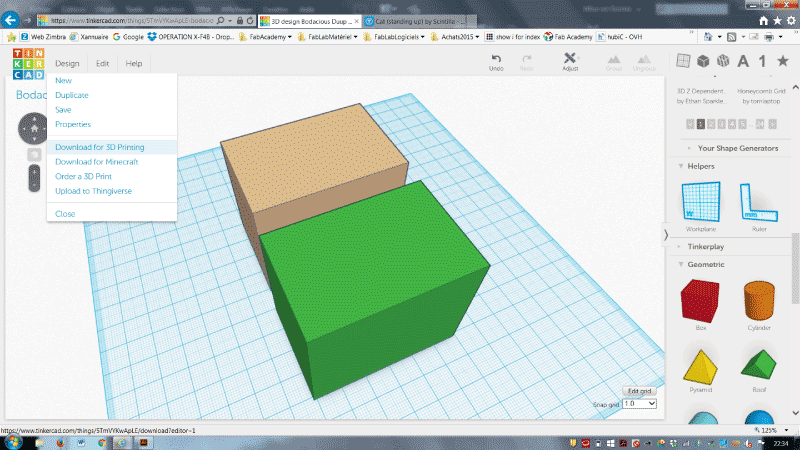
Choose .stl to be able to 3D print it
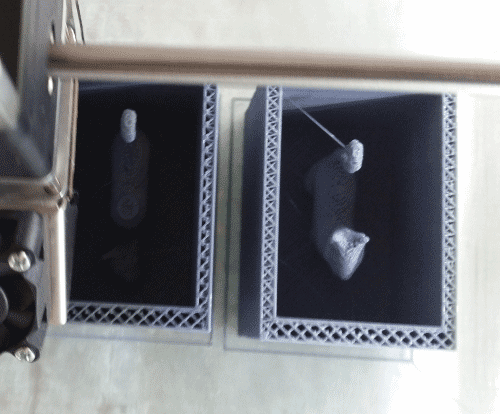
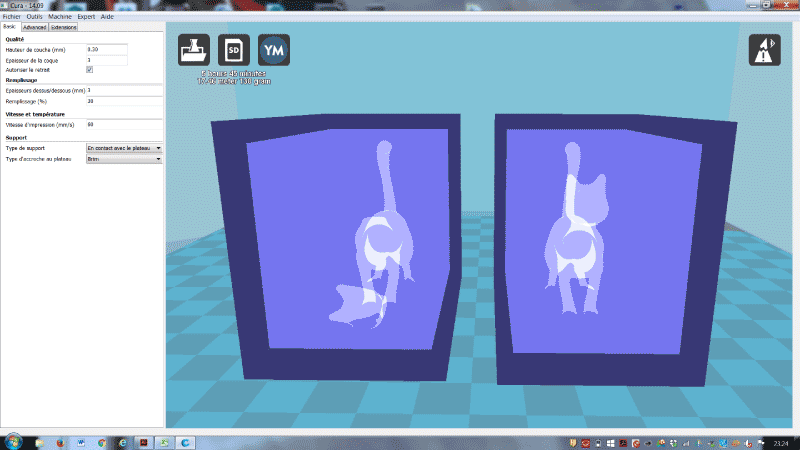
You can check in Cura with the X-ray mode, cats are in the box
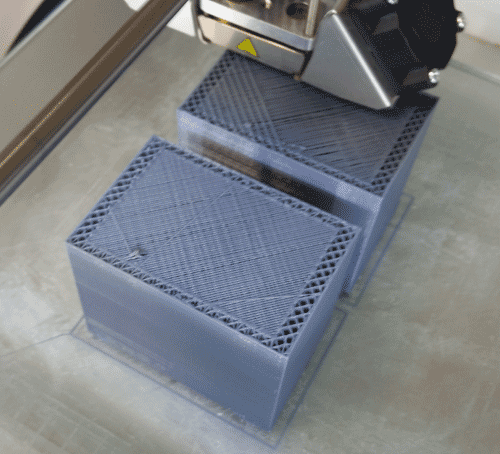
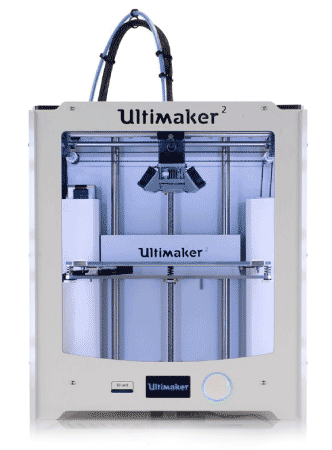
I choosed to print the boxes with a Ultimaker 2 running with the software Cura
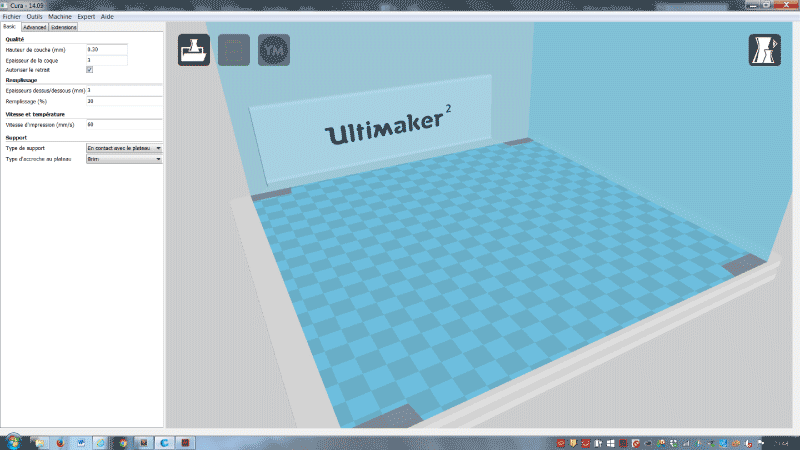
Open the .stl file generated in Tinkercad
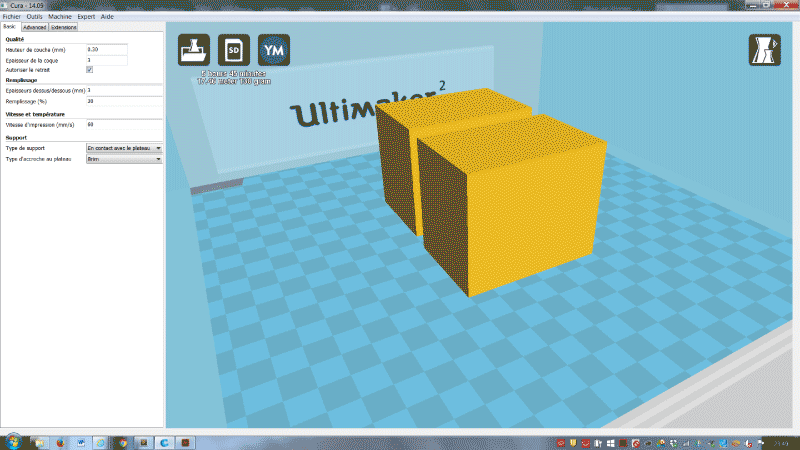
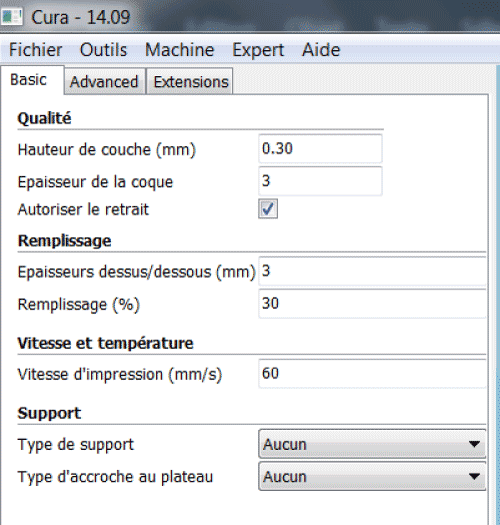
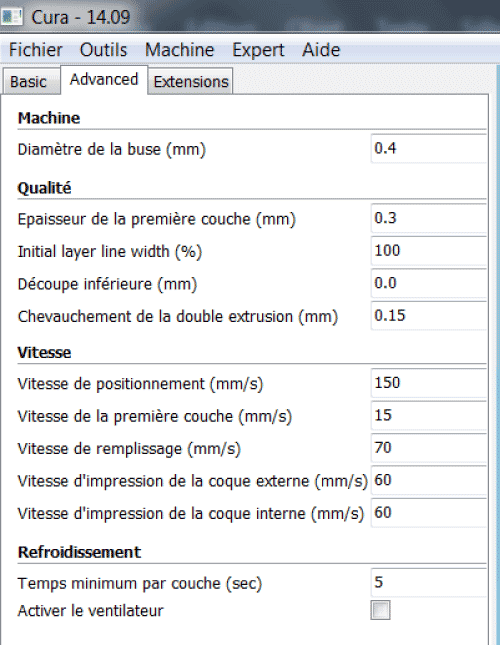
Use the following settings and print it with PLA (Nozzle : 190 to 210°C / Buildplate : 60°C)
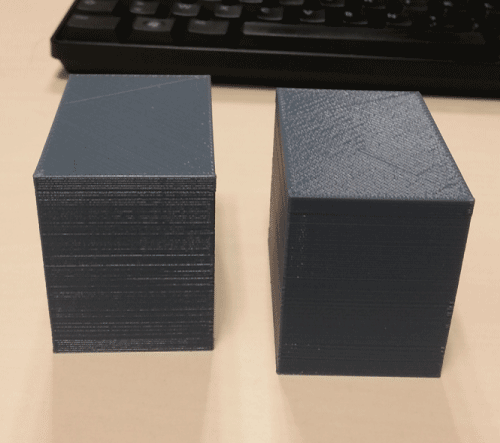
Start the print and go away, ask a friend who don't know nothing about what you are printing to recover the prints for you
This way no one will know wich box contains wich cat, and there is only one way to know...and maybe curiosity will kill the cat.