

Week 5
Week 5 Description:
Week 5
3D Scanning and Printing
Assignment:
Group Assignment-Test design rules for our printer
Design and 3D print an object that could not be made subtractive
3D scan an object and optionally print it
Test Design Rules:
Material: PLA
File format: STL
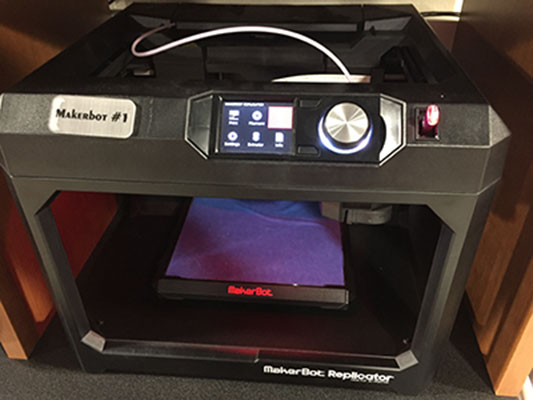
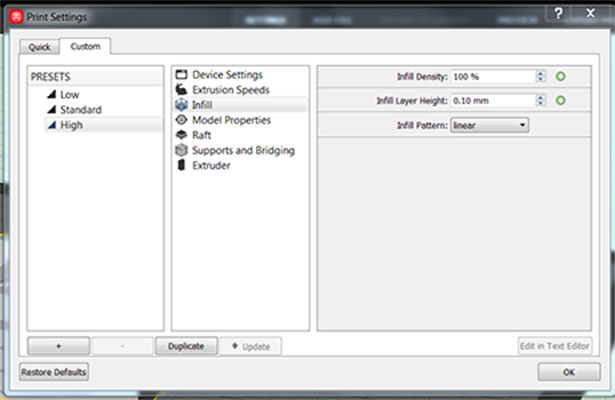
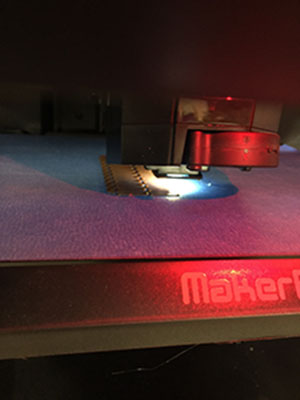
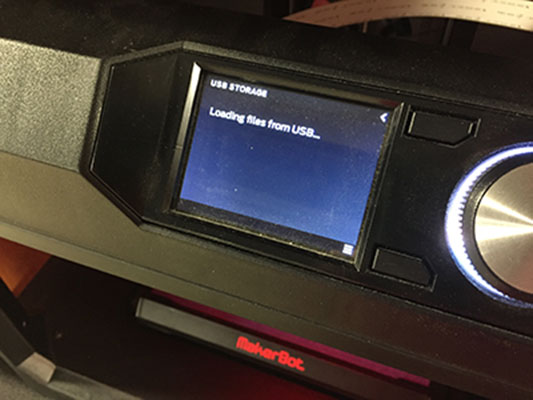
We used the file that was provided as a test for our 3D printer. We have been using the printers for a few years now. The 3D printers we have are Makerbots and we have 7 of them. The test turned out great. We printed it solid with no infill just to see how well it would work and the amount of detail that came out was really impressive. (Group test 16 hours)
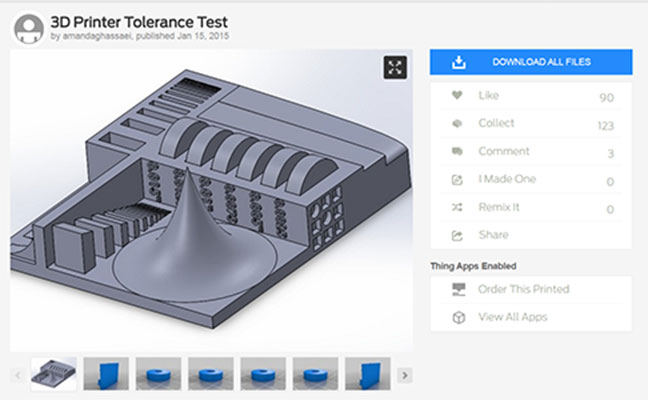
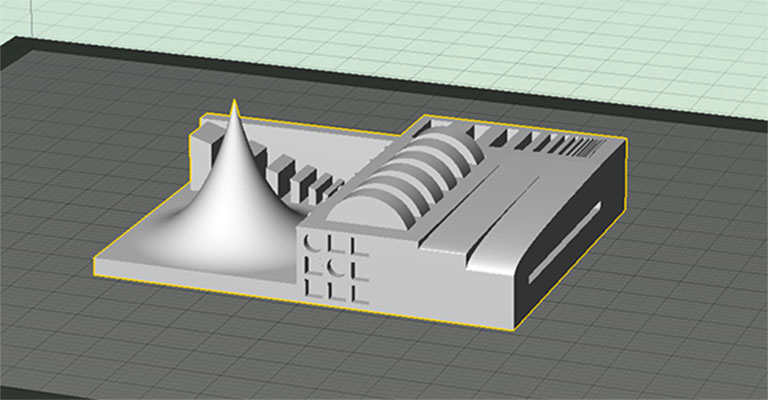
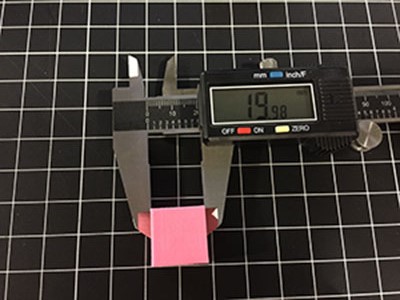
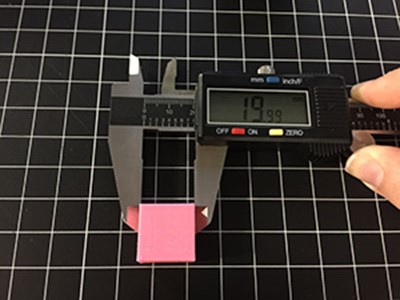
I also measured something that was supposed to print at 20 x 20 and it came out to be 19.98 x 19.99 which is really very close.
Design and 3D print an object that could not be made subtractive:
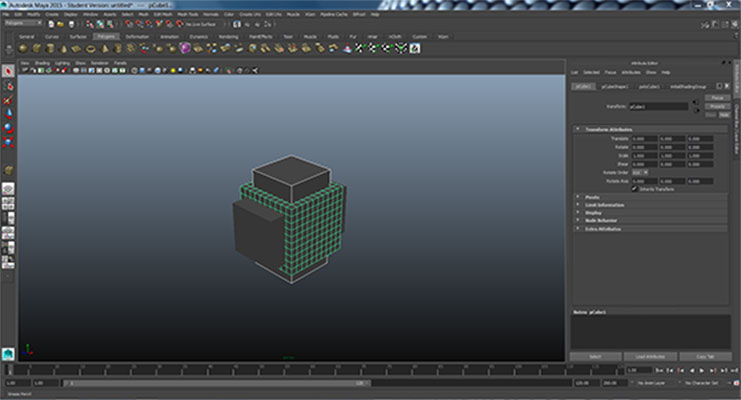
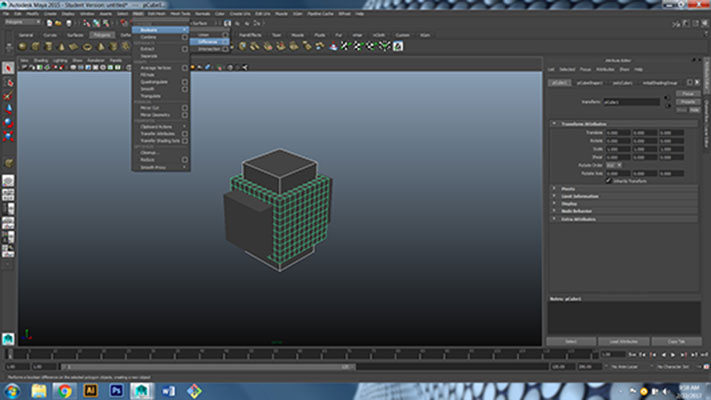
Software: Maya
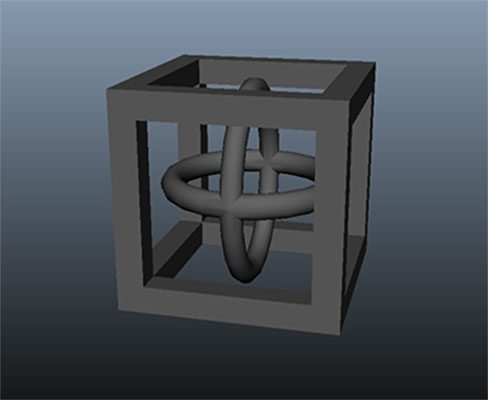
I created a cube 2 x 2, then used 3 rectangular solid to create an open cube. I went to Mesh – Boolean – Difference.
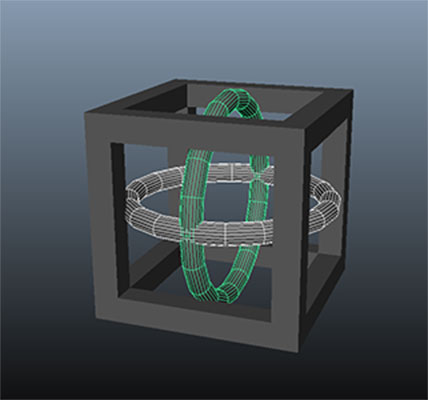
Then I created a polygon torus and fit it inside of the cube. Rotated 90 degrees, Mesh – Boolean – Union. In a second file I made I added 2 more poly torus and rotated 45 degrees and - 45 degrees. All of the polys were placed at 0x 0y 0z.
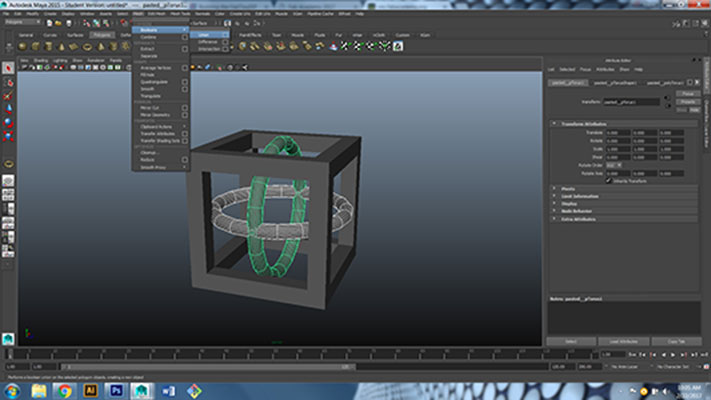
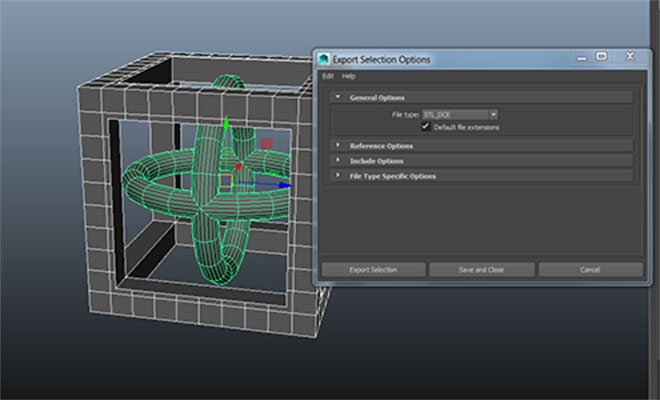
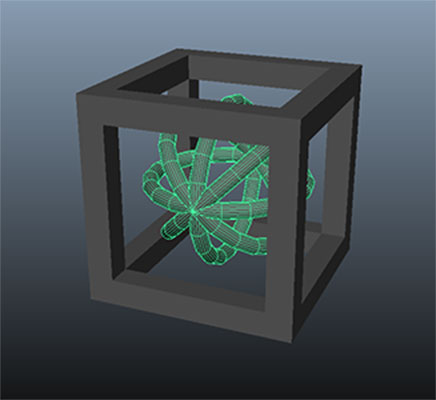
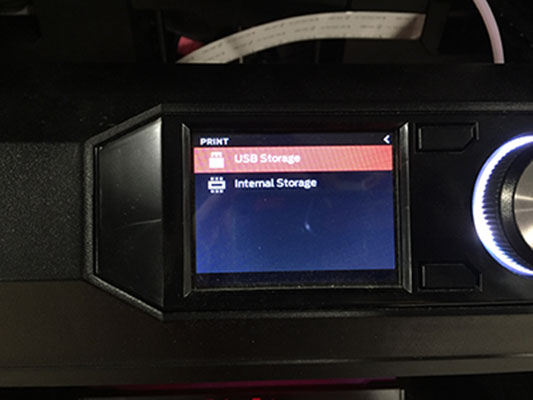
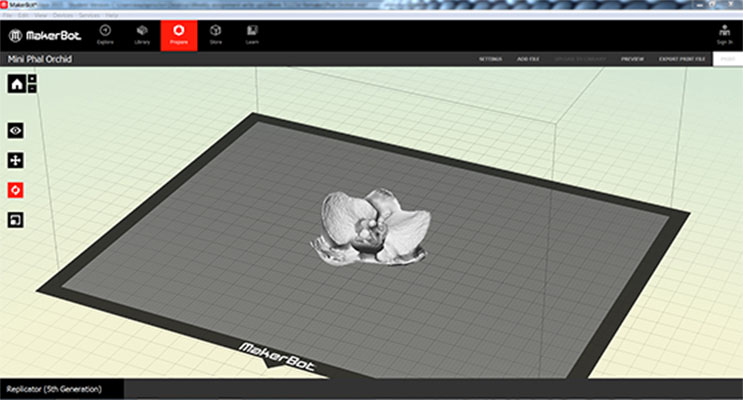
In order to print I needed to export my selection as an STL document. I then placed it on to a USB drive and took it to one of our Makerbot printers.
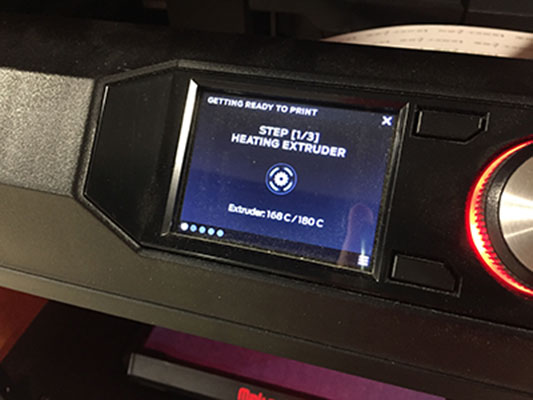
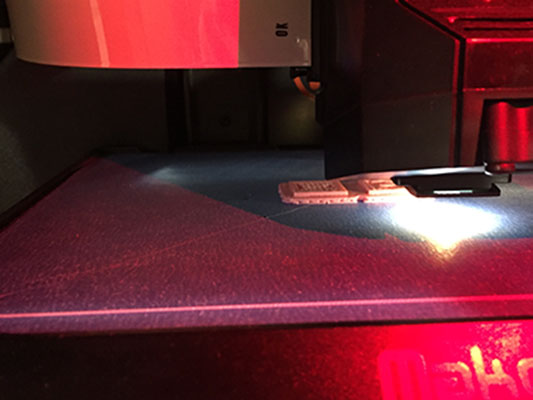
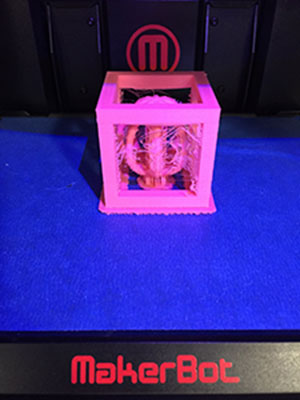
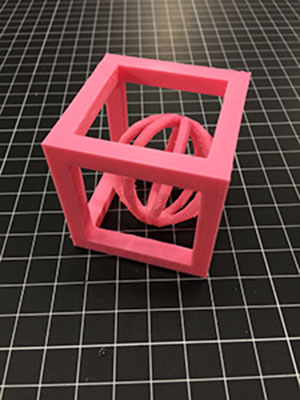
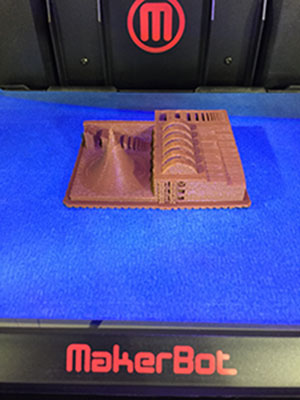
As you can see from the image on the left above there are limitations to 3D printing. I made this model very small and while printing something to thin, the filament becomes almost brittle and doesn't cool at the write strength. We print models/characters in my 3D Animation class (that we have modeled with Maya) and I have to remind the students that things cannot be too thin or small because the printer will not capture he detail. We also discuss supports and what direction to place the model to get the best but least amount of supports printed. That way the model has smooth edges and looks clean as it was intended. I still find it so amazing though to have a tool that my students who are taking 3D Animation (not always the best with their hands, but better at computers) have the opportunity to print a tangible object they have created. They especially love all of the colors of filament that I have and the ones that glow in the dark.
3D scan an object and optionally print it:
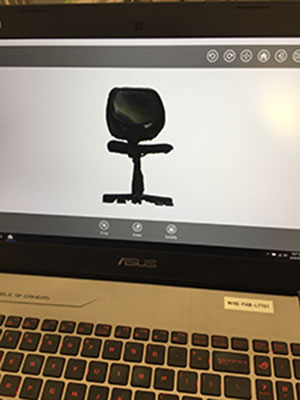
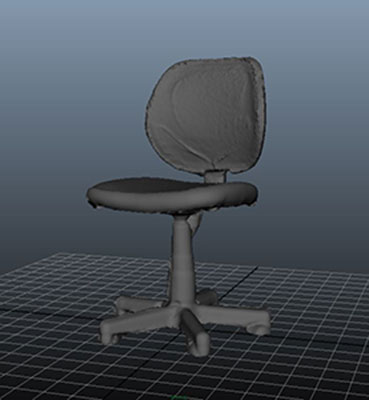
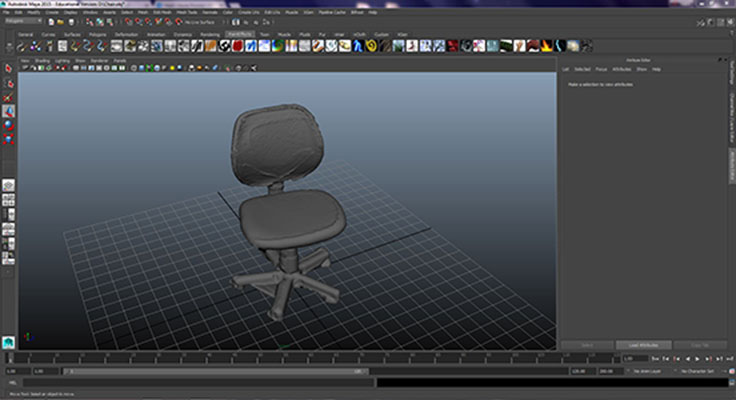
Scanning System: Sense 3D Scanner
This was my first experience with a 3D scanner as in the past I have modeled everything from polys in Maya. I will say that I am not totally impressed with the quality of the Sense 3D Scanner. I could not get it to work on small (smaller than 6” x 6”) objects. I worked for quite a few hours on trying to get it to scan a Mini Phalaenopsis which was smaller than 2” x 2”. After trying to change the lighting, adding a back drop, getting closer to the object, moving farther away, moving the scanner, and moving the object, I gave up with the Orchid and just scanned a chair. I had great success with the chair and had no trouble making a model that I could adapt in another software.
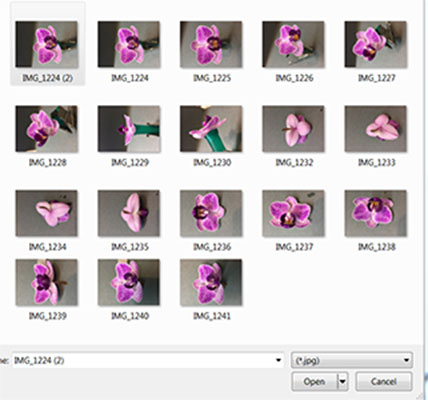
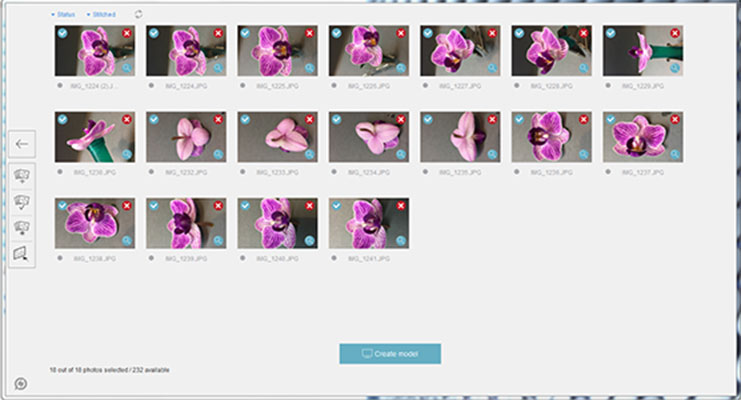
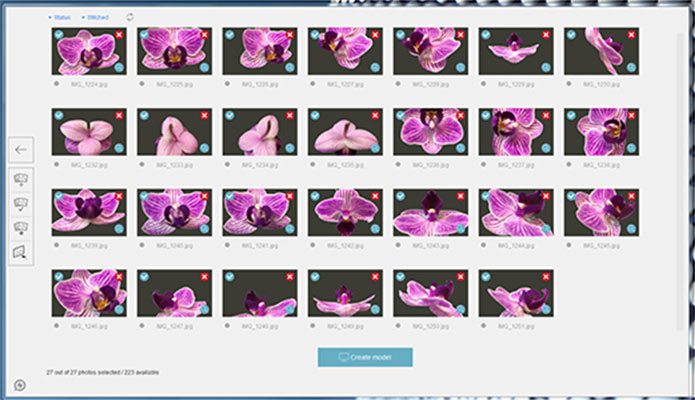
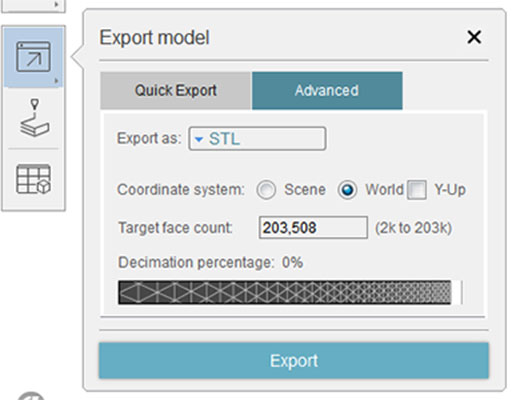
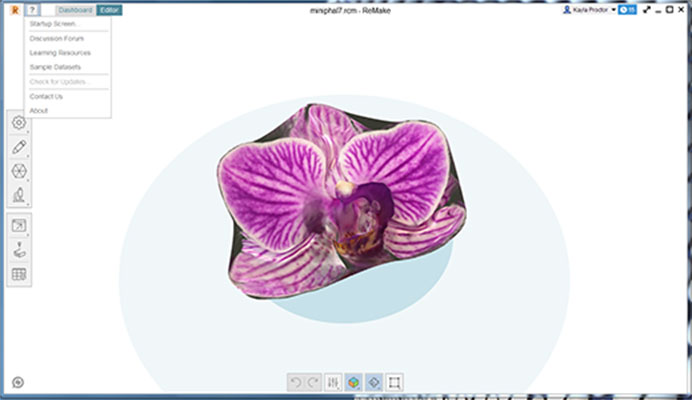
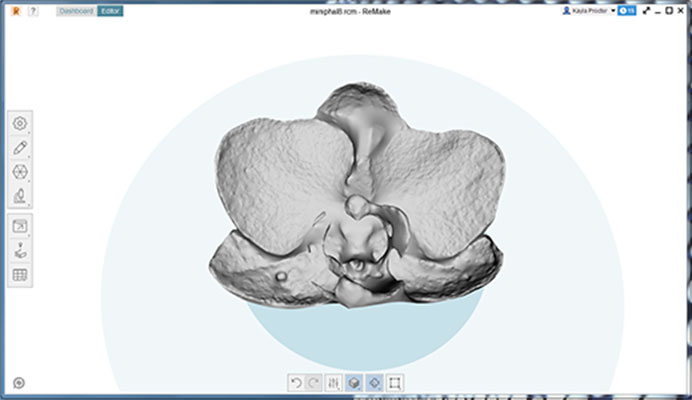
Since I am a persistent person, I decided to look elsewhere to see if I could come up with a solution that would work for creating a 3D model of my Phalaenopsis Orchid. I found that there were many reviews that compared the 3D sense with other software. That is when I read about something called 123D Catch. In this program you take many different pictures of an item and then it used the different light and textures to create a 3D model. Since the tutorials I had read they have renamed the product Auto Desk ReMake. I was happy about this since I use many other Auto Desk software. This too took me quite some time to figure out. I ended up making 10 different models adding images to the scan each time. The end result wasn’t terrible. It was much better then what the 3D Sense what coming up with. I did print it and it was recognizable as an orchid.


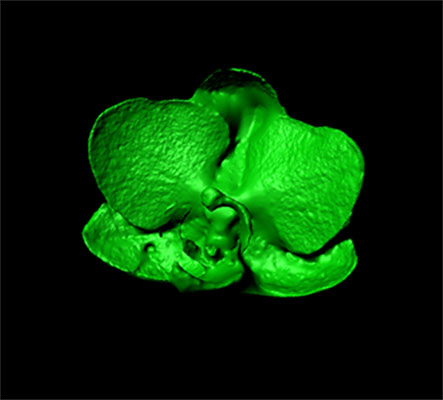
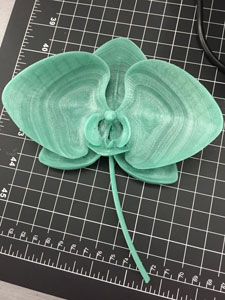
Just for fun I then modeled a Phal Orchid in Maya and printed it with the new PLA that came in today! Glow in the dark, prints at 225 F.
Week 5 Photos