

Week 3
Week 3 Description:
Week 3
Computer Controlled Cutting
Assignment:
-Make laser cutter test parts
-Cut come thing on the vinyl cutter
-Design, make and document a parametric press-fit construction kit which can be assembled in multiple ways
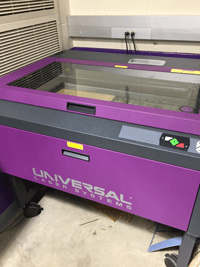
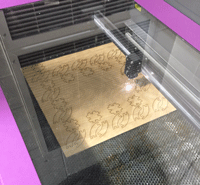
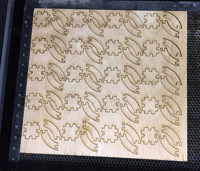
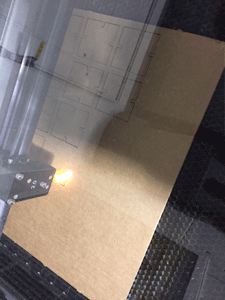
Using the laser:
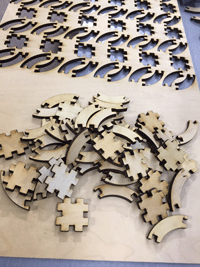
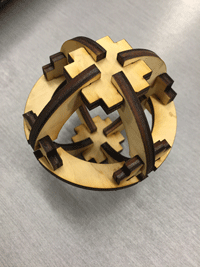
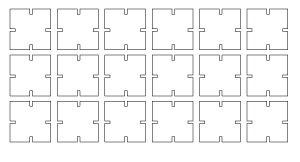
In our lab we have a lot of experience using our laser. We have cut and engraved with vector and raster, many different materials with varying thicknesses. I personally like to use Illustrator to set up my design after creating a model in Inventor. For the laser cutter test parts I chose to work with a press-fit kit that I found that I was intrigued by. Follow this link to see where I found the files: http://www.instructables.com/id/Press-fit-Construction-Kit/ I accounted for the kerf in the laser and the thickness of the material. I used a .2” sheet of maple. Maple is a hard wood so when setting up the laser I made sure to take that into account and slowed down the speed and bumped up the power slightly to make sure it cut all the way through. Once the parts were cut out I tested them to see what I could create. I was really excited to see that I could make a 3D sphere made out of 2D objects.

Vinyl cutter:
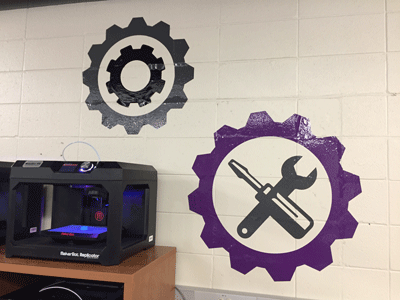
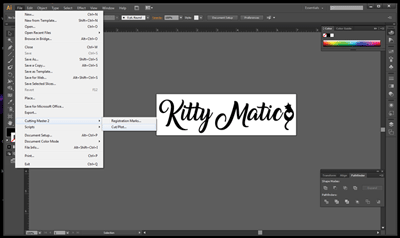
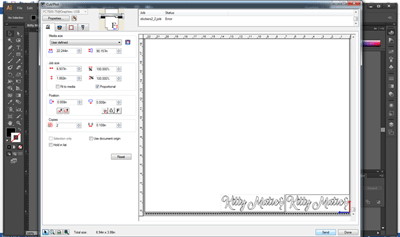
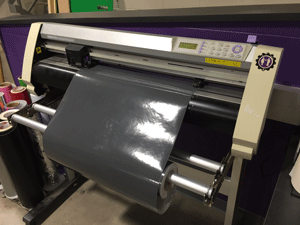
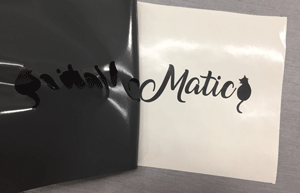
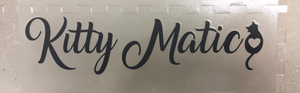
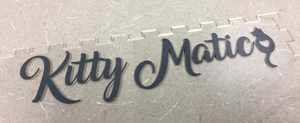
I have also had some experience with the vinyl cutter. One of the first projects I have done are the large gear you see in the pictures below. They are also behind us in class every Wednesday morning during Fab Academy! For this assignment I thought it might be fun to make a logo for my final project (The Kitty Matic). After designing the logo in Illustrator I went to File – Cutting Master 2 – Cut/Plot. This brings up the options for the vinyl cutter. I think of it as setting up my page to print on a printer. You have to make sure that your paper size is correct, that the thickness of the vinyl is taken into account and that the laser will read your design. After I have all of the correct settings I press send! After the cutter creates the logo then I take the surrounding vinyl and anything I do not want included off the backing paper. Then used the clear film to go on top of the vinyl to keep it together in order to place it onto my cat feeder. Once the clear film and the vinyl are removed from the backing paper then I placed it on my acrylic and used a bone folder to press it onto the acrylic. Last I pull back the clear film and you have a vinyl logo!
Vinyl cut logos on wall:
Setting up a logo for print on the vinyl cutter:
![]()
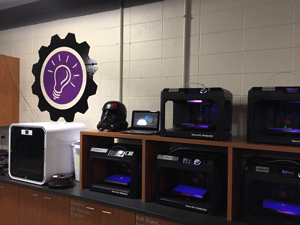
Vinyl Cutter:
![]()
![]()
![]()
*Something I am excited about is that the vinyl cutter can cut copper circuits. I can’t wait to see how this works.
Parametric press-fit:
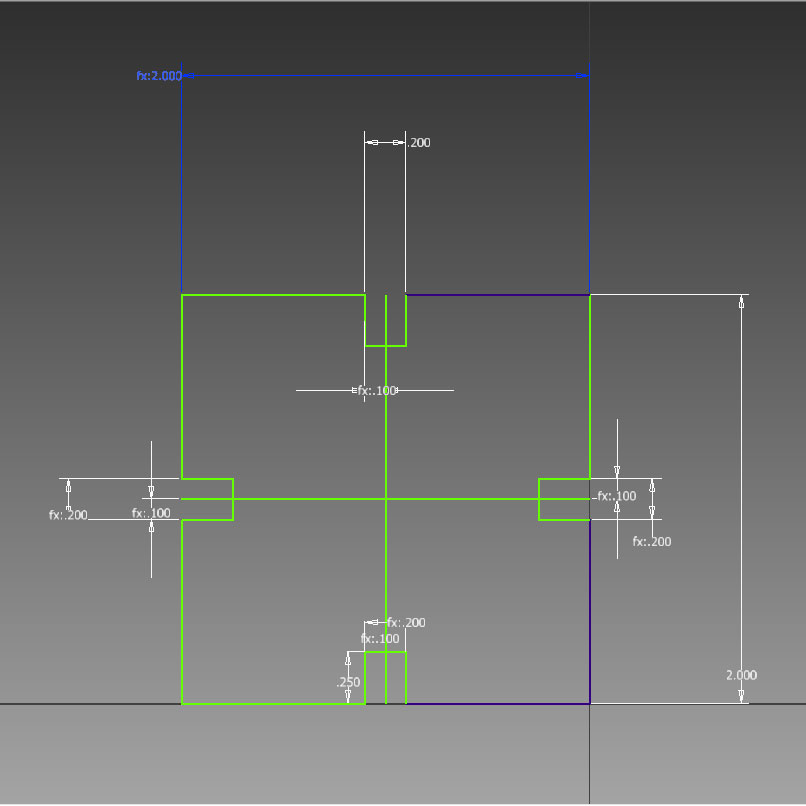
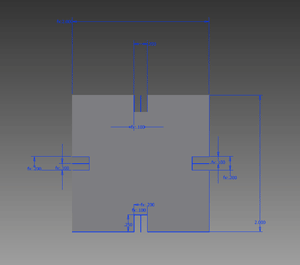
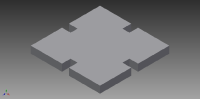
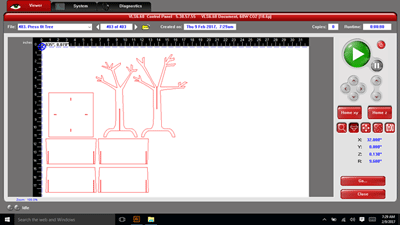
In order to start understanding parametric measurements I used Inventor and the dimensioning system that they have in place. In order to have all measurements to work together when dimensioning the part you can use the name of the side that you want all of those measurements to follow. Then from there it is basically an equation. When you tab is in the middle of a side you can use the depth (material) measurement divided by 2 and placed off of a centering line. Then when you enter your material thickness it adjust and stays centered. When I originally made my press fit square to test the parametric measurements I used the thickness of .2”, then when I went to print my material (cardboard) was actually .13”. This made things so much easier to just go in and type one measurement and have the whole part change with it.
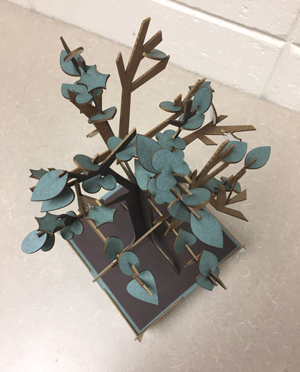
When searching for ideas I found a little bit of a less traditional idea for a parametric press-fit construction kit. I wanted to make a kit that was more about creating something visually appealing to look at and something interesting for my students to interact with. So I decided to design and create a press-fit tree construction kit. I designed and created this tree, then added a few modifications.
Parametric Press-Fit Square:
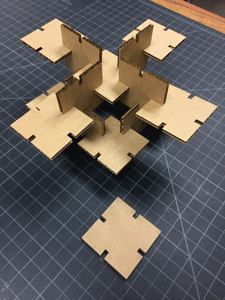
Parametric Press-Fit Tree:
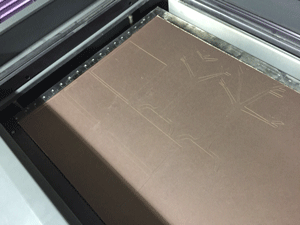
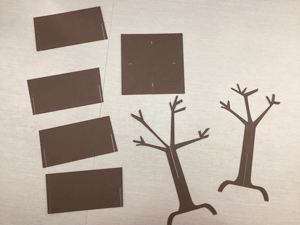
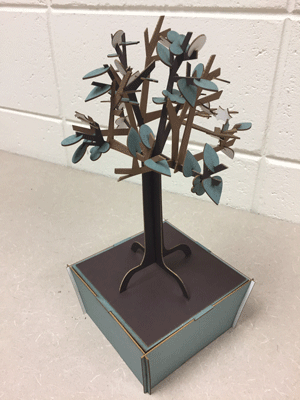
Project 3 Photos