

Week 12
Week 12:
Molding and Casting
Assignment:
Design a 3D mold, machine it, and cast parts from it.
Design: Illustrator, Maya, Inventor, Fusion 360
Machine: Machineable Wax
Cast: Silicone
Molding Types:
Injection- Sprue, runner, gate, vent, flashing
Insert Molding- Cast around something
Vacuum- Heat a piece of plastic
Blow- Inflate a part into the mold
Flexible Mold- Machine rigid material, flexible material, and then the part. 1 or 2 sided**
Materials:
Oomoo- Casting material, silicone base rubber**
Amaco Ribbon Latex- Paint it on
Drystone- Flows easily inexpensive**
Pewter- Cerrotru, can cast in silicone when dusted with talc
Machineable Wax – Flexible Oomoo – Rigid Drystone
Mix silicone longer then you would think then pour with a thing bead to minimalize bubbles. A good release agent is dish soap or silicone spray.
My Process:
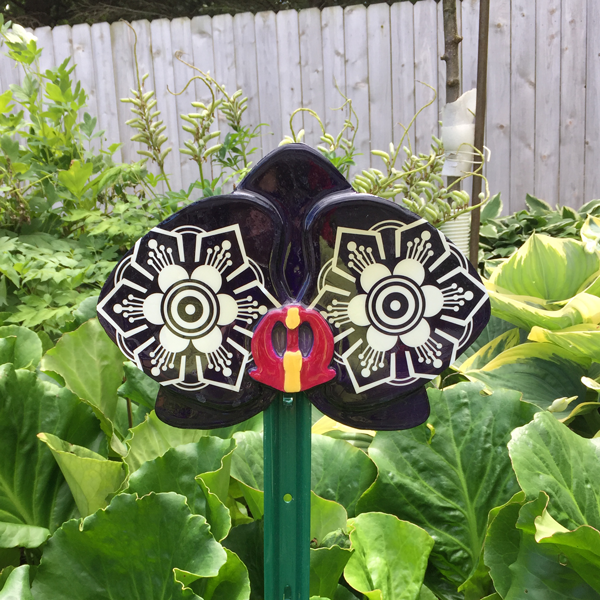
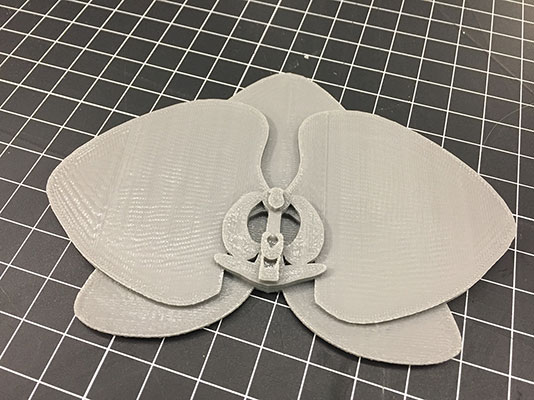
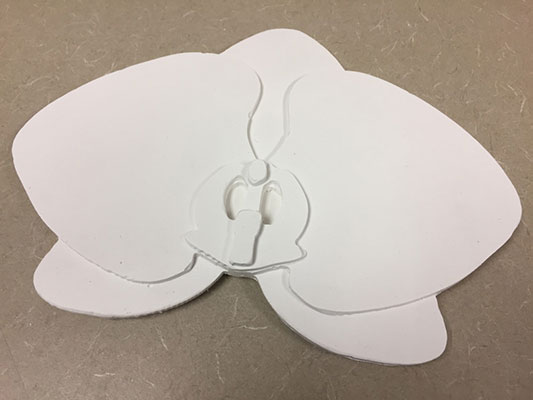
After I decided that I wanted to create some sort of a mold of a Phalaenopsis Orchid that would then become garden art, I went to the drawing board for my design.
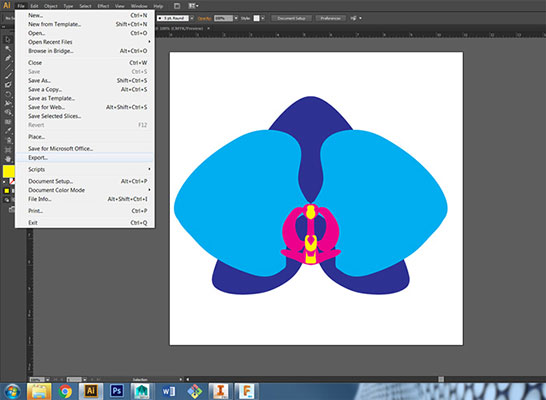
I used Adobe Illustrator to draw the outline of the orchid and create a very simplistic/graphic look to it. I created 4 different levels as you can see below of a vector outline for the mold to have depth.
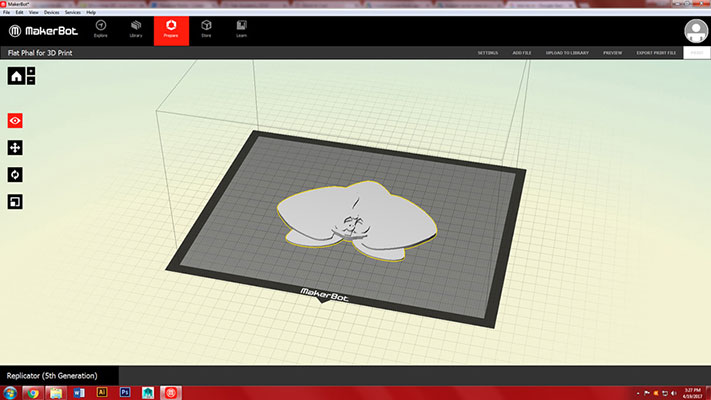
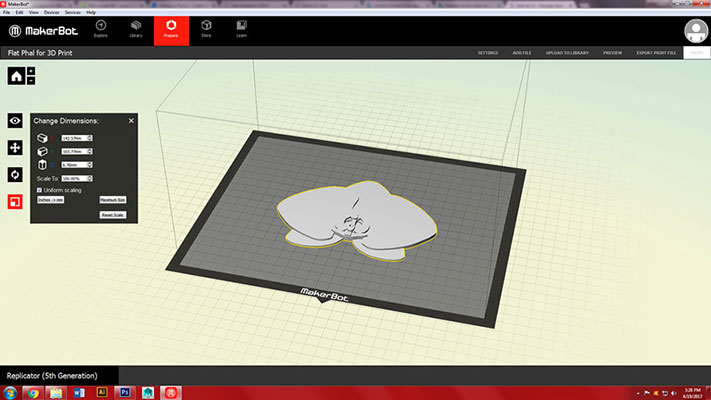
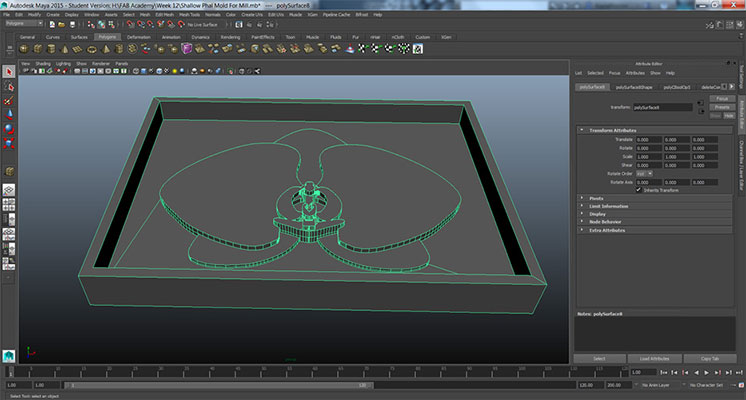
My first attempt was to use Maya to then create the mold. I saved each depth from Illustrator as an Illustrator 8 version (this version talks to Maya). Then I opened Maya, went to Create – Adobe Illustrator (clicked on the square next to it)- Bevel- w/d 1.0, Extrude .25 (+.25 for each new depth I was importing) and then apply. Once all 4 of the depths were imported at different extrudes I went to Mesh-Boolean-Union. Which make them into one shape. I wanted to see what this would look like so I did do a 3D print test of the Phal in grey.
I then created a cube around it and used my Mesh-Boolean-Difference to make an indent for the box.
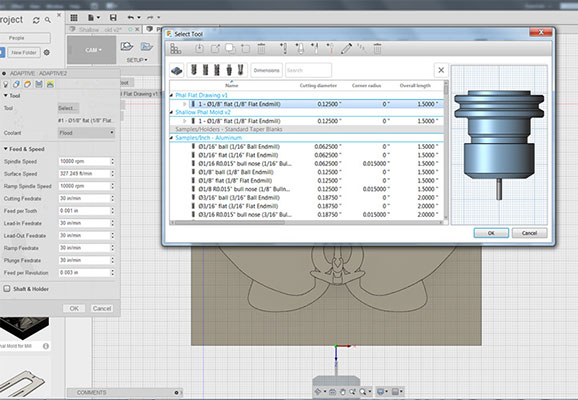
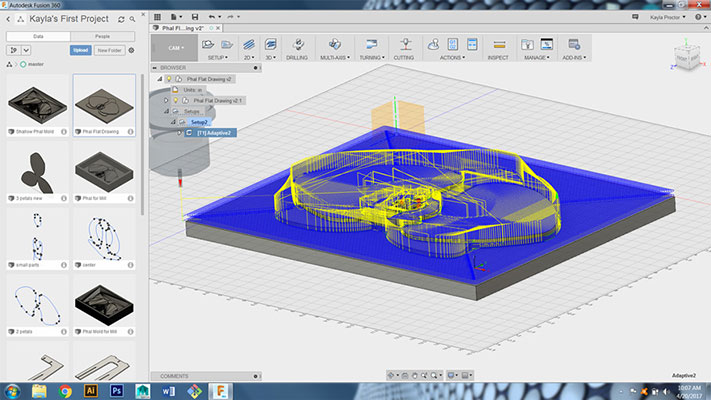
I then exported as an STL and opened in Fusion 360. From there I could see a lot of triangulation. After many different thing, I settled on going to Model-Mesh body –Right click-Mesh to BRep. Then changed to Cam-Setup 3d-Adaptive clearing. This did not work for me. Fusion 360 did not like the model and was not creating the right passes for the router. So back to the drawing board. I tried importing my STL from Maya into Inventor, then save and open that model. That still did not work. I opened the fabmodules.org and uploaded the stl and tried to create G-Codes from there…..still no success.
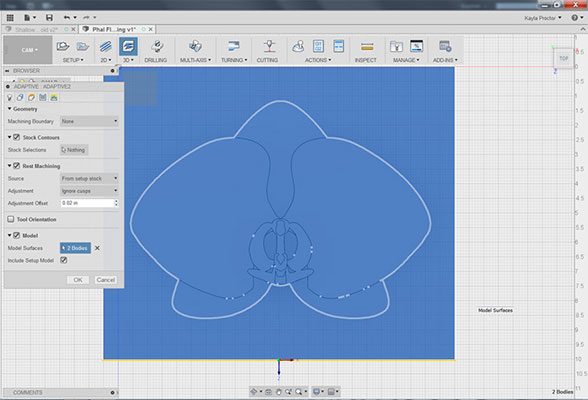
Second attempt. I went back to Illustrator and saved my entire drawing as a DWG. I then opened that drawing in Fusion 360. To my surprise I found that I could Model and extrude each one of those DWG vector lines to different depths and combine them relatively easily. So I went to Model-Create-Extrude (each part) to .15 (+ .15 for each level)- Join needs to be selected in Operation.
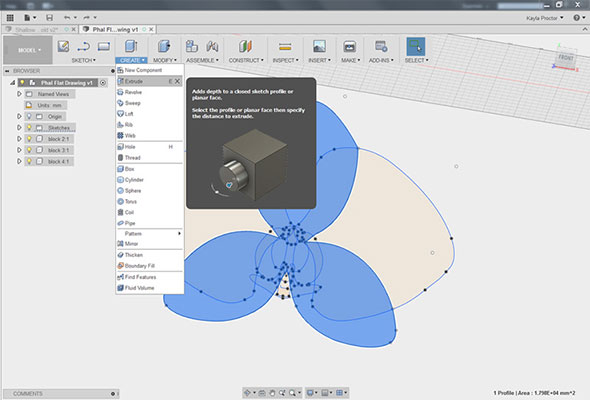
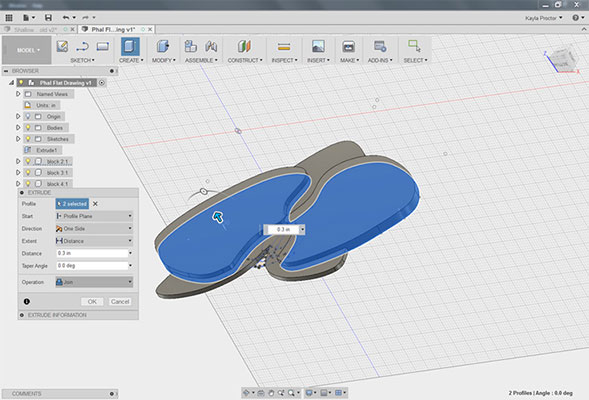
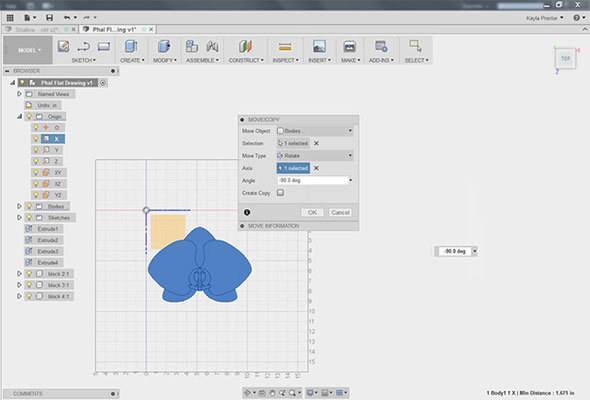
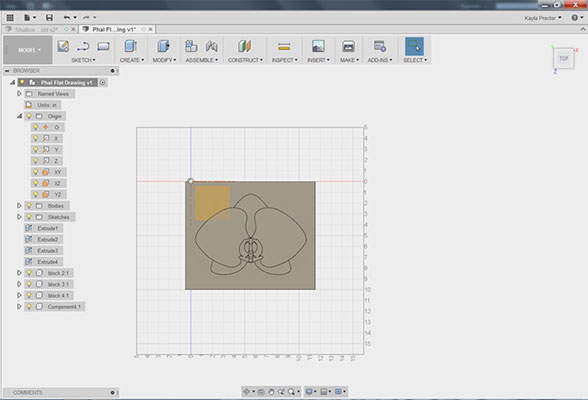
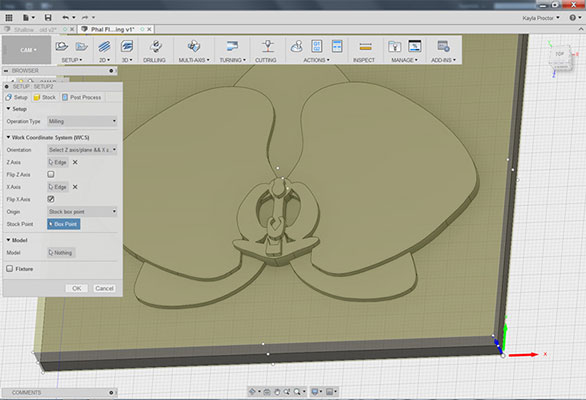
This worked fantastically! I was very happy with the outcome and then just created a rectangle base and extruded that to give it a surface to be milled on. I did have to rotate and make sure the model was flat for milling.
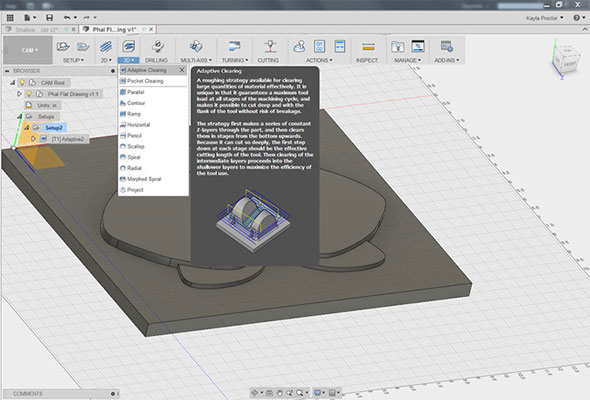
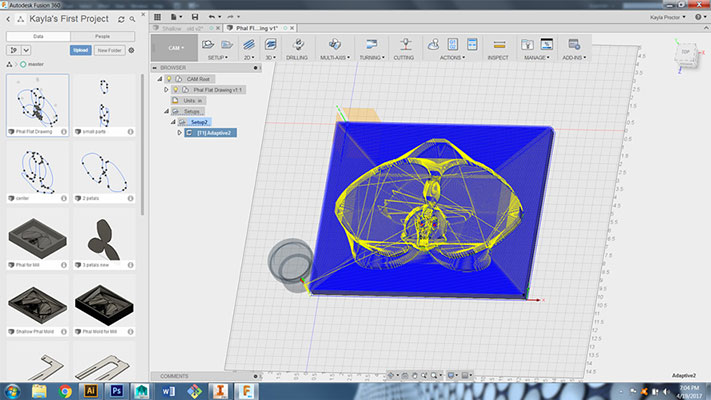
I then went to Cam-Adaptive clearing-set the tool, tool orientation, and body for milling. I then simulated to make sure that there were no errors and exported as G-Code for the CNC router (the size ended up being too big for the mill).

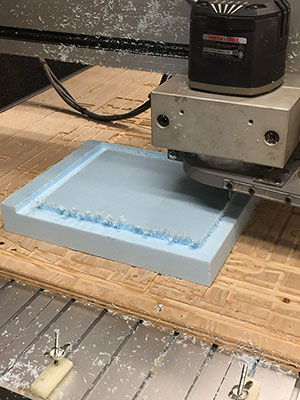
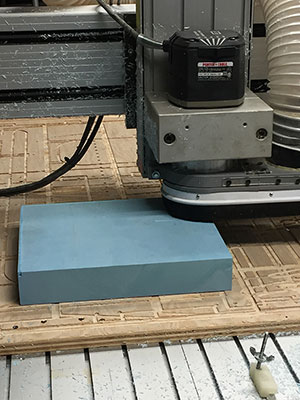
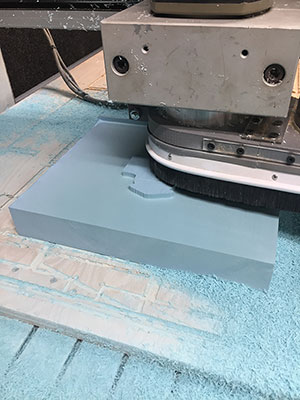
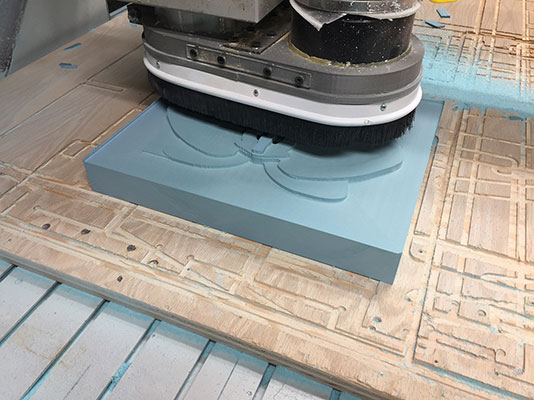
Then I took my flash drive to the computer attached to the router and set up the G-Code, cut the piece of resin to the right size, and zeroed the machine.

I first did a practice run out of styrofoam to make sure this was how I wanted it to look.
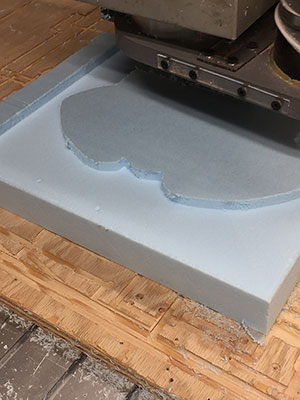
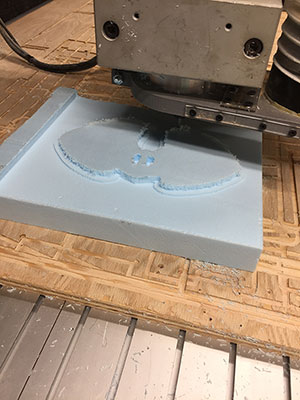
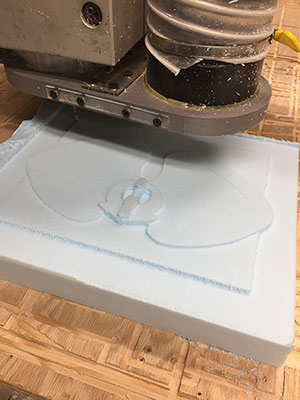
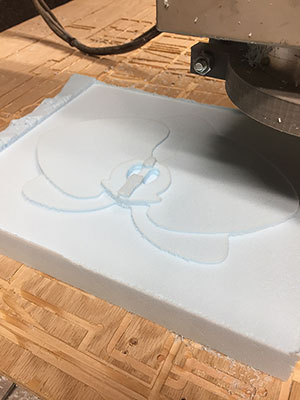
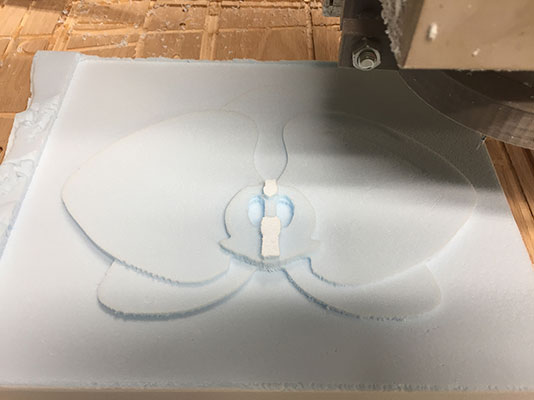
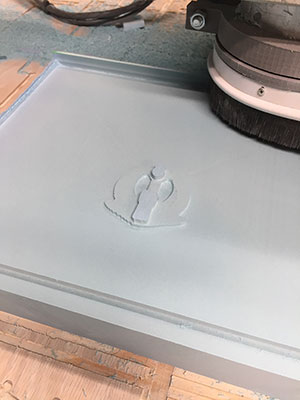
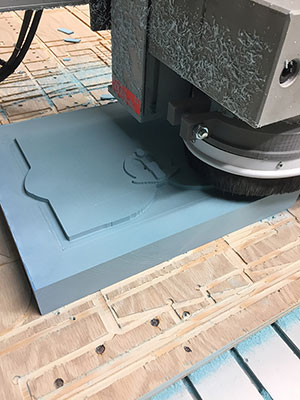
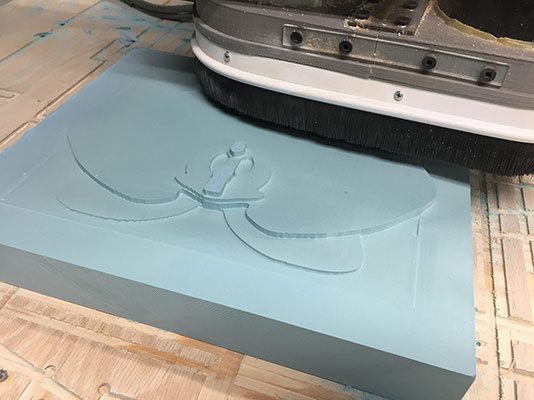
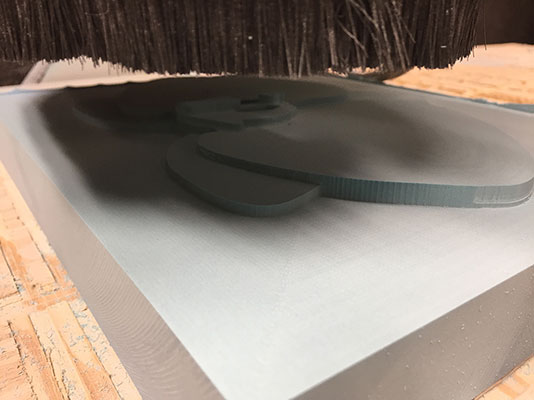
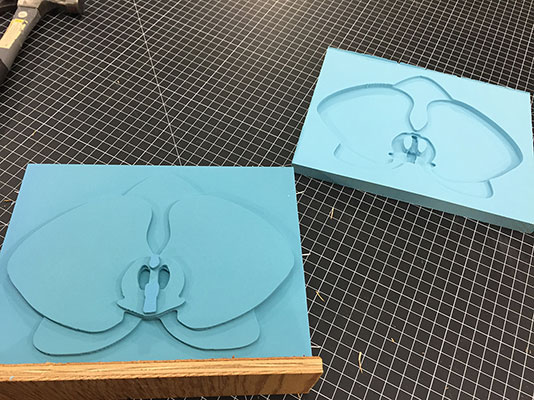
Round 2: This took almost 3 hours to finish! A really interesting clearing process to watch.


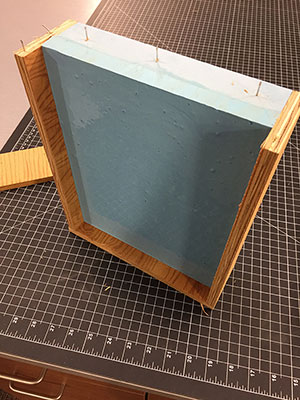
I then built a box out of plywood around the base and tack nailed it to the resin to create a tight fit.
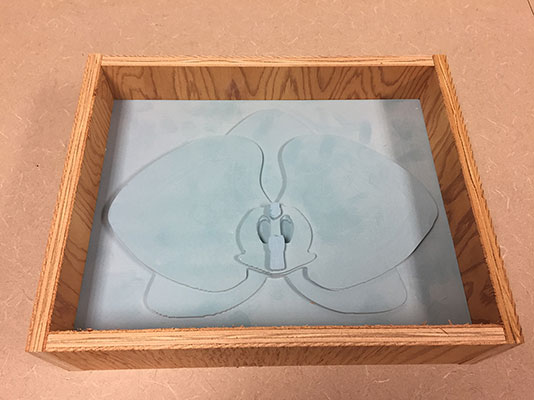
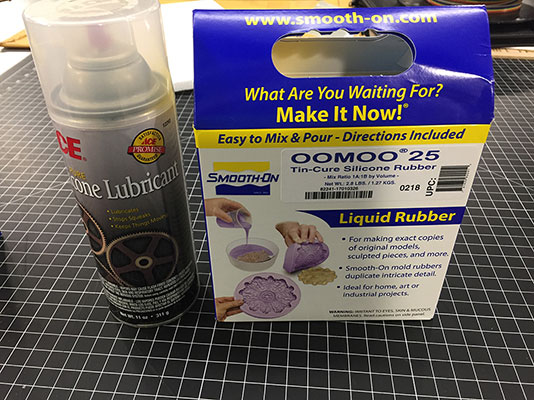
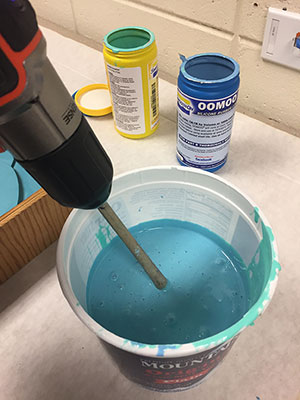
I sprayed the surface/walls with a silicone spray to help release the mold after it was dry (I did this outside to be sure there was good ventilation). I used the OOMOO silicone that was recommended for the project.

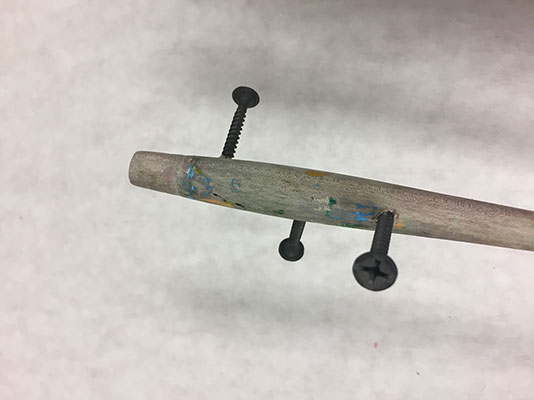
I made a little mixing tool out of an old paint brush handle and some screws.
I mixed each jar before pouring them in the same container to equal parts and then mixing them together. Mixing for about 4-5 minutes.
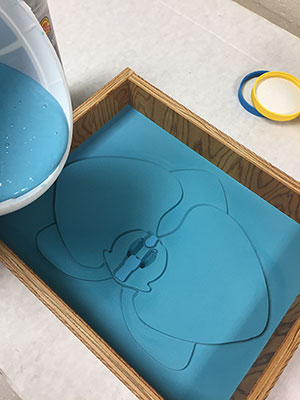
Carefully then I poured the OOMOO in a small stream onto the mold.
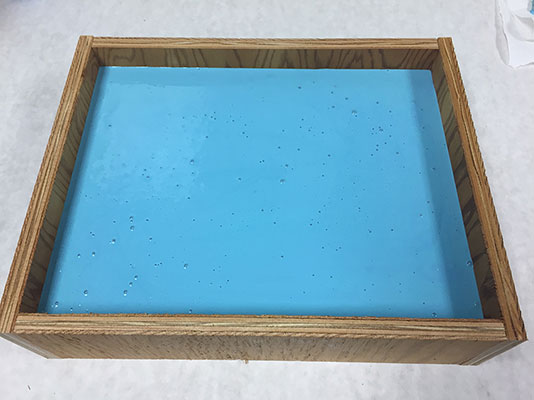
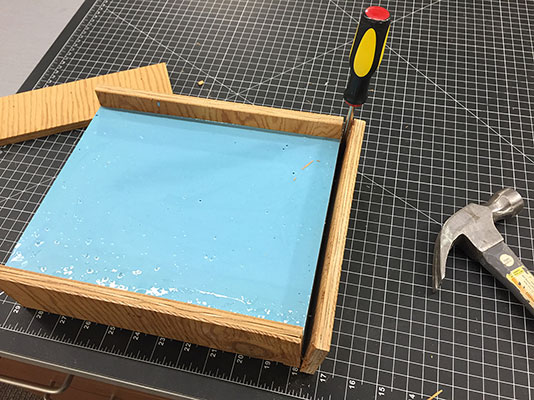
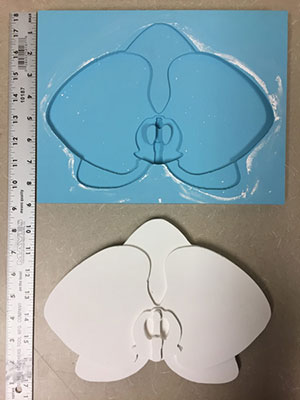
After waiting 24 hours for it to dry I carefully pried the plywood off the mold and then the silicone came right off!
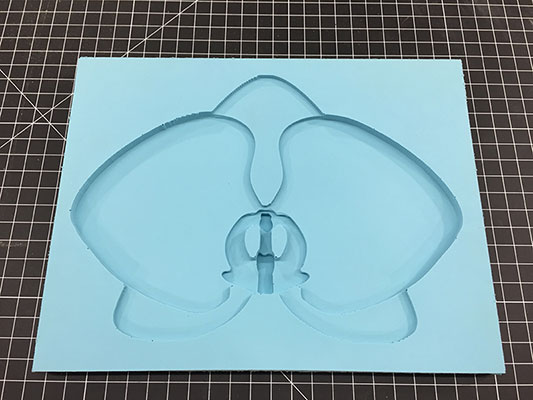
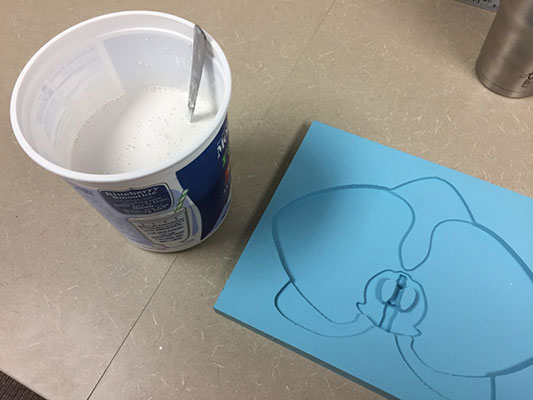
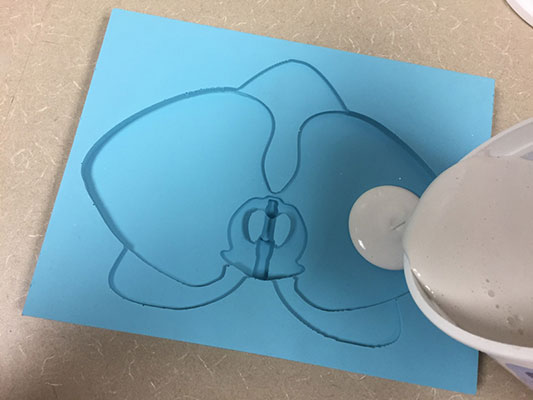
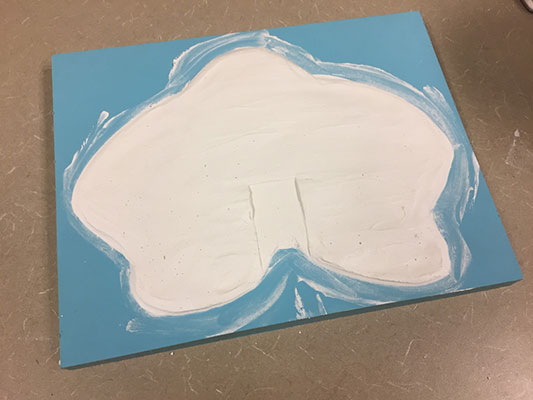
The next step was to mix the plaster (Drystone) and pour it into the silicone mold.
Week 12 Photos