OBJECTIVES
- Identify relevant information in a microcontroller data sheet.
- Program your board to do something, with as many different programming lenguages and programming enviroments as possble.
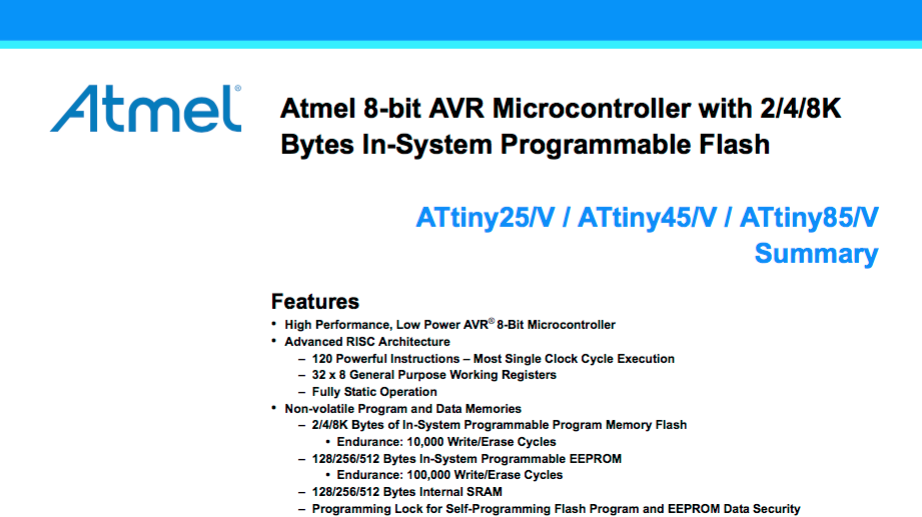
The data sheet is like the manual to understand the parts and how the microcontroller works. It can be find in pdf in this adress: http://www.atmel.com/images/atmel-8159-8-bit-avr-microcontroller-atmega8a_datasheet.pdf
For example in pag 13 you can find a diagram of the pin configuration, as you can see in the image bellow:
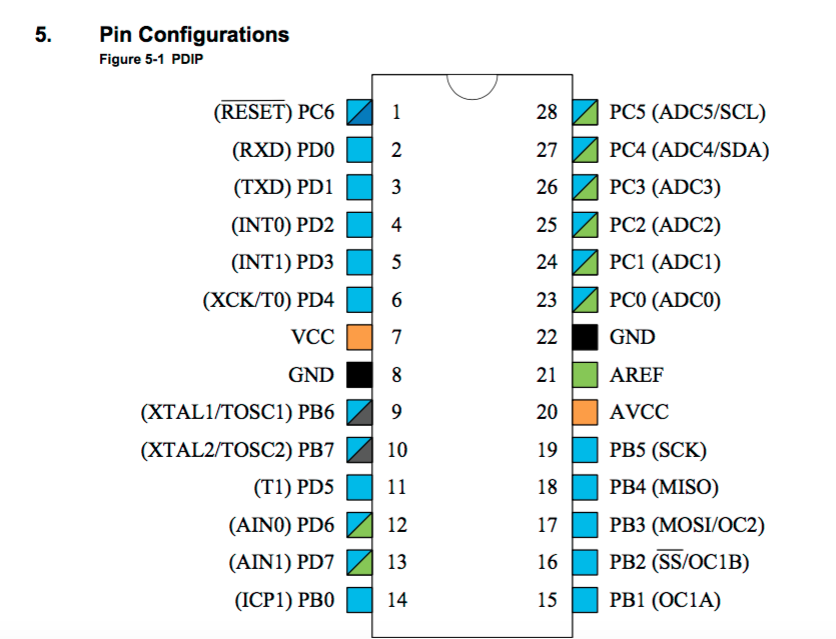
With this diagram you can design the board and know where to place everything according to the microcontroler pin that it should.
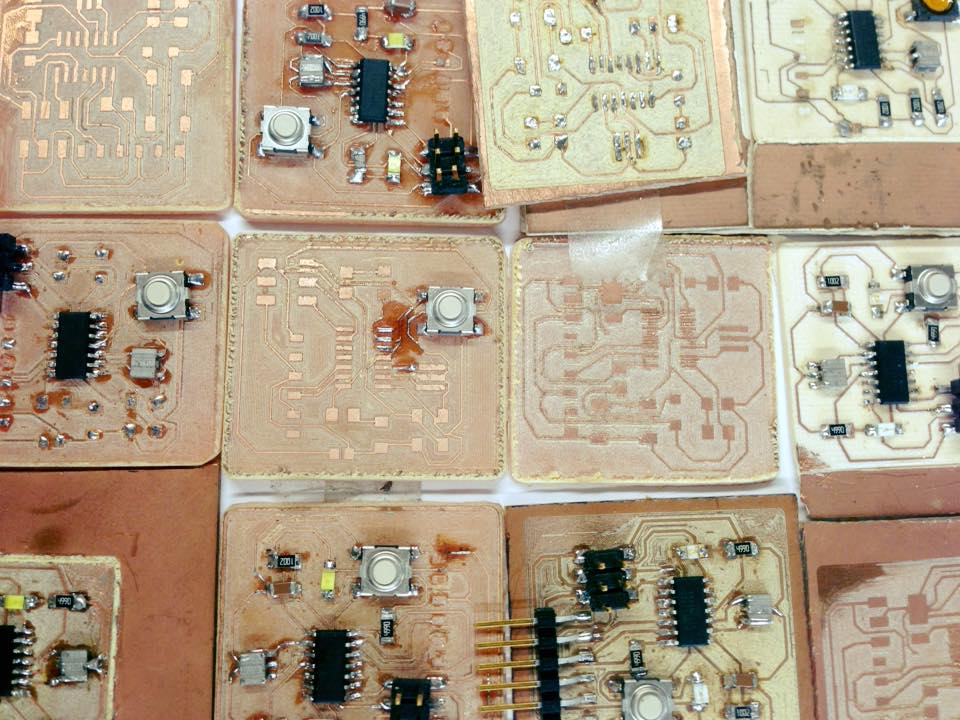
So I started working on the Hello Board I did on week six.
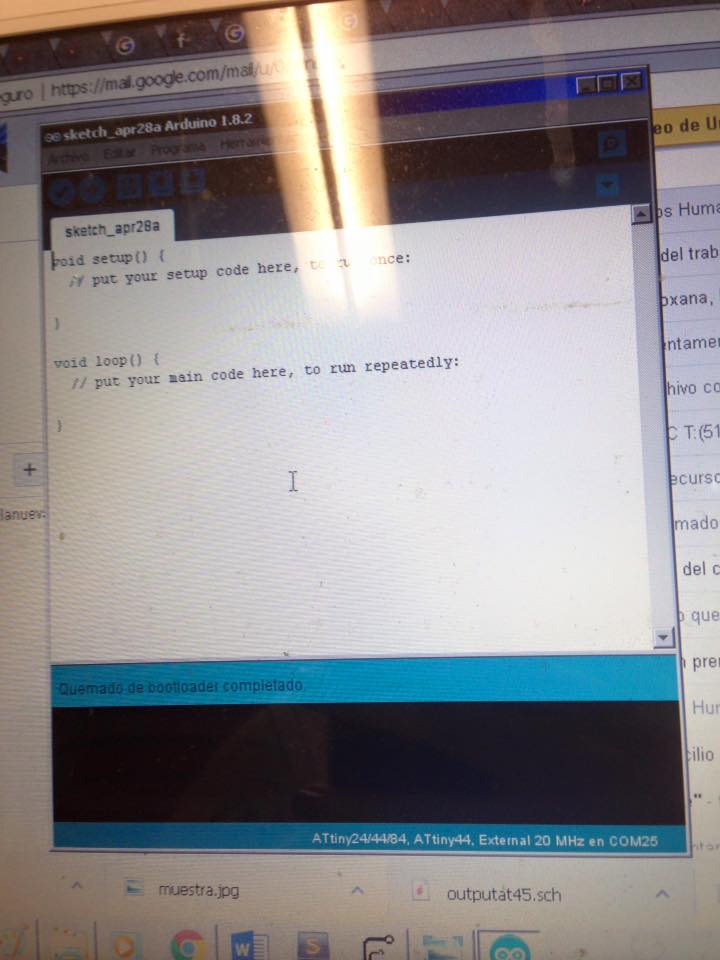
First I downloaded the Arduino IDE
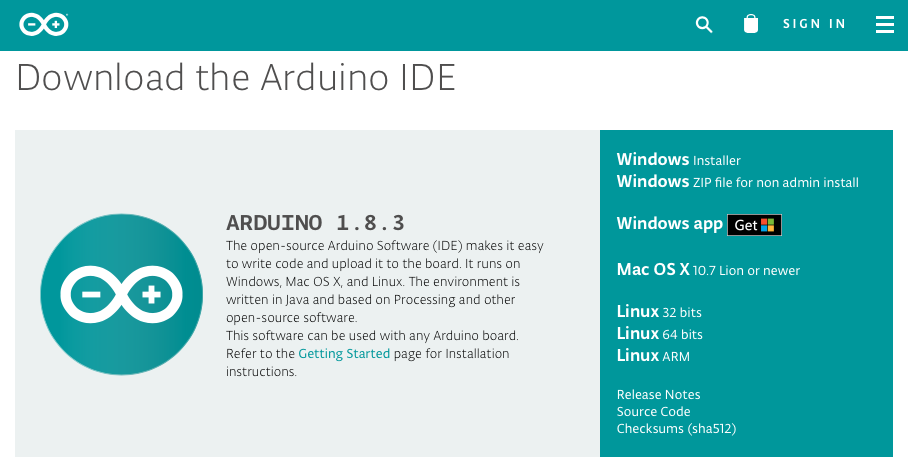
From this site: https://www.arduino.cc/en/Main/Software
So first I had to burn the bootloader with help from the ISP from week four.
After several tries I couldn´t burn the bootloader, the teacher told me it could be because the paths were not very neat. So I did a new one.
First boad:
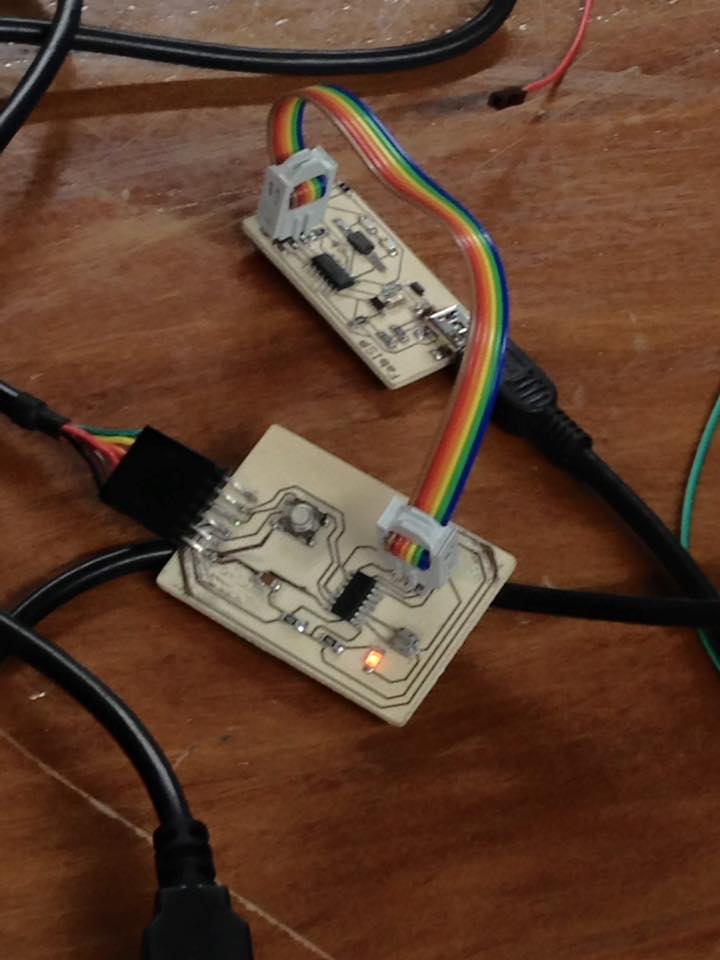
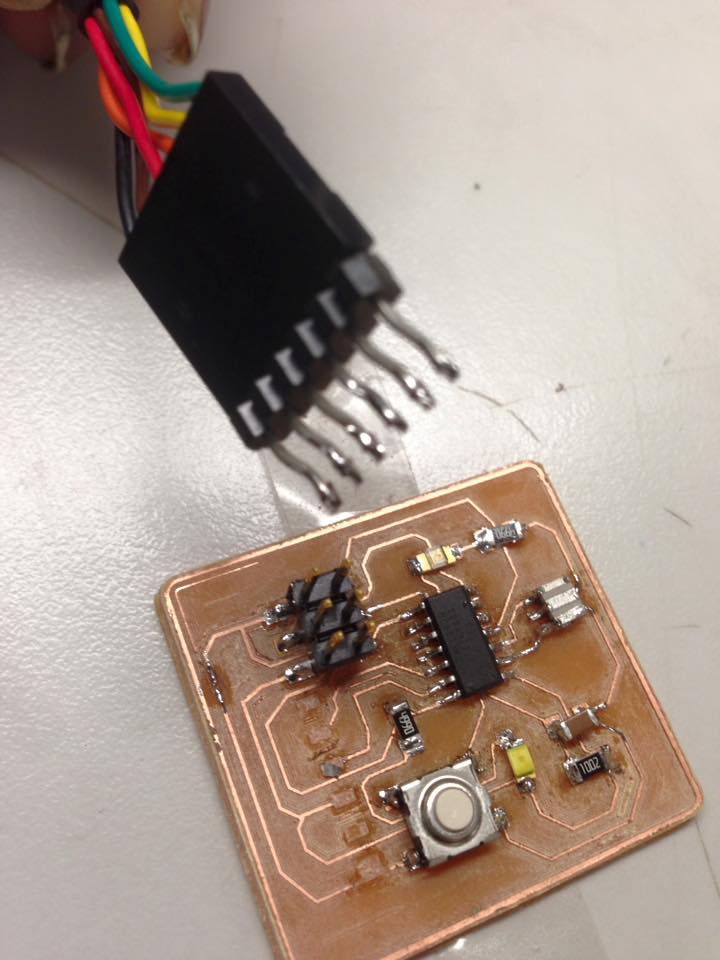
Second board:
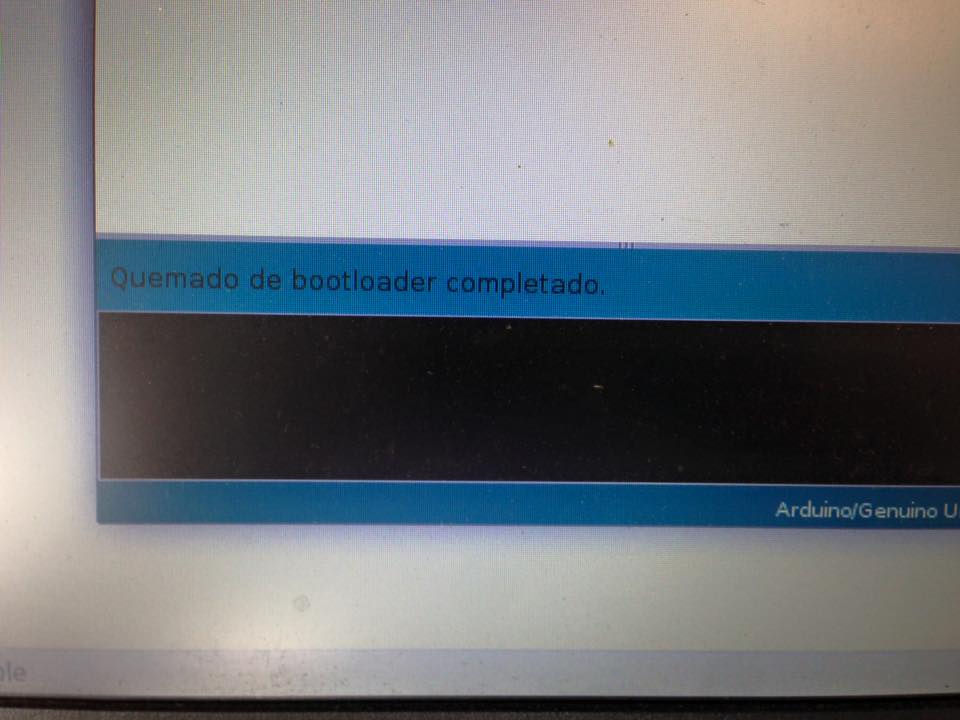
With this board I could burn the bootloader
So then I decided to try the blink exercise, but as I was putting the ISP cable again The paths broke:
So, I started once again.
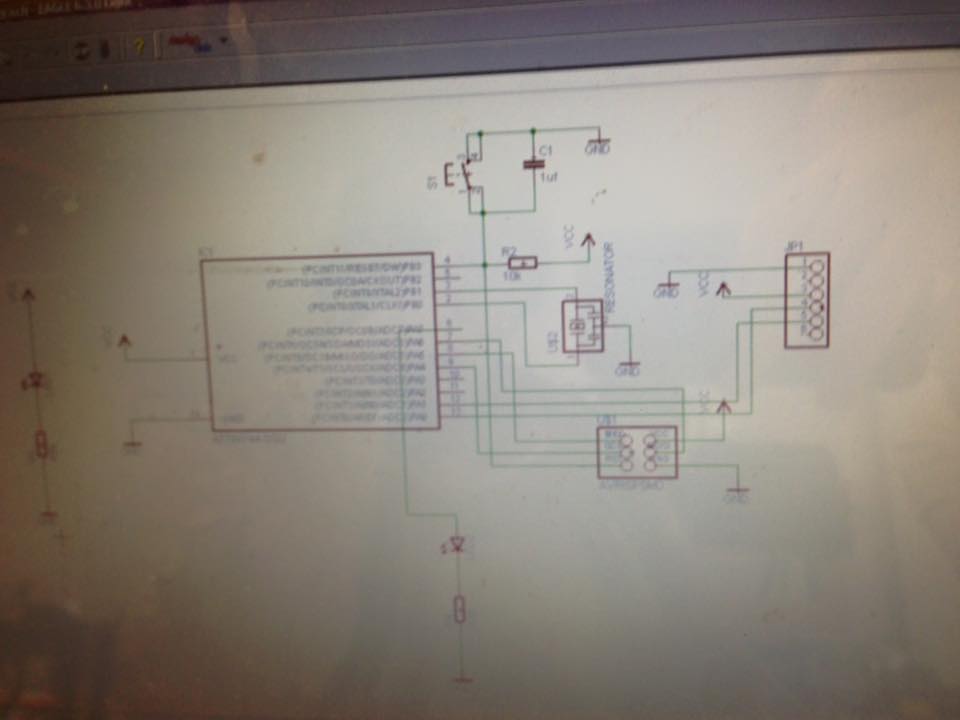
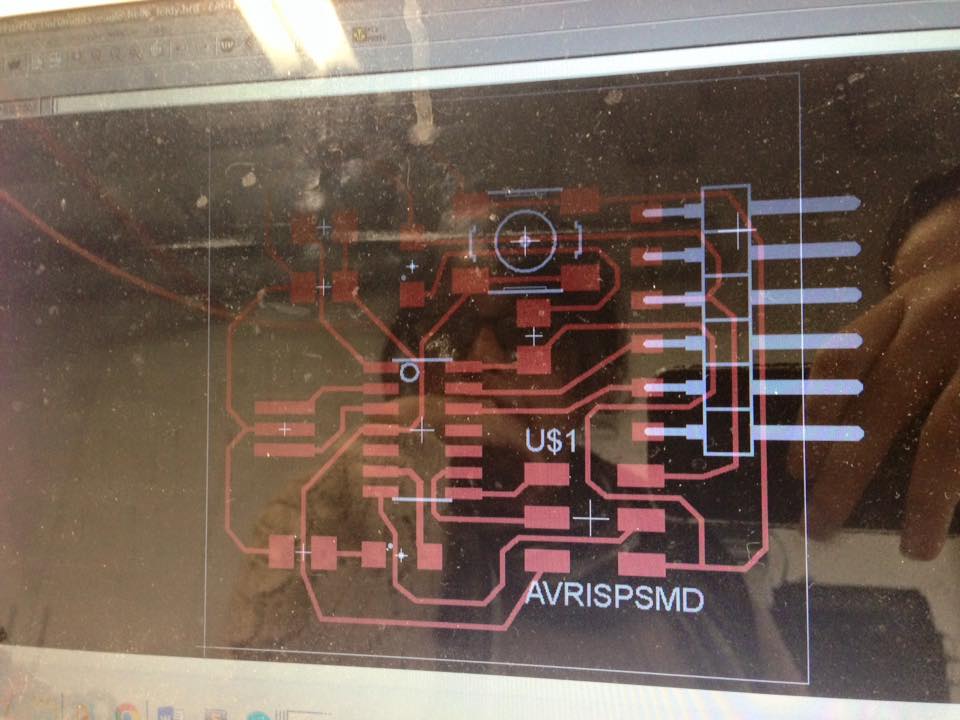
Eagle:
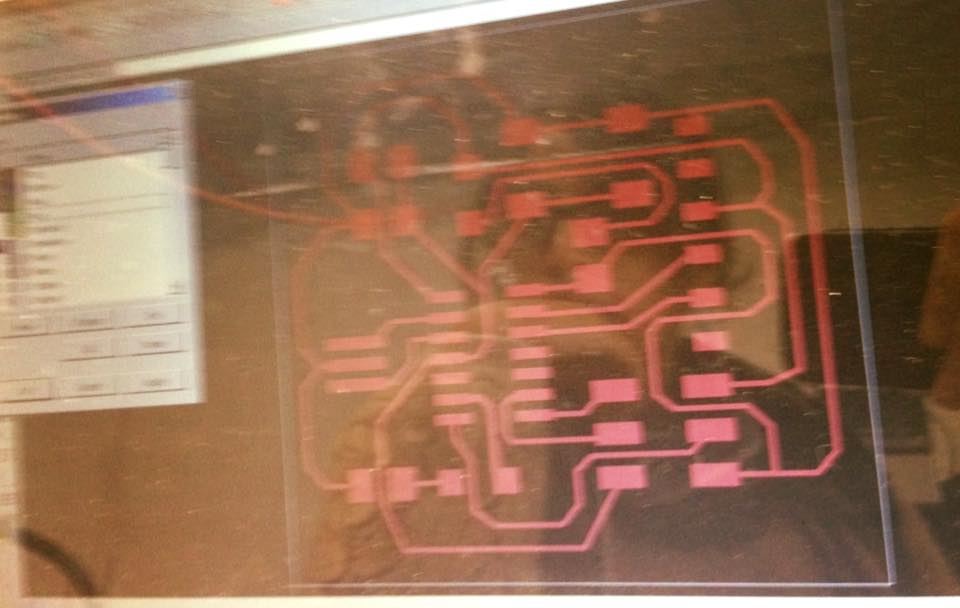
Board:
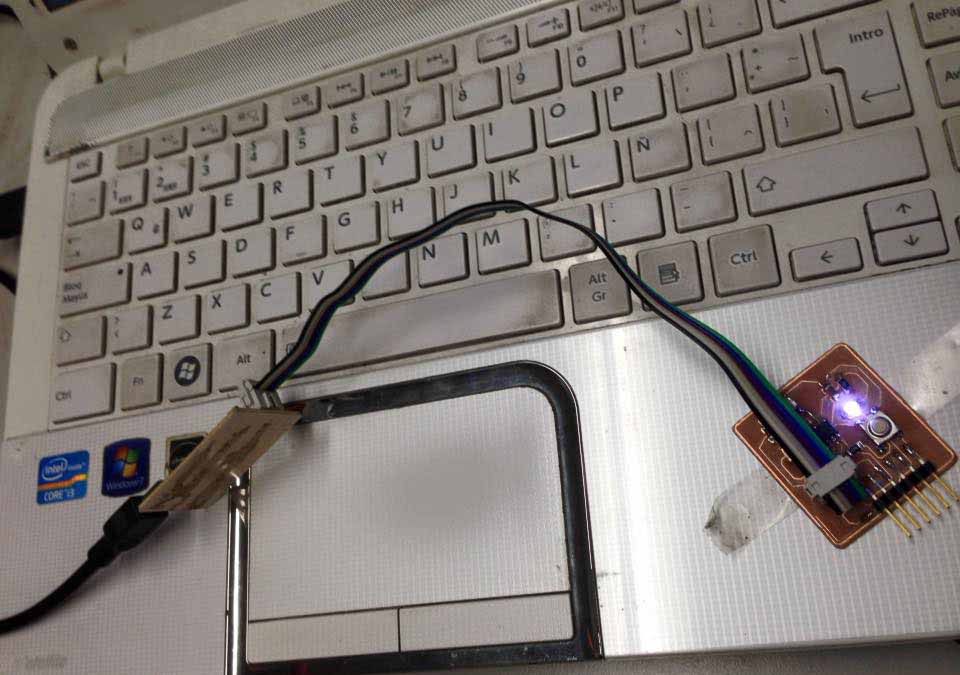
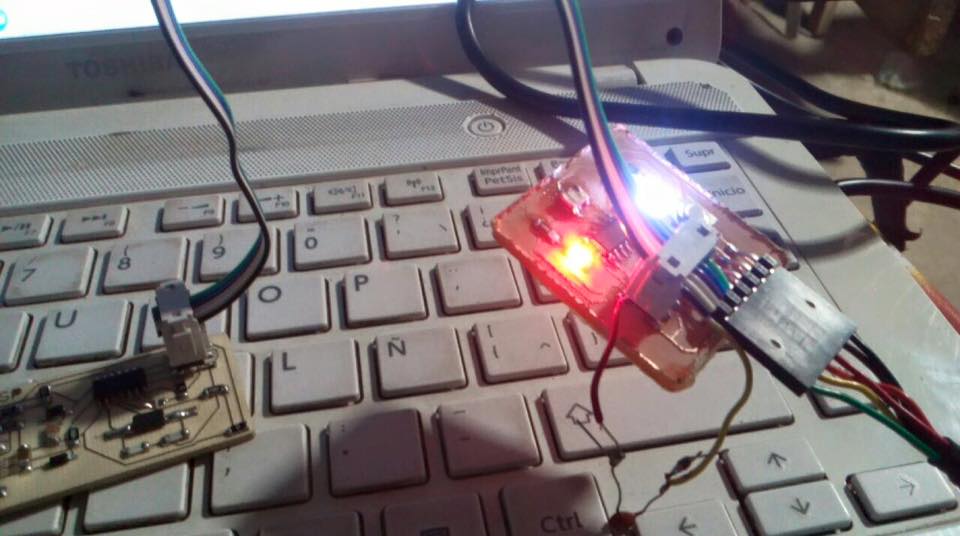
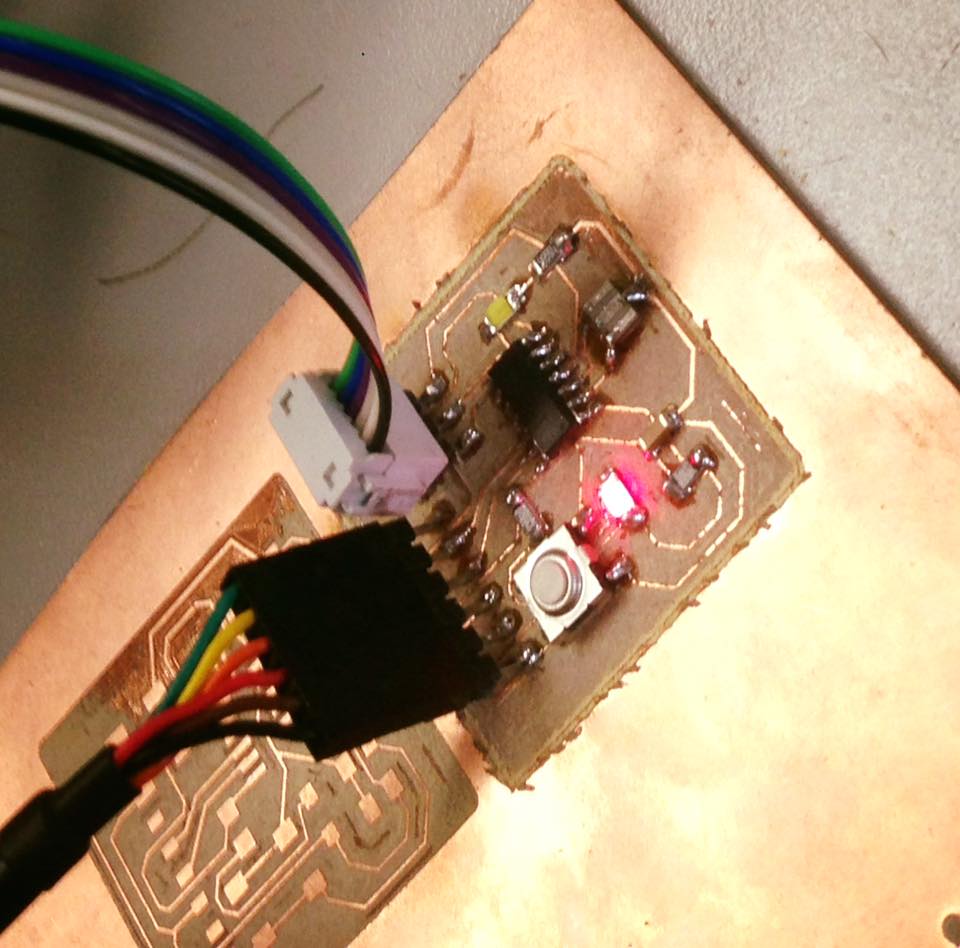
Then I milled it and did the soldering, upload the bootloader
And did the blink exercise changing it from the pin 13 to the pin 7.
This is the arduino code:
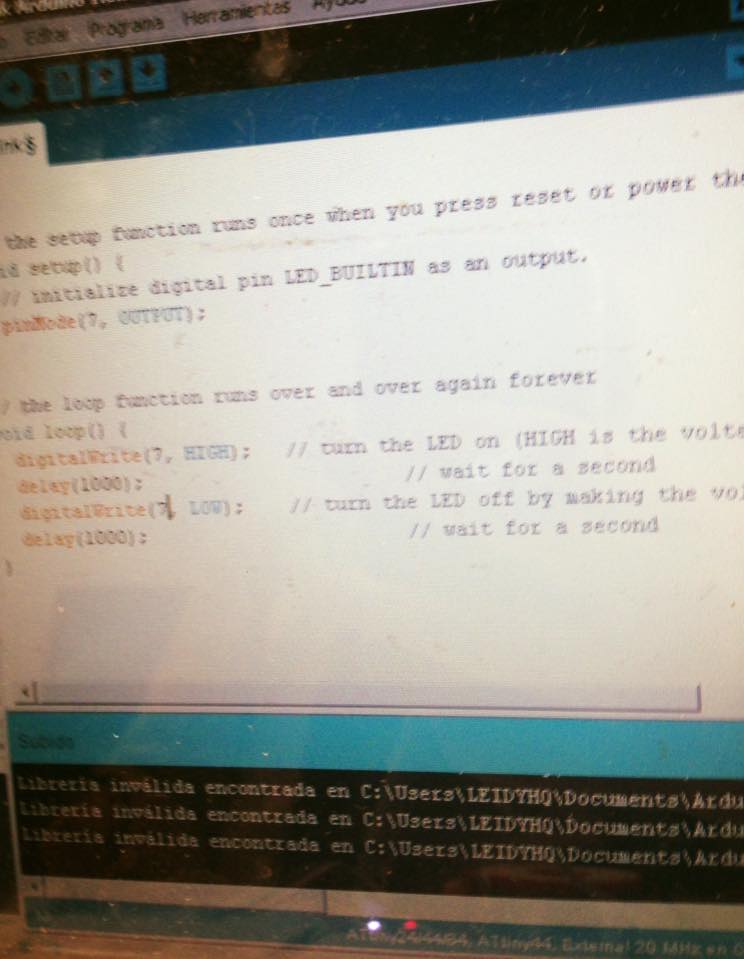
Result:
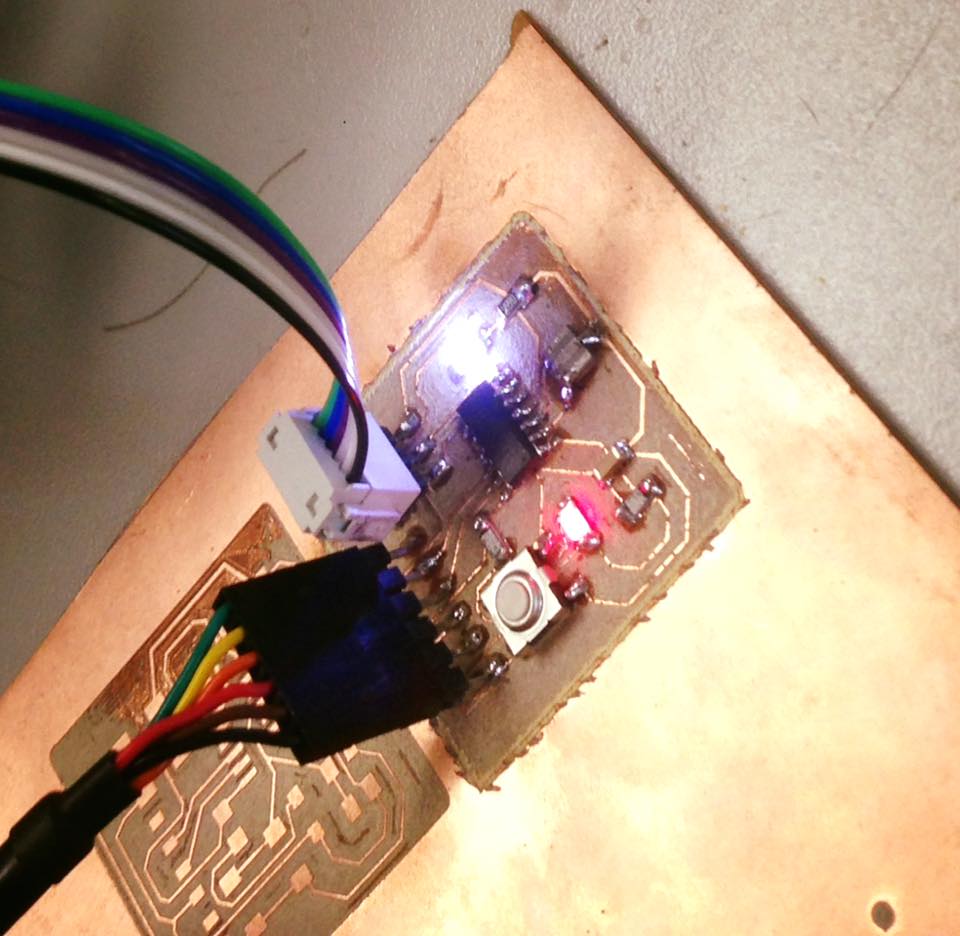
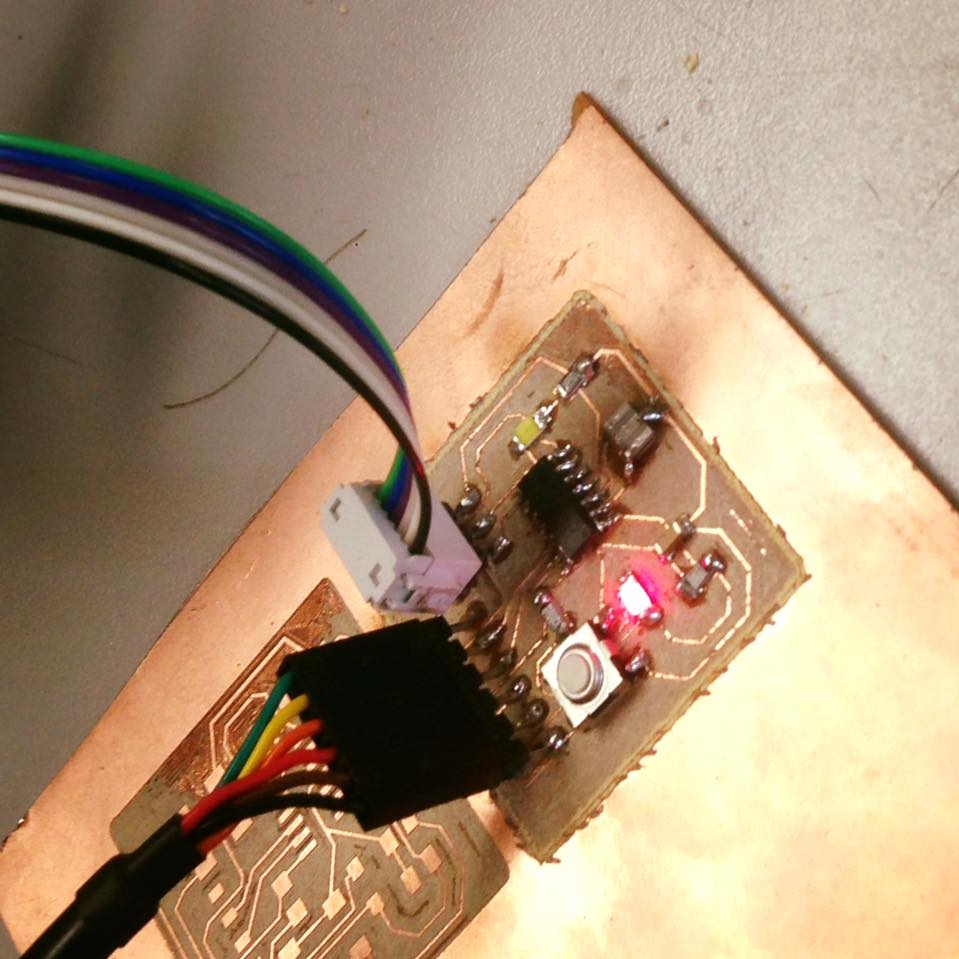
Finally done!