OBJECTIVES
- Demonstrate workflows used in mould design and construction.
- Select and apply suitable materials and processes to create a composite part.
For the design I used Illustrator. The idea was to create a head piece.
I asked Leidy to take a picture of my head using a white dot of 1cm square to have the measurement scale.
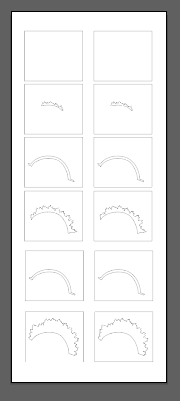
With that I did the design and separate it in every slice needed for the mould.
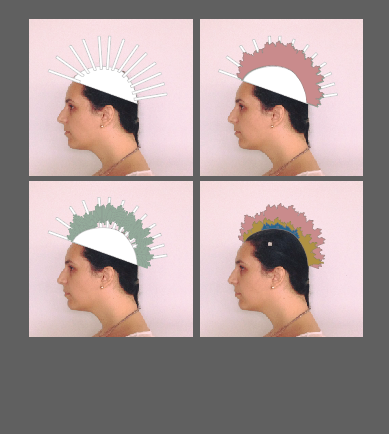

Because the piece was so complex I decided to work it in two parts.
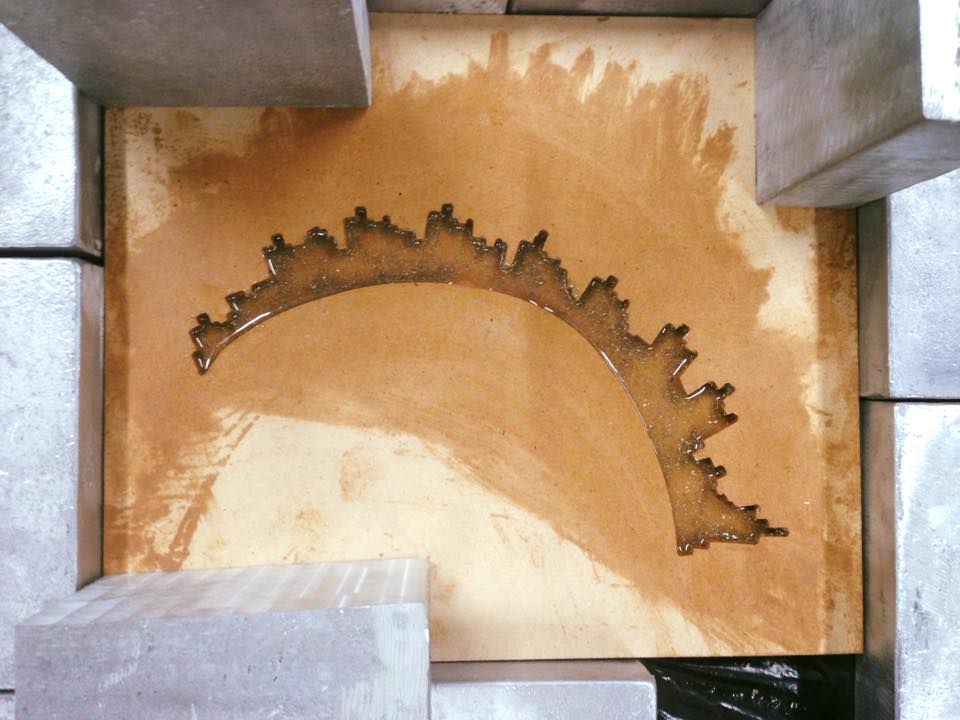
The final Illustrator design looked like this:
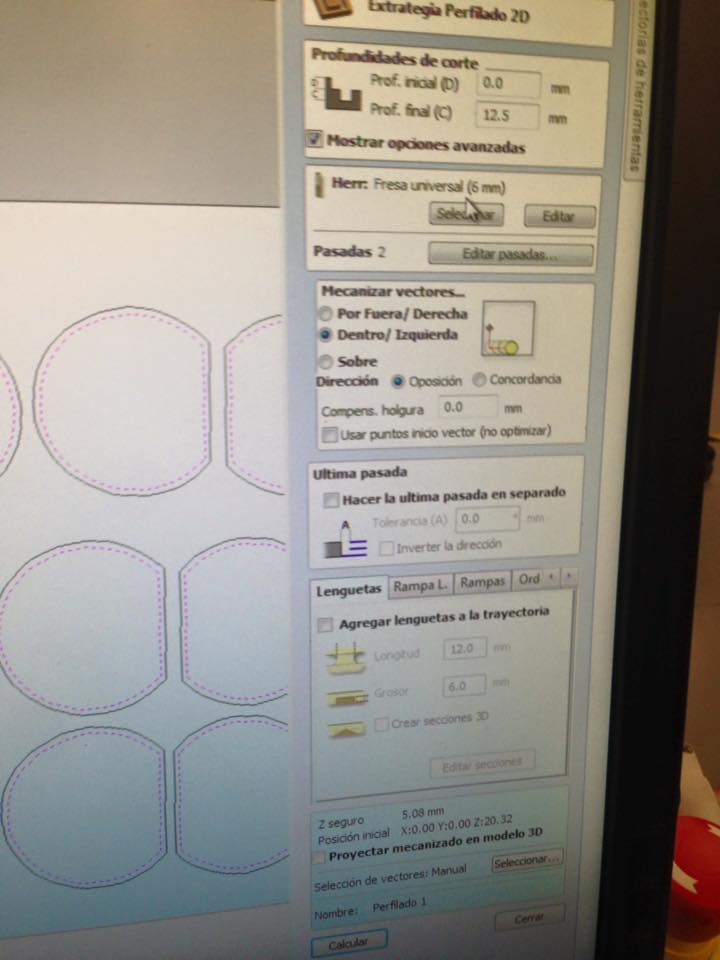
With that file, I moved to the VCarve software. There I set the operations.(Agregar parámetros)
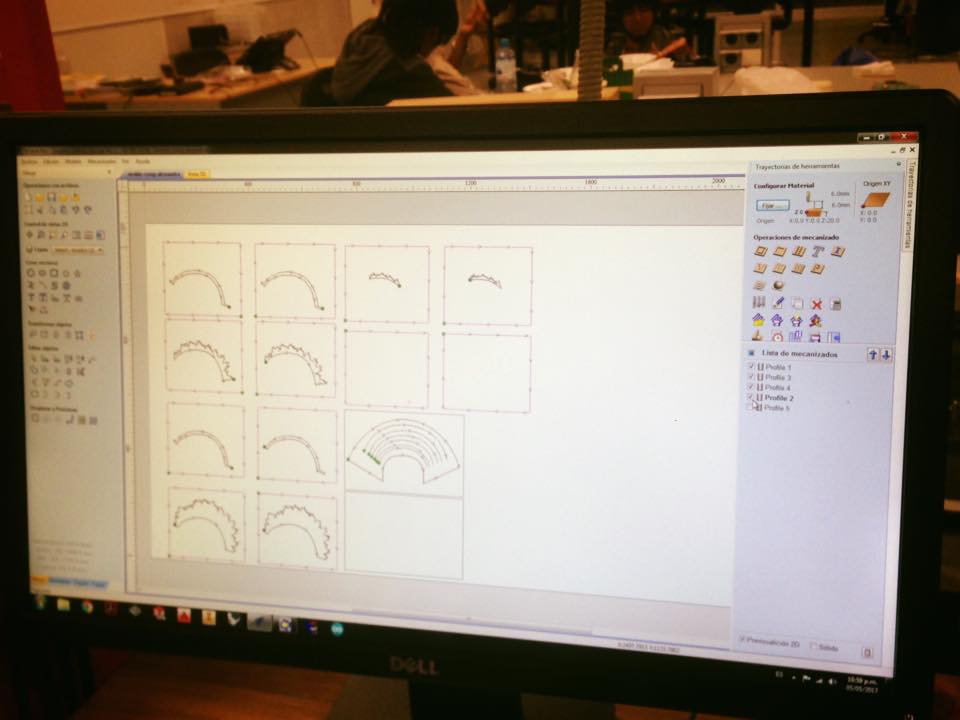
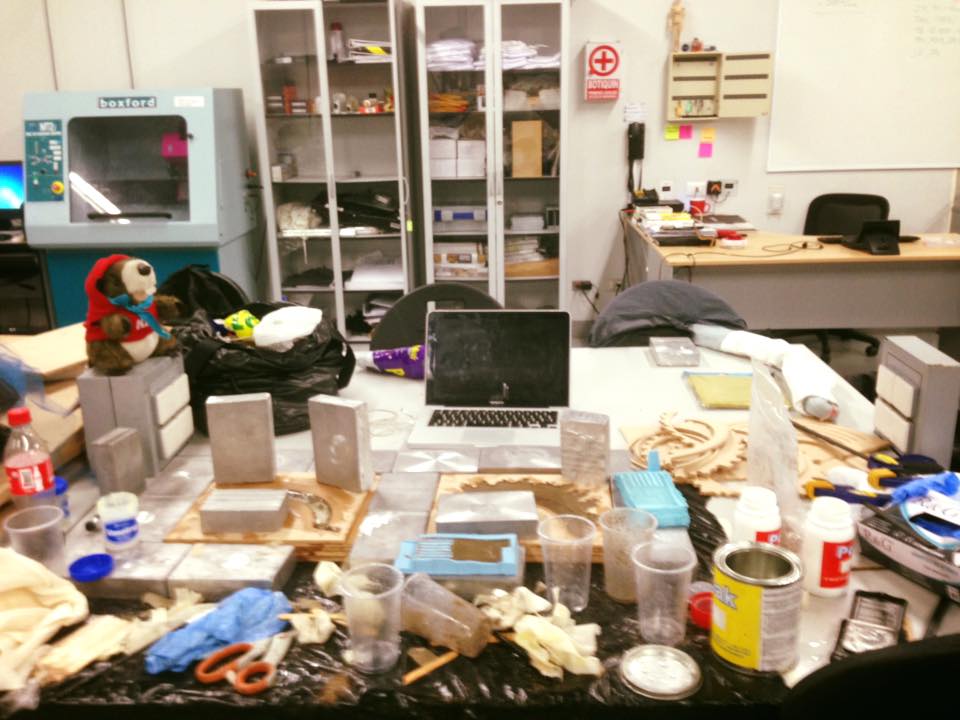
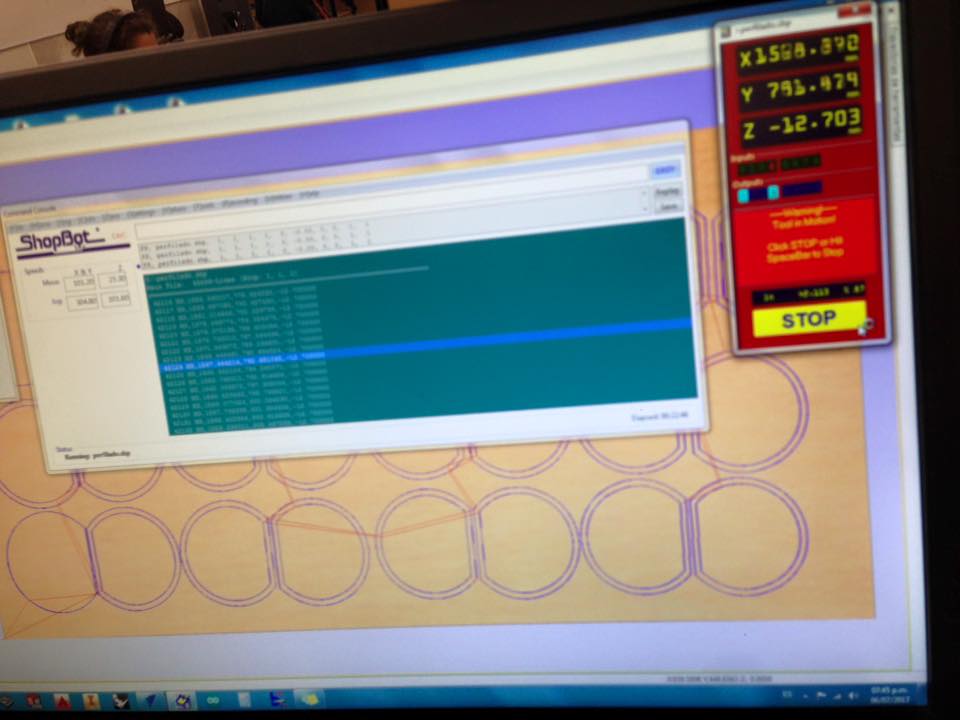
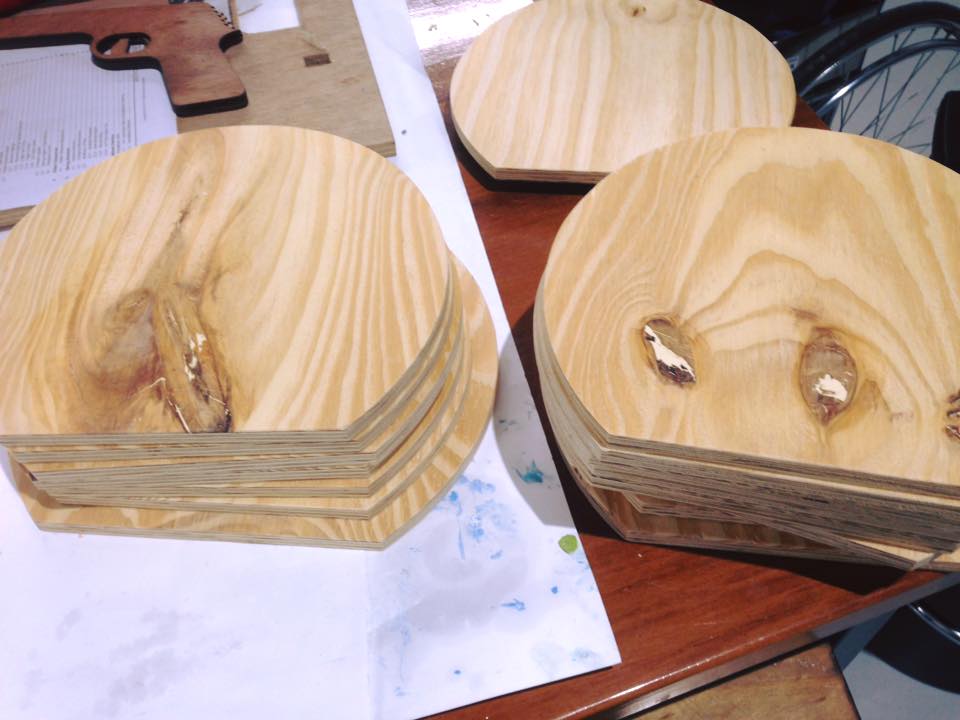
And after fixing the 6mm MDF material with screws, the job began on the ShopBot.
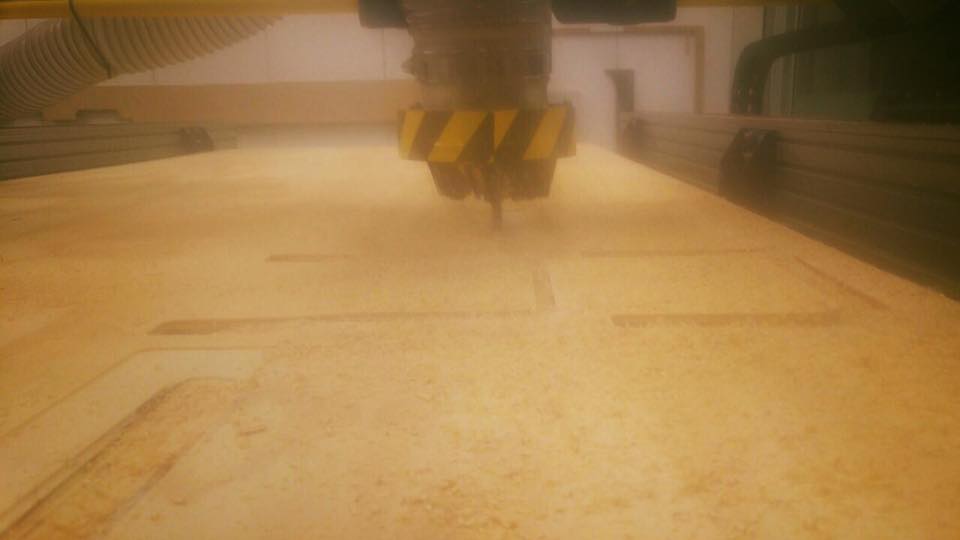
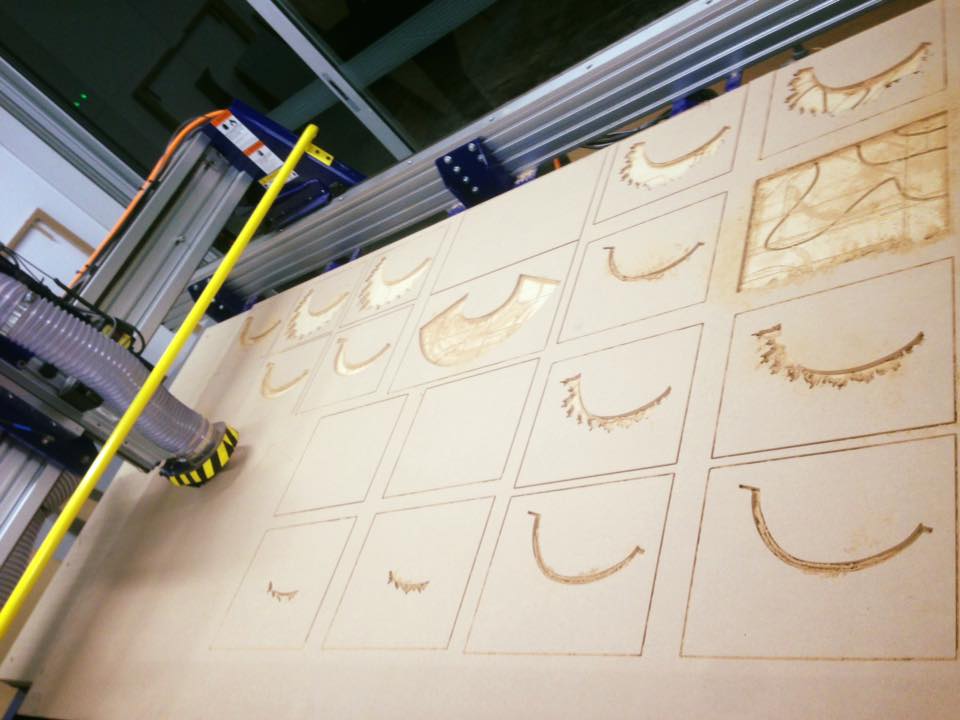
After the Shopbot did its work. I separated the pieces and used sandpaper on the edges.
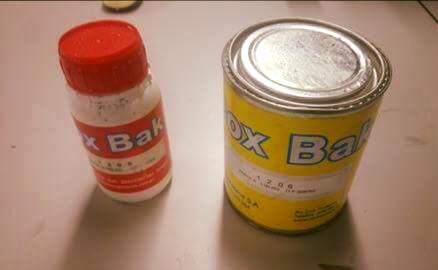
The resin we bought is an Epoxic Resin call PoxBak and can be used in different things. Its data sheet can be found here:
http://www.esalasingenieros.com.pe/pdf/electrica/pb1206.pdf
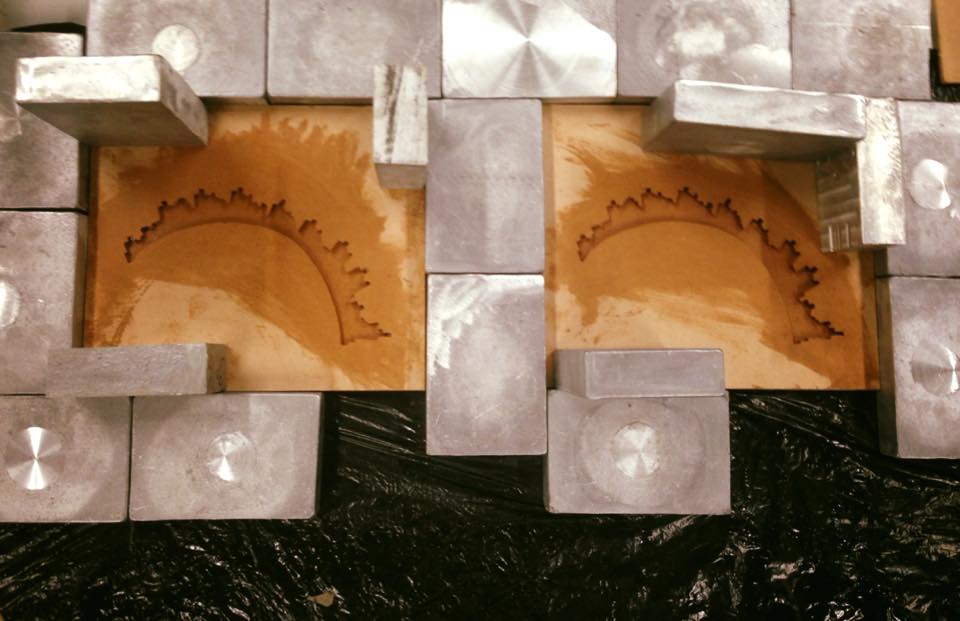
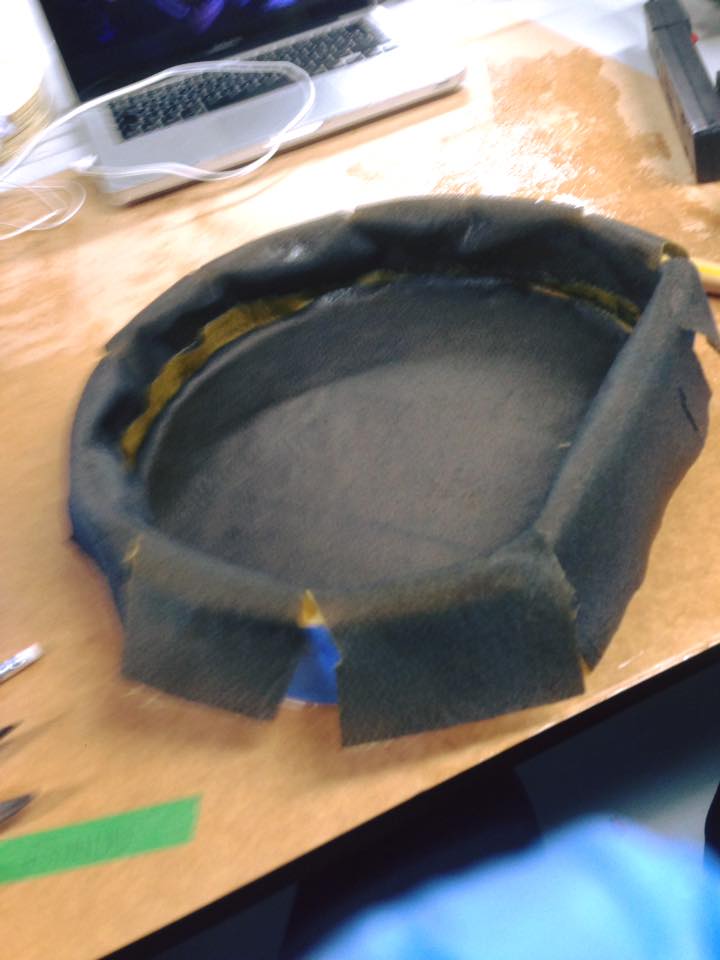
The strategy was to put one piece of MDF first as a base and on top of it, put one by one all the moulds while putting the composite.
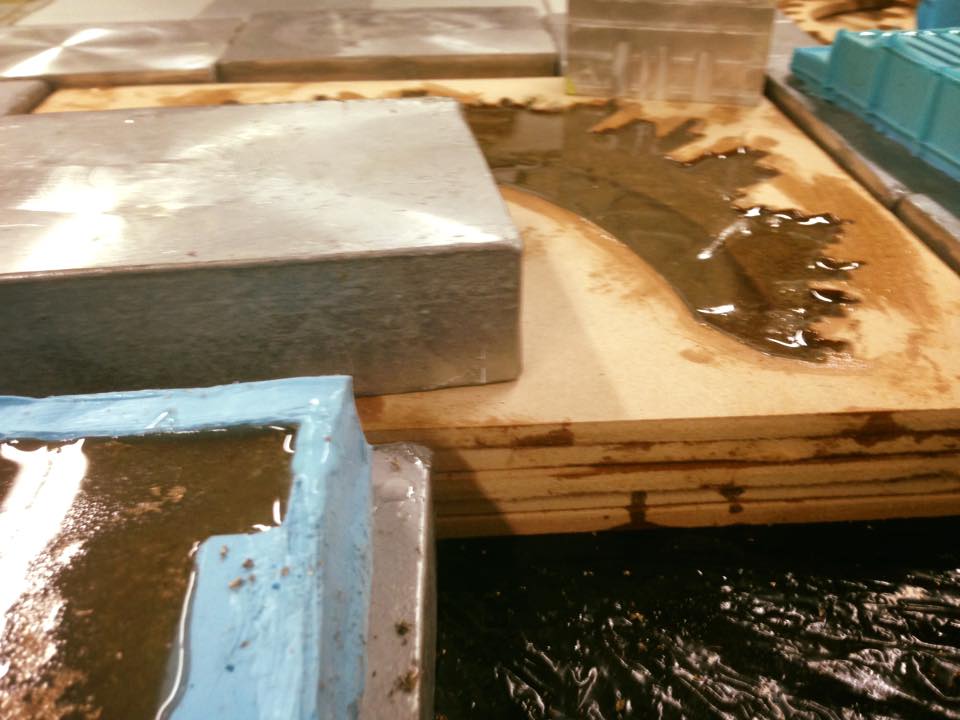
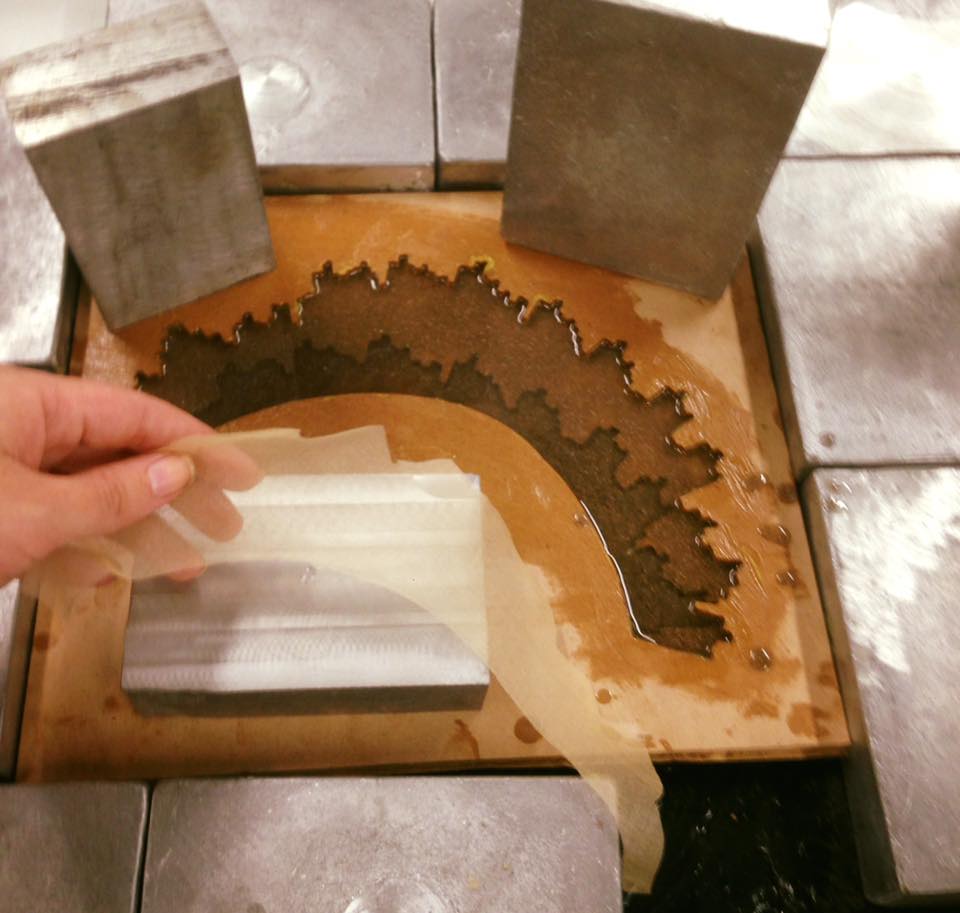
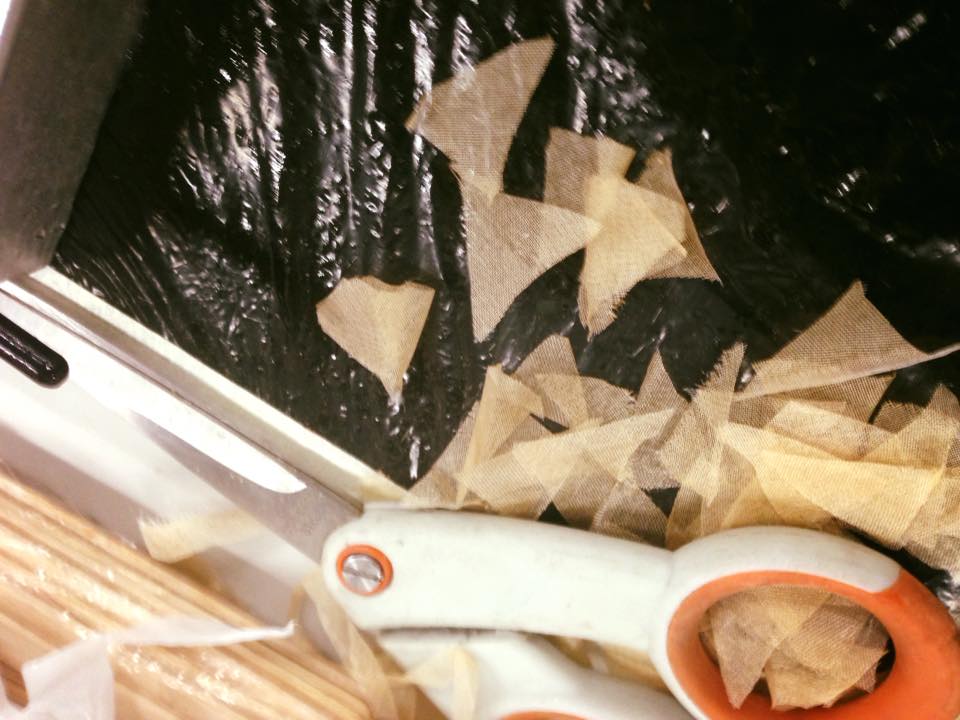
For the composite I mixed the resin with the bronze chips, then I used silk light fabric to create structure. The silk is naturally strong and had the color and texture I wanted to keep it visually light.
I did a pattern with the forms I needed and also cut Little pieces to add.
Because I had to put piece by piece from the MDF, I couldn´t fix the pieces with screws, so I found aluminium bricks in the lab and use them as a weight on top and to keep the parts from moving to the sides.
To prevent the MDF pieces to sticking together I used lots of baseline, although It didn´t work so well.
I leave it for the weekend and on Monday morning I tried to open it.
The pieces were (pegadas entre si)
With the help of my lab Friends and a screw driver we could open some parts, but it wasn´t enough.
The next step was to use the dremel, It didn´t have enough power.
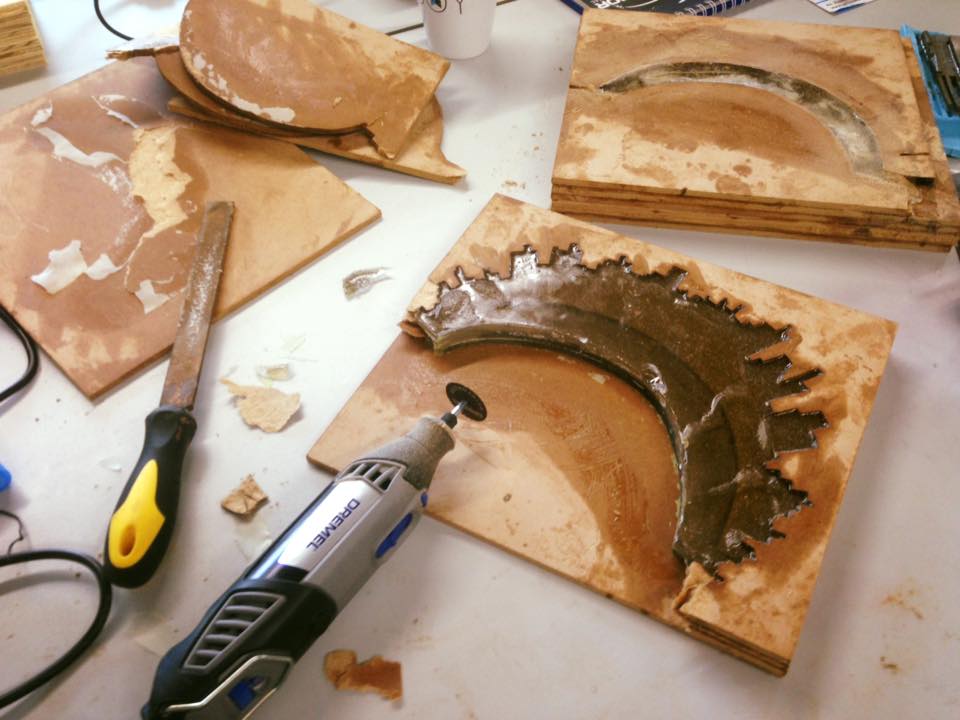
After that, the jigsaw was the path. It took parts of the mould.
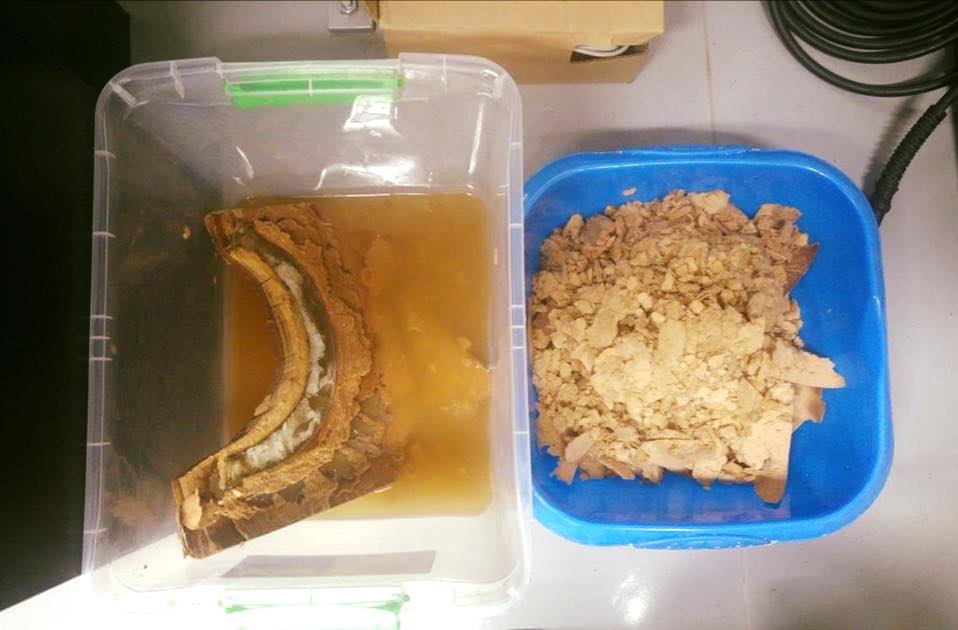
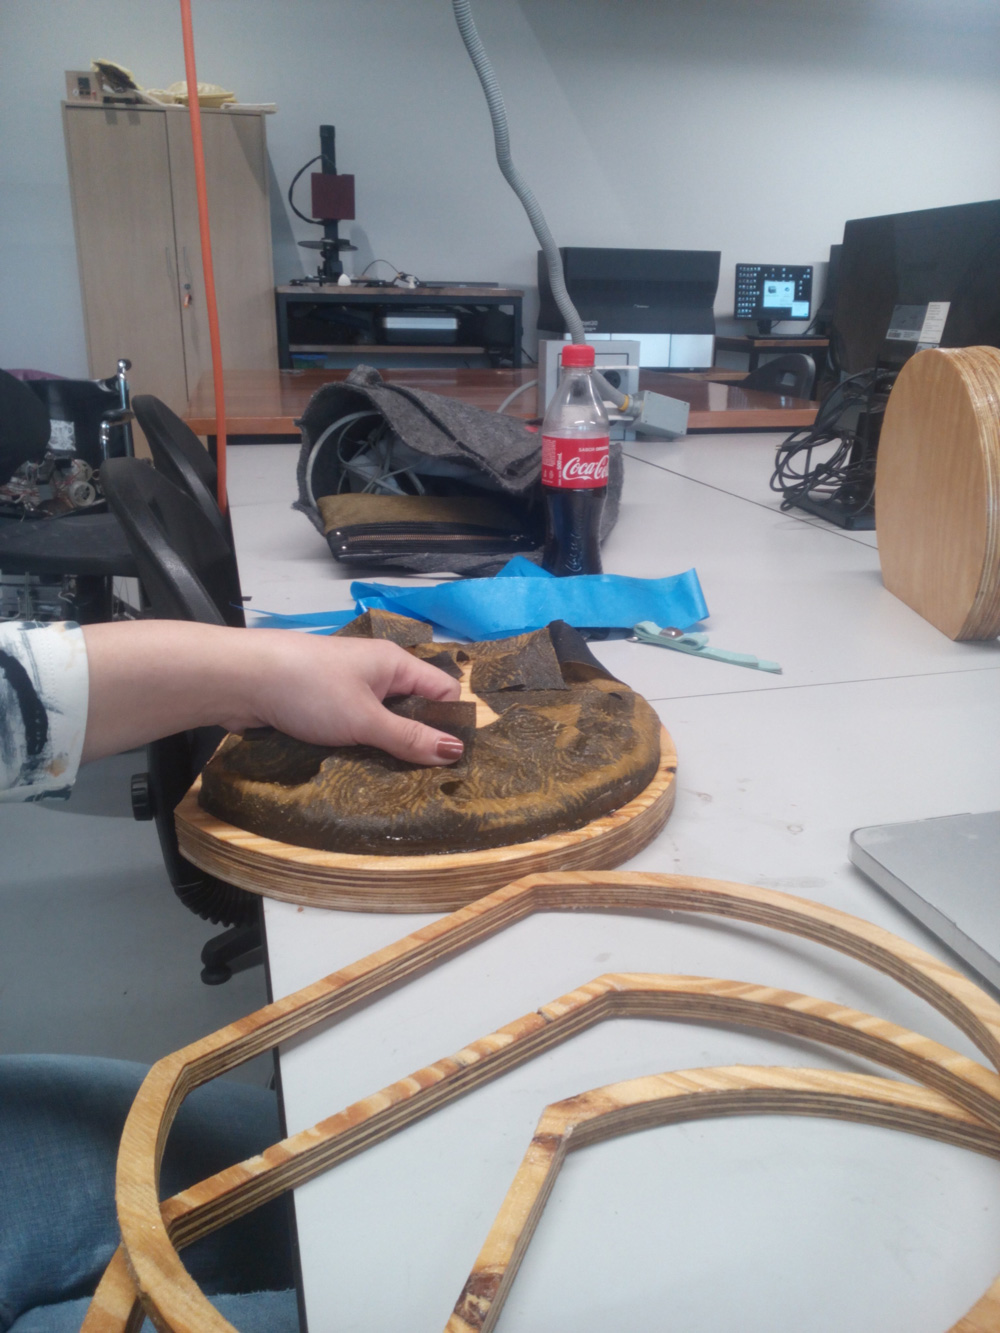
Then I decided to let the MDF rot. So I put it on a big bowl with water for a couple of days. Somewhere this experience someone suggested to use Coca Cola to help the rotting process, there was nothing to lose so:
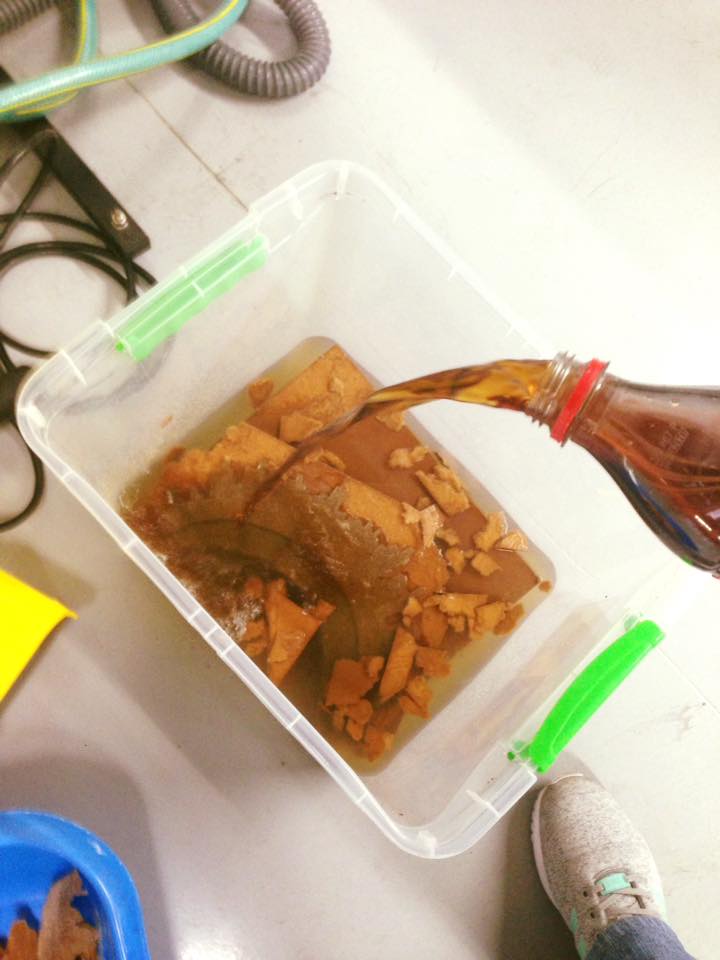
After a couple more days I pull it out of this water- coke mix, everyone in the lab is saying that I´m doing the bio academy at the same time because I created some form of strange life in there.
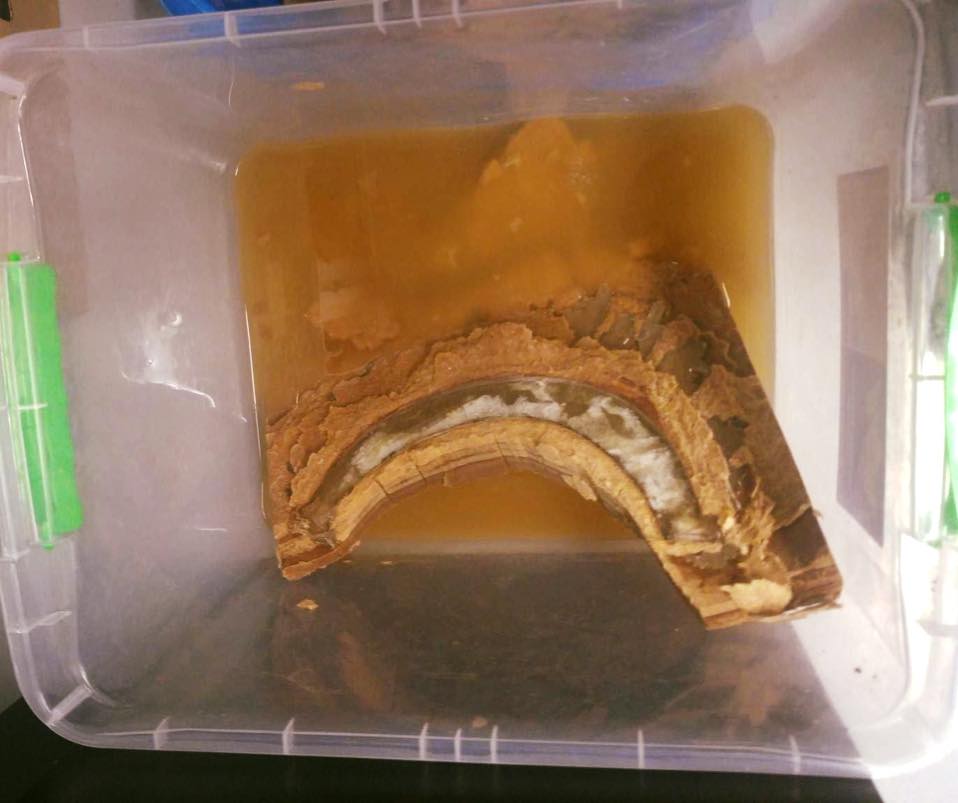
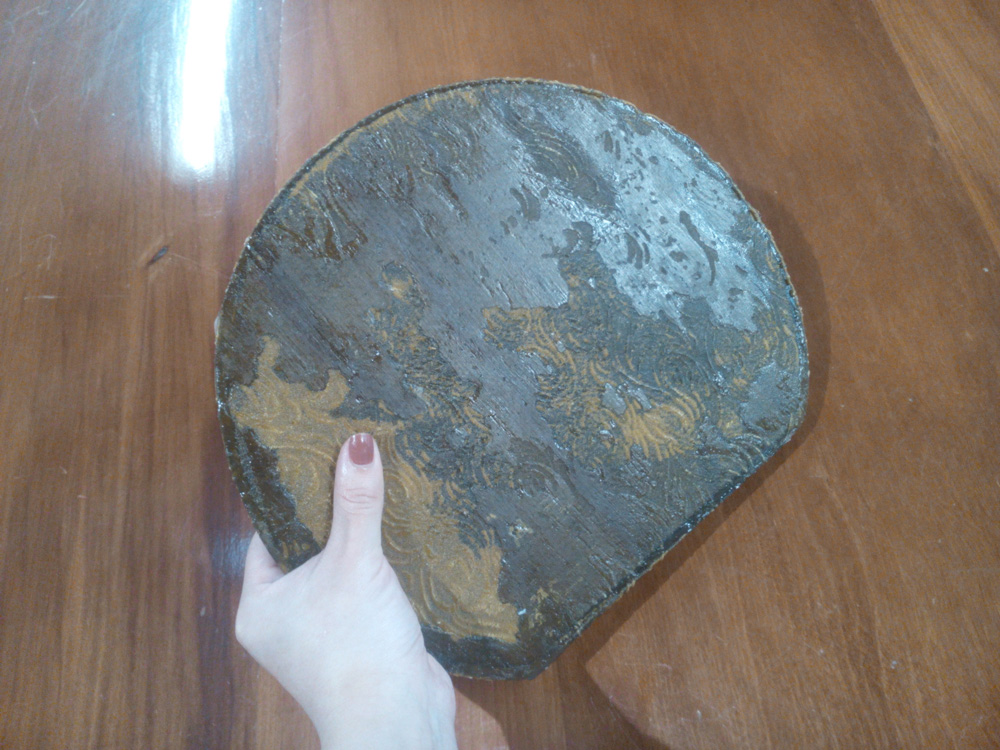
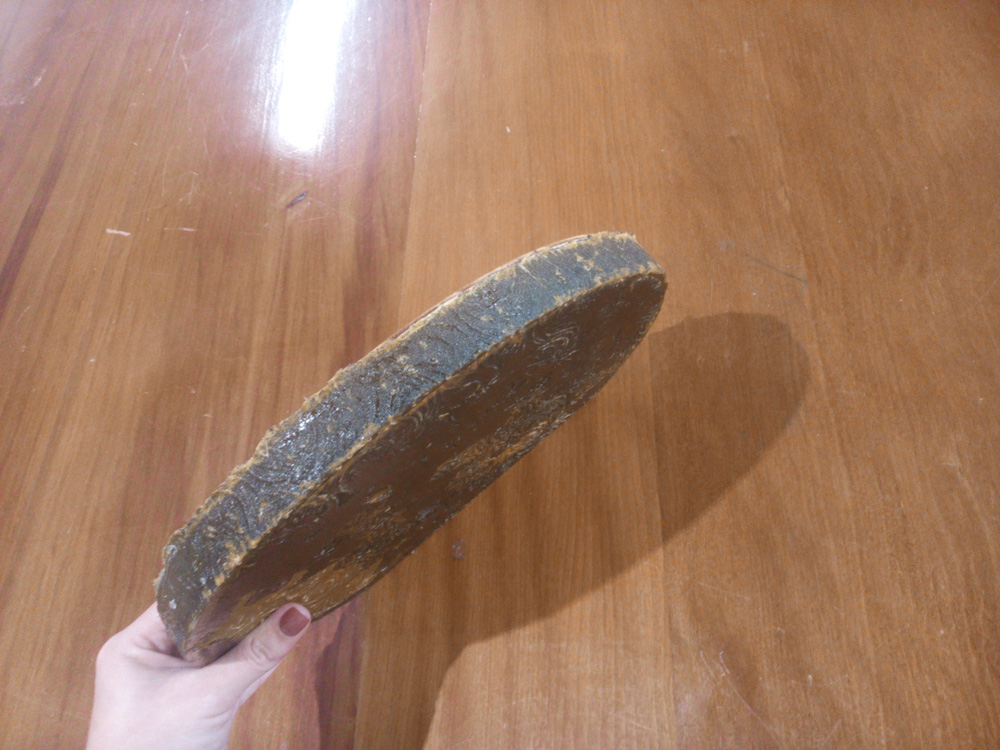
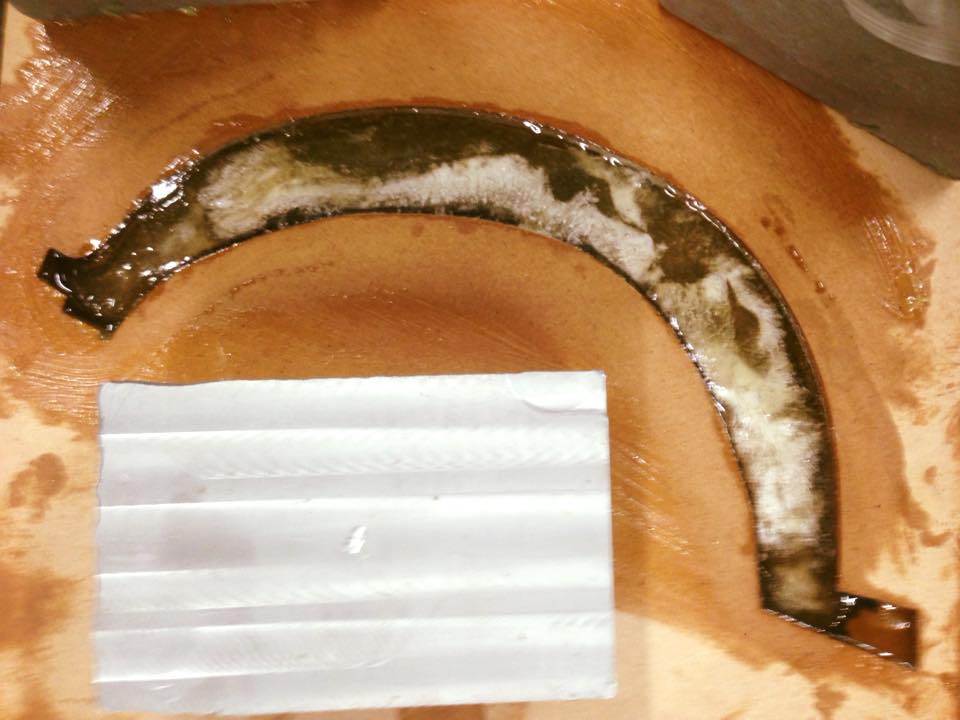
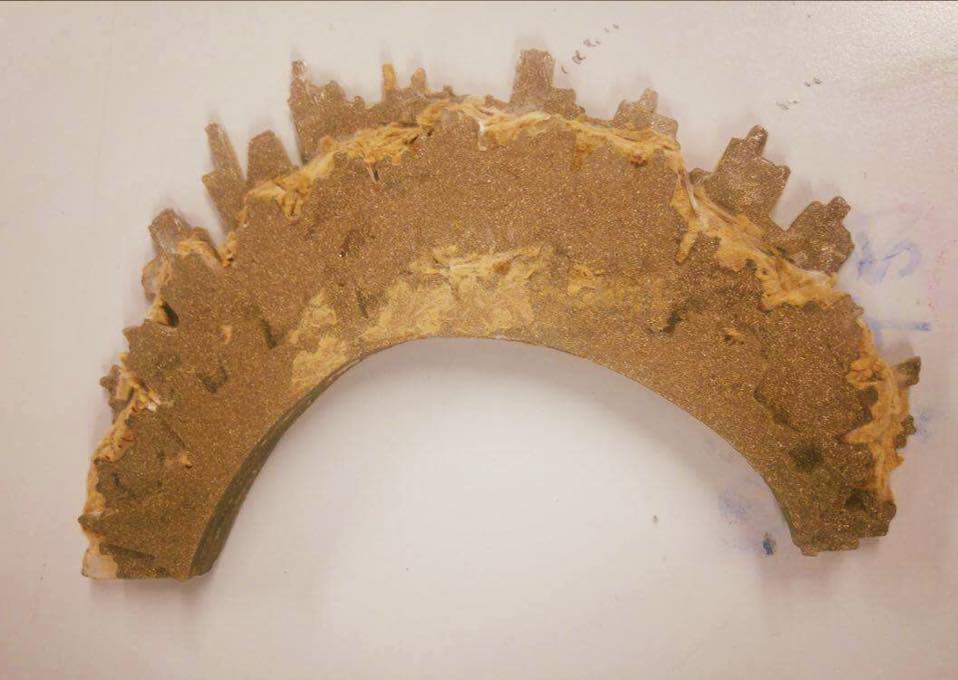
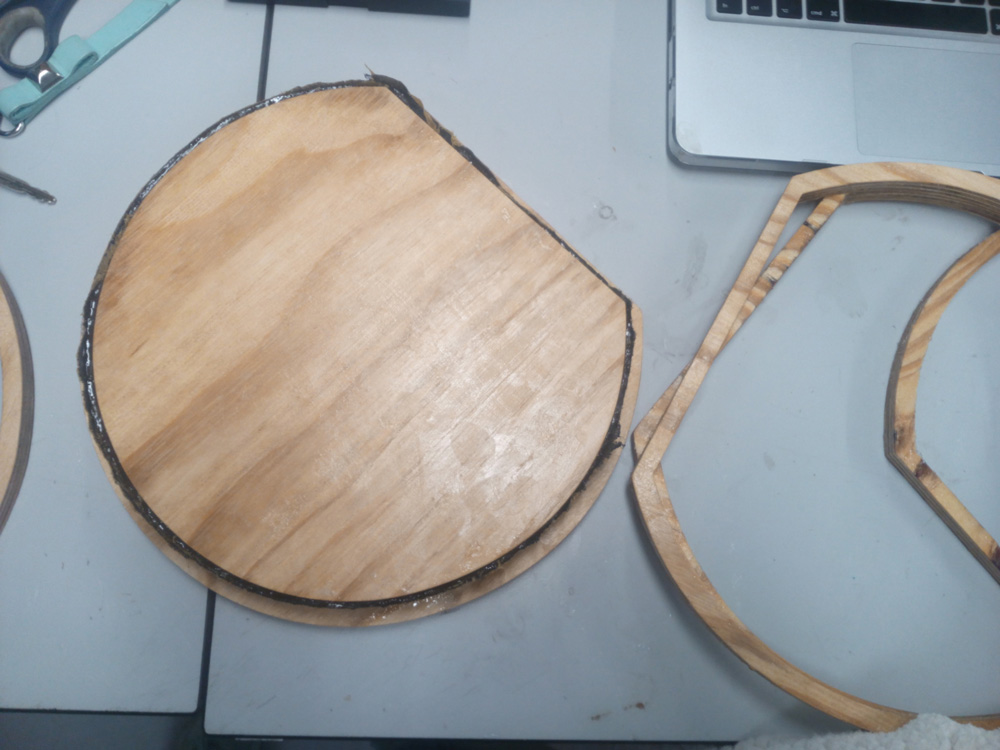
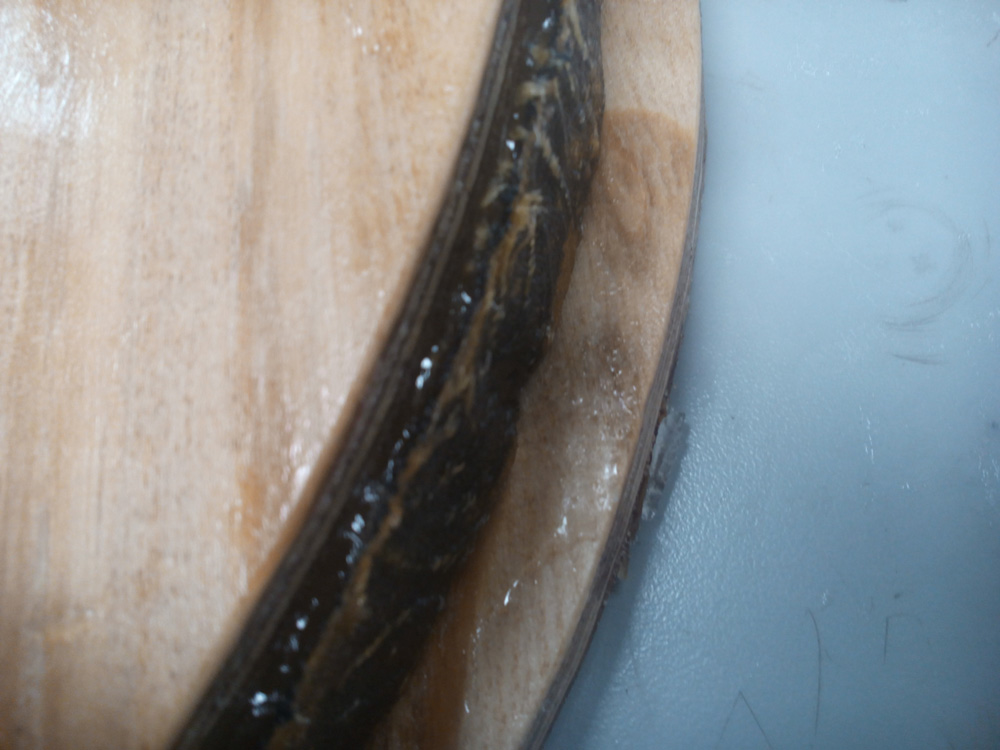
With that I could open most of the mould, but there was a piece stuck in the middle which couldn´t get out.
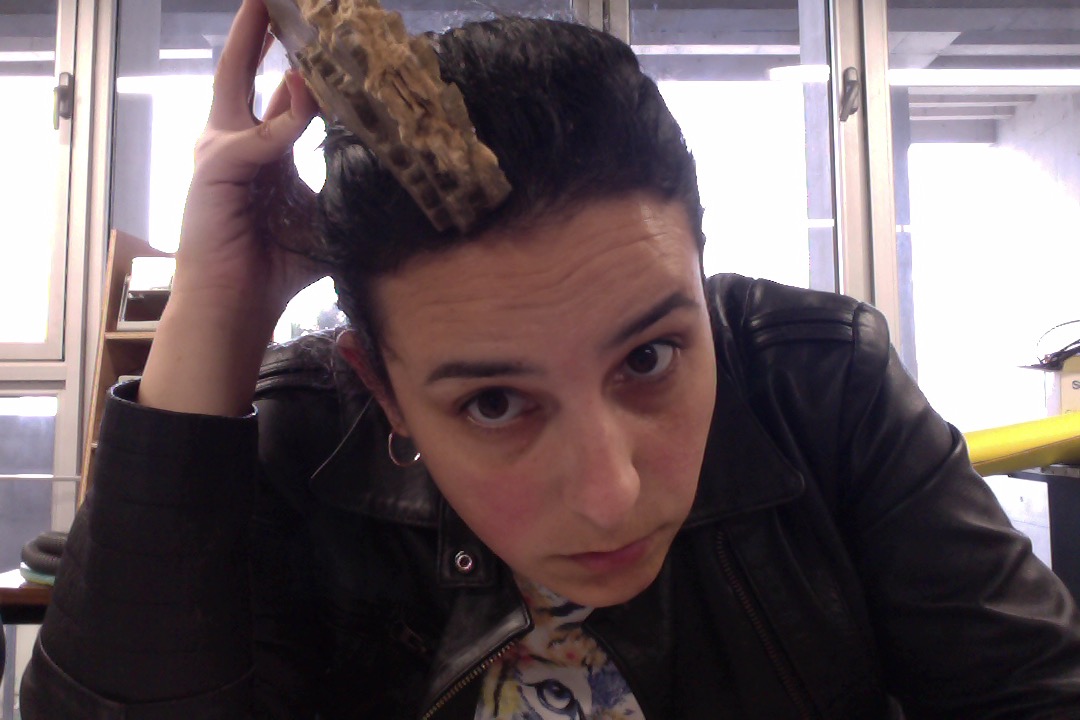
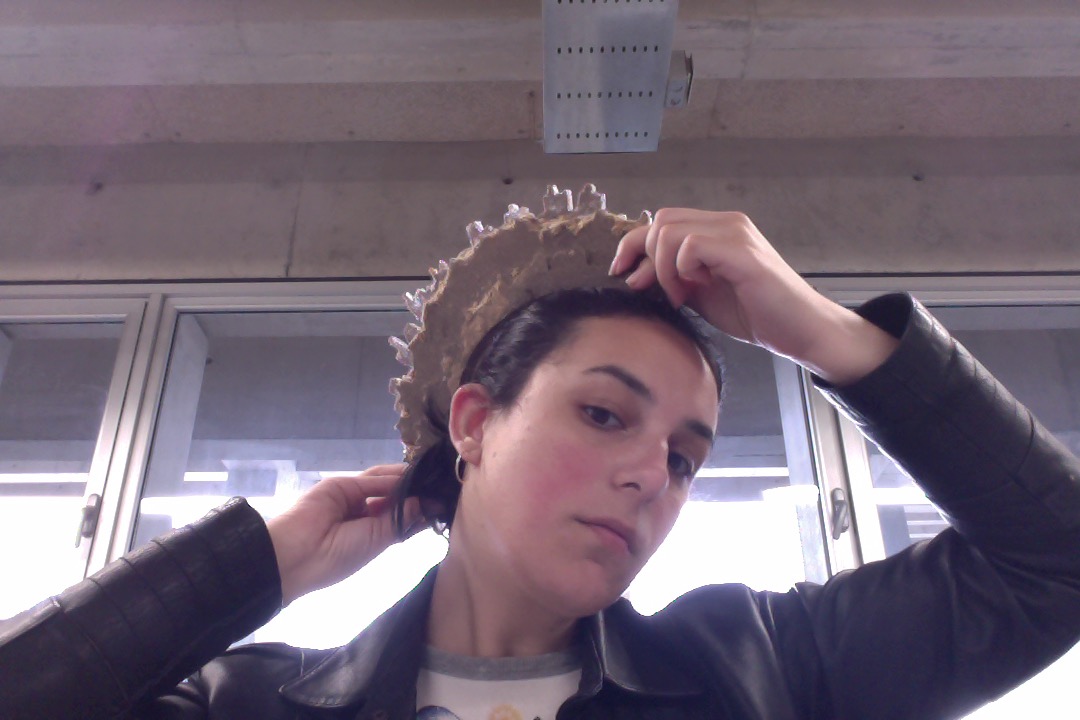
This is how it looks now:
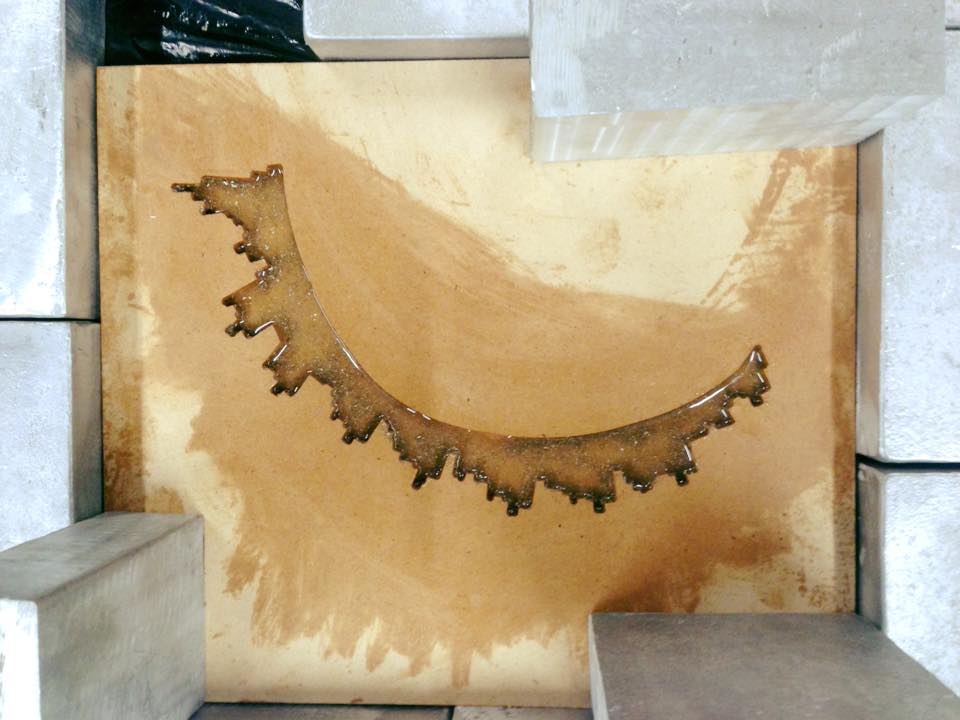
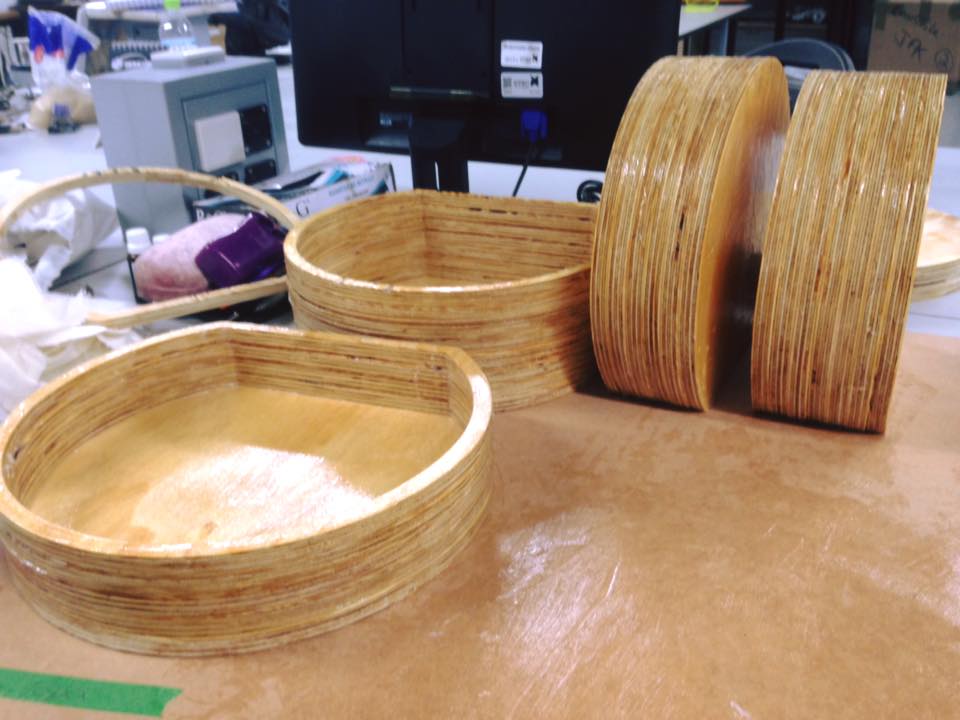
For my second Project I did the compaction technique.
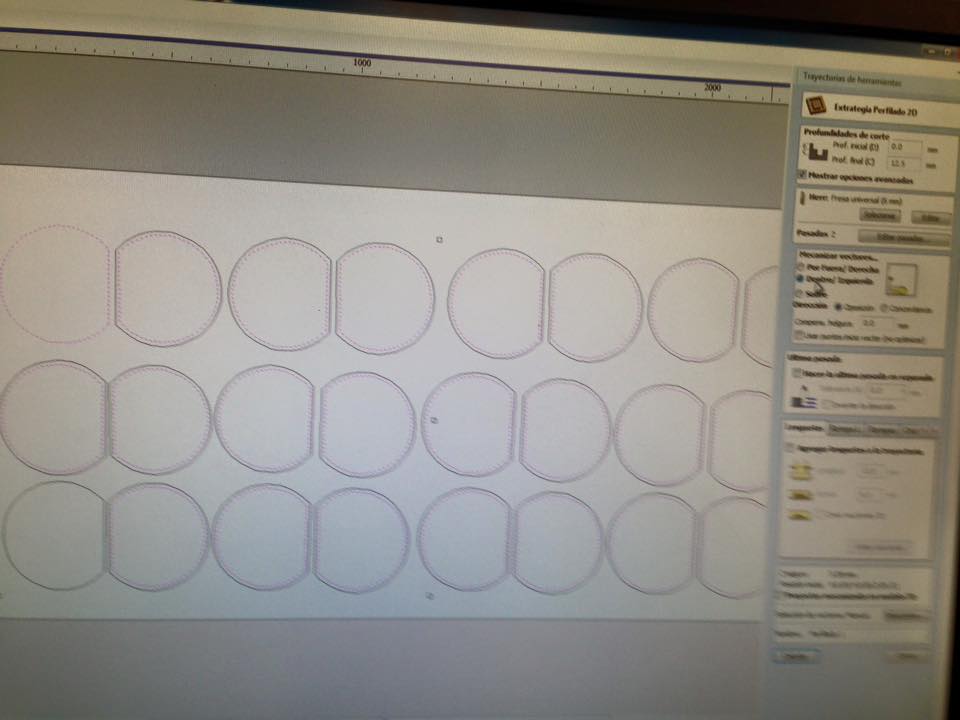
First I prepare the files on Illustrator:

Then, to the shopbot:
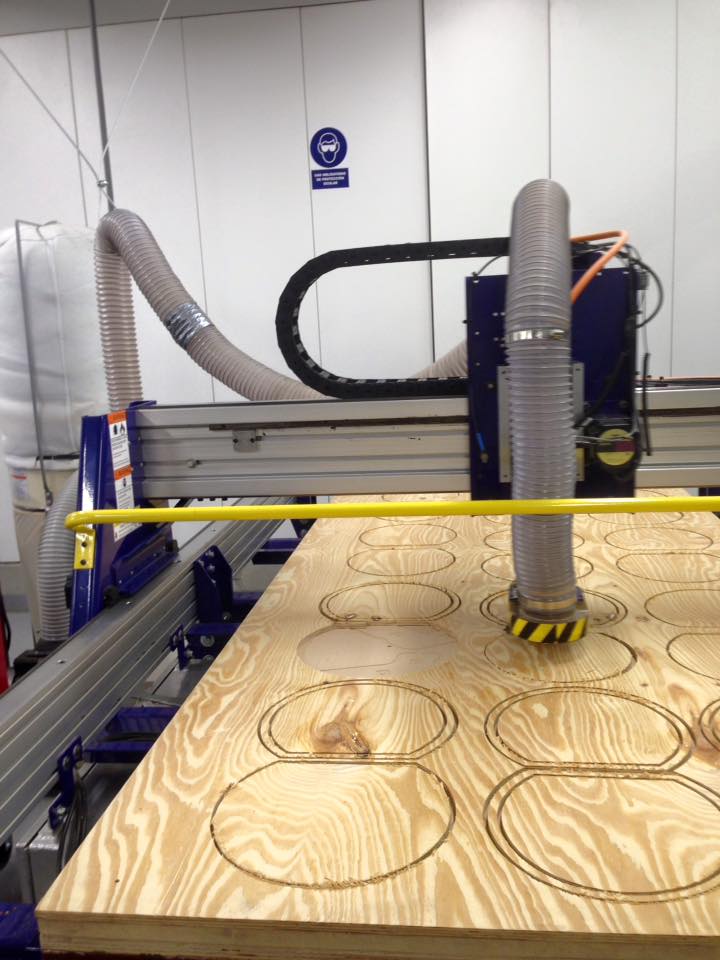
After milling the pieces, I used some sand paper to softer the edges.

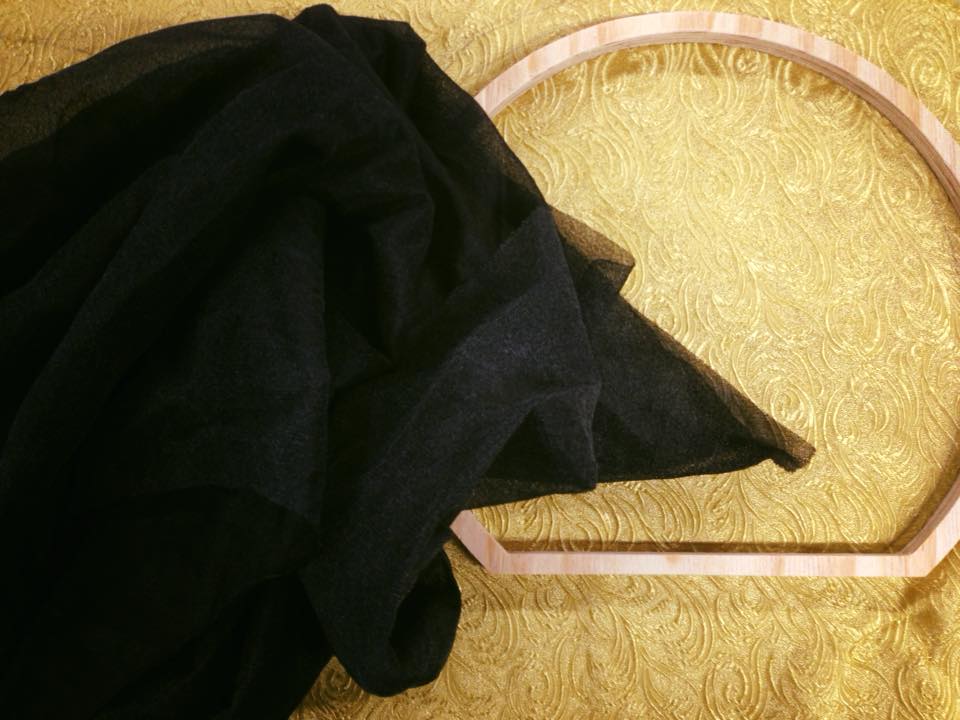
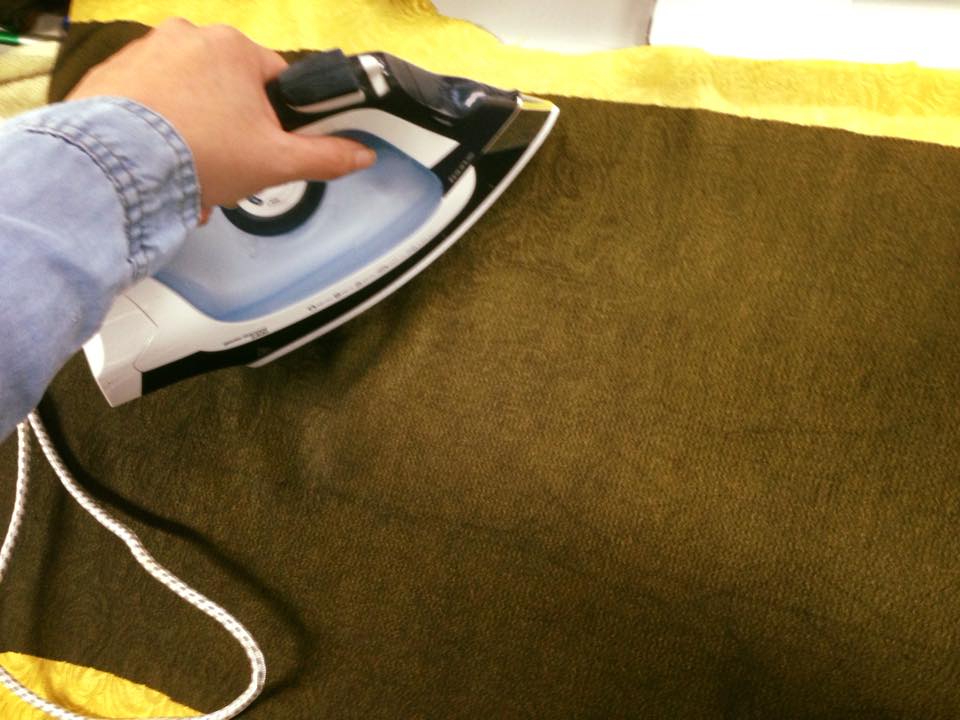
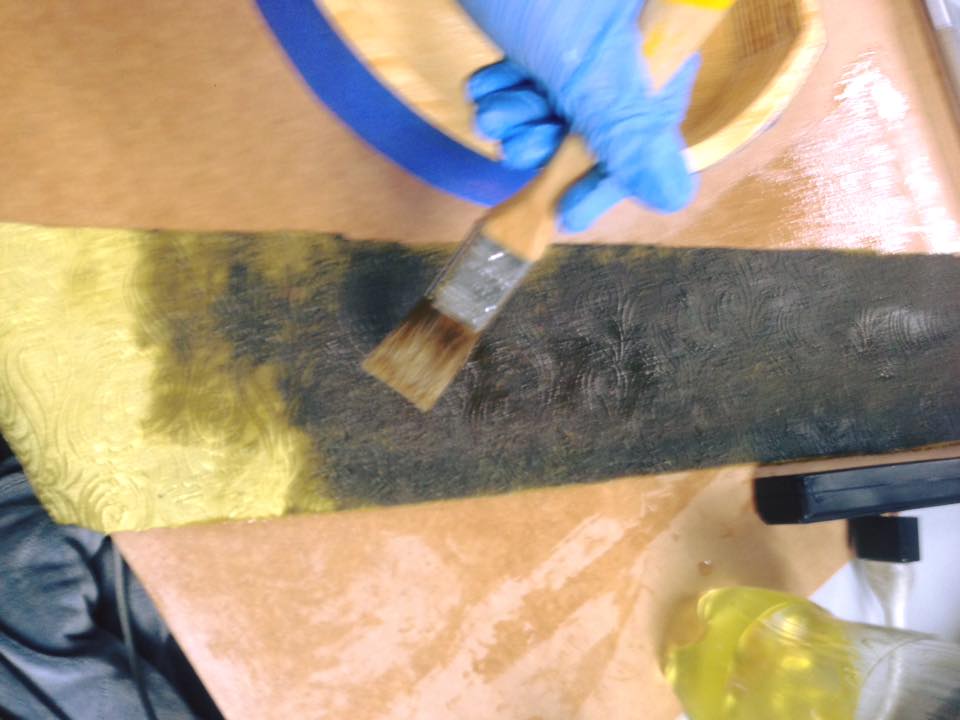
Once the shopbot work was done, I did the patterns for the fabric. I used a vintage gold brocade fabric and a thermo adhesive fabric to make it stronger.
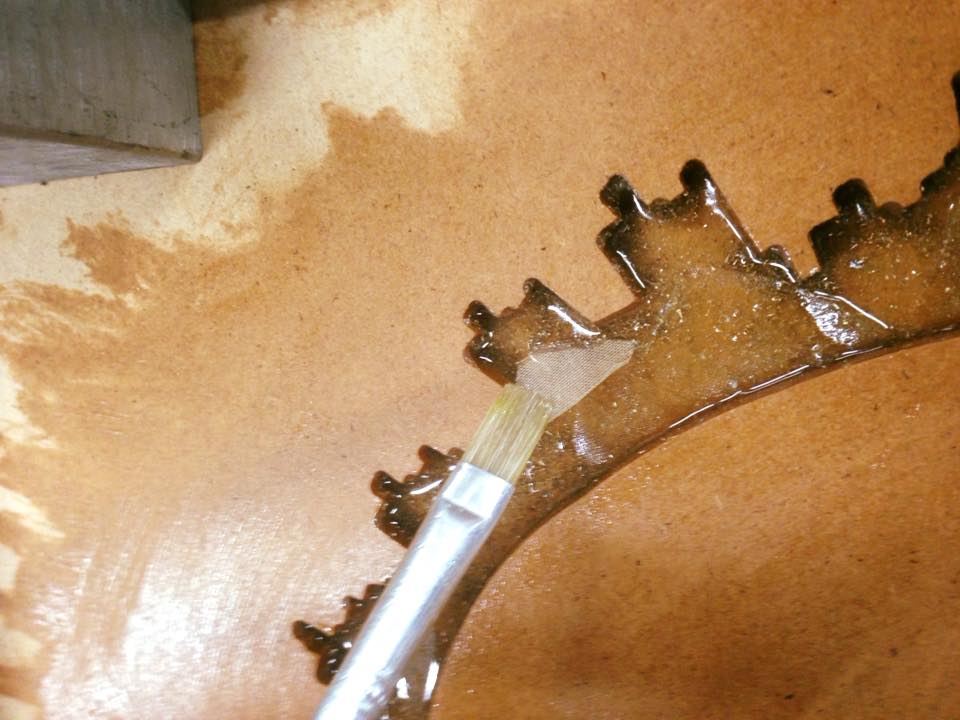
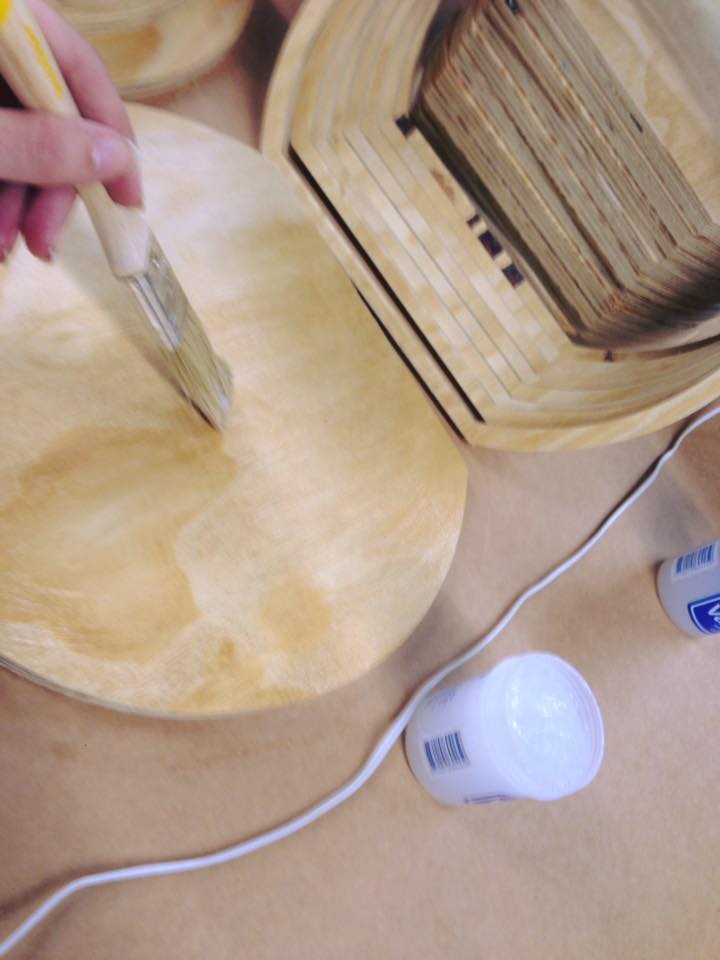
Then, the Wood pieces need vaselin so the resing won´t get stuck in the mold.
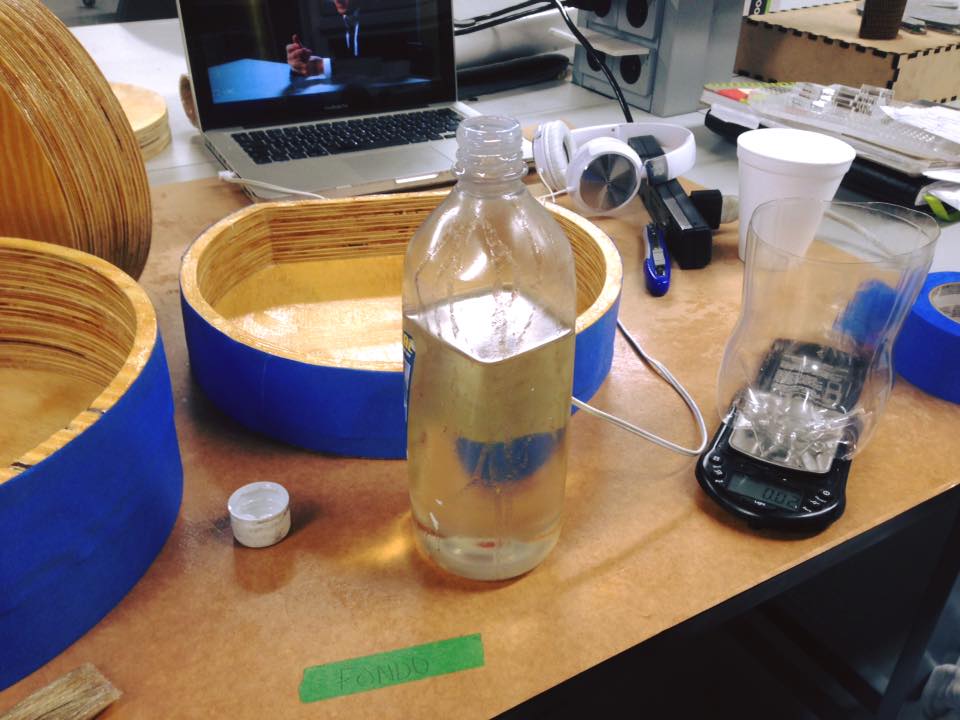
Once all the pieces had a hand of vaselin, the next step is to prepare the resin, for that, mix 100 mg of resin with 35 drops of the catalyzer. Mix well for one minute and its ready.
With a brush I “painted” the fabric in resin, interesnting fact, I used a black thermo adhesive fabic because with colors like gold I feel it looks better, but at the time I put the resin, the gold fabric started to look all black. Maybe as a reaction to the resin composition.
With the fabric pieces with the resin, I started to put them in the mold and put more resin layers.
And finally, put the interior piece of the mold to use as a compression.
Waited till next morning.
The next morning I opened the mould easily thanks to the vaselyn.
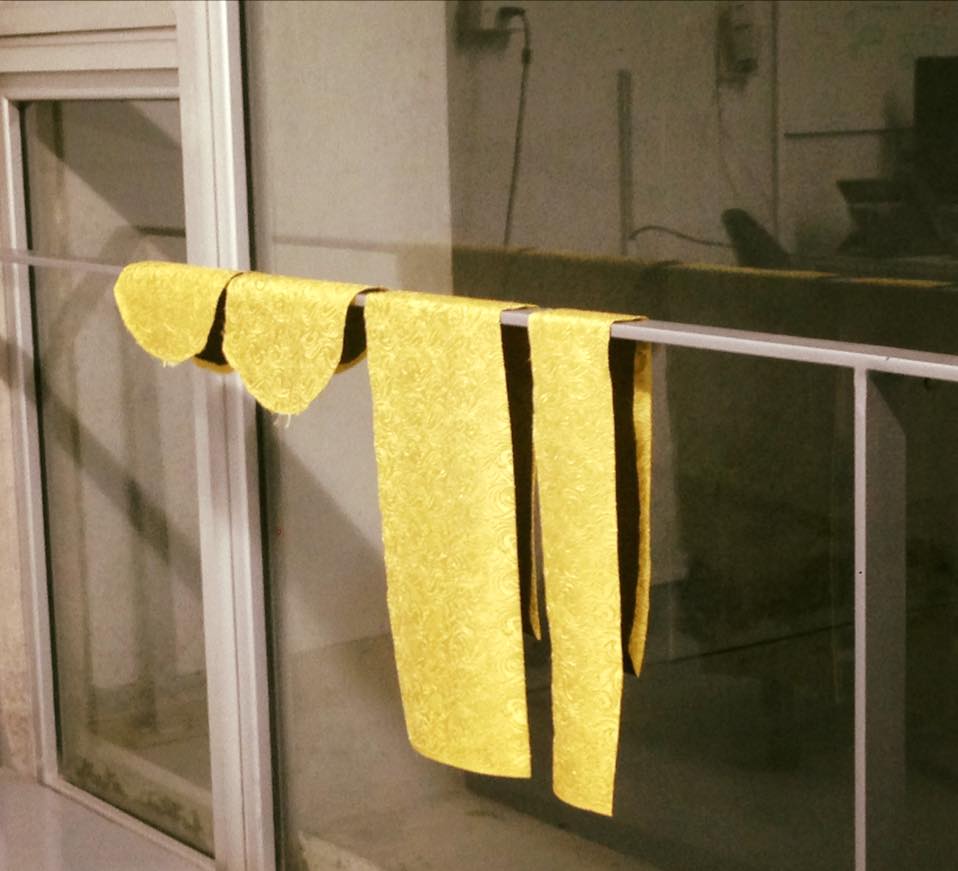
The mould is just 3mm thick
Some parts of the mould went back to the original fabric color, in other parts It stayed darker.