
For the 5th week of fabacademy we were assigned to do the following:
Test the design rules for your printer(s) (group project)
Design and 3D print an object (small, few cm) that could not be made subtractively
3D scan an object (and optionally print it)
For the group project we tested our 3D printer which is the Ultimaker 2 using this 3D printer test model :
We printed this model (4x50x50mm):
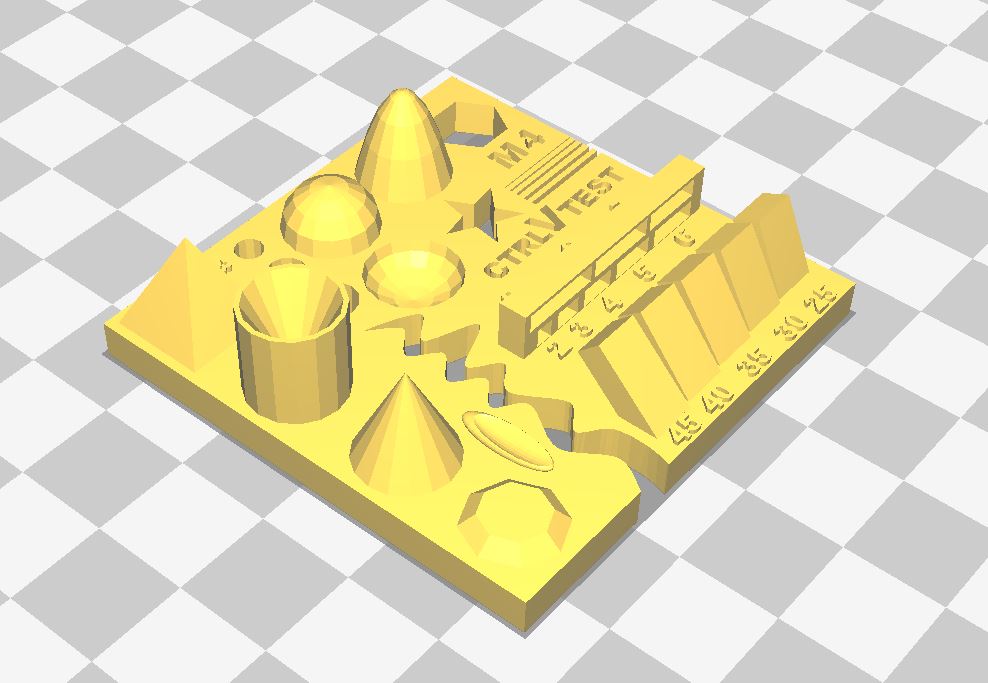
This test model include:
We printed the file with PLA plastic and with these settings : - layer hight = 0.1mm - infill density = 20% - print speed = 50mm/s - travel speed 120 mm/s
We got this:


Regarding the results, I think that all the overhangs were good, for the rounded prints they had a very small tiny issues but with a little bit of work they can look good, regarding fine details of the outward text(numbers) they all didnt print well, but the inward text were much better, the pyramid looked good.
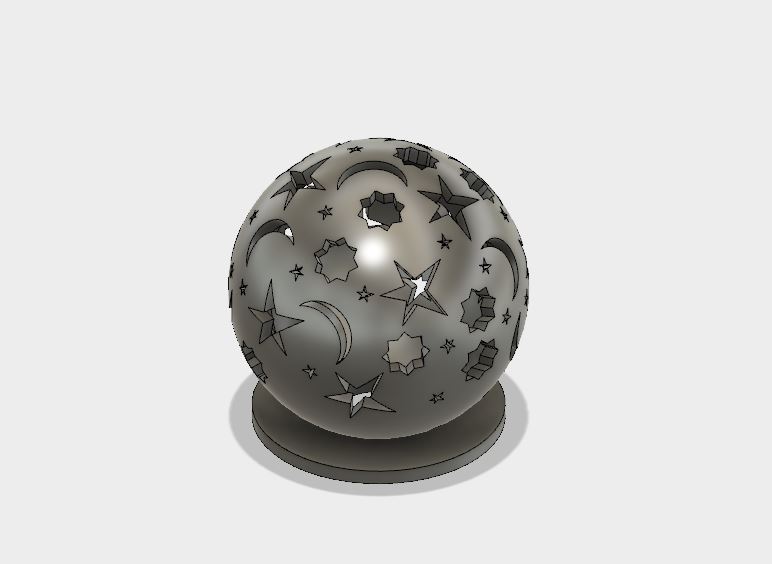
For the second part of the assignment which is to Design and 3D print an object that could not be made subtractively I designed this object, which is a small light projector for my phone, and this design could not be made subtractively because there are a lot of downward curves that the milling machine will not be able to do them plus there is a big spherical whole inside which is impossible to be made subtractively.
I used Autodesk Fusion 360 to design my object, I started by drawing two circles and subtract them from each other:
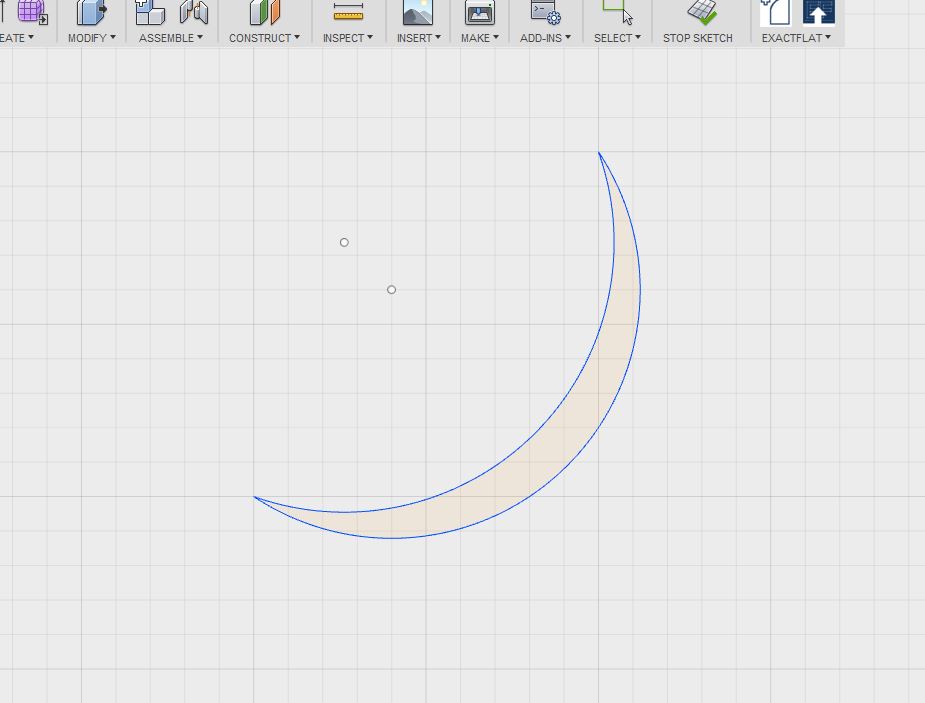
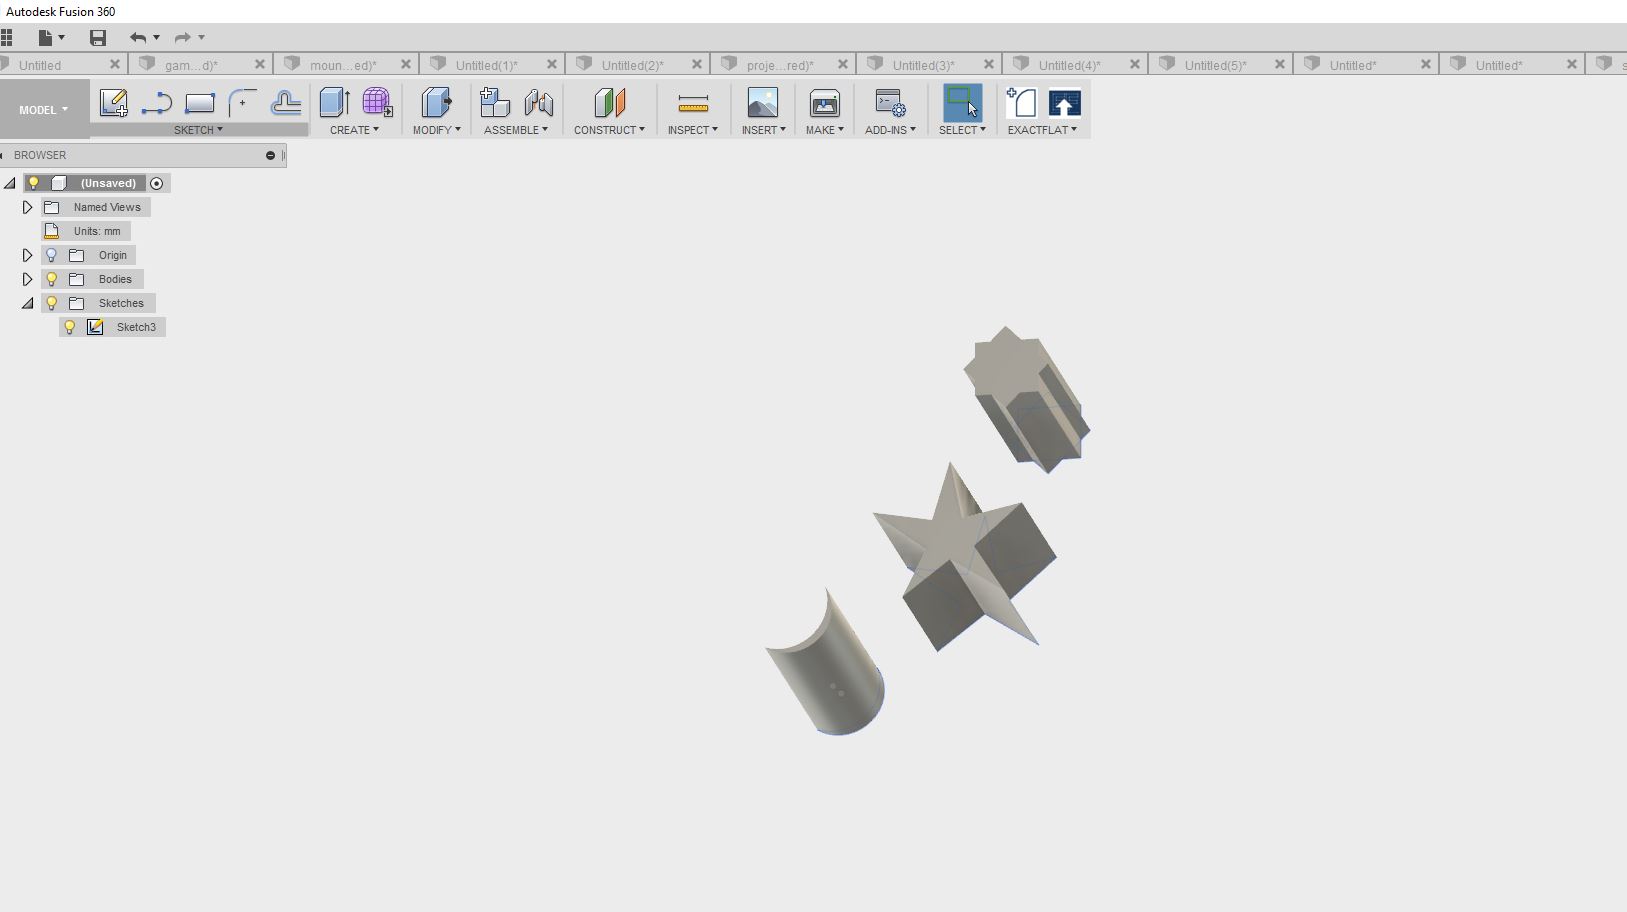
Then I started drawing the shapes and extrude them to subtract them from the ball:
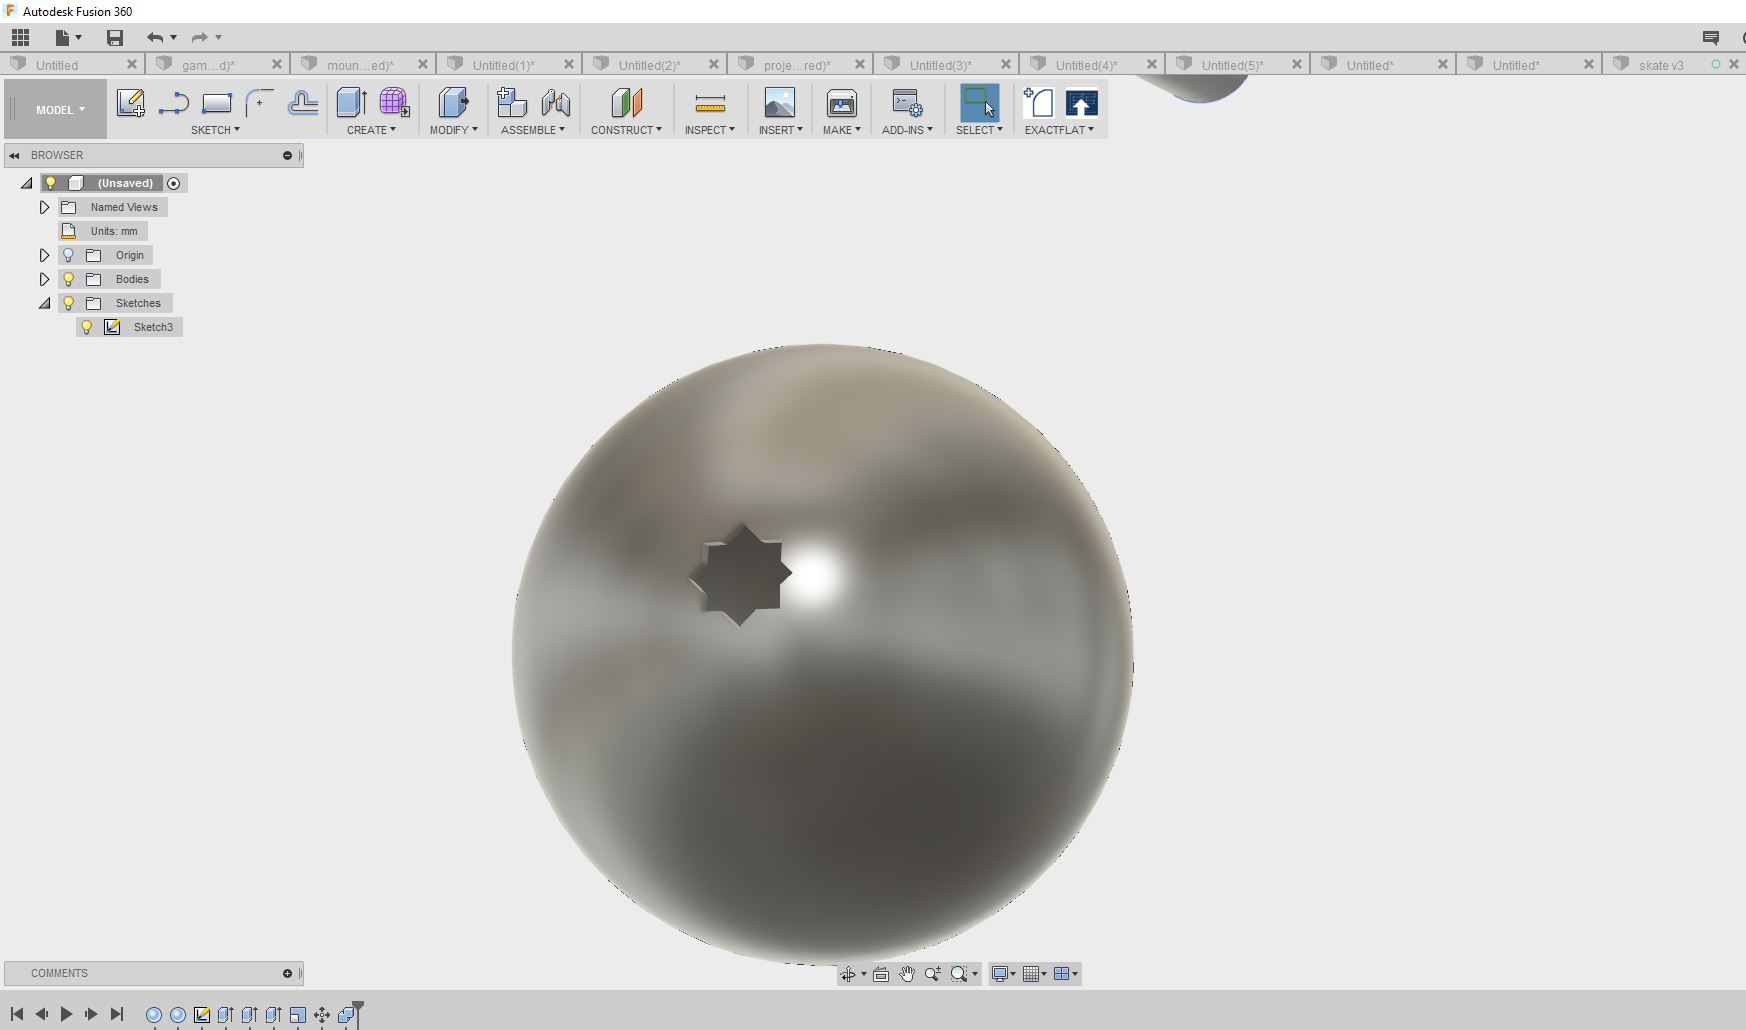
And finally I designed the base and attached it to the ball:
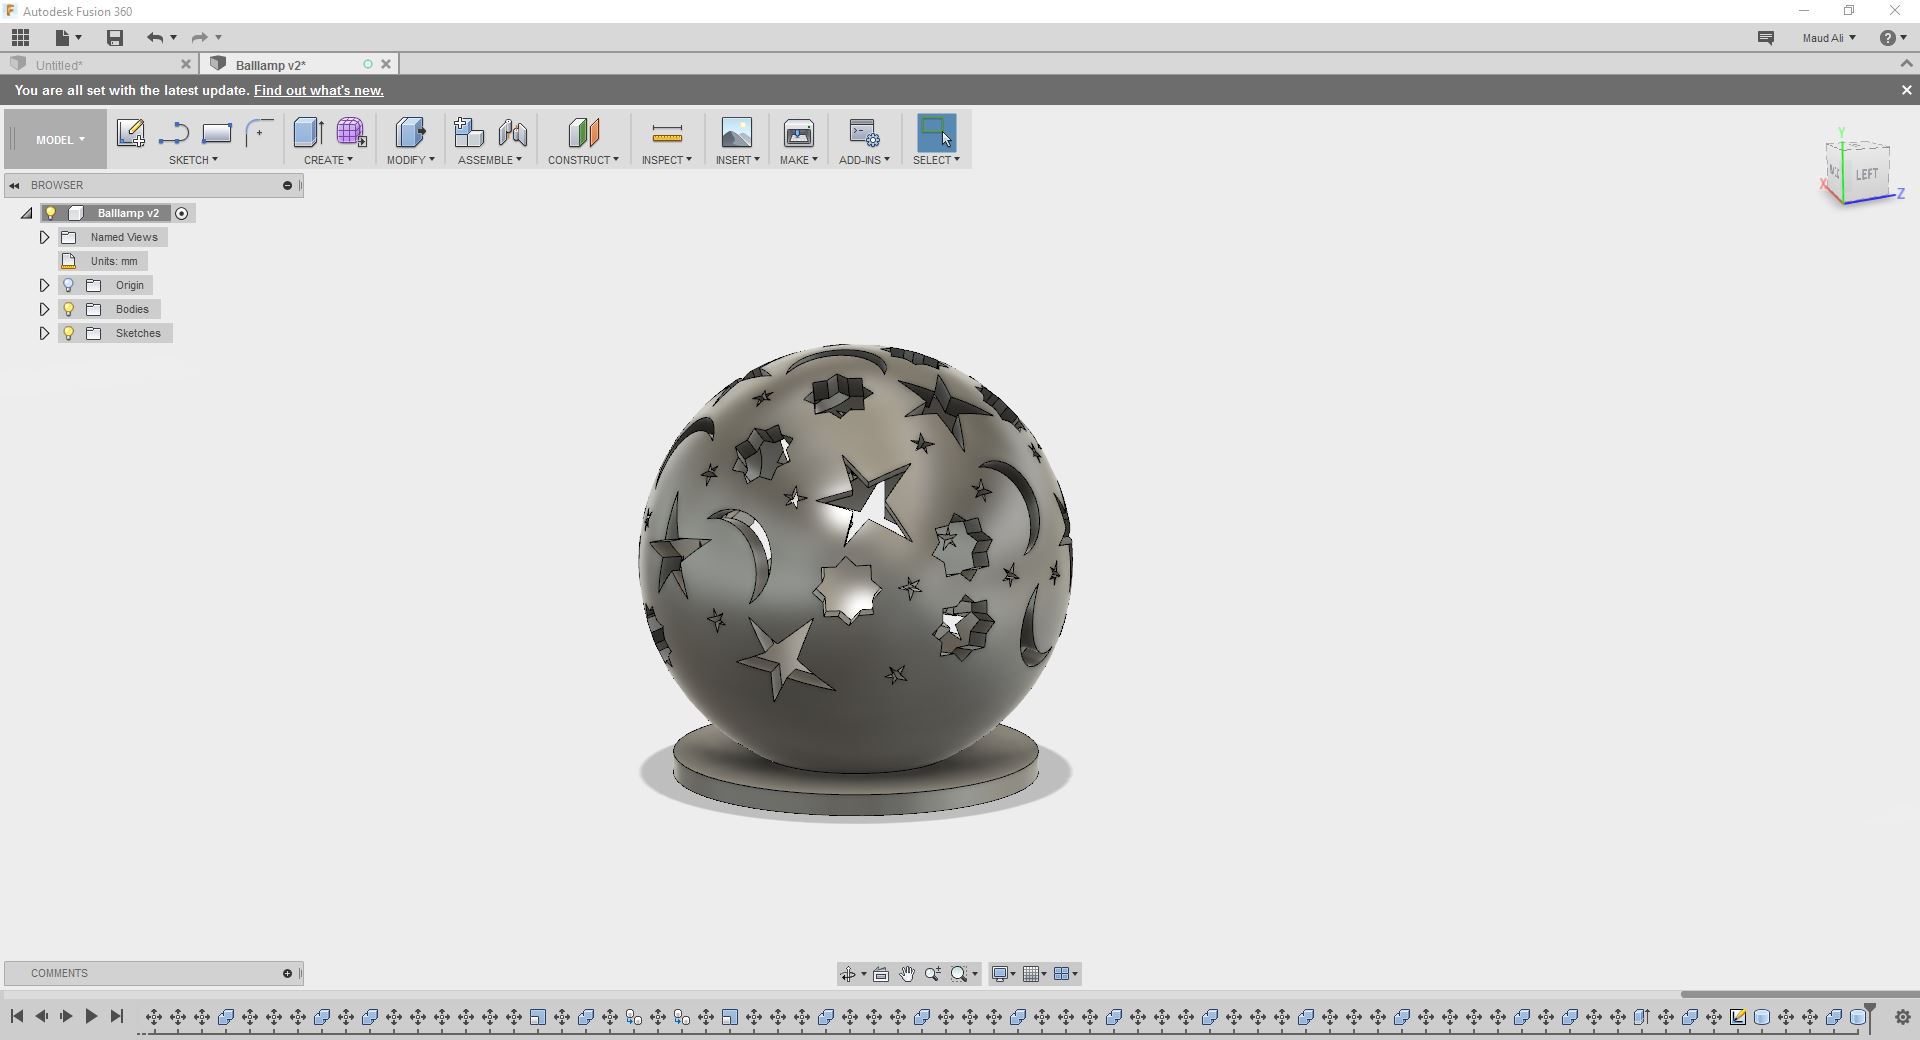

And I printed it using the ultimaker 2 without support material,only brim, and with a layer height of 0.15mm and light infill (20%), and print speed of 60mm/s, and using Cura, the 3D slicing software for ultimaker. :


The second part of this weeks assignment was to 3D scan an object (and optionally print it), so I decided to scan a person and I chose one of the students in the fablab, and his name is Abdullrahman:

For 3D Scanning am using the sense scanner:

So for the first thing you do is to choose what do you want to scan, an object or a person, in my case I chose a person:

Then you have to choose between whether you want to scan a full body or just the head, and I chose the head and started scanning:

After Scanning him the final model was not that good, so i started fixing it with the erase tool:

And then I used a tool called touch up to smooth the outer texture and finally solidify:

Then I uploaded the stl file to sketchfab in order to have this 3D view:
[]
I think after using the sense scanner that its not as good as what they say, because if it comes to high detailing objects I dont think that its going to scan them and that also goes for large objects, because while scanning the boy's head I had to keep holding the scanner still the whole time and the scanners kept losing track so many times, and also after seeing the final result of the scanner I confirmed that also.
Previous Week |-----------| Next Week