Introduction
This week assignment was:- Model (draw, render, animate, simulate, ...) a possible final project, and post it on your class page with original 2D and 3D files.
2D MODELLING
I have never used any program about these thing, so it's all new for me. I have used programs like Photoshop or Gimp for photo editing but I never worked with vector graphics editor. For this reason I have decided to try many of them.
For 2D modelling I have decided to use Adobe Illustrator and Inkscape .
I'm focused only on vectorial programs because, as I said, I have already know how softwares like Adobe Photoshop or Gimp works. First of all I want explain the difference between raster and vector.
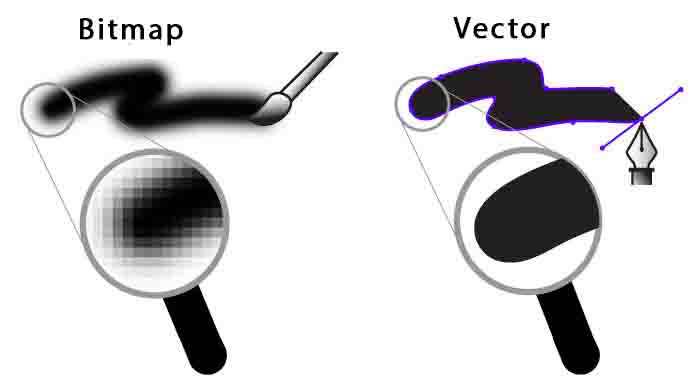
A Raster image is made up of individual pixels. The problem with raster image is that the maximum resolution is limited by the number of pixels. That means, when you try and scale the image into a larger size, the quality drops. This is the major limitation of using raster images.
A vector image is composed of paths, which are represented by mathematical functions. So the maximum resolution of the image is not limited by the number of pixels. You can erase pixels in a raster image using the eraser tool but, that is not possible in a vector image.
Adobe Illustrator
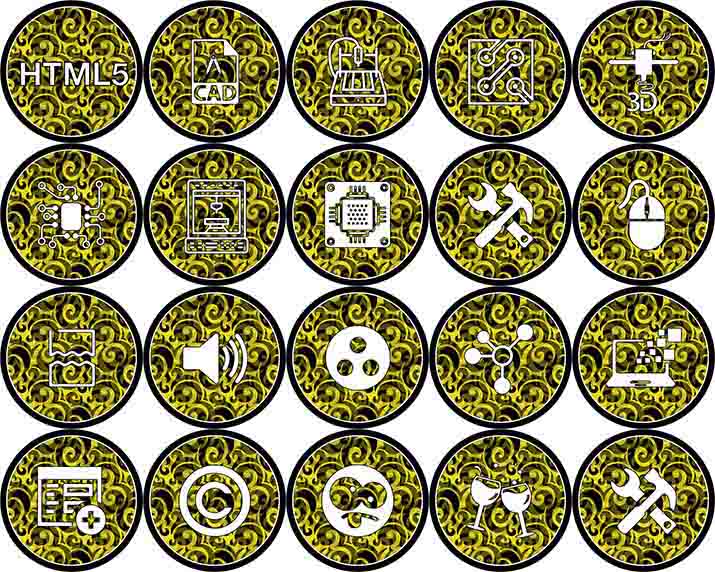
Adobe Illustrator is one of the most complete 2D modelling software. I have found it easy to use because graphics is very similar to Photoshop. For test it I decided to realize a set of icons for my site. I have found really useful shape tool.

With it I could draw imperfect shape, then it redefine the line as a perfect circle. I have looking on Internet the right icons for each week. Sometimes I couldn't find a vector image, so I have used the command live trace for trace all draw. Then I have used command silhouette for converting the icon in black and white, so i could use it. I made a circle with a floreal pattern and I have put in it an icon regarding weeks arguments.

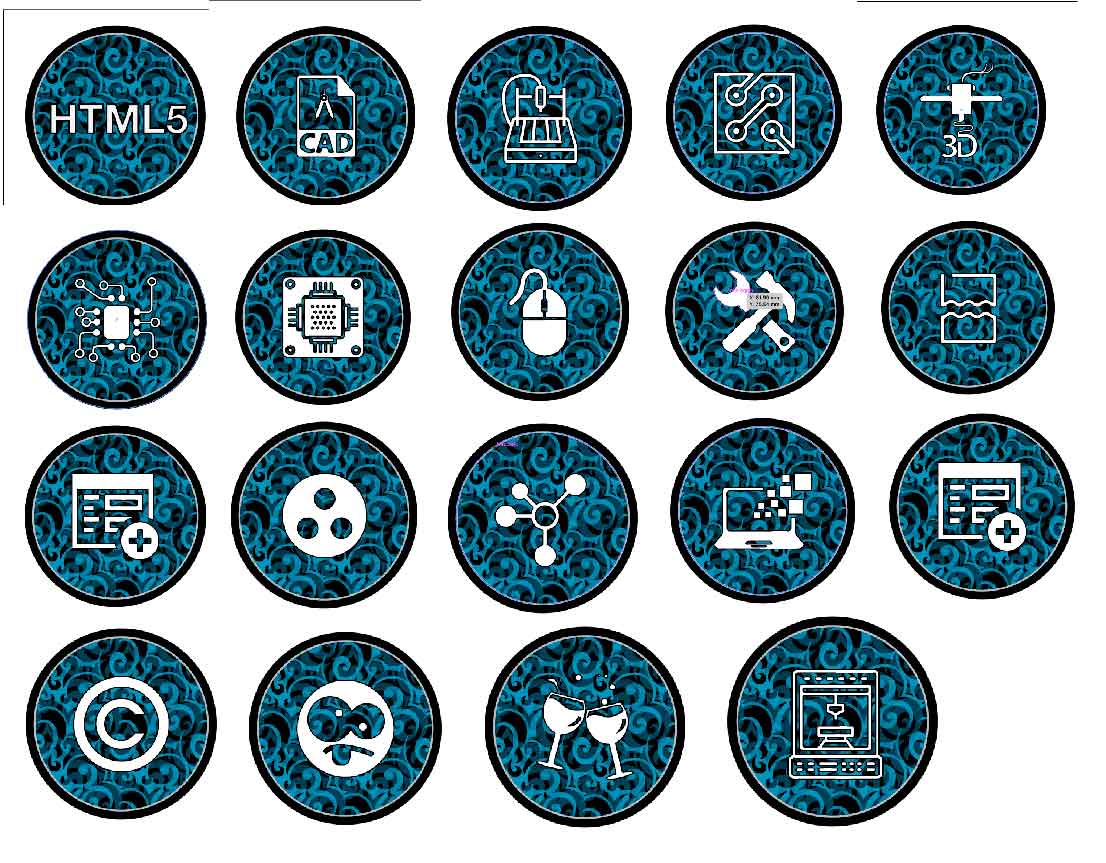
UPDATE
I have changed design for my website, so I have changed background color to each icon. This is the new ones. They match with the background image.
Inkscape
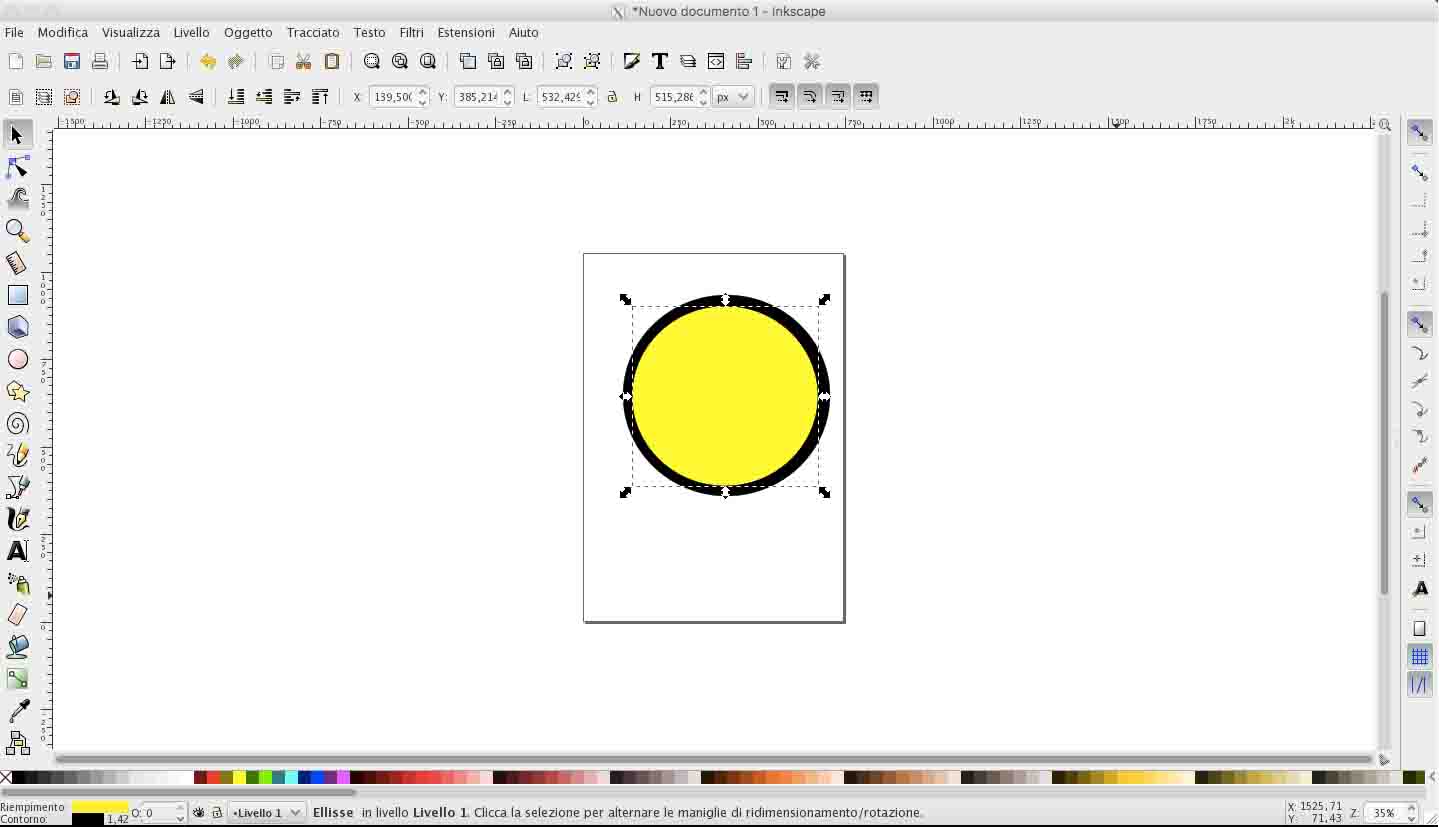
Inkscape is another 2D modelling software. First of all I had to install it on my Mac. To do it I had to download and install XQuartz first. After rebooting my Mac I installed Inkscape. I didn't find it clear and easier to use as Illustrator. I have tried to do the same set of icons but I didn't had the same results. I have found it unclear because the background had the same color of canvas and the tools was caotic. I have done a screenshot for show you an example of graphic glitch:
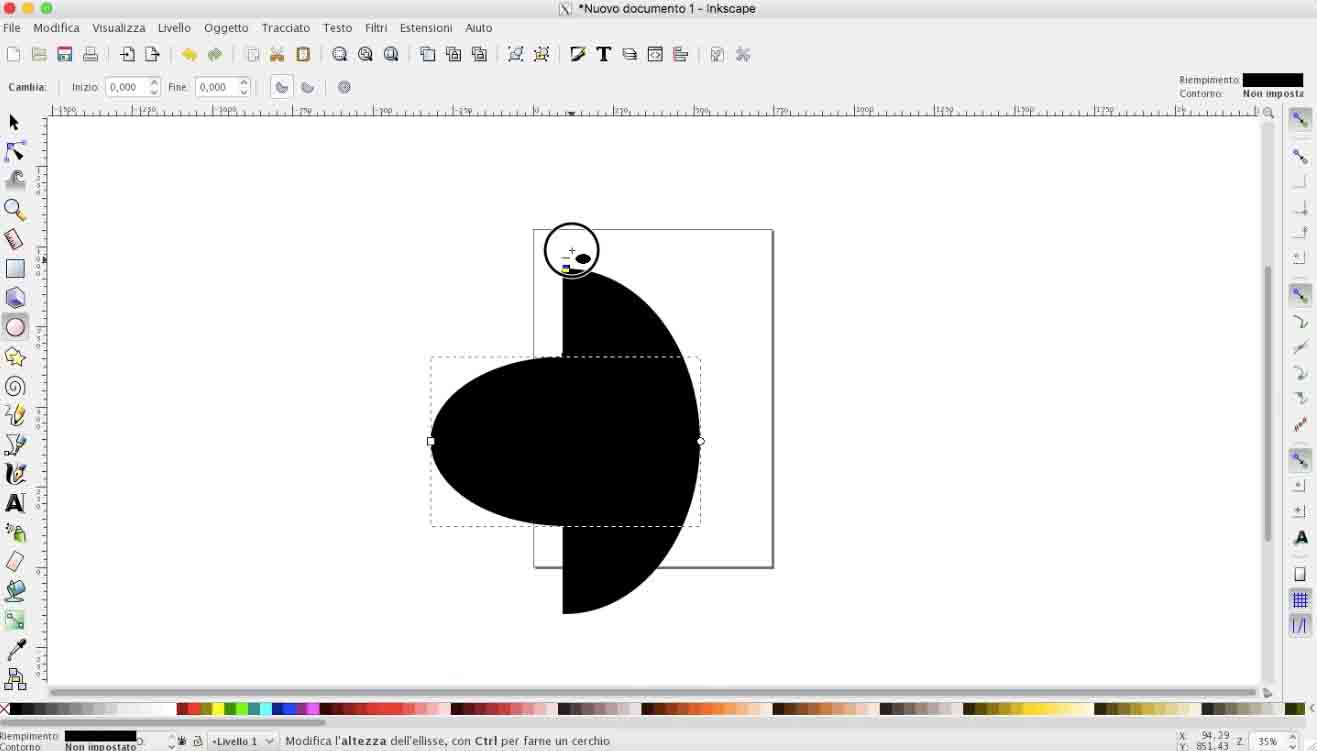
I want to add a pattern like the Illustrator's one, but was harder than I thought. The command is hide, it isn't intuitive as Illustrator and the library wasn't complete. It have only a few basic patterns. Honestly I didn't try to do a lot of things, because working with it is difficult for me. It also slower than Illustrator.
In my opinion it have only one good thing: it is an open source software.
3D MODELLING
As 2D modelling softwares, I have never used any programs about 3D modelling. I have decided to learn to use Autodesk Fusion 360 and OnShape .
For tests both software, I have decided to draw a 3D model of my final project.
Fusion 360
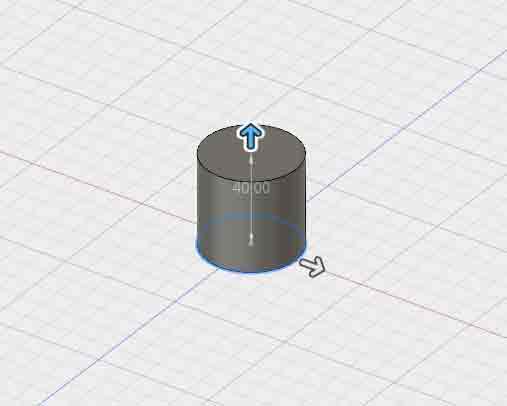
As I said I have never used this kind of software before, so I have looking for some tutorial on the web. I have used the official page of Autodesk to learn the basics ( link ). On it I have found an exaplanation for each command. I have found it usefull because it's clear and it is explained well. I have also founded some tutorial on Youtube . After that I have started to use Fusion for my sketch. I have began by placing a cylinder on plane to create the support for table.
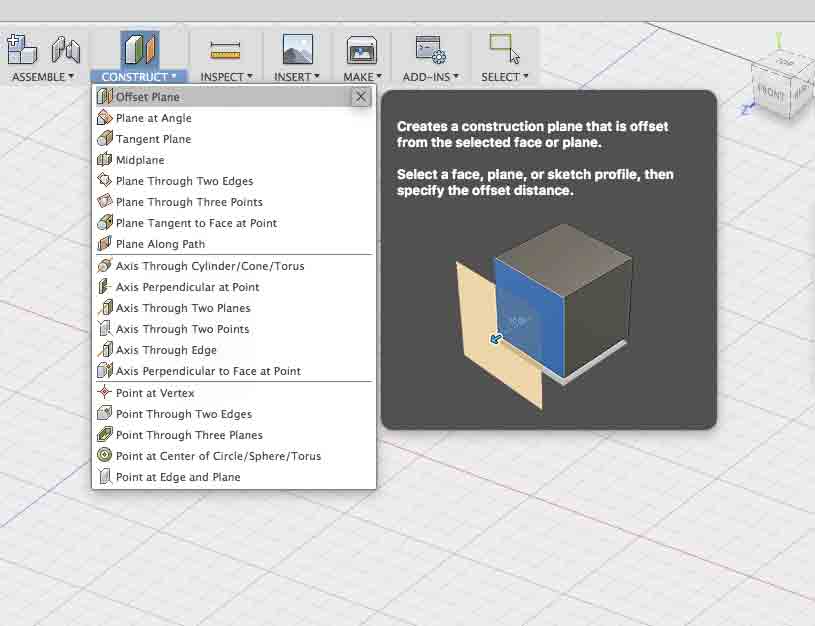
After that I have placed the surface on the bottom of the cylinder by using offset plane command. I want to underline one thing that I have appreciated of Fusion. For each command there is an explanation with an example. I have found it very usefull, especially for a beginner like me.
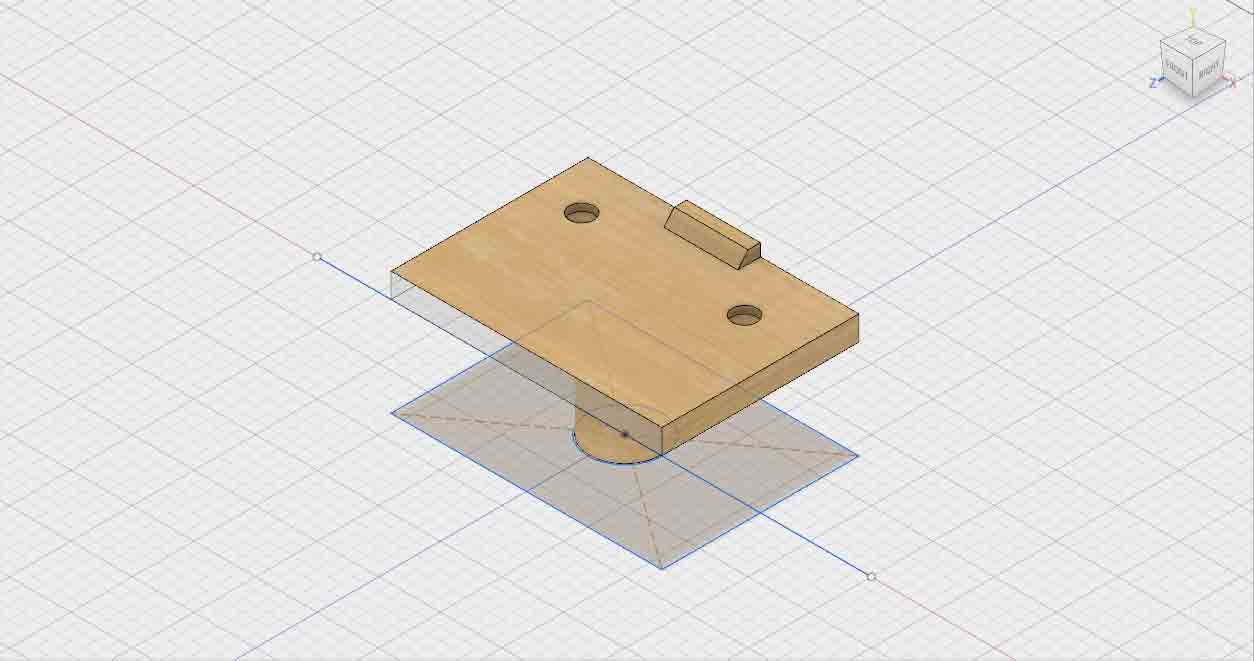
Then I have proced to complete my sketch by using other tools like combine for adding new section on surface and draft for draft angle of new section. This is the result.
UPDATE
During this weeks I have used Fusion360 to do most complicated things. I got confidence with it so I wanted to try other tools like Animation or Rendering (check week 9 documentation).
I have tried to do other objects. There isn't useful for some project, also for me to do practise.

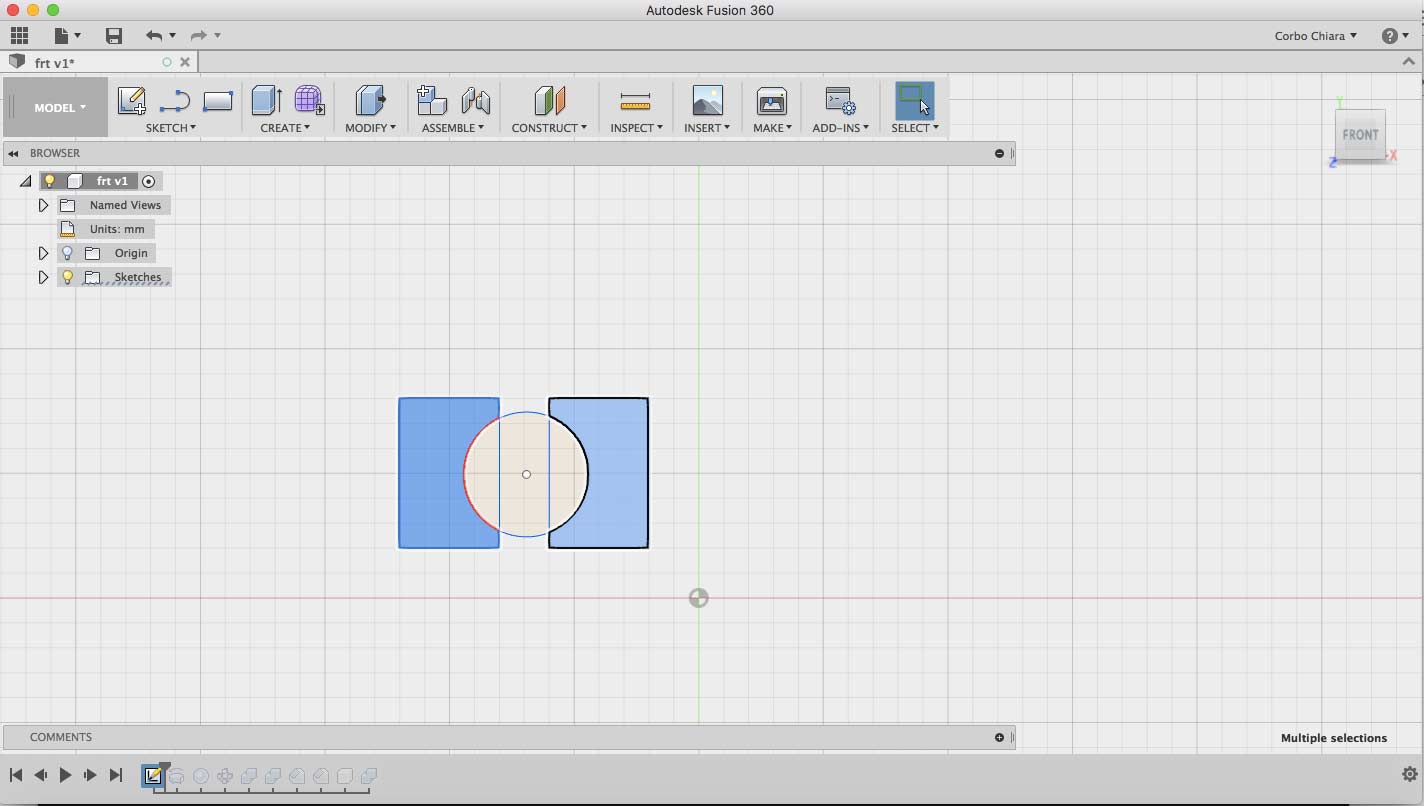
I done a 2D sketch of it, I have selected the parts who interested me and then I used Revolve tool.

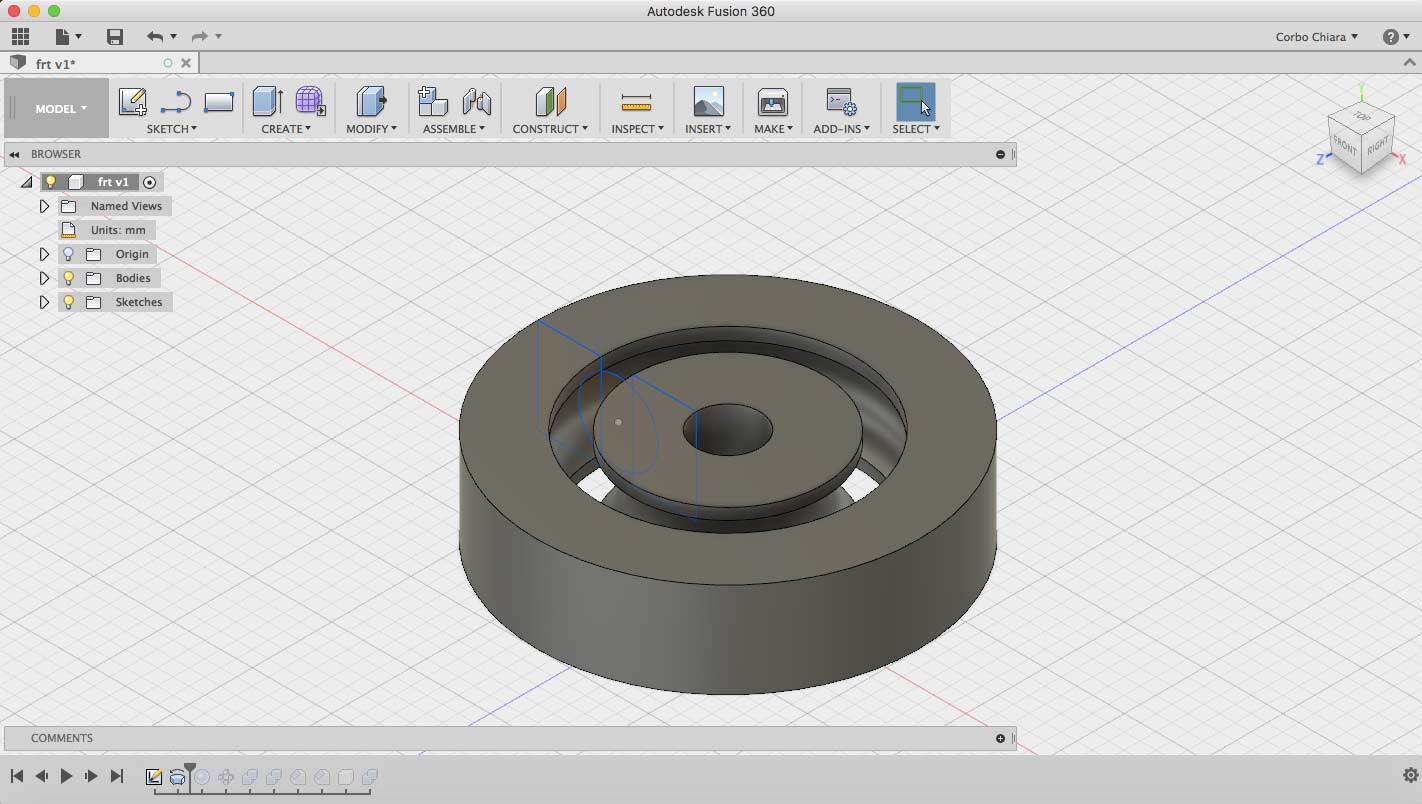
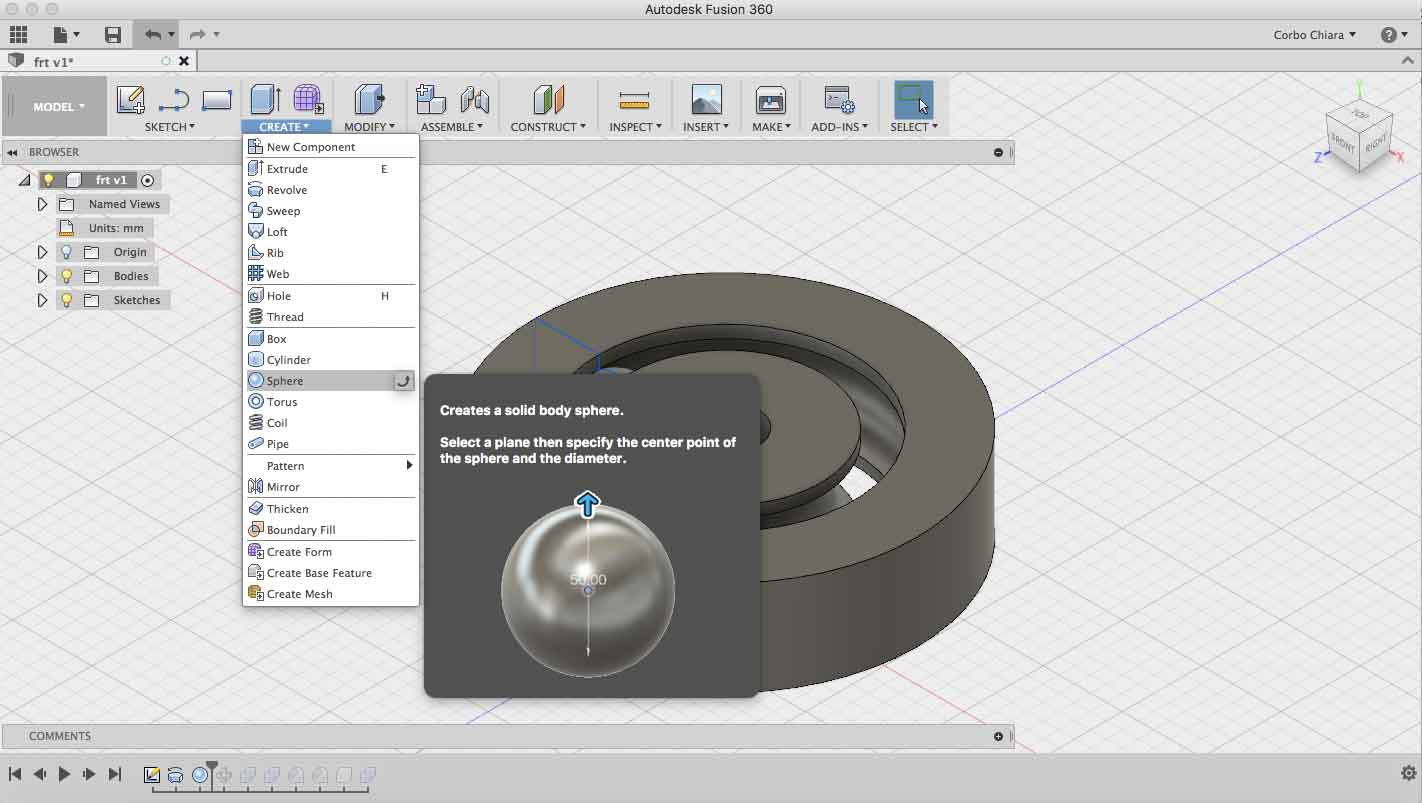
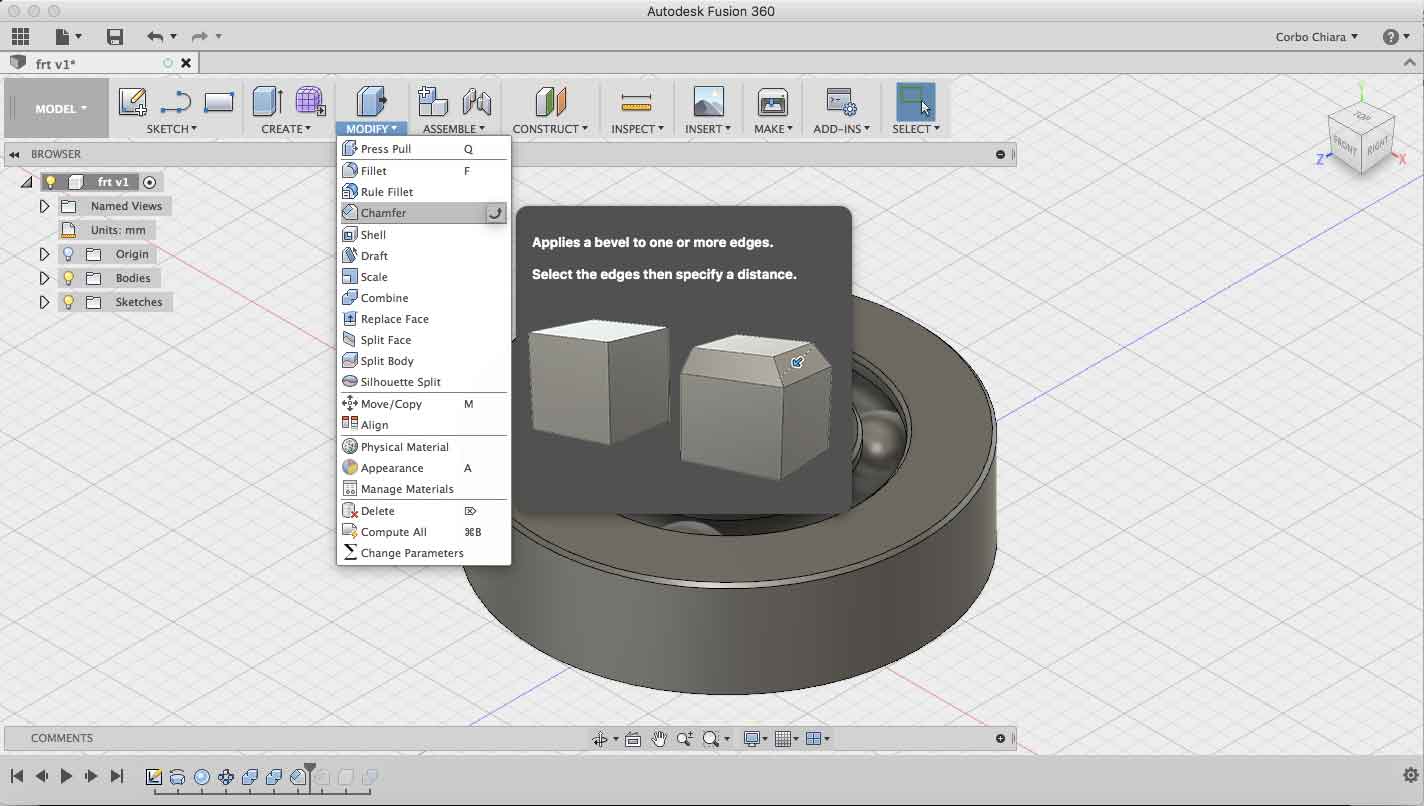
After that I have created the spheres. With Sphere tools I drew a sphere with the same size of my previus sketch.
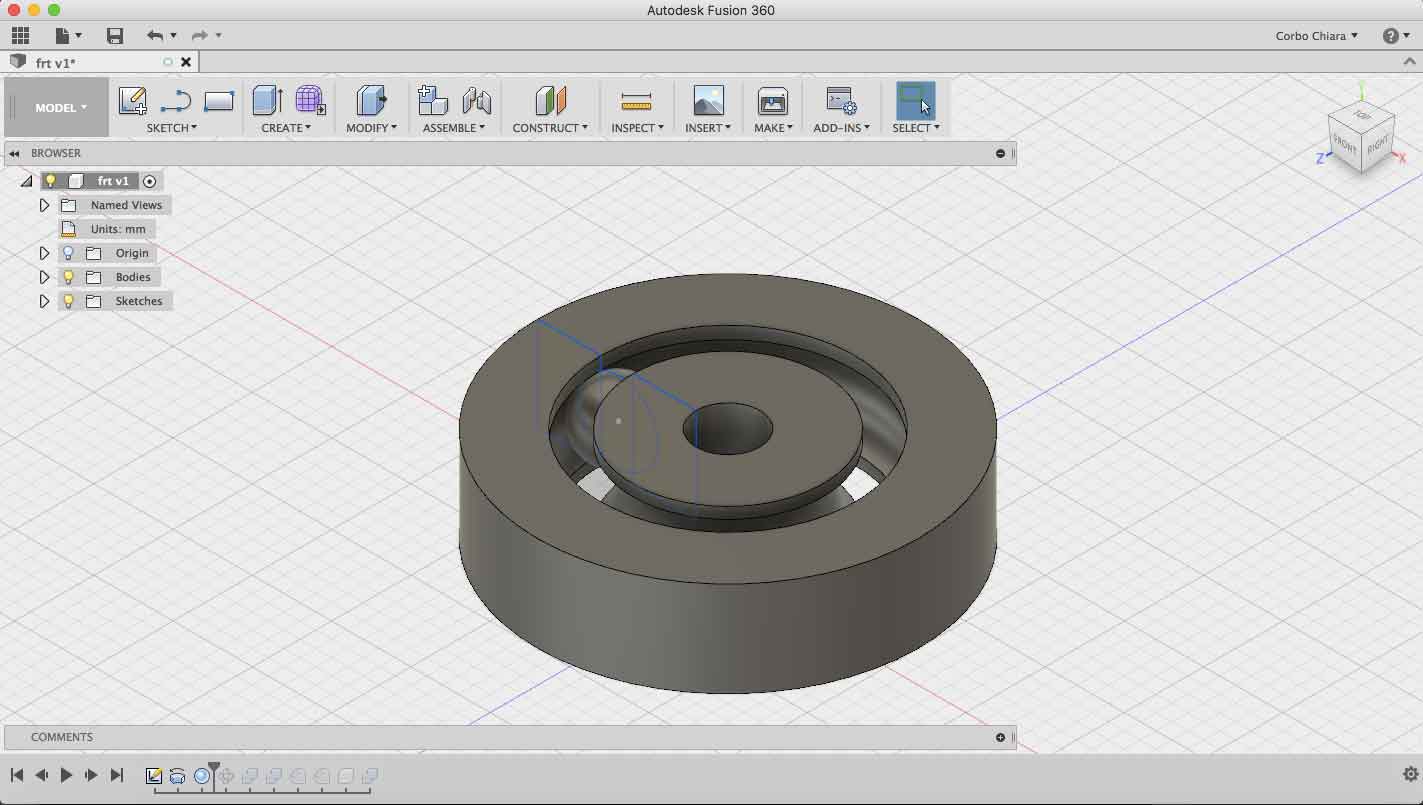
Then I created a circular pattern, and at the end I use Chamfer tool to flatter edges of the shape.
OnShape
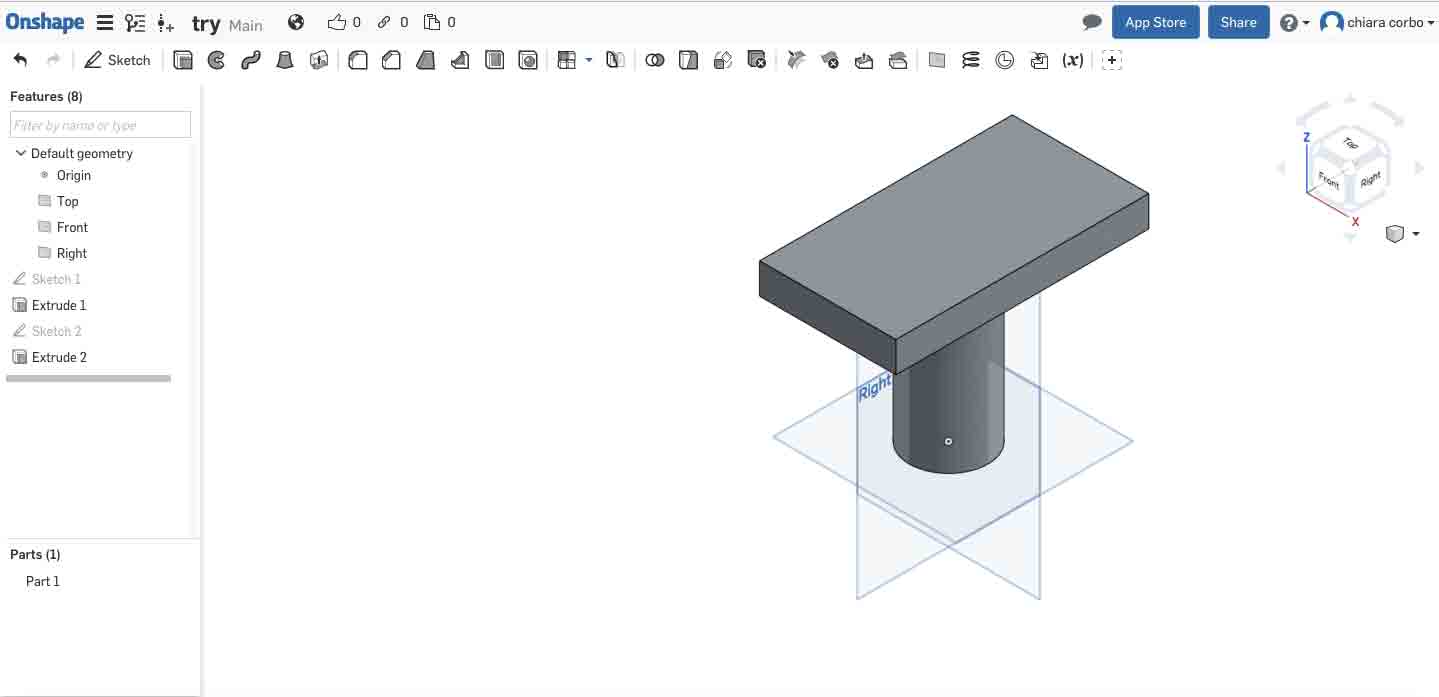
I have decided to use it because it is a online software that anyone can use with a simple registration. My instructor suggest me to use it because it is great program for who don't have any experience with 3D modellig. I have tried to draw a sketch of my final project.
I have looking for some tutorials for understand how starting my sketch and I should be honest I have found a lot of problems. First of all it isn't easier as Fusion. I have found it complicated and inefficient. The workspace isn't clear and tools aren't explained.
I have tried to draw my table but the result are terrible.
UPDATES
Check this weeks for see more 3D models that I have designed.
1) Week 5: 3D Printing and scanning
2) Week 7: Computer-controlled machine
3) Week 9: Machine design
CONCLUSION AND DOWNLOAD
During this week I have used two software for 2D modelling and two for 3D modelling, but during Fab Academy I want to testing more software and I want to learn to use more tools for sketch something complicated.
Meanwhile, there are my files that I have made during this week:

This work is licensed under aCreative Commons Attribution - ShareAlike 4.0 International License.