Week 7
Computer-Controlled Machining
Objectives
Learning Outcomes
Have I ...
Documentation
I used to work with plywood and Router CNC because I am a partnership of iFurniture. A Peruvian StartUp of digital carpentry,"#CarpinteríaDigital" as we called. We have a Chinese router CNC, when we bought it, I was the only operator, then I teach my partners and now we shared the knowledge to interns or people who wants to learn.
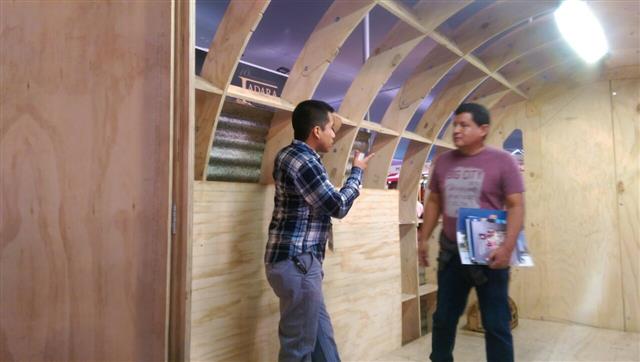
To be able to take Academy diploma, I leave my business or reduce hours. But, Perú two or three months ago suffered natural disasters, as social help we promoted to manufacture Shelter 2.0, a kind of house for victims. I did a Shelter for a university two years ago. Now, a weekend I went to our factory to teach how to assemble, cut, check cutting files, etc, etc to volunteers united to the cause.

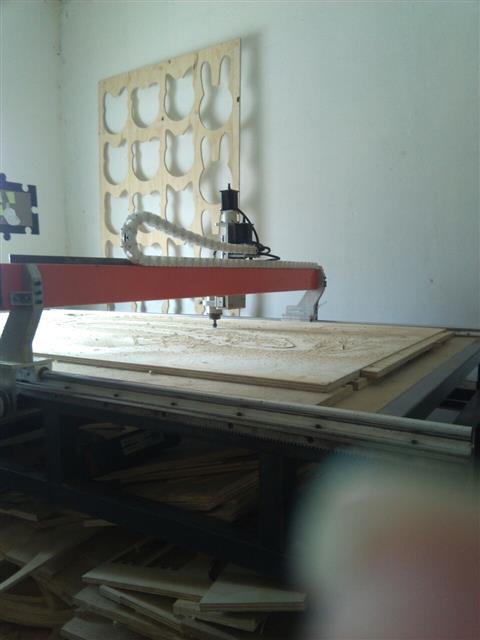
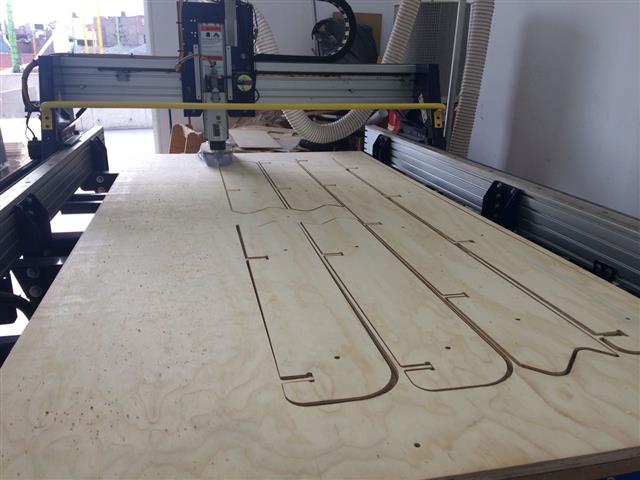
My partner Vaneza Caycho, who takes academy 2014 when I was working at FabLab Tecsup, ask for help to FabLab Tecsup because our machine was not enough to cut a lot of plywood plates.
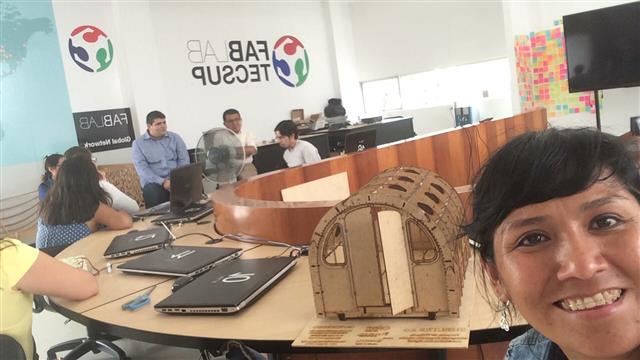
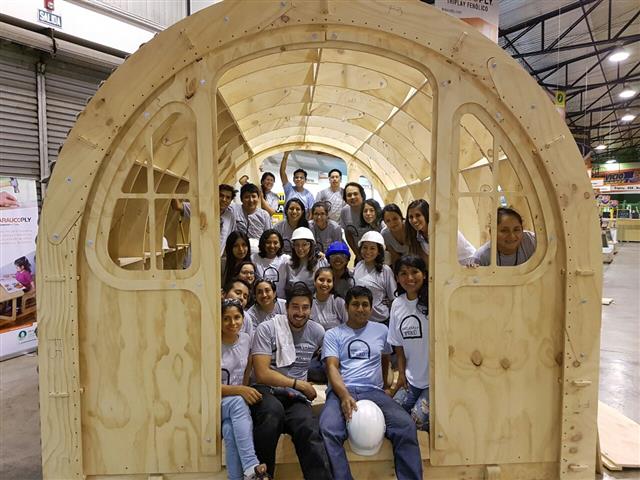
Using Shopbot 2D
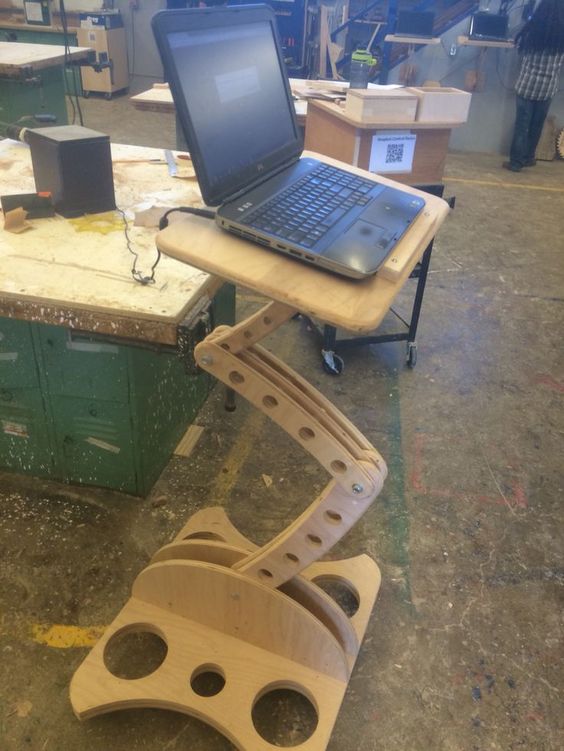
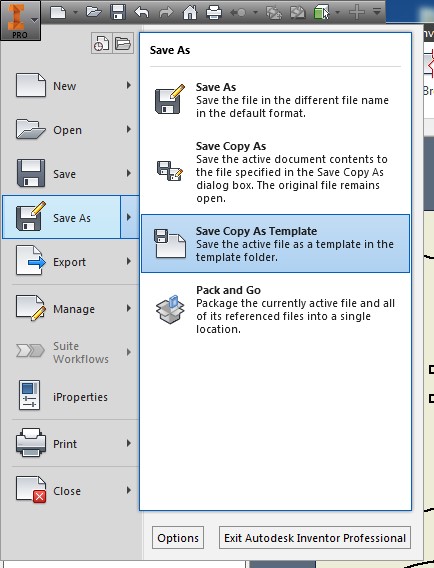
I did my design using Inventor software. My design was based on a picture I saw on Pinterest. I have a basic Inventor domain, so I was making design changes. I called it "FrijoHand".
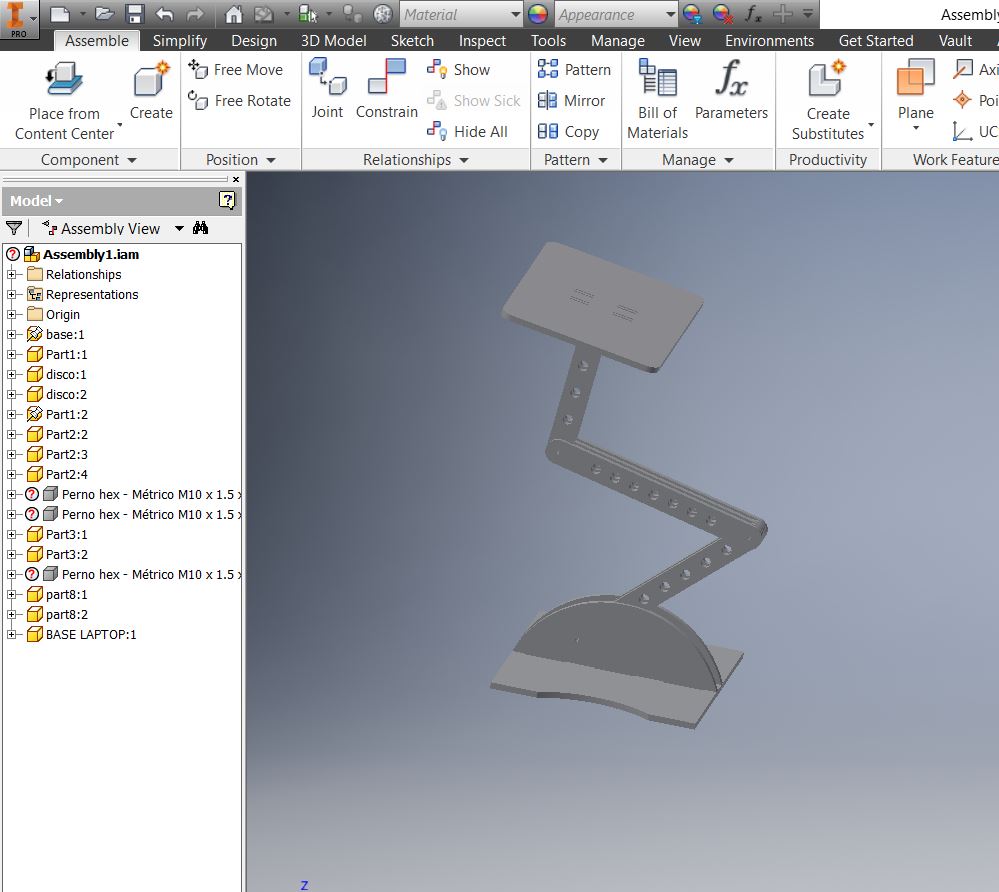
I export files on .dxf and .pdf formats. Both are accepteb by PartWorks.
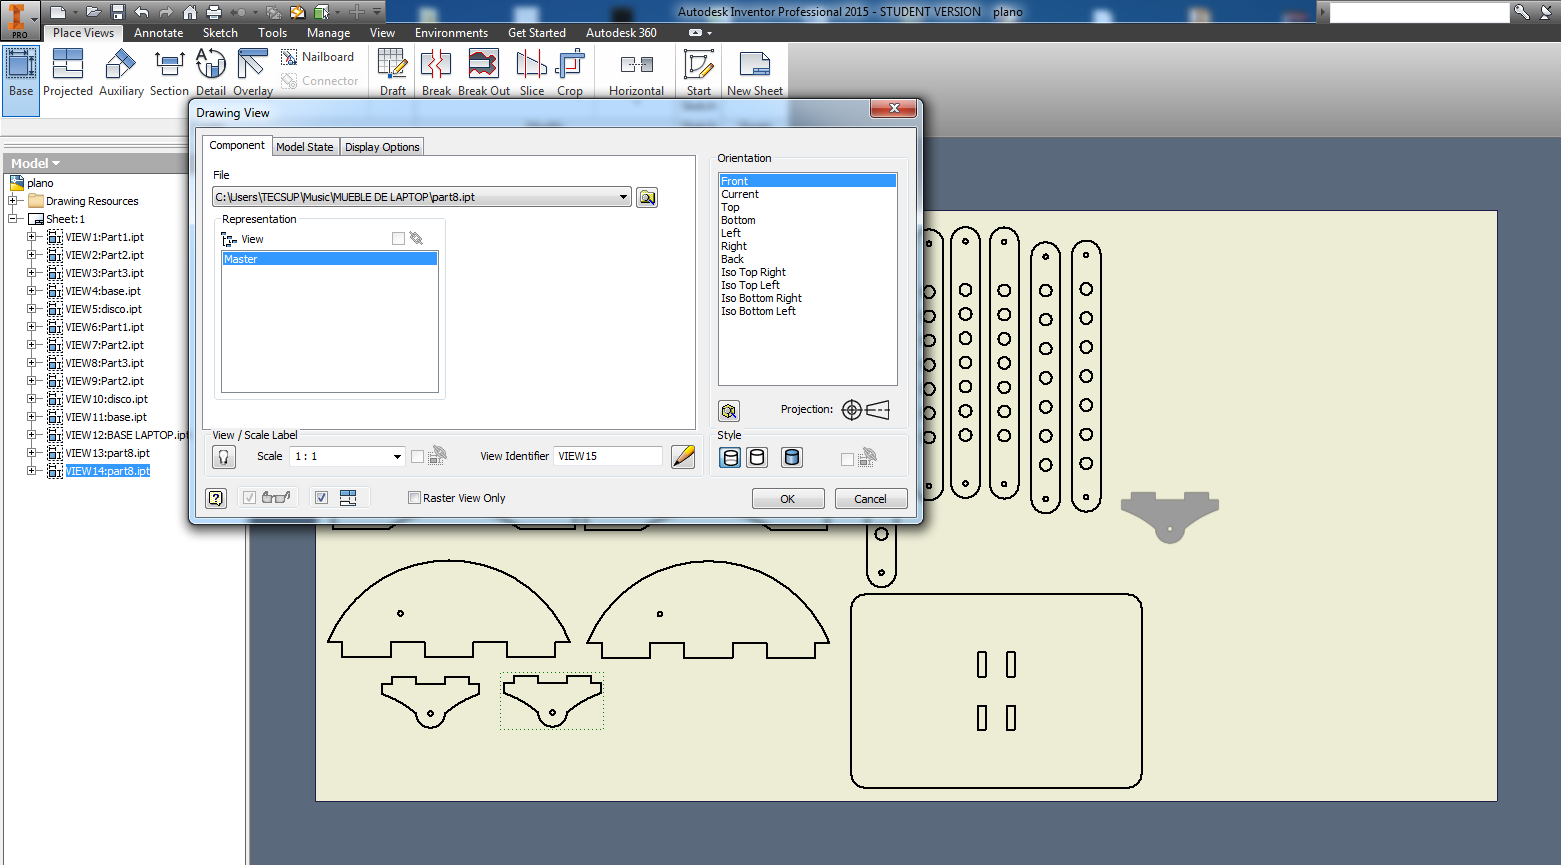
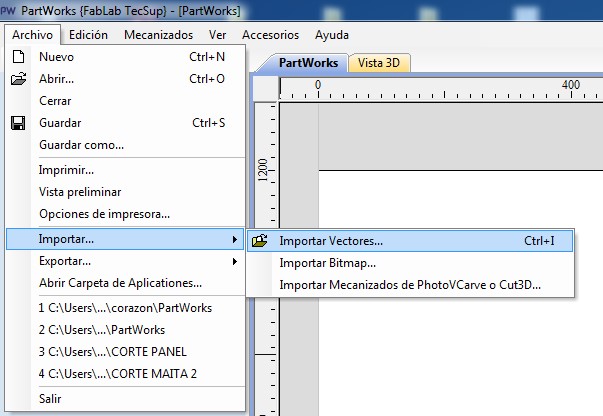
Once we have the files, open PartWorks, a software of Shopbot, to do cutting files. Click on "File/Import/Import Vectors".
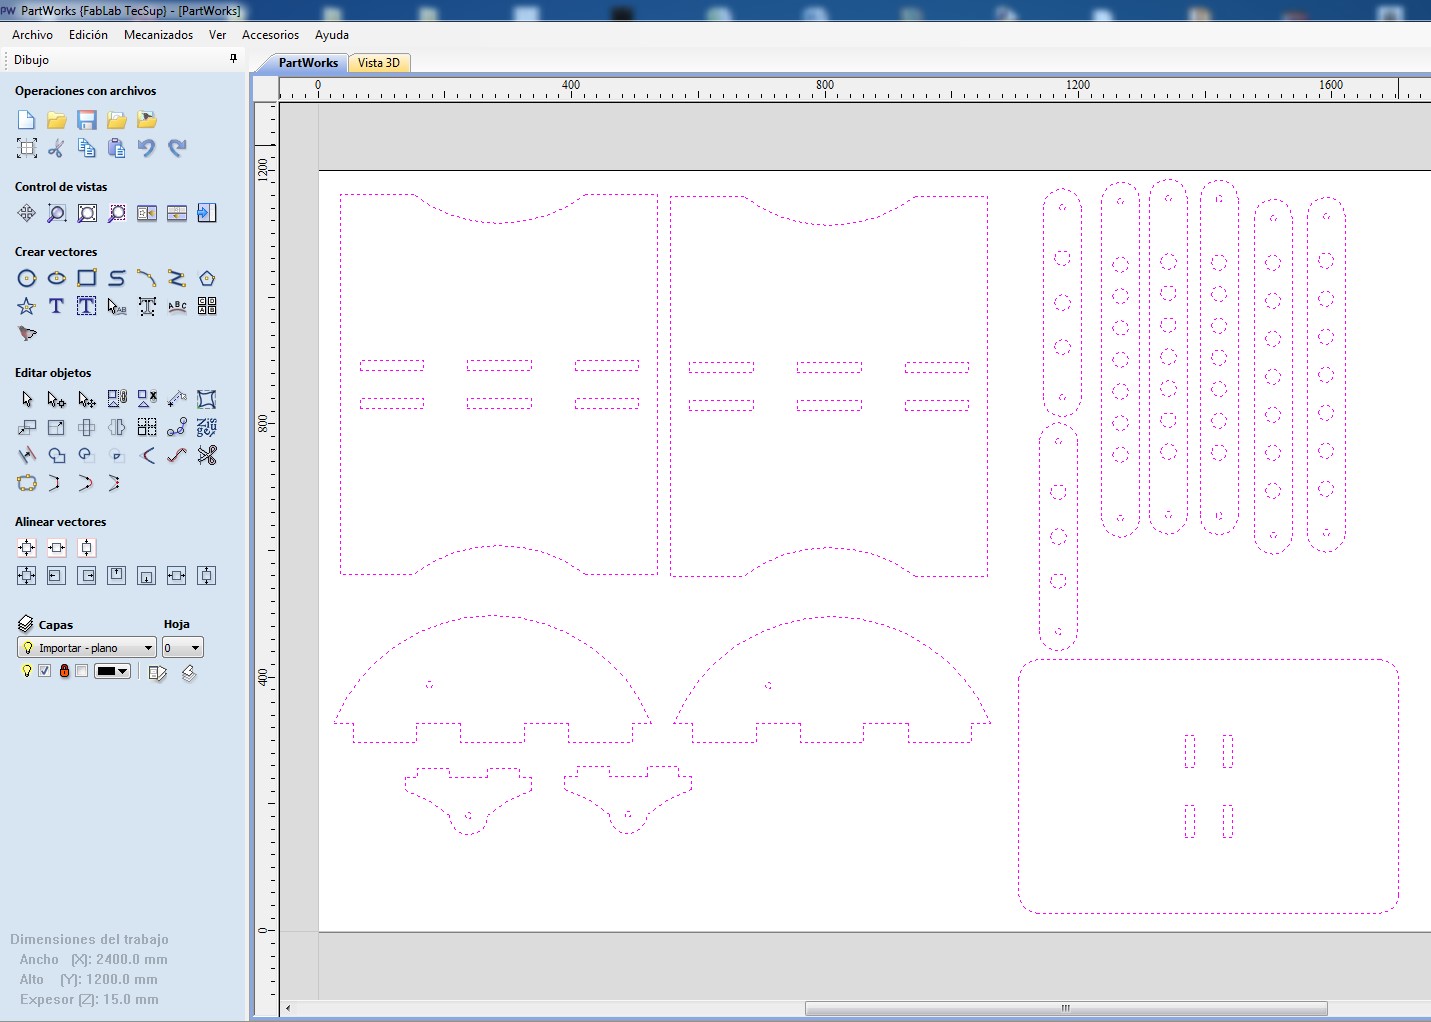
Now, place vectors imported on working area PartWorks has.
Using different tools Partworks have, proceed to order pieces in order to use the smallest possible area.
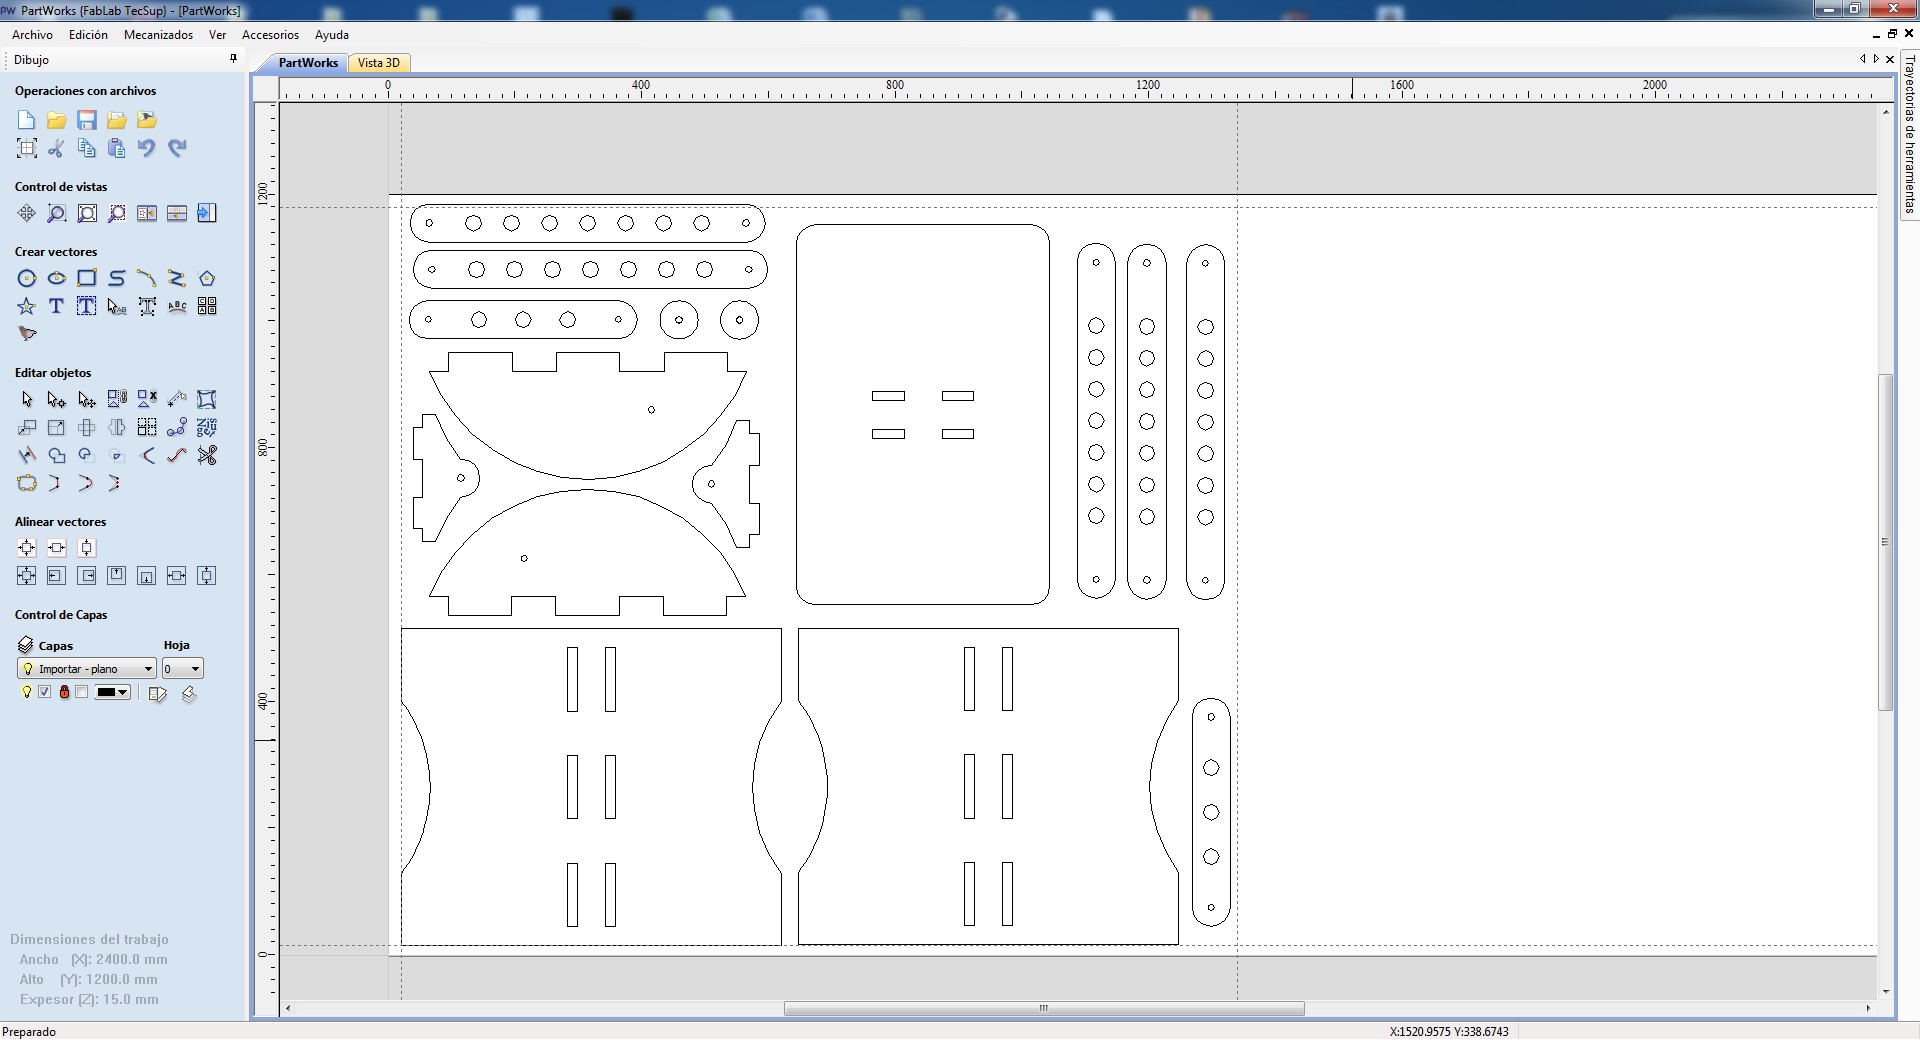
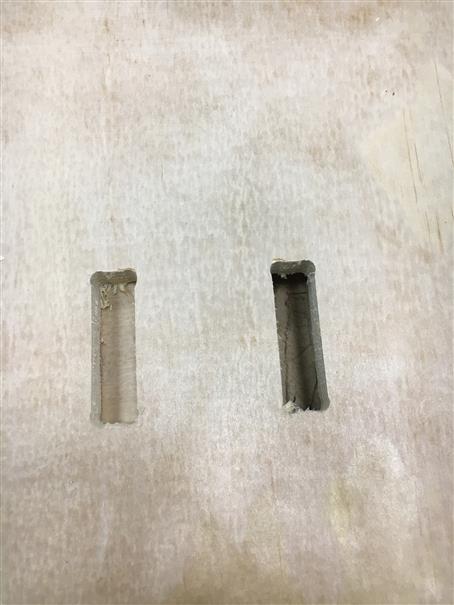
A TIP, use "dogbones", because in the internal cuts made by the milling tool, the right angles are circular so it will be difficult to assemble the pieces. "Dogbones" it is a great help!
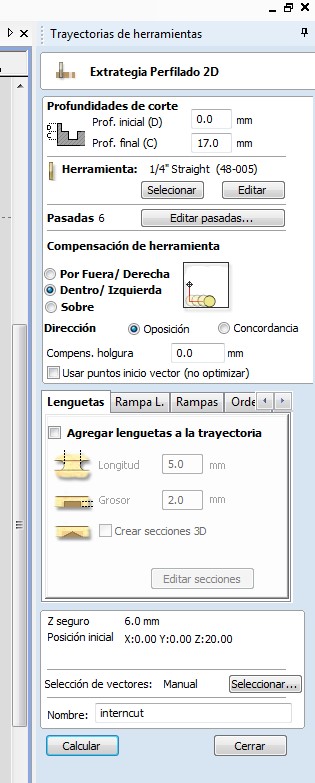
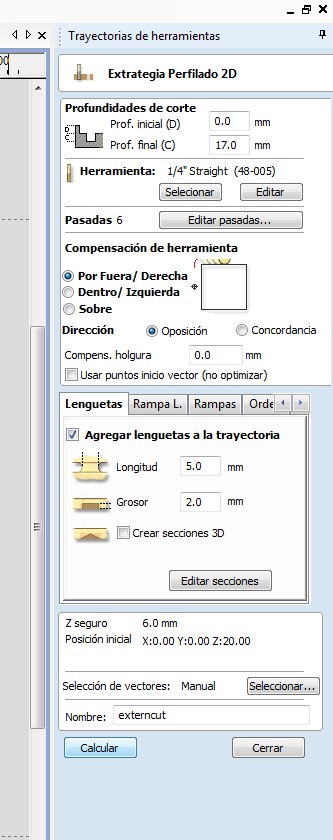
On your right PartWorks window, could find options to generate cutting files. Below, I show the configured parameters. First pic, it is about traces that are going to cut inside. And the other pic, going to be cuted the traces outside. Finally, saved our cutting files.
Each milling tool has parameters. On the next, window we can see a window of "Tool dates"(Base de datos de herramientas). There are explained most important parameters.
1. "Name"(Nombre): it is how the tool is called
2. "Diameter"(Diámetro): the measuare of diameter in this case is expressed on inchs. (0.25 = 1/4")
3. "Depth of pass"(Profundidad de pasada): it is the value that tool enter each pass into the plywood in order to cut it. (0.125 = 1/8" = 3.175mm)
4. "Velocidad de husillo"(Spindle speed): it is how much RPM is spindle
5. "Velocidad de avance"(Feedrate): the speed at which the spindle advances, using X and Y axis, in this case "100mm/seg".
6. "Velocidad de bajada"(Down speed): it is the speed that the head descends when it will do another deeper cut.
All those parameters mentioned were used to cut 15mm thick plywood.

I need to change of milling tool, I used 1/4" milling tool (1/4" means diameter). Then, I asked an assistant to help me place the plywood board on Shopbot. Then, I secure it to the base using screws and screwdriver.
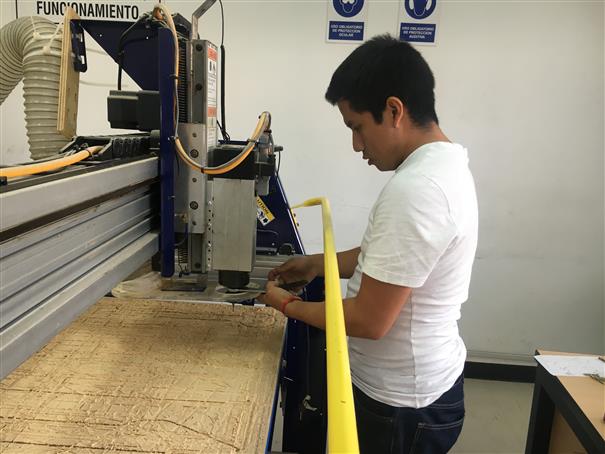
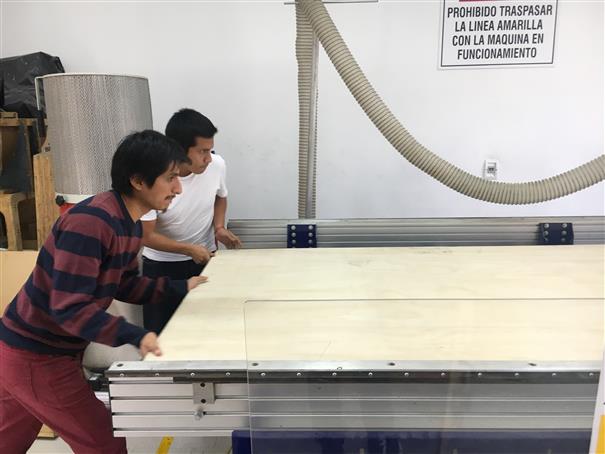
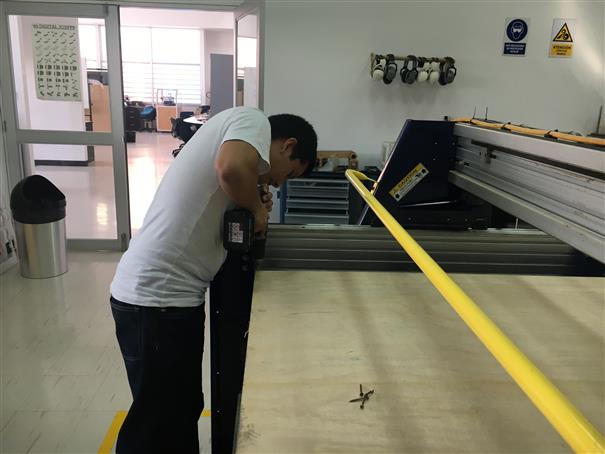
Once, plywood board is secured. Open Shopbot 3 software. Using icon shown in the next image X and Y axis are calibrated. To calibrate Z axis, have to use plate holded on Shopbot headed and icon on the left side of "Zero X/Y" icon.

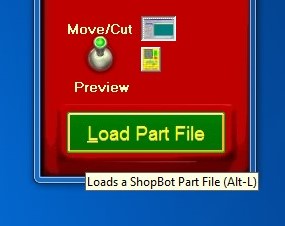
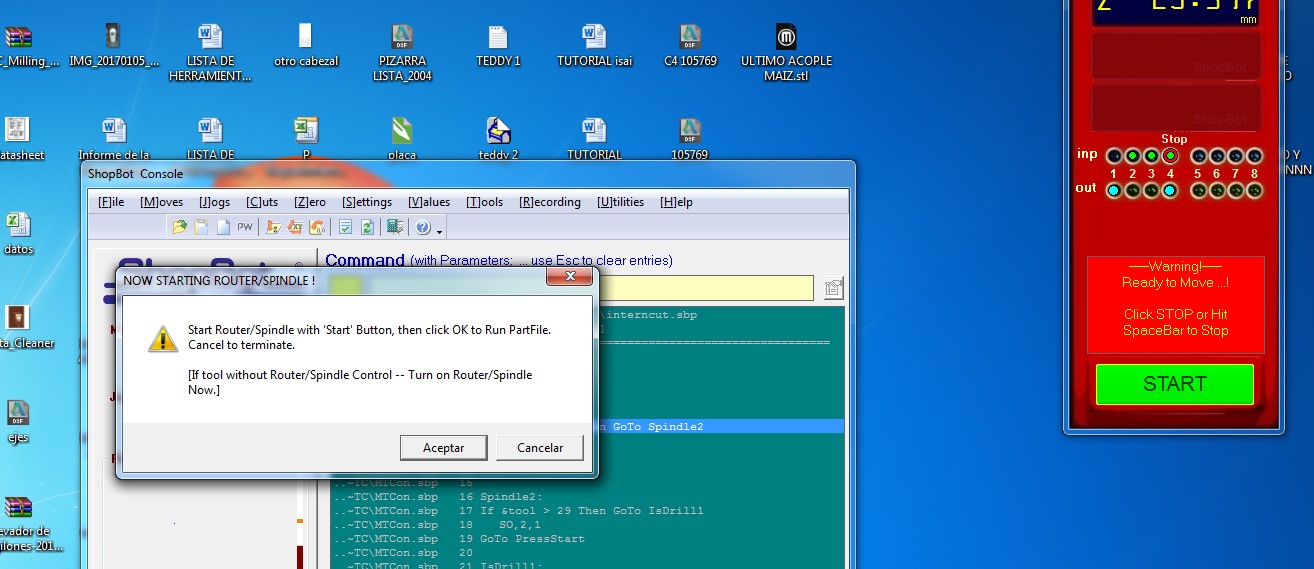
Now, on color red window, click on green button "Load Part File" and choose FIRST "intercut.sbp" and SECOND "externcut.sbp". When you press enter, there will appear this window. So, press green button of control Shopbot, wait just seconds to shopbot headed reach the appropriate RPM and click on "Accept".
Wear protective eyewear and earmuffs to monitor the cutting process.
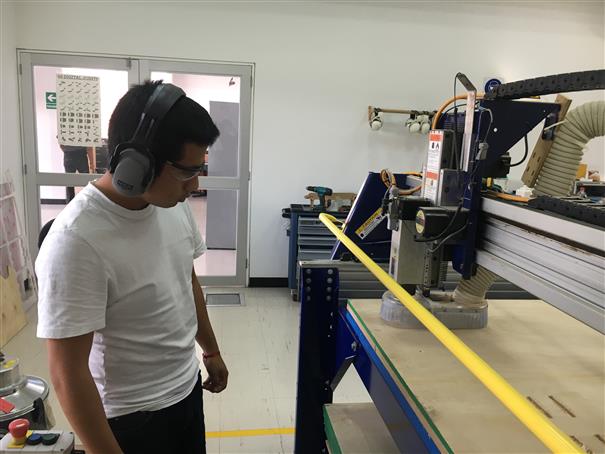
Once the cut ends, I used sandpaper to file some rough.
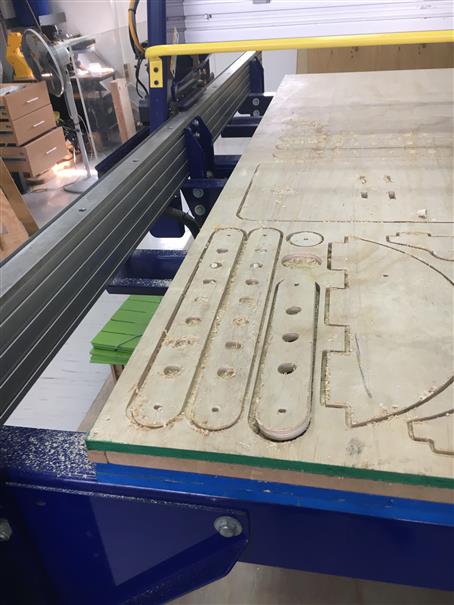
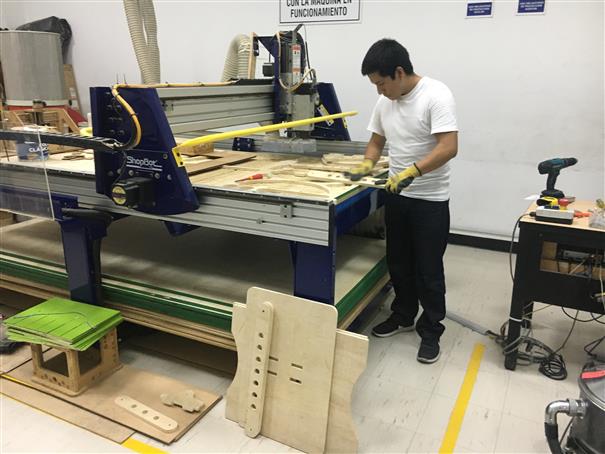
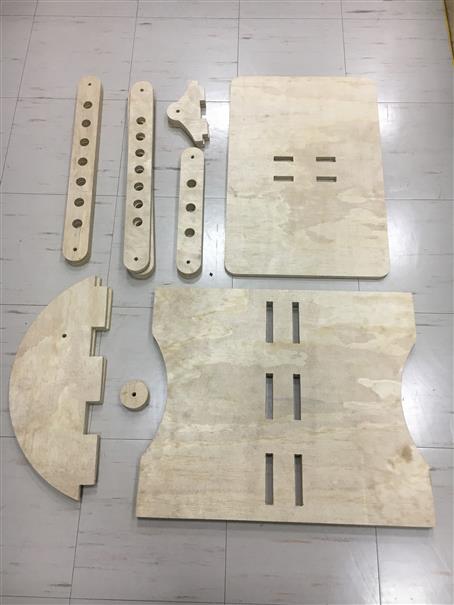
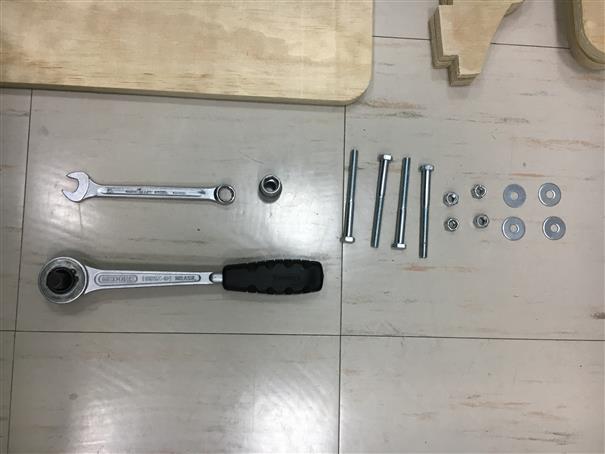
For assembly, 3" 1/2 bolts are required with their respective nuts [Safety nut: it has a inner jeb] and washers [4 units]. A ratchet wrench, 13mm or 1/2" socket and a wrench 13mm or 1/2".
Here a video!
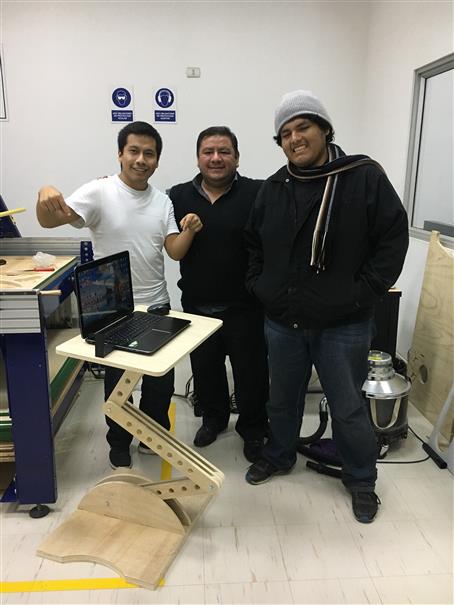
Showing my work to some friends !
Learning Router 3D
Once the block is fixed, lets to calibrate. Use the plate hold to shopbot headed to calibrate Z axis.

X and Y axis are calibrated using inductive sensors, these act as limit switch. Then lets to set parameters on 6 windows.


Files
Here my files: -FrijoHand plane (.dxf) -FrijoHand plane (.pdf) -FrijoHand Partmowrks -Moldehembra.stl -Moldemacho.stl
Result
We have our station work ready. FrijoHand!
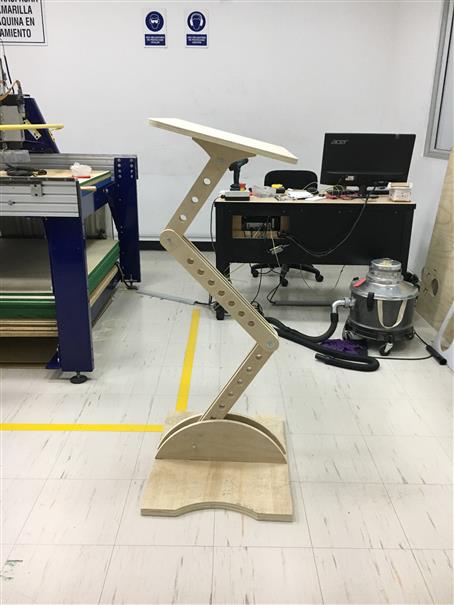
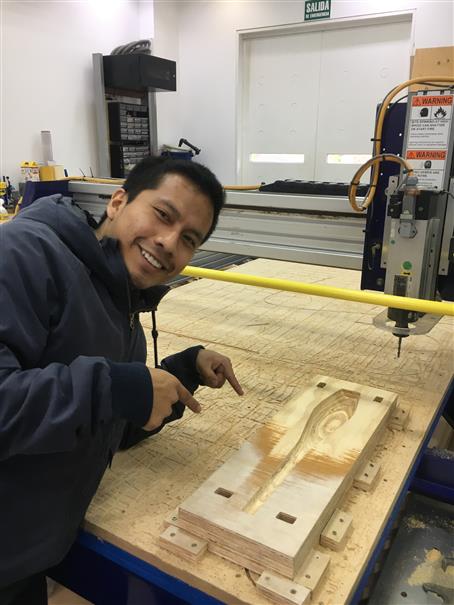
After 6 hours used per each mold, I did it.
iFurniture were part of an event where various companies showed solutions for the damage of natural disasters. I went to show our work.
