*Model (draw, render, animate, simulate, ...) a possible final project, and post it on your class page with original 2D and 3D files.
Learning outcomes:
*Evaluate and select 2D and 3D software.
*Demonstrate and describe processes used in modelling with 2D and 3D software.
Have you:
*Modelled experimental objects/part of a possible project in 2D and 3D software.
*Shown how you did it with words/images/screenshots.
*Included your original design files.
For this assignment I had to explore with some 2D and 3D modeling softwares.
2D modeling:
Raster:
Raster images are created with pixel-based programs or captured with a camera or scanner. They are more common in general such as jpg, gif, png, and are widely used on the web. (You can find more information here.)
This is my first time to use it, let's see how it works.
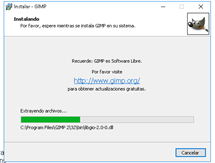
GIMP is an acronym for GNU Image Manipulation Program. It is a freely distributed program for such tasks as photo retouching, image composition and image authoring. (You can find more information here.)
Well, I downloaded it and installed on my PC:
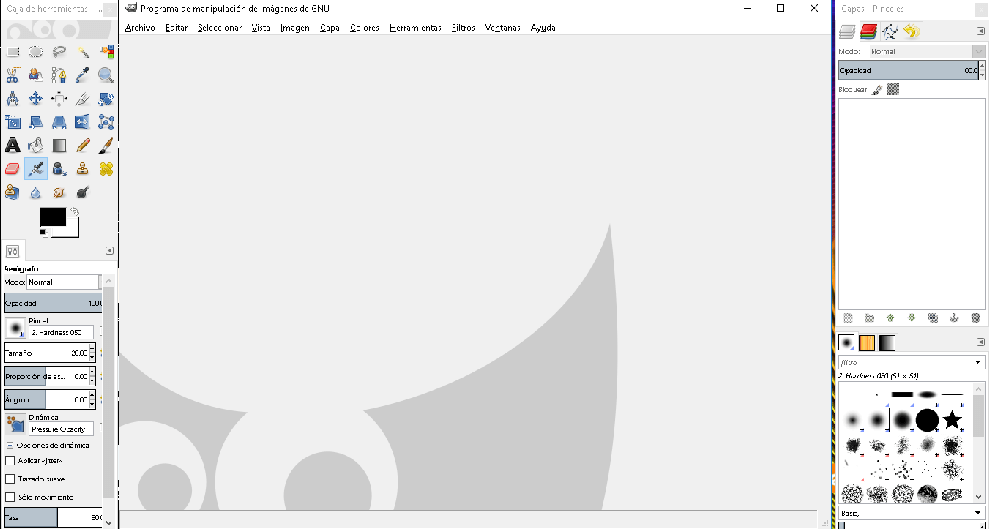
First I'll try importing an image to transform it. (I used this tutorial to learn how to work with GIMP)
I made this video to show you how it was, and here you have the steps:
-Create a copy of the current layer.
-Select the copy
-Pass the color image to black and white using the color tool and selecting threshold and moving the triangle to the left to 65
-Duplicate the layer of the original image and place it above all.
-Enhance the edge contour with Gaussiandifference. Increased "radius 1" to 7.0
-Darken the image by multiplying the pixels. Click on to multiply.
-Change the color with threshold again, moving the triangle to the right to the maximum.
-The image is colored with levels. Select the color tool and "levels". Reducing the output levels to 192.
-Then it is combined with the layer underneath with a right click.
-Place the layer of the original image on top of everything.
-Pass the layer to color mode and to gain more color the layer is duplicated and this is combined with the one that is below
-Finally it is changed to saturation mode.
Result:
Comparing both imagens:
Sakura
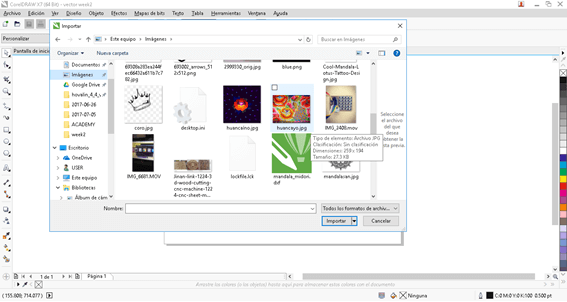
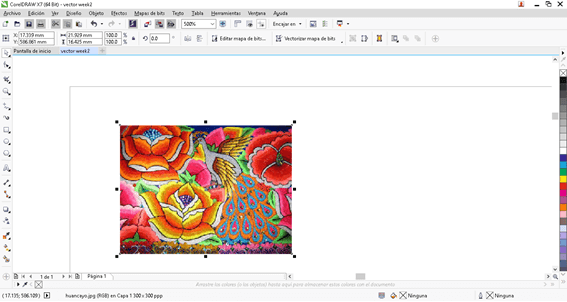
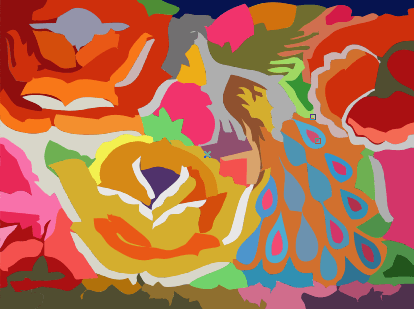
Vector:
Vector graphics are created with vector software and are common for images that will be applied onto a physical product. Also used in CAD, engineering, and 3D graphics
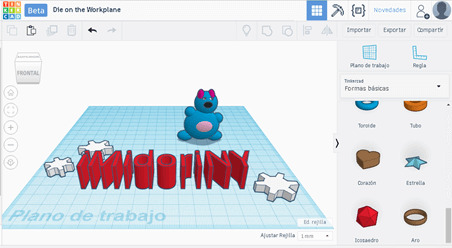
I worked with this tool before. It is good, let's see.
Is An intuitive and versatile graphical application that allows to create vectorial illustrations, designs of logos and designs of pages of high quality. here you can find more information.)
3D CAD software offers an easy-to-use set of tools for 3D mechanical design, documentation, and product simulation. Digital Prototyping with Inventor helps you design and validate your products before they are built to deliver better products faster.
After reading that I will show you how was my experience with this software
I installed on my PC and started working
I logged with my personal account same that I'm using for Fab Academy and got the student license, you can do it if you are still studying
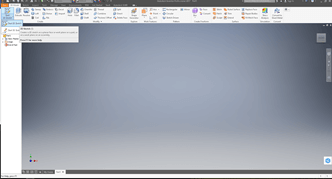
Ok, I opened Inventor and:
1.2.
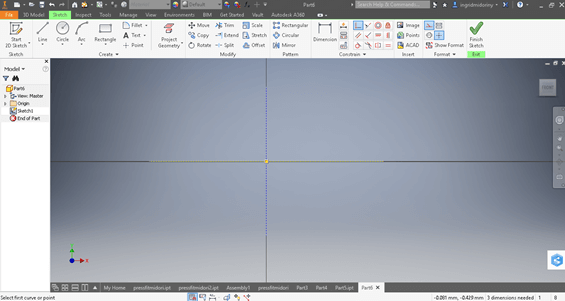
Selected a new project (mm) and started a 2D sketch, I chose "XY" plane to work.
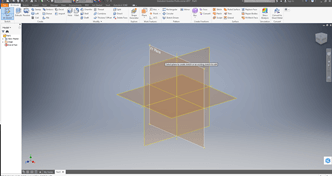
3.4.
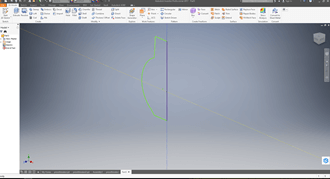
then I drew construction lines in each axis and coincident constrainted it
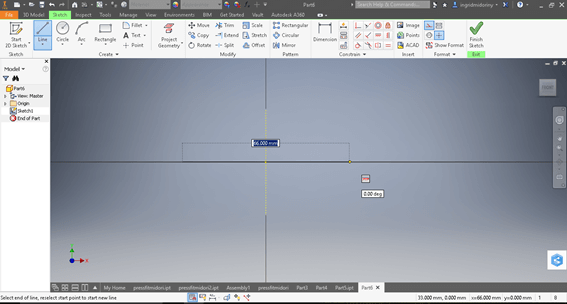
and started drawing, I use lines and arc to got this:
5.6.
Right Click on close loop and selected each line. Then click on finish sketch to pass to 3D model.
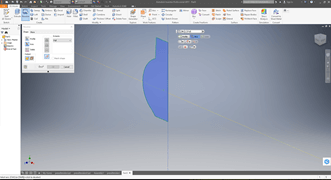
7.8.
I selected "Revolution" and chose the profile then as axis I chose "y" line. Click on "OK"
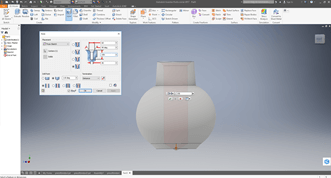
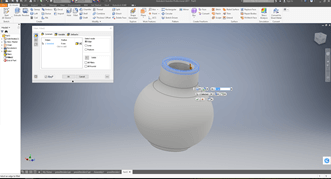
9.10.
I drew a point in the center of the top and used "hole" tool
Finally I made some filets and got this pot:
Here you can find the.stl format.Try it, I like it.
I wanted to take advantage of this activity for being able to design a mold for my final project, but I was not so clear on how to do it.
After reading about "Soft Robotics Actuators" (you can do the same in this link: http://softroboticstoolkit.com/actuators), I found more about how can I do it.
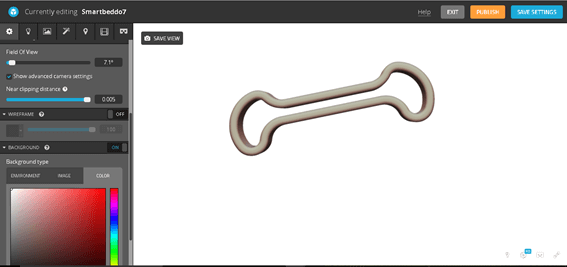
Model a possible final project
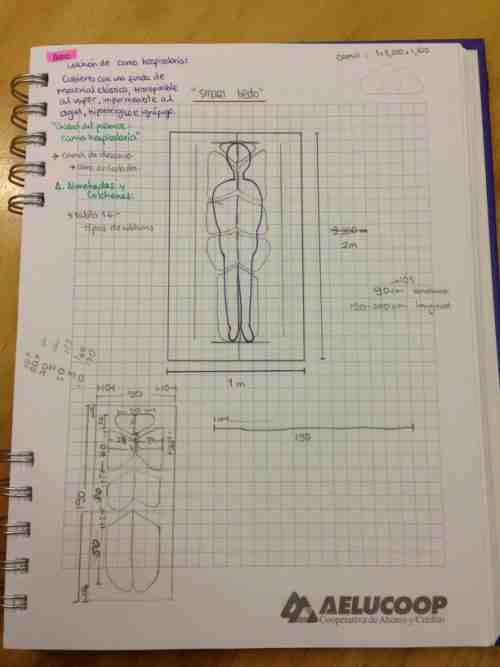
I took out a doll from the childhood box and inflated a shopping bag to get a better idea of what Smartbeddo's mold should look like.
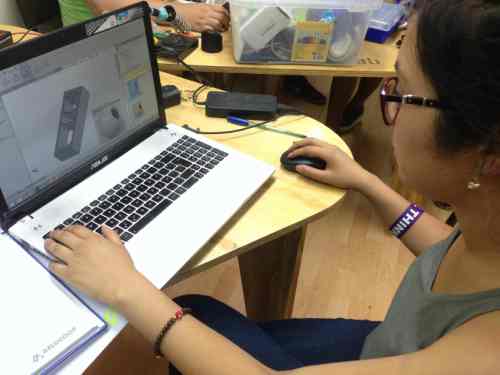
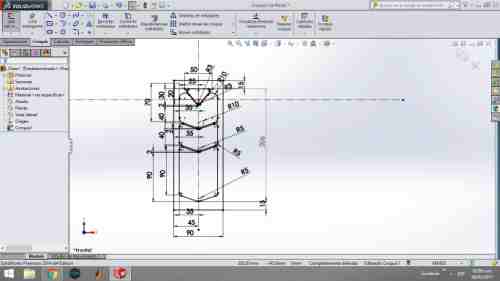
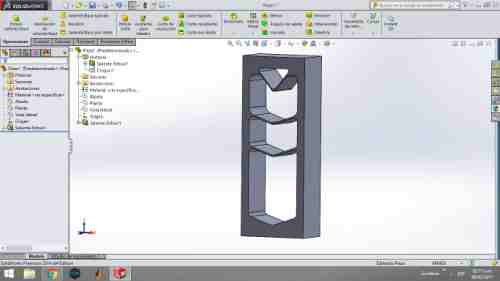
Then I put that idea into a drawing and started using Solid Works to design it. This software is very similar to Inventor (I had experience with this), then using it was interesting and practical for the first try.
Drawing
As I told you, I started with this sketch. I am considering all the points of pressure exerted by a body when it rests on the mattress.
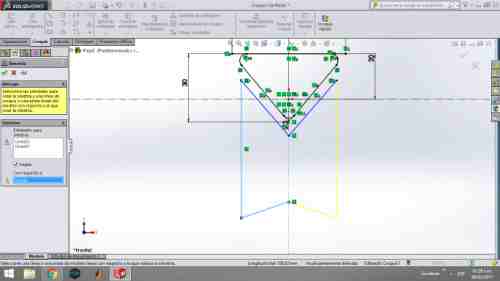
I selected Solid Works and started designing, as you can see here at the pictures, it was a good software, but I was a disaster designing because I was not clear how to do it.
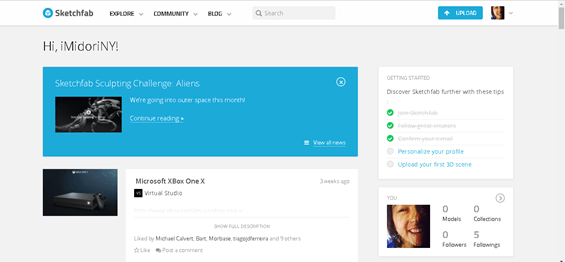
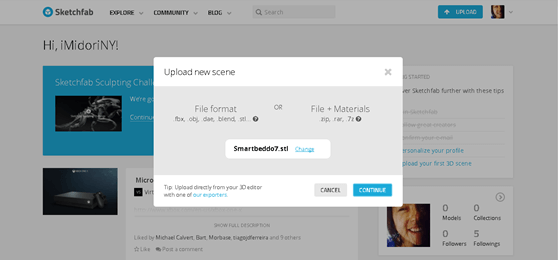
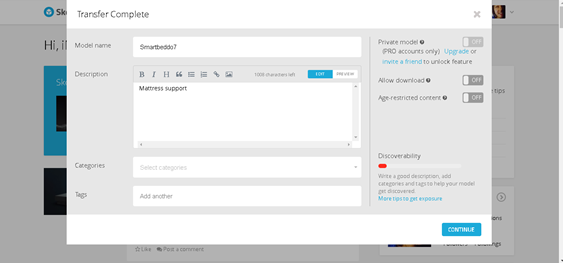
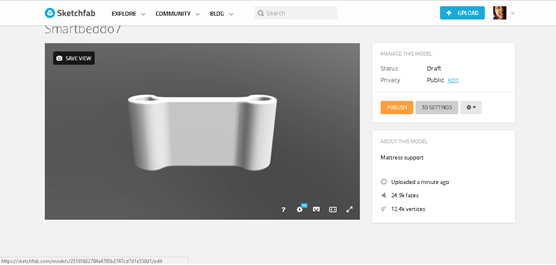
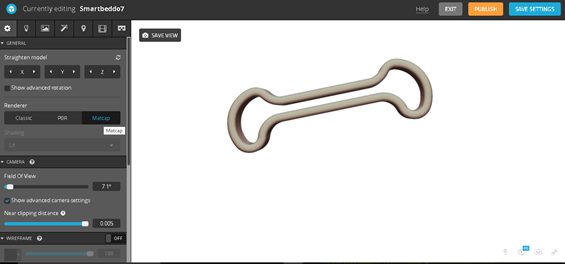
This is an excelent online software that allows you to upload the 3D model and get the link very fast. Before modify some 3D settings / parameters, you can send the link and the recipient can view it online in three dimensions, without download it.
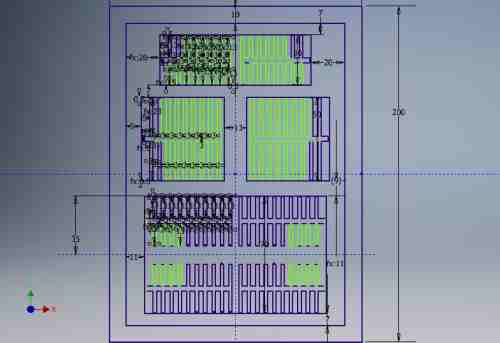
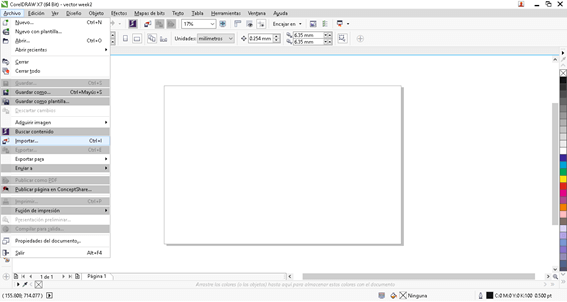
Through time I learned more about designing, and understanding more information, So, for my final project, I made some designs with CorelDRAWX7, Inventor and Rhinoceros for molding and casting.
I made this with the Inventor software, but I just needed a 2D sketch and then I just had to draw it with CorelDrawx7 to cut the acrylic for my molds or you can also export from inventror as drawing..
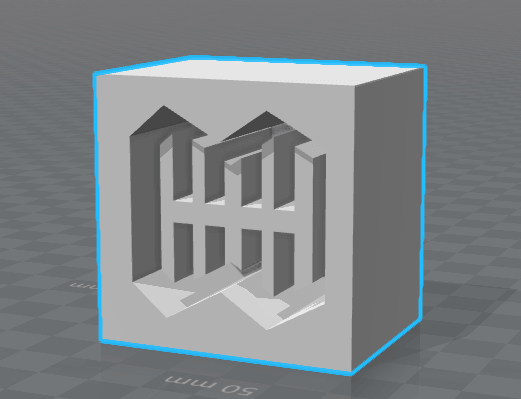
In one of my attempts of molding and casting, I made this mold in 3D using Rhinoceros software.
At the beginning it was kind of difficult, because I had no idea
how to make my project or model to my project, but I started designig with Solidworks, then I tried with Inventor because I used to work with that software at the University.
For this assignment I chose to work with "CorelDraw","Inventor" and "Rhinoceros".


 >
>
 2.
2.
 4.
4.
 6.
6.
 8.
8.
 10.
10.
 2.
2.
 4.
4.
 6.
6.
 8.
8.
 10.
10.

 2.
2.
 4.
4.
 6.
6.