The assignment
This week's assignment was to design and build a wired or wireless network connecting at least two processors, making use of identity and adressing.
Planning
My plan is to use the input and output boards developed in previous weeks for this week. So, I have an analog microphone board communicating with a RGB led board. I want to keep it simple, make a simple program, where when the microphone registers a certain level of sound, communicates with the RGB led board and turns on the LED.
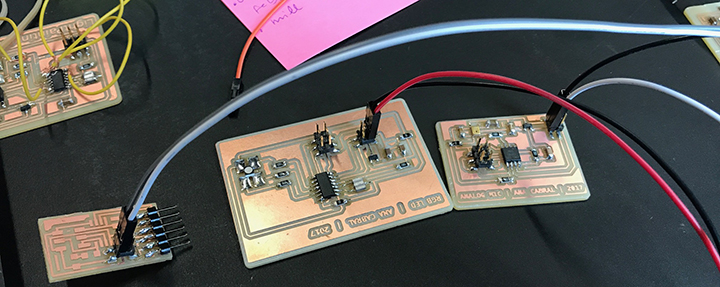
For that, I’ll use a serial bus, asynchronous, using a RS-232 serial data standard. I have also decided to add a serial bus bridge board, in order to control what is happening with my boards without having to use an oscilloscope.
In order to do that, I first need to complete my output and input week assignments.
The network protocol
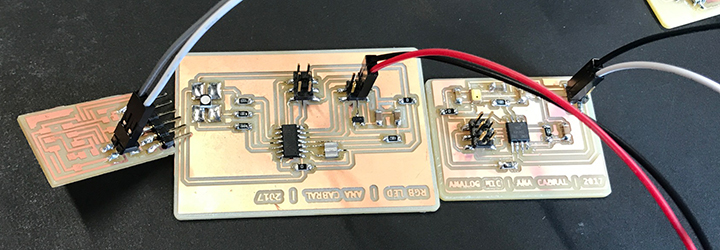
There will be a Master, in this case the computer, and 2 slaves, an RGB LED board and a ANALOG MICROPHONE board. The computer is connected through an FTDI cable, so its Tx and Rx are defined (orange cable for transmitter, yellow for receiver). The FTDI cable links to the bus bridge board, that trhough a single rainbow cable makes the connection to the slave boards. All 3 share ground and VCC.
The slave boards need to be given an id, so they can be addressed. To make it simple, let's say "M" for Microphone and "L" for led.
Microphone
Master TX: ID, ‘M’ (1byte) —> are you there?
Slave L TX: ‘m’ (1 byte) ——> hi Master, I’m here!
Master TX: ID, ’m’ (1 byte)>
Slave M TX: current sound pressure level f.x.
Taking a look at the Microphone... When the Master takes control of the bus, and sends "M", he is simply asking for a "heads up"; so we'll program the Microphone to take over the bus and reply "m".
If the Master then sends a "m", he will be asking for a value, f.x. current sound level.
LED
Master TX: ID, ‘L’ (1byte) —> are you there?
Slave L TX: ‘l’ (1 byte) ——> hi Master, I’m here!
Master TX: ID, ‘l’ (1byte)
Master TX: ’color’ (1 byte)
Slave: set led to 'color'
Taking a look at the led, the first part is similar, but when the Master send a "l", the Slave doesn’t reply, but takes action: sets led to specified color.
Step by Step...
1. I started by milling bridge board, after the files from Neil, but only soldered the FTDI and 4 pin header, so that I could connect the computer and the slaves together.
2. Gathered my (finally!!!) working boards from input and output weeks; the boards have already been modified in order to have the 4 pin header, useful in this week;
3. Analysed how to power and connect the boards, so they would share ground and VCC;
4. Defined Network Protocol (see headline above);
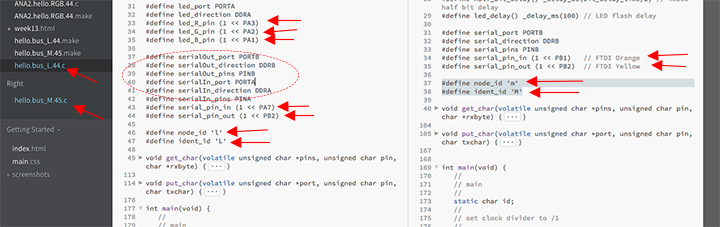
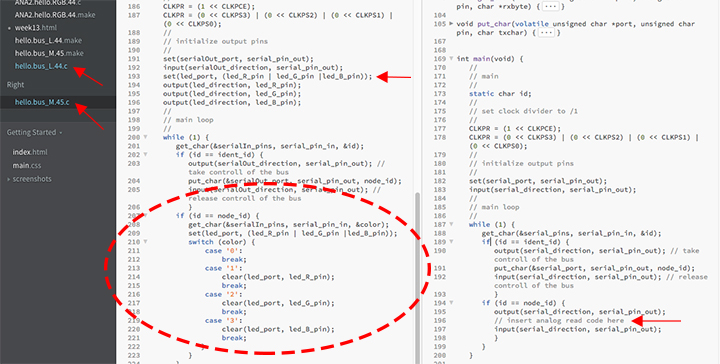
5. Based on Neil's example C and MAKEFILE for the bus board, created a C and a MAKEFILE for the Microphone and a C and a MAKEFILE for the Led board. Here, I had to be coherent with names and for the led files, be aware that I should change the microcontroller to a attiny44 instead of 45;
6. Then I adapted the code in each file.
- redefined pin, port and direction for LED_R, LED_G and LED_B in led program and pin_in and pin_out in both files; it was a bit special case with pin_in and pin_out in the led board where they are in different ports;
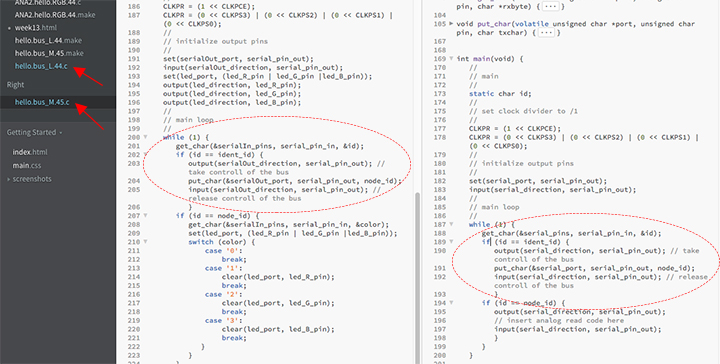
- in the main loop of each file, defined the response when for the Master's calls (ident_id and node_id);
- in the case of the led board, created a "visible" response by making use of the functions "switch" and "case"; the led changes color according to the character sent by the Master (0 for turning off, 1 for red, 2 for green and 3 for blue).
7. Loaded C files in corresnpondent boards, through usbtiny programmer and makefiles - "sudo make -f [makefile] program-usbtiny";
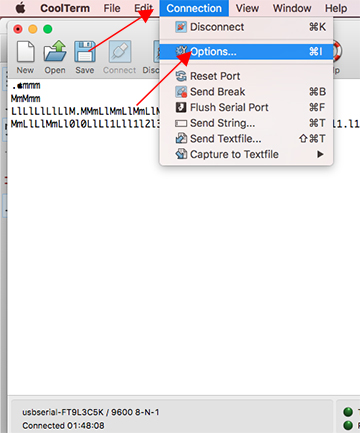
8. Downloaded and installed Cool Term, which is a serial port terminal application; basically allowed me to check the communication between Master and Slaves;
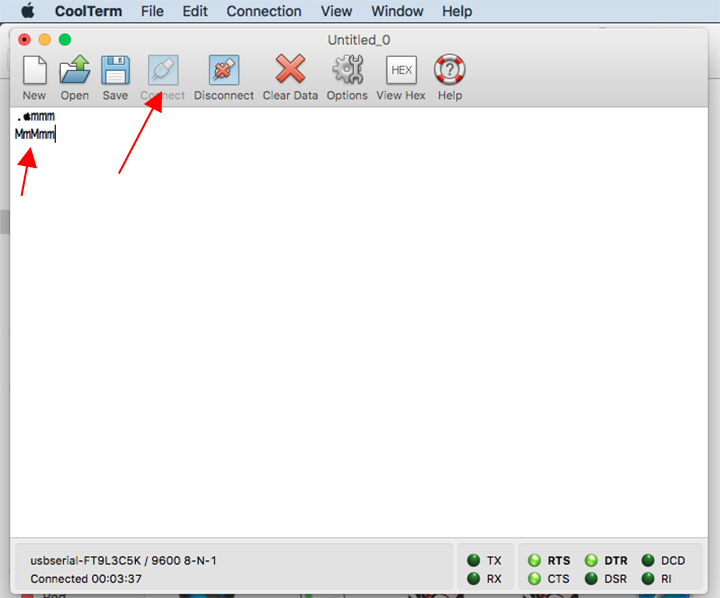
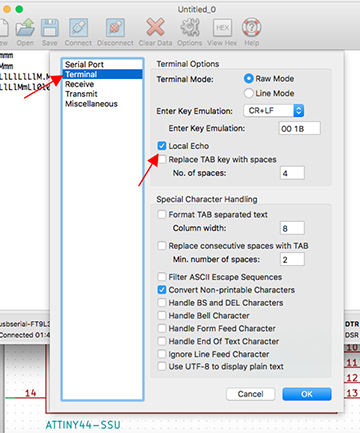
9. In the beginning, Cool Term was only showing Slaves replies. By activating Local Echo it started showing also what the Master was sending to the serial port (me, though computer keyboard).
10. To test all this, I:
- addressed the Microphone board with its ident_id and checked that it responded; (wrote ‘M’, hoping to receive ‘m’);
- addressed the Led board with its ident_id and checked that it responded; (wrote ‘L’, hoping to receive ‘l’);
- addressed the Led board with its node-id, followed by a character and checked that it responded; (wrote ‘l1’, hoping the led turns red, 2 for green, etc.)
Have I had the time to take it a step further, I would have tried to add the code for the microphone readings as well as looked into Processing as an interface to digest readings from the microphone and automate communication between those values and the led board. I would also like to look into making a Master board and have that board together with a power supply to take over the role of the computer.
Files
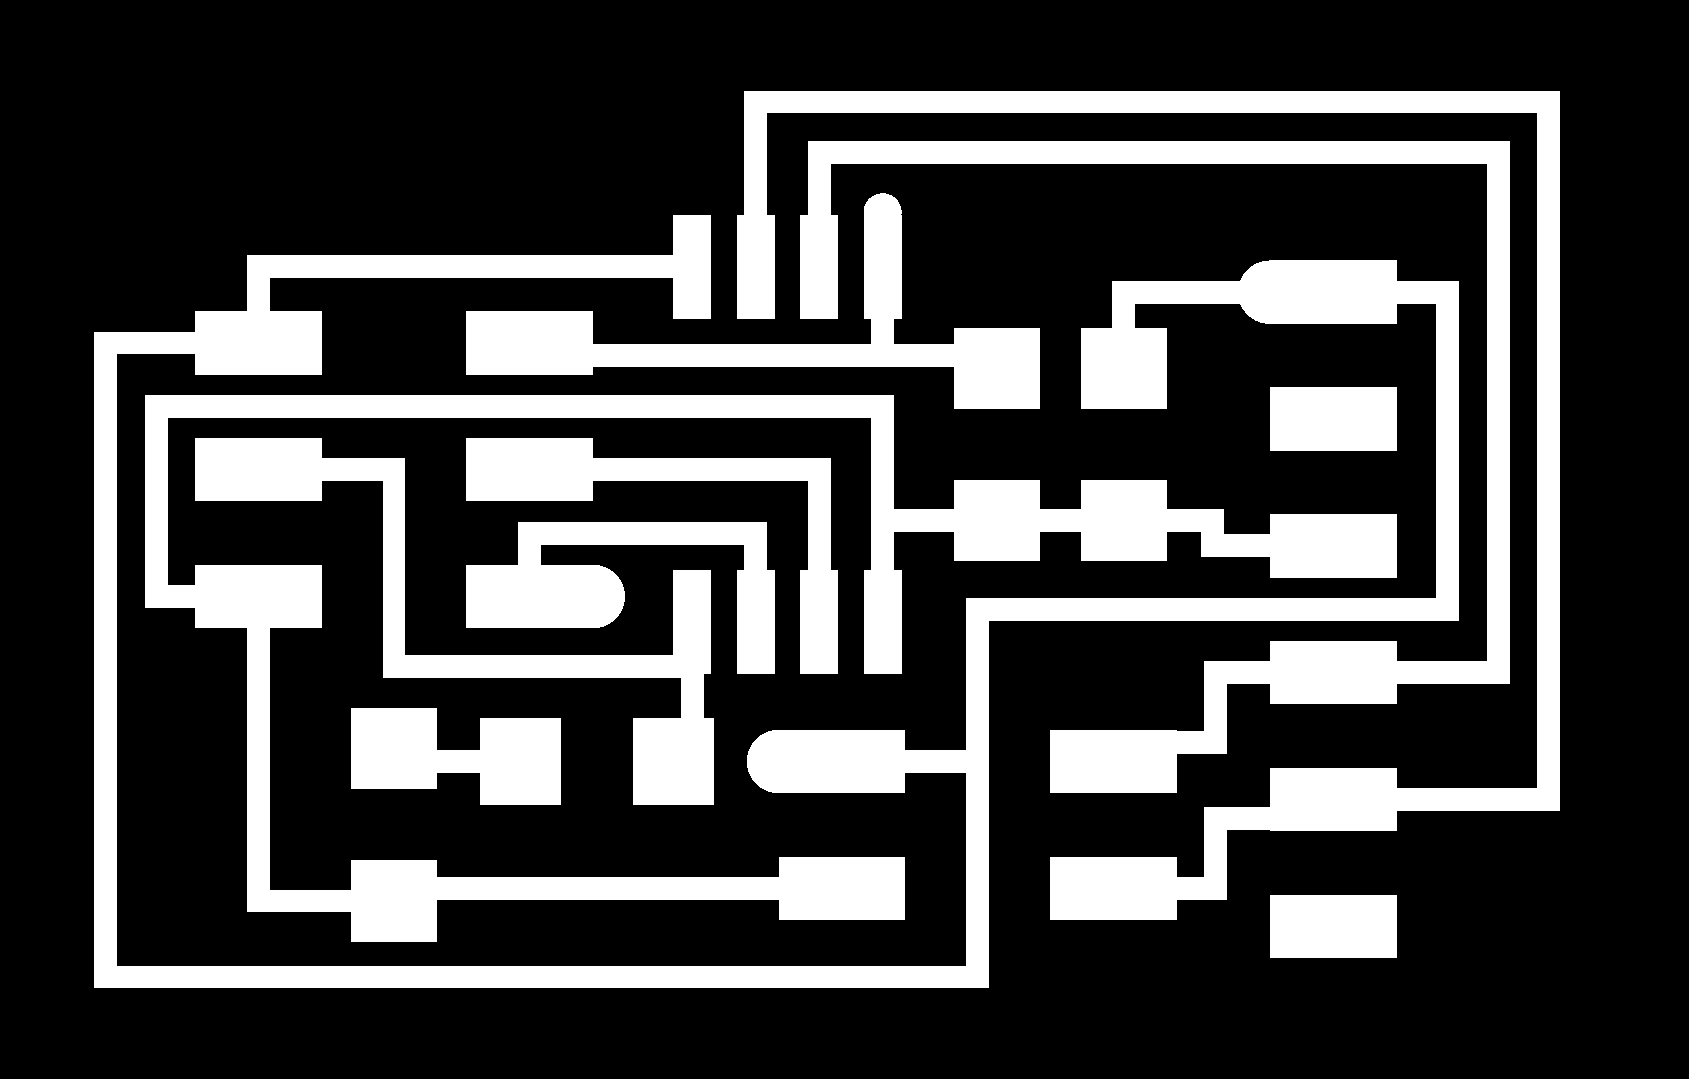
traces_BUS_BRIDGE and outline_BUS_BRIDGE
