Week 15 May 3rd: Composites
We could have done carbon fiber but I didn't want to have splinters in face for a couple weeks again so fiberglass it is
I wanted initially make some fire props as I had a recent flow event and also another to partake in in China for their regional Burning Man event so I wanted a staff. However, in according to making the project for this week, we needed to cut a big sized 3D mold on the CNC to mold the fiberglass onto, so I decided to make prototype Buugengs(S shaped one handed staffs). I still totally wanted the staff so I made half pipe molds which I can stick together and then wrap that around more fiberglass composite to make a strong pole. I designed the molds in Fusion 360 and then converted them to .stl files and then instead of using Fabmodules, our Instructor taught us a new program called Aspire which was very similar to V-Carve for the shopbot but in 3D and with additional functions. For example for my mold it was originally designed in a 40mm deep block but our foam we used was a 30mm thick one, so we adjusted the height of the zero plane of the model's depth. Another important function was only cutting selected surface areas, so instead of having the smooth out the whole initially top layer which would have taken an redundant if not useless amount of time for me. There were also additional functions such as conventional cuts(for foam it makes a remarkable difference) and adjusting the height of the vertical movement so the CNC skirt part would not hit the foam while carving.
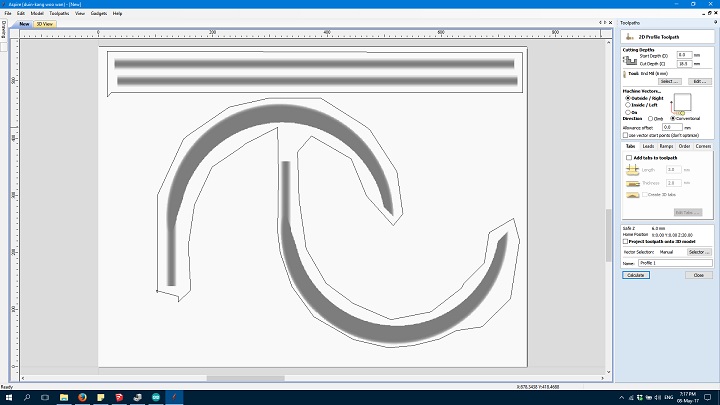
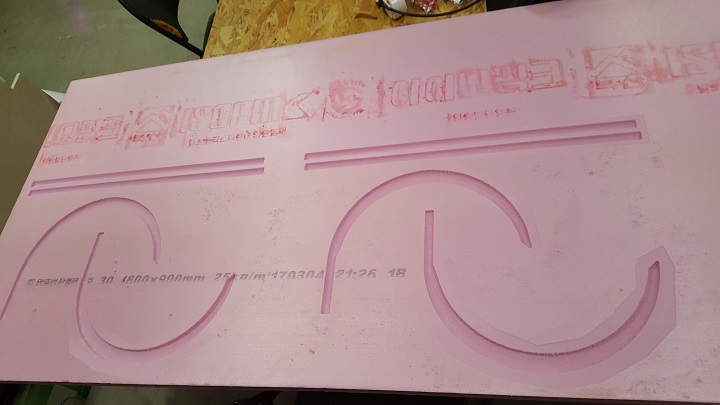
We bought some extruded polyestirene foam for 6 bucks each and started the CNC. The inital cut took 14minutes and was on 6mm single flute endmills, while the final cut was done with a 6mm rounded endmill with 90% overlap for me which took an hour and 40 minutes and came out quite satisfactory. And turns out my other colleagues would need glued together deeper foams so I made one more mold on the leftover space. In hindsight, I should have just overlapped the 4 buugengs and then put the 4 pipes on top to save probably half the work space but then this is how you learn I suppose.
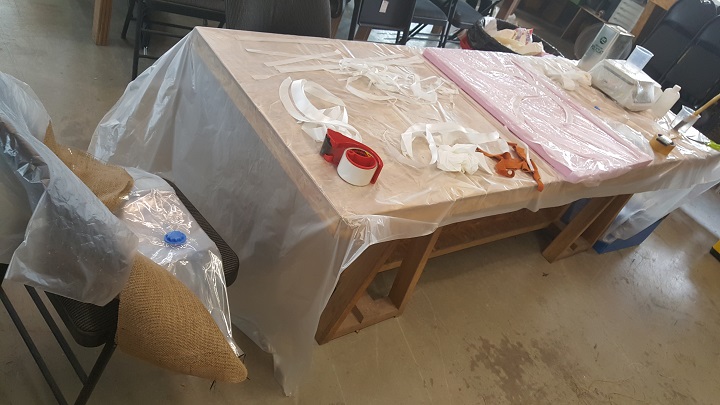
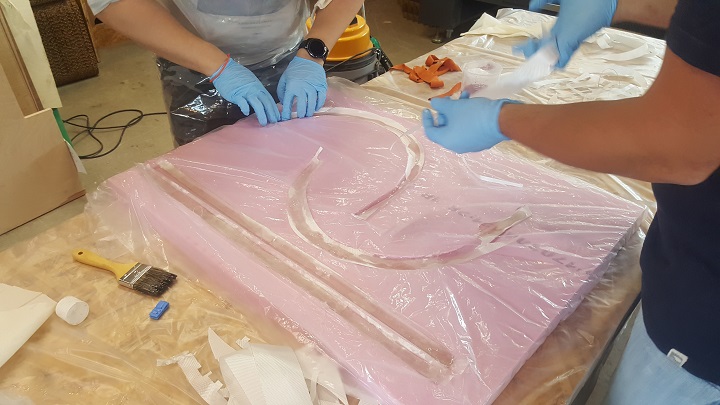
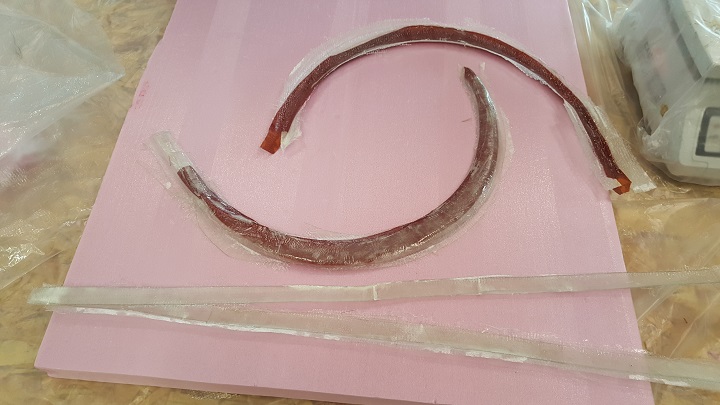
After cutting the board, we prepared for the composite process. First we had a layer of plastic sheeting and then applied silicon release agent to it and placed on top of the foam, acquring enough space so the plastic can easily rest inside the mold rather than be pulled out when arranging the other molds. And then we prepared the table for efficiency since the cure time for the ploycoat resin we would be using was 5 minutes. For the layers, I chose fiberglass and my old college t shirt of which to this day I still have too many of. However I still don't regret many University monthly free t shirt days as that meant I could delay laundry till the next day.
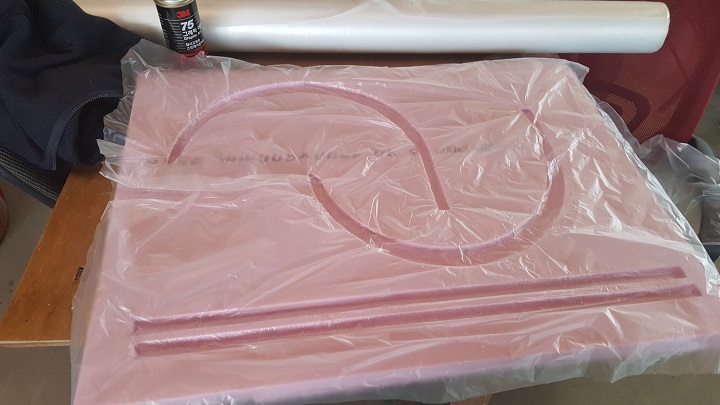
We read the MSDS and after learning how to safely utilize this material with the proper precautions, we mixed the polyester coatingDatasheet with its activating agent and started working at a good fast pace . After 4 layers of fiberglass with resin in between, we topped it off with an another layer of plastic sheet with the release agent which was punched with holes so the air would be able to escape when we vacuum sealed it. Some people got mesh sheets but mine didn't fit so I made do with what I had.
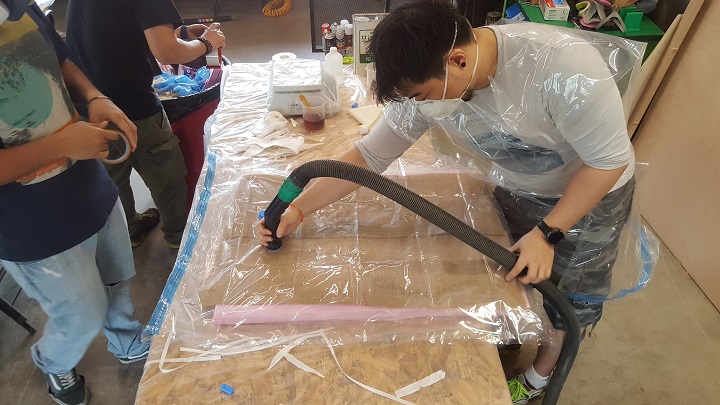
After that, a breathable layer of burlap was added to the top layer and then we put the mold and layers in a vacuum bag. There was also another method where applying force on to it will compress and squeeze out the extra resin, as I've tried with Edu once when he made a carbon fiber body for droids, but in our case the object was big and this was more efficient.
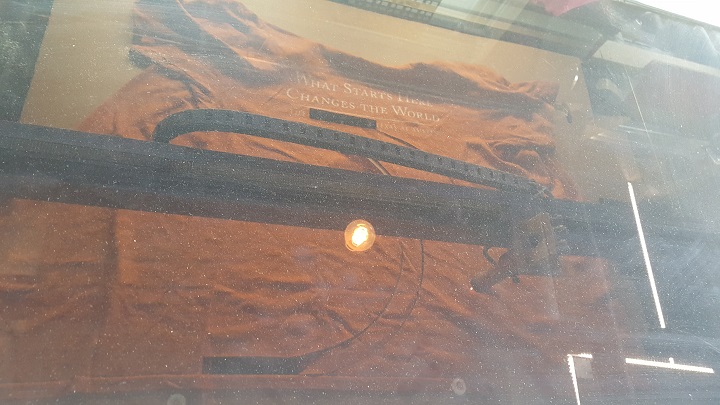
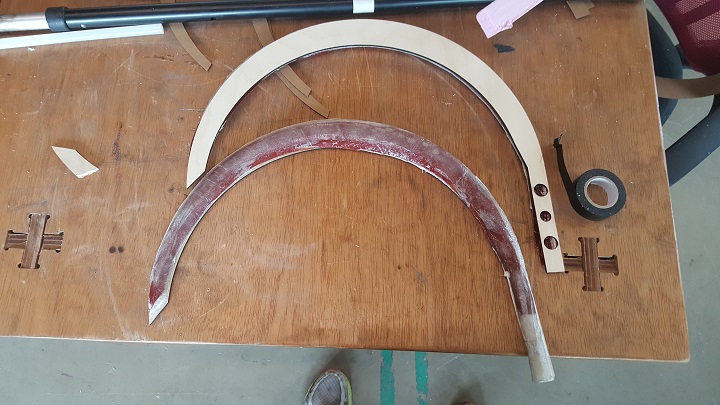
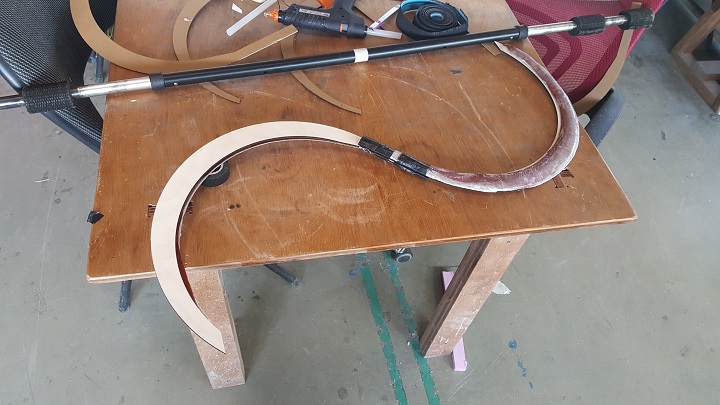
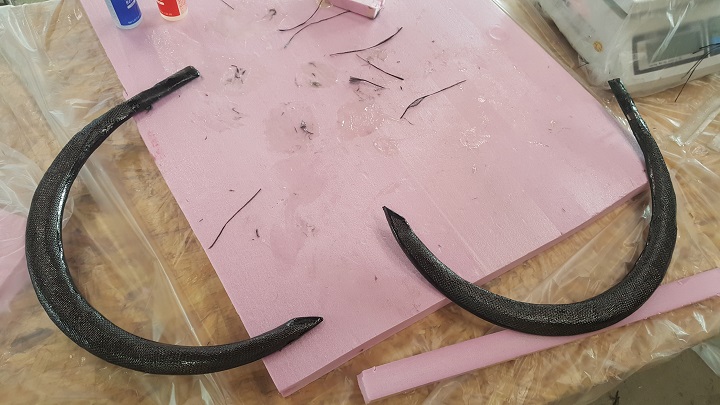
After 3 hours, we had the mold come out and unfortunately the poles just didn't come out well enough, which I think was due to the first layer of plastic sheet moving around when we were layering fiberglass on top. However the buugengs came out nicely and I added a backplate of wood, some magnets with a center swiviling nut on one and a bolt on the other so you can rotate it around the center of the handle and the magnets will lock to each other.
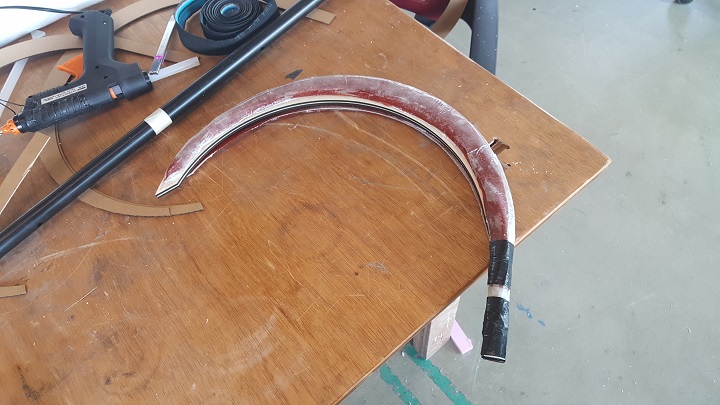
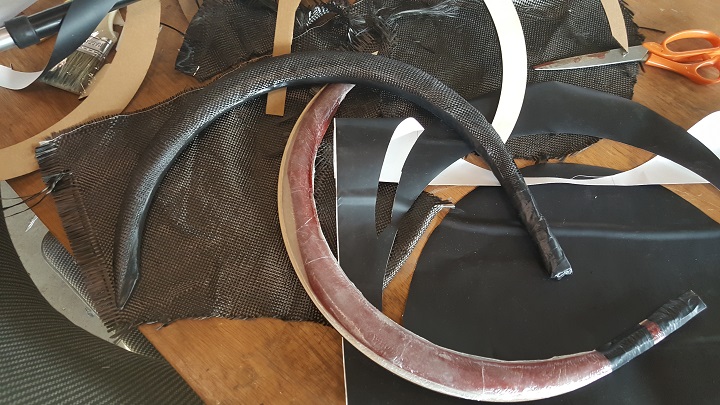
However I god damn love carbon fiber. So wrapped carbon fiber around the buugengs. I did it in a very low tech way since I didn't want to wait on laser cutting the carbon fiber(max power on 5 speed and 10 cuts was not ideal) so I just scissor cut around a general area to cover the buugeng and then using epoxyDatasheet and a brush, I glued the fiberglass onto the carbon fiber and kept hand molding it carefully and after it hardened, cut out the excess and then placed a cut out vinyl piece on the back. After that I applied a last coat of 5 minute epoxy on the outside and wrapped the handles with electrical tape.


I started on another pair so I can dual weld but the other is made completely out of fiberglass with the same mechanical method so I will be able to switch either ones with white and black, making me look totally bad ass.
Download links: Buugeng .dxf file Mould .stl file