Until 12 April 2017
Input device
Contents
- Testing LEDs, potentiometer with an Arduino/Fabduino
- Testing LEDs, soft potentiometer with a Fabduino
- Testing LEDs, soft potentiometer with a PCB
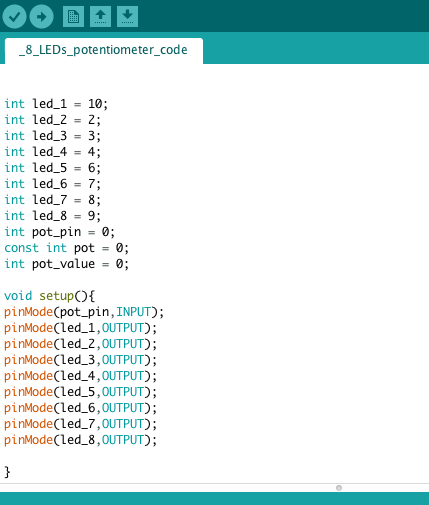
Testing LEDs, potentiometer with an Arduino/Fabduino
Image from 14 LED's Control Using Potentiometer with the Arduino.
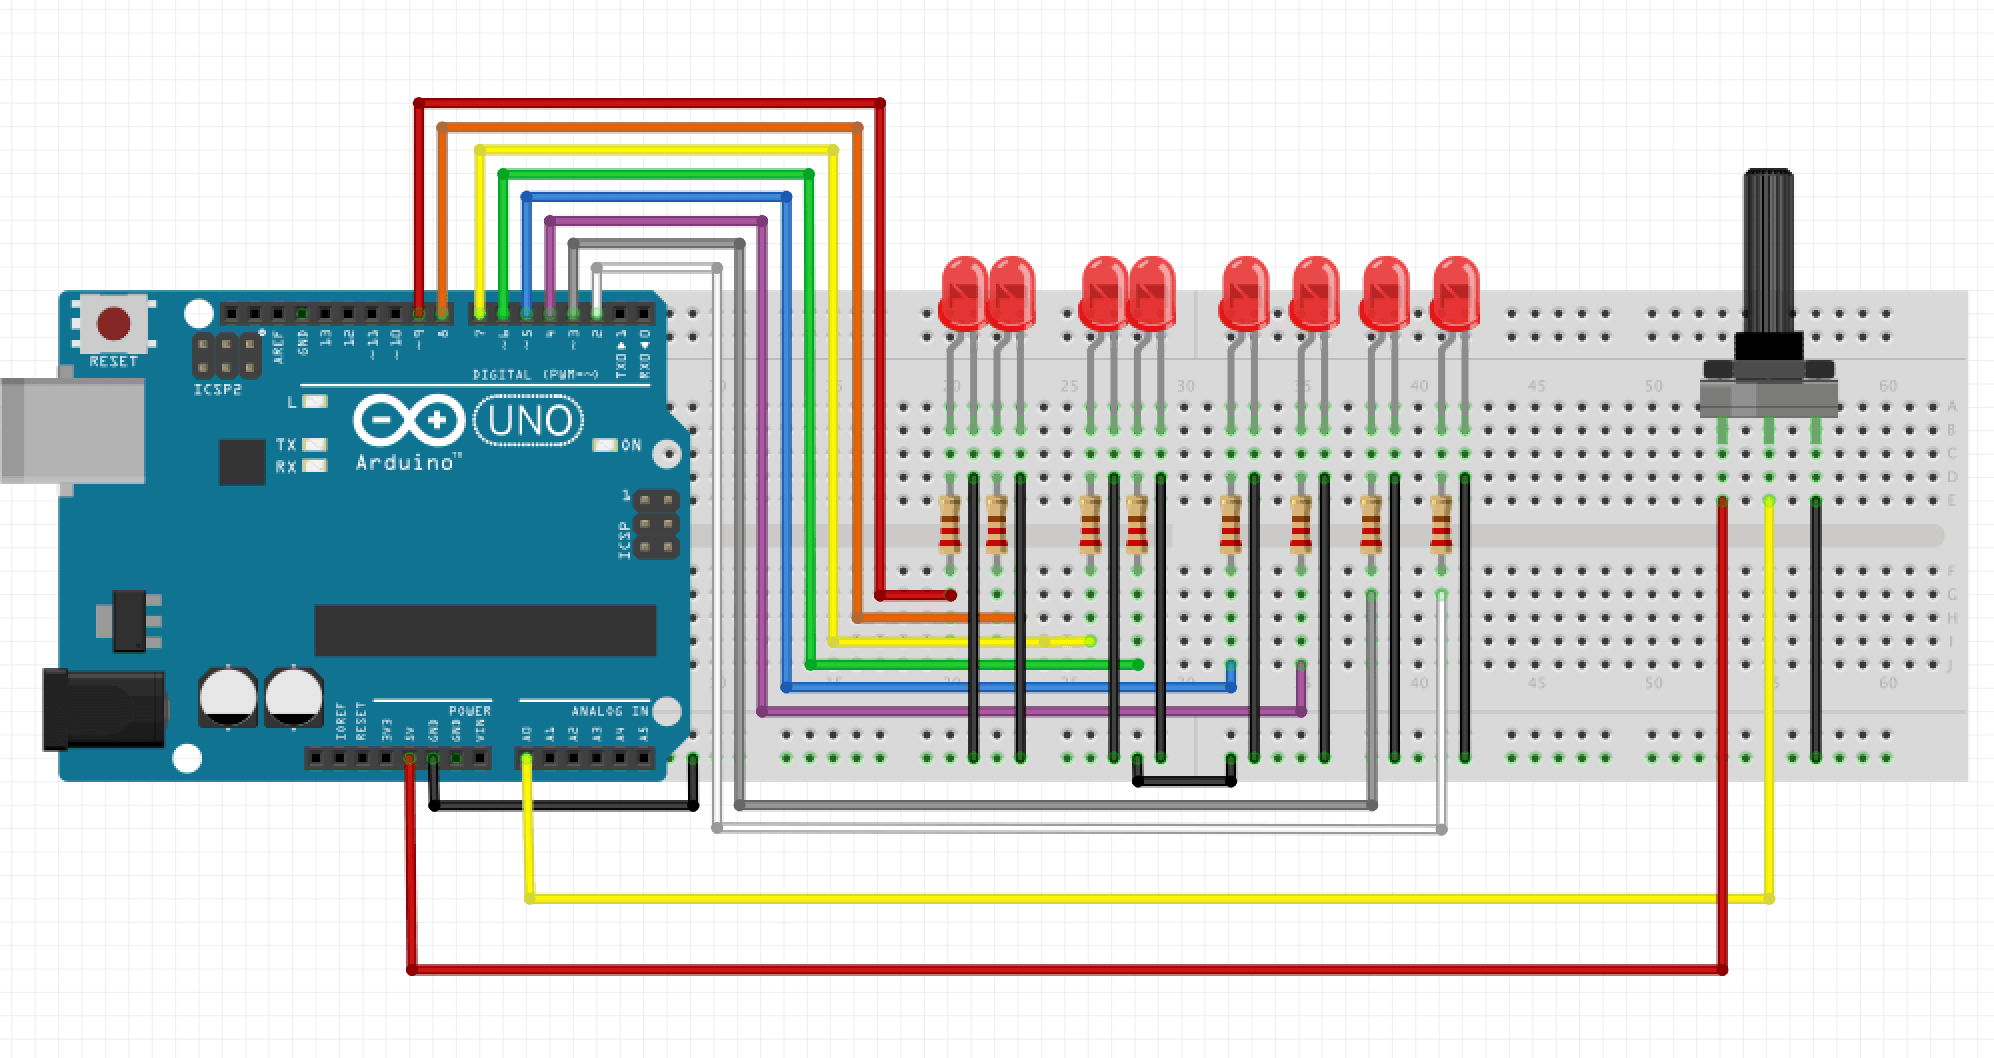
I was testing code from the same website using Arduino. Values were 74, 148, 222, 296, 370, 444, 518, 592, 666, 740,814,888,972, and 1024. Download code.
I have replaced Arduino with Fabduino to test with the same hardware.
Testing LEDs, soft potentiometer with a Fabduino
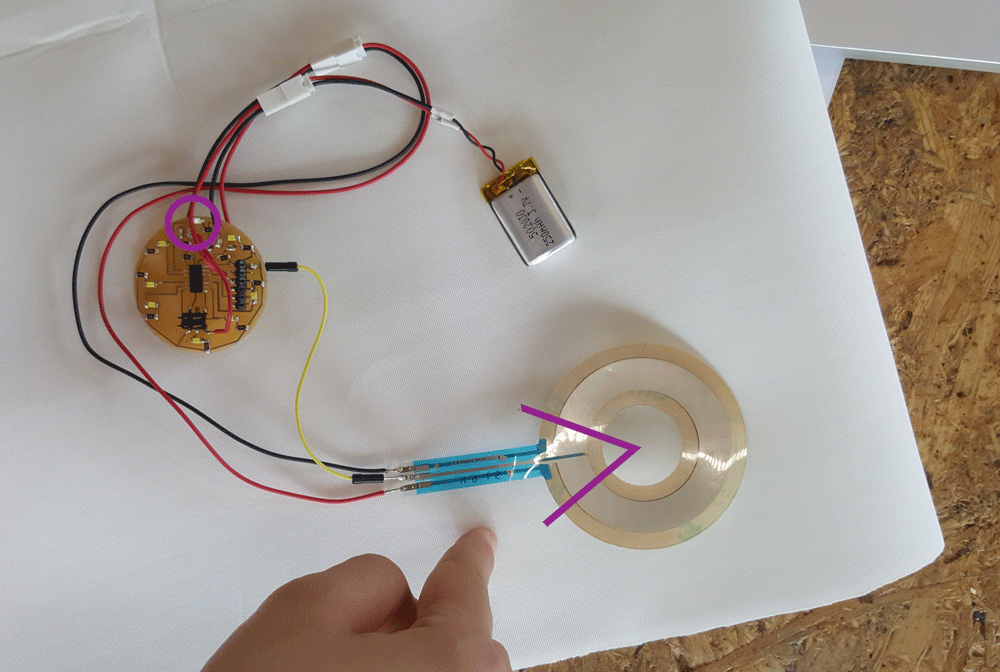
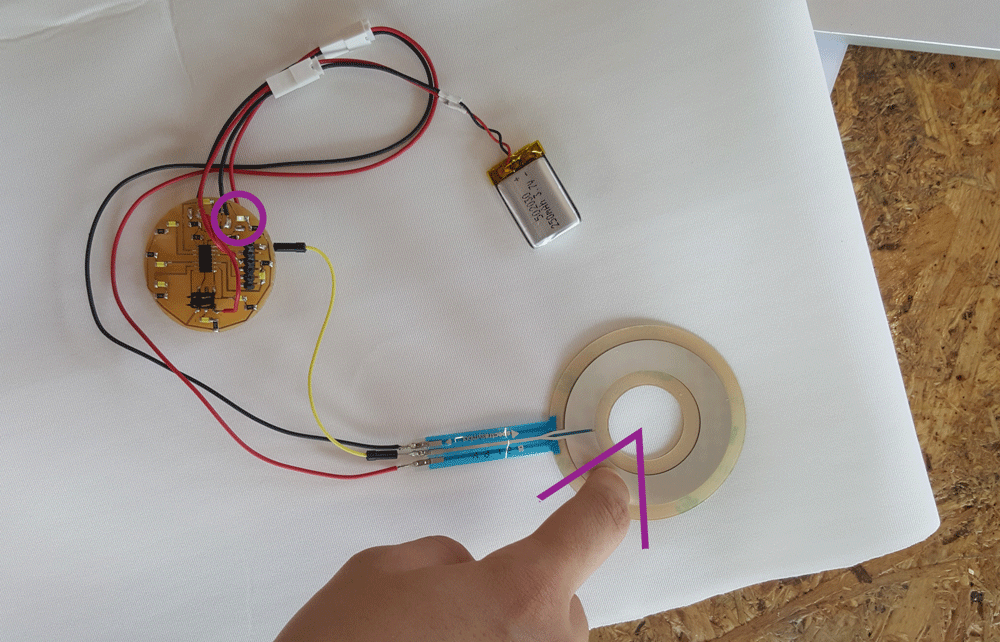
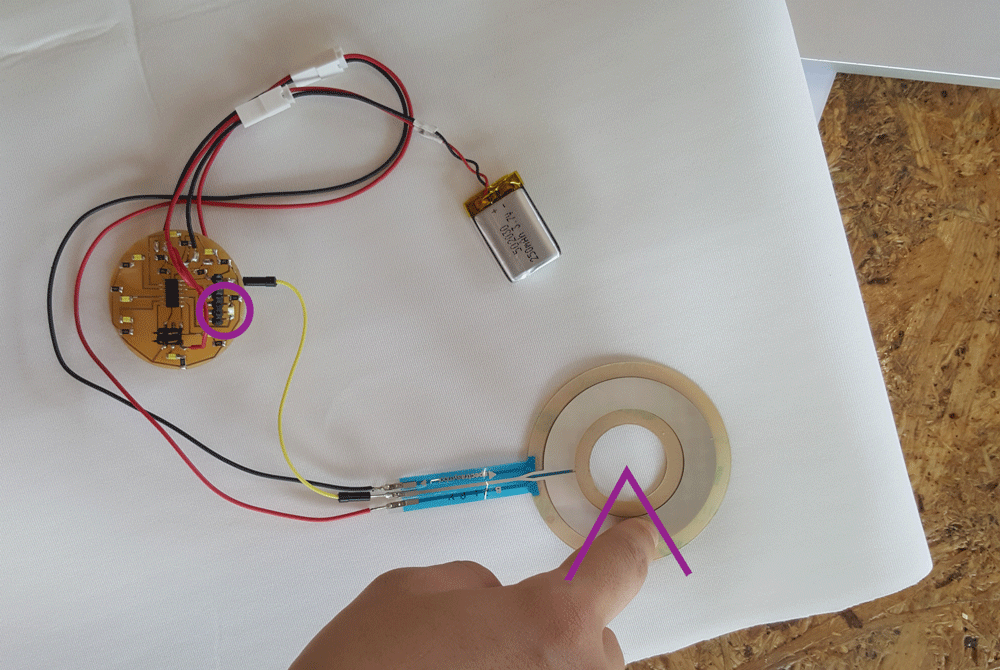
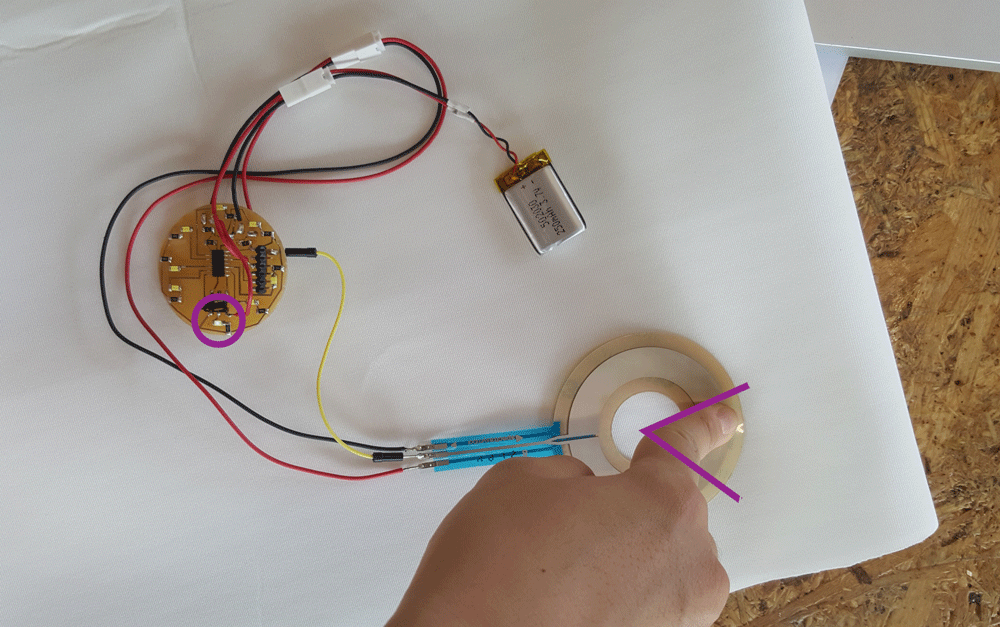
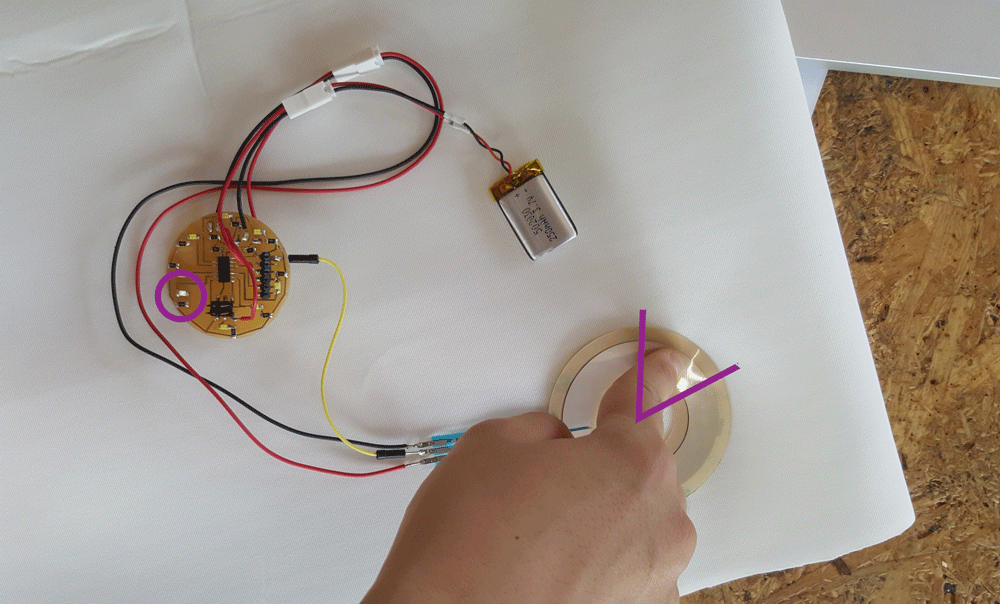
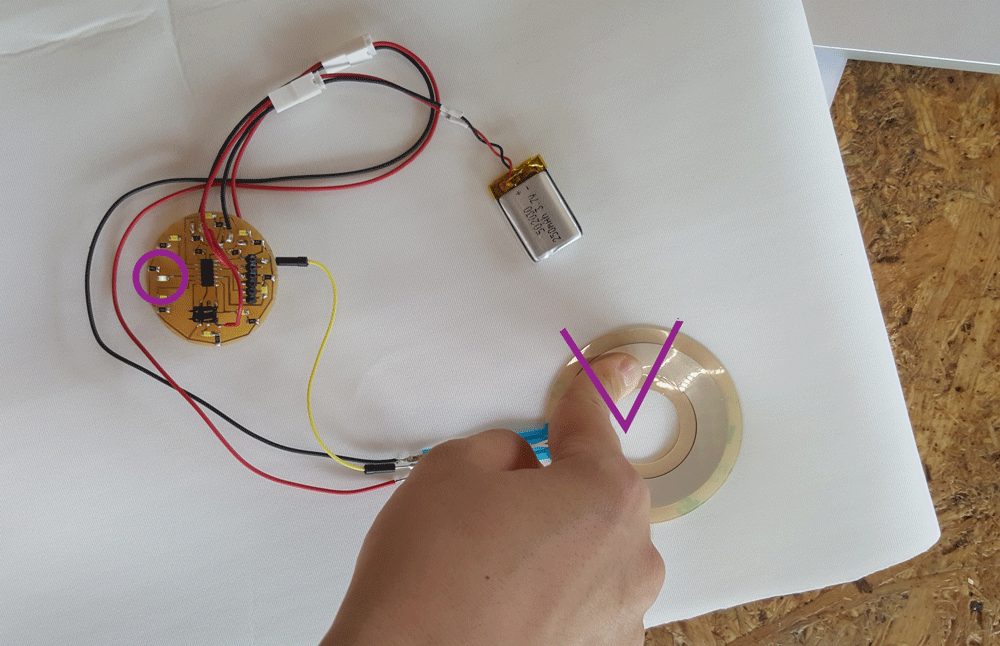
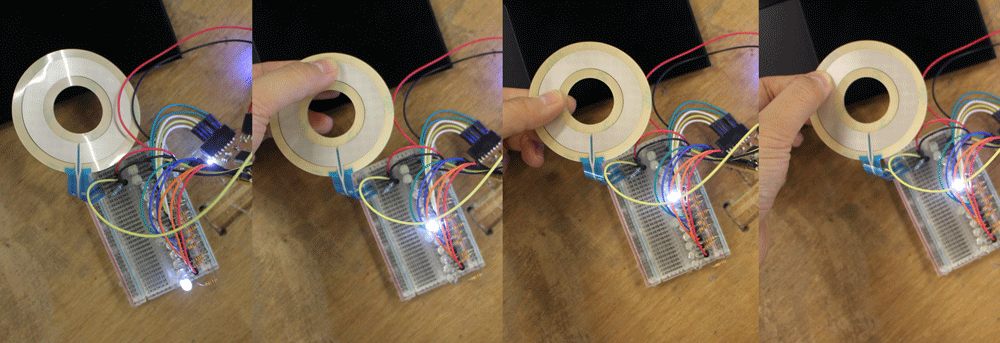
For input device, I've used a circular soft potentiometer(ribbon sensor)
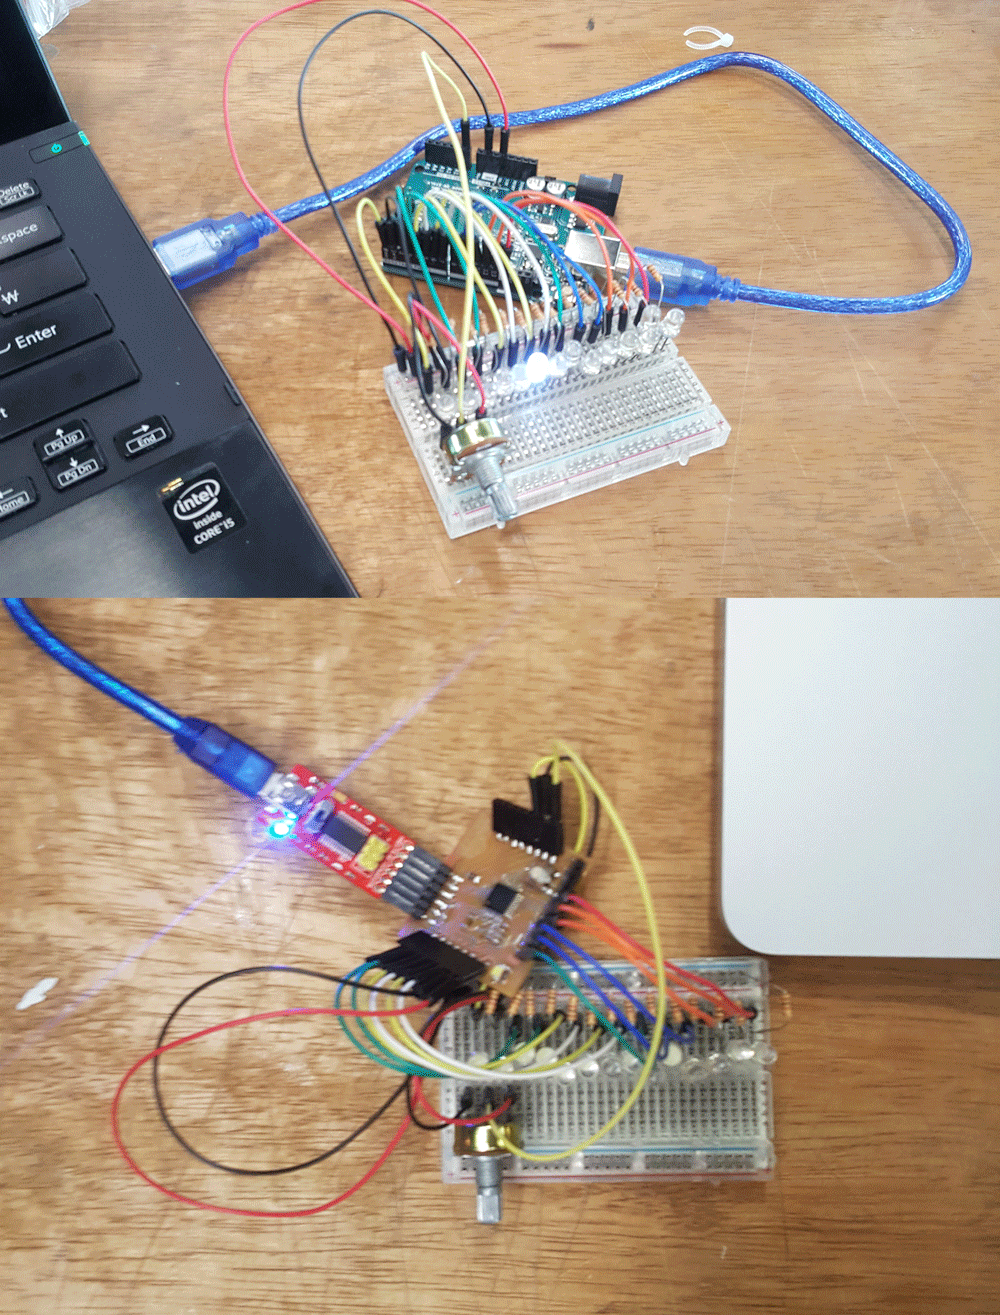
Used The Fabduino and circular soft potentiometer with 14Leds. It needs smoothing.
Arduino tutorial smoothing. I needed smoothing arduino code, because my analog input was very jumpy and erratic.
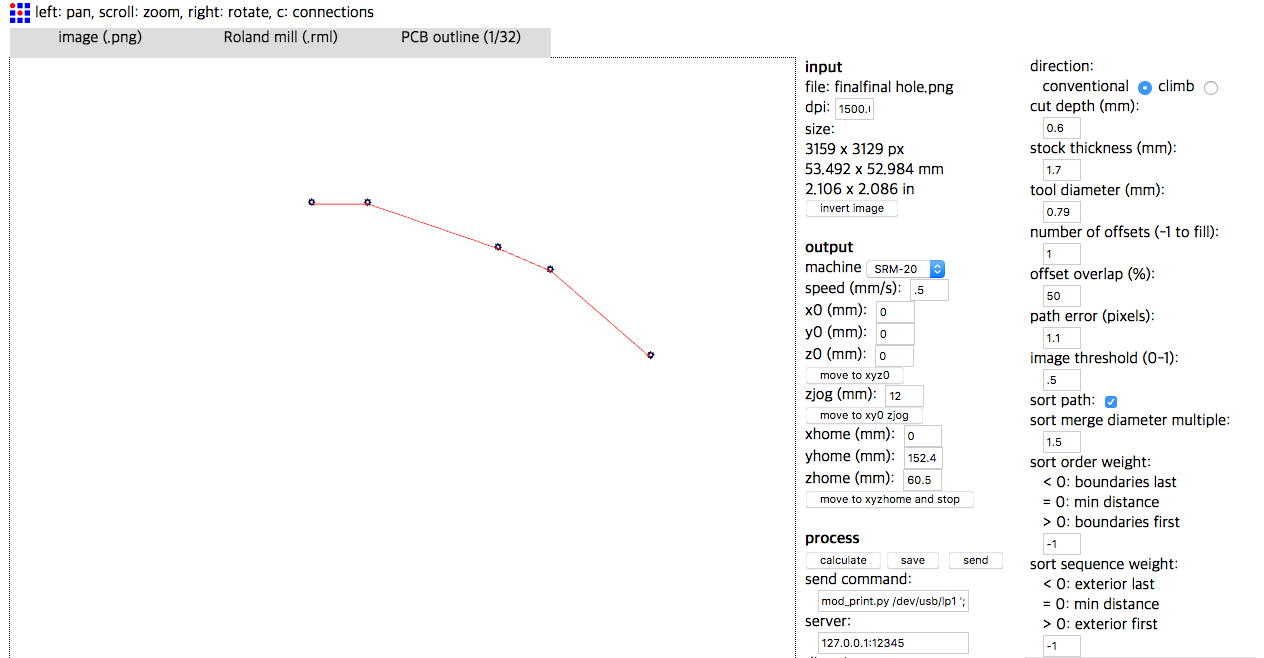
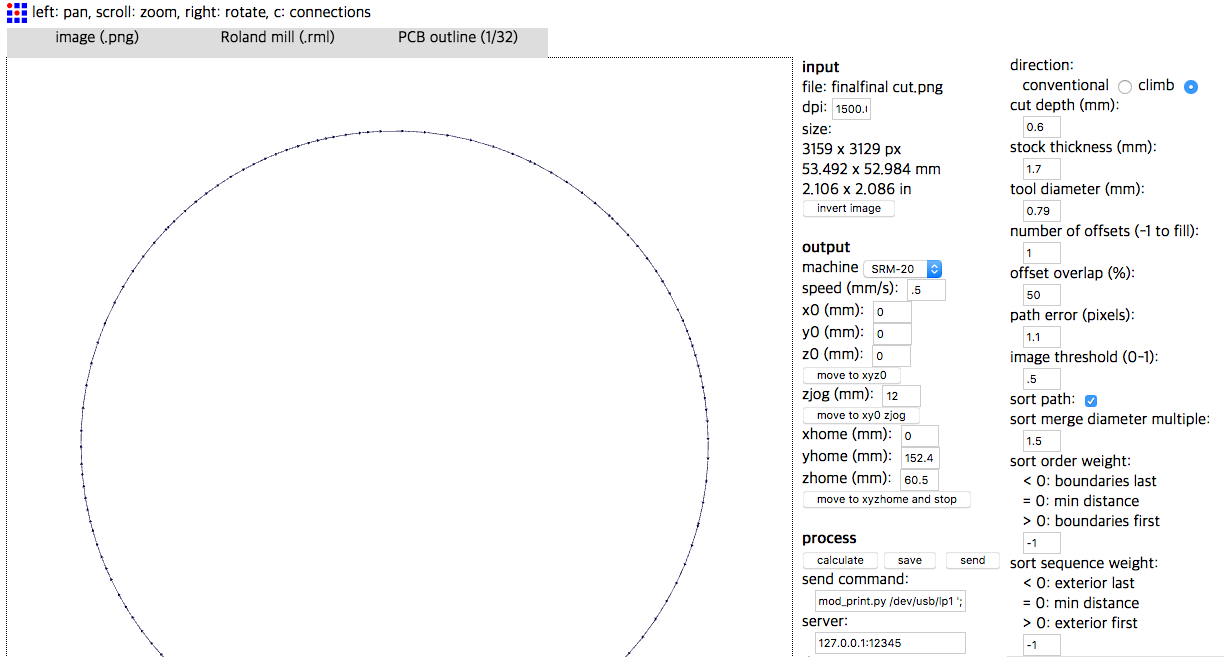
8 LEDs, soft potentiometer with a PCB
As an assignment for this week and for final, I've made a PCB using Attiny 44 and 8 LEDs.
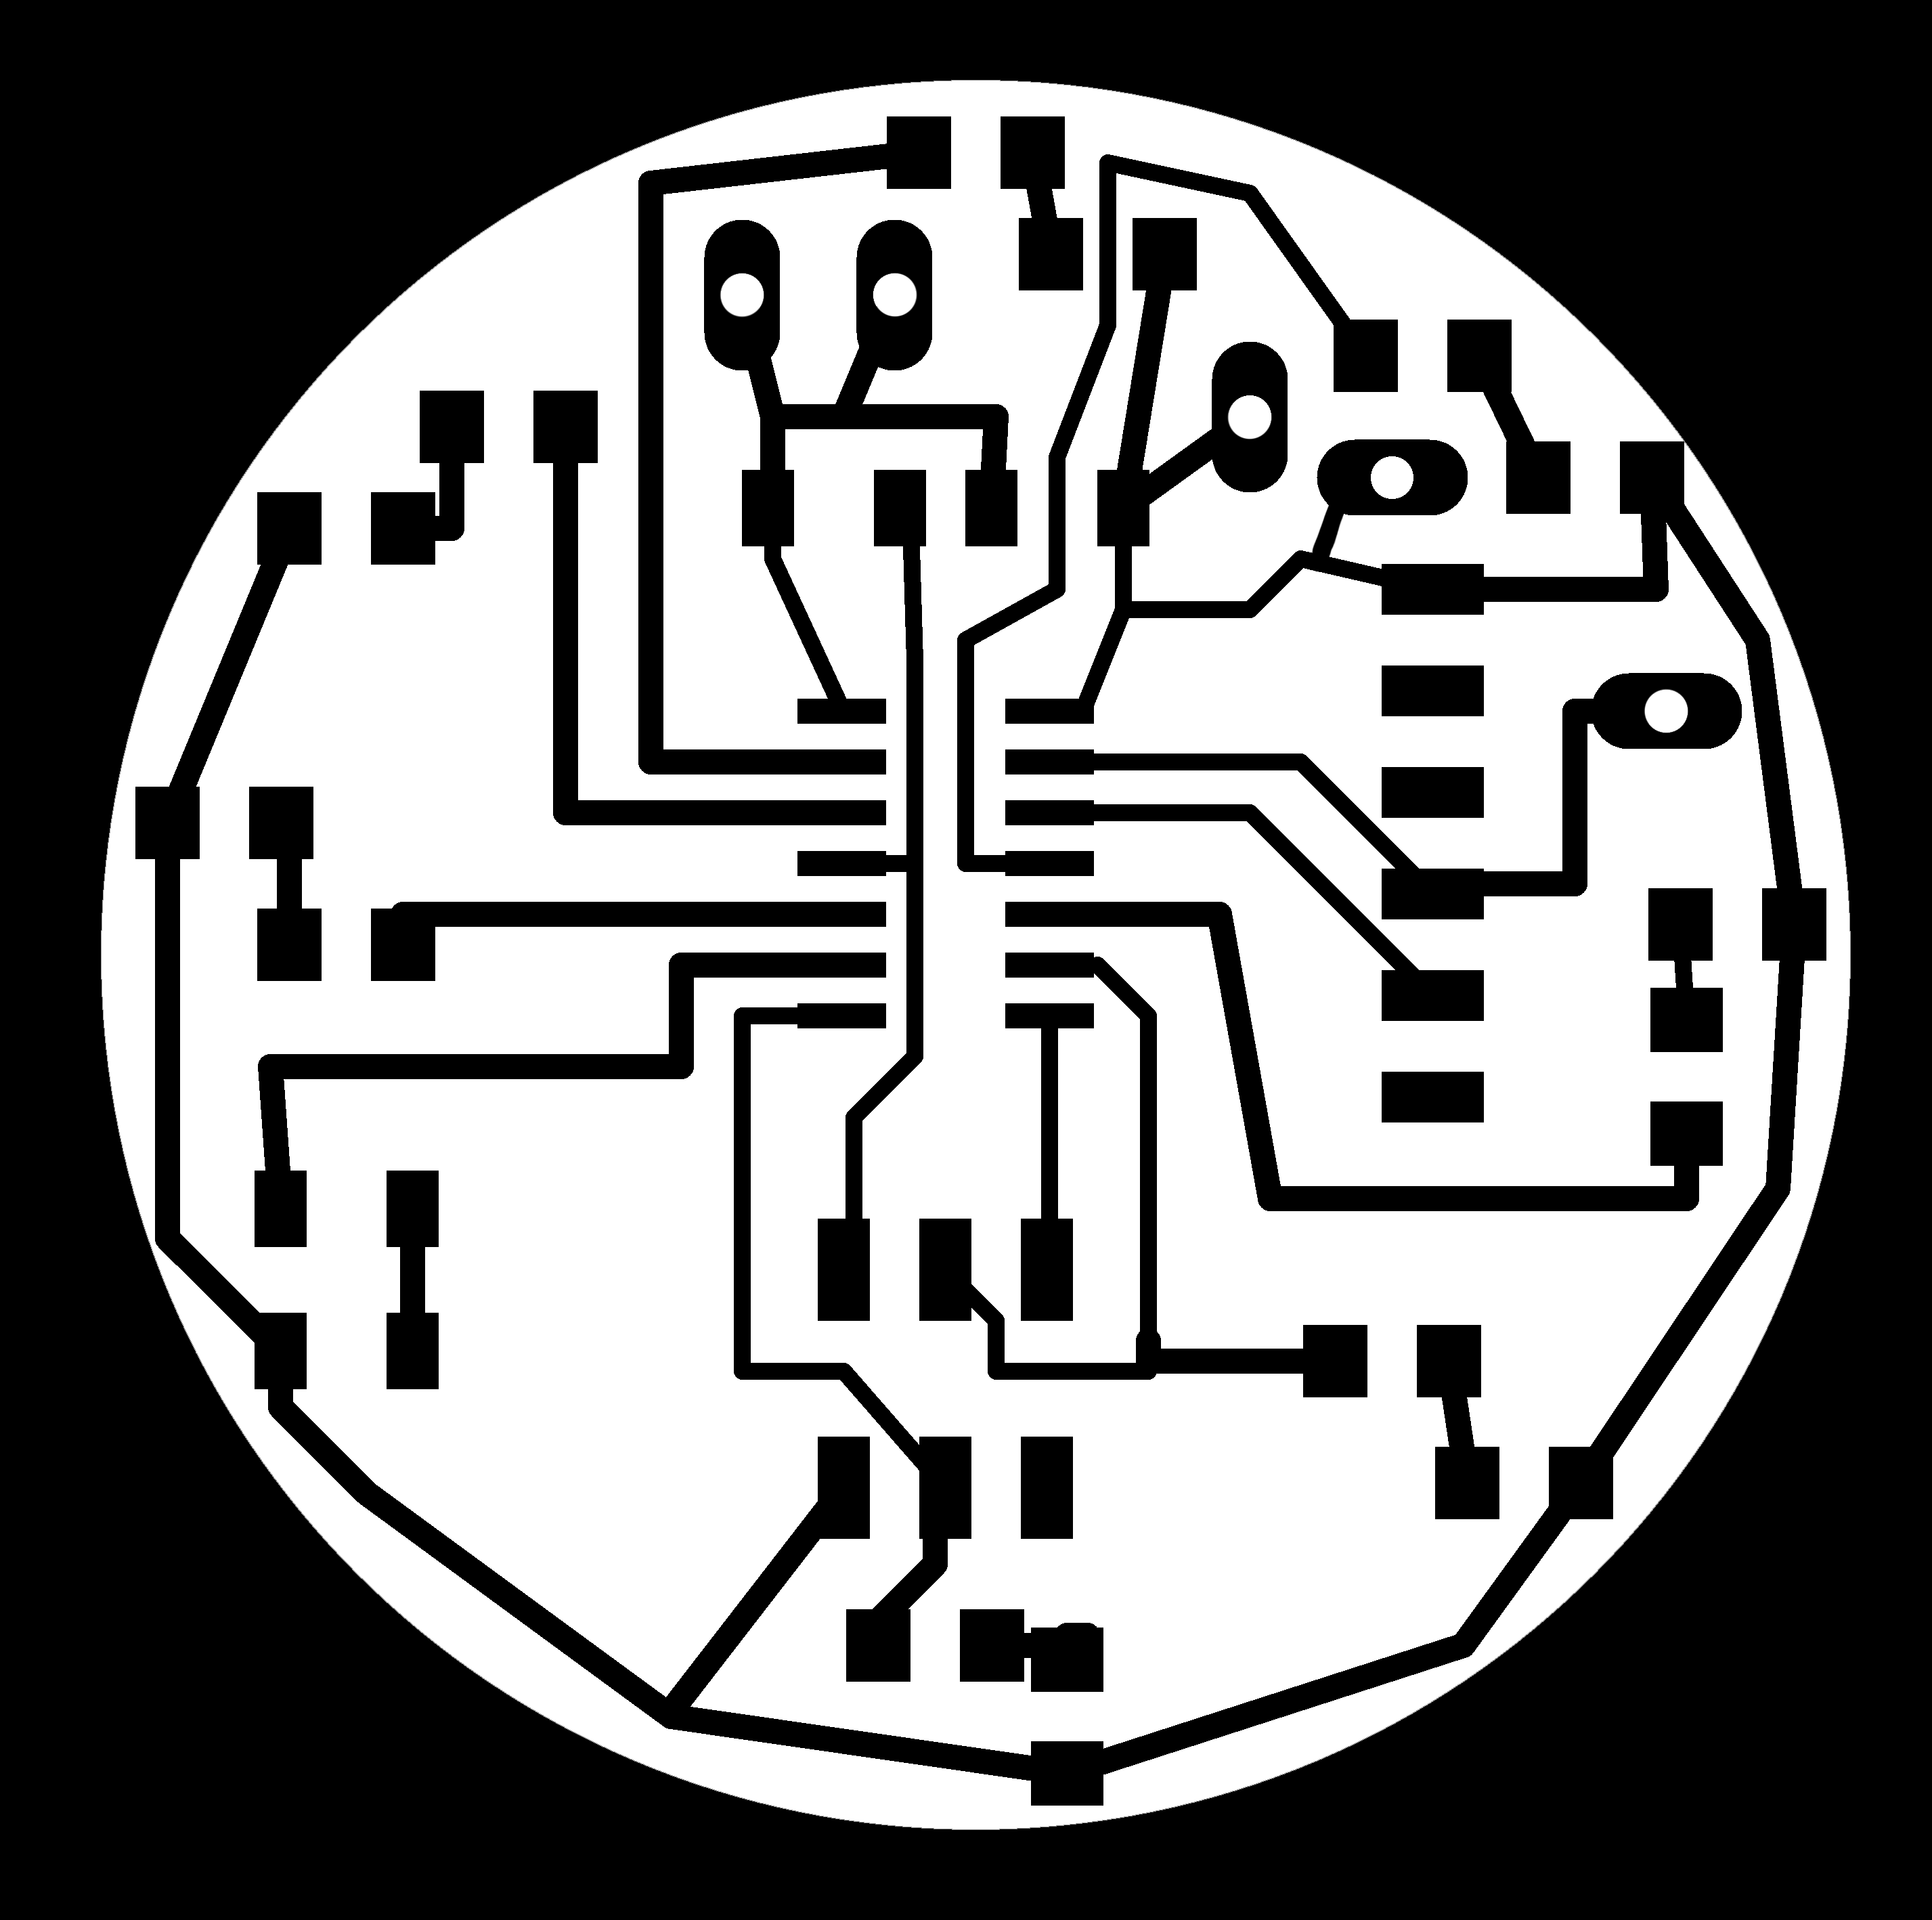


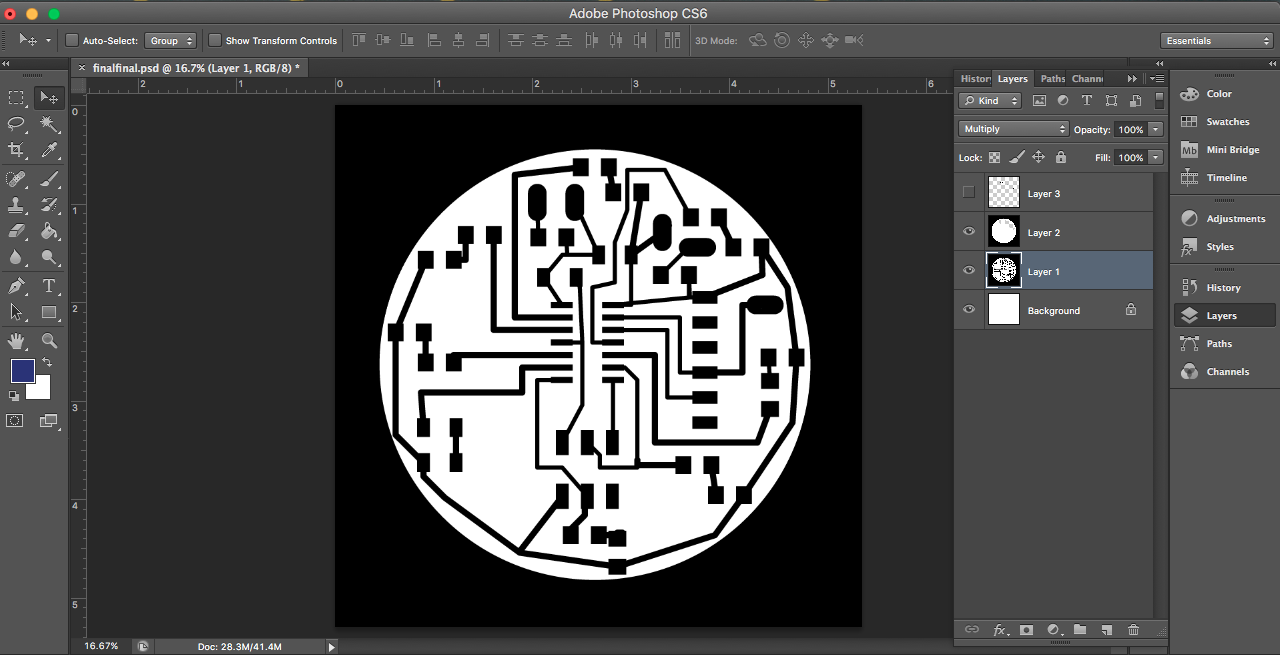
Changing few details using Adobe Photoshop.
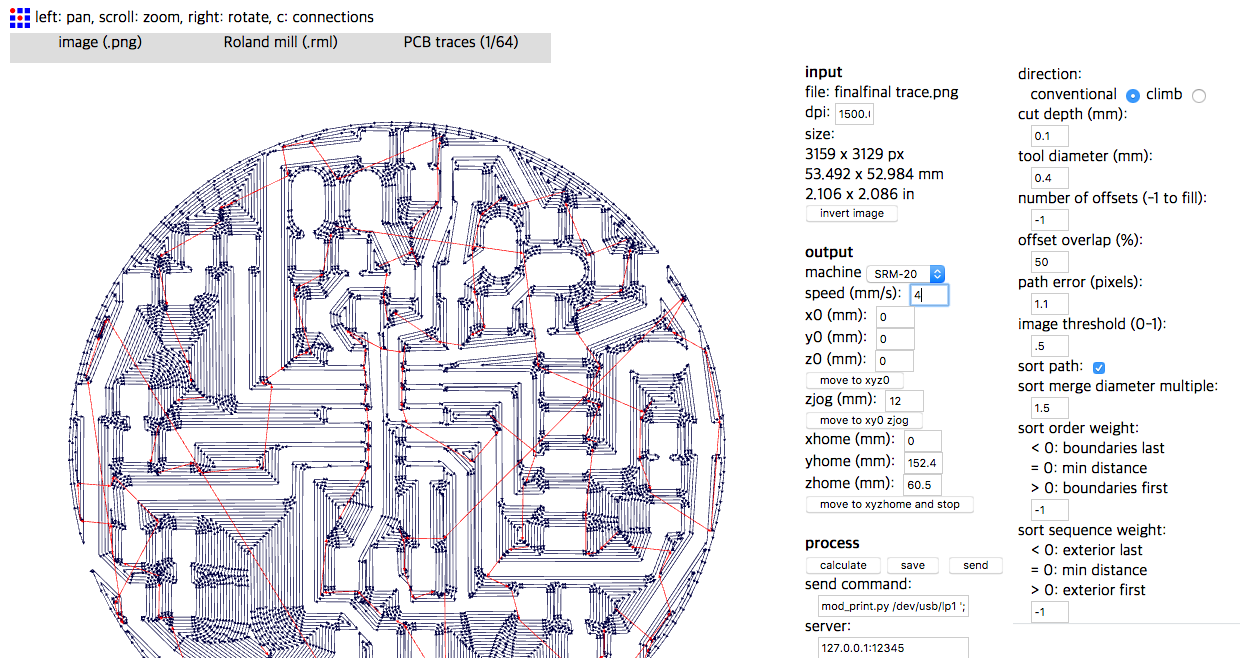
Used Fab Module for setup for Roland SRM-20
I did few test on setting the correct values in code. Becasue I made my own Eagle sketch, I also matching the LEDs to Arduino IDE.
LED arduino code:I've set up the values to 128, 256, 384, 512, 640, 768, 896, 1024. Comparing with the first Arduino value, I've made the first value bigger and less LEDs.
It works! Depending on the placement of my finger, attiny was able to recieve input data and turn on LED!