23 Feb 2017
Electronics & Crafting soft sensors
Contents
- Attempts to make Stitchable PCB
- Flexible PCB
Attempts to make Stitchable PCB
For my fab academy final, I've decided to uses atmega 168 and reference fabduino and lily pad(eagle board, schematic).
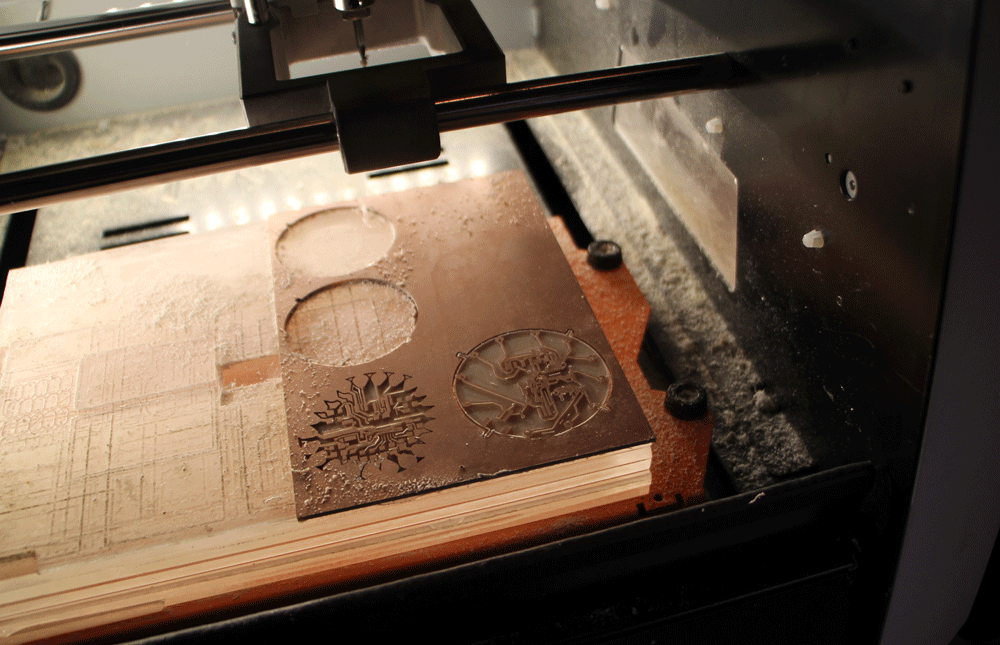
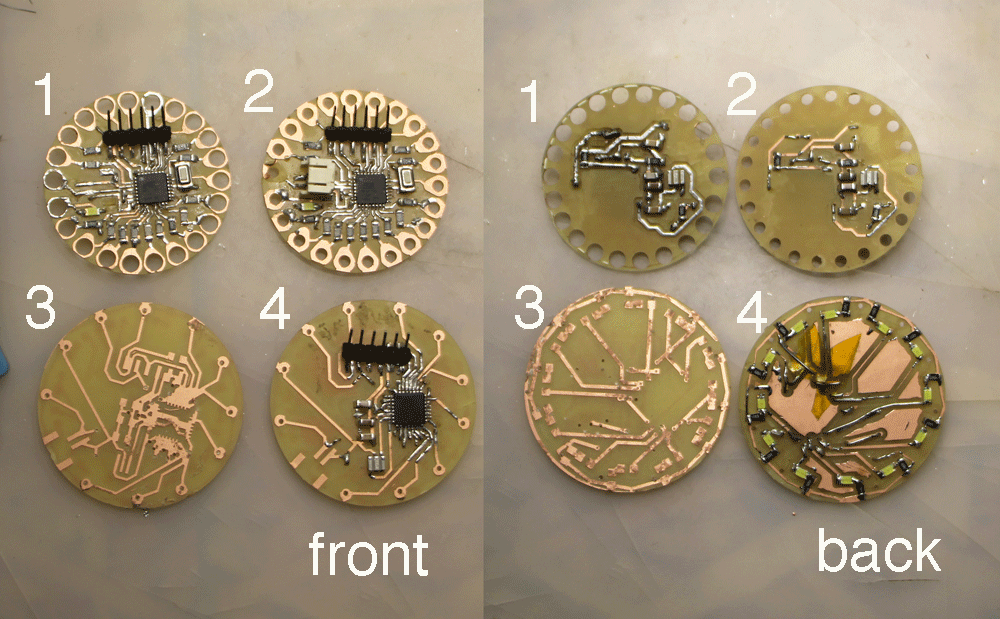
First Attempt! Also my first attempt to make double side PCB.
Fabmodule
Used Roland SM-20
Failed attempt 1(eagle board, schematic)
Second Attempt!
I've slightly altered the schematics to have smaller holes, and thicker lines.
Third Attempt & Fourth Attempt!
At the third attempt, I didn't flip the back, so it didn't coordinate with the front. Fourth, I've tried put few holes, to put LEDs and resistors at the back to make rooms in front. Also made errors at the back.
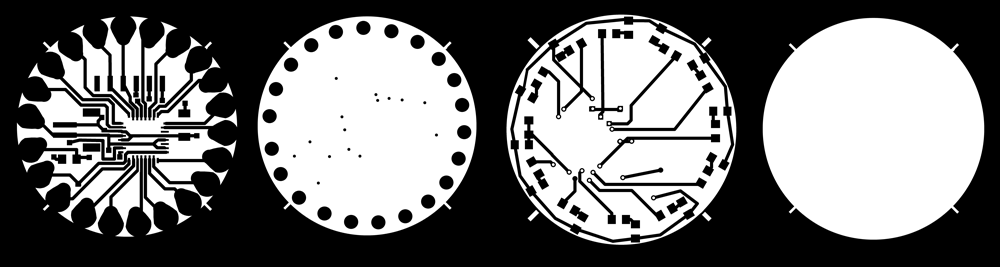
Failed attempt 4(eagle board, schematic)
more attempts to come!
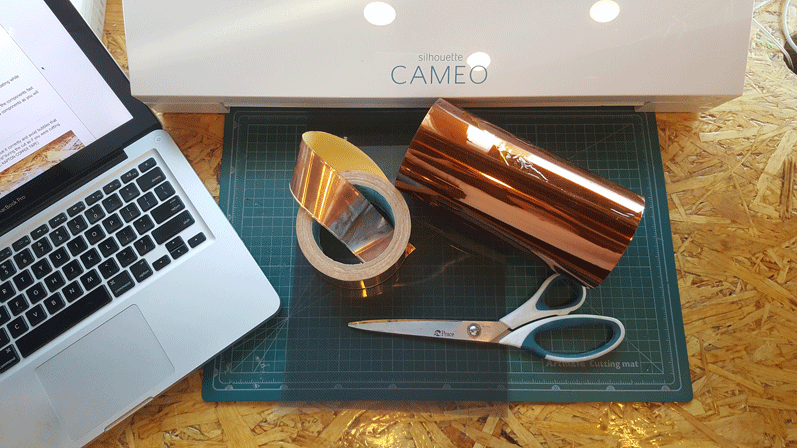
Flexible PCB with Vinylecutter
Great tutorial on making flexible PCBs with a Vinyl Cutter by Eduardo Chamorro(Fablab Seoul Guru)
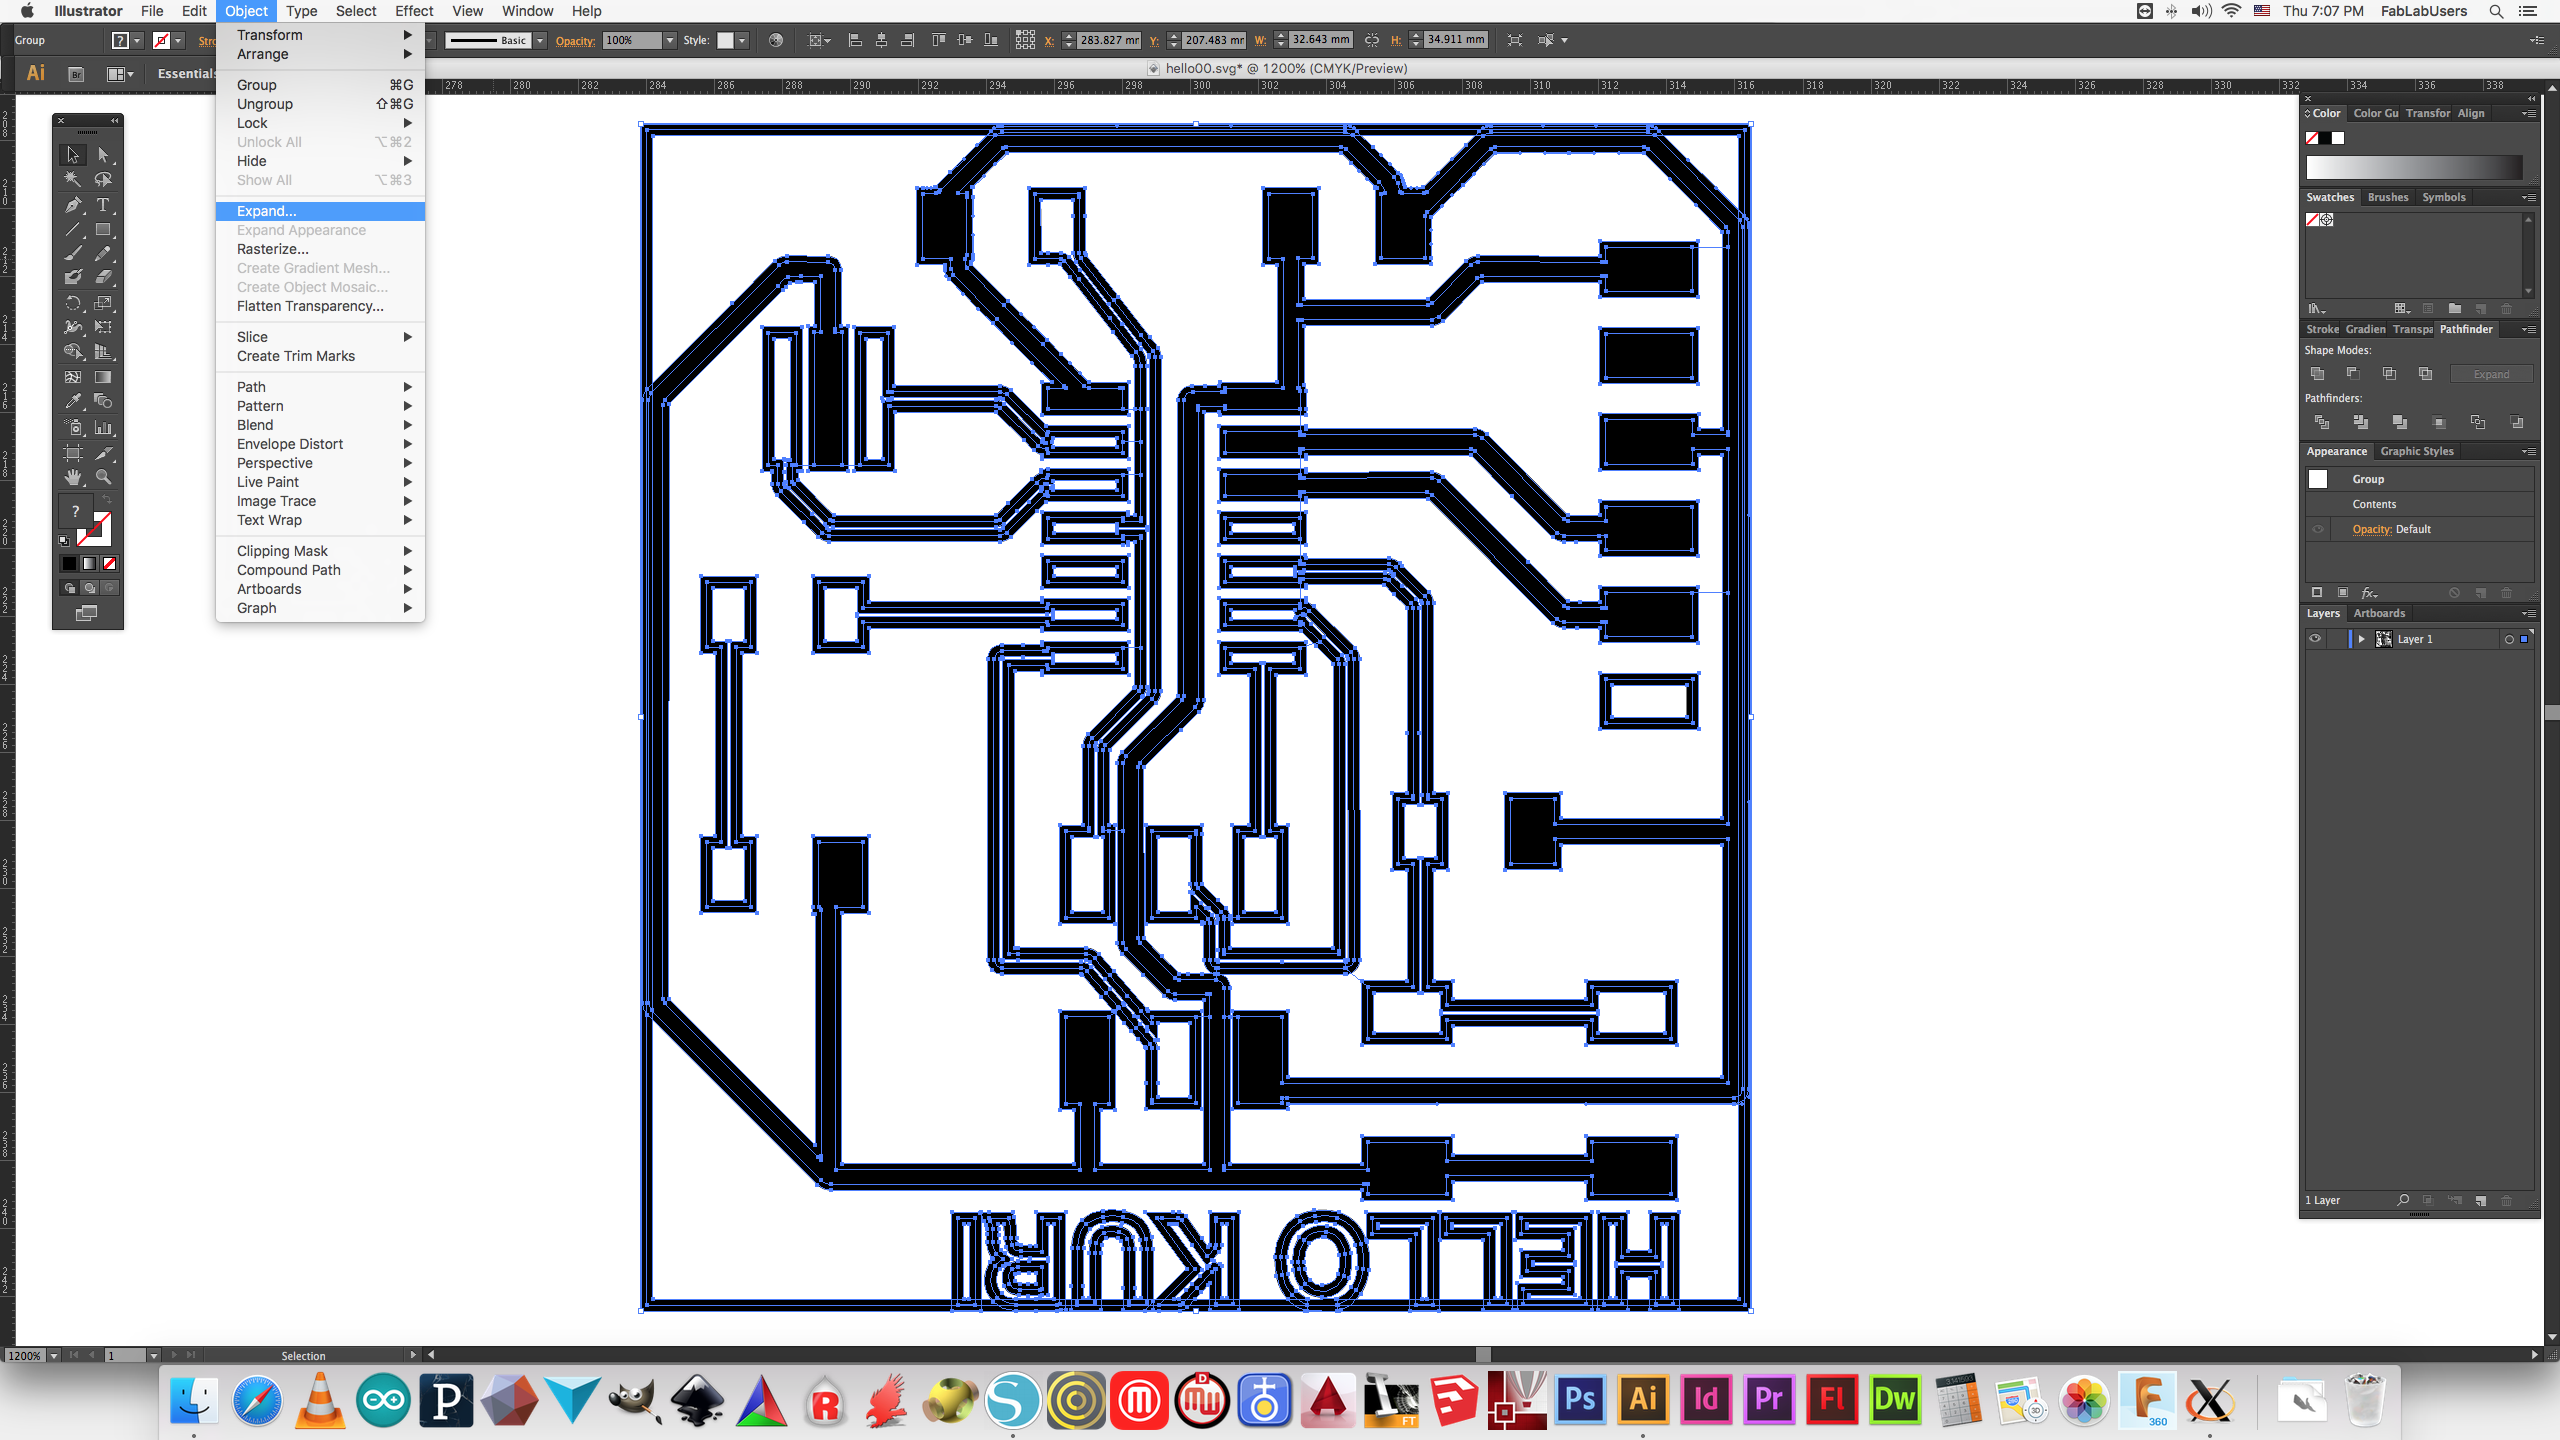
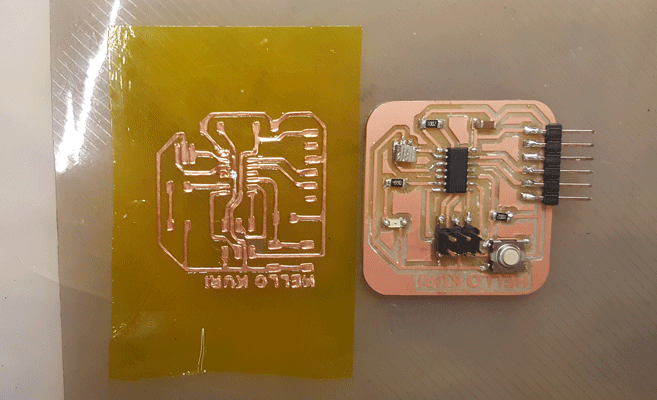
I designed and made a 'Hello Kuri Board' from the Fab Academy week 6.
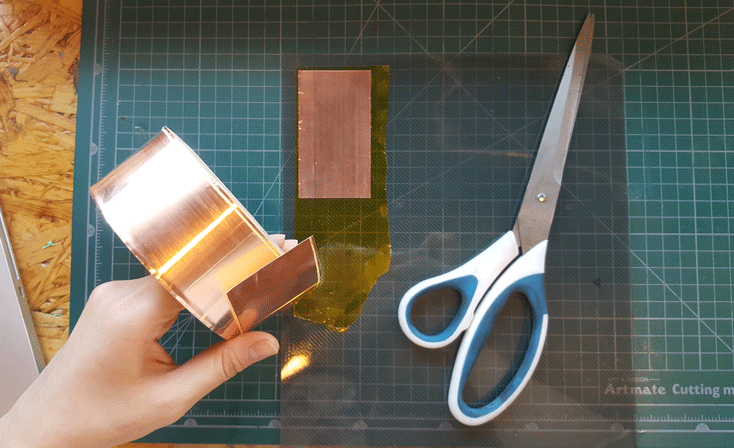
Materials!
Vinylecutter(Shilhoutte Cameo), 3M 1126 conductive adhesive tape, Kapton tape, Flexible support, and electronic components(listed below)
1 - Attiny 44
1 - Resonator 20Mhz
2 - 10k register
1 - 499ohm register
6 - male pin-header
3 - double pin-header
1 - Orange clear LED
1 - 6mm button 1 - CAP 1uf
To prepare the flexible board, layer the material in order of flexible support> Kapton tape> Copper tape. Avoid Bubble and finger print.
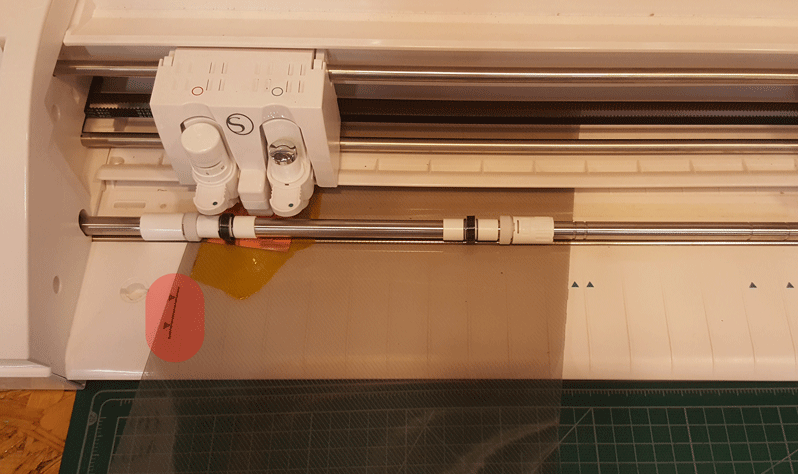
Load the materials in the vinylcutter.
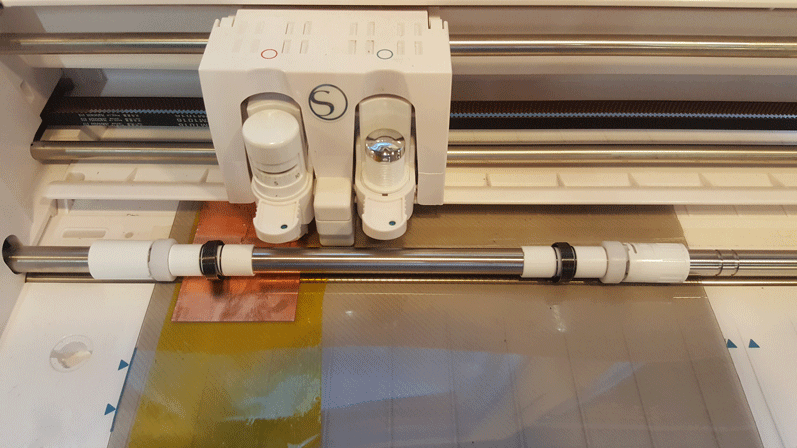
Trace the PCB outline.

Selet the area.
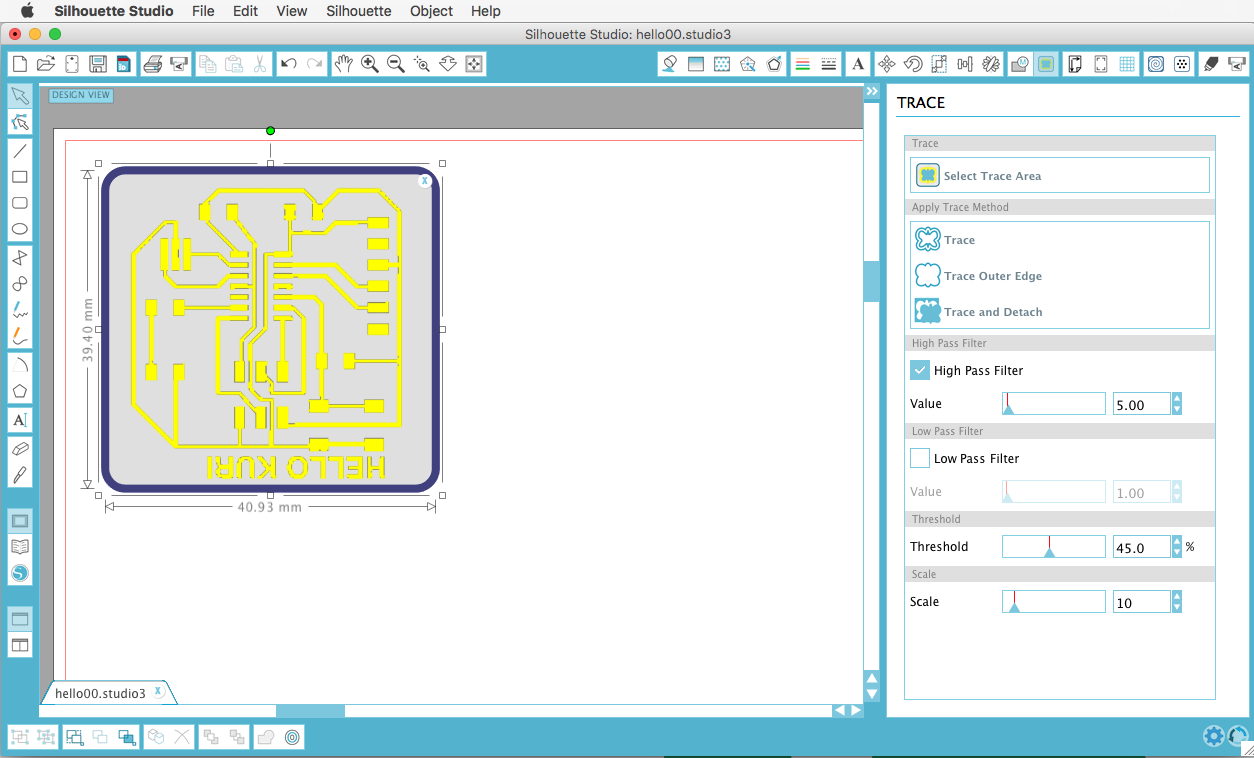
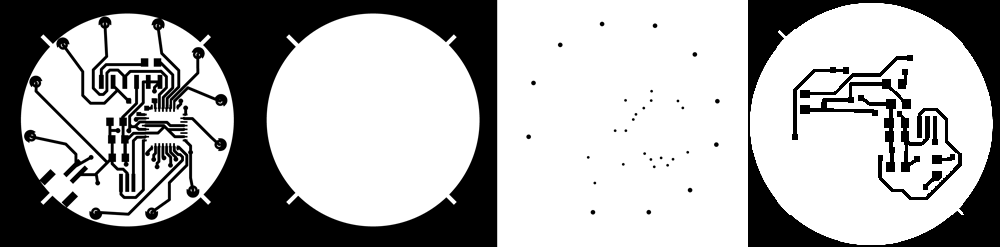
After doing this process and cutting, I realized that my lines were bit out of shape and thin, so I ended up remaking the lines in Adobe Illustrator.
In illustrator, I uploaded the original .png file and expand the line thinkness and Expand + Rasterize. Removed all the unnecessary lines.
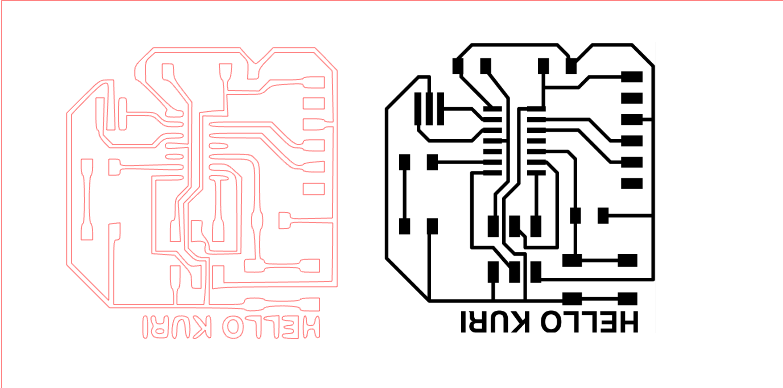
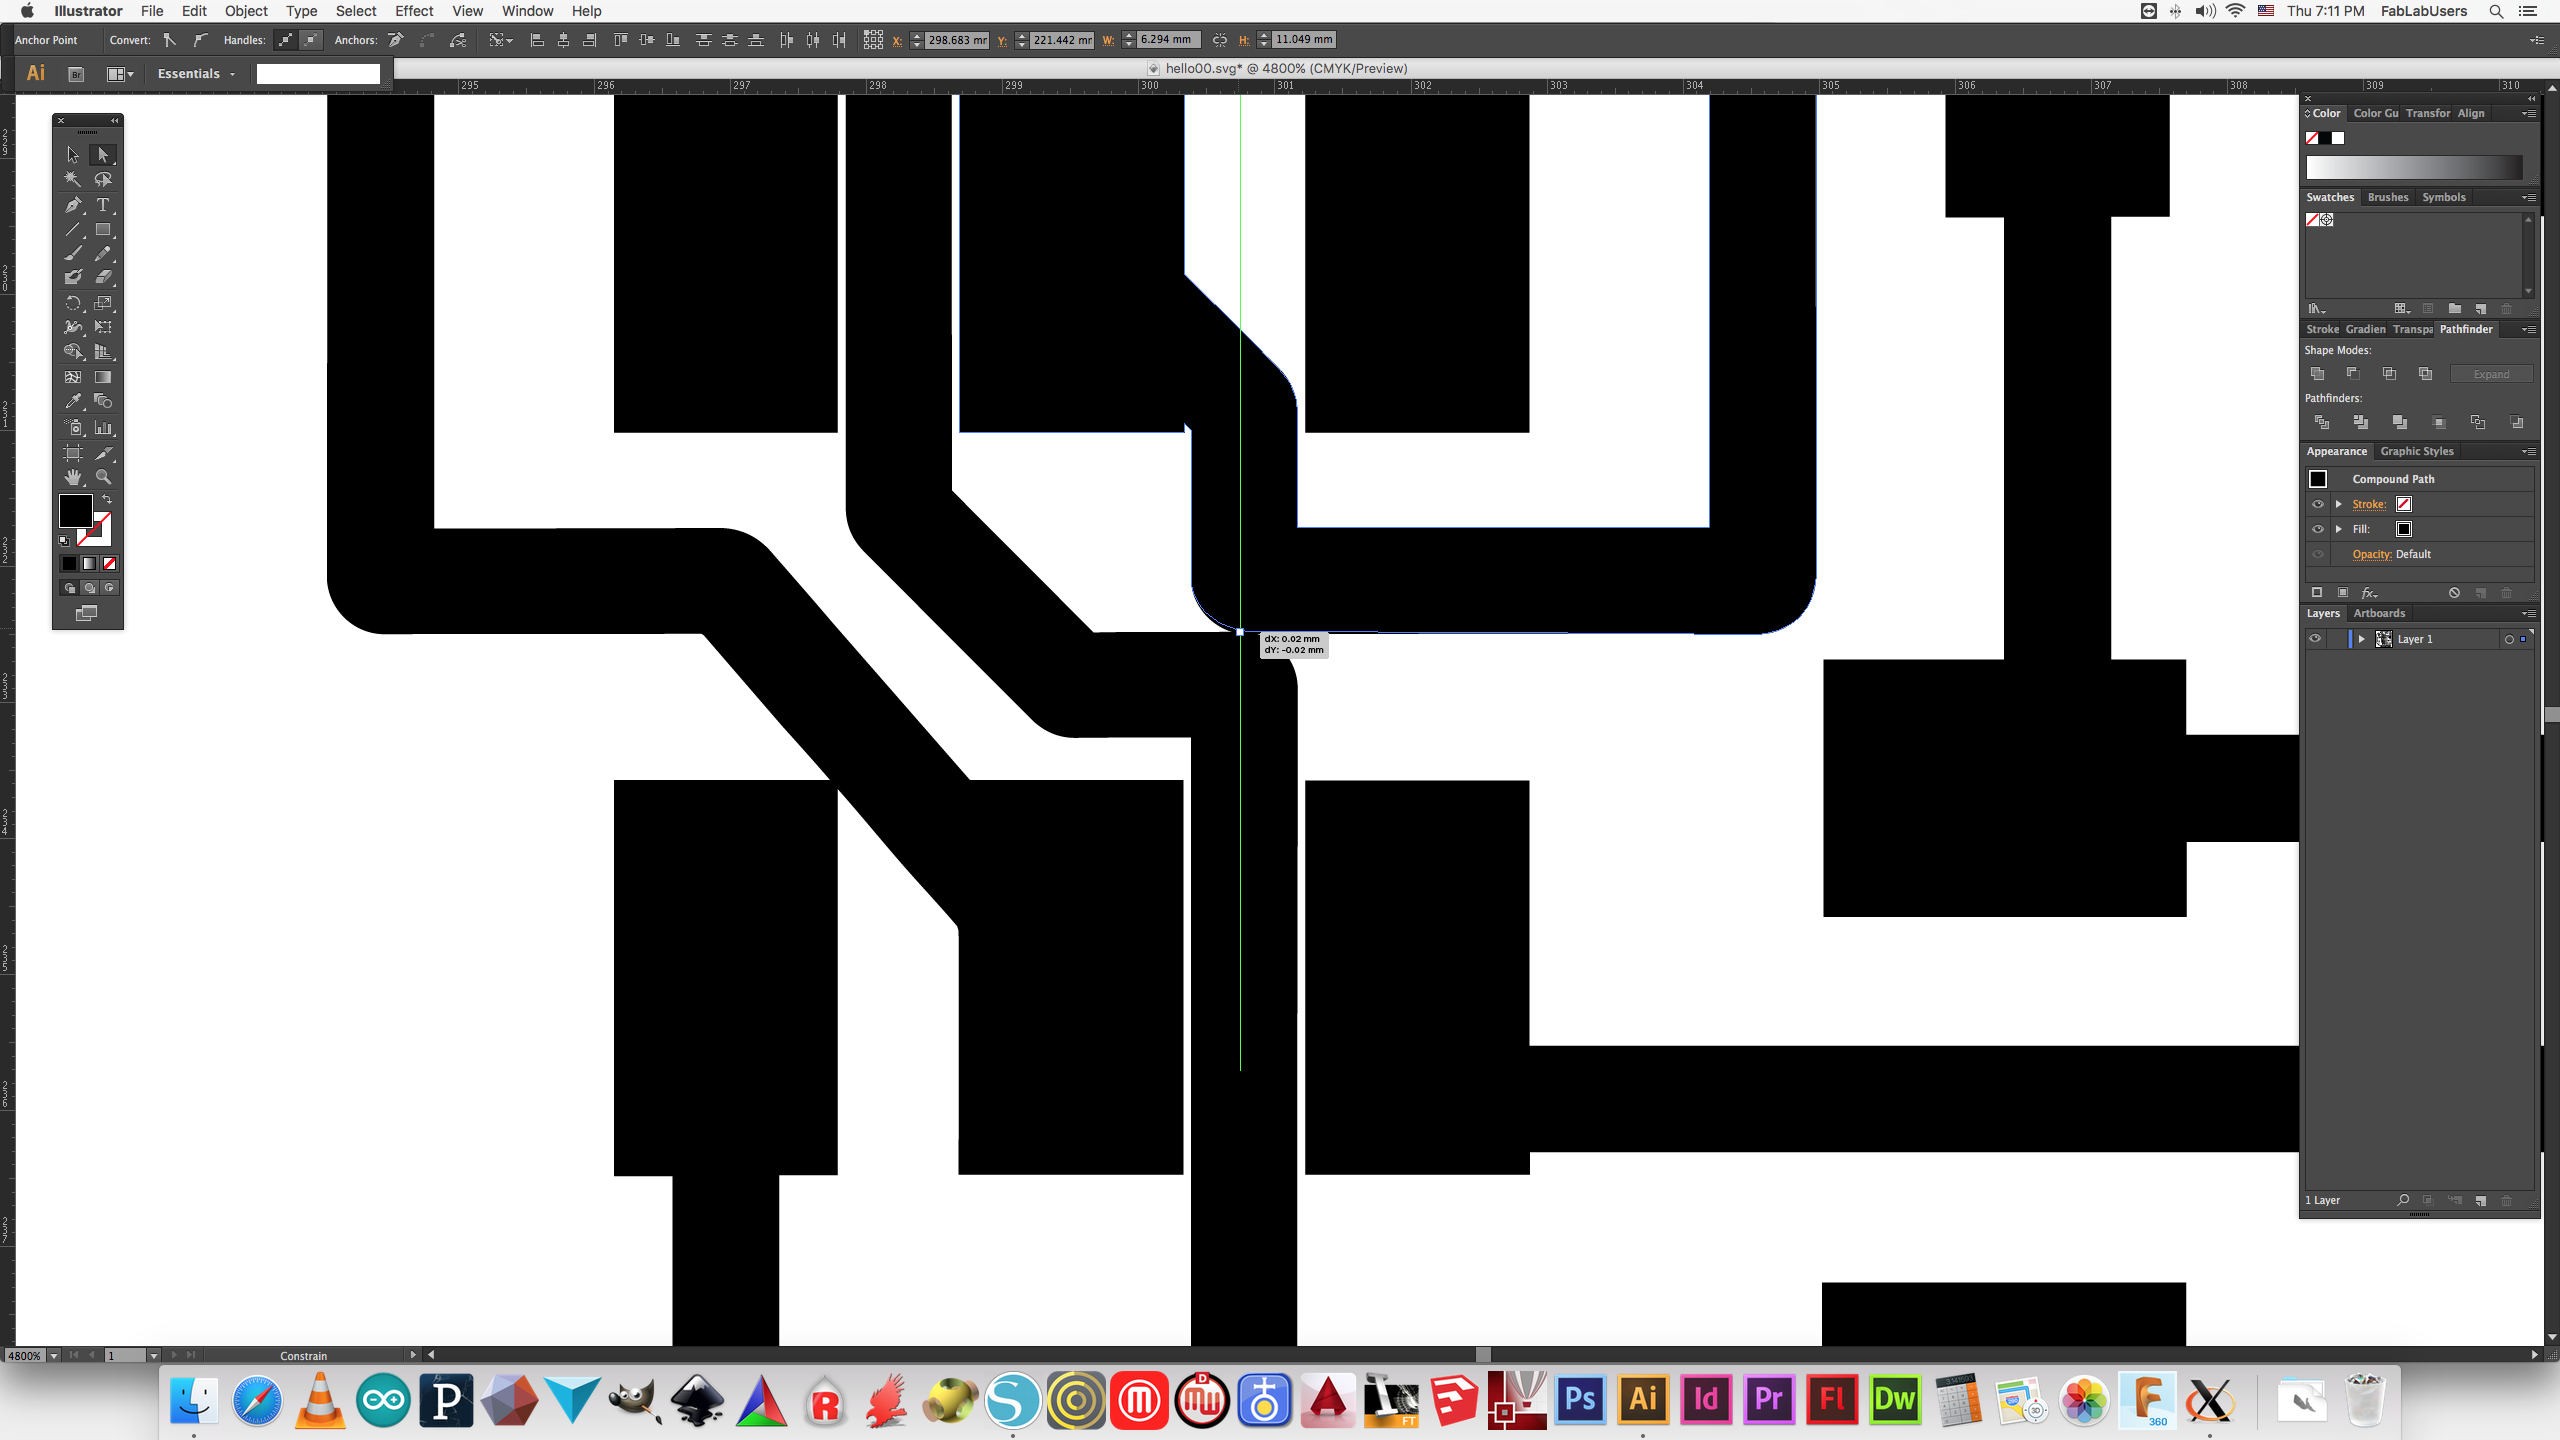
Two lines were connected, so I've moved it apart.
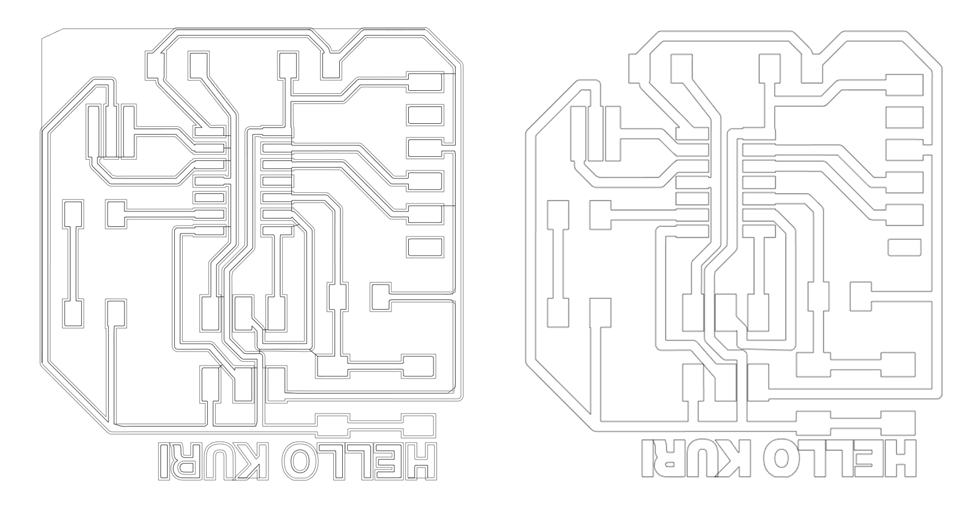
First .dxf file contained more lines that I expected, so in Silhouette software, I had to remove some lines.
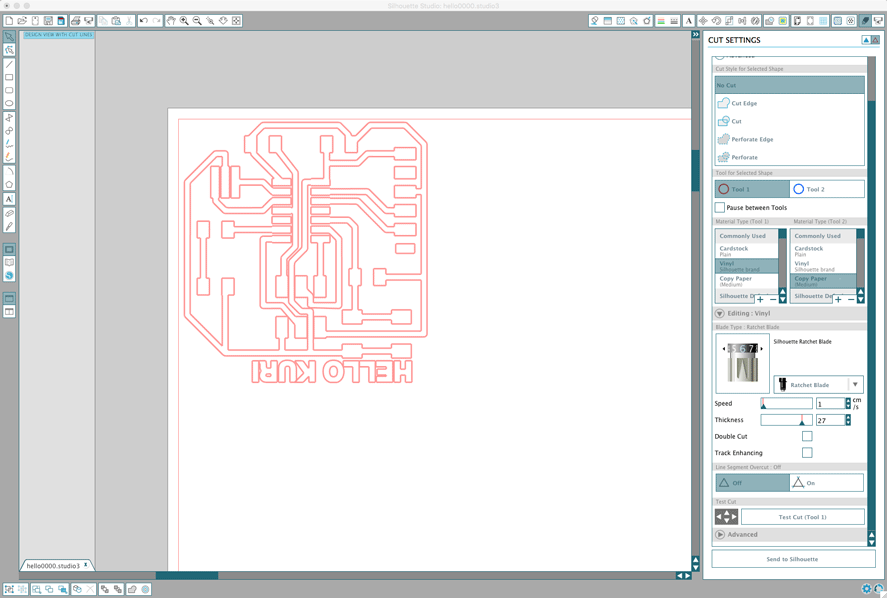
Cutting Settings
Blade: 6
Speed: 1cm/s
Thickness:27
I was able to just cut off only the copper tape instead of cutting though the material.
Line looks great!
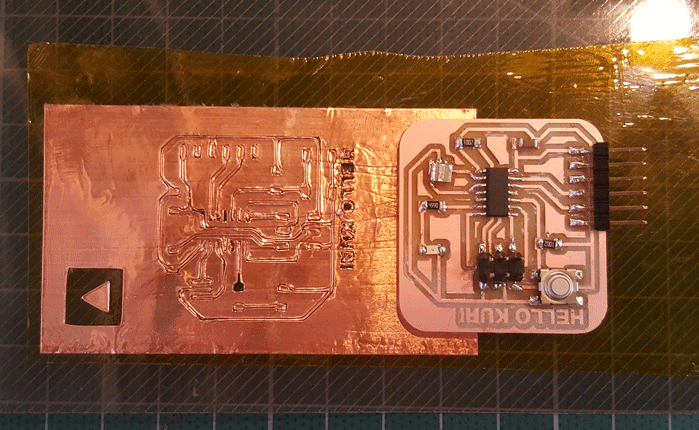
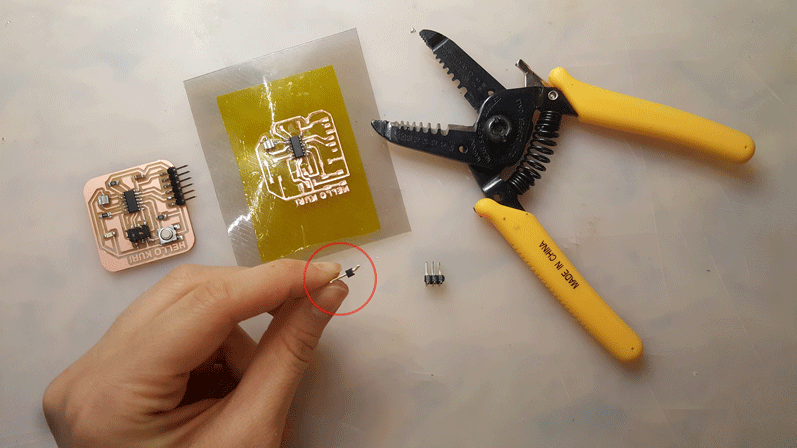
Flexible PCB and orignial 'Hello Kuri board'
Checking with Multimeter. Although copper tape seemed touching to each other, surprisingly, it wan't connected.

Tip: I've slightly bend the pin-header.
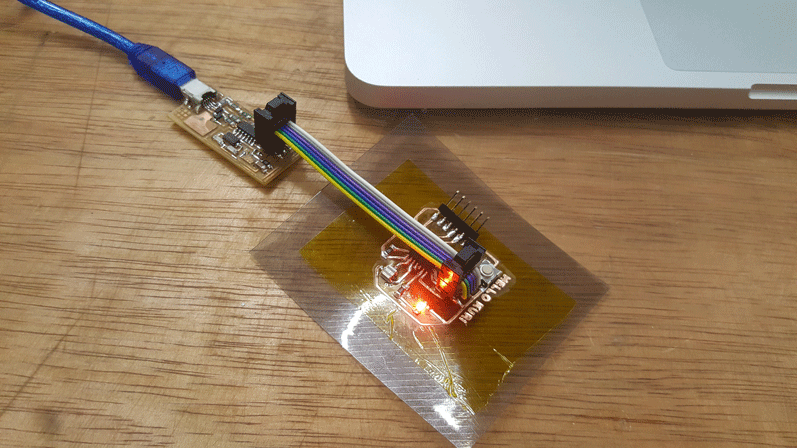
DONE! I made it and it looks great!

I had to re-solder some parts, but I was able to program it too.
Errors
The bottom started to move while cutting!
Lines are too thin, so some parts were lift up.