
For this week the assignments to be accomplish are:
In order to make a website you need to develop some skills on HTML language (Hyper Text Markup), CSS (Cascading Style Sheets) and JavaScript (Programing language) these tools are very useful, but in the same time each one of them have a different function function including its own learning curve that will affect how your website is arrange, styled and how people will interact with it.
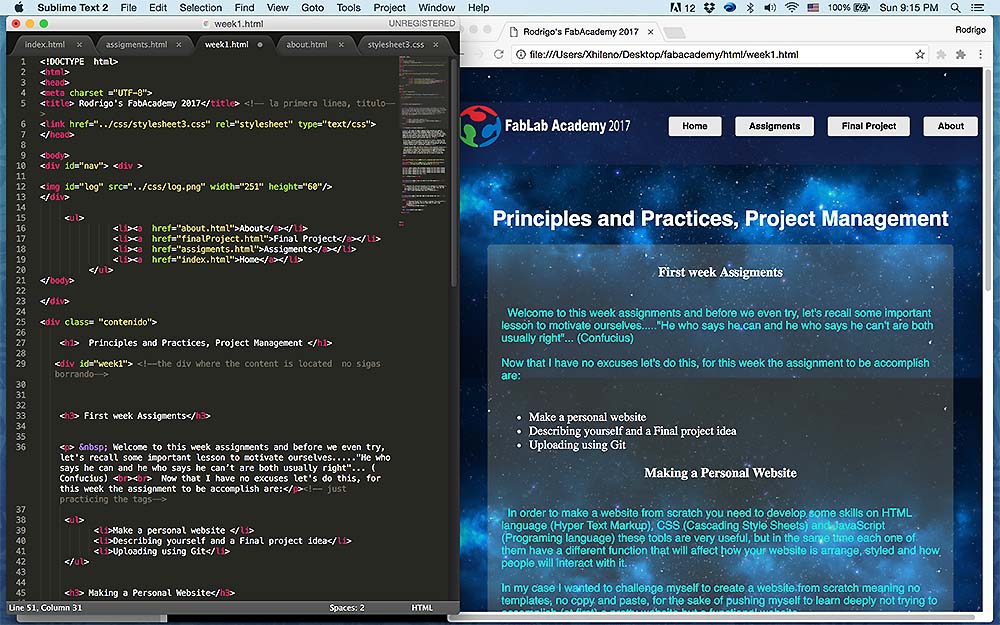
In my case I wanted to challenge myself to create a website from scratch meaning no templates neither copy and paste for the sake of pushing myself to learn "the basics" not trying to accomplish (at first) a pretty website but a functional website.
I taught myself HTML and CSS by taking a very specific course on coursera.com "Introduction to HTML5" and "Introduction to CSS3" by University of Michigan and spent time watching videos on Youtube on how people created their on website and how to style it using CSS.
There are countless of website that can teach you how to use HTML and CSS including JavaScript, just give a try on a searching engine and type “how to learn html” you will have Schools, Academies and Camps; however, let me show you how I did it.
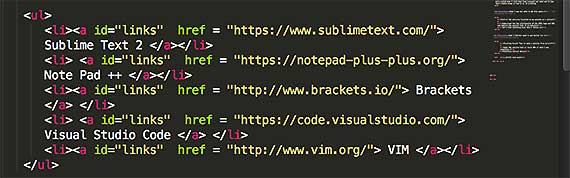
To begin, you will need a a text editor, I use Sublime Text 2 for Mac users or you can use any of the ones in the link below that accommodates your operating system.
If you are not sure what to chose, check the reviews of the links below by clicking here:
Once you have your text editor, you need to learn the basics (although the “Basics” will vary depending on the person’s experience).
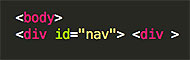
For HTML understanding how "tags" work is the key; for example you have tags for a navigation bar, paragraphs, title as h1, h2, h3…h6, body, for images and many others.
In my case I found a very useful website (w3schools) that has reference with description of the tags and explains how you can use them, even you will have the option to practice on their website.
This is how you usr the tags:
<_tag_> Content or description of the “words” you want to display on your page <_tag_>


I could give you dozens of example but the only way is to practice and use as many tags as you can and see how they are arrange in you page.
For CSS is a little bit more different, usually most of the people have a separate file that is linked to the HTML file.

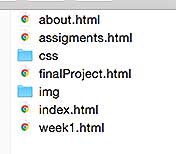
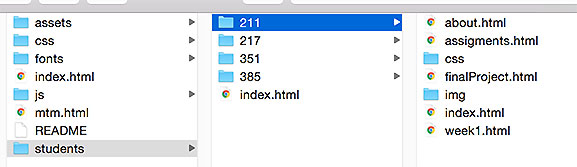
As you can see in my folders I keep my css files separate from the htmls, images as well.
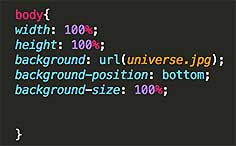
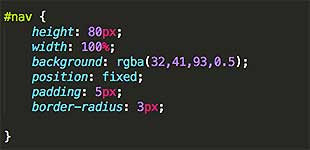
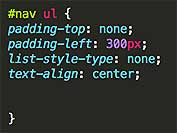
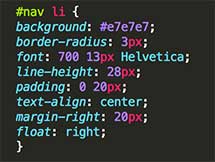
To style your HTML, meaning changing colors, positions, fonts, backgrounds and everything else you can just call a "Tag" and give it some rules by saying “the body” should have a width of 100pixels or a background picture of universe.jpeg. (see picture below)
This is very useful due to most of the website don’t have only one page but several and you can give that rule to each page that is linked to the same css file; although is very convenient, you might get a little frustrated when you decide to personalize I bit more and realize all the tags are influenced by the same rule.
In my personal experience I was able to control more the style when I partially understood the difference between “id” and “class”, where you specified exactly witch tag will be change by giving it an “id” and only making the rules for that “id” itself. Warning!!! Before start naming everything with a unique name think about the look that you want to accomplish and plan in advance to optimize remember to use “classes” and “id” wisely.
By doing all the above and including some pictures I was able to create this website.
To check the webpage where I talk about me, you can click here or go to the top bar menu and click “About”.
The reason why I’m taking the Academy in the first place is to teach others, especially kids. Last September in the maker faire Seoul, I had a great experience and I personally saw the effect that a simple 3D printed helmet had on kids and even they got more exited when I told them that everyone can make one is you learn simple steps on how to do 3D printing.

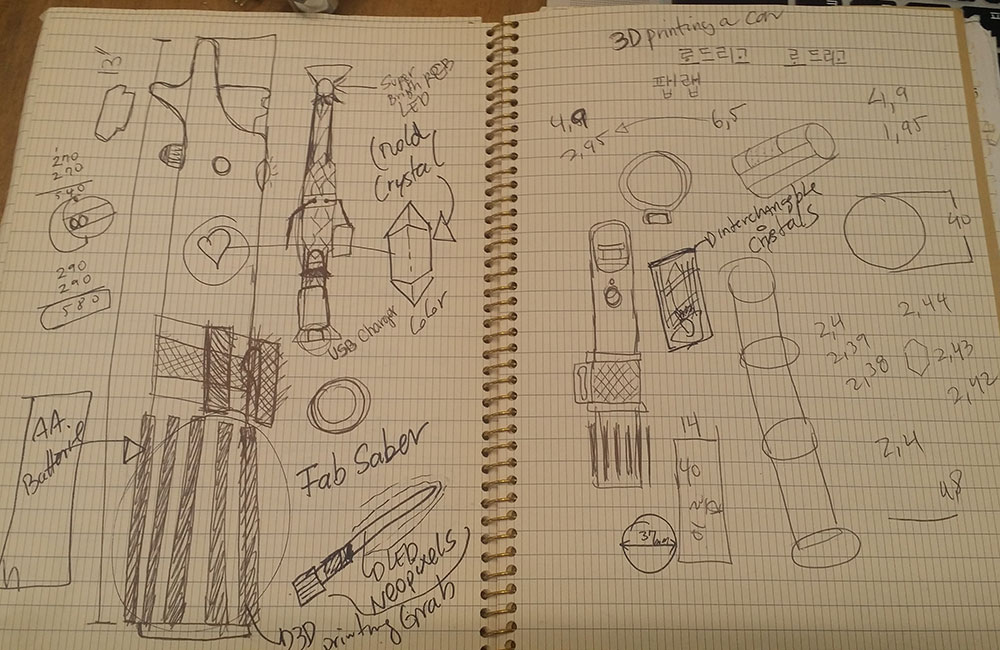
The reasons I want to make a helmet so bad (Original Idea)


The reasons why I changed my mind regarding the Final project and switch to the LightSaber

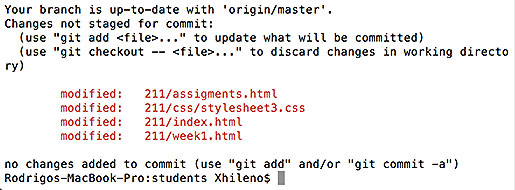
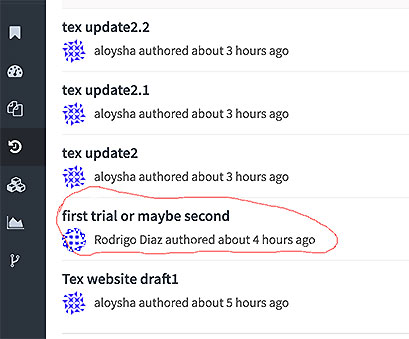
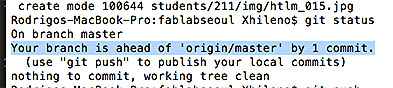
To be able to have access to the repository you need to create an account in Github and get your SSH key, open your terminal and using the terminal commands you can clone, pull (update) and update (push) the repo!.

What I was not able to do this week:
What I did but need to get better at:
