Week 12: Molding and Casting
This week our task was to design a mold, machine it, and use it for casting
For this assignment I used an epoxy made by PlastiQuimica This included a resin and a hardener
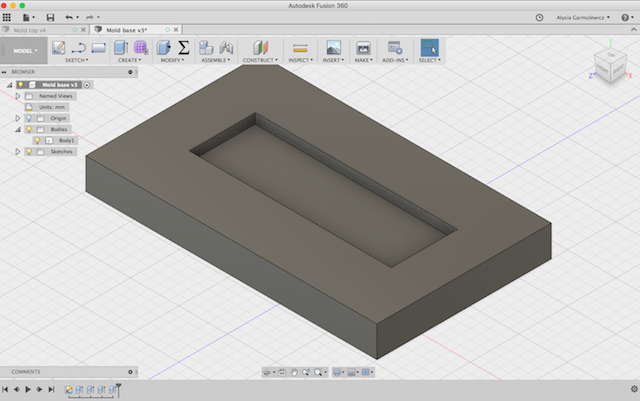
I designed a mold that would allow me to create sample bars of new materials for testing with my final project machine. I designed it with a 8mm deep rectangle.
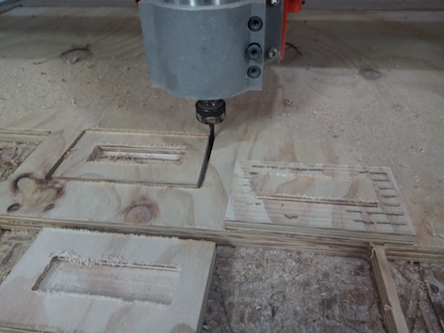
I used the CNC machine to make it, and finished the raw mold with sanding.

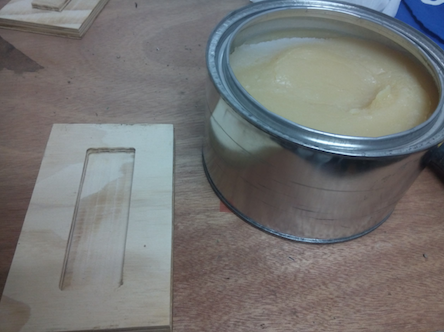
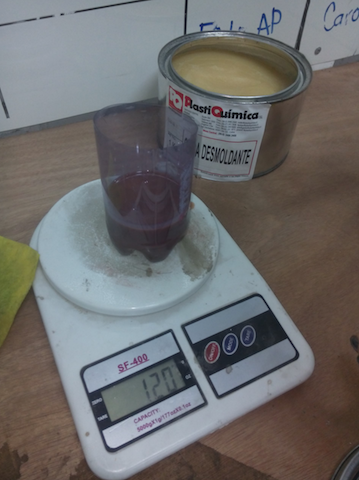
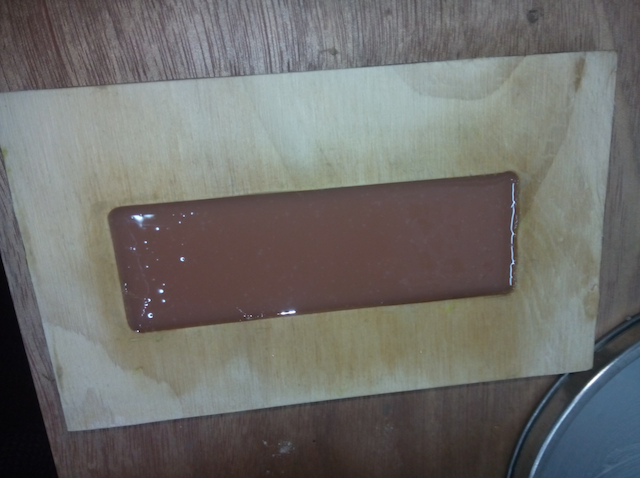
I then waxed the mold to allow so that the resin cast would not stick. I prepared the resin, using 50/50 resin and hardener, using the scale for measurement.
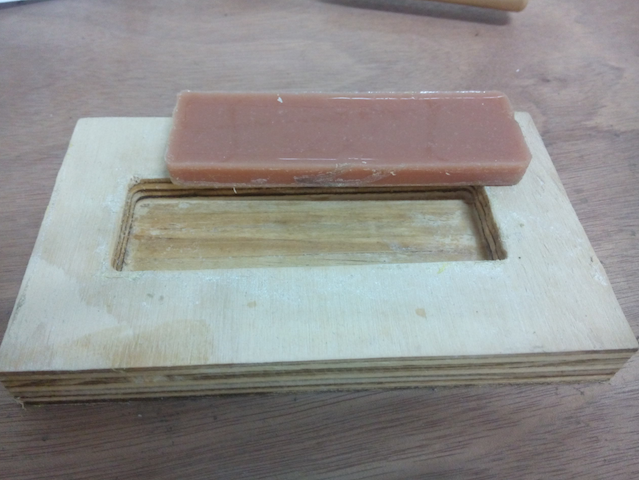
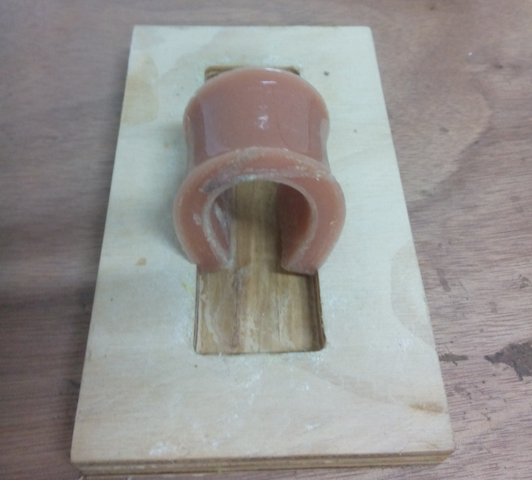
I then poured the resin into the mold and set it to dry. After drying I extracted the resin from the mold. It created a thick very flexible bar of material
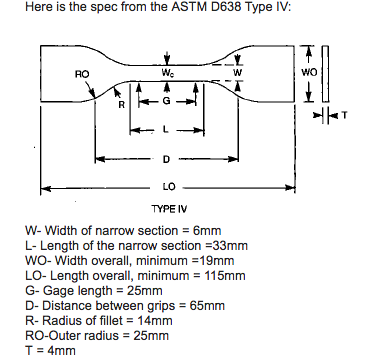
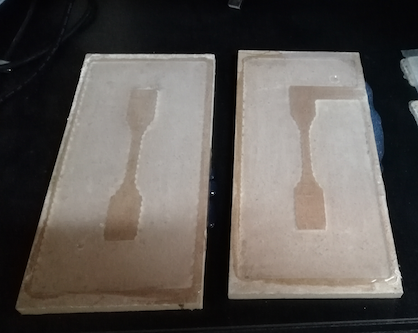
Realizing that I needed make a molded object in a 3 step process, I decided this time to make a mold from MDF for a 'dog bone' shape, a commonly used form for making samples for tensile testing (see ASTM standard D638). The ends of the dog bone can be positioned in the grips of a universal testing machine, and the stress in the sample concentrating in the skinny part of the sample so as to better control the break point (see below for an illustrative diagram)
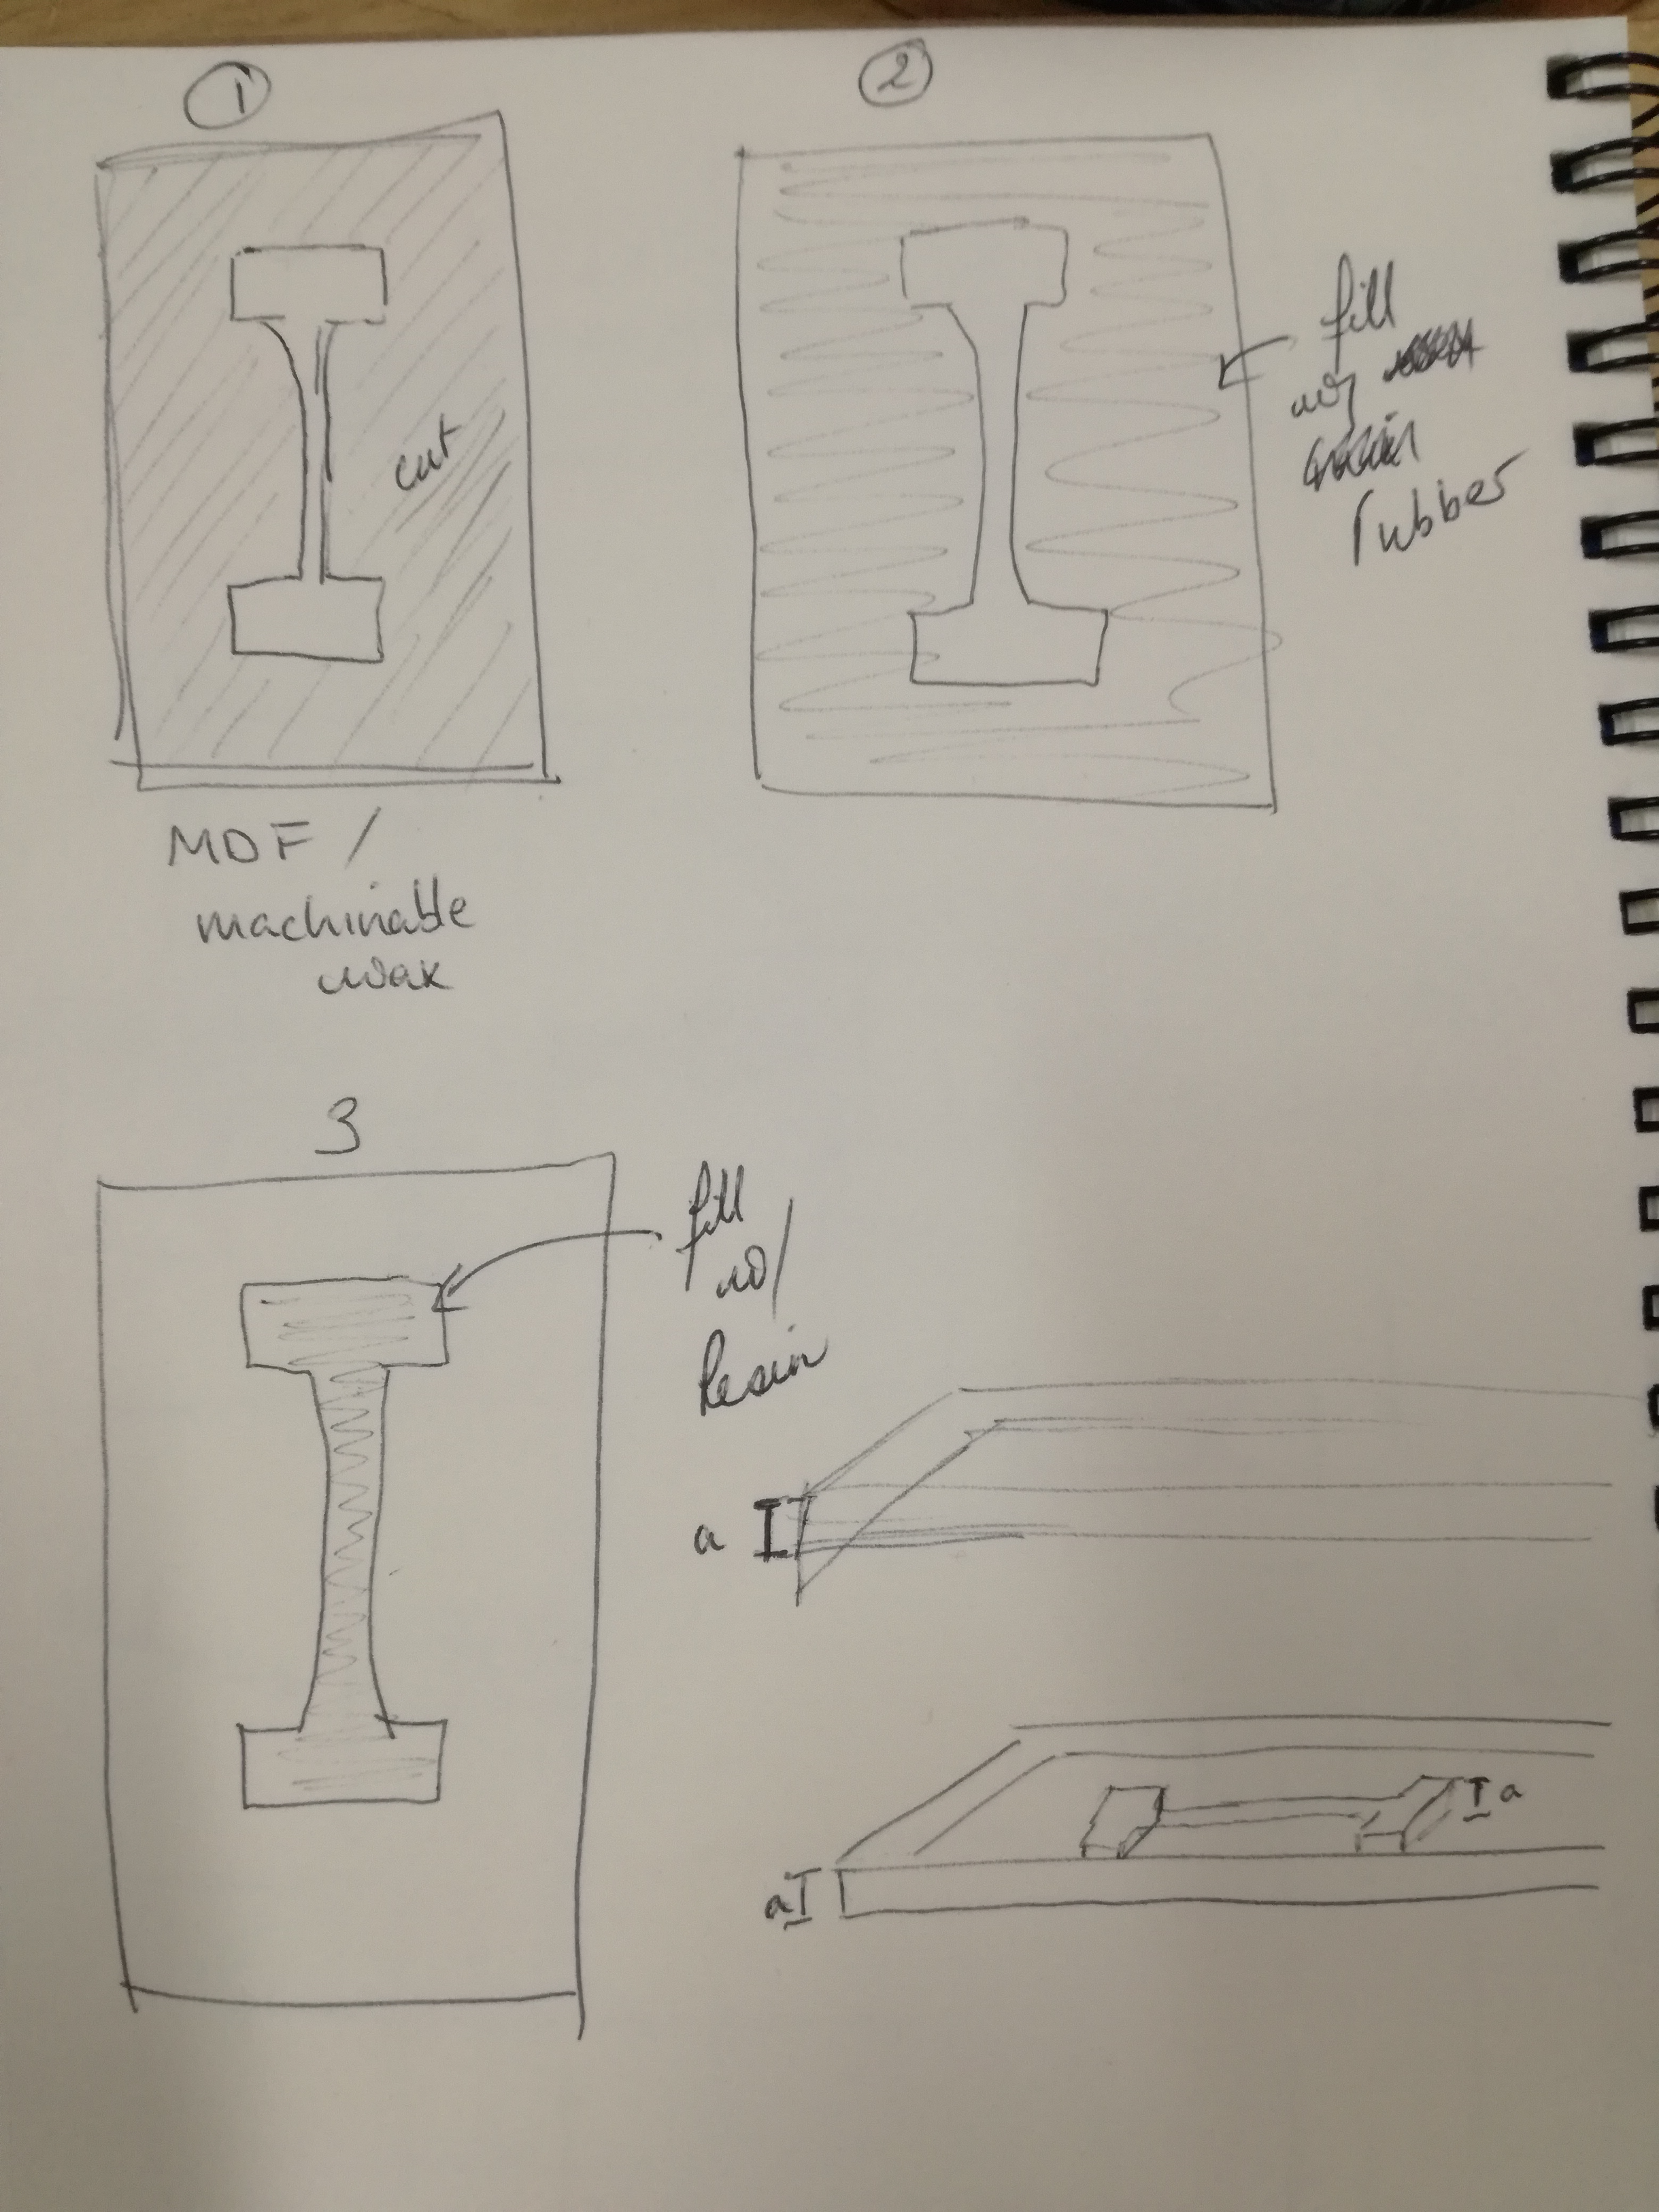
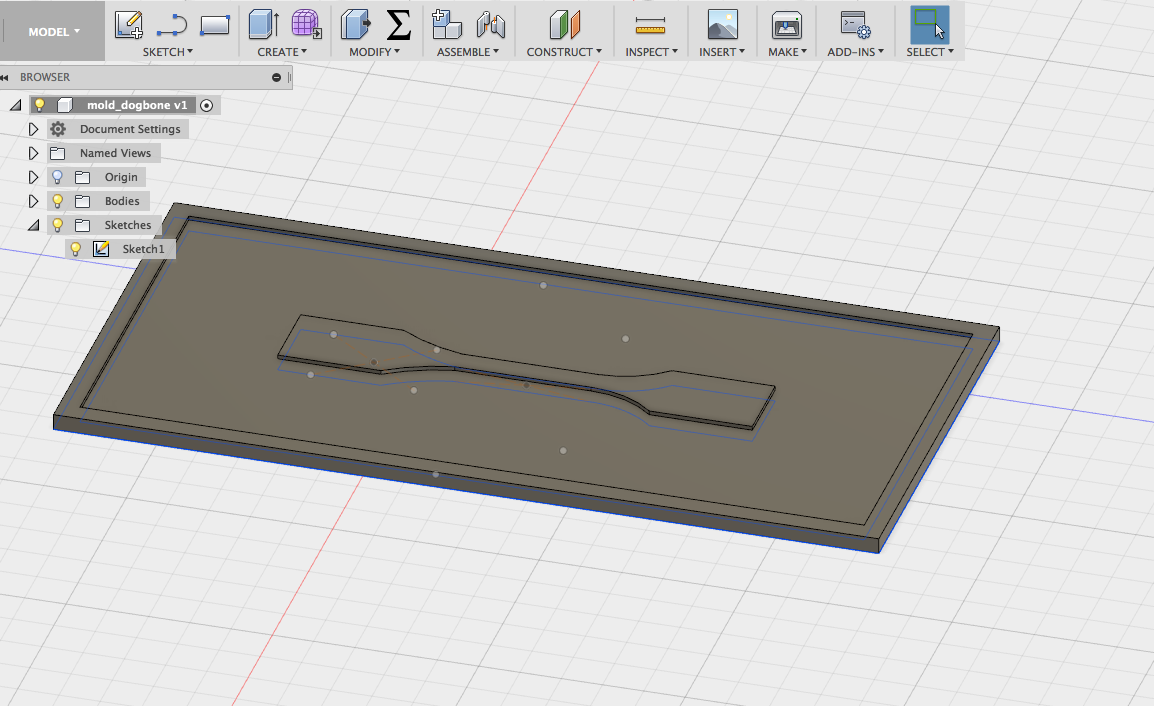
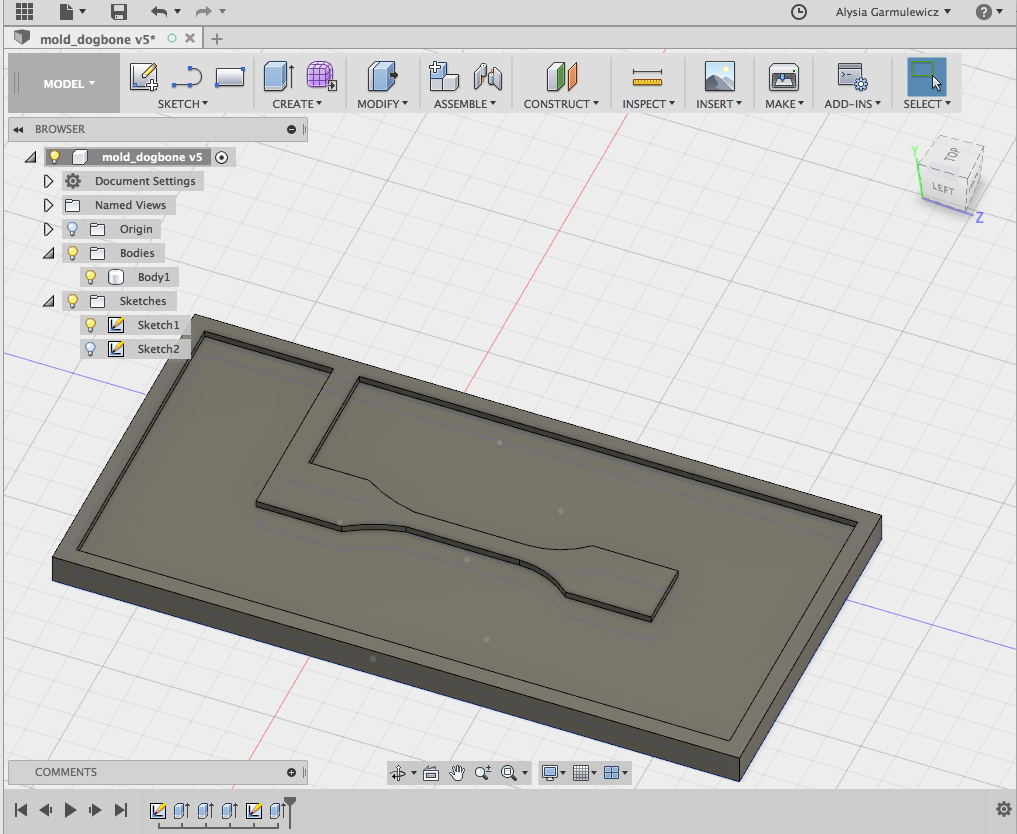
I first designed the mold in Fusion 360. See below for the designs of side one and two. The second side has a channel designed for allowing the material to be casted to be poured inside.
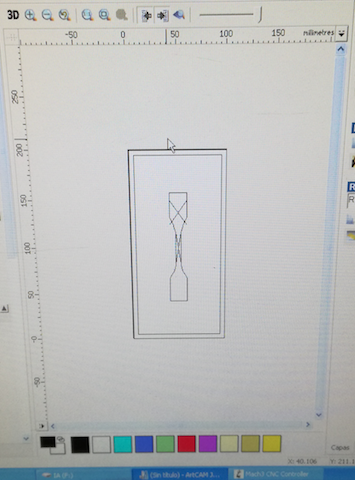
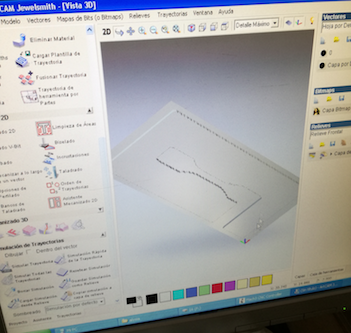
I then exported both a 2D file (.dxf) as well as a 3D file (.stl) to the CNC Art CAM software. Below you can see the screenshots of the 2D file loaded into the software. I first had to fix the problem of my earlier sketch lines being in the model (image on left). I didn'

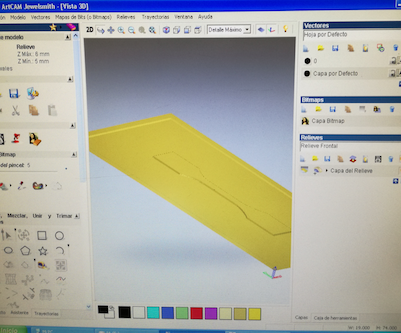
I also loaded in the 3D file and added the toolpath settings. The images below show the 3D toolpath renderings.
Then came the cutting! I used 9mm MDF. See the video for the CNC in action:
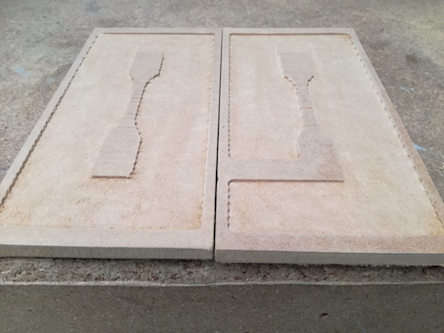
The mold turned out very well. See below for the result. You can see the result of choosing a raster in x toolpath pattern which was the default. This caused roughness around the raised dogbone shape and in retrospect, a better choice would have been raster in the y direction. This didn't affect the quality of the mold overall, just the precision of the resultant cast dog bone shape if I were to use it for actual material testing.
I made sure to brush the mold with demolding wax so the silicon wouldn't stick
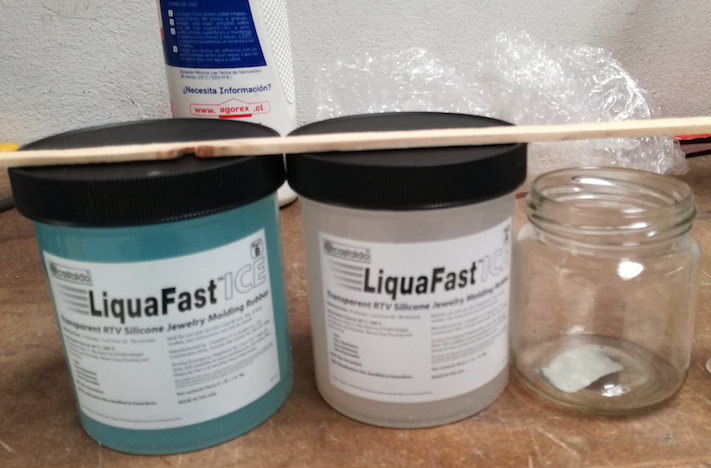
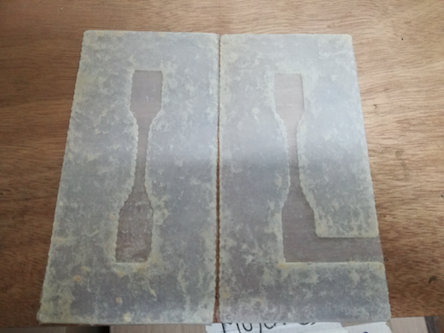
Then came step 2: casting the silicon mold. I used LiquaFast Ice molding silicon rubber. This was simply a matter of mixing the same proportion of both part A and B in a glass jar, and then pouring it into the two halfs of the mold
Here are the rubber molds, ready for step 3 of casting:
Then came step 3, experiments with casting materials into a final dog bone shape using the flexible rubber mold. I began by experimenting with casting liquid butter, mixed with MDF sawdust from the CNC. This was really out of curiosity, and it failed spectacularely! The butter wasn't hard enough to take it out of the mold in one piece.
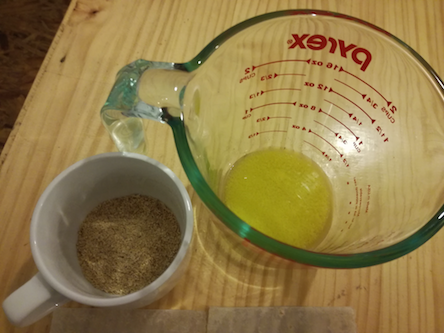

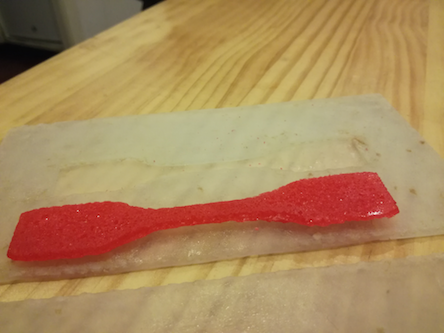
I then tried boiled sugar (adding 1/8 cup water to 1/2 cup of white sugar, microwaving it to a boil), with an addition of red food colouring to add contrast. This worked very well and produced a successful dog bone cast. I could use this to test the tensile strength of red-coloured sugar if need be!

Here is the file from this week:
Model 1 for casting Model 2 for casting2D Mold side 1
2D Mold side 2
3D Mold side 1
3D Mold side 2