


.jpg?crc=472088464)
.jpg?crc=65331275)

-crop-u10125.jpg?crc=329619673)


.jpg?crc=177575742)


-crop-u10329.jpg?crc=4113827574)


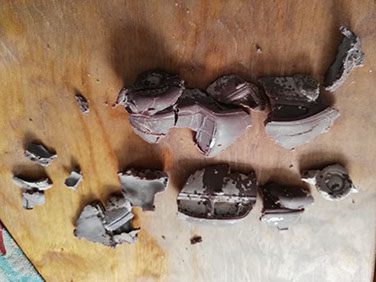

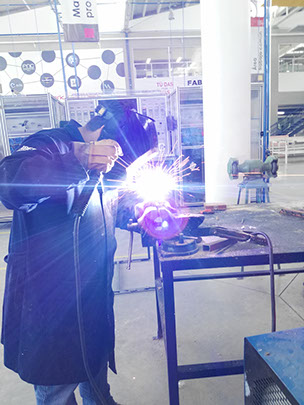
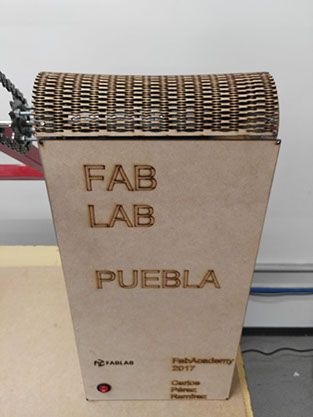
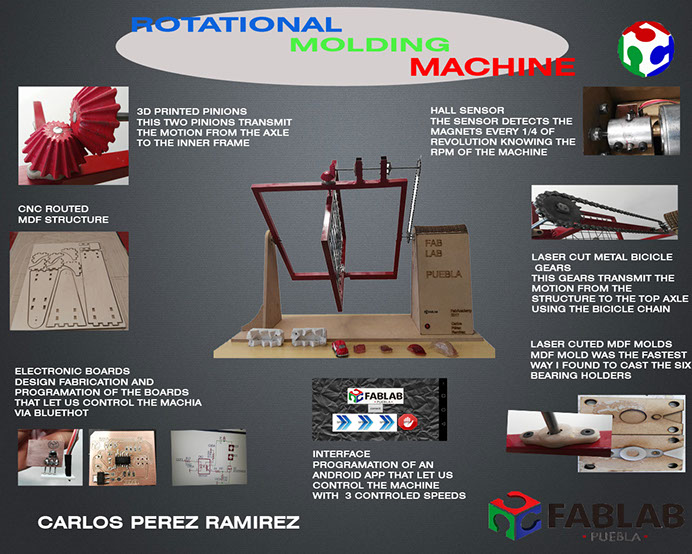
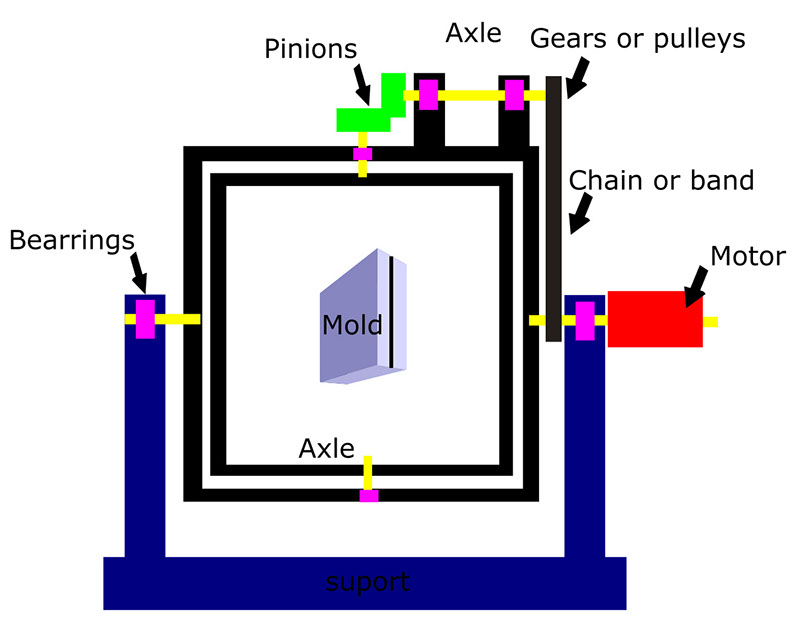
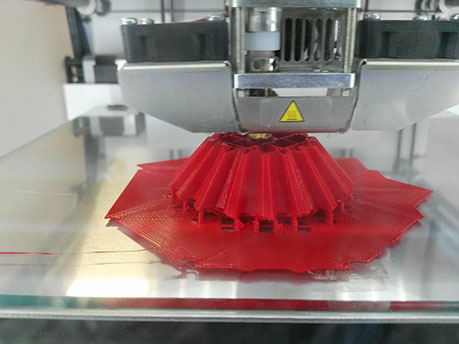
rotational moulding machine by Carlos Pérez Ramírez is licensed under a Creative Commons Reconocimiento-CompartirIgual 4.0 Internacional License.
Creado a partir de la obra en http://www.fabacademy.org/archives/2015/eu/students/silli.saverio/project07.html.