
Week 16 - Application programming
Temperature sensor board for application programming
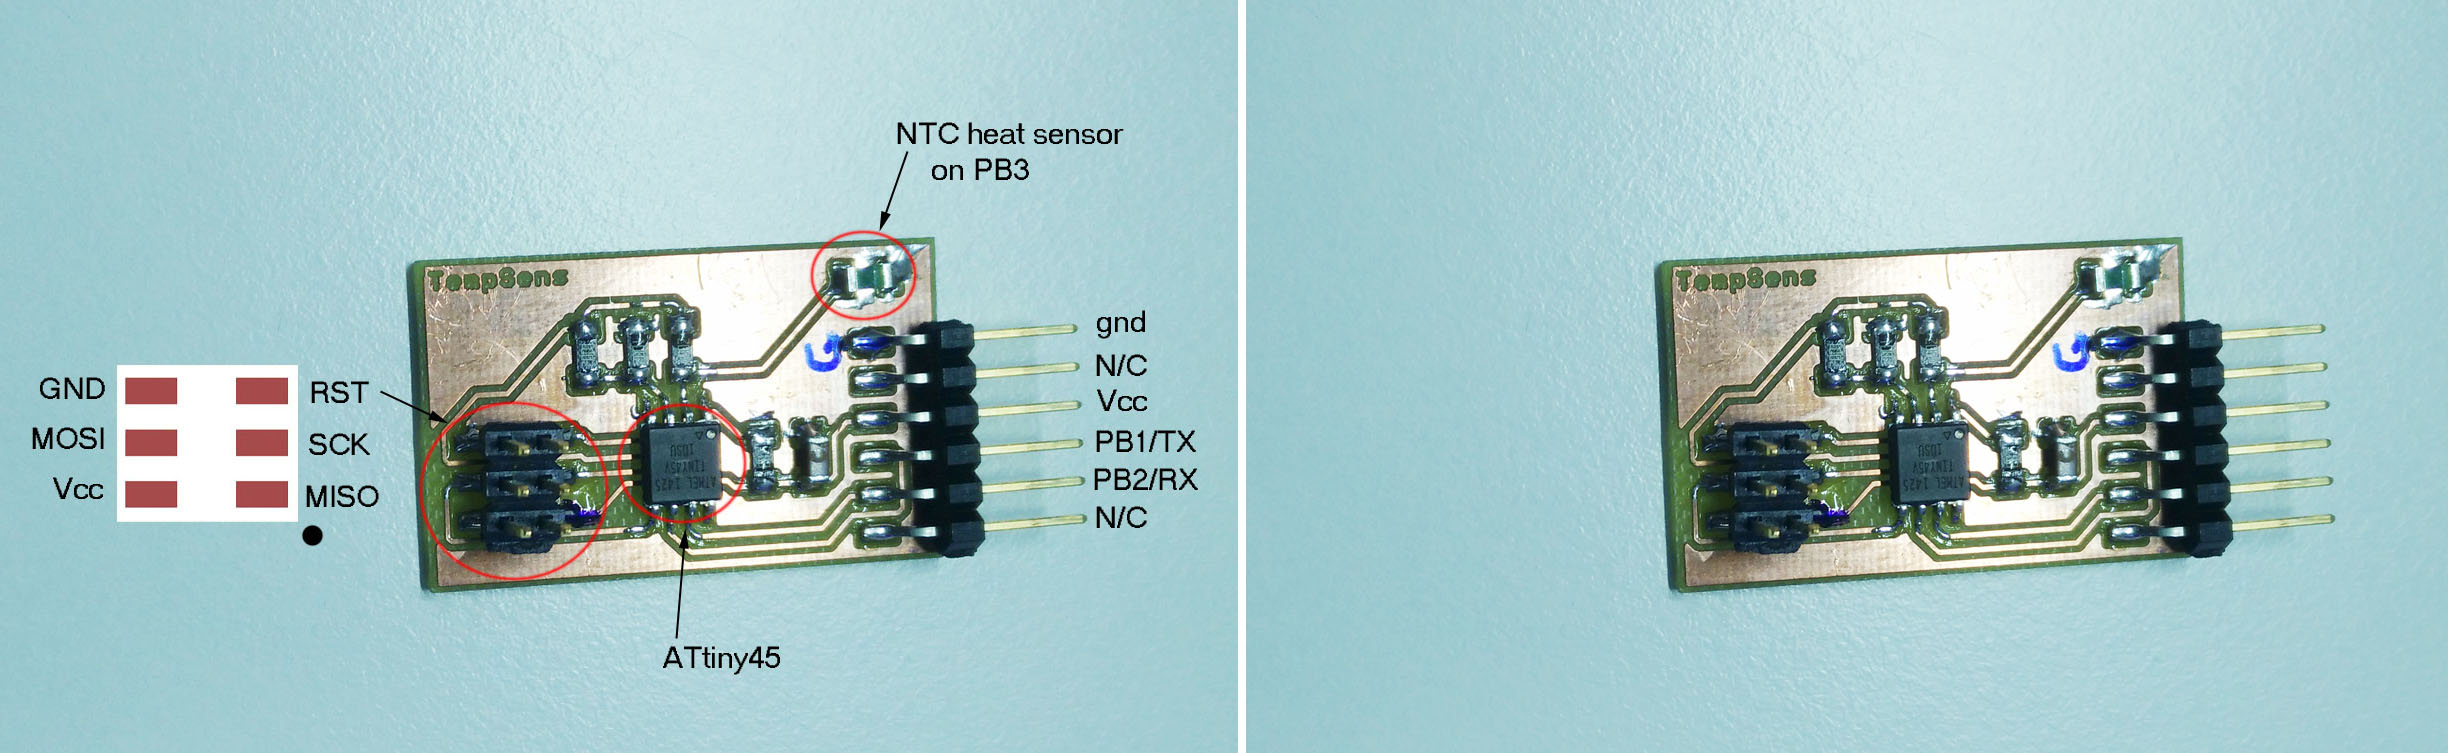
I build a temperature sensor for this weeks task from input weeks examples Neil has on the www-page, I assumed the board and python code would work nicely. When I first plugged the board on to my Linux computer it worked fine, but after a short while it stopped working. I just got value maxing out on the python code showing the temperature.
I did a lot of debugging on the board and its software. The documentation of debugging has been moved to input week, week 13 page. On this page I will cover this weeks application code, as I should.
For my input I am reading serial port into Prosessing software and displaying it.
Installing Prosessing software environment
First thing to do was to download and install Prosessing software environment. I went to Prosessing-www page and downloaded the Windows 64bit version. The file comes in .zip package. My version was processing-3.3.3-windows64.zip.

There is no need to install the software, I comes in .zip package. Just unzip the file and put the folder to suitable location.
After putting the program file folder into suitable location and starting the program, it will create and other folder in where all the examples are into user Documents folder.
Prosessing environment comes with a lot of example codes and more can be found on internet. I managed nicely editing the example codes for my needs. Also I found out that Prosessing environment helps you a lot while working with code. For example if I am defining a wrong data type for a variable, the environment notes about it. So the environment is extremely user/newbie friendly.
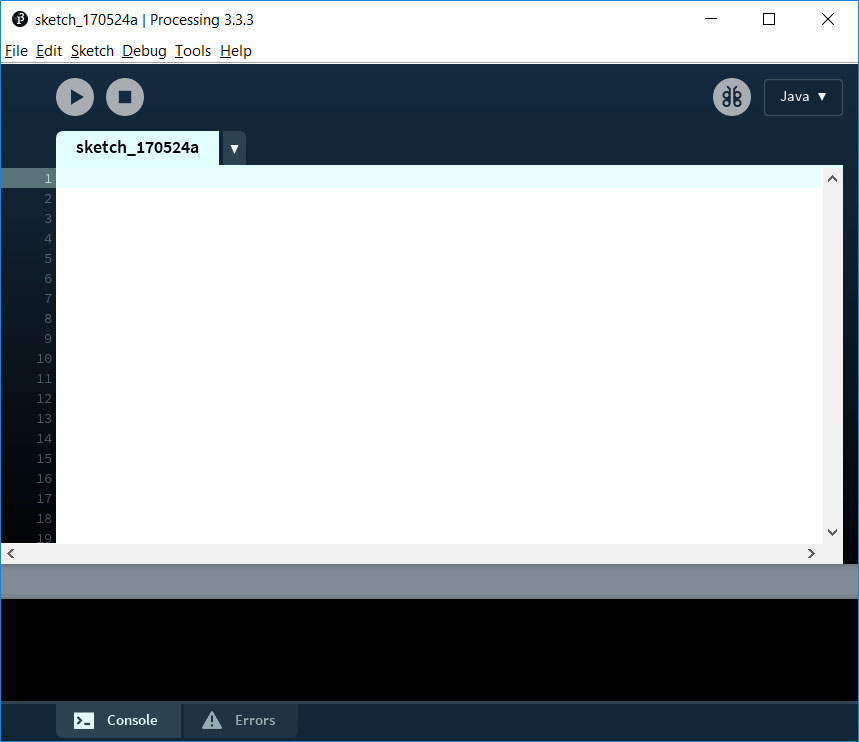
To open Prosessing environment navigate to the location you unzipped the files and click the prosessing application to open it. It will open like this:
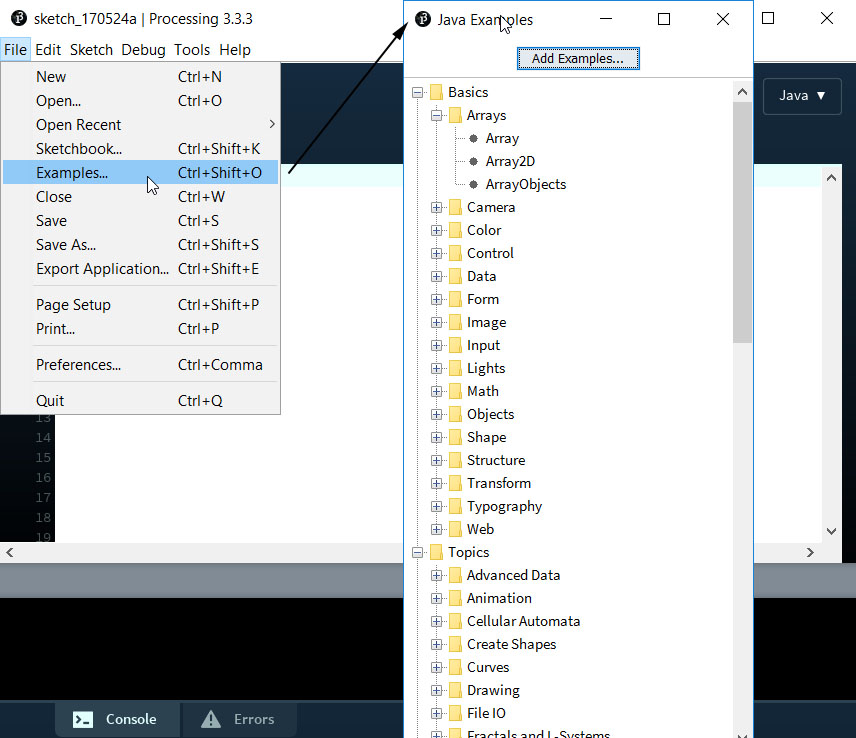
Examples can be opened from File -> Examples.
Creating application in Processing software environment
To start with prosessing, Jani, our lab manager went through an example code Planets adding serial port reading to it. This was a really good starting point into programming environment. After playing with example and going through a lot of examples, I started my own code. It is mainly done copy-pasting code from examples. Here are few parts of software I used and edited.
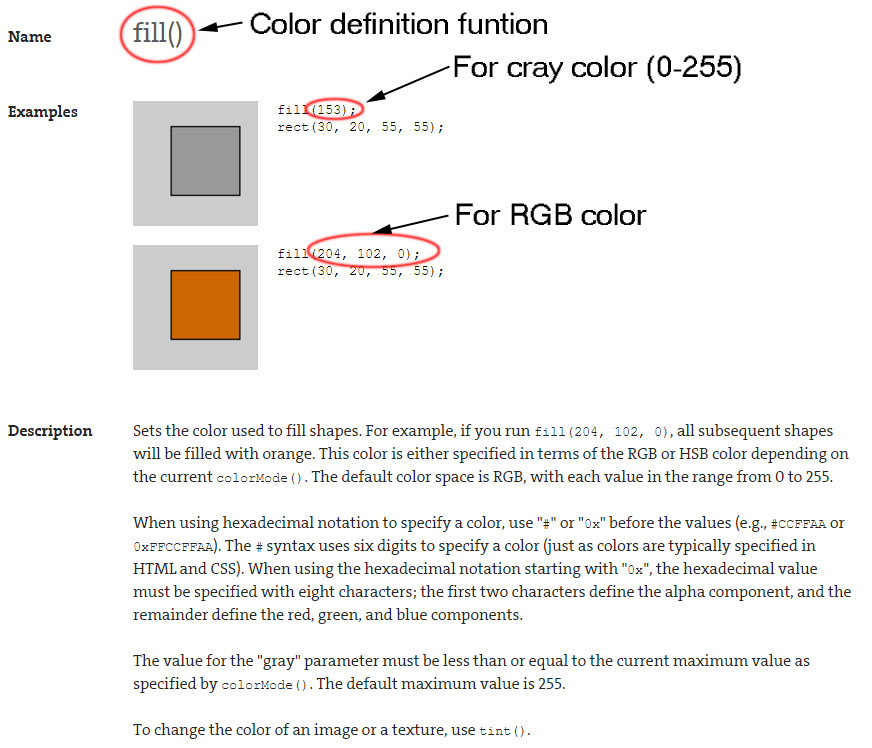
Creating a rectangular box objects is done by rect()-function. To define color fill()-function is used. Prosessing www-page explains all the functions in detail.
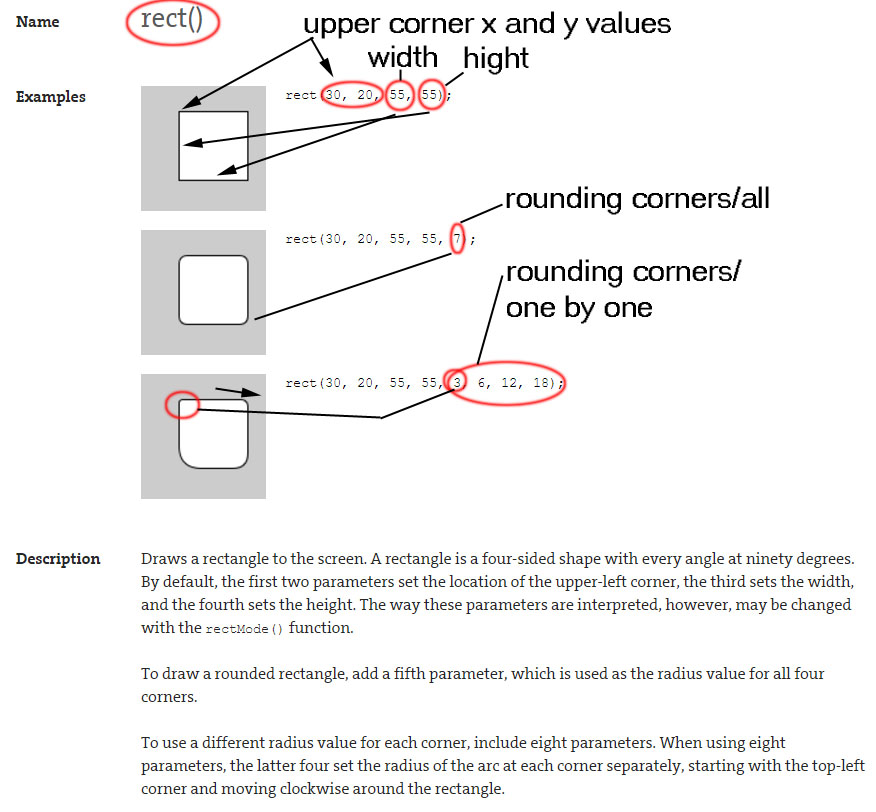
Color funtion is called Fill().
Importing the serial port values was done by using Prossing Serial library myPort.read and other serial port functions.
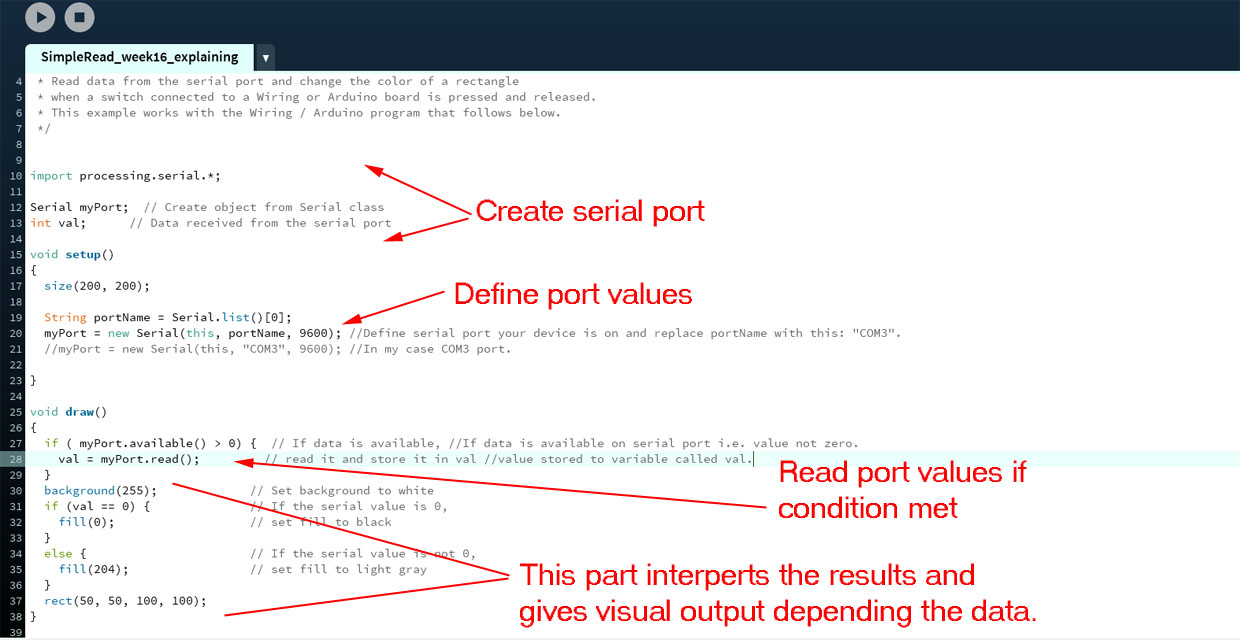
I used mainly these rect() and serial-functions to create this app.
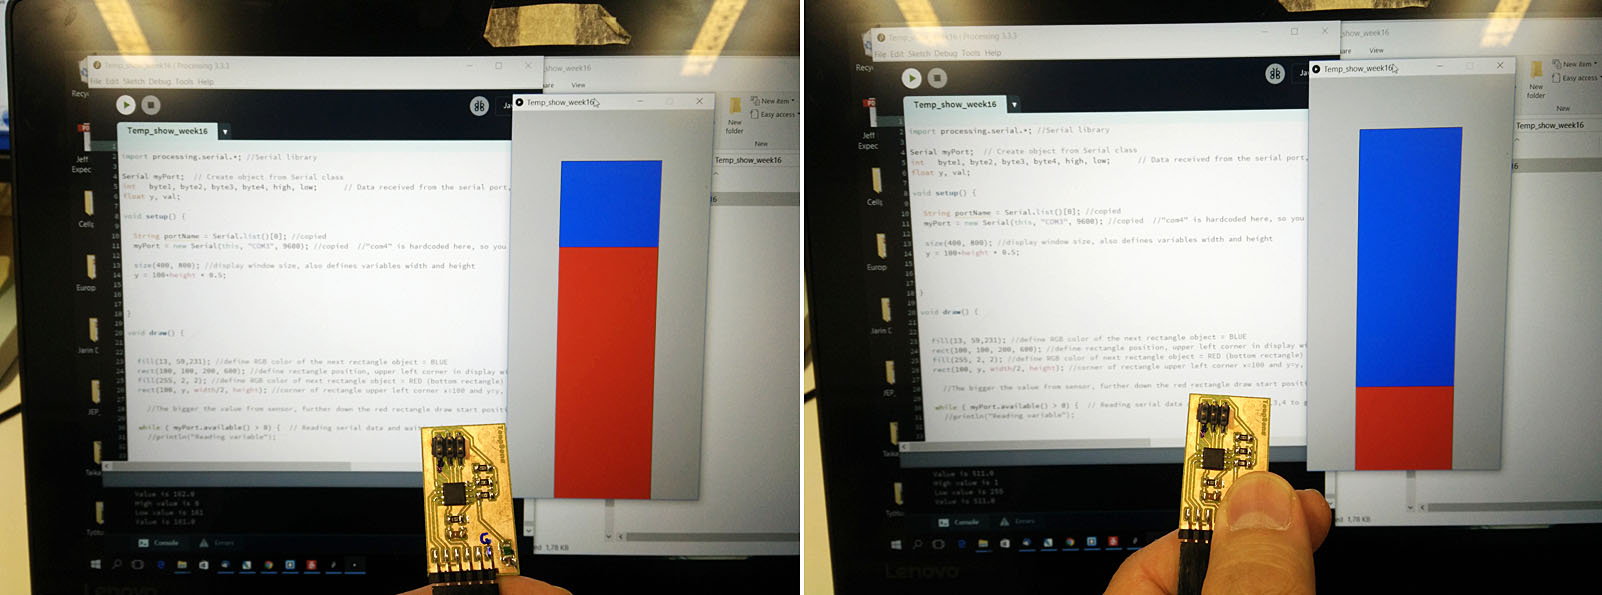
Program reads high and low ADC bytes from sensor board through serial port and gives out ADC value. Values is plotted as bar changing of the application window. As such the ADC value do not represent any temperature scale value i.e. Celcius etc. So there is no conversion of the ADC value to true temperature. Here is the first application program running. When heat it applied to the sensor the red bar will change. The change is made so that the start point of the red bar will change depending on the ADC value. As ADC value increases, bar start point goes down, as that is rectangle draw function positive y-axis.
Video of application running
I made modification to the application. Here is a still images and video. On this application the red squares start next to each other but when heat is added to the sensor the squares start to move away from their commont starting point. One goes right, one down and third one diagonally down. This is only for fun and testing the programming.

Video of application 2 running
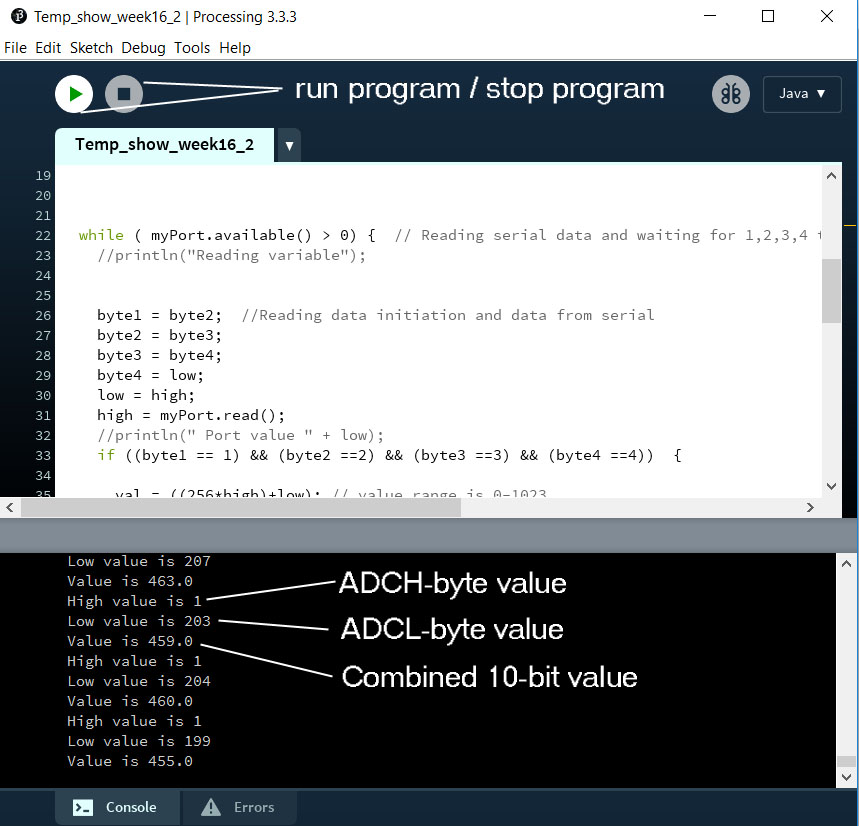
When programming and testing the software in prosessing there is a play and stop buttons for running the program. Prosessing info window (or console as it is called) prints out values from the serial if programmed to do so. They are not visible on the application but are useful when debugging the program.
Files used with this weeks assignment
main.c file
.hex file
application Prosessign code file for app 1
application Prosessign code file for app 2