Computer-Aided Design
First of all, I decided to proceed with the idea to create a shower timer. There is a good amount of shower timers already on the market...
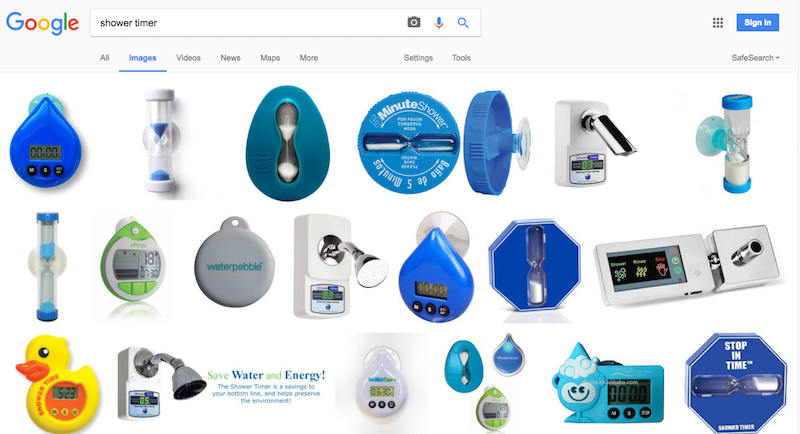
...so I will attempt to create a design at least somewhat different from the exsisting options. Maybe will be able to add some extra features too?
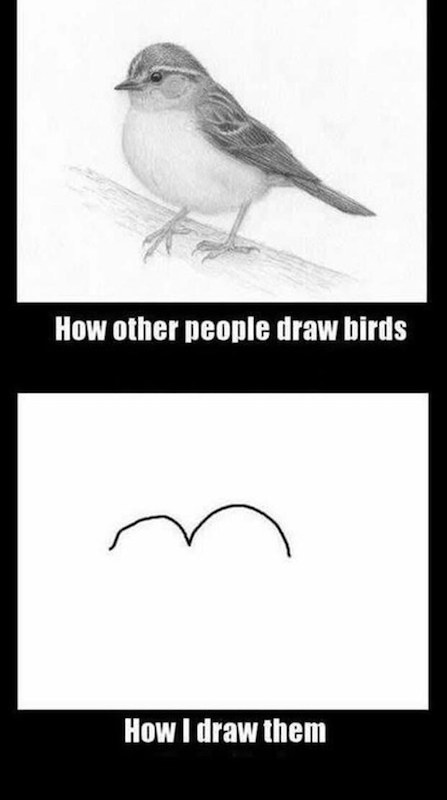
Unfortunately, lack of artistic skills (instance below) puts a limit on how much I can customize my water shower.
Anyways, currently, the idea is to have a timer which starts when the user starts running water. So far I decided that the timer will be giving feedback for the first 5 minutes showing a corresponding emoji and a light (switching from dark green to dark red). After 5 minutes elapse the angry face and the red light stay on, indicating failure of the 5 minute shower mission. I assume that later I might do some changes to the concept and/or look of the device.
To prototype the device, I tried several programs, ones recommemded by Neil and ones of my own choice to practice 2D and 3D modelling of the possible final project. In Fablab Oulu, the instructors explained the basics of the 2D design in GIMP and Inkspace, as well as 3D designing in 123D App and Solidworks.
I attempted creating designs in web applications, such as Canva and Pixler. Although both are fairly limited in funtionality, I think both can be handy in the initial stage of prototyping of a project. MSPaint and other similar simple tools can serve the same purpose.
After trying several 2D anf 3D designing tools...
...I actually made some acievements related to this week's assignment in some of them. The most notable progress worth a more detailed explanation follows.
Canva
Using only Shape elements and Text, I created the first sketch of the project.
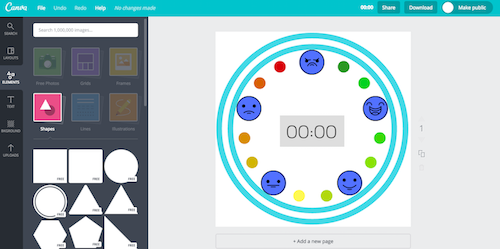
The emojis were downloaded and imported from the Flaticon, Emoji pack.

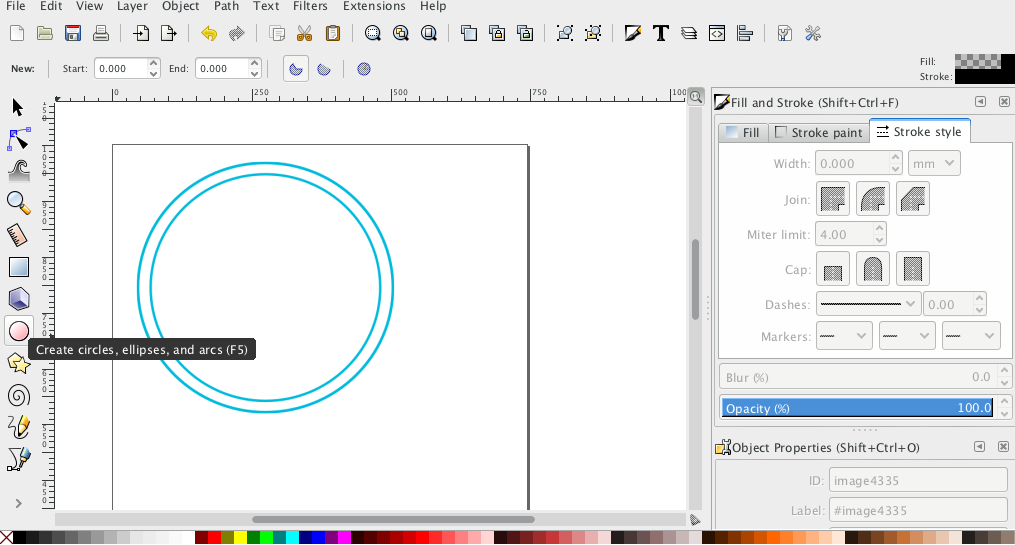
Inkscape
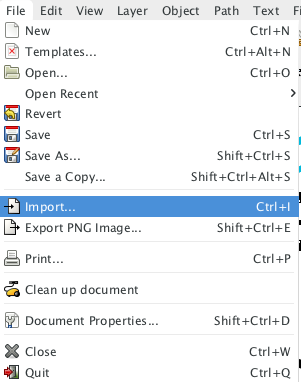
Insalling Inkscape for Mac requires XQuartz and detailed instructions are here.
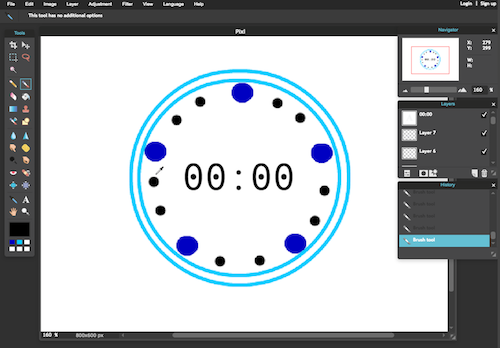
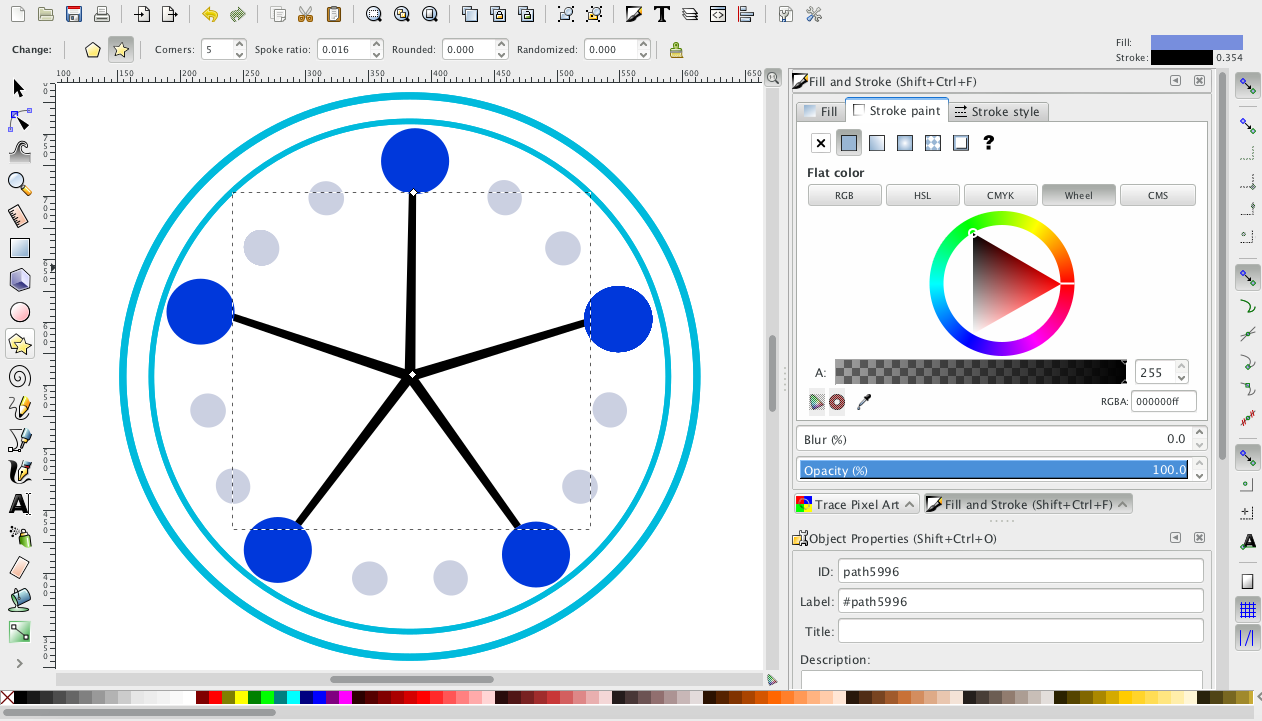
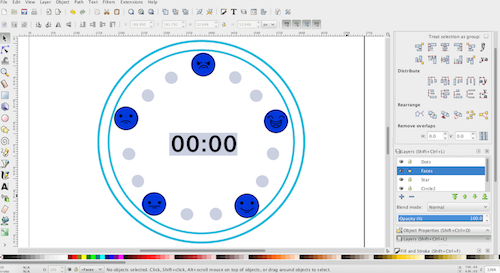
Circles, polygons, and text were used created the design. First, I drew two cirles and adjusted the stroke width.
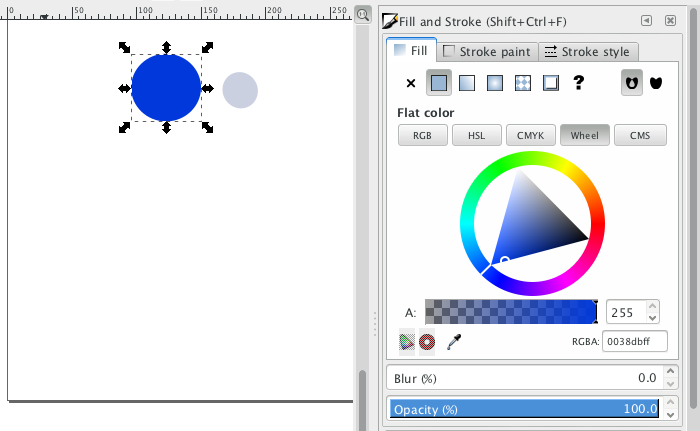
Then I readjusted the stroke and the fill and made two other types of circles, which I later duplicated.
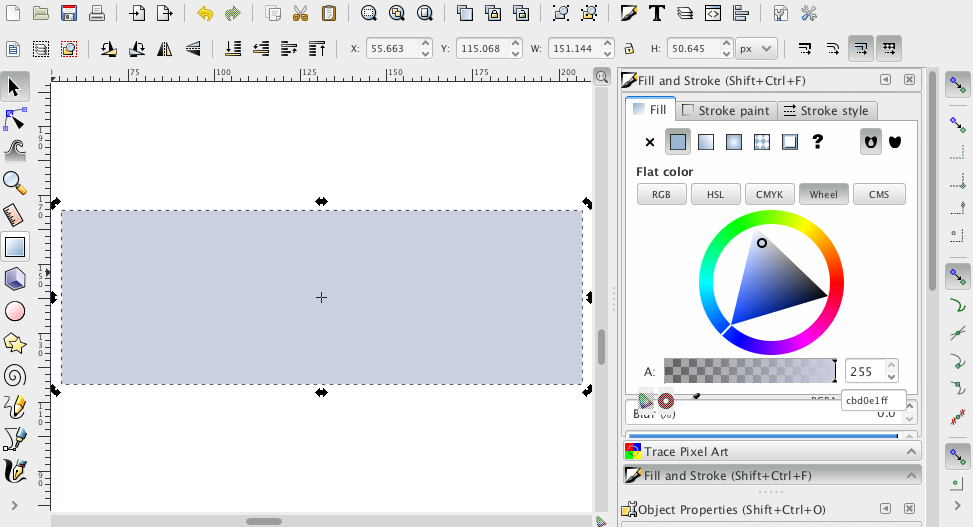
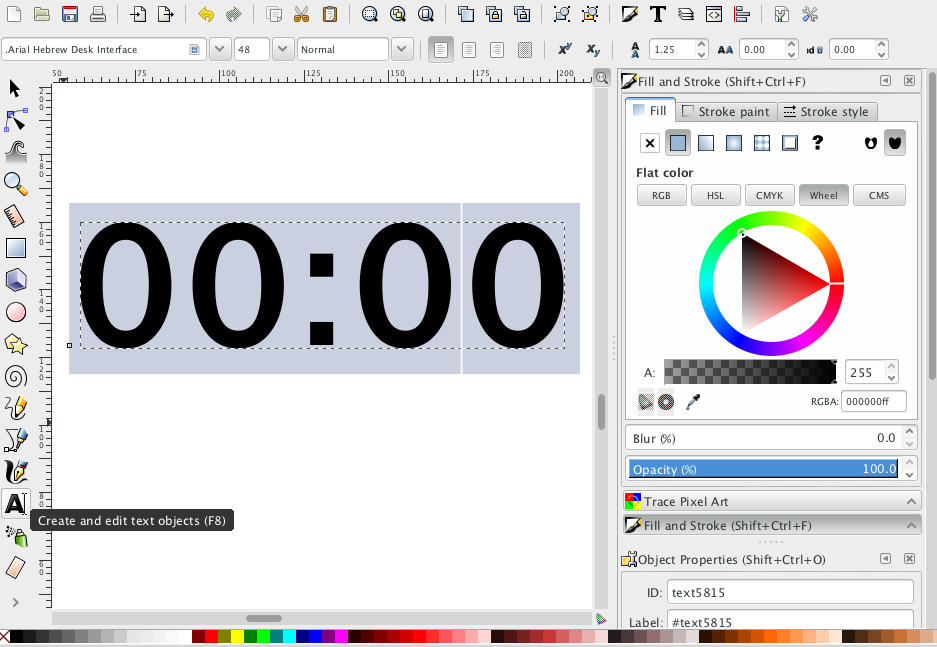
I also used a rectangle tool and a text tool, again readjusting the fill and the stroke.
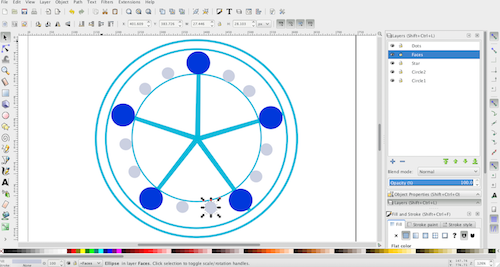
To align the elements, I used both manual techniques (additonal shapes) and the in-built alignment tools. I aligned the blue circles with drawing a star inside the circle and placed the circles on the points of the star.
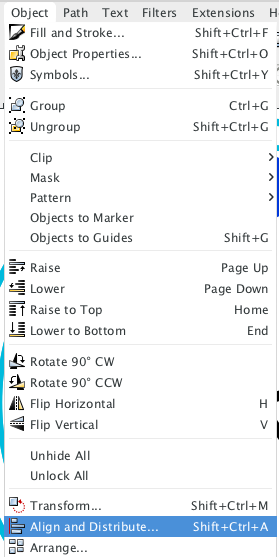
To distribute the smaller circles, I used the command Object - Align and Distribute.
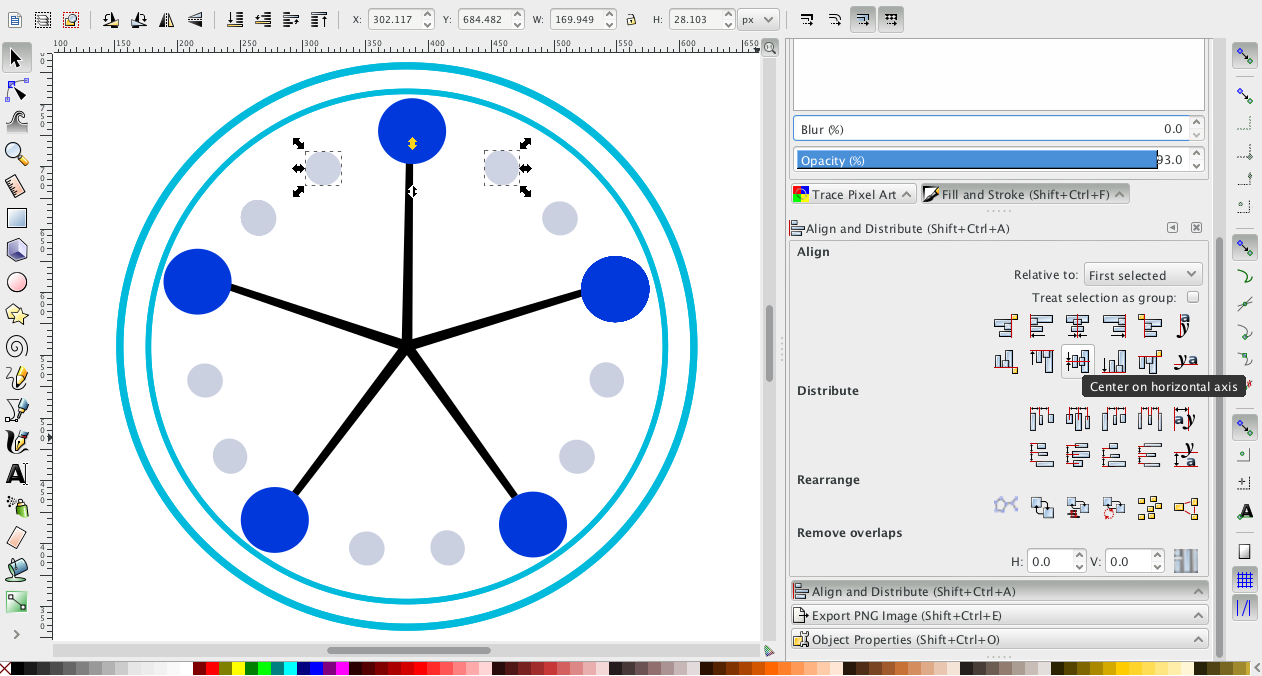
I added another circle to help with the alignment and after finishing distributing the circles, I deleted the star and the additional circle.
At last, with the File - Import command, I imported the emoji's I had downoaded earlier and placed them on the blue circles.
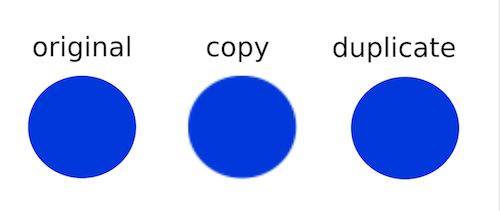
Interesting observation: there is a significant difference between Inkscape's Copy and Duplicate commands. Copy seems to give a raster imprint of an object and its background, while Duplicate actually does recreate the same vector image.
Rhino
Instead of going through Rhino tutorials, I gave preference searching for specific anwsers/solution to questions and as I was working with the 3D prototyping of the final project.
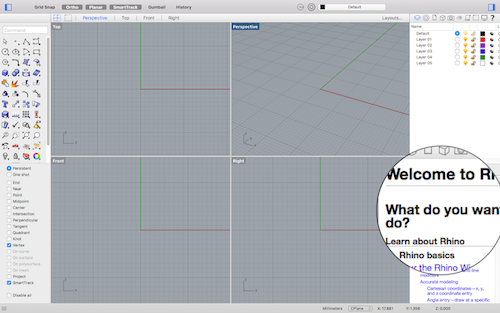
Also I've found Rhino's in-buit guide to be very useful.
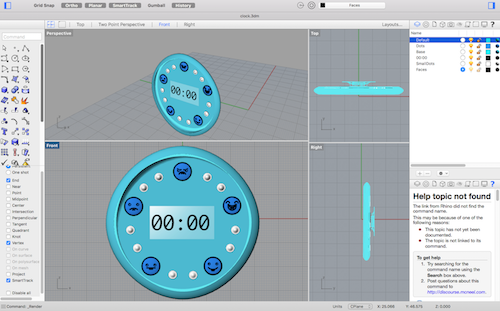
I started designing with watching a tutorial on Youtube, on how to create a clock in Rhino. link, and I followed similar steps to create the base of the clock.
The sequence of creating the object was the following: the base of the device, the dots for emojis, dots for lights, the timer, emoji faces (created by importing the same icons I used for the 2D designs), and a suction cup on the back of the base.
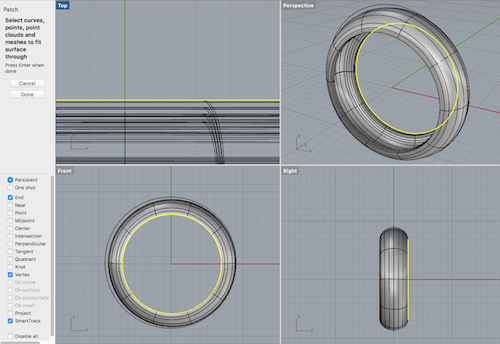
Creating the base starts with the 3 circles and 2 control point curves.
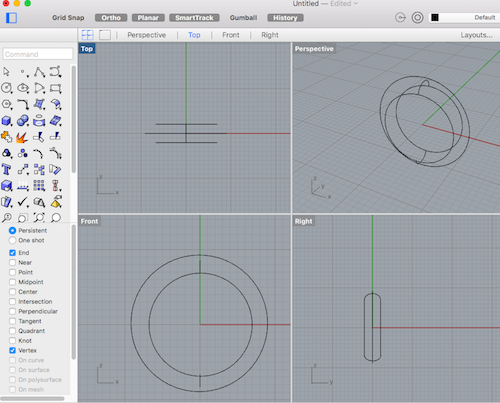
Next: Select the curves - Surface - Sweep 2 Rails - Select the two outer circles when prompred to select cross section curves - Click Done - if desired drag seam point to adjust- Click Done - Confirm Sweep.

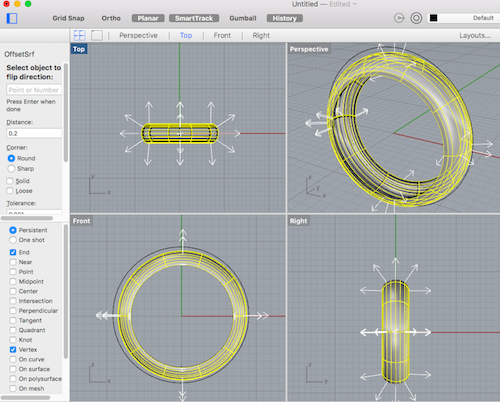
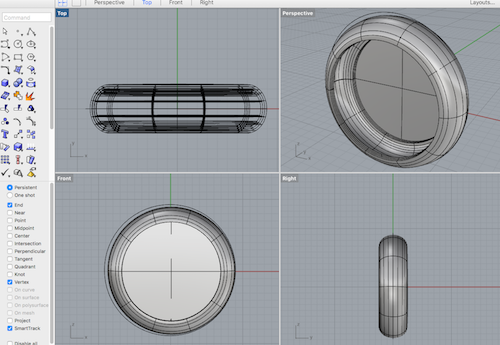
Following: Surface - Offset Surfaces - Select the surface - Confirm.
To made a solid back side of the device: Surfaces - Patch - Select the outer curve to fit the surface through - Click Done - Confirm.
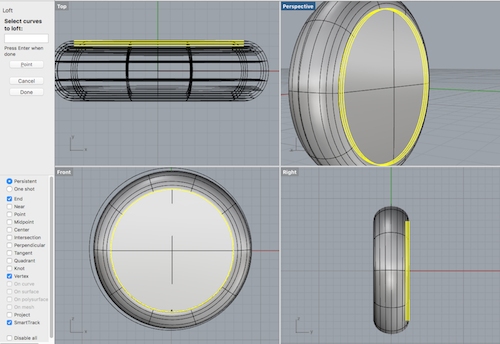
To ensure a good fit of the new patch to the pre-existing base: Select the 'patch' - Surface - Loft - Point to the outer curve - Click Done.
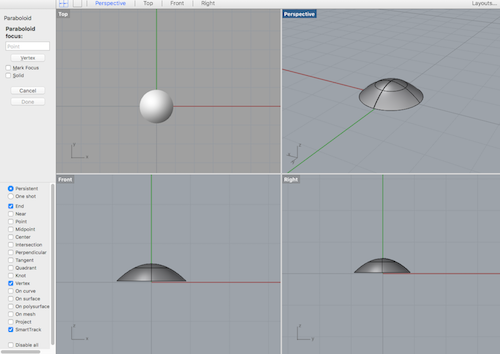
Creating dots for the emoji faces and the lights is convenient by drawing and copying paraboloids.
I made changes in colors and materials of the objects by putting them on different layers and adjusting layer properties.
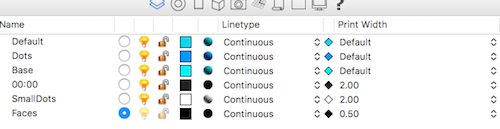
Then I arranged the dots in the inner side of the base.
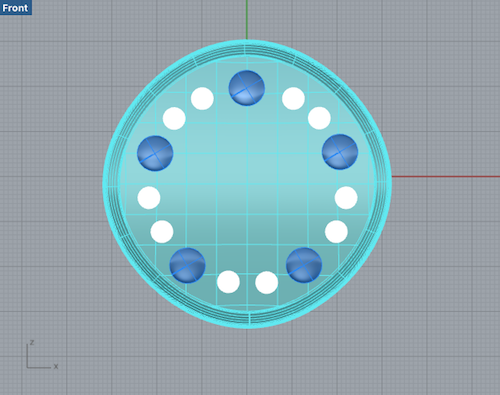
To make the faces, I imported the emoji icons using File - Import, and projected them onto corresponding dots: Project - Project curves - Select emojis (curves to project) - Select dots (surfaces to project onto) - Confirm.
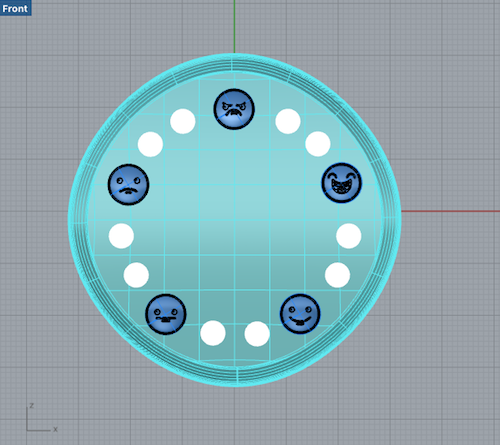
To create the timer I used a rectangular plane and text.
To create a suction cup, I used a truncated cone and a tube. I copied the cone, resized the copy and used it to make a cut in the cone with Boolean difference - Select the smaller cone to subtract with - the larger cone to subtract from - Confirm.
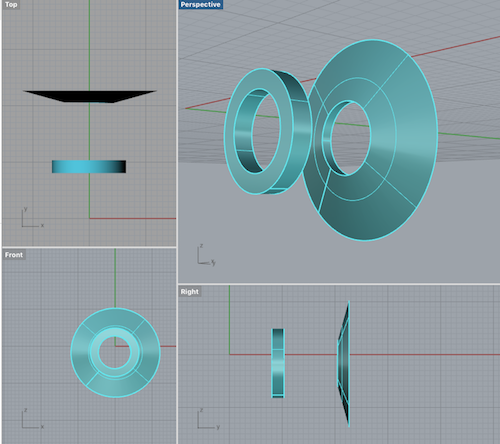
Then I fitted all pieces together and rendered the file.
One Rhino's drawback I've found so far is inability to import .svg files. So I had to use a Inkscape to convert .svg to .pdf which can be used in Rhino.
Some more future goals/expectations (Fab Academy and beyond)
Files:
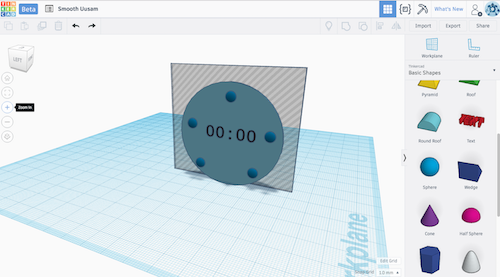
Models and Sketches made in Pixlr, Canva, Inkscape, Tinkercad, and Rhino
Remember, remember...