Designing a 3D Mold
Although it seems not to be too complicated, it took some time to understand the sequence of steps (creating and using "negative" and "positive" molds) needed to get the desired 3D figure.
For the first step of the assignment, designing a "positive" mold, I decided to make a two-part mold of a turtle. Since my turtle-drawing skills are rather poor, I looked up a 3D design to turn into the mold. I searched Thingiverse and Yeggi, and Sketchfab to find a suitable turtle.
Initially, I chose this 3D model. However, I started with incorrect attempts to complete the assignment: first, creating a 3D design of the "negative" and then not rotating one of the parts correctly. Then I made an wrong two-part mold. Although these designs were useless, I learned a lot about polysurfaces and meshes in Rhino 5 and Fusion 360 which I was using for the design. I discovered that in Fusion 360 the Mesh workspace has to be manually enabled in Fusion 360 - Preferences.

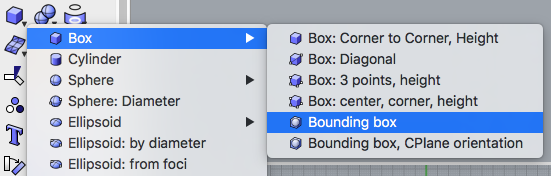
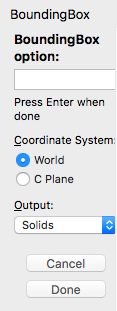
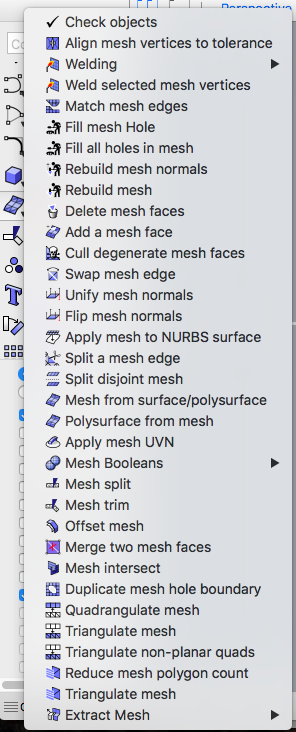
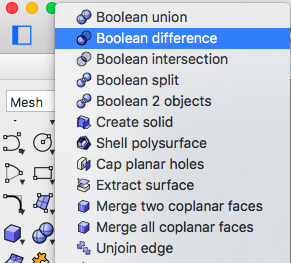
In Rhino 5 (this week I used both Windows and Mac versions), I practiced commands Box - Bounding Box which is used for making a box of the size just to fit the object, Polysurface - Polysurface from Mesh to convert the imported turtle design to polysurface because I thought I would need to be able to perform Boolean commands (union, difference, intersection) with the turtle and a box (Boolean commands in Rhino cannot be done between meshes and polysurfaces).
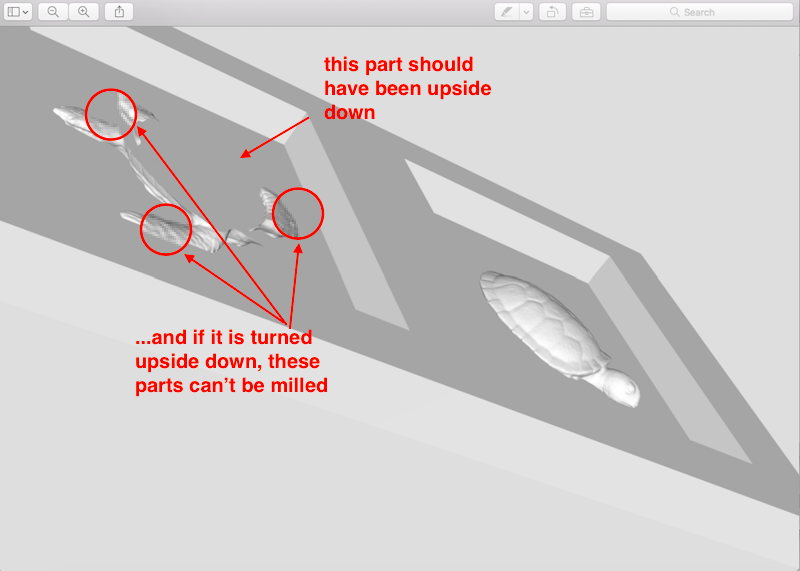
When I finally got the assignment, I realized that I need to choose another turtle since it is not possible to mill the one I wanted.

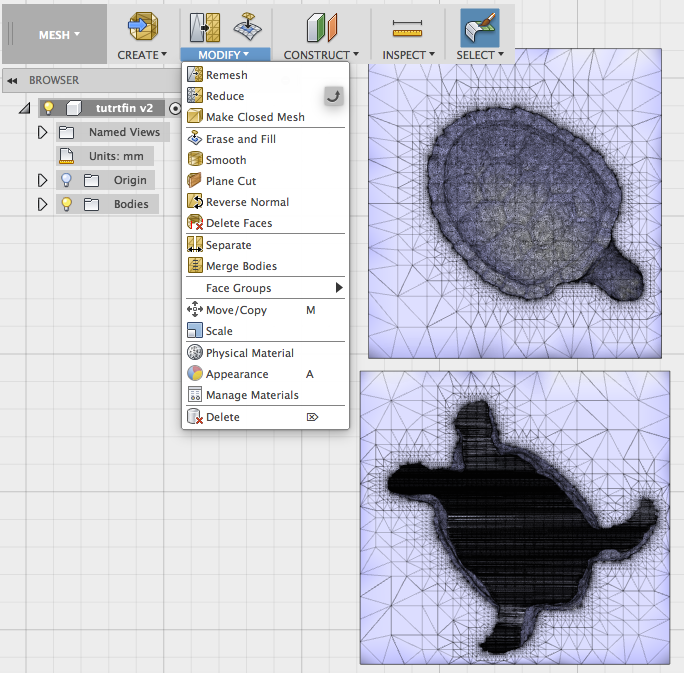
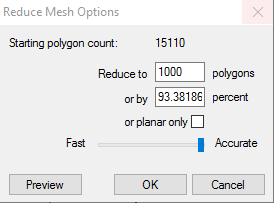
The second, successful choice was this 3D model. I opened the design in Rhino 5(which opened as a mesh), and proceeded working with it. I reduced the mesh with Mesh - Mesh Edit Tools - Reduce Meshso that the design is less complicated to mill.
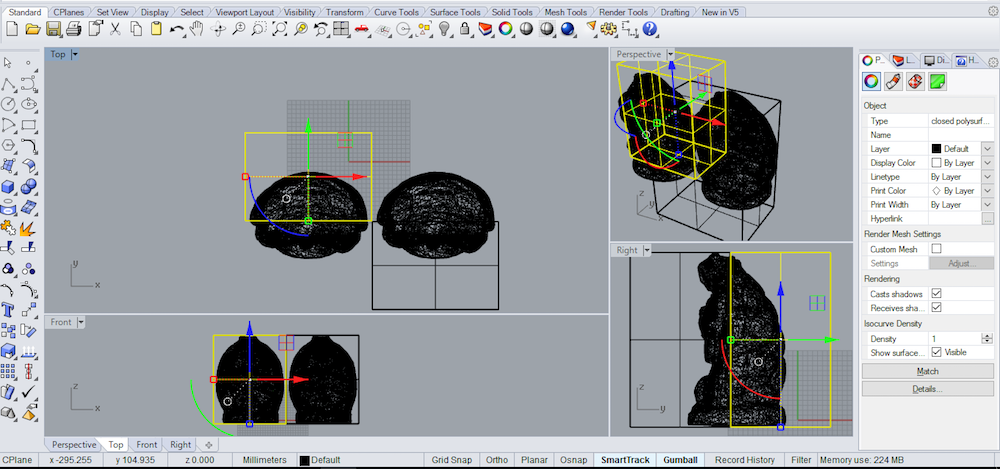
I realized that I do not need to convert it to polysurface because I do not need to perform Boolean operations on it as I had thought. I created a Bounding Box around the whole turtle, shifted it to where I wanted to part the turtle and copied the box and the turtle.
With the Gumball tool, I rotated the turtles so that one of them is facing the inside of the box, and another one the outside and aligned all objects.
Finally, I added several more boxes to finish the mold. As the design of the mold needs to account for an opening which will be used to pour in the cast mix, so I added an extra box for that.

It also would have been useful to have another opening to get rid of the air bubbles in the cast mix and some parts which can help closing and holding the mold together and well-aligned. I did not account for the last two featues because I did not realize they could be useful at the moment I was making the design. I saved the file as an .stl and as .3dm using the command File - Save Small which significantly reduces the size of the file.
Machining the Mold
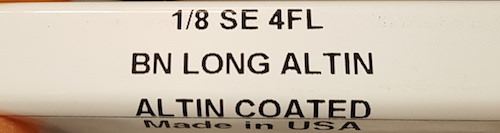
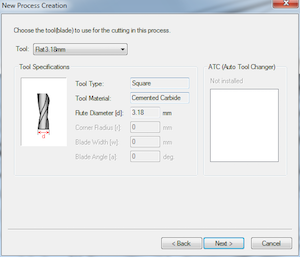
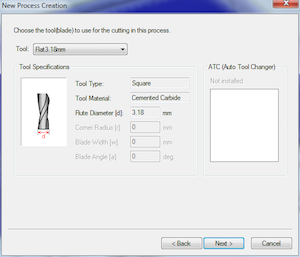
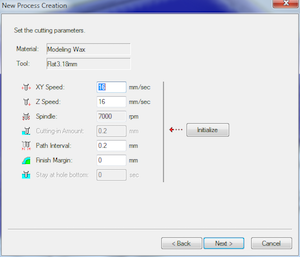
I used Roland SRM-20 CNC machine to mill the wax mold. The most suitable milling bit I found in the lad was the 3.18 mm flat.
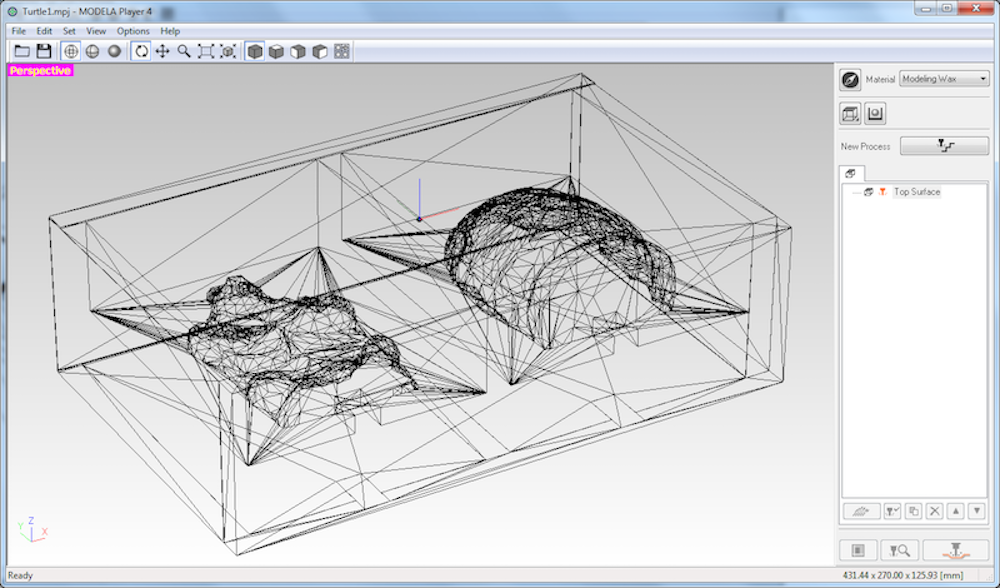
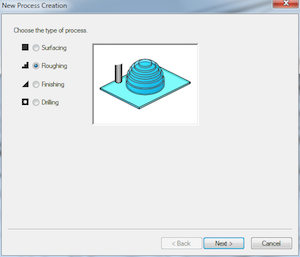
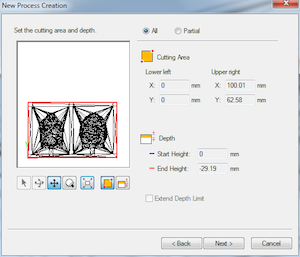
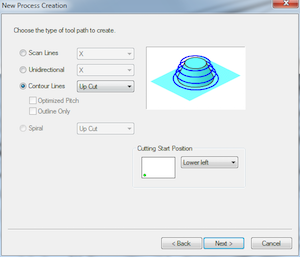
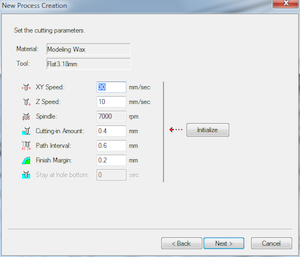
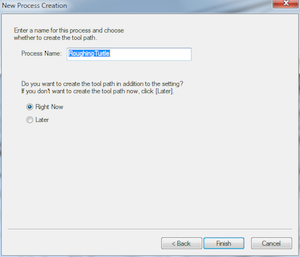
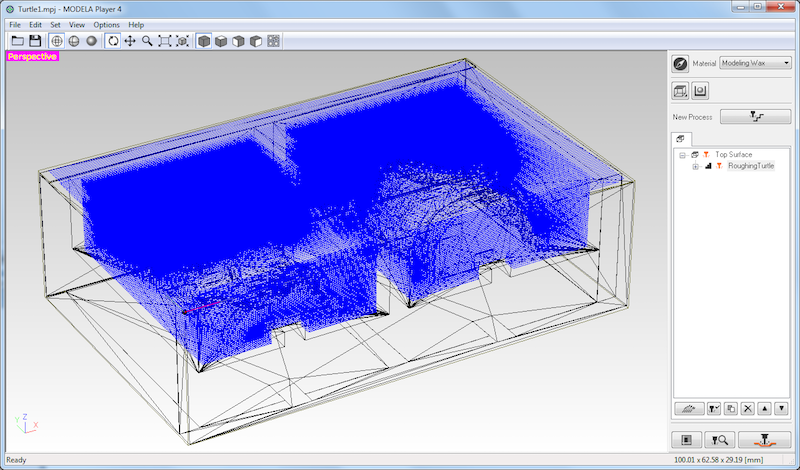
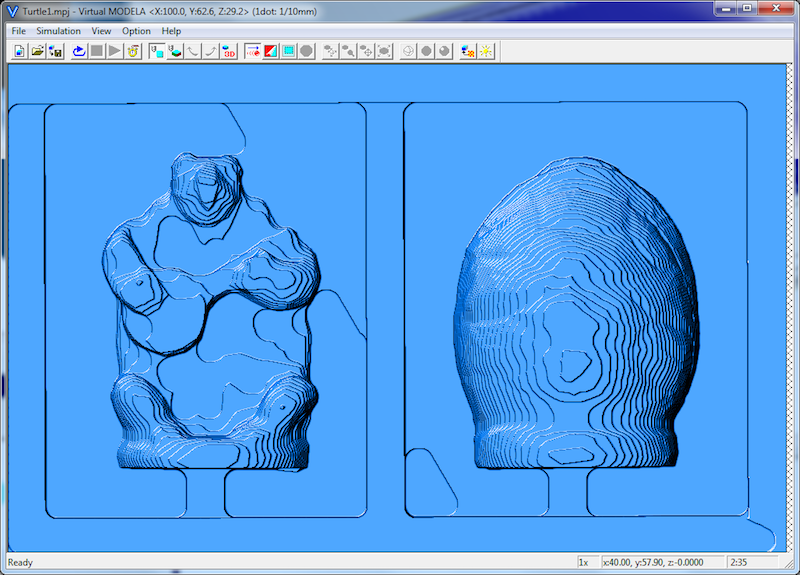
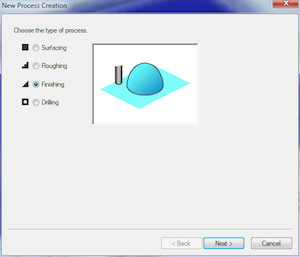
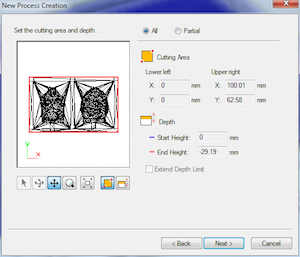
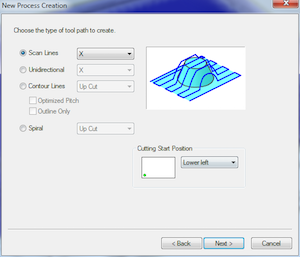
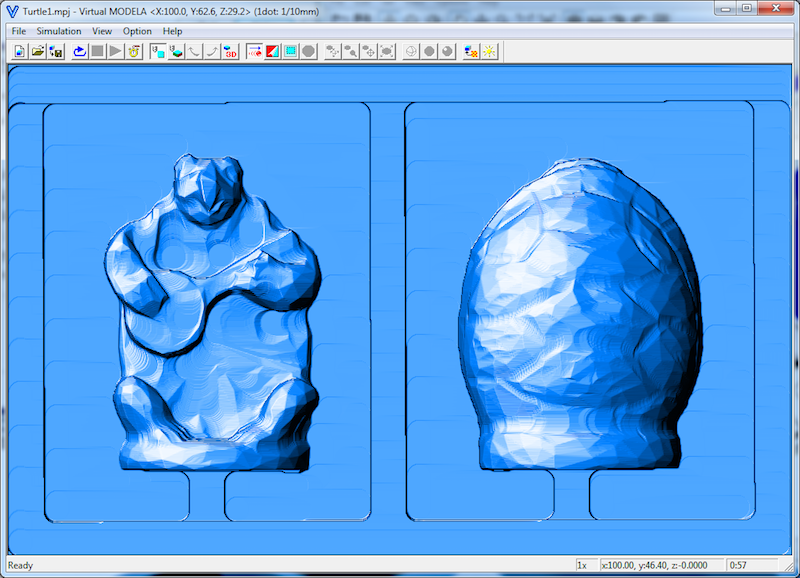
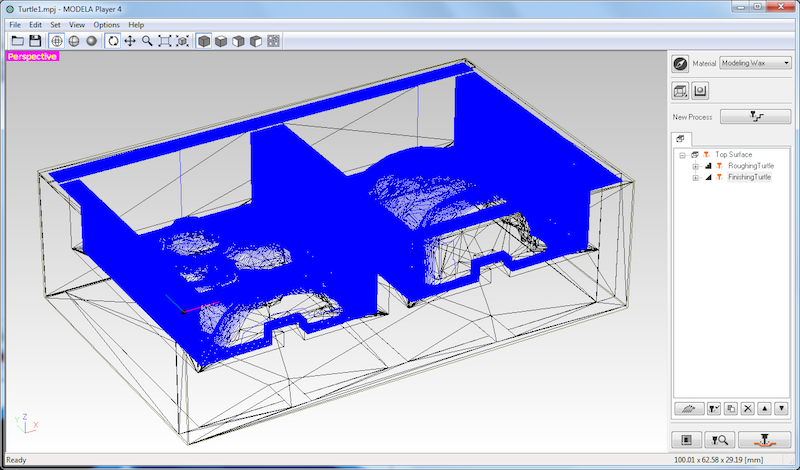
I generated milling tool paths with Modela Player 4 and viewed simulation in Vitrual Modela. Two processes were used: roughing (to mill the contours of the mold) and finishing (to create finer lines). Below are the settings, I used to set up the two processes.
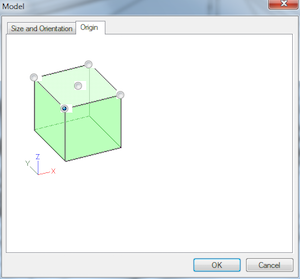
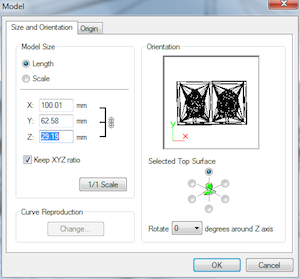
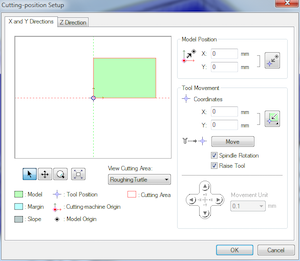
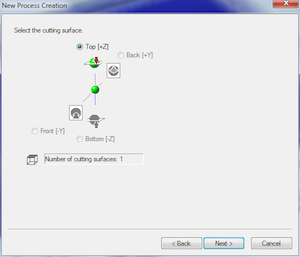
With Set - Model I adjusted the Origin the bottom left corner on the upper side of the model, and selected the Top Surface in the Size and Orientation tab

As cutting parameters for roughing, I used XY Speed 30mm/sec, Z Speed 10 mm/sec, Spindle 7000rpm, Cutting Amount 0.4mm, Path Interval 0.6mm, Finish Margin 0.2mm
As cutting parameters for finishing, I used XY Speed 16mm/sec, Z Speed 16 mm/sec, Spindle 7000rpm, Path Interval 0.2mm, Finish Margin 0mm
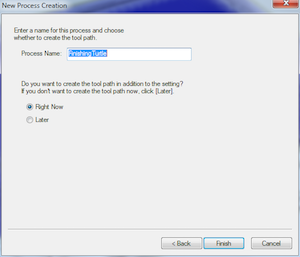
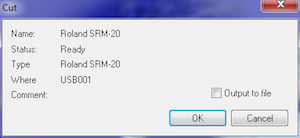
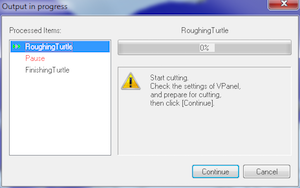
After the processes are set up, the job is started with pressing Cut button. After this the opening of VPanel is prompted and setting up the SRM-20 for milling is needed.
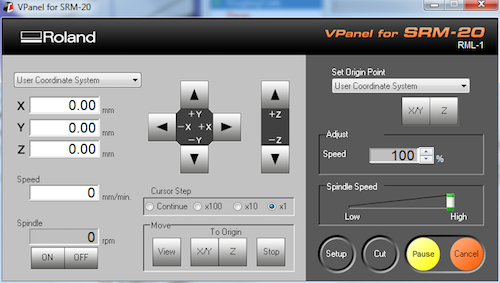
To prepare material for milling, the wax block is attached to the board with the double-sided tape. The x, y, z origin is set on the top bottom left corner of the wax block.

The job is started with pressing Cut, the first process (roughing) begins. After roughing is done, the job is paused and confirmation is needed to proceed with finishing.
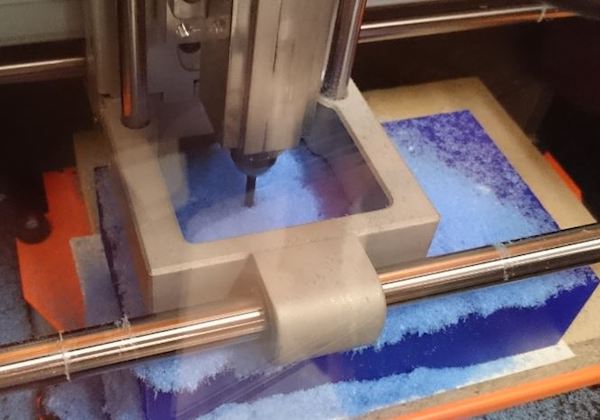
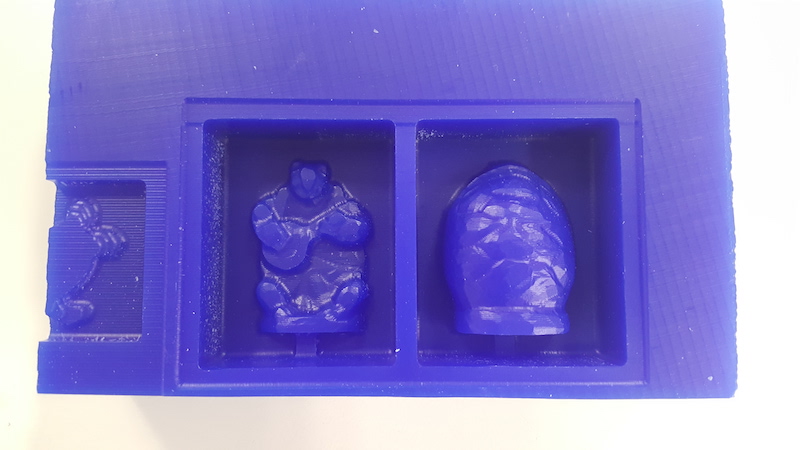
After about five hours, the mold was ready to be used for the next steps of the assignment.
Making the Mold for Casting
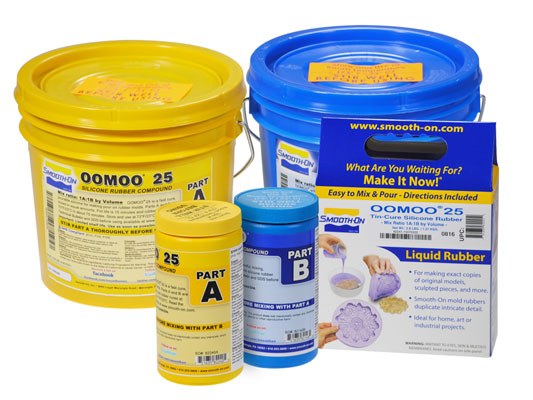
Once the wax mold is ready, the next step is to make another "negative" mold, which will be used to cast the actual design. To make the silicone mold I used OOMOO 25 available in the lab. It has 15 minute pot life time (how long the mixture is good to be poured) and 75 min cure time (how long it takes to harden completely). The ratio of A and B mix parts can be measured either by weight (1:1.3) or by volume (1:1).
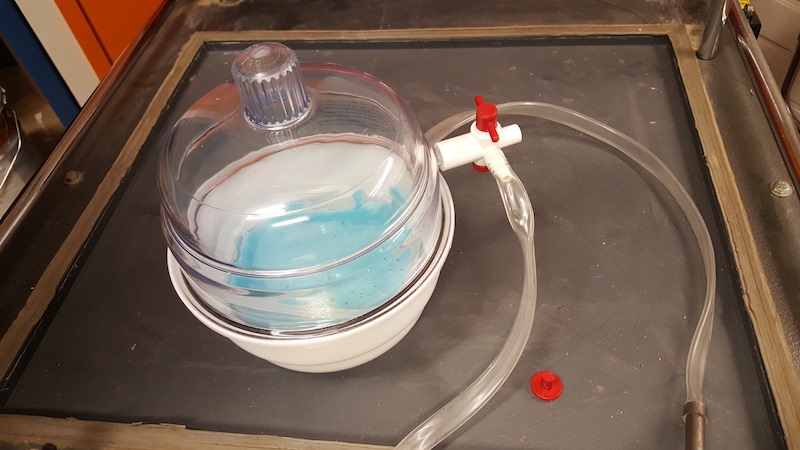
Since I did not have suitable measuring cups to determine volume, I used the scale and determined A and B ratio by weight. In order not to waste the mixes, I approximated how much I will need for my mold. To do so, I filled the wax mold with water, poured water in a mixing dish and marked the level. I poured water out, thorougly dried the dish and poured part A mix up to the mark. Then I weighed the mix and calculated how much of the B part to add. After that I was mixing the two parts for 3 minutes (as written in the OOMOO's datasheet) to get a uniform color mix. Then I put the mixture in the vacuum chamber for about 9 minutes to eliminate as many air bubbles as possible to get a smooth mold.
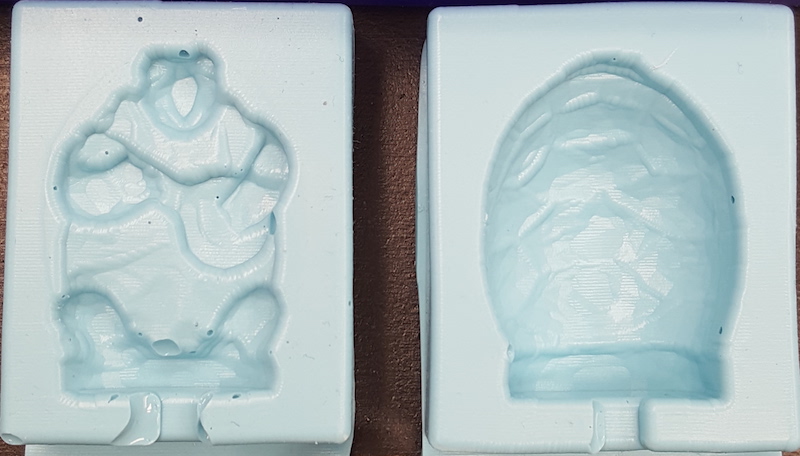
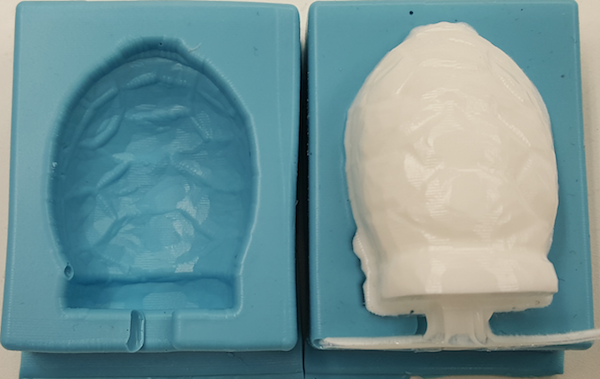
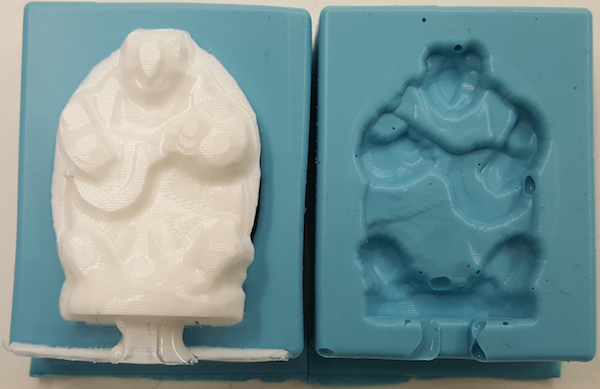
Then I poured the mix into the mold for and let ti sit for about 90 minutes. I took it out carefully and the result was pretty decent, only a few air bubbles remained, but they seemed not to have ruined the design, so I decided to use that mold. As the silicone was feeling still a bit wet right after I took it out of the wax mold, I did not use it immediately for casting, letting it sit and dry for about another hour. After that it was feeling good enough for casting, so I cut it and taped the two pieces together to align them.
Casting Parts from the Mold
Now it is finally the time to make the turtle and I used the Smooth Cast 310 for it. This white cast has 20 min pot life, and 4-hour cure time. The ratio of A and B mix parts can be measured either by weight (1:0.9) or by volume (1:1).
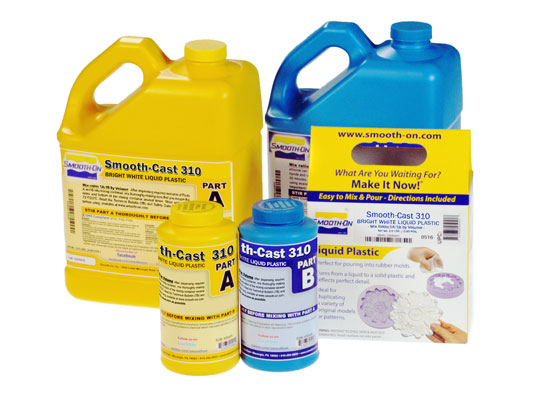
I followed the instructions which suggest to stir or shake both A and B parts before dispensing. I measured the ratios by weight and mixed them thoroughly. With the paper cone, I carefully poured the mix in the silicone mold and left it curing overnight.
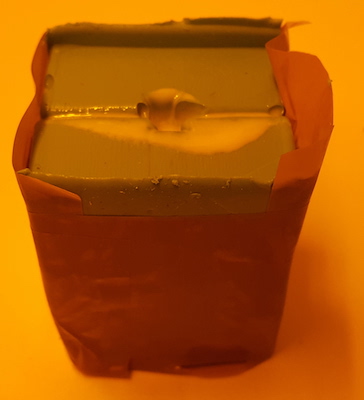
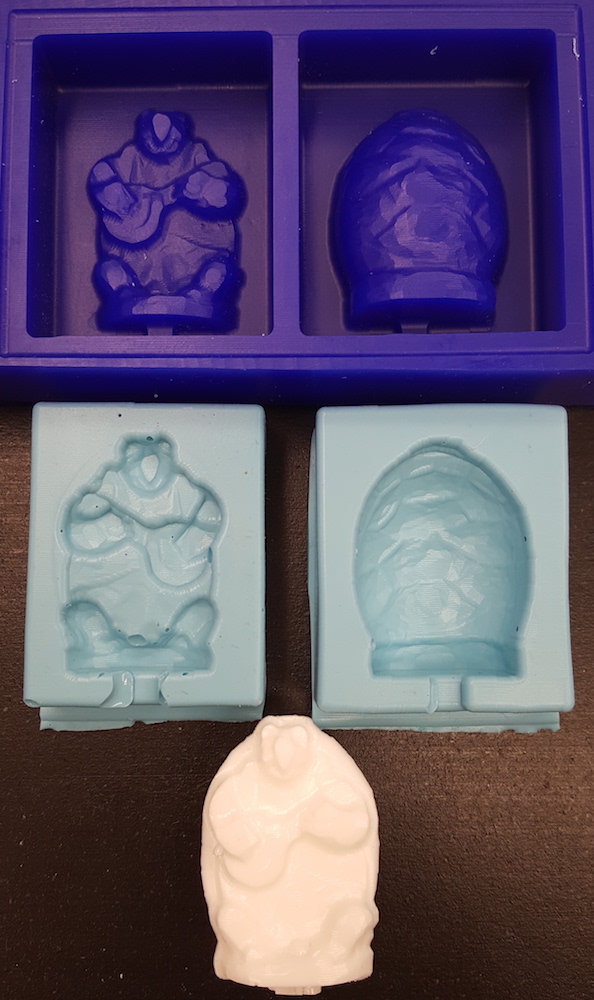
When I unwrapped the turtle the next day, it looked pretty close to what the design I ended up with in Rhino.
All pieces produced this week
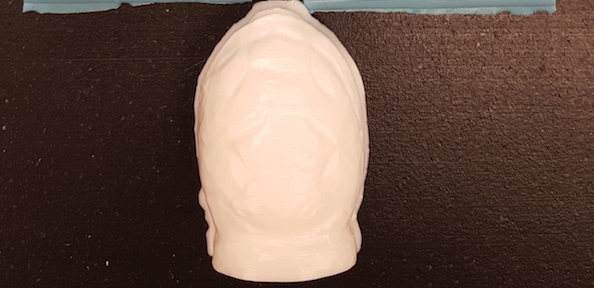
And the turtle in all its glory

Files:
Turtle design used for milling .stl, Modela-generated .mdt and .mpj files
Remember, remember...
- It is very important to be familiar (and to follow) all safety precautions. Numerous times we were reminded of that during both the global and the local lectures
- It is best to cover the workspace with the plastic wrap to protect the area
- To protect yourself, gloves, eyeglasses and caution are needed when working with the mixes
- It might be a good idea to attempt saving the wax dust, which later can be melted together again into a new wax block
- Check the Smooth-On's website to get some useful tips and tutorials which explain the basics of handling the mixes