Assignments:
- Make a machine, including the end effector, build the passive parts and operate it manually.
- Automate your machine. Document the group project and your individual contribution.

--- WORKFLOW ---
1.Place all the components of the machine.2.Calibrate the distance from the punch to the paper.
3.Configure the 3 gestalt modules.
4.Calibrate the number of turns each stepper has to give to fit the movement we want.
5.Introduce a python program for the machine to make a succession of moves.
6.Try punching the paper
7.Fit, lay and test that works (repeat until finished)
--- My individual contribution. ---
When we started working on the machine each one was choosing some tasks that we had to do, when they were finished helping other colleagues, I helped in the programming but in other respects I performed many tasks, as shown in the following image.
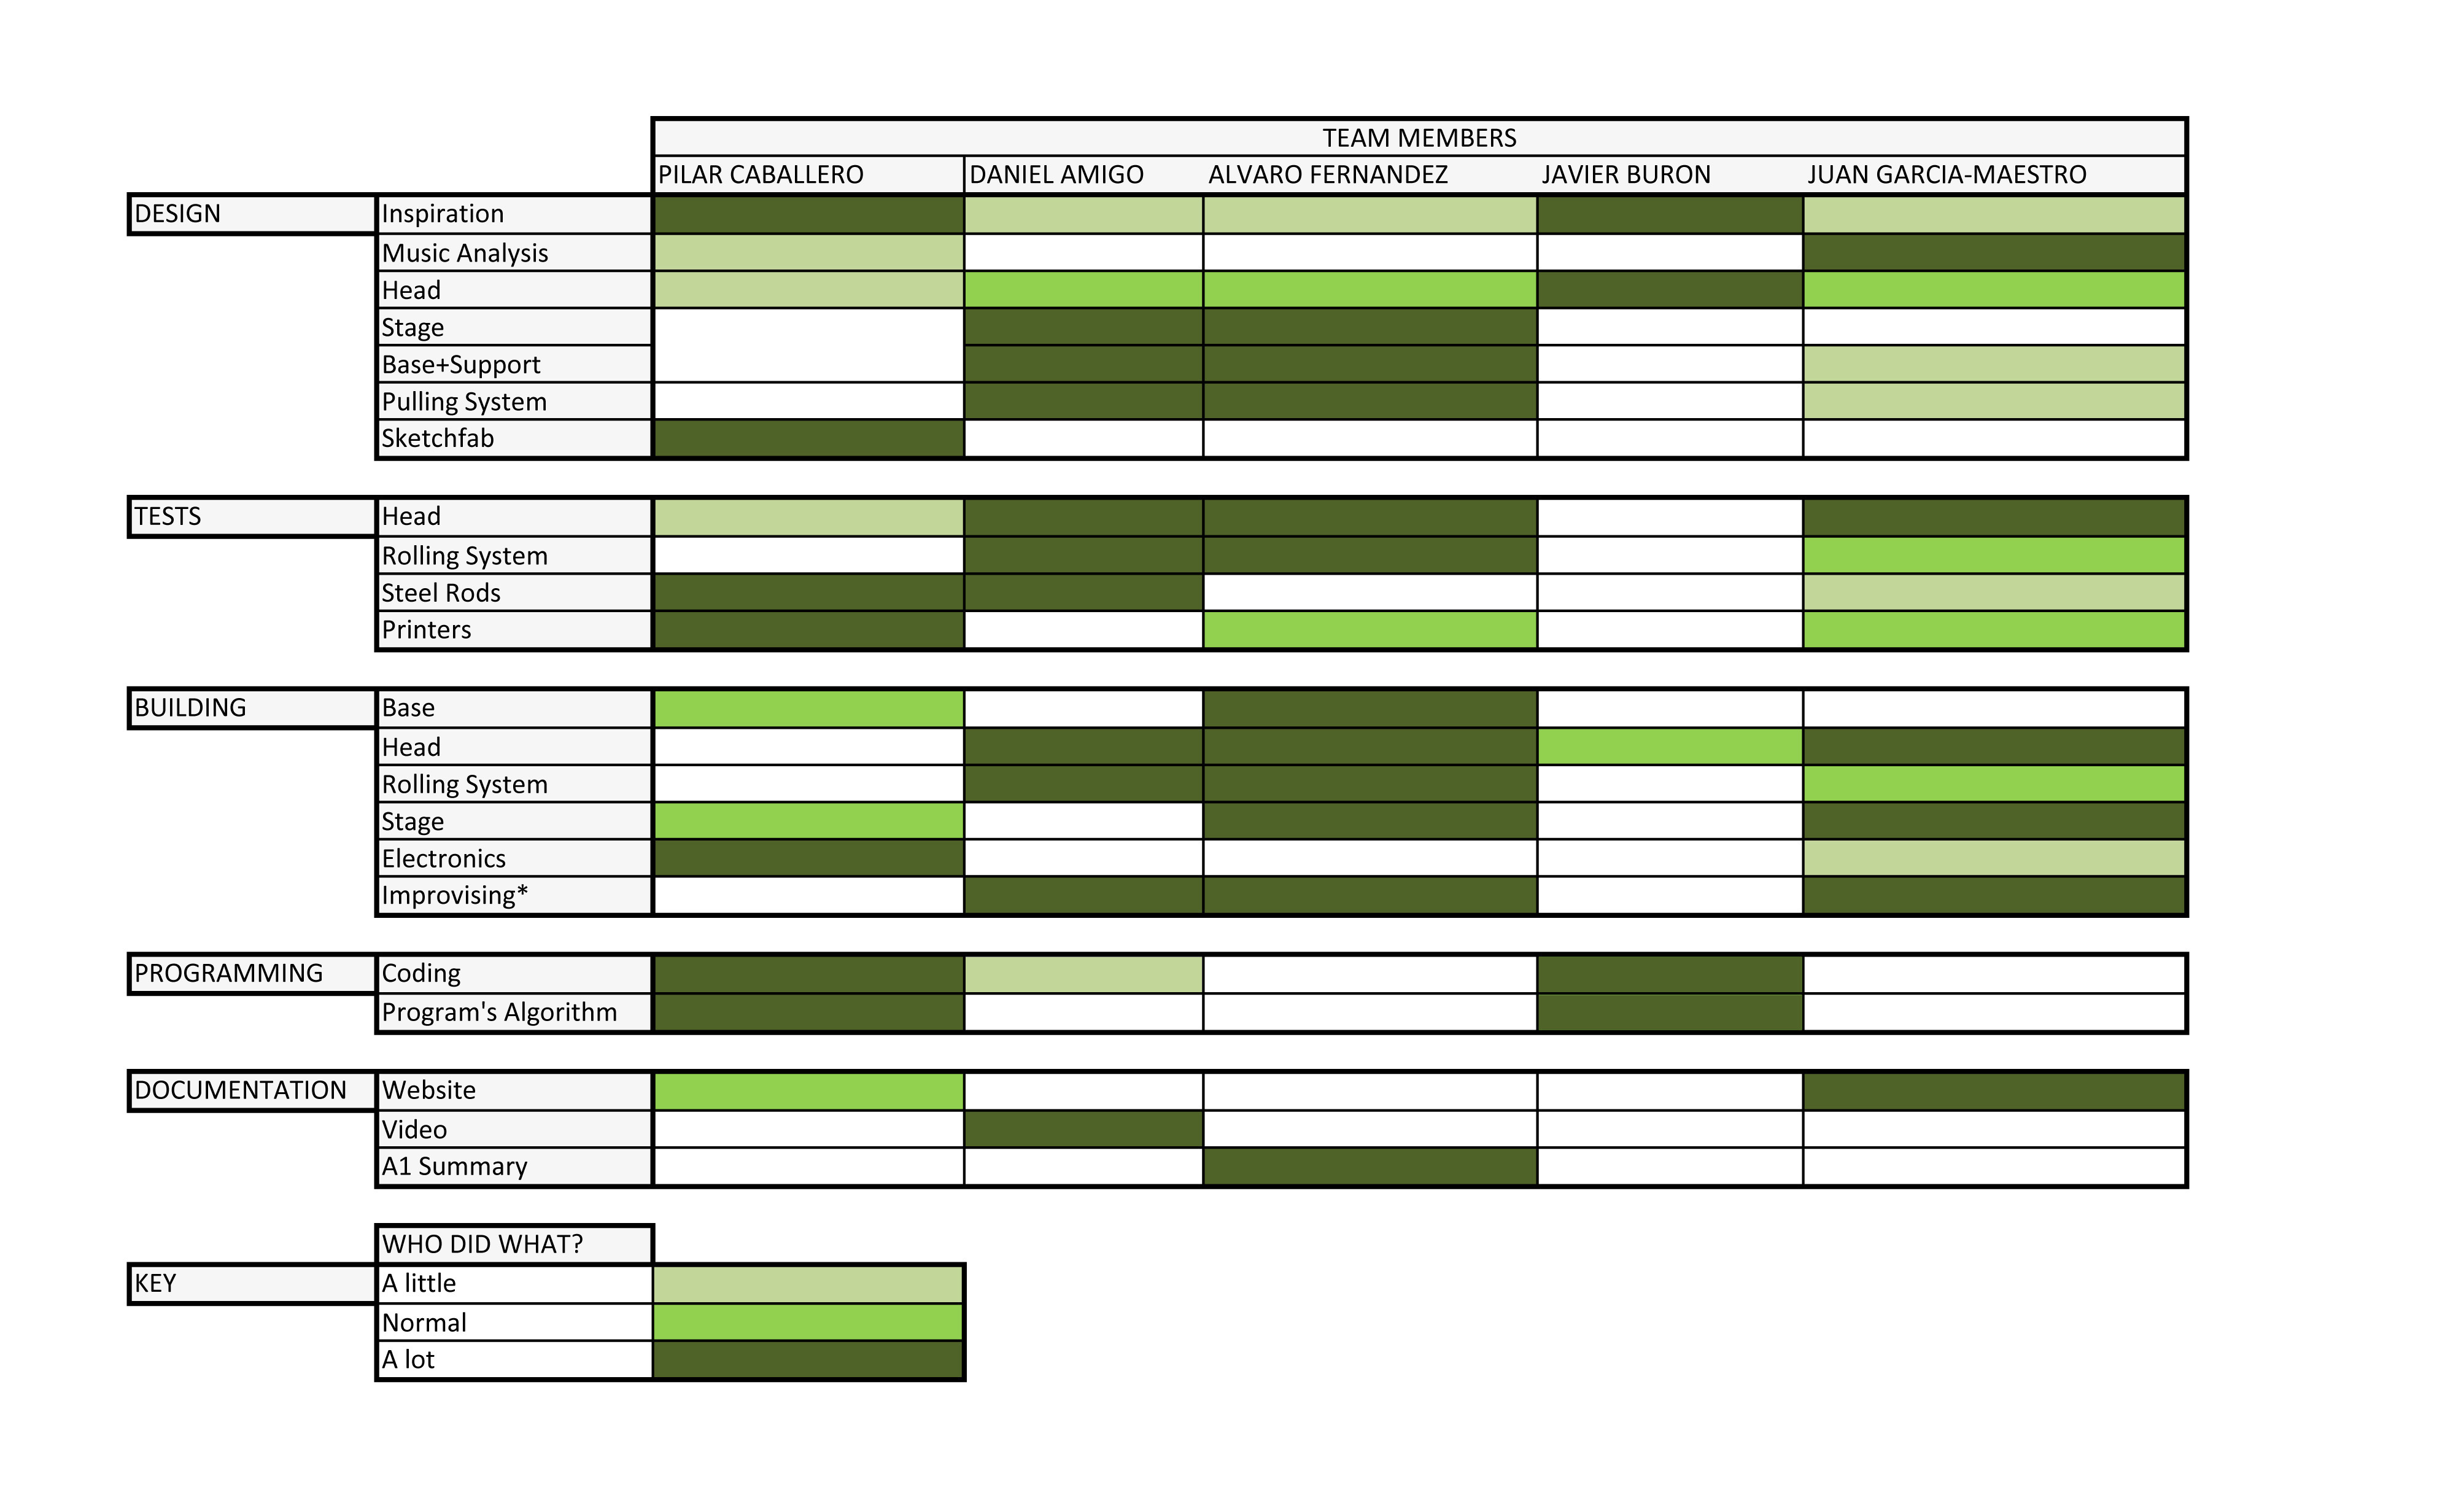
you can see what I did in week 9 and part this week.
1.Place all the components of the machine.
In Exercise 9 we did not finish fixing the parts of the machine, we had a long process to improve the parts of the machine so that they were at the correct height and that they were rigid enough not to move too much.
2.Calibrate the distance from the punch to the paper.
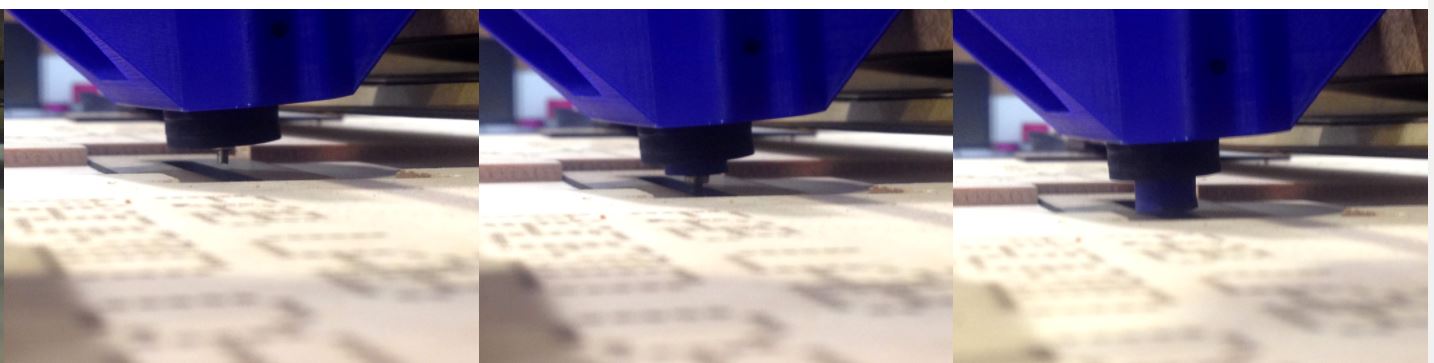
The paper punch is the main part of our machine, having a small needle has to be at the correct distance from the paper to make the hole correctly.
The strength of the stepper and the hardness of the cardboard for the musical box makes it necessary to make enough force to pierce the cardboard.
I had to make a laborious effort to adjust the springs, the distance of the head, to make wooden insoles with the hole just for the needle ....
The insoles were because when the hole was made the machine the paper was stuck.
What seemed easy started to cause problems and forced us to make many adjustments constantly.
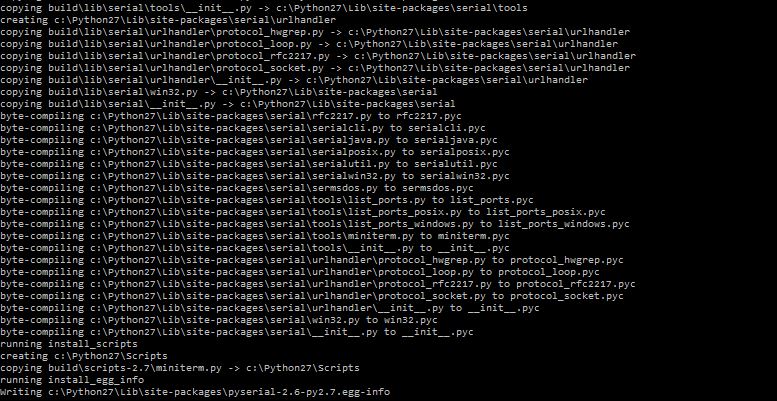
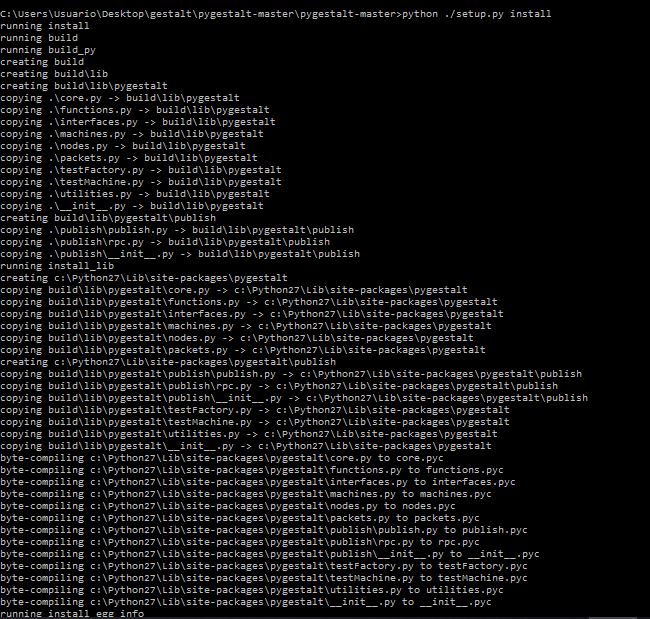
3.Configure the 3 gestalt modules.
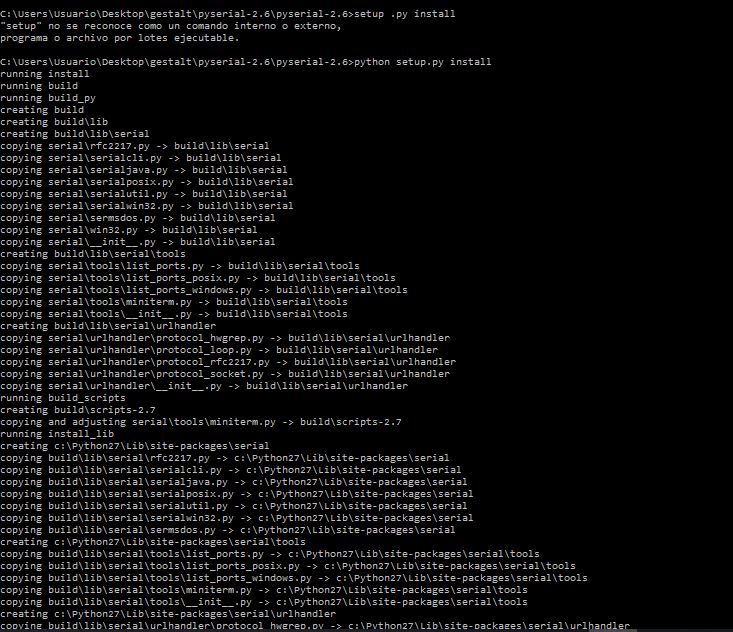
First we need to create our environment to work properly. I downloaded and installed the following requirements:
-Python 2.7 + 'python ./setup.py install'
-Pyserial 2.7 + 'install'
- Downloaded and installed pyserial following this tutorial (https://learn.adafruit. com/arduino-lesson-17-email-sending-movement-detector/installing-python-and- pyserial):
- Download pyserial-2.7.tar.gz (md5) (https://pypi.python.org/pypi/pyserial) and save it somewhere on the computer
-FTDI Drivers + 'install'
-Nadya Peek's Gestalt Master and save it
-086 and save it
Open command Prompt wherever you have saved the Pyserial-2.7 folder:
'cd' into the pyserial-2.7 folder, then run the command: 'sudo python setup.py install'
The part of the testing of RS 485 connections was made by my partners.
LINKS TO TUTORIALS I HAVE USED:
Getting Started With Gestalt Nodes
Machines that make: Modular Control and Cardboard Stages
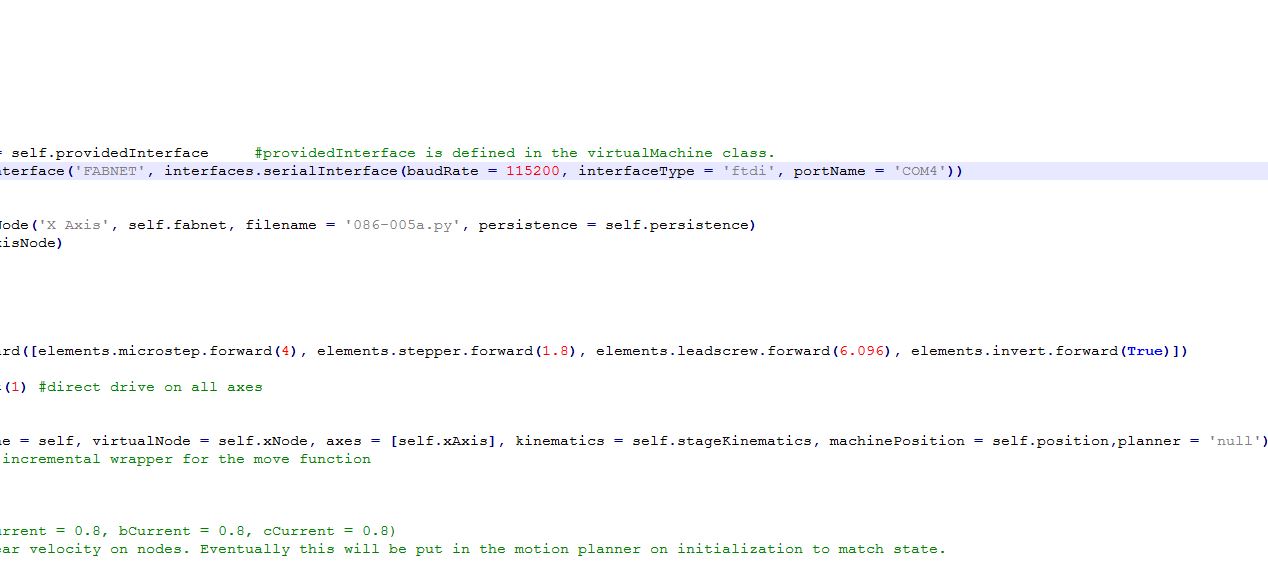
I configured my computer to use our machine and change the programming.
1. I install Python
2. Add the address to the PATH environment variable.
3. Install Pyserial
4. Test engines and adjust
5. Send xyz plotter file

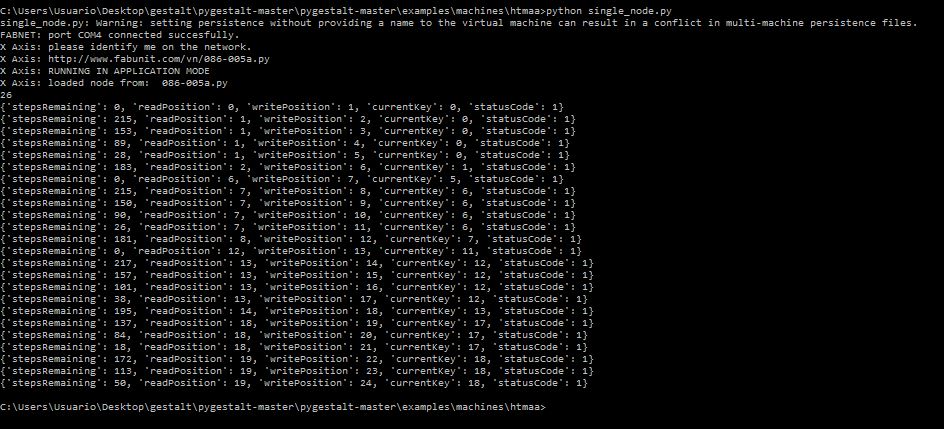
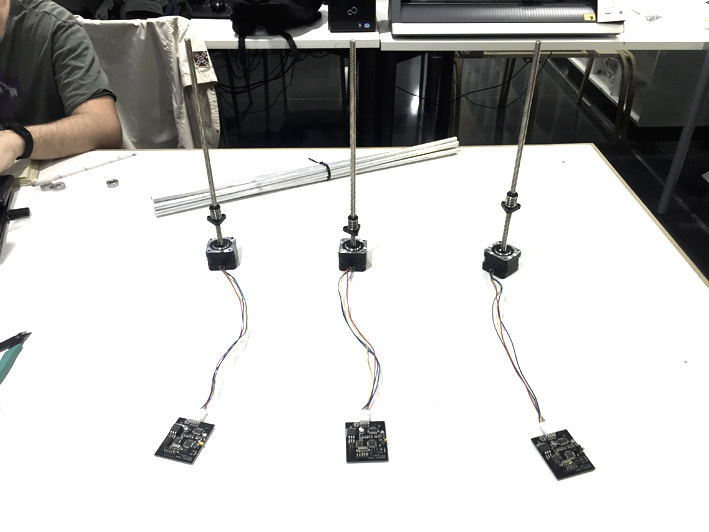
4.Calibrate the number of turns each stepper has to give to fit the movement we want.
I performed a part of the calibration of at least one of the steppers, for which from the console of python I calibrated the angle of turns that had to give the motor of the perforator of paper so that it gave a complete return without that it advanced nor delayed in movement.
5.Introduce a python program for the machine to make a succession of moves.
We used the suggested example as the base of our code. I will be extracting the most relevant parts of the code
# x axis has 30 notes with 2mm of space between notes, UNITS: MM
x_notes = {
'C3': 0, 'D3': 2, 'G3': 4, 'A3': 6, 'B3': 8,
'C4': 10, 'D4': 12, 'E4': 14, 'F4': 16, 'Gb4': 18, 'G4': 20, 'Ab4': 22, 'A4': 24, 'Bb4': 26, 'B4': 28,
'C5': 30, 'Db5': 32, 'D5': 34, 'Eb5': 36, 'E5': 38, 'F5': 40, 'Gb5': 42, 'G5': 44, 'Ab5': 46, 'A5': 48, 'Bb5': 50, 'B5': 52,
'C6': 54, 'D6': 56, 'E6': 58
}

# y axis is the stepper motor that does the perforation it needs to move a full turn to do a perforation UNITS: rev
y_perforation = 1

# z axis is the roller motor, there is a 4mm space between each line of the song UNITS: MM
z_roller = 4
First, we create the variables that we will be using to generate our moves array. The X axis values in mm for each note of the music roll –stored in a associative array so I can consult the data with a simple command–, the value of the y axis in order to make a perforation and finally the distance in millimeters to each line of the roll.
6 & 7.Try punching the paper,Fit, lay and test that works (repeat until finished)
When we tried to perforate the paper using the motors and the code the result was not as expected:
1. First the motor could not drill it because it did not have enough force to operate the spring, we solve it by cutting the spring.
2. Then once piercing the paper dragged the paper with the needle, moved the paper and squeezed. We solve it by placing a few slits of wood above and below.

Video of MTM machine assignment:
Here the final video of the presentation of our project:
Machine design from daniel amigo casado on Vimeo.
Files:Python code to transform a MIDI file into our machine song array
Python code to control the machine