- Week 16 +
interface and application programming
Tasks
Introduction
For this week’s assignment, I have decided to use the Node as the board with which I will interface using a software known as Processing. It is a freeware open-source software, javascript development environment. It is easy to use and has plenty of documentation online plus it has a rich repository of its examples that can be accessed natively.
Here are the steps that I used to program the board and the interface:
Workflow
Step 1: Startup arduino window
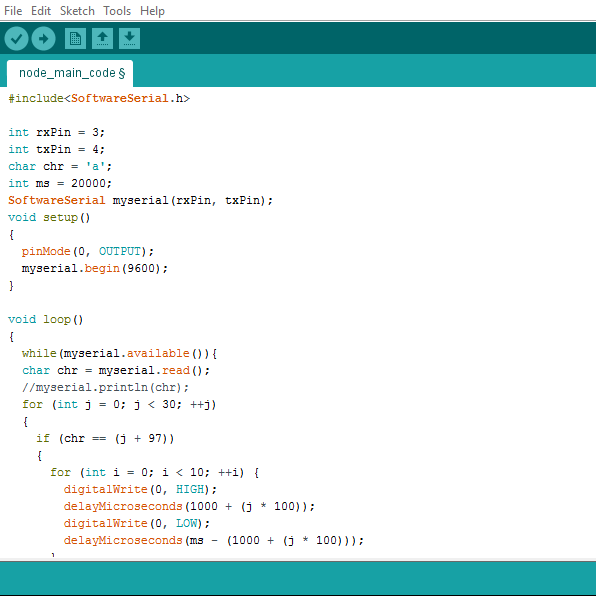
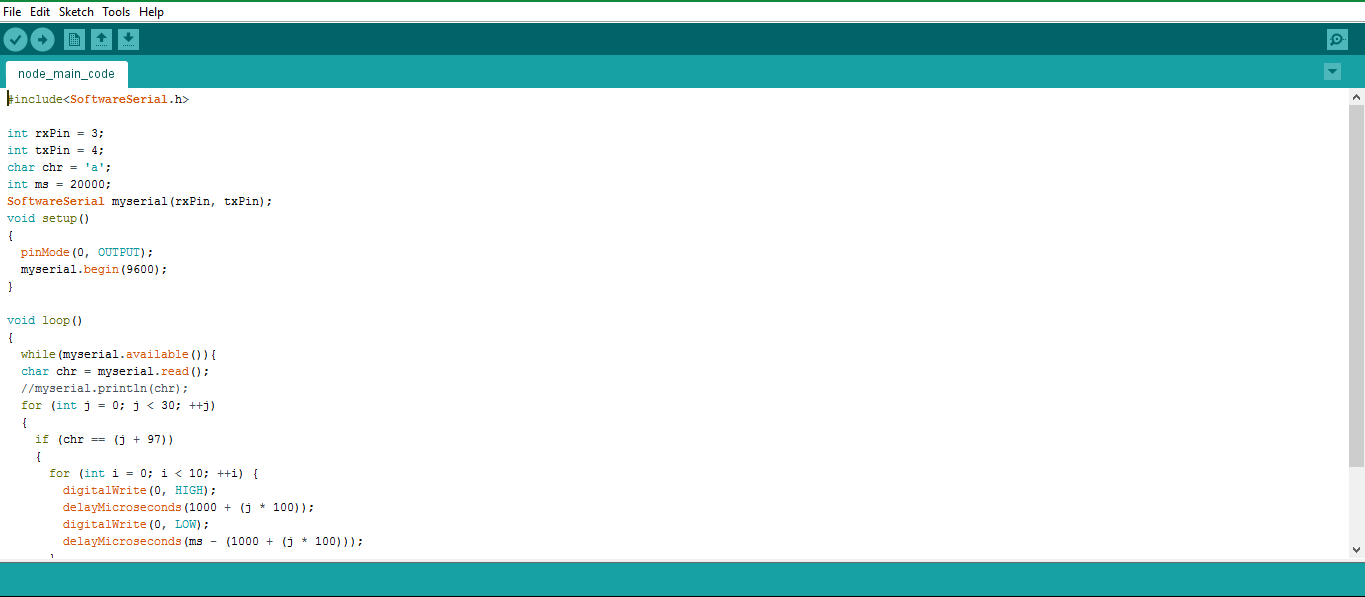
First I opened Arduino IDE, to change the code of the node such that it responds to certain alphabetical characters in certain ways.

Step 2: Coding in arduino
The code tells the Node board to listen for different characters on the serial port. It accordingly correlates the different characters with the different angles of the servo motor attached to the board.
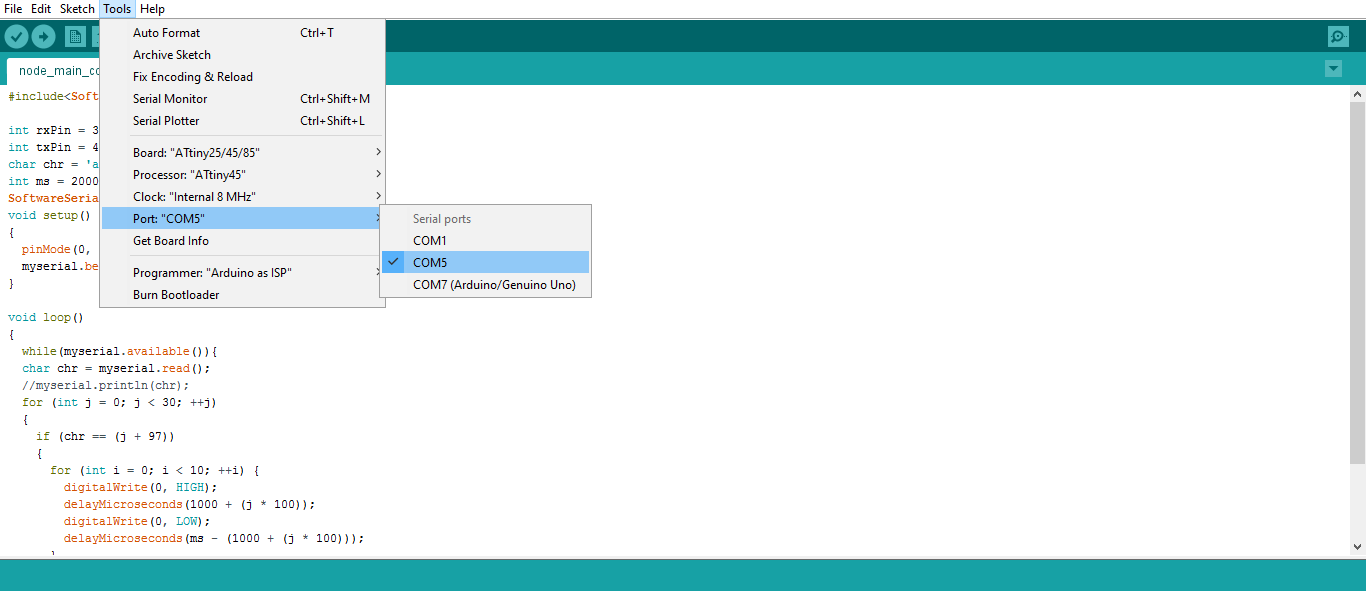
Step 3: Changing arduino com port to ftdi com port
The details of uploading to the node are covered in Networking and Communication week. After uploading the code, I switched to the port that is connected to the FTDI cable.
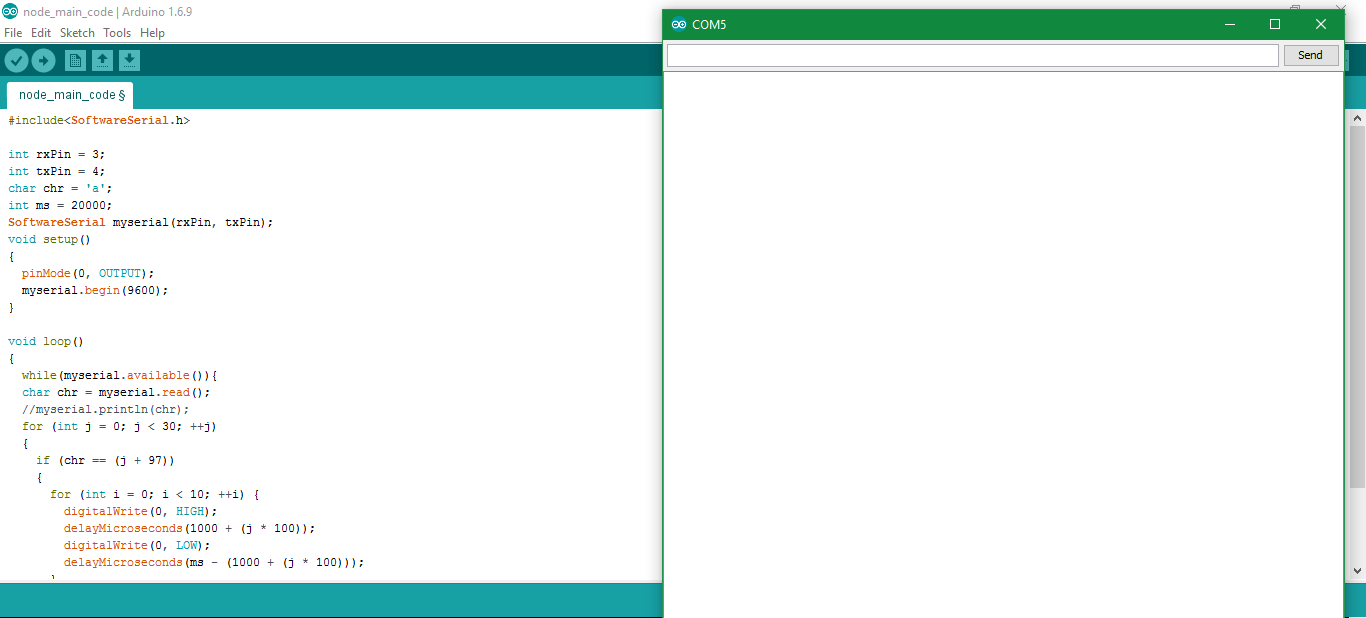
Step 4: Checking with serial monitor on arduino
I then did a simple test of the code by sending random alphabets on the serial monitor. And I had success.
Application design and programming
Step 5: Startup screen processing
For designing the interface, I opened Processing. I used version 3.0.1

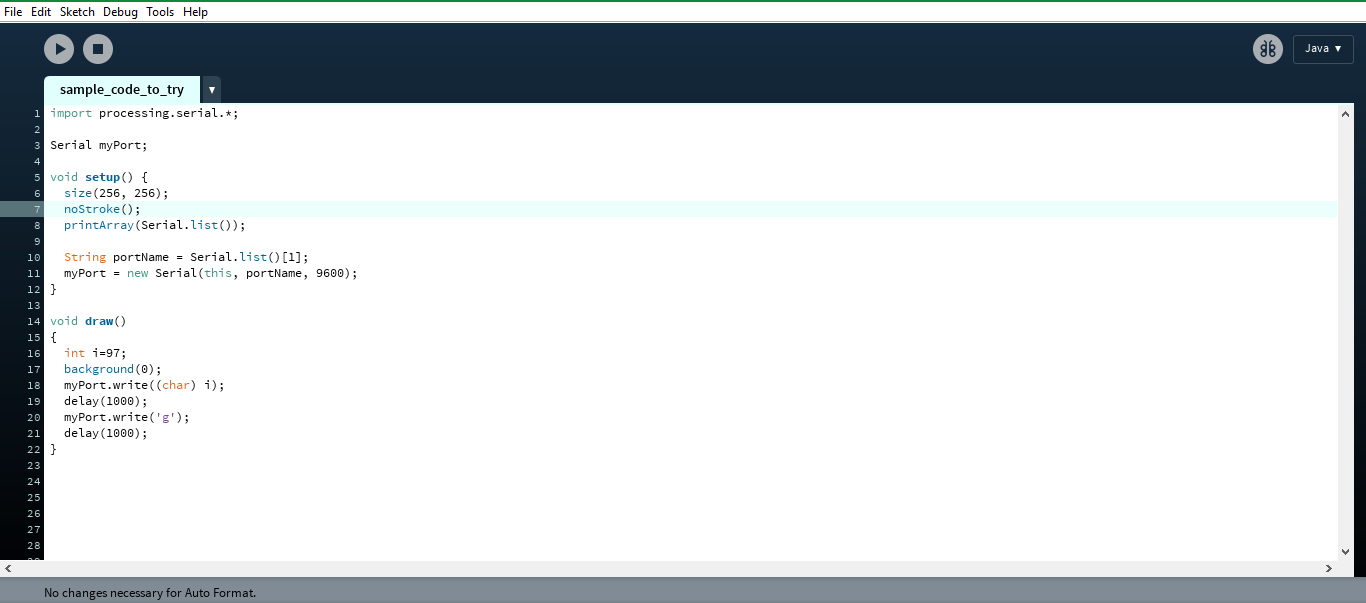
Step 6: Coding in processing basic trial
First I wanted to test the idea of the Processing sketch interacting with the ATtiny45. So I wrote a sample code which periodically sent two different characters to the board. And the interaction was successful. I then used the same code several times to test different things such as the data type of the items transferred over the serial monitor.
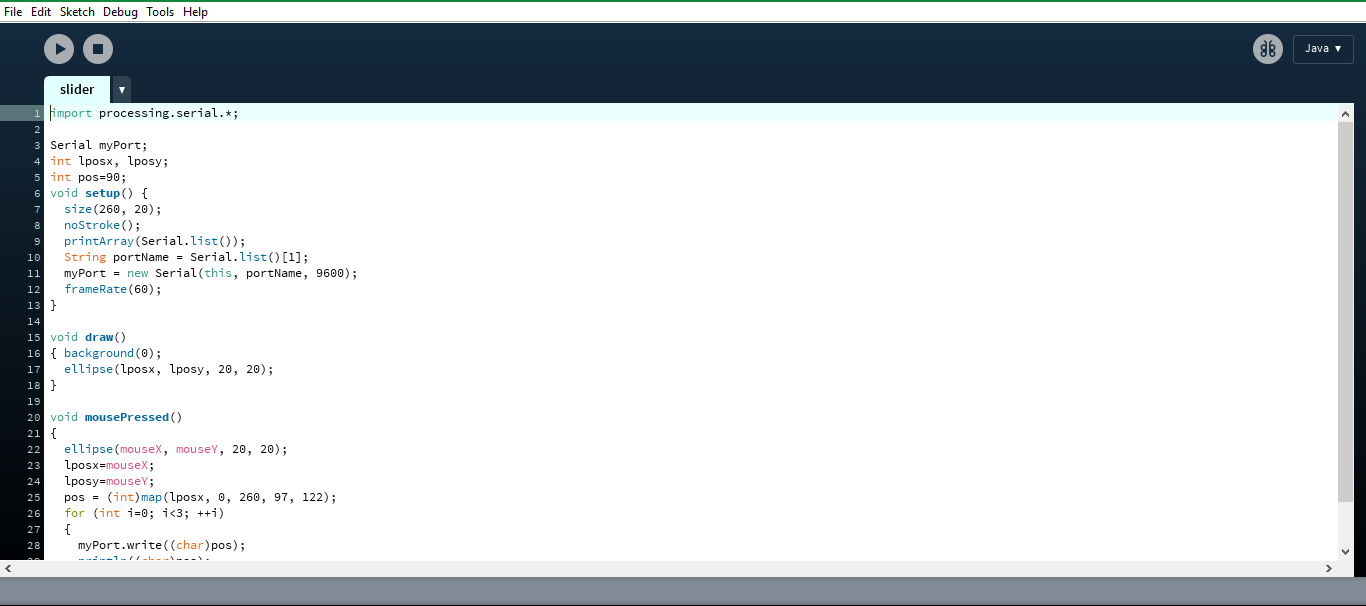
Step 7: Coding final interface
Finally after playing around with the sample code, I gained enough confidence to design the interface. Thus I designed an interface which has a slider that follows the mouse when the left click is pressed. The movement of the slider, i.e. the x position of the slider is what determines the position of the servo motor.
The following video demonstrates the interface in action.
Interface and Application
Code
attiny code
              #include<SoftwareSerial.h>
int rxPin = 3;
int txPin = 4;
char chr = 'a';
int ms = 20000;
SoftwareSerial myserial(rxPin, txPin);
void setup()
{
  pinMode(0, OUTPUT);
  myserial.begin(9600);
}

void loop()
{
  while(myserial.available()){
  char chr = myserial.read();
  //myserial.println(chr);
  for (int j = 0; j < 30; ++j)
  {
    if (chr == (j + 97))
    {
      for (int i = 0; i < 10; ++i) {
        digitalWrite(0, HIGH);
        delayMicroseconds(1000 + (j * 100));
        digitalWrite(0, LOW);
        delayMicroseconds(ms - (1000 + (j * 100)));
      }
    }
  }
  delay(10);
}
}
processing sketch
                                    import processing.serial.*;

Serial myPort;
int lposx, lposy;
int pos=90;
void setup() {
  size(260, 20);
  noStroke();
  printArray(Serial.list());
  String portName = Serial.list()[1];
  myPort = new Serial(this, portName, 9600);
  frameRate(60);
}

void draw()
{ background(0);
  ellipse(lposx, lposy, 20, 20);
}

void mousePressed()
{
  ellipse(mouseX, mouseY, 20, 20);
  lposx=mouseX;
  lposy=mouseY;
  pos = (int)map(lposx, 0, 260, 97, 122);
  for (int i=0; i<3 ++i)
  {
    myPort.write((char)pos);
    println((char)pos);
  }
}
sample code I tried
                                    import processing.serial.*;

Serial myPort;

void setup() {
  size(256, 256);
  noStroke();
  printArray(Serial.list());

  String portName = Serial.list()[1];
  myPort = new Serial(this, portName, 9600);
}

void draw()
{
  int i=97;
  background(0);
  myPort.write((char) i);
  delay(1000);
  myPort.write('g');
  delay(1000);
}
slider processing sketch
                                    import processing.serial.*;

Serial myPort;
int lposx, lposy;
int pos=90;
void setup() {
  size(260, 20);
  noStroke();
  printArray(Serial.list());
  String portName = Serial.list()[1];
  myPort = new Serial(this, portName, 9600);
  frameRate(60);
}

void draw()
{ background(0);
  ellipse(lposx, lposy, 20, 20);
}

void mousePressed()
{
  ellipse(mouseX, mouseY, 20, 20);
  lposx=mouseX;
  lposy=mouseY;
  pos = (int)map(lposx, 0, 260, 97, 122);
  for (int i=0; i<3; ++i)
  {
    myPort.write((char)pos);
    println((char)pos);
  }
}
node interface
                            		#include<SoftwareSerial.h>

int rxPin = 3;
int txPin = 4;
char chr = 'a';
int ms = 20000;
SoftwareSerial myserial(rxPin, txPin);
void setup()
{
  pinMode(0, OUTPUT);
  myserial.begin(9600);
}

void loop()
{
  while(myserial.available()){
  char chr = myserial.read();
  //myserial.println(chr);
  for (int j = 0; j < 30; ++j)
  {
    if (chr == (j + 97))
    {
      for (int i = 0; i < 10; ++i) {
        digitalWrite(0, HIGH);
        delayMicroseconds(1000 + (j * 100));
        digitalWrite(0, LOW);
        delayMicroseconds(ms - (1000 + (j * 100)));
      }
    }
  }
  delay(10);
}
}
Links / Downloads / Code
attiny codeprocessing sketch
sample code
slider
node_interface.ino