FabLab Cept
MOLDING
This week assignment was to design and fabricate a 3d mold and prepare a cast from it. I wanted to make a 3d-hexagonal tile
1. The first step was to design in rhino. Here is a sequence of steps I followed.
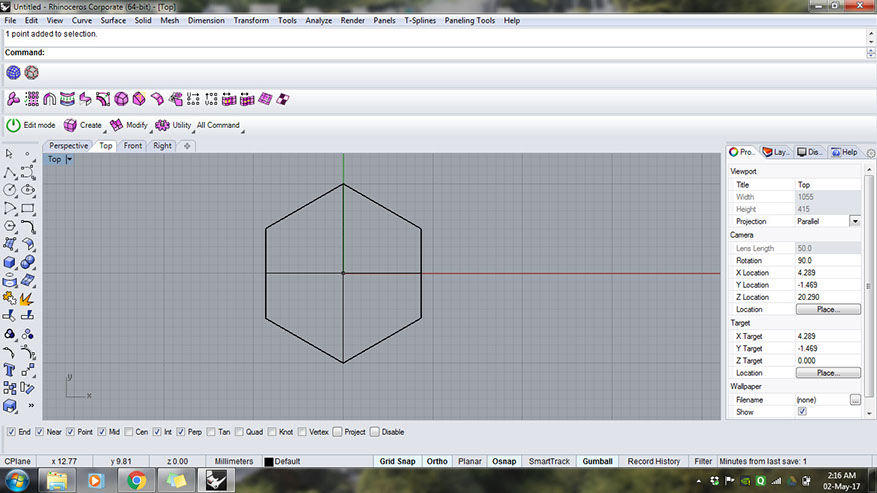


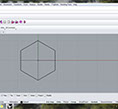
First step was to create a hexagon in rhino and make a planar surface.
Next I divided the hexagon into 3 parts.
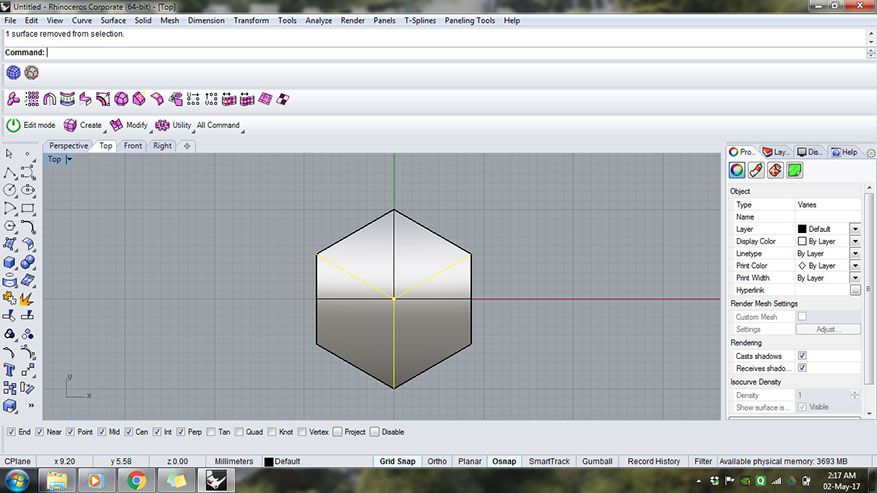
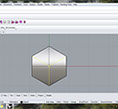
Next turn points on and use the gumball to grab all the points at the center and pull them upwards.
Project the outer curve to the ground plane and loft the 2 curves to create boundary surface.
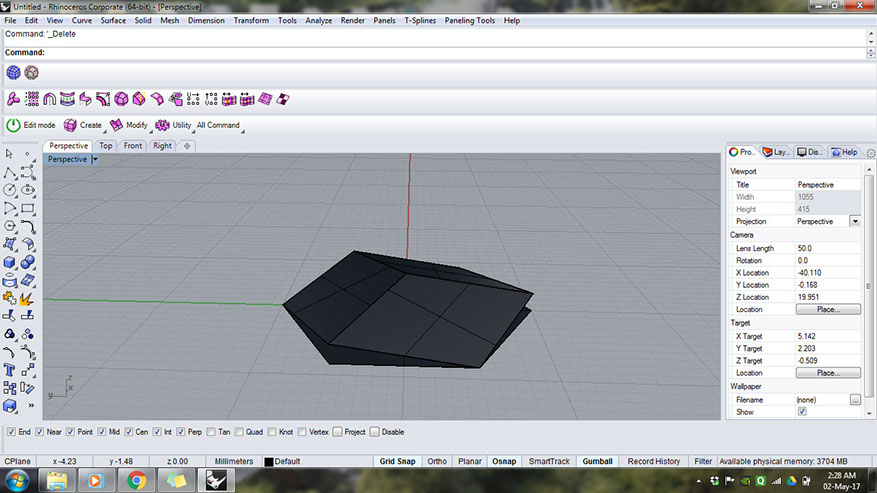
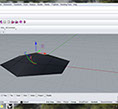
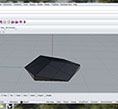
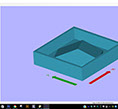
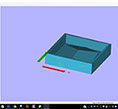
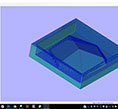
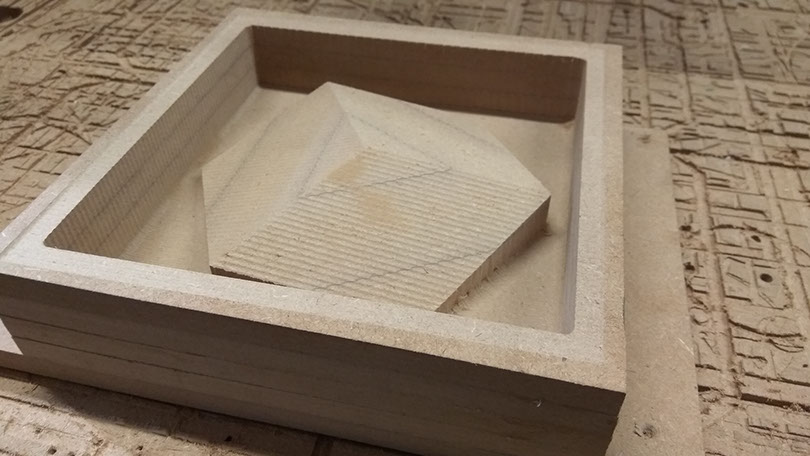
This is how to tile looks like after boolean union.
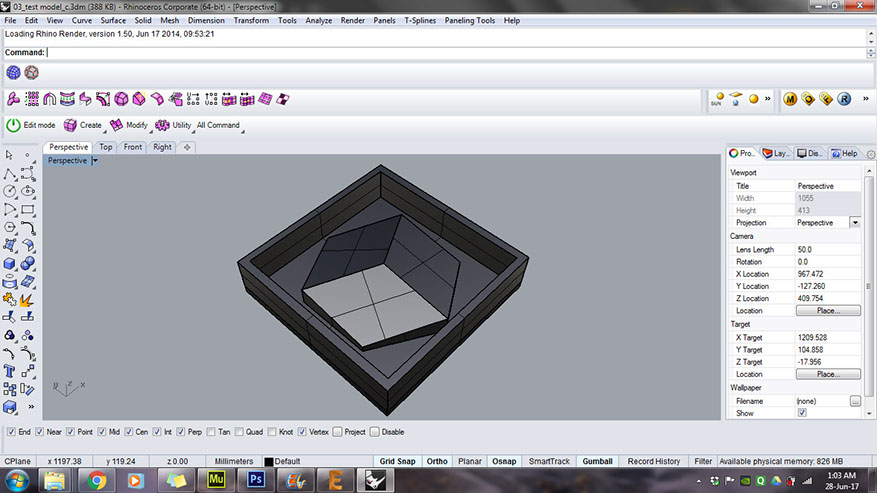
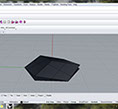
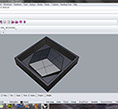
Next was to create a square base with extruded boundary to hold the liquid rubber.
5 - 6
<
>
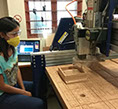
Next step was to mill the mold using CNC. I made the toolpath using Partworks 3D software for ShopBot milling
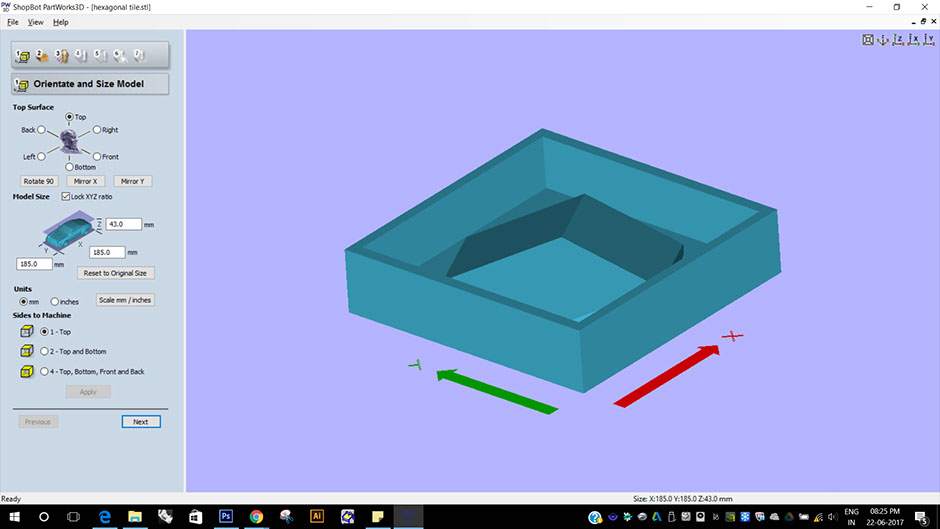

First step is to set the top surface orientation.
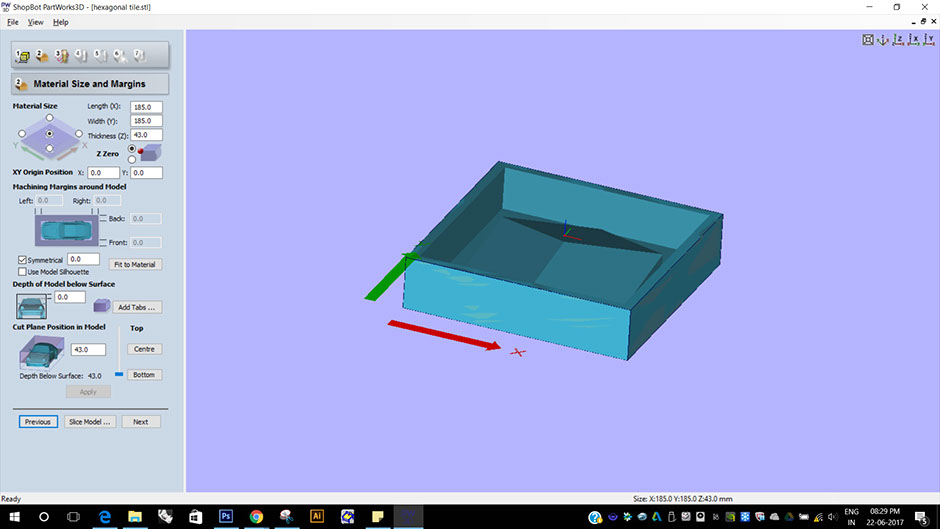
Next set origin, I set it to center of the top surface.
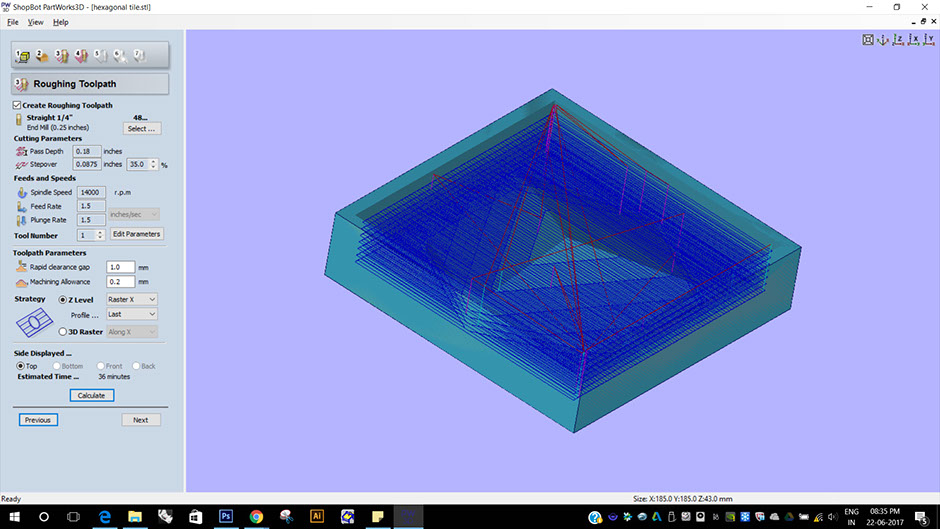
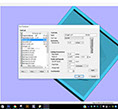
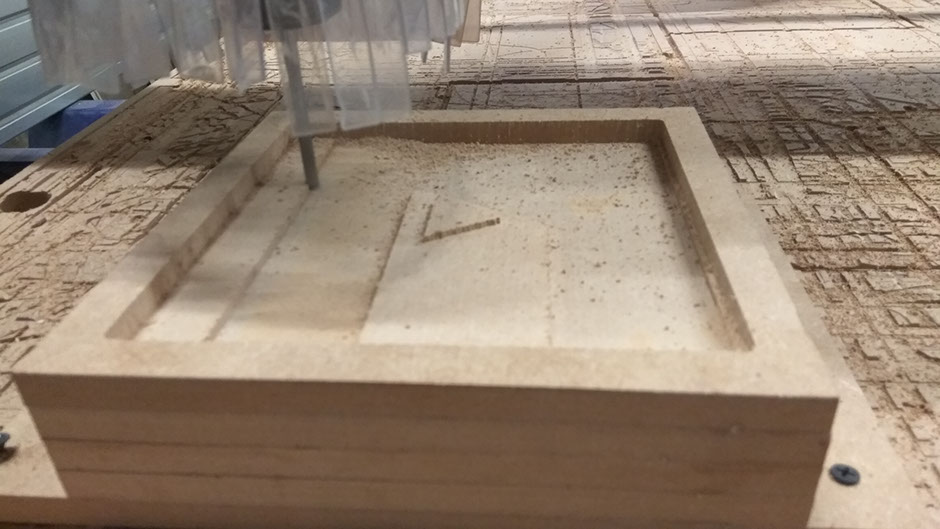
Next is to create roughing toolpath. I used 1/4" straight bit for roughing.
Pass dept = 0.18 inch. Stepover = 35%
spindle speed = 14000, feed rate = 1.5 and plunge rate = 1.5
The raster I set is in X direction.
Clicking on Calculate, partworks computes the milling process and shows this visual graphic.
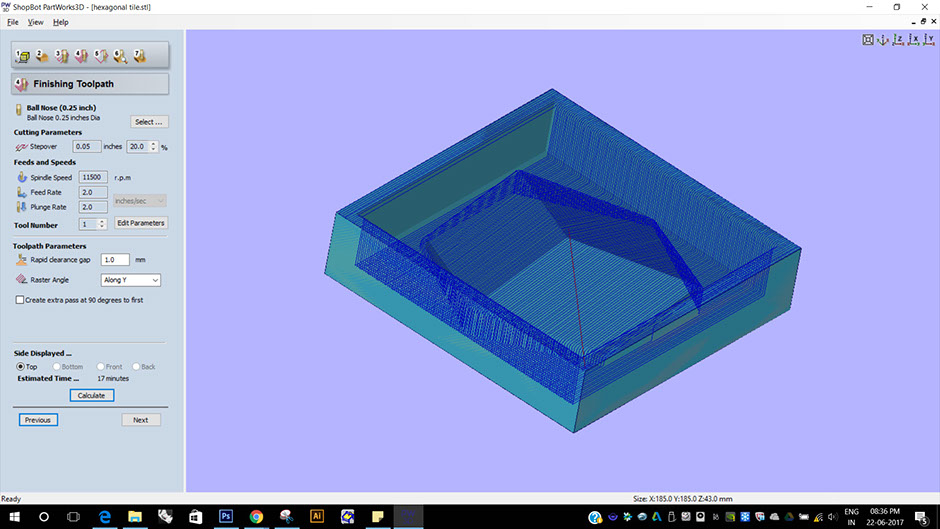
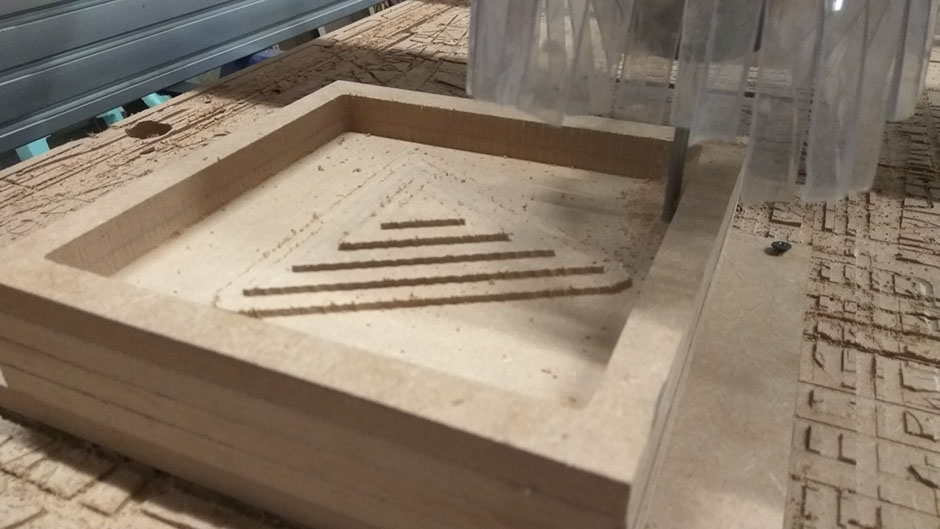
Next is to create the finishing toolpath along "Y" direction.
I used "ballnose 1/4" bit" for finishing.
Steppver = 20%
Spindle rate = 11500 rpm
Feed rate = 2 inch/sec
Plunge rate = 2 inch/sec
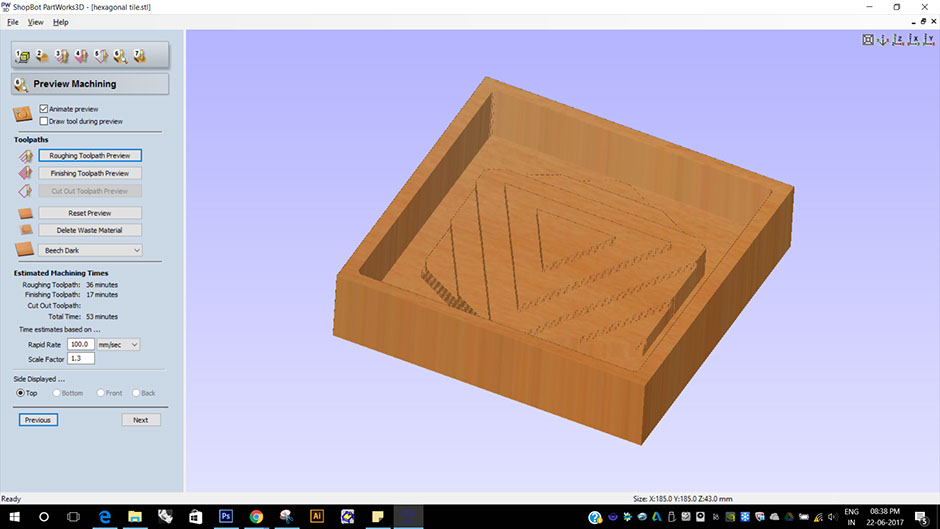
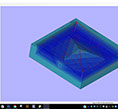
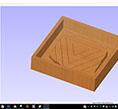
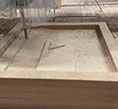
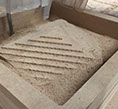
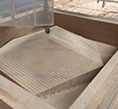
In preview machining tab, one can see both the toolpaths. This is how the mould will look like after roughing toolpath is finished
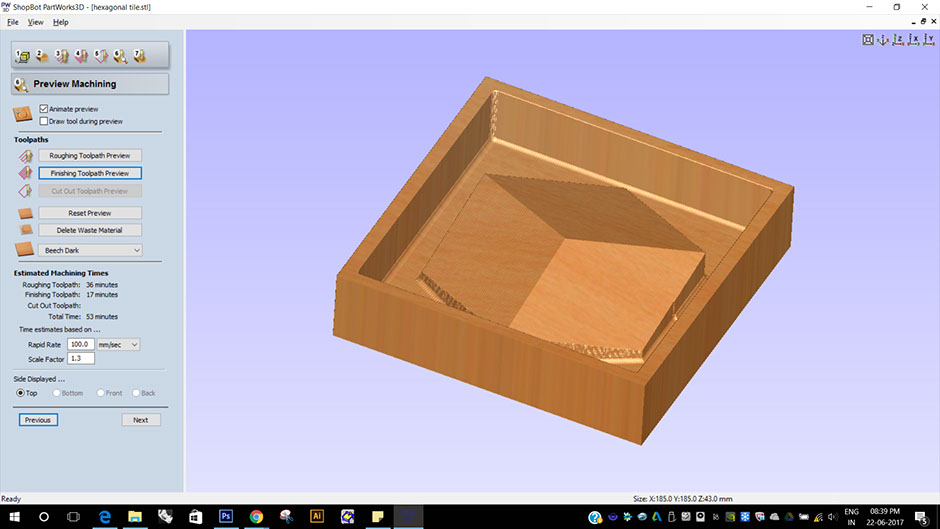
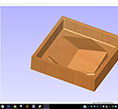
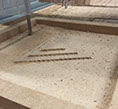
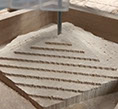
This is the preview of finishing toolpath.
7 - 7
<
>
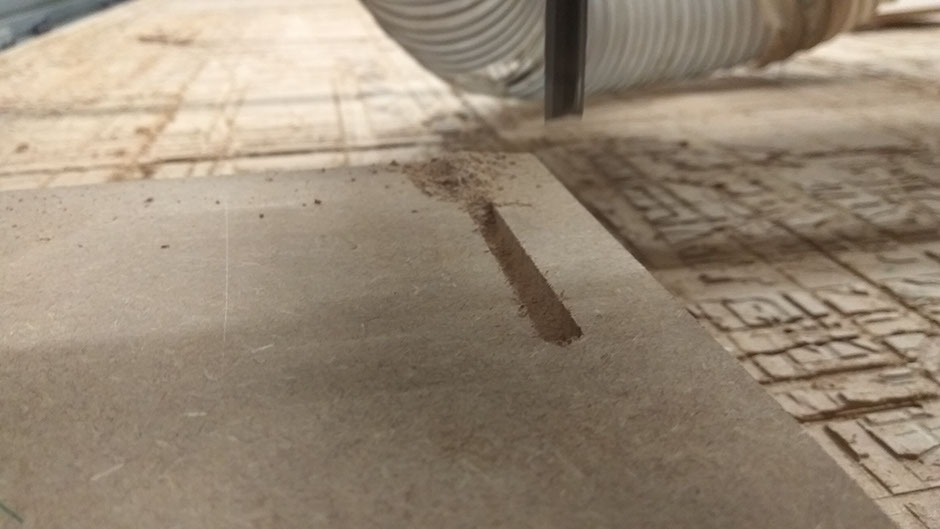
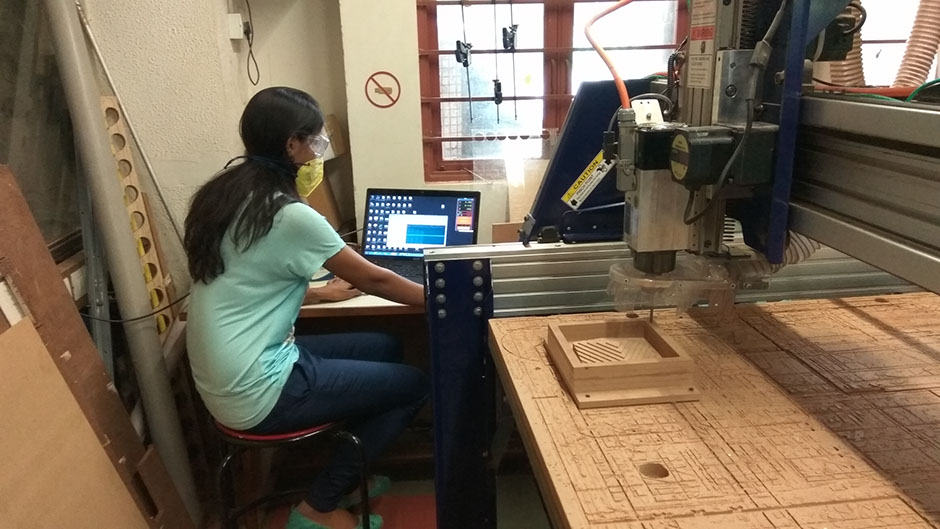
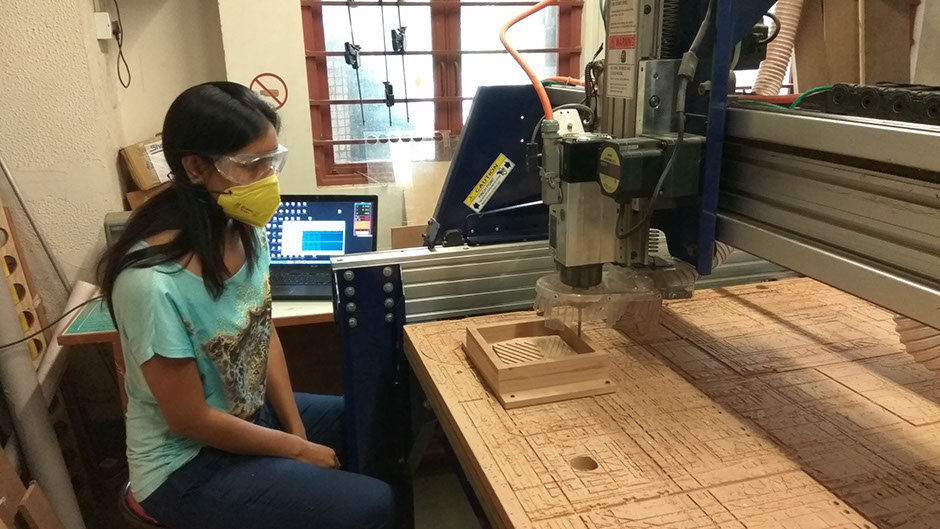
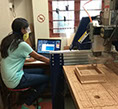
Next step is to open shopbot software and follow the below steps.
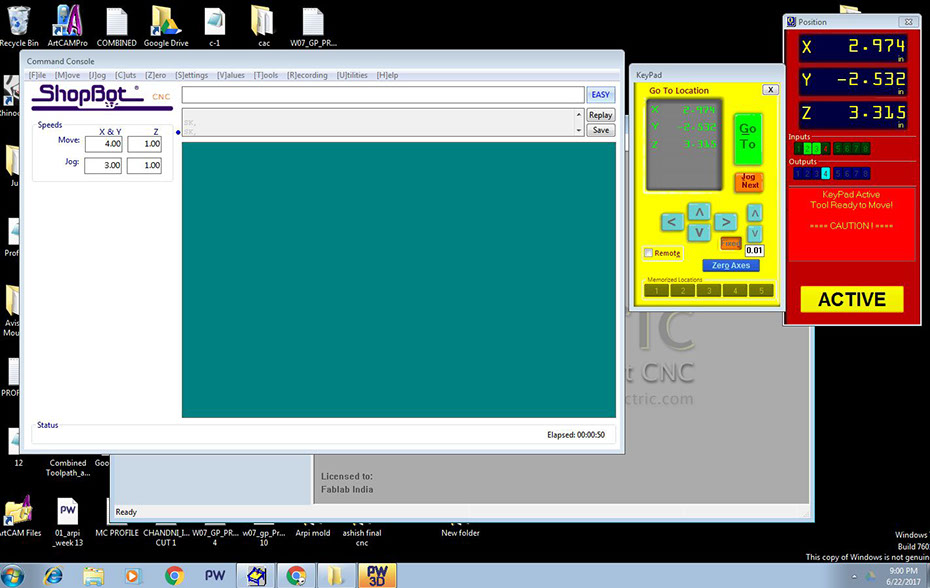
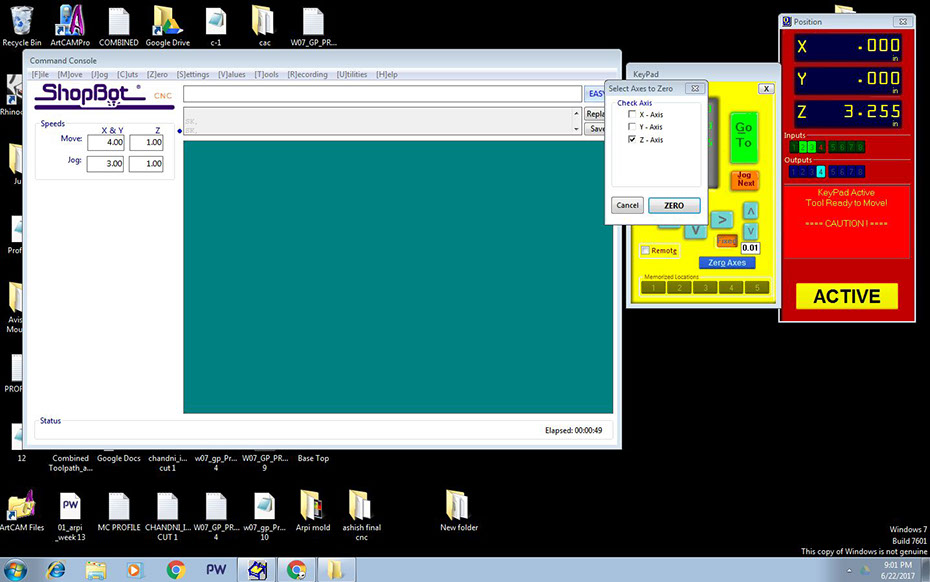
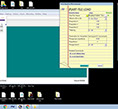
This is how the opening screen of ShopBot looks like. Set the origin position of the bit using the arrows on yellow keypad.
Set origin by selecting x-y-z axes as zero.
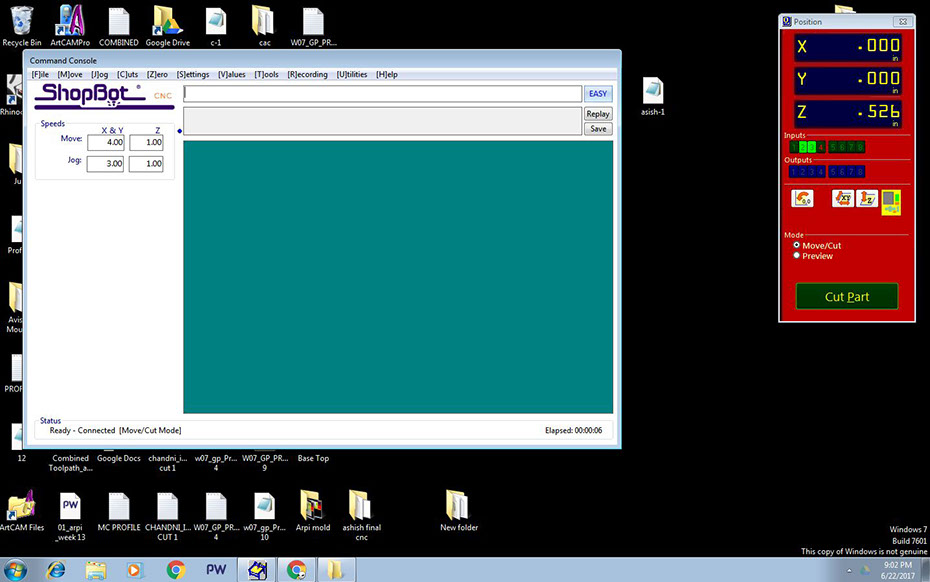
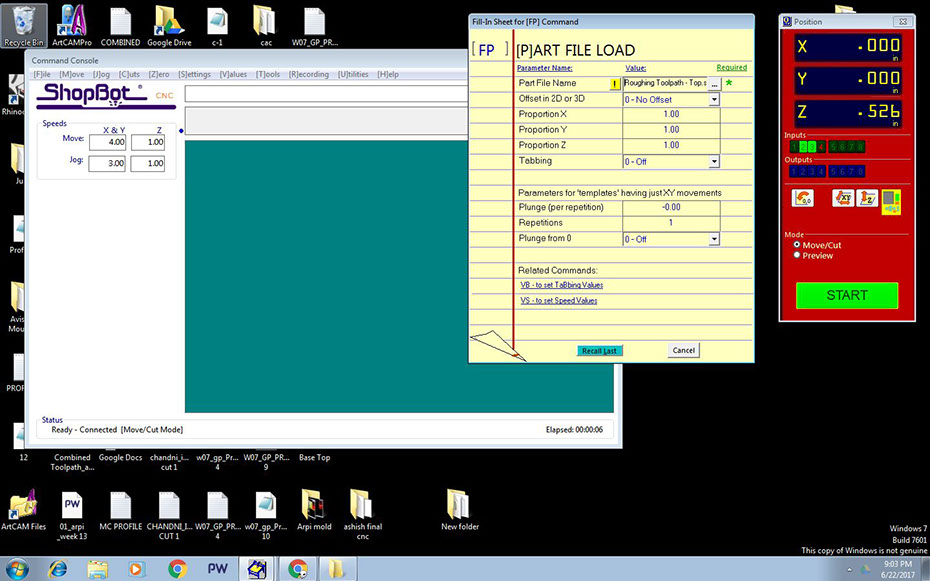
Next click on "Cutpart" and select the roughing toolpath.
Click on start.
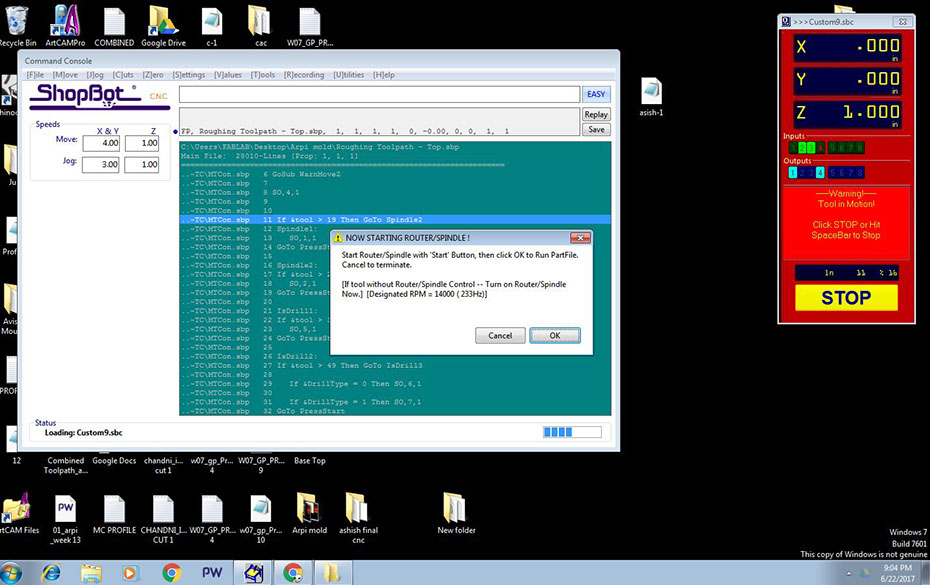
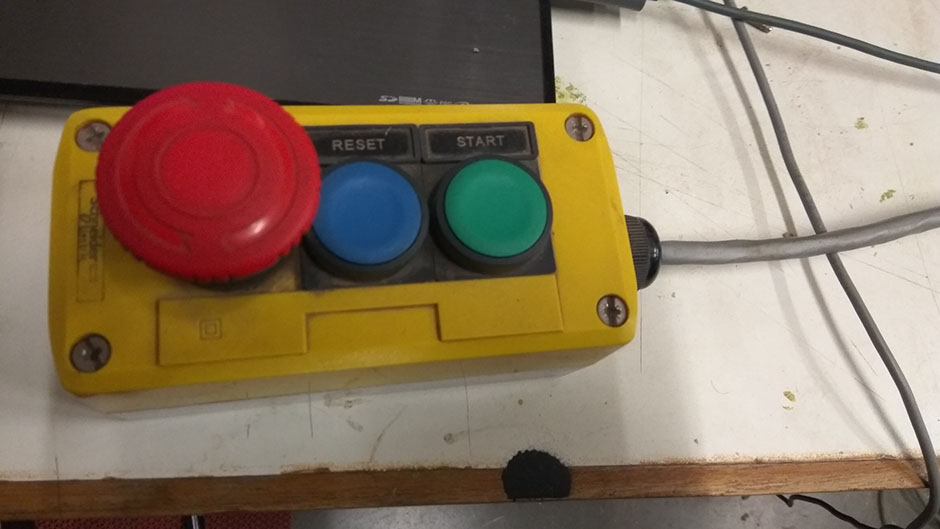
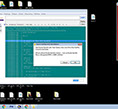
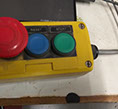
This screen will appear. Before pressing ok, click on the start button on the tool box shown in next image.
Pressing on the green start button will start the spindle. Then you ca n press "ok" on the screen and the roughing process will start.
6 - 6
<
>
Next step is to open shopbot software and follow the below steps.
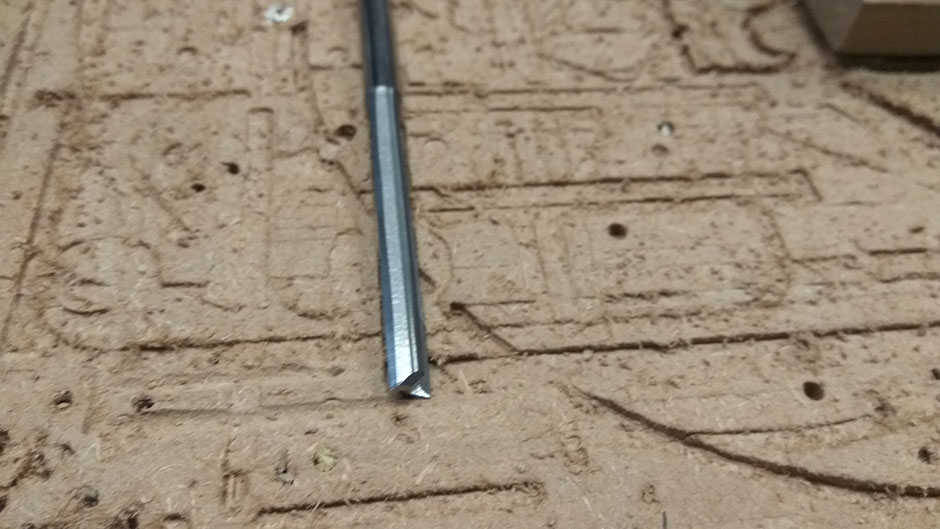


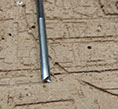
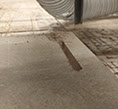
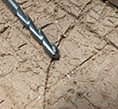
This is the bit I used for roughing toolpath- 1/4" straight cut.
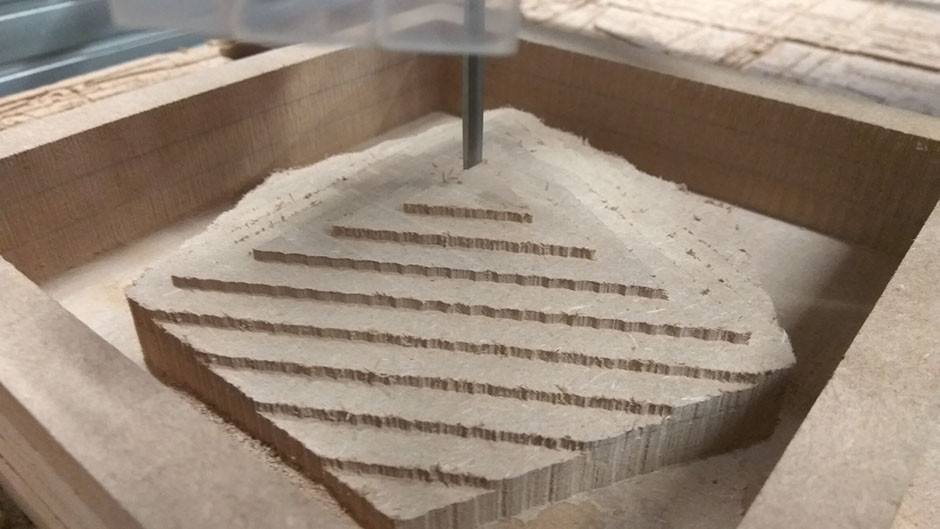
This is how the bit I used for finishing toolpath looks like. = 1/4" ballnose
Once you change the bit, x-y axes will still be at the sae origin, but you need to fix the Z-0 again For this bring the bit to any of the edges which are not disturbed while roughing toolpath and fix the Z-zero.
9 - 12
<
>
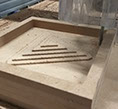
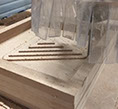
The mold is ready and now is the time for casting.
Final files can be found here.