_Week11_MACHINE DESIGN
_Introduction
In addition of the week 9, we continued to work on our robotic arm once that we found out how to work all the physical parts trying now to automated the machine through programming system (Output week helps a lot in this because of control servos) and the interaction between the physical part and the electronic part to correctly function of the machine in order to achieve our goal.
_Background
Mechanical Design or Machine Design is one of the important branches of engineering design, during designing various calculations are performed considering desired speeds and loads and finally the gear of particular material and specific dimensions that can take all loads and that can be manufactured at least possible cost giving optimum performance is designed.
_Week Assignments
_Workflow /Step by Step
See our group website to know the workflow of the assignment

_Individual contribution.
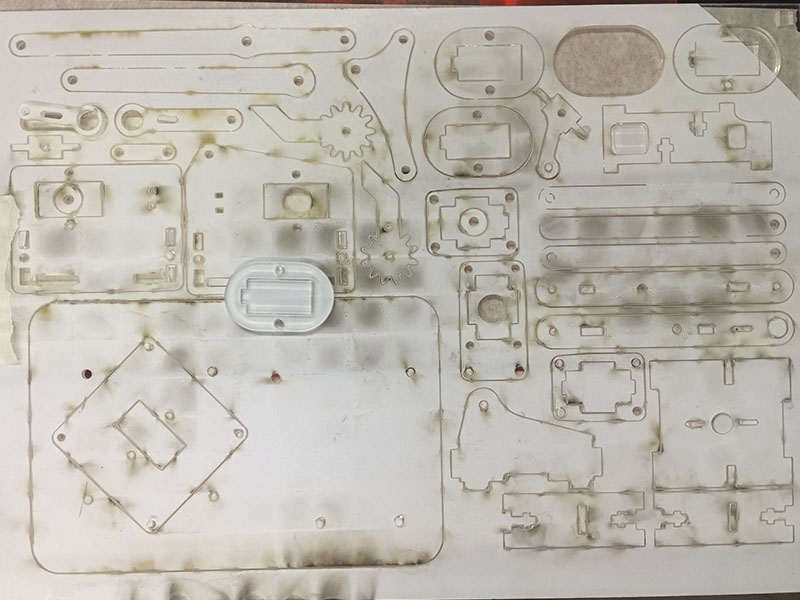
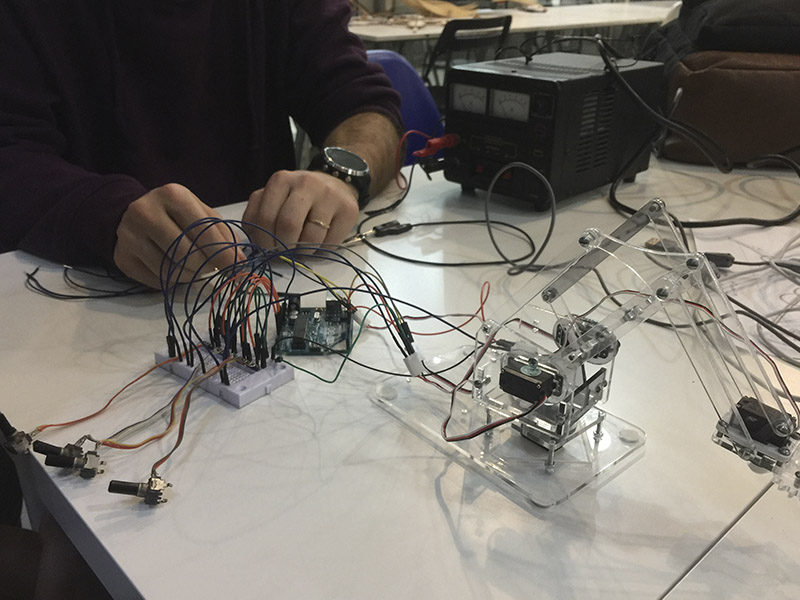
After arming the prototype 1.0, we proceed to cut a robotic arm in acrylic already designed MeArm 4.0 to be able to start joining pieces and see the automated operation, for this I focus on the operation of the arm electronics using the following elements and programming them in Arduino:
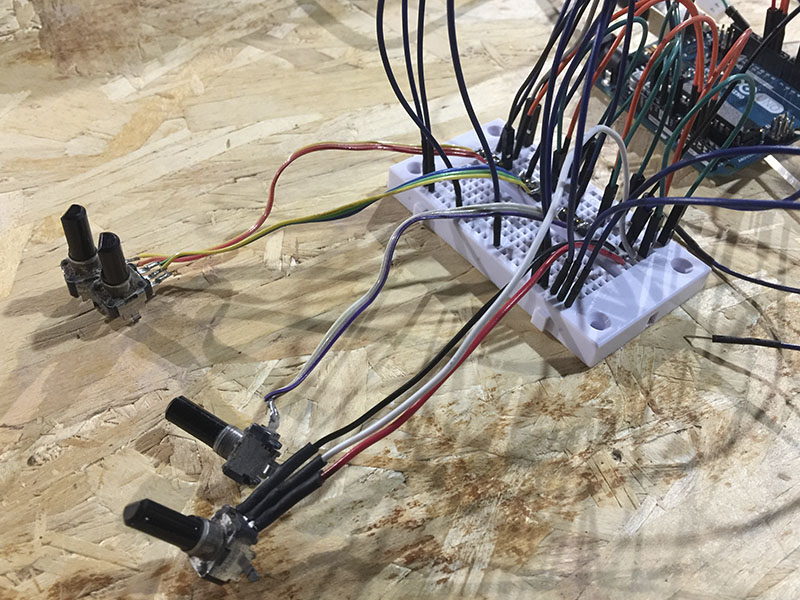
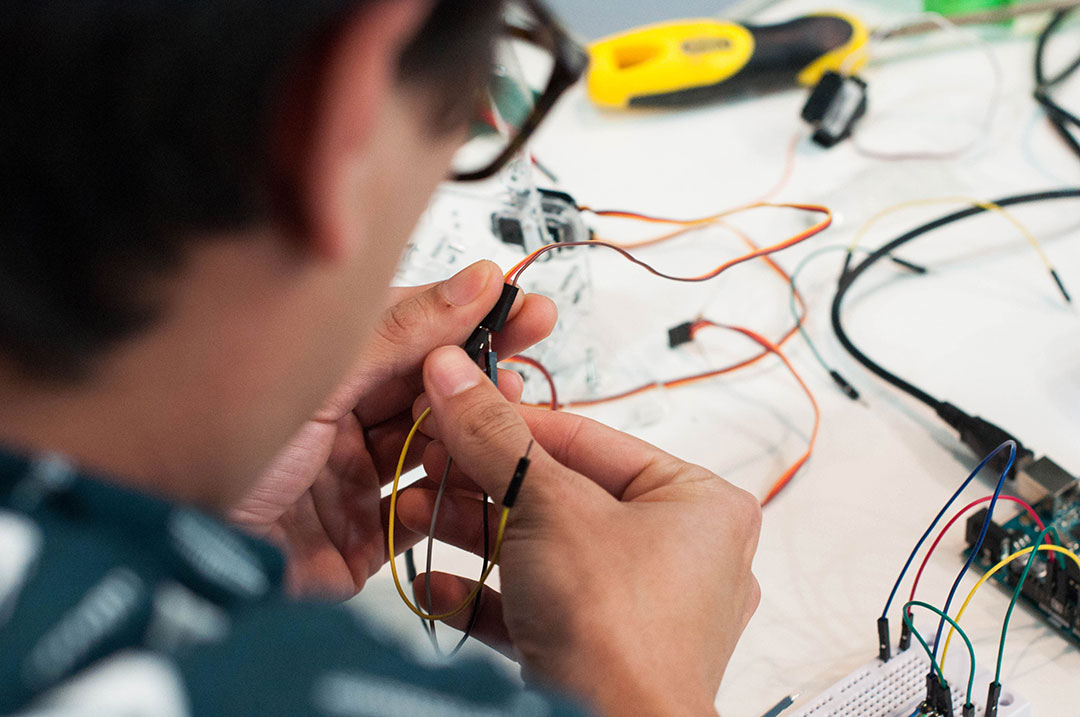
For a beginner like me the work of connecting all the wires in the correct position was at the beginning quite difficult but after I understand the logic of the breadboard was easier to connect all the components and make it work for the first time.

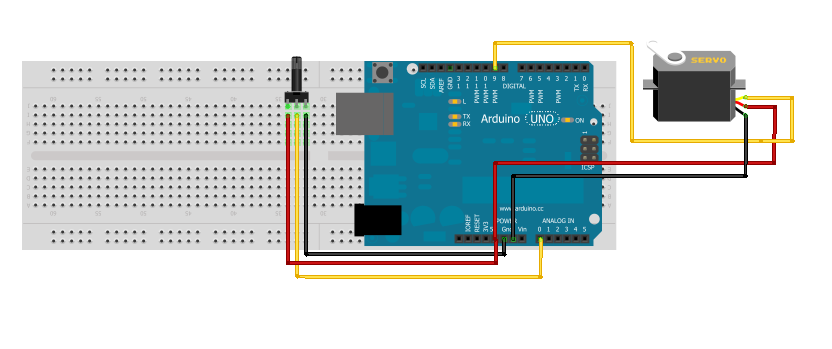
This is the simple connection diagram for controlling a microservo of 5v with a potentiometer with the Arduino UNO, the microservos use VCC, GROUND and Data (any PWM pin as I learned in Output week).
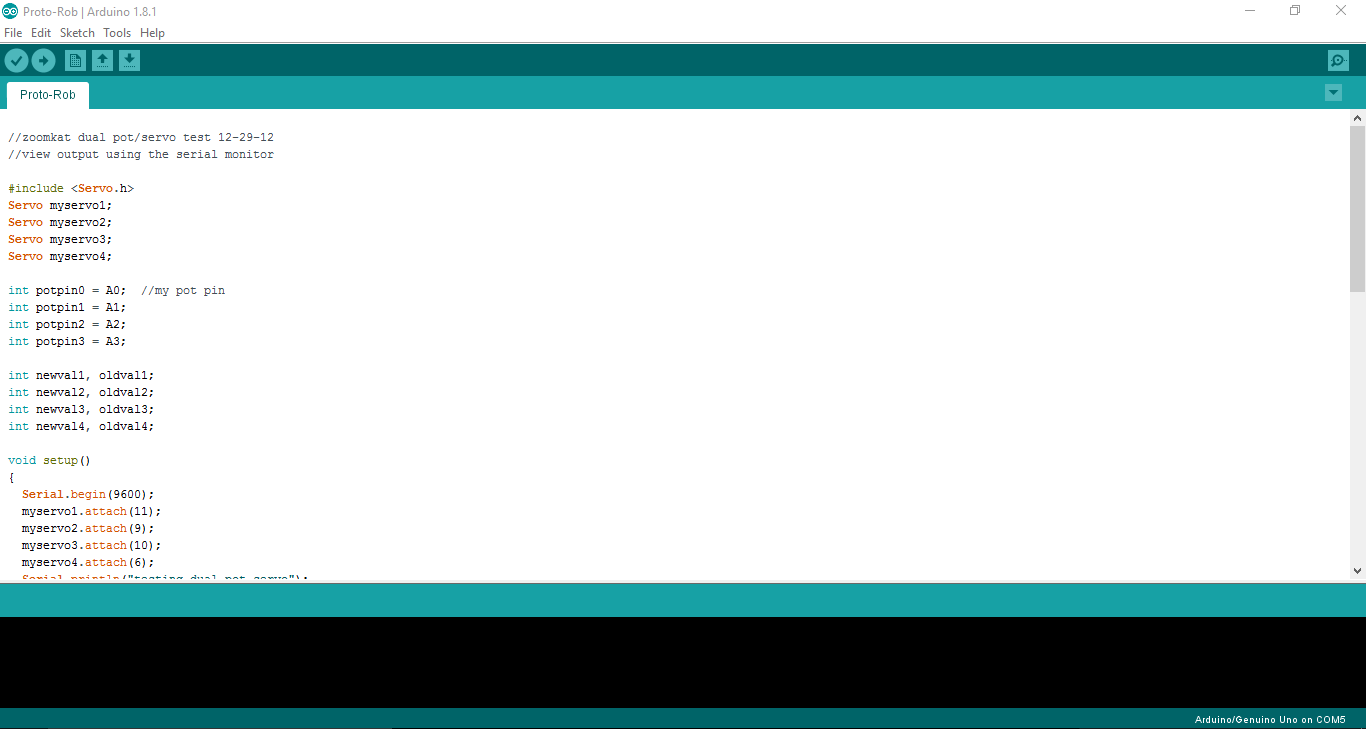
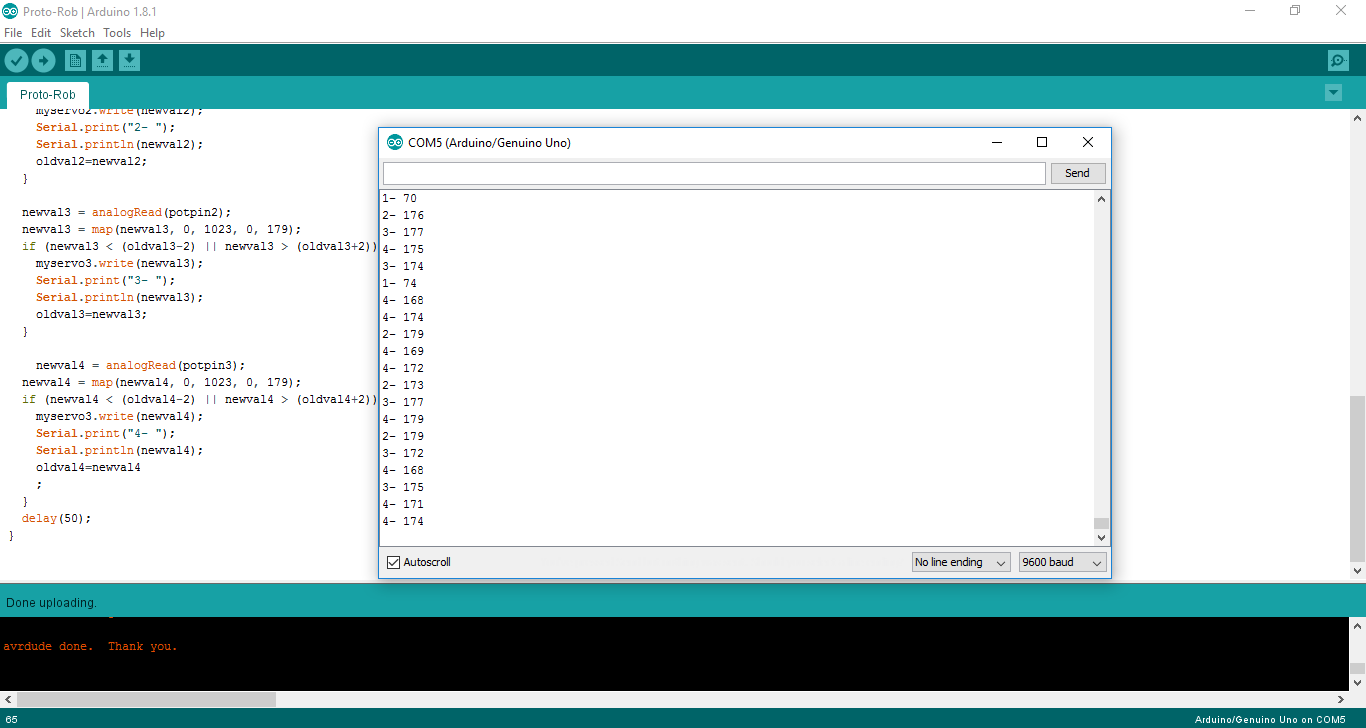
And the code that I started to use in Arduino IDE:
//zoomkat dual pot/servo test 12-29-12 //view output using the serial monitor #includeServo myservo1; Servo myservo2; Servo myservo3; Servo myservo4; int potpin0 = A0; //my pot pin int potpin1 = A1; int potpin2 = A2; int potpin3 = A3; int newval1, oldval1; int newval2, oldval2; int newval3, oldval3; int newval4, oldval4; void setup() { Serial.begin(9600); myservo1.attach(11); myservo2.attach(9); myservo3.attach(10); myservo4.attach(6); Serial.println("testing dual pot servo"); } void loop() { newval1 = analogRead(potpin0); newval1 = map(newval1, 0, 1023, 0, 179); if (newval1 < (oldval1-2) || newval1 > (oldval1+2)){ myservo1.write(newval1); Serial.print("1- "); Serial.println(newval1); oldval1=newval1; } newval2 = analogRead(potpin1); newval2 = map(newval2, 0, 1023, 0, 179); if (newval2 < (oldval2-2) || newval2 > (oldval2+2)){ myservo2.write(newval2); Serial.print("2- "); Serial.println(newval2); oldval2=newval2; } newval3 = analogRead(potpin2); newval3 = map(newval3, 0, 1023, 0, 179); if (newval3 < (oldval3-2) || newval3 > (oldval3+2)){ myservo3.write(newval3); Serial.print("3- "); Serial.println(newval3); oldval3=newval3; } newval4 = analogRead(potpin3); newval4 = map(newval4, 0, 1023, 0, 179); if (newval4 < (oldval4-2) || newval4 > (oldval4+2)){ myservo3.write(newval4); Serial.print("4- "); Serial.println(newval4); oldval4=newval4 ; } delay(50); }
_Analyse and solve technical problems.
Once all the components were placed and connected we got problems with the movement because it was not too smooth as we want it so Santi tell us that it was because of the "noise" of the voltaje the comes from the USB port so we change to the DC power supply in order to having stable current to provide to the servos.
Also, as the week Mechanical design, the joints made by the bolts and the nuts have to be double (or triple) checked to gain good movement of all the joints in the robotic arm.
_Opportunities for improvements in the design.
In the Ouput devices week I continued working with the idea of Mr.Rob-berto and improve its automation without using the Arduino UNO and the potentiometers, so I see how to control the 4 servos with an ATtiny85 and then put a joystick in the electronic design of the board.

_FILES
All the files are available to download in Mr.Rob-berto group webpage.