Muhammad Asim Samejo
Moulding and Casting
The week is all about moulding and Casting:
- Design a 3D mold, machine it, and cast parts from it.
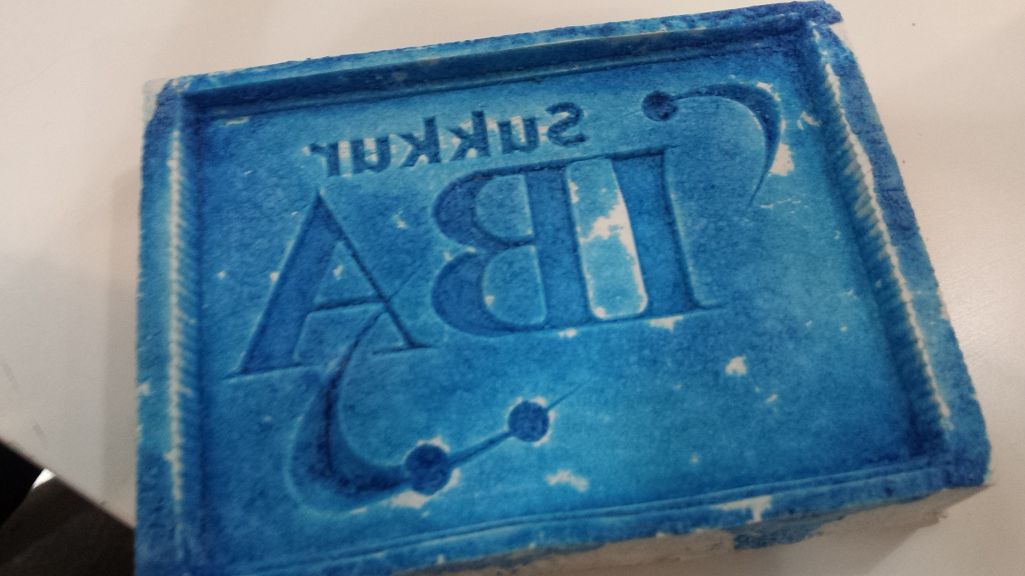
For this assignment I wanted to create a mould of the logo of my sponsor institute and cast it in metal. Sukkur IBA logo is available on the internet. So I just imported in Rhino.

Modeling the Mould
Some further modification was required due to the limitation of drill bits. It was going to be one-sided mould. Our instructor (Santi) informed me that they have some light metal and required silicone resin which is suitable for metal.Optimization of Mould
As discussed in Neil's lecture the limitations of milling process also apply to the milling of the moulds. For exmaple its it not possible to make vertical cuts deeper than tools dimensions. Making vertical boundery walls amounts to mould which are difficult to cast. These limitations are illustrated below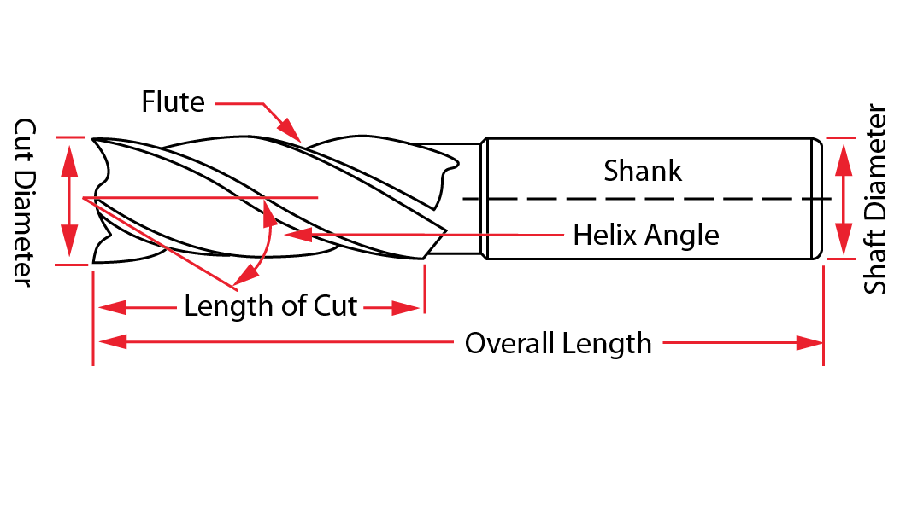
Basic parameters of a drill bit.
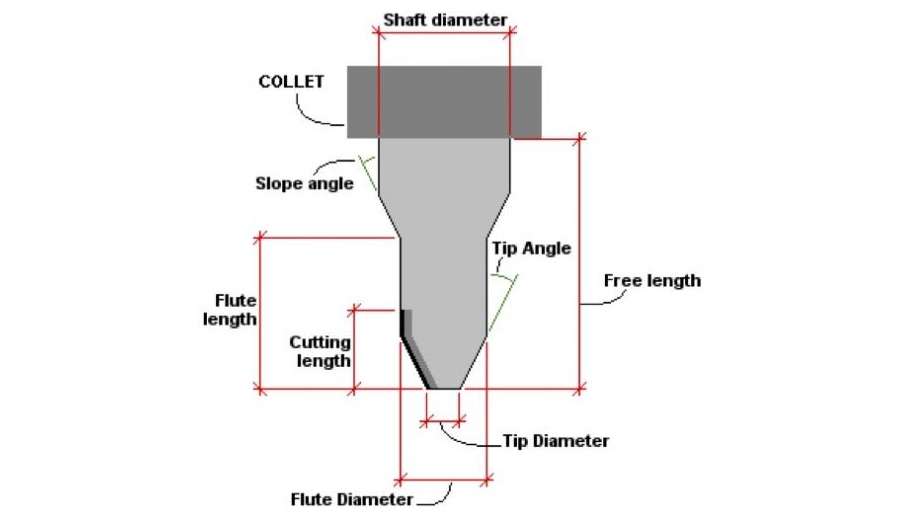
Basic parameters of a drill bit.
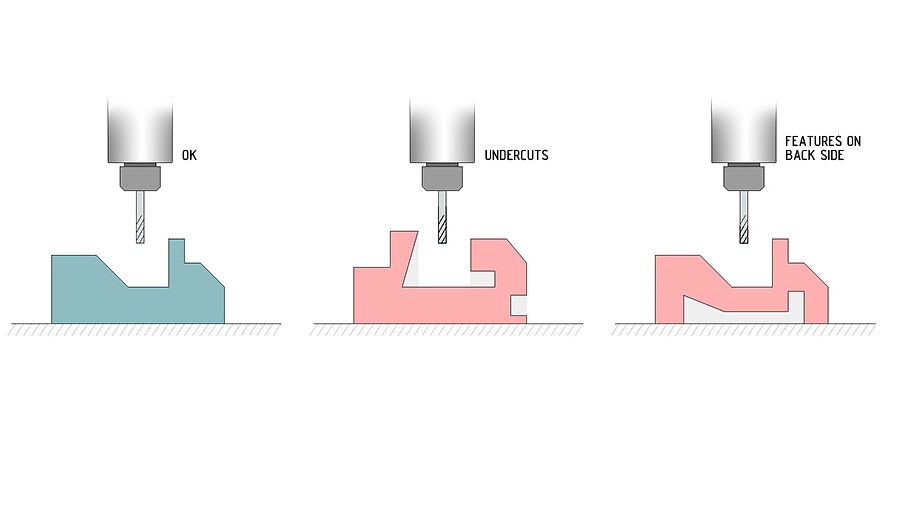
Limitations of milling process.
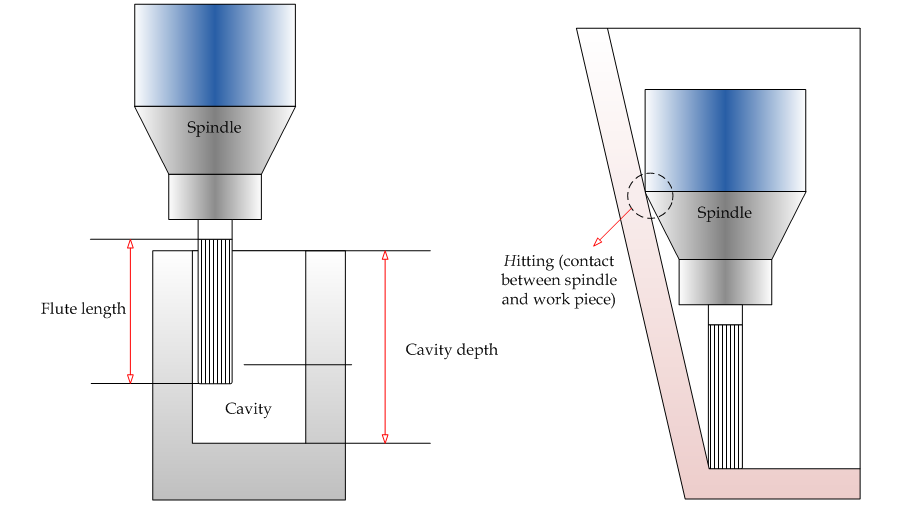
Limitations of milling process.
Milling the Master
Once the I (with the help of my friends) completed the design in Rihno I exported the file as .stl file. This file had to be processed using Roland Modela Player 4 software to generate the required code for milling the wax. The process is simple and straight forward.Tool-Path Design
To create the milling strategy and tool-path I used Modela Player 4 software. A simple strategy is to use a bigger (e.g.1/8 inch) tool rough-cut the wax and then use finer (say 1/32 inch) tool for finishing purpuse.I found this quick take video useful to understand the milling process using Modela Player 4 software.
The procedure of placing wax in the machine
For milling we use Roland Modela SRM-20 machine. According to Santi the wax mould should be limited to 150mm x 100mm x 40mm. The wax bricks used for creating moulds may not have a perfectly flat surface therefore setting up z zero on a higher side could cause the mould to be not horizontal. To overcome this issue I carefully looked at the surface and set origin at a point which was lowest point height-wise. I setup the wax on the milling machine bed using alot of double tape. The first iteration called rough cut was performed using 1/8 inch diameter tool. This tool simply removes bulk of wax quickly. The results of the interation were inline with the simulations.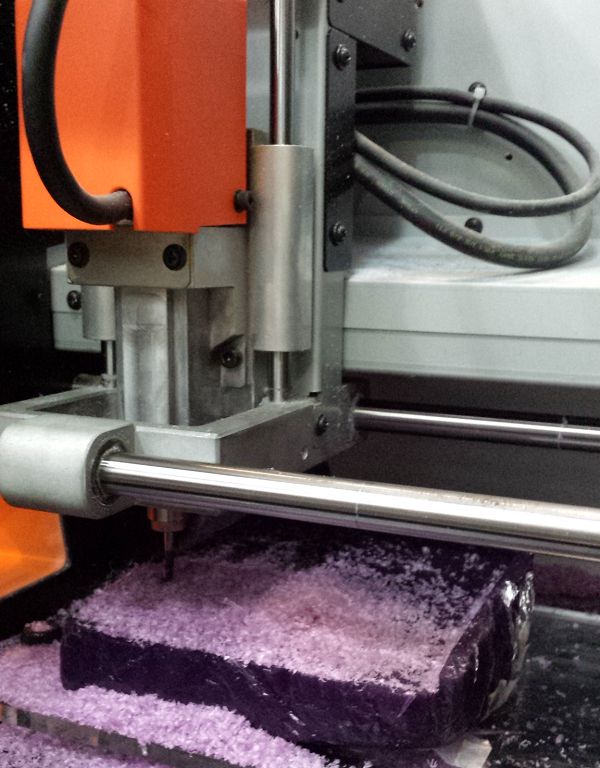
Modela chiming away on wax.
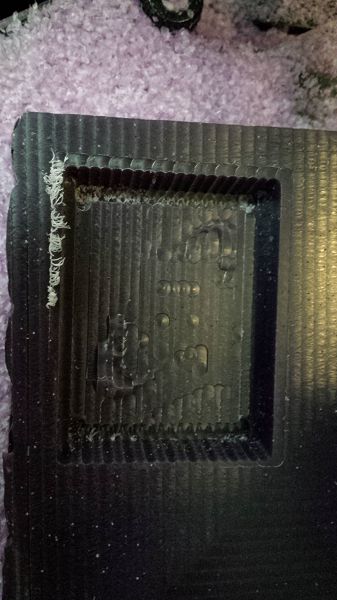
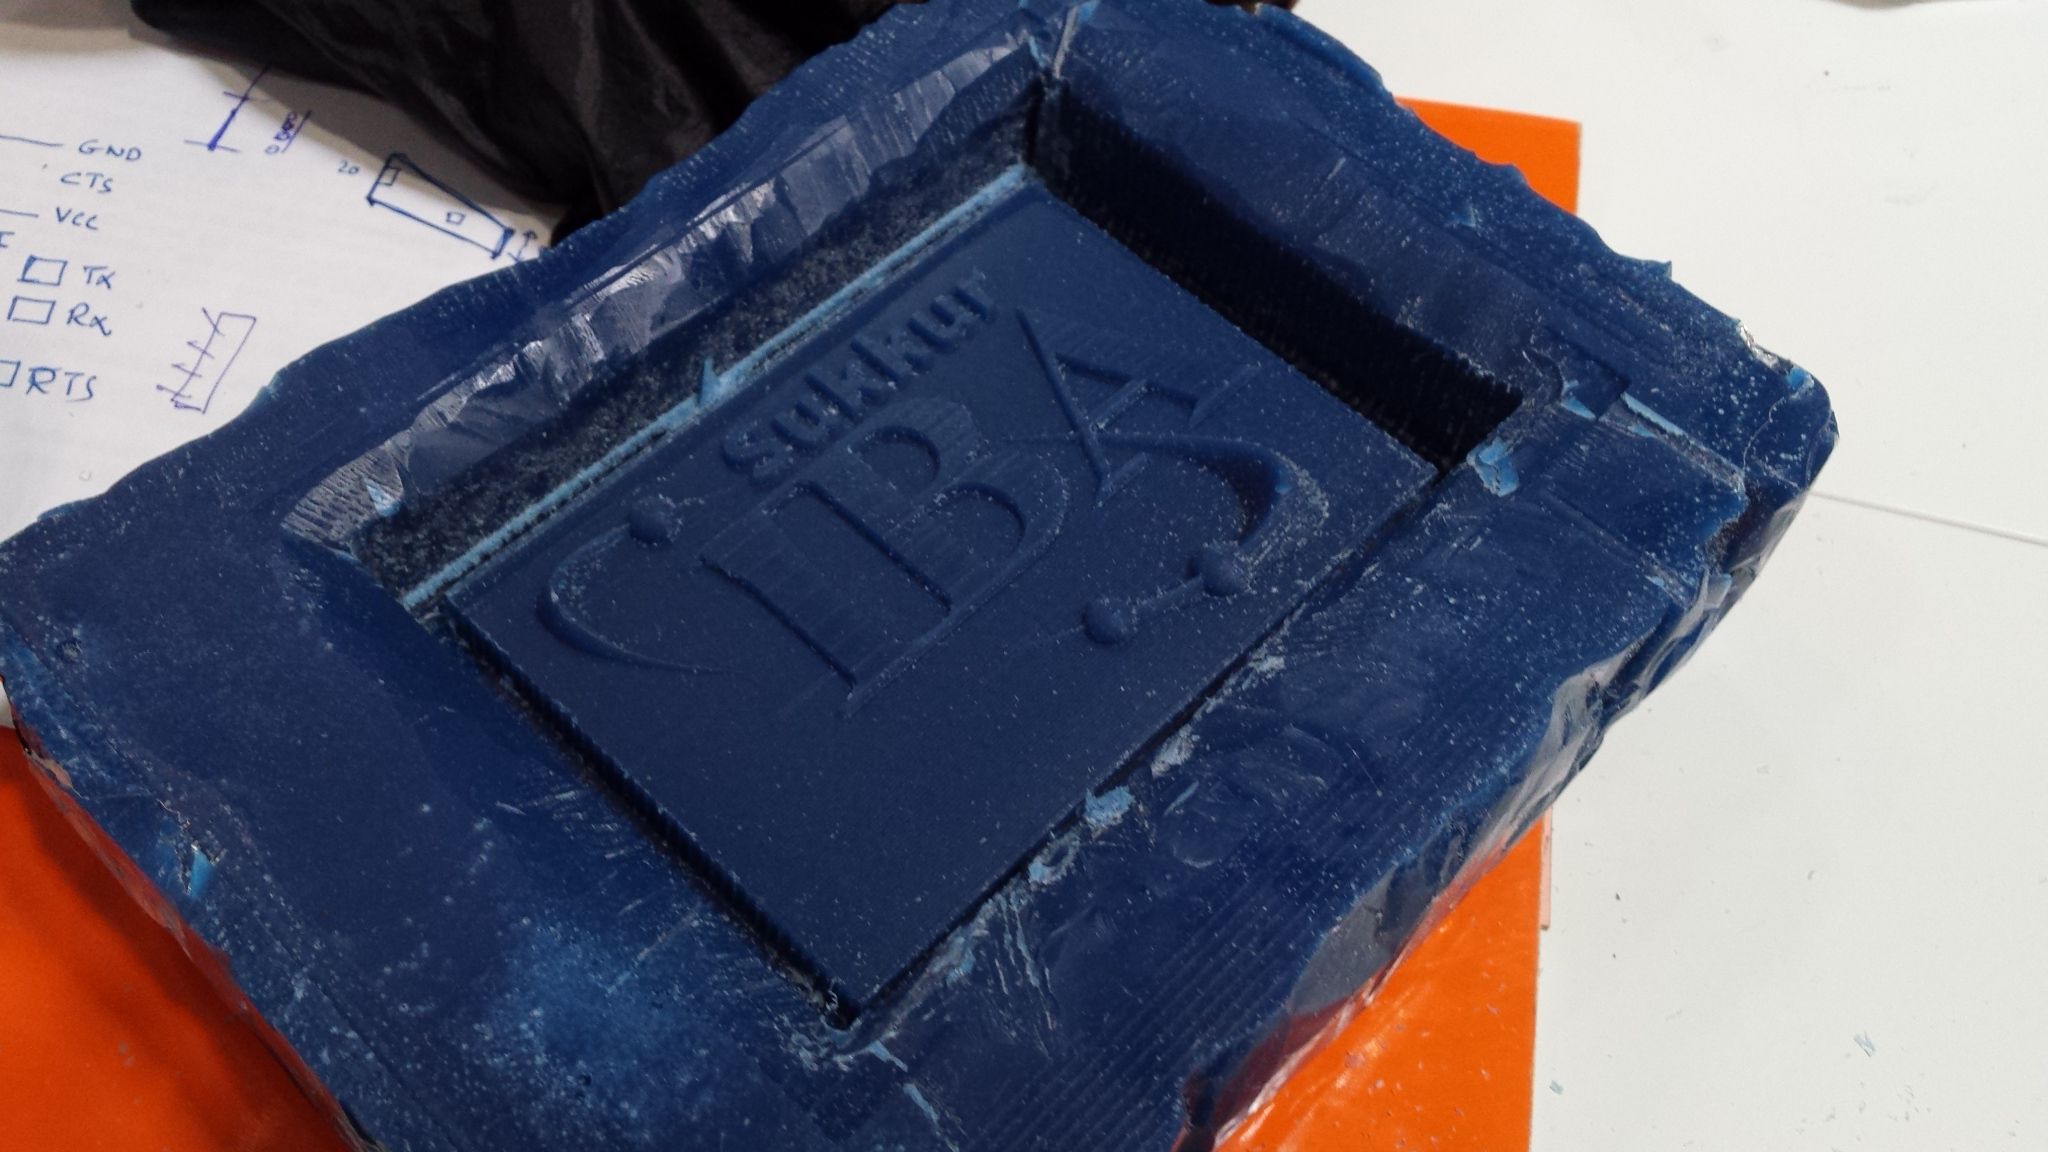
Output after 1/8 inch tool pass.
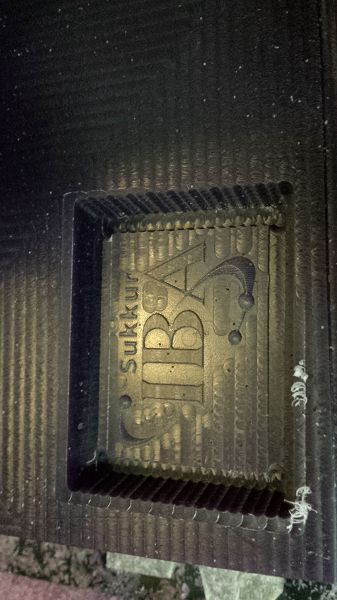
Output after 1/32 inch tool pass.
The next iteration was performed using the smaller 1/32 inch diameter tool. As per santi I could let this breeze through at faster speeds because this tool will be cuting through residues only. I had opted to cutting through x and y path to get better results. My immediate reaction seeing the output was that the depth of the text could have been better. I also noted that the base of the master mould missed depth from one side and therefore I had to manual peel off some wax.
Creating the Negative Mould
It want to start experimenting with simpler material so I used silicone material FormX FormSil 2 for creating mould. The technical specifications of the silicone are tabulated below:| Parameter | values |
|---|---|
Although moulding and casting is relatively safe process but extreme precaution must be exercised dealing with unfamiliar materials. The Material Safety Data Sheets (MSDS) must always be referred.
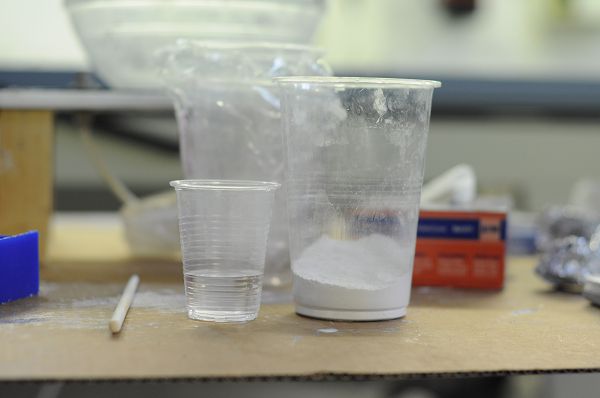
I started the moulding operation with safety precautions. Gloves and apron are essential. The first thing to do is to calculate the volume of the mould. I did that by pouring water into the mould and weighing it to determine the volume of silicone required.

Measure volume of the mould.
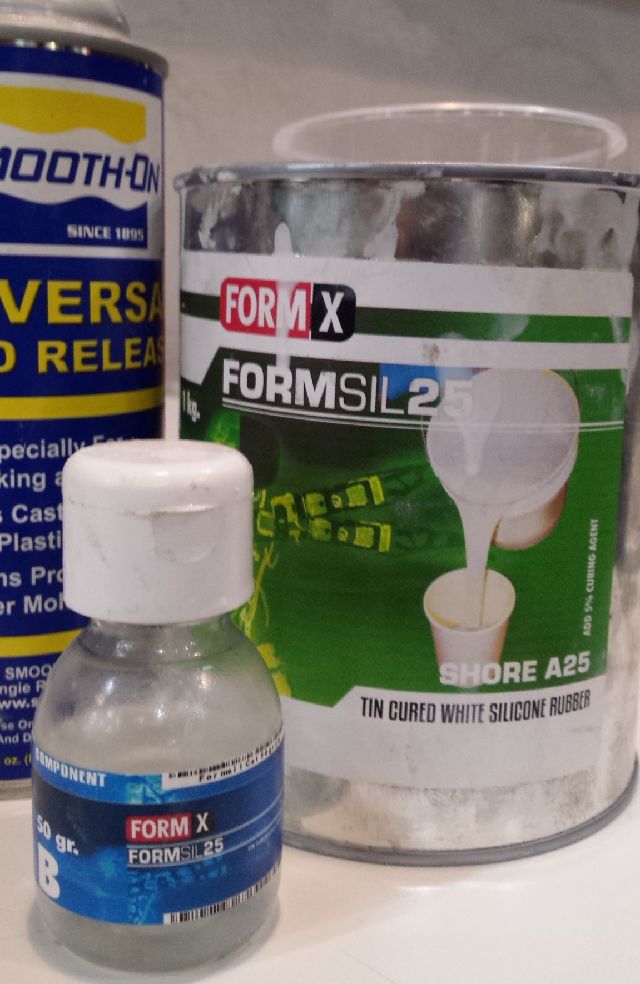
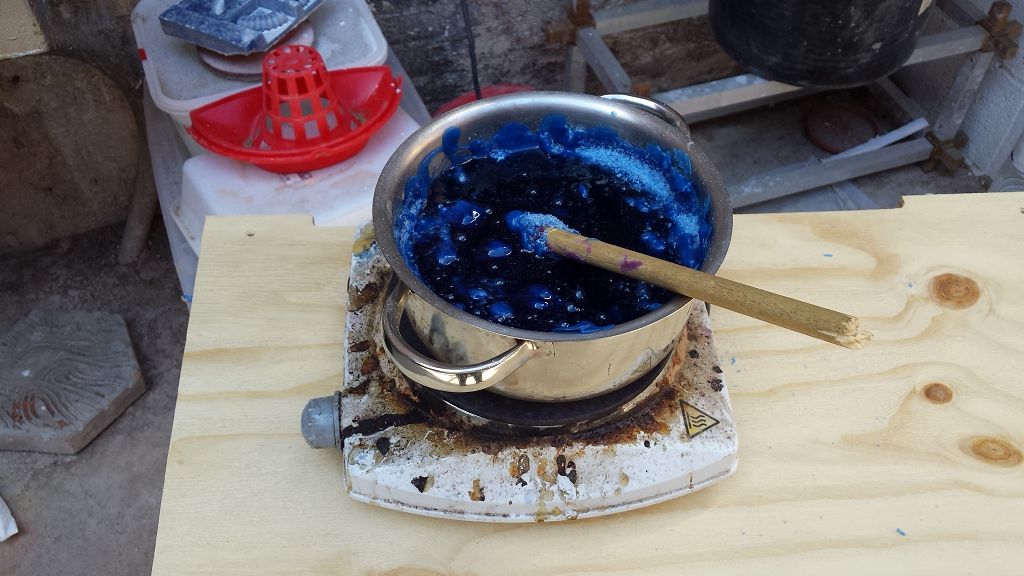
Silicone material for creating -ve.
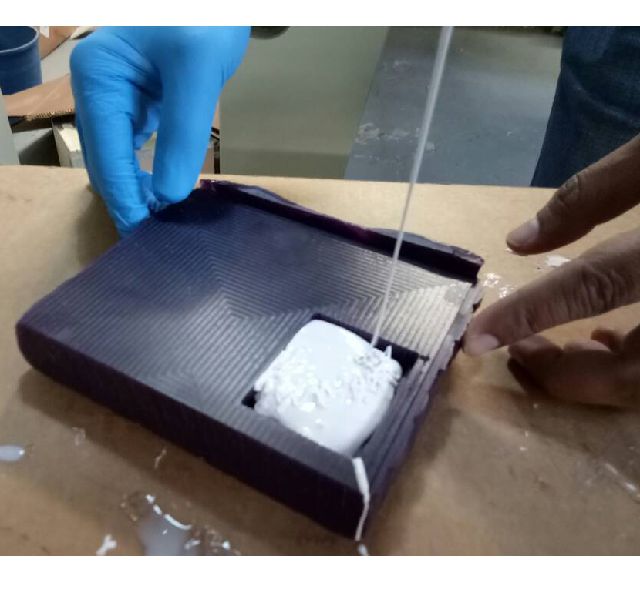
Gently pouring material into the wax.
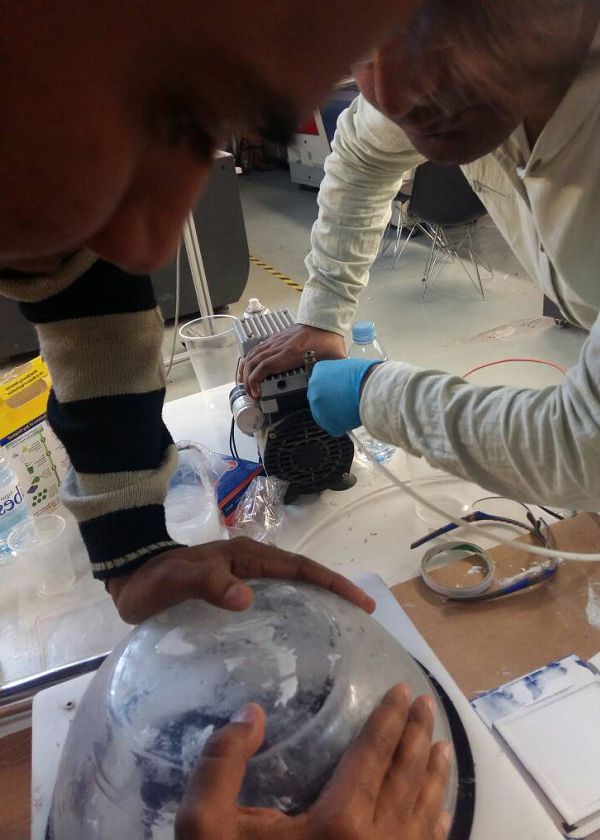
Using vacuum pump to remove bubbles.
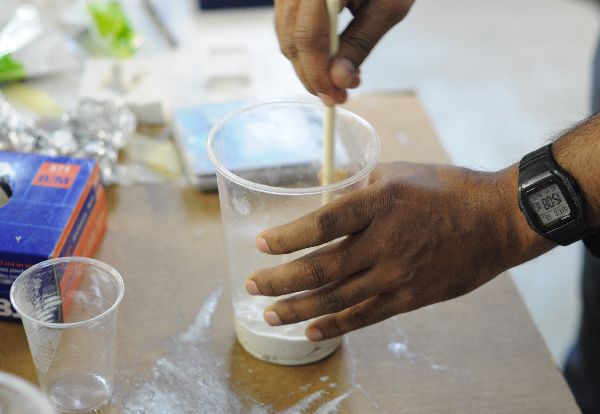
Next I poured out the silicone material out of its container and mixed it with the catalyst as per prescribed ratio. Stirring it for a couple of mins and then gently pouring it onto the mould. I used our makeshift vacuum setup to remove as many bubbles I could. From my experience I have learnt that vacuuming for about 10 minutes is a very choice for time. I left the mould to cure over night.
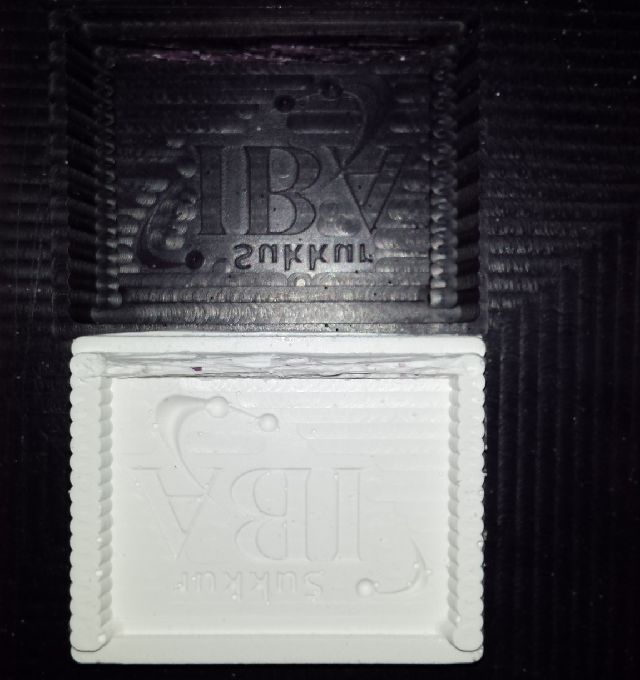
The results were admissible for first attempt but I could see that alot of bubbles and the alphbets were not a standout as expected.
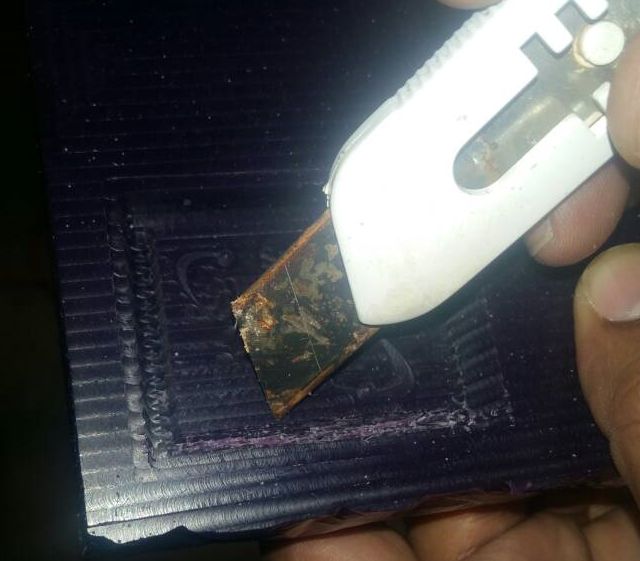
Casting from the Mould
The next day I took out the silicone mould out of the wax and then the next step was to cast from it. For this purpose I used the HydroCal (which is a kind of plaster) mainly because of its rapid curing time and because I didn't have higher expectations for output quality. The preparation instructions on the box says 100 grams of material should be mixed with 45 grams of water. After creating the material I poured it onto the cast and and after 30 mins I found the following results.
Hydrocal plaster, material for casting.
Measured material for casting.
Stir it for about 5 mins.
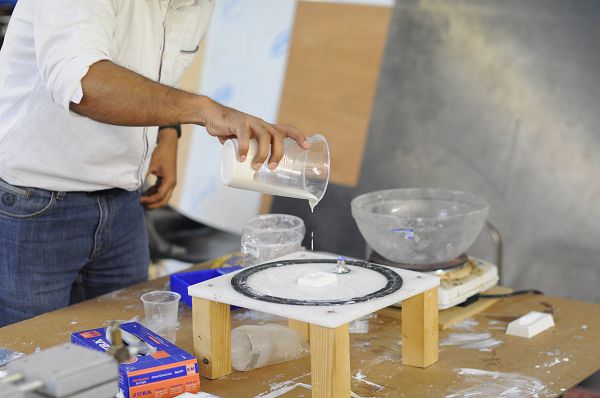
Gently pour it into the mould.
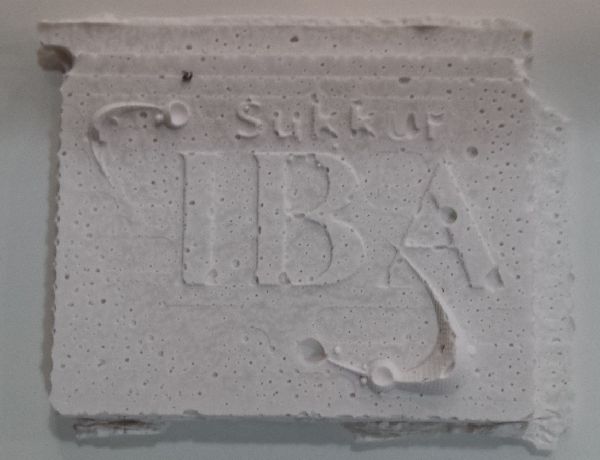
Casting output.
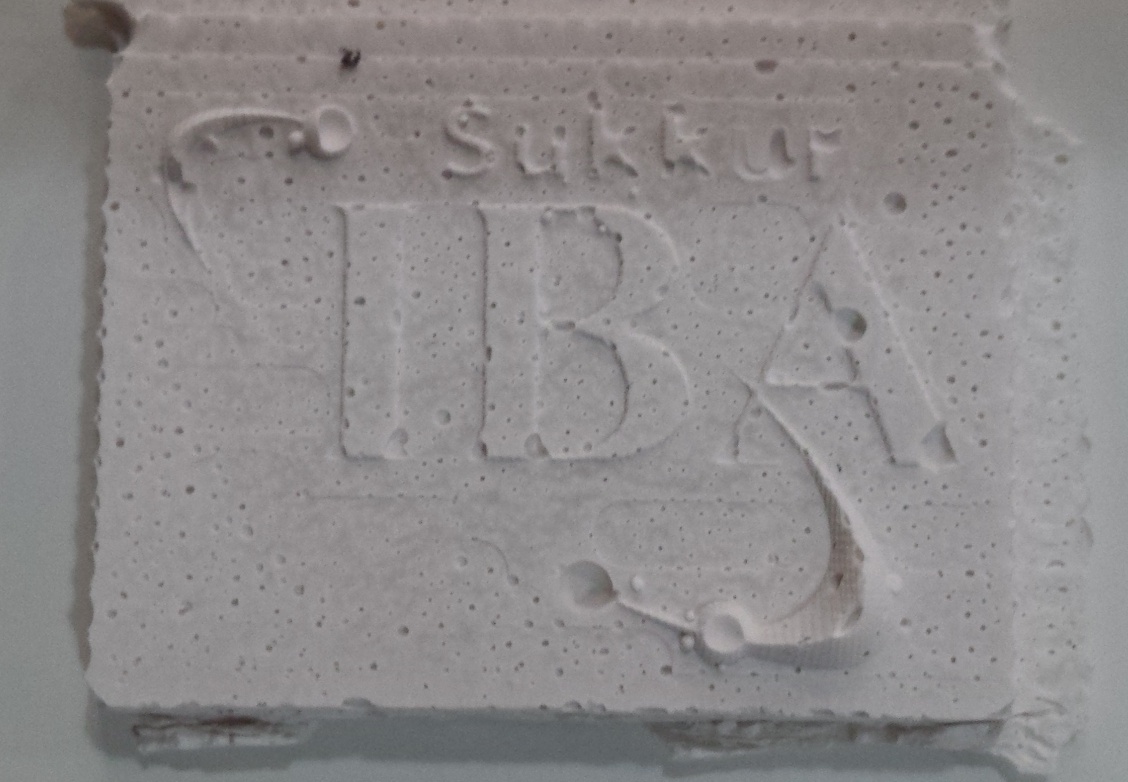
The results of casting were not plausible.
I was not happy with the results, so later on I decided to repeat the exercise taking into account the lessons I learned from last attempt.
I started by recycling the available wax chippings .
I milled the wax to allow for sufficient depth in the mould.
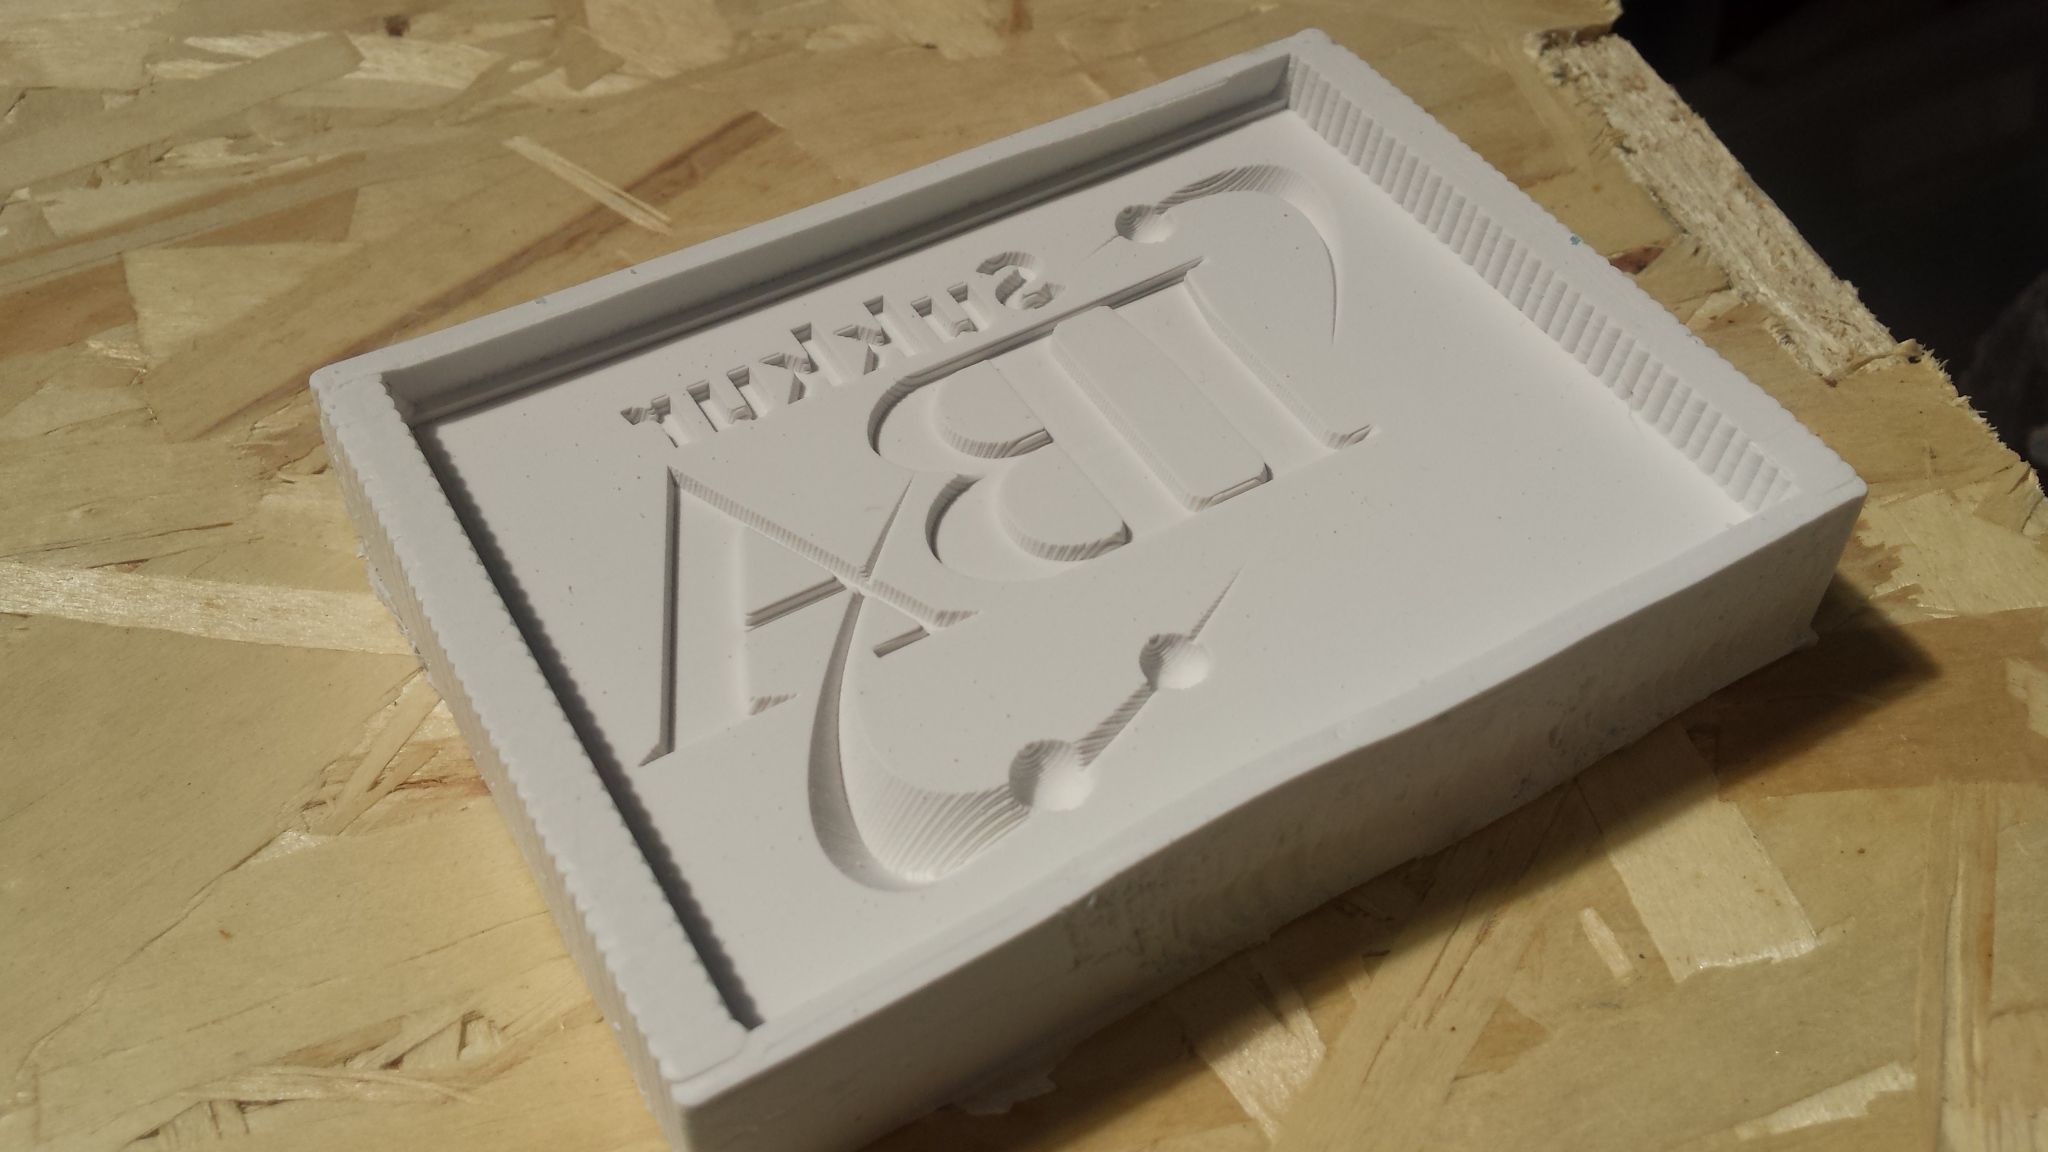
Vacuuming silicone for 20 mins brought wonderful results.
Sadly my experiment of mixing pigment with plastic did not bear fruitful results.
I would have loved to continue till I get things right but unfortunately time did not permit.
Learning Outcomes
- Design of mould through milling process is an extensive exercise. Good working know-how of 3D design software such as Rhinocerous is required.
- The limitations of tool length must be considered in addition taper angles inside the mould.
- Smooth-on is a very popular vendor offering a vast variety of different Silicone and rubber moulding materials which is suitable for most common applications.
- A bit of deliberation on the size of mould and depths mould and the cast can save you alot of hassle later on .
- The process of preparing silicone and pouring it into the master mould and vacuuming it requires some practice to master. Mixing in correct ratio and vacuuming long enough is very important.
Downloads
find all source files here.

This work is licensed under a Creative Commons Attribution-ShareAlike 4.0 International License
Copyright © 2017 Muhammad Asim Ali
This work is licensed under a Creative Commons Attribution-ShareAlike 4.0 International License
Copyright © 2017 Muhammad Asim Ali