Embedded Programming
An Embedded programming is a specific type of programming that supports the creation of consumer facing or business facing devices that does not operate on traditional operating systems the way that full-scale laptop computers and mobile devices do.
This week is all about Embedded programming.
Assigned tasks this week
- Read the Microcontroller data sheet
- program your board to do something, with as many different programming languages and programming environments as possible.
Learning outcomes of this week
- Identify relevant information in a microcontroller data sheet.
- Implement programming protocols.
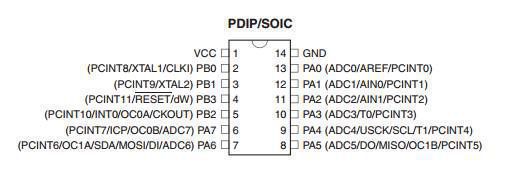
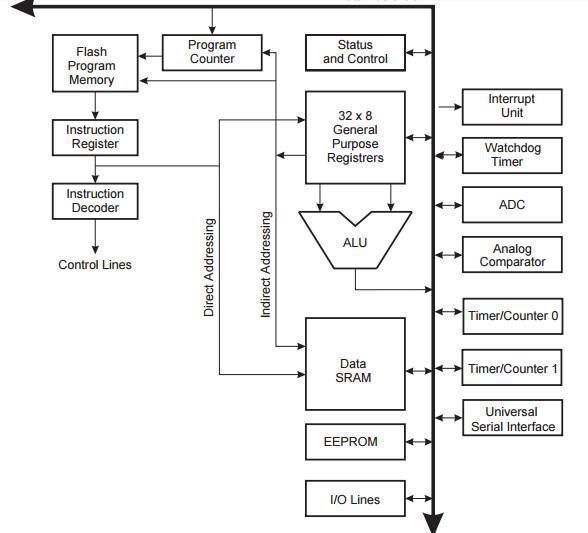
Reading data sheet of ATtiny
I started reading data sheet of ATtiny microcontroller and I got knowledge about the features and main components of the IC like general purpose registers, I/O pins, pin diagram, pin description, memory management, frequency power and current ratings, Port A pins and Port B pins. all other features I went through were detailed in data sheet. you can download the data sheet by clicking the given in the bottom of the page. for short details the snapshots of pin diagram and architectural overview is shown below
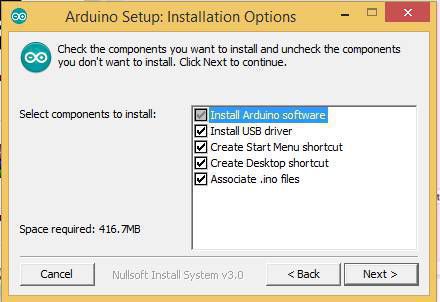
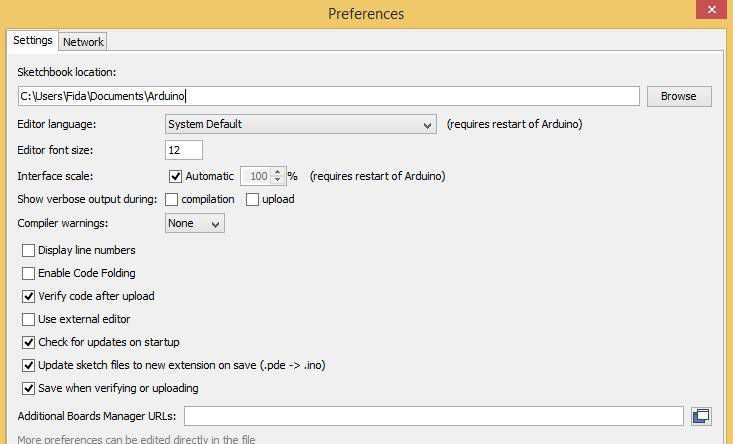
To program ATtiny with IDE (Arduino)
Important steps
1. Installation of IDE from the arduino website
2. Loading ATtiny package in Arduino as in board manager of Arduino Attiny are not included
3. Go to arduino preferences and paste some URLs of boards you want to work on
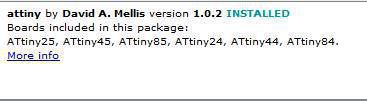
Installed the attiny by david A.mellis into my editor
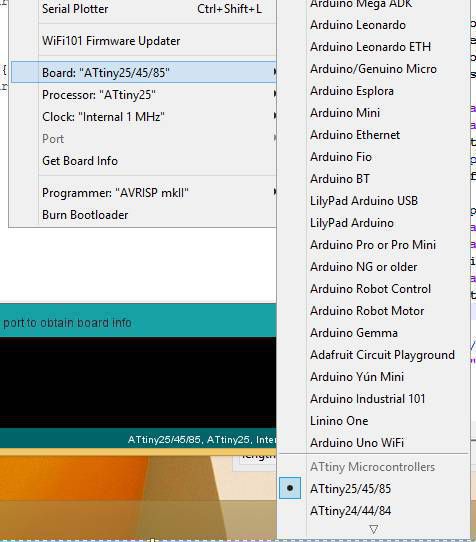
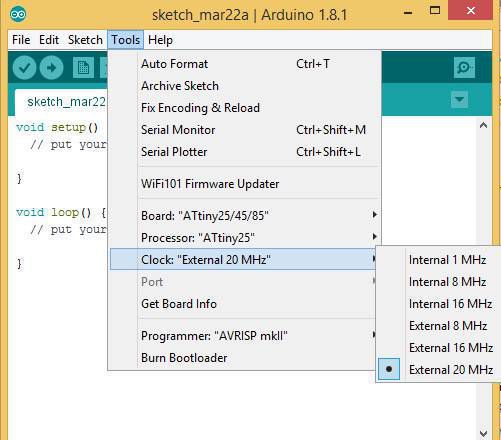
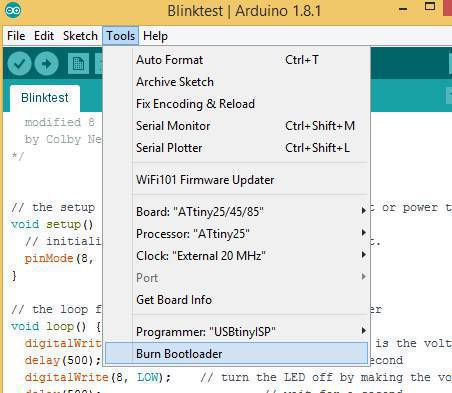
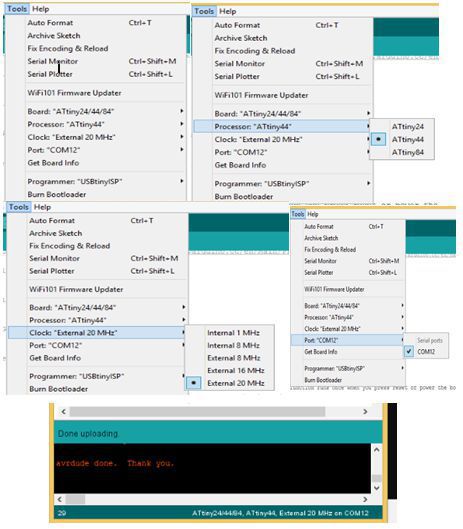
After all these steps lets go for the program, Navigate the in tool->board in IDE and select ATtiny including processor and frequency specifications as shown below in images
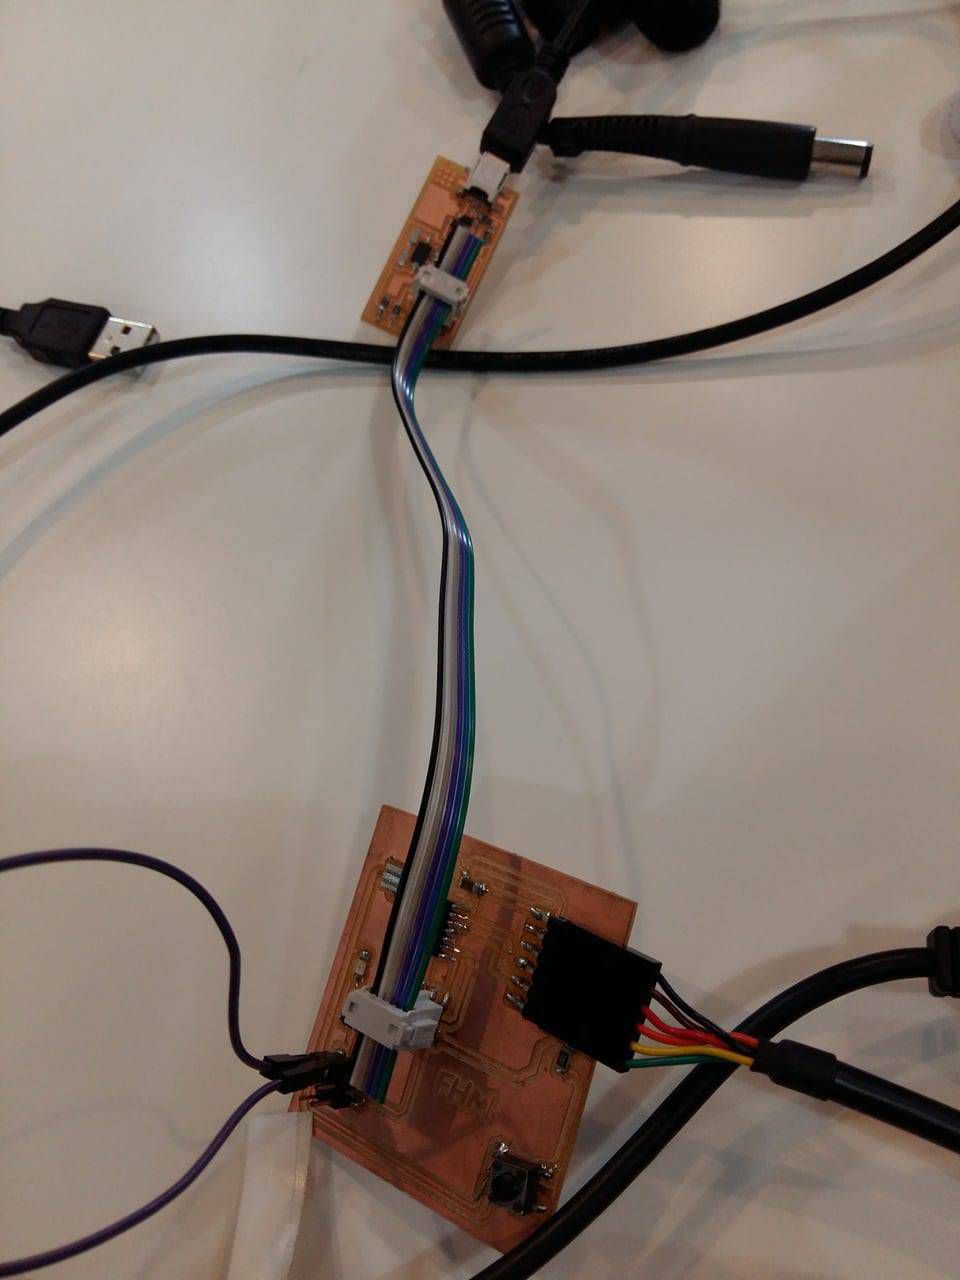
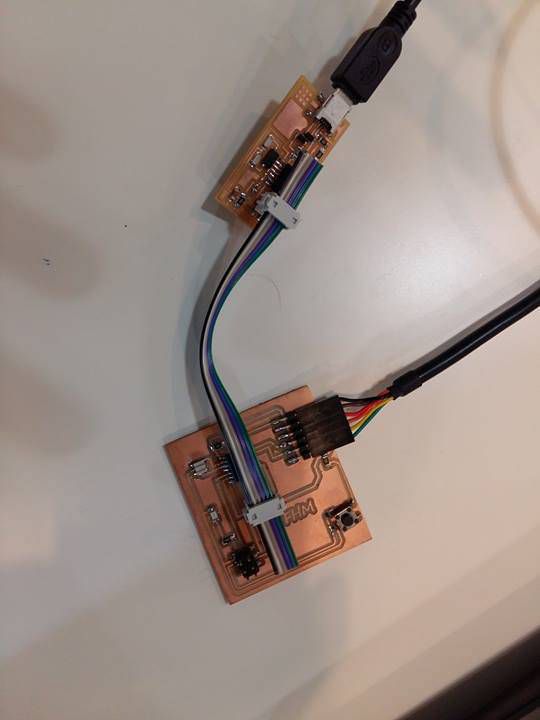
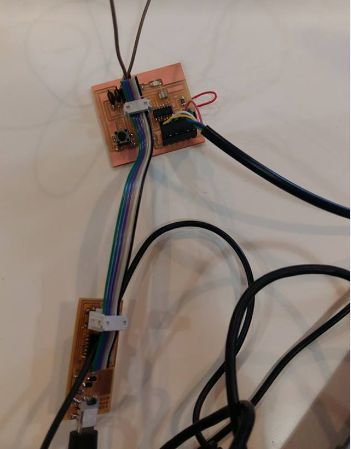
Now making the connection of echo hello board and FabISP Board and interface the circuits with your computer as shown in images below
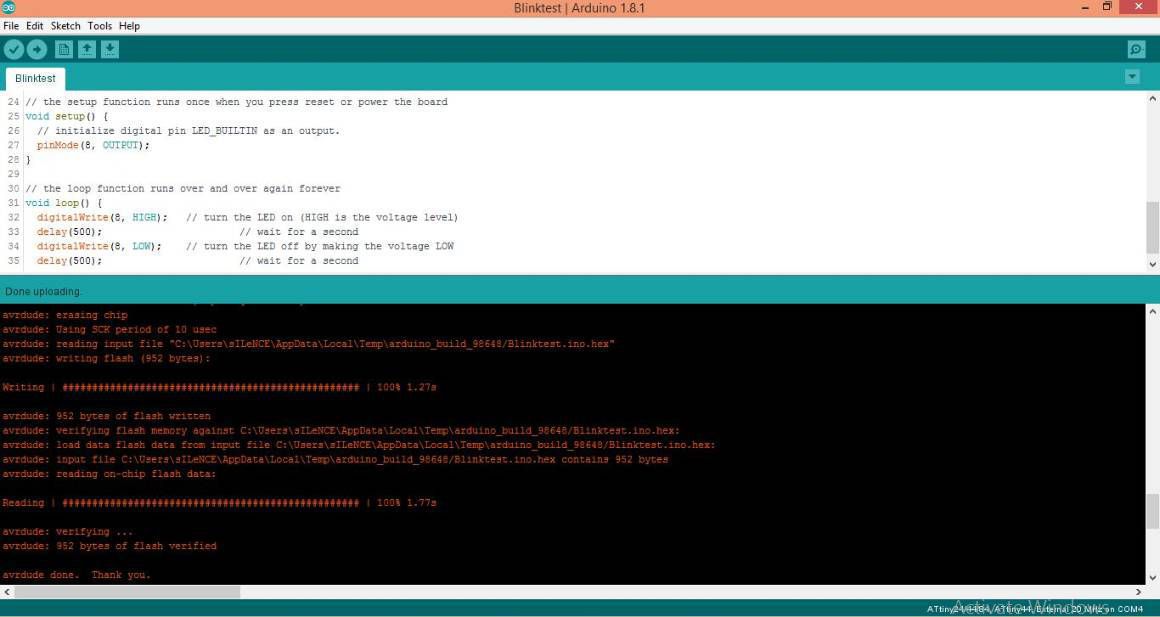
Now back to Arduino IDE and program the board if all the connections are ok then we will be getting the (message burn bootlaoder done) so to get it first navigate tool->burn boot loader and check whether everything is fine with the hardware.
Checking the IDE for burn bootloader done
This is showing that I programmed the device correctly but unfortunatelly I couldnt find the blinking on LED mounted on the board I investigated the errors by checking connections and other things related but did not find any thing wrong with the device I repeated the process as same but resulting in no blinking of LED. further more I will concerned with instructors and will sort out the problem with my device as soon as possible and will update my document
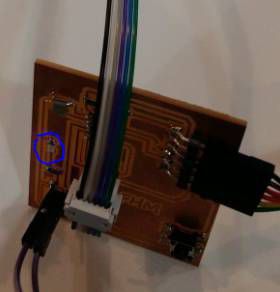
while troublshooting the issue I was observed that I have mount LED in reverse polarity and I again pulled out the LED and remount according to the polarity and repeated the same process of loading the program again but unfortunately I received same issues as earlier therefore now i m thinking about repeat all the process again to get issue resolved during this parallel to the assignment of coming week.
Programming the new board
As I got some issues in the first board, I developed the new board. Though the previous board was programmed successfully but blink test was not successfull due to the opposite polarity of LED in the board. As I changed the LED I observed that some traces are miscontacted with the board so new board I developed is documented in week 6, so now its time to program the new board. In this connection I used my ISP board which I developed in week 4 connect it with my new board in order to program it.
Repeating the steps of bootload burning first
Blink Test and Switch Functionality
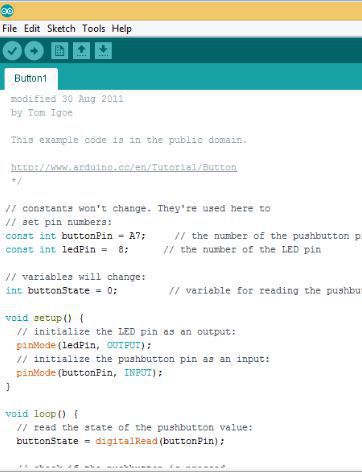
After successful bootloading of the board its time to observe some experiences like blinking of LED and functionality of switch embed on the board. following two videos will demonstrate both the funtionality of LED and switch clearly, I defined LED on pin 8 in programming as this pin was equivalent to pin 5 of ATtiny 44 and as for switch I defined pin A7 as this is equivalent to pin 6 of ATtiny 44.
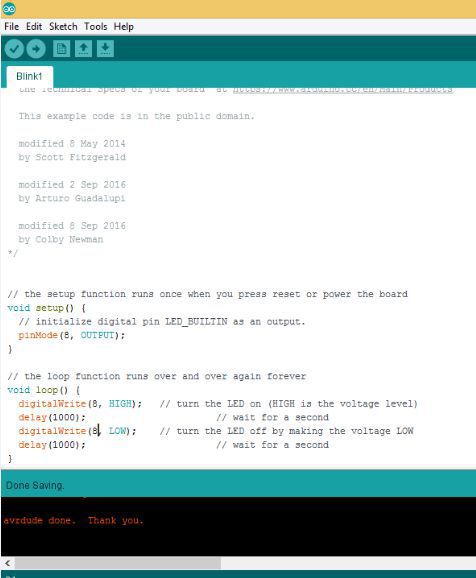
Blink Program
Button program
Video Demonstration of both programs
Download all files here