Interface and Application Design
Task assigned
write an application that interfaces with an input &/or output device that you made, comparing as many tool options as possible.
Learning Outcome
Interpret and implement design and programming protocols to create a Graphic User Interface (GUI).
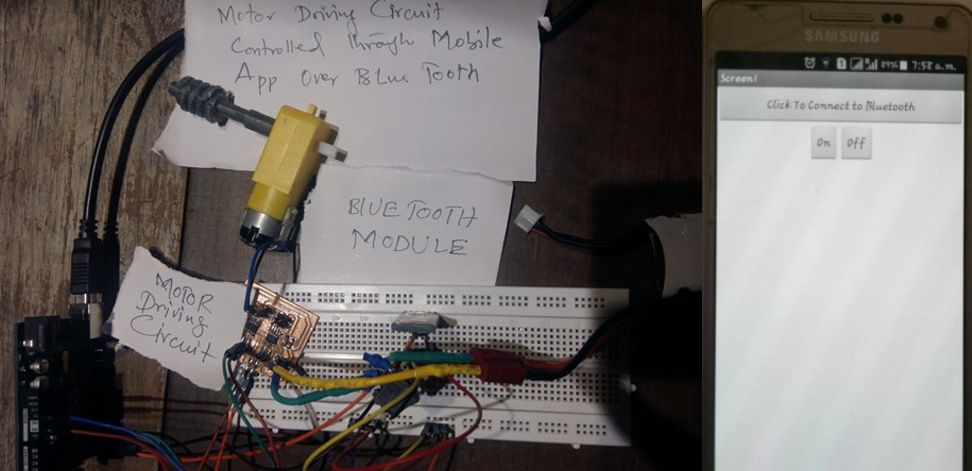
So far this assignment was no more the part of my final project as I was not using any communication or app development in my final project so I found bluetooth communication an easy and interesting to accomplish the requirement of this week. I set my target to develop an application in MIT App Inventor and have to interface that app with one of input and out assignment I completed in week 13 an week 10 respectively. As I controlled lcd and Dc motor during my output devices assignment so I decided to control Dc motor which is holding the gear part of my final project through a simply developed App on my mobile with three basic features i.e on, off and connection with blue tooth. following images are showing describing the basic idea of this week assignment
MIT APP Inventor 2
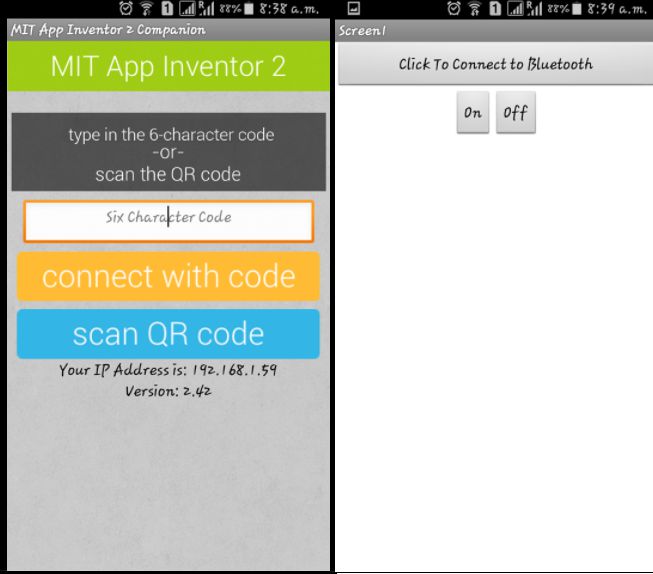
Keeping very simple idea of app to interface the Dc motor I just on and off icons and above these two I put the icon for bluetooth connection status for this i logged into MIT app inventer first as this platform is available online and one google account is enough to access this service. I followed the lecture given by Xavi that time and started to work on this.
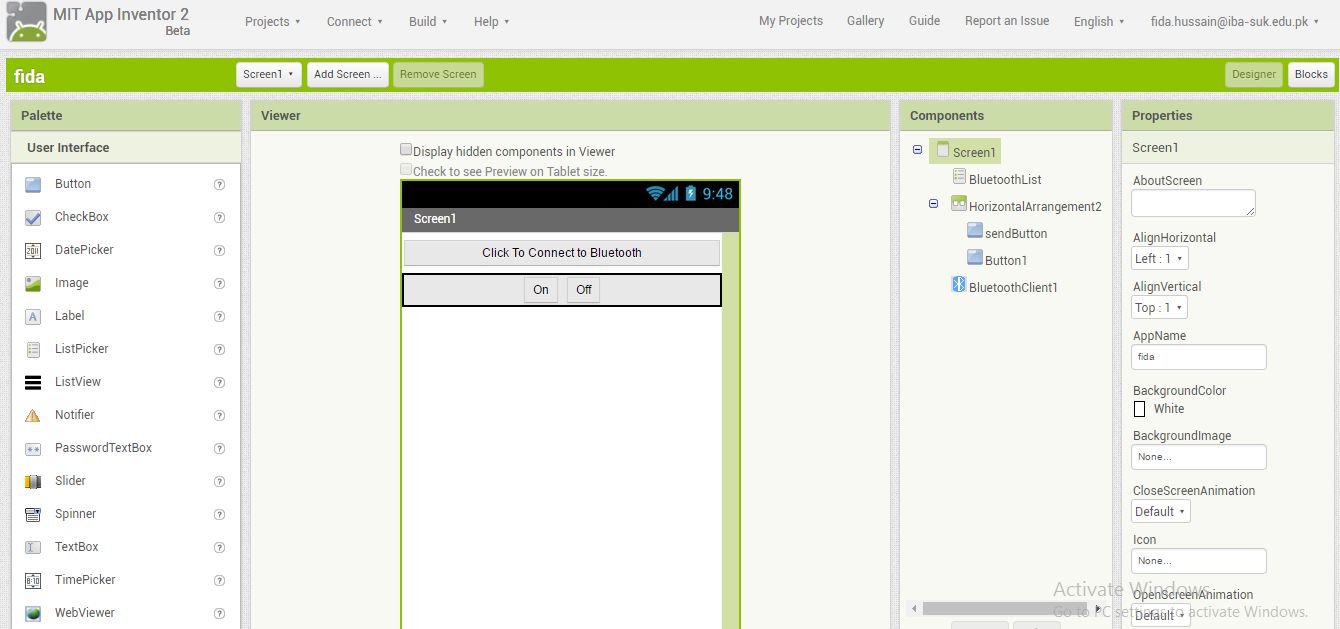
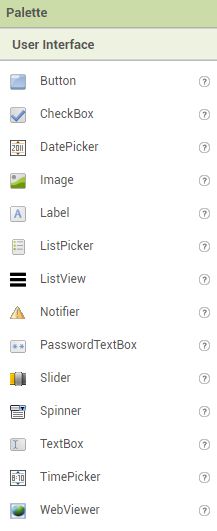
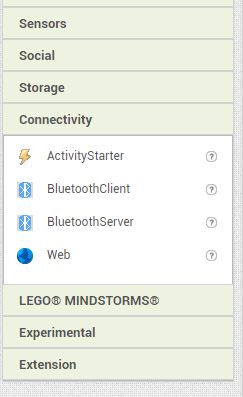
Following image is showing the tools for example connectivity, sensors audio visual features and the matter of ease here is that they incorporated just drag and drop play game
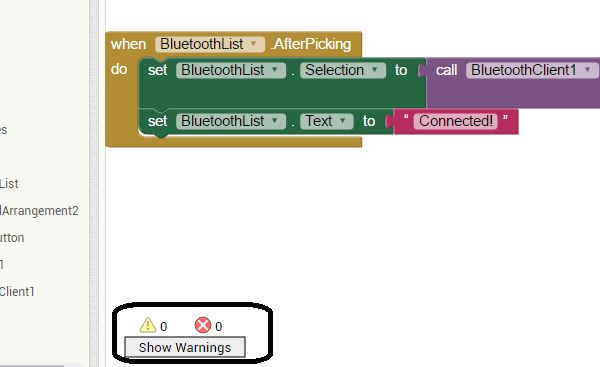
After designing the required components for the app its time to switch to block section to program the app in required manner this seems very interesting to play with the blocks as it was allowing me how app should work conditionally. here every block has specific condition to perform the actions

Now before uploading we have authenticate the error and warning block, once this block showing zero errors and warnings then our design is ready to upload on cellphone
To play with data from cell phone app We have to scan QR code in MIT AI2 Companion from desktop MIT App inventor
Arduino Code
			// Constant Definitions
#define LEDPIN 13 // Pin on Arduino board to which status LED is connected
#define MPIN1 2
#define MPIN2 3
#define READ_RATE 100 // How often the serial link is read, in milliseconds
#define FLASH_RATE 100 // The on/off period in milliseconds, for the LED Flash status feedback

// Declarations
byte cmd = 0; // Stores the next byte of incoming data, which is a "command" to do something
byte param; // Stores the 2nd byte, which is the command parameter

// Initialization
void setup() {

pinMode(LEDPIN, OUTPUT); // pin 48 (on-board LED) as OUTPUT
//digitalWrite(LEDPIN, LOW);
Serial.begin(38400); // start serial communication at 9600bps
//Serial1.begin(38400); // start serial communication at 9600bps
}

// Arduino Execution Loop
void loop() {

  if ( Serial.available() ) // if data is available to read
  {
    cmd = Serial.read(); // read it and store it in 'cmd'
   Serial.print(cmd);

    // Data format is byte 1 = command, byte 2 = parameter
  };
  if(cmd == 1){
    digitalWrite(MPIN1, HIGH);
    digitalWrite(MPIN2, LOW);
    digitalWrite(13, HIGH);
   // delay(2000);
  }
  if(cmd == 0){
    digitalWrite(MPIN1, LOW);
    digitalWrite(MPIN2, LOW);
     digitalWrite(13, LOW);
  }
  delay(1000);
}
Video demonstration
Download App here