COMPOSITES
This week is about composites which means a thing made up of several parts or elements, Here in this week's assignment we have following tasks to accomplish
Task assigned
- Reading material safety data sheet (MSDS) and technical data sheet (TDS)for the resins we are using.
- Design and fabricate a 3D mold and produce a fiber composite part in it.
Learning Outcomes
- Demonstrate the workflows used in mould design and construction
- Select and apply suitable materials and processes to create a composite part.
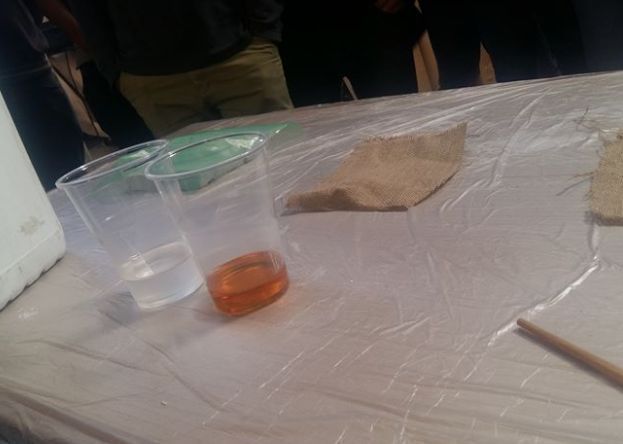
First of all I carefully gone through the Material safety data sheet (MSDS) and technical data sheet (TDS) and I found this useful information on bottels of epoxy part A and hardner part B. while reading I came to know about the reactions of materials to be used and how to make saftey environment while playing with these and as for as technical data sheet is concerned our instructors guided us about the ration of epoxy and hardner to be mixed is 2:1 respectively and the time to dilute them is 10 to 15 minutes


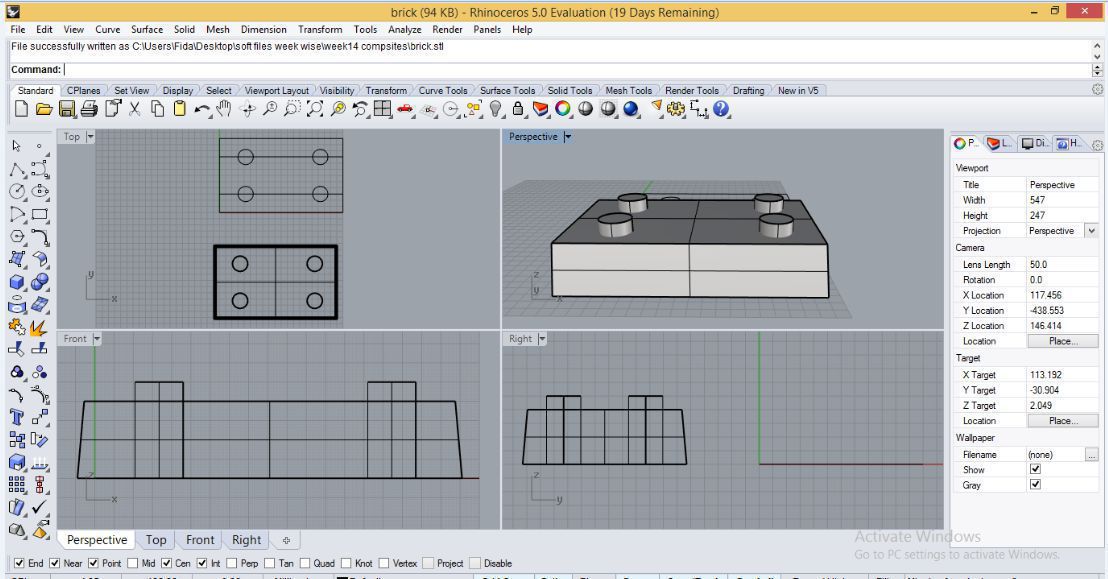
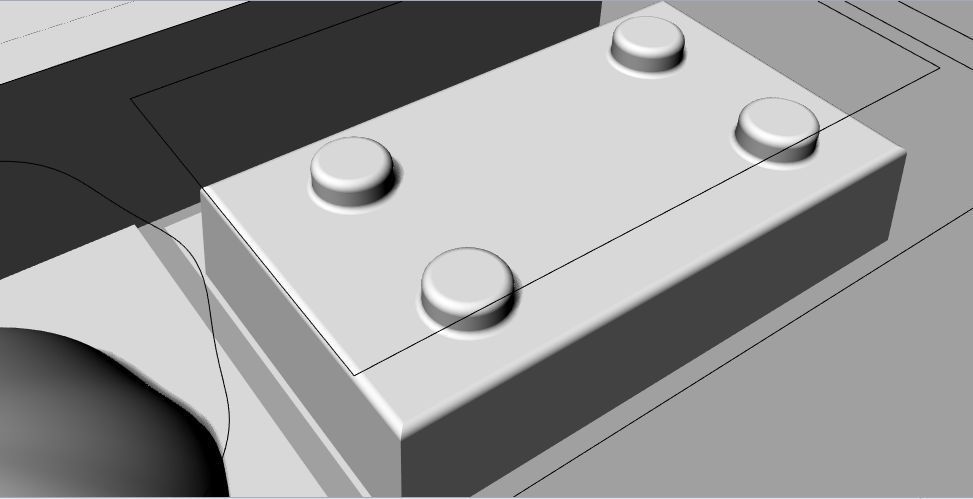
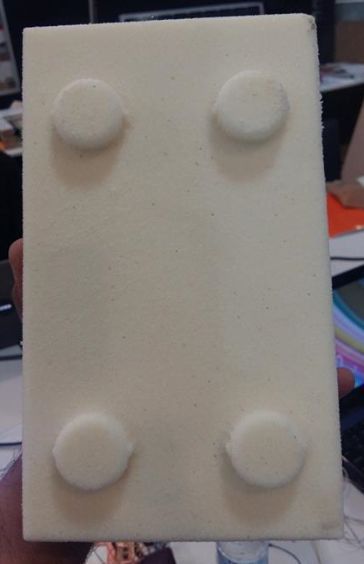
Starting with thinking of an object to be designed and getting ready for milling the mold of the object so with quick spark in mind I decided to design the LEGO brick block as shown in the figure below

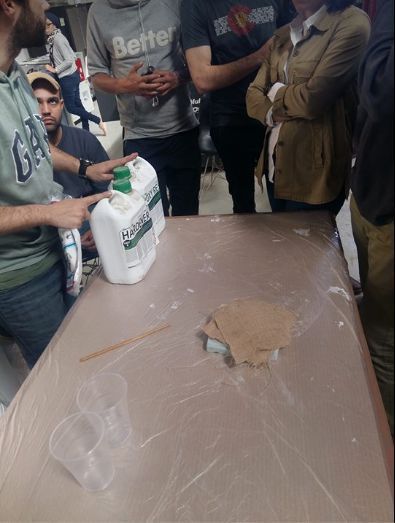
I m very thankful to my instructor Santi and Xavi for demonstrating the after milling process of composites, I really learned alot from this useful demonstration specially the precautions of the process and the information about the stuff required to accomplish process properly. I also came to know about the Epoxy and the Hardener materials and their ratio to be mixed with each other i.e to prepare the material we have to mix 2:1 of epoxy and hardener and mix this solution approximately upto 10 minutes or for sure time check the hotness while mixing the solution if it gets hotter then its no more for use. more over selection of fabrics and number of layers are to be taken in account some snaps below witness the event.
Developing the 3D model
This time I used rhino to design the 3D model and as for as measurements of the model are concerned we were specified upto 30 by 30 centimeters in area and upto 6 centimeters of height for total of the model so the dimensions of my model are as under
Length = 20 centimeters
Width = 12 centimeters
Height = H1+H2 = 5+1 = 6 centimeters (H1= block height and H2= height of tips)
After designing the model I took concern of my instructors and was further guided by them about the flitting the angular sides of model so that composite material may result in proper way in this regard I made few changes in my model by applying Fillet edge command as shown below
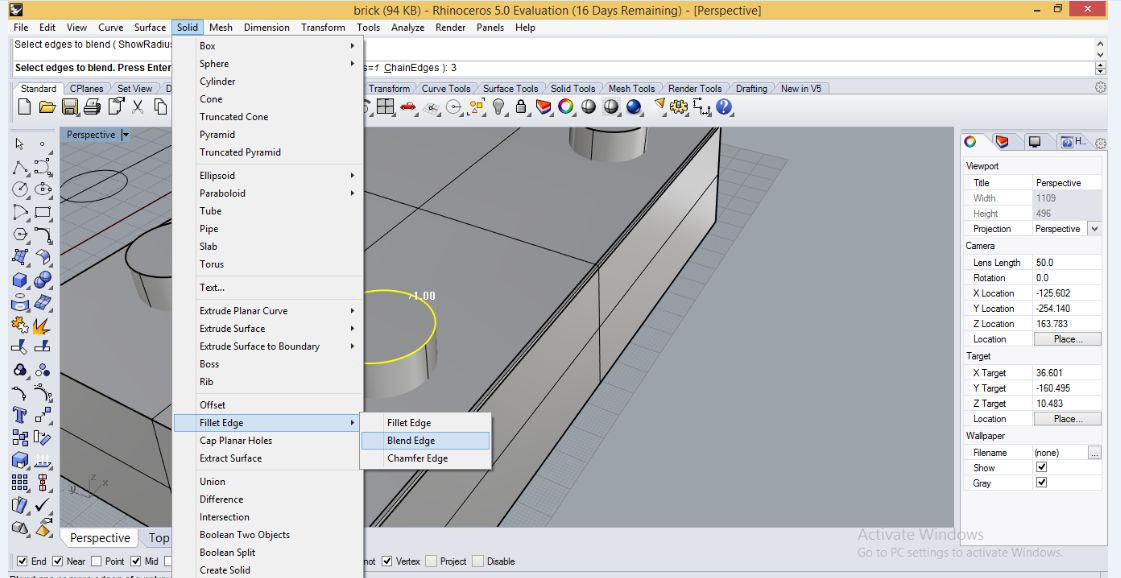
After applying Fillet edge command the following changes were abserved on the edge of the object I fillet the object by 3 mm
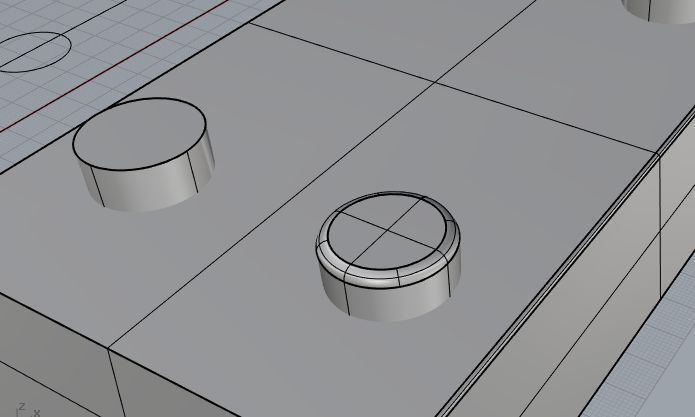
Finally all the edges were filleted and my final object becomes as under
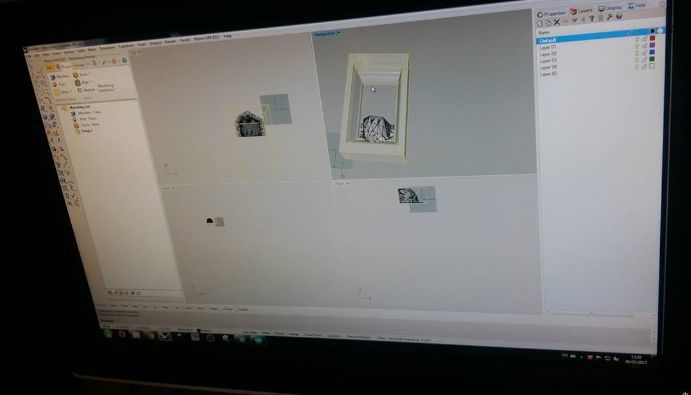
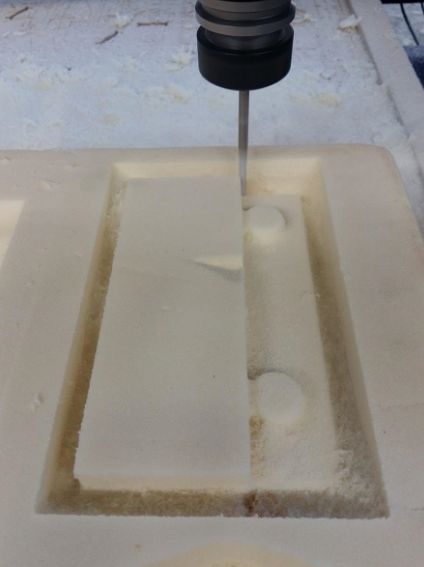
After designing the 3D model in Rhino it was ready for milling now. So proceeding further towards milling first we have to generate the GCODE files for the model and we used rhino cam to generate these files I used Rhino CAM. Before this I searched the Foam Material on which my designed mold to be mild on. Finally I got one peice of foam material available inside the lab. As this foam piece was quite enough large so that it can accomadate 2 or more molds also so me accompanied with Sohail and JC went for milling on the same piece of foam in this connection we put all three designs for rhino cam at the same time following are few snaps to show the process of rhino cam.
Piece of Foam
Performing Rhino CAM
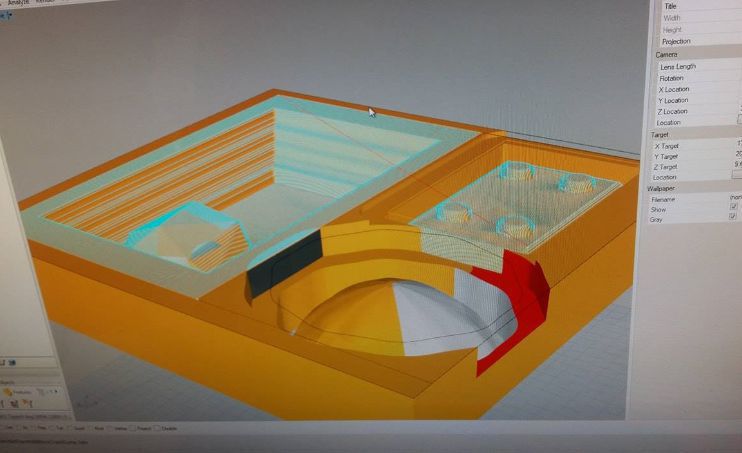
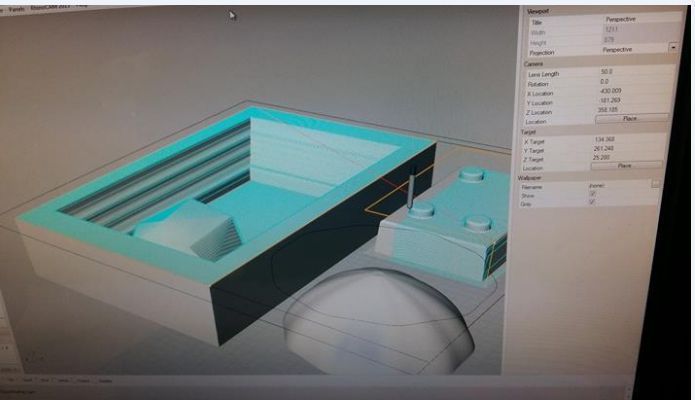

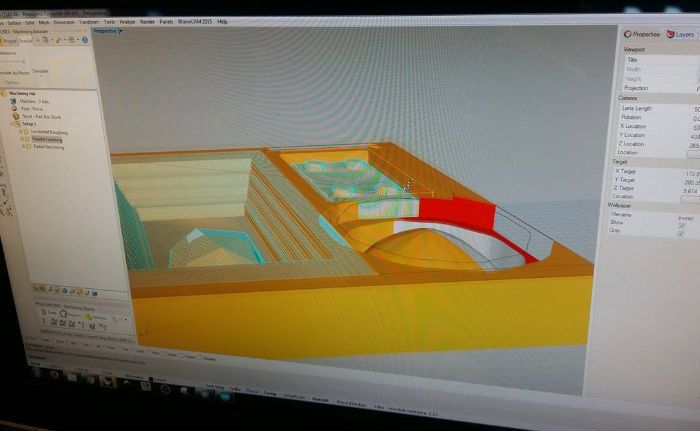
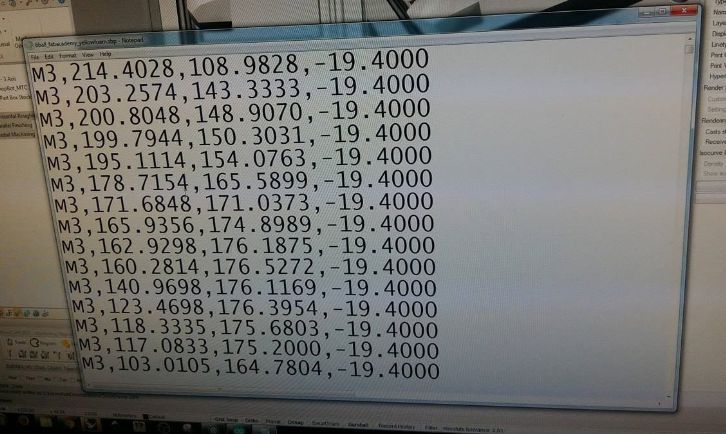
Simulation of Rhino cam (Click here)
Milling Process
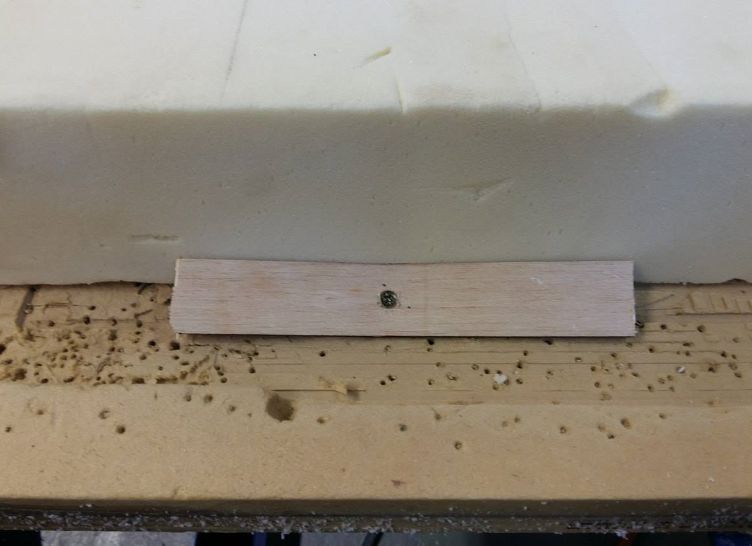
We use the shopbot machine for the milling for that I fix foam piece on the corner of the bed and for proper fixing I used wooden pieces and nailed them from all four sides so that the foam may not vibrate during the milling due to its less weight
Now Setting the origin (X,Y,Z)=(0,0,0) on the screen of computer to which this shopbot machine was interfaced
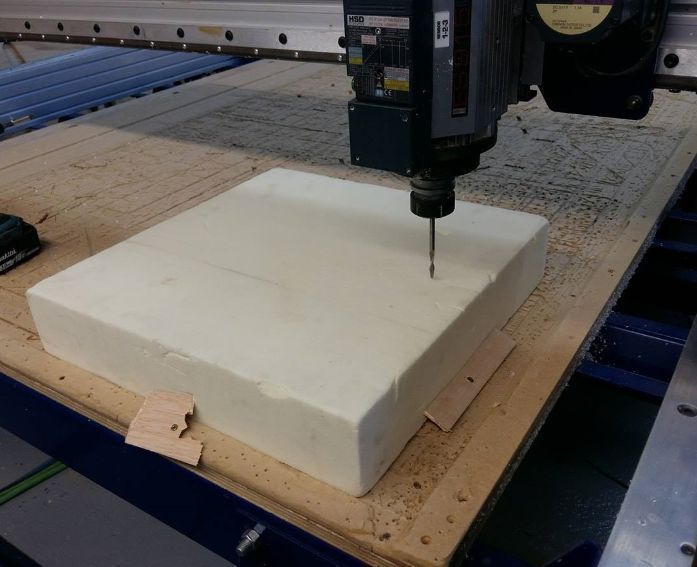
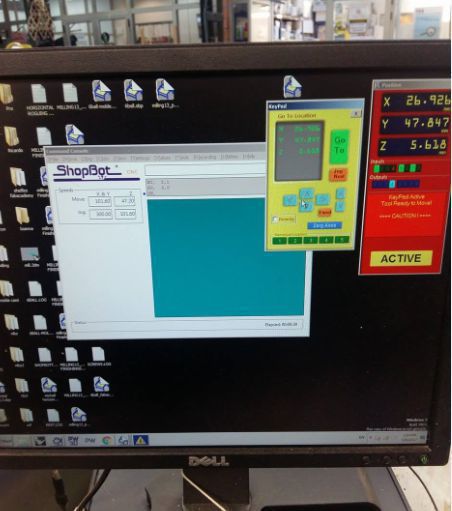
Milling
Final Model
Composite the model
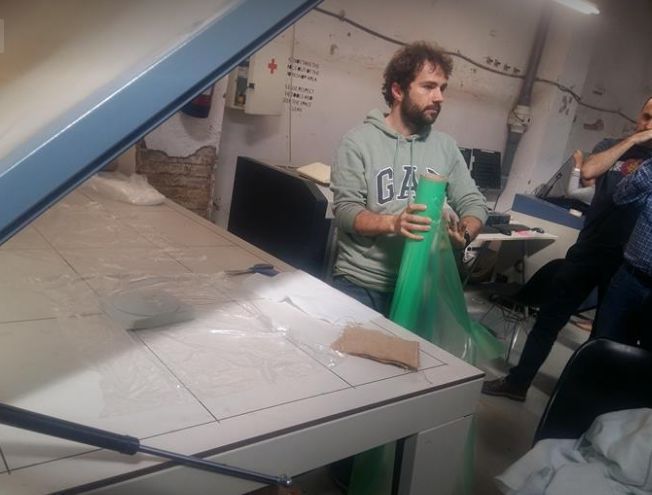
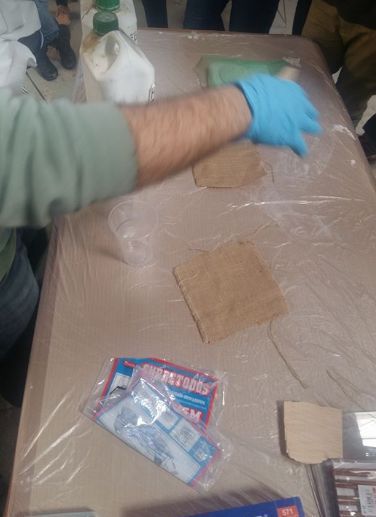
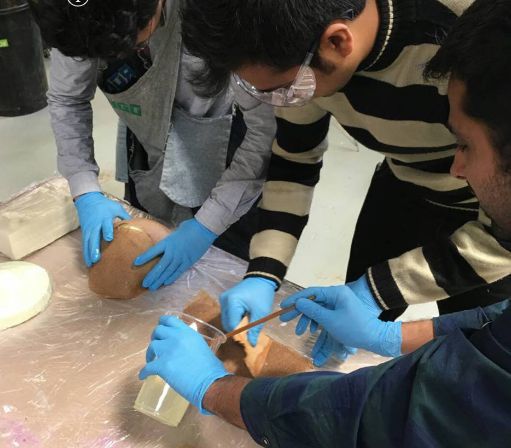
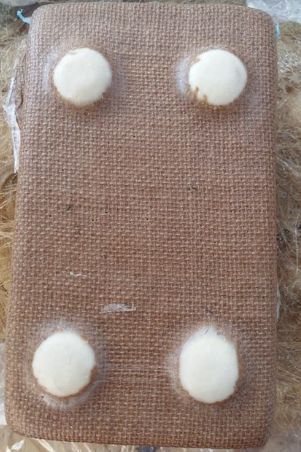
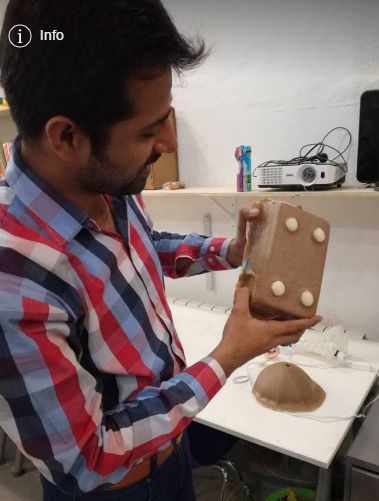
After milling the model now its time to composite the model for that as per instructions of our instructors we started to select the fabric and prepare the set up on the table. I used two types fabrics one of them is very thin for four tips of the block which are exposed on the top of the surface and other fabric which is little thicker to cover rest of the block as shown in figures below
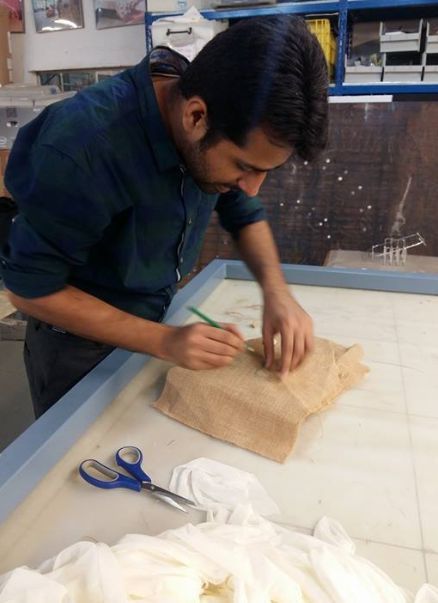
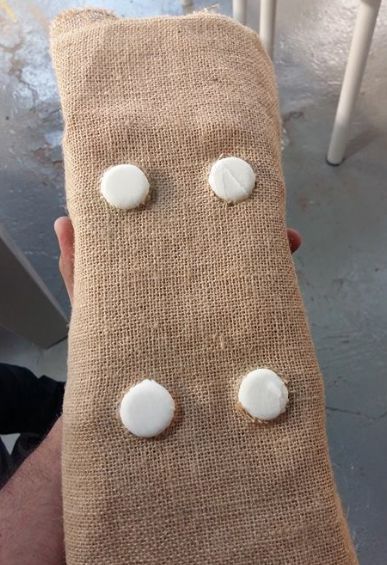
Layer arrangement

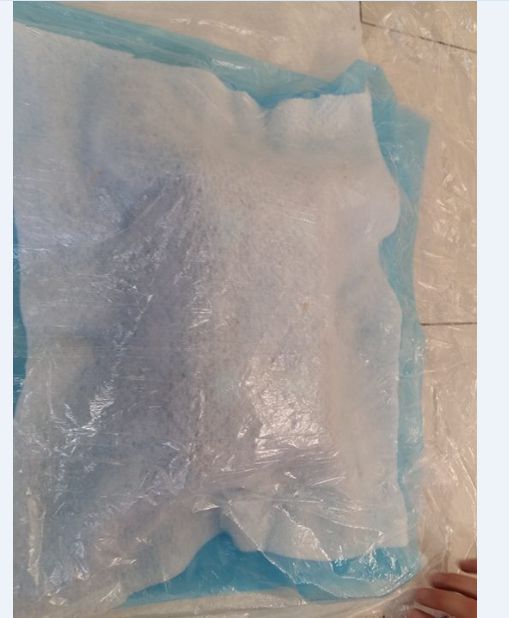
Now preparing the material
Before preparing the material we have to take care of all the layers including the palstic covers above and below the mold while putting in Vaccum machine. there is also one layer of white thin foam layer which is to be kept after fabric layers. while taking out the Epoxy and Hardner we have to look seriously on the ratio of both to be mixed I have already mentioned the ratio but let me remind here again its 2 for epoxy and 1 for hardener


After mixing approximately up to 10 minutes now its ready to glue on the fabrics and then put those fabrics on the mold
Finally putting the object in Vaccum machine and leave it fir next 24 hours for resulting in rquired hardness of the composite.

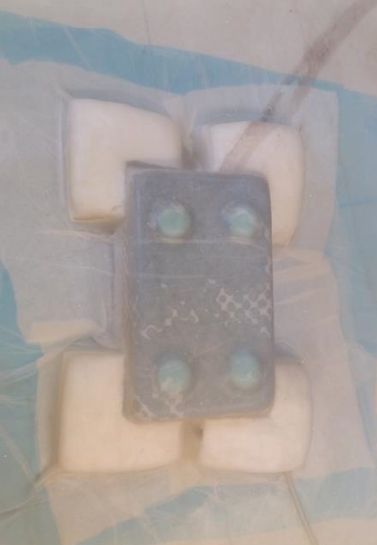
Next day as I reached Fab Lab I went to room of vaccum machine where we put our composites models, I changed the Valve position of vaccum machine to open terminal and took out the mold which was compsite

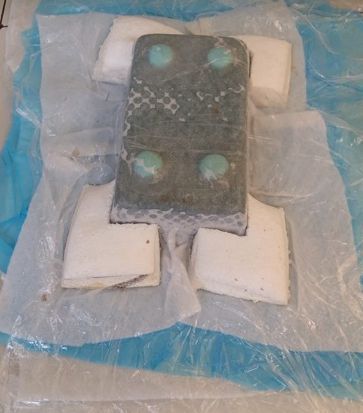
Removing the layers
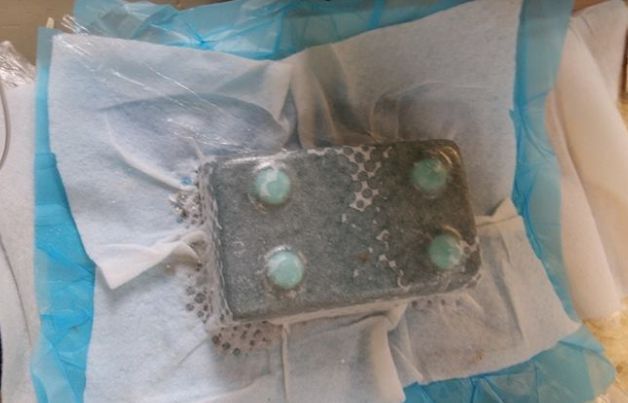
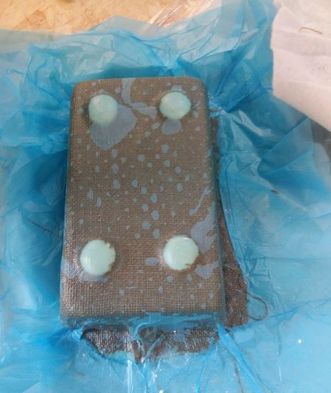
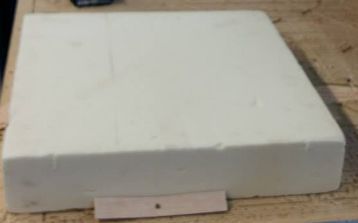
Final resultant object I got in hand .. I felt so excited to see the final composited object
Download some useful files here